BlrwestSiR
-
Posts
9,183 -
Joined
-
Last visited
Content Type
Profiles
Forums
Events
Gallery
Everything posted by BlrwestSiR
-
Great idea. I would love to add a dedicated paint station to the workbench but don't have the space. One day...
-

Share how COVID-19 Quarantine has affected you.
BlrwestSiR replied to 1to1scale's topic in General Discussion
The start of the school year here got postponed for a week from its usual start the day after Labour Day. As a result, I'm currently freezing my ar$e off in a tent while it's 3°C with the boys and Sue on a camping trip. -
David Brown tractor 1/32nd from IconicAir
BlrwestSiR replied to FME erk's topic in LSM 1/35 and Larger Work In Progress
Looks to be a very nice kit. Carl -
My two boys have been receipients of your generosity Jeff and Harv's too. To them , it's like Christmas when they see one of the boxes you've sent them.
-
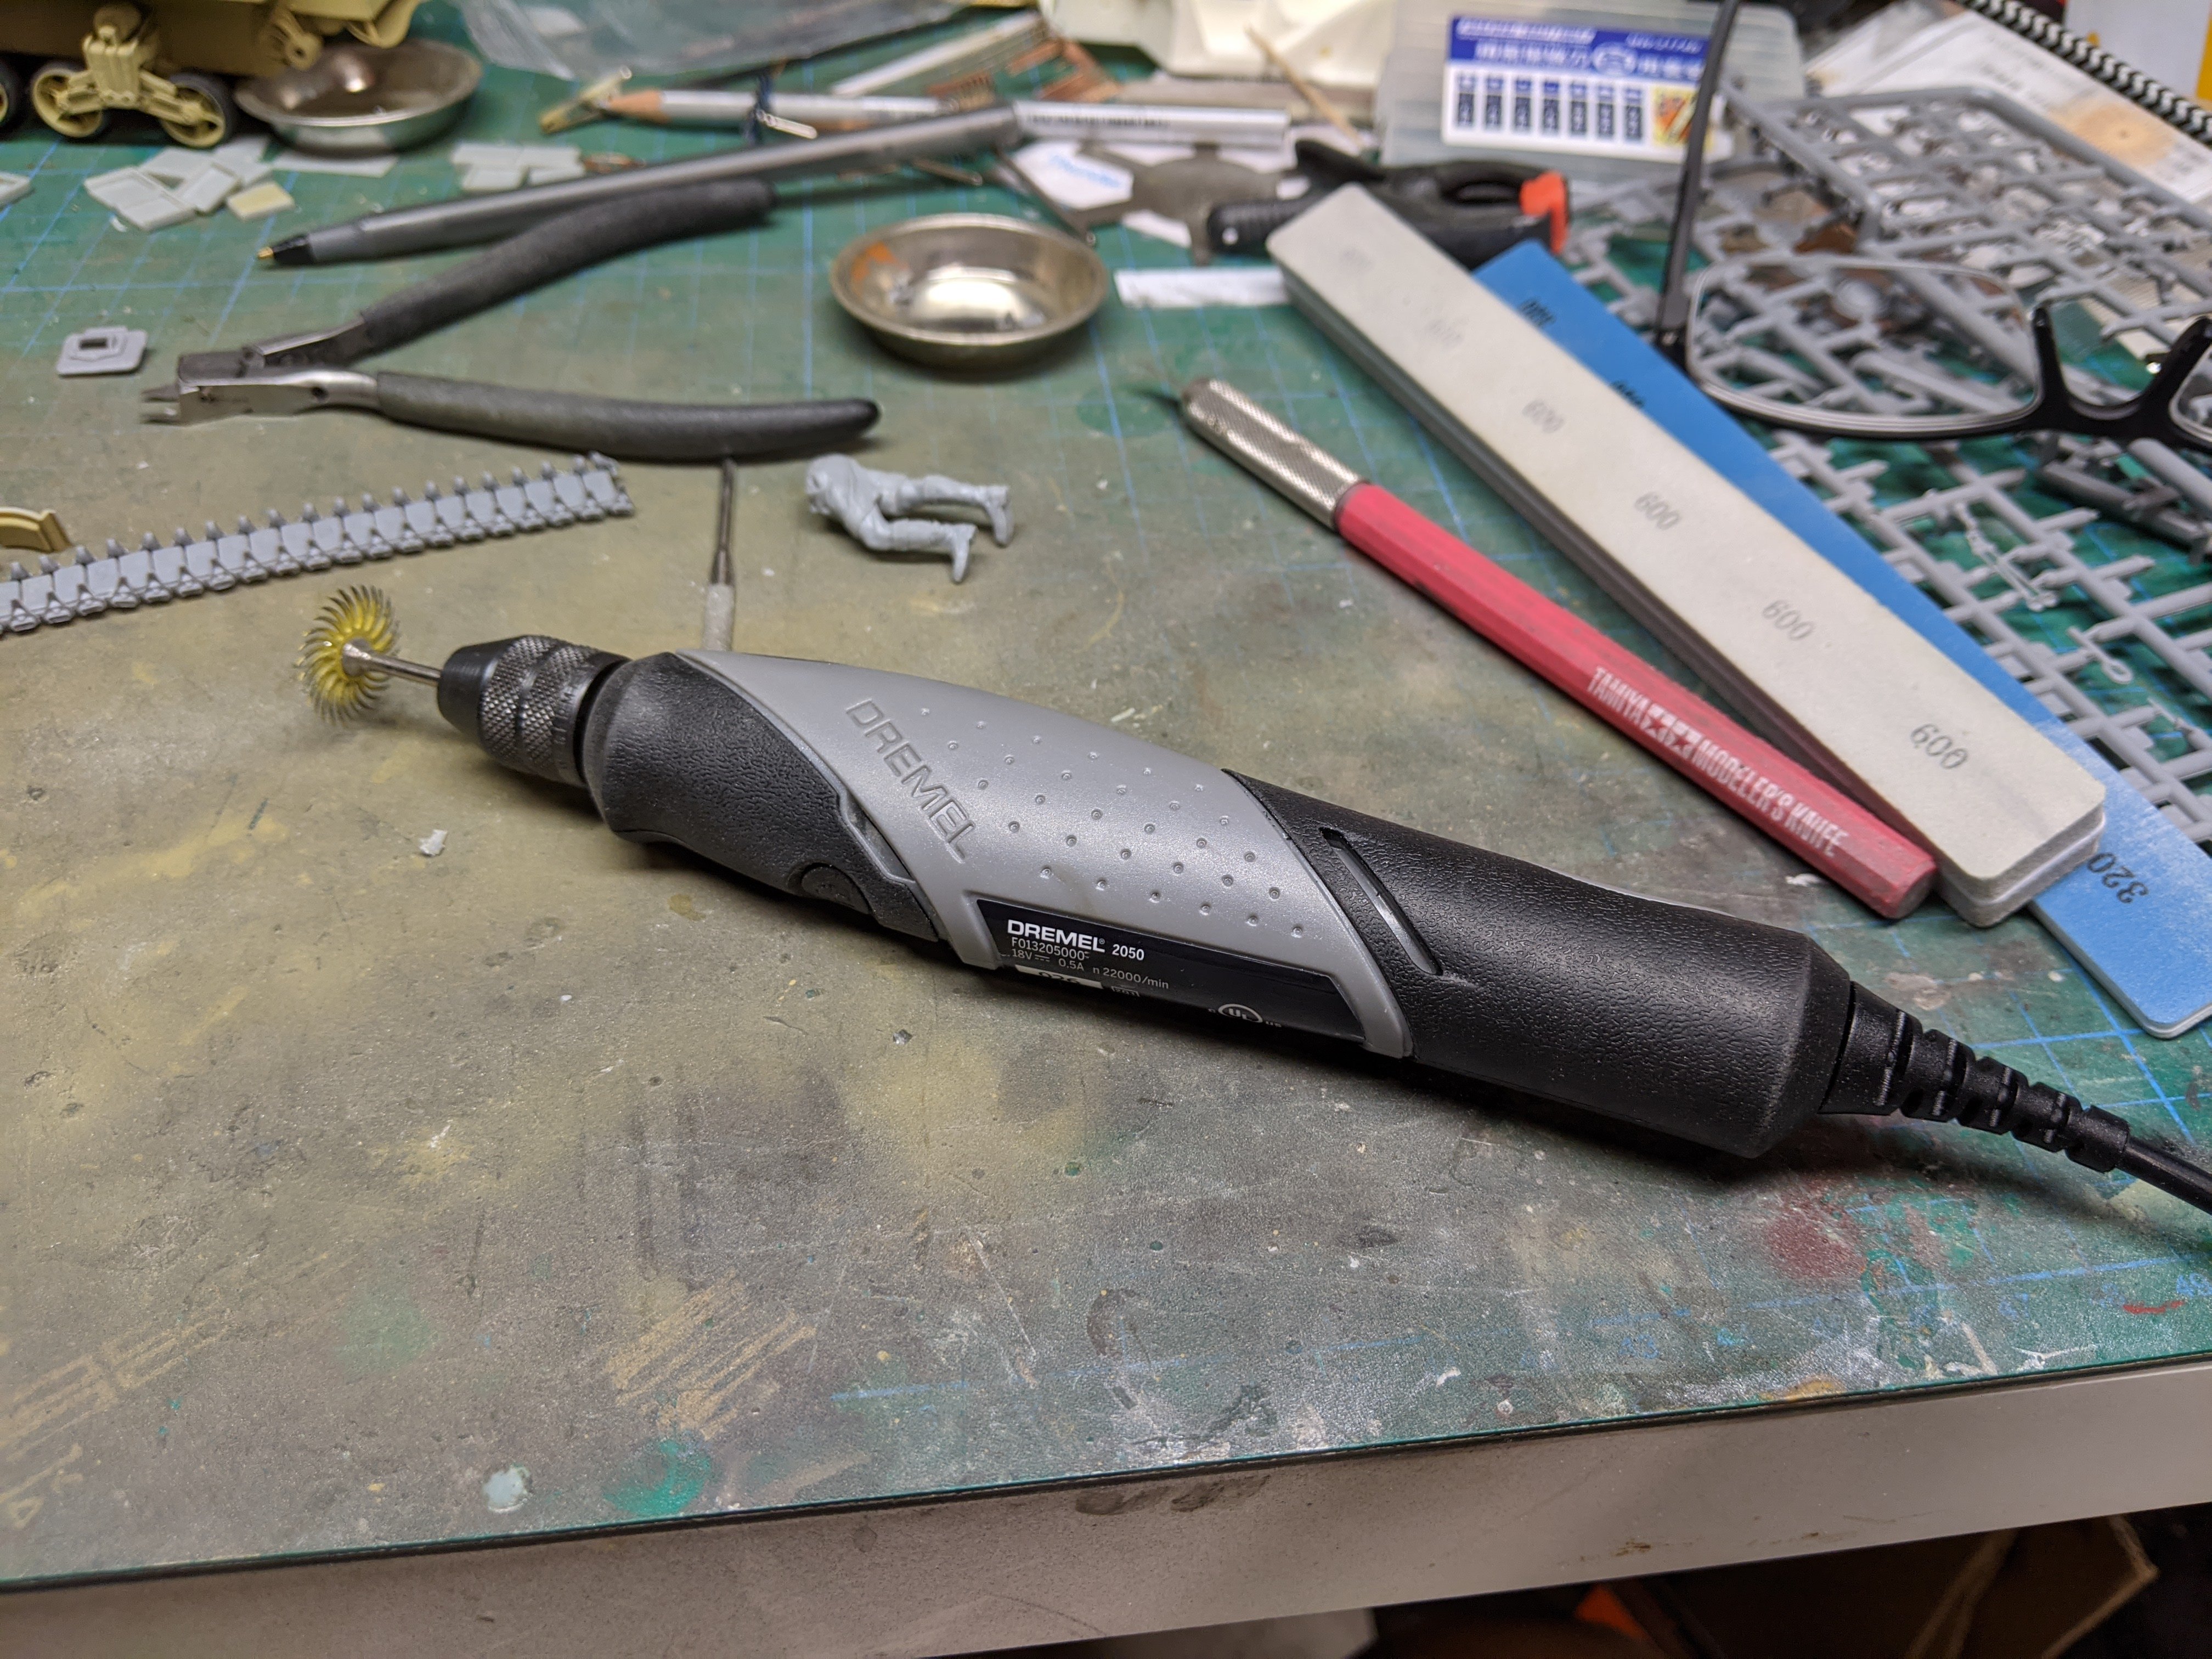
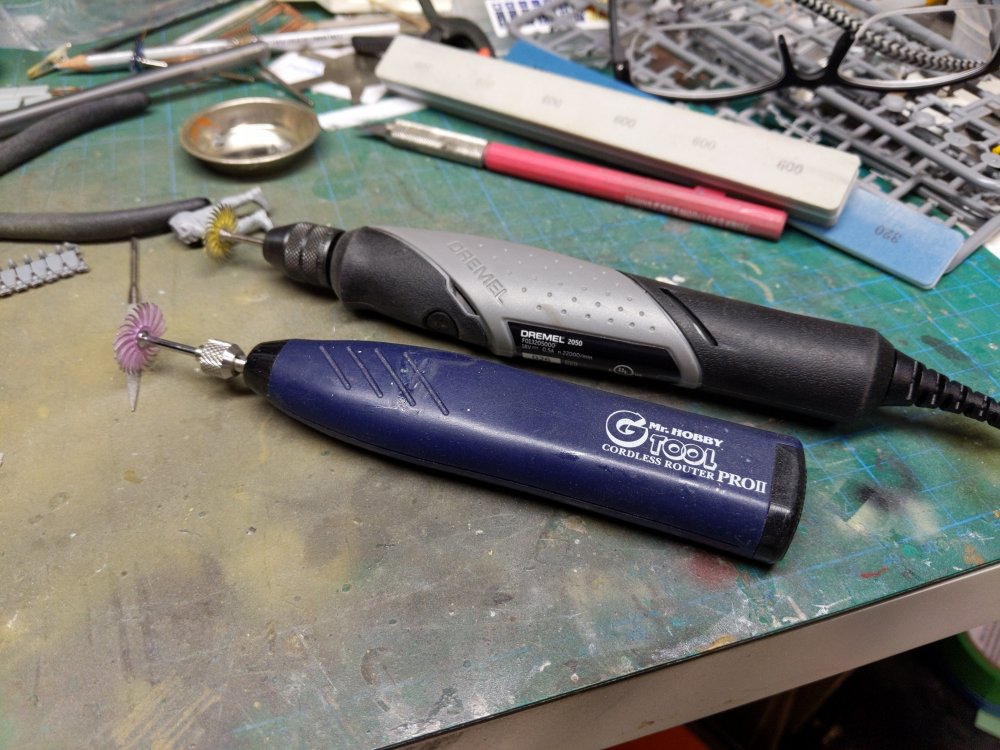
Finally got around to getting a new Dremel. Sue found my old one loud and somehow gave off an annoying vibration that she could feel on our second floor. My workbench is in the basement but she always knew when I would use it. So I switched to a small battery powered one made by Gunze. It's ok but didn't have the power to run for long periods of time. Here's the new one. It's actually not much bigger than the Gunze one. I did make a quick mod to the new Dremel. I replaced the standard collet which uses a wrench to tighten it for one that's adjustable. It's a miniature version of the ones on most drills. To make it work, I cut a small piece of 1/4 " diameter tubing to act as a spacer. Now I've got the perfect combination rotary tool as I can use both the Japanese bits and the US ones that I have.

-
Scammell tractor/trailer with M3 Grant
BlrwestSiR replied to BlrwestSiR's topic in LSM 1/35 and Larger Work In Progress
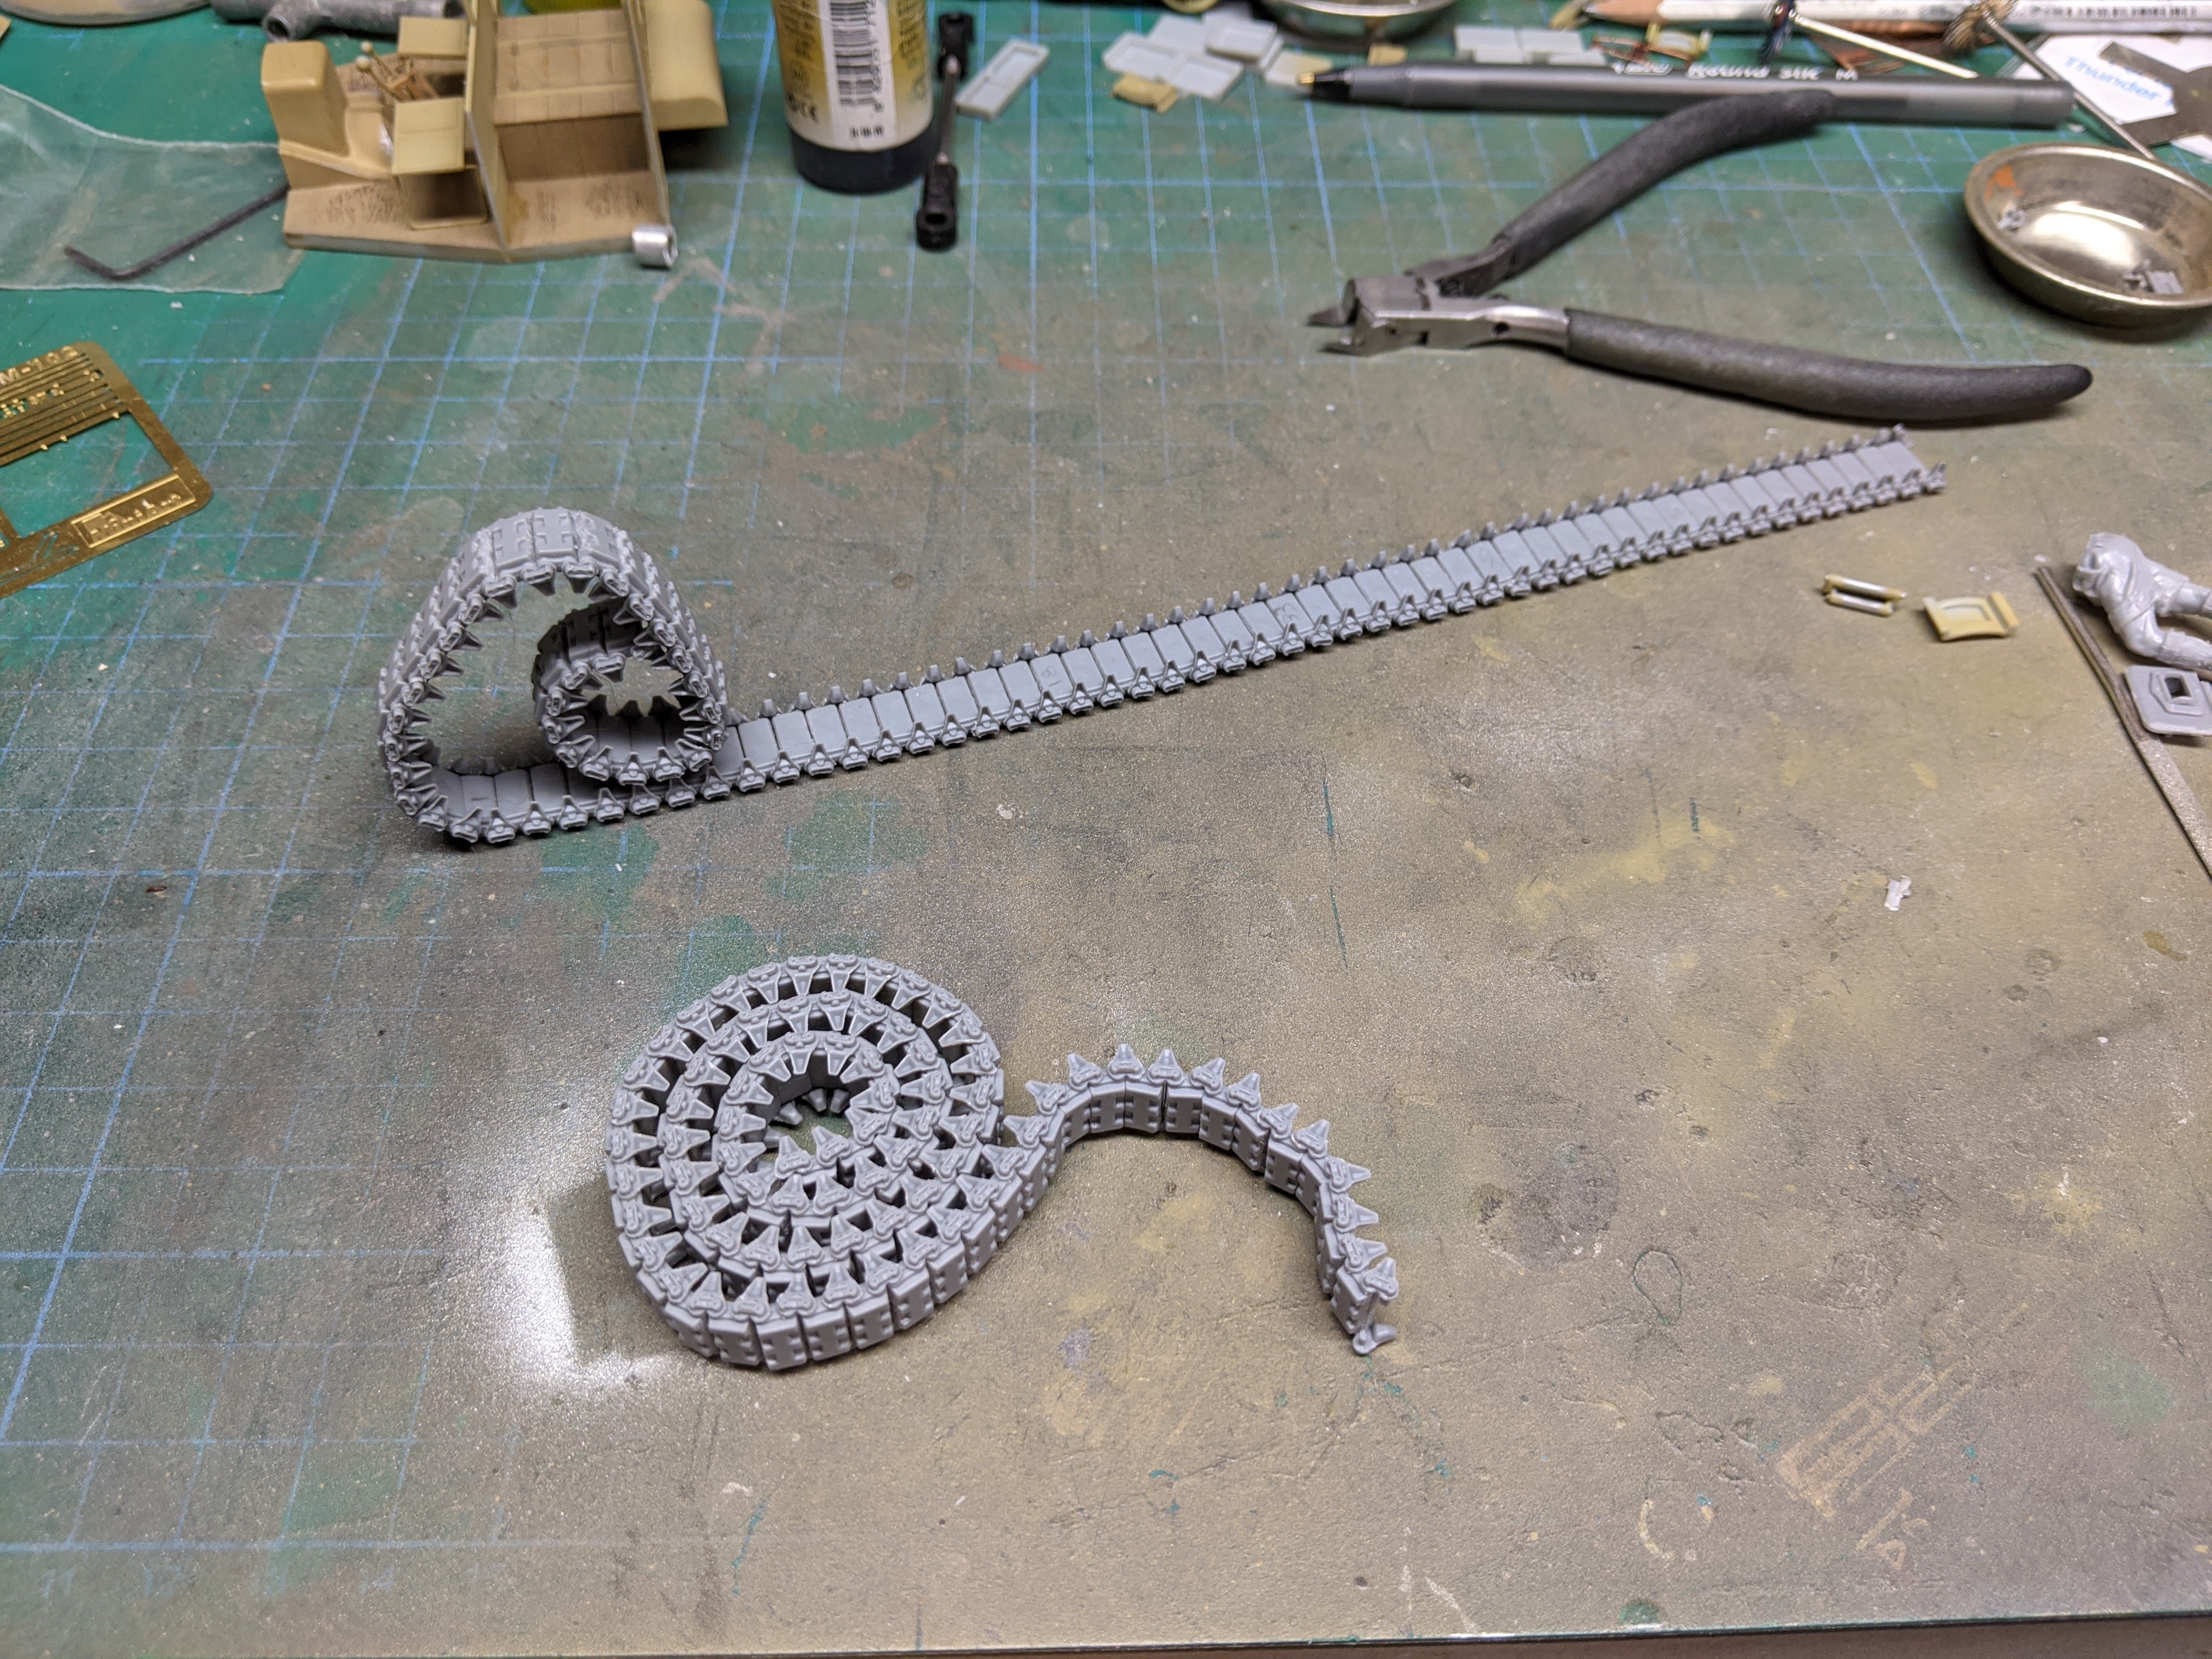
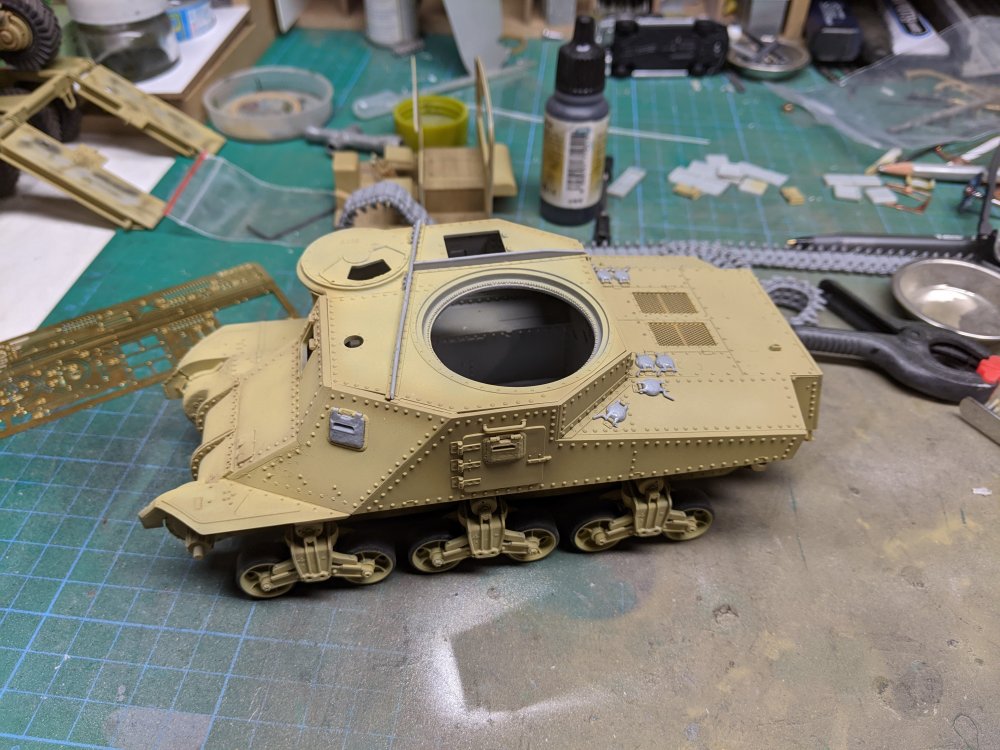
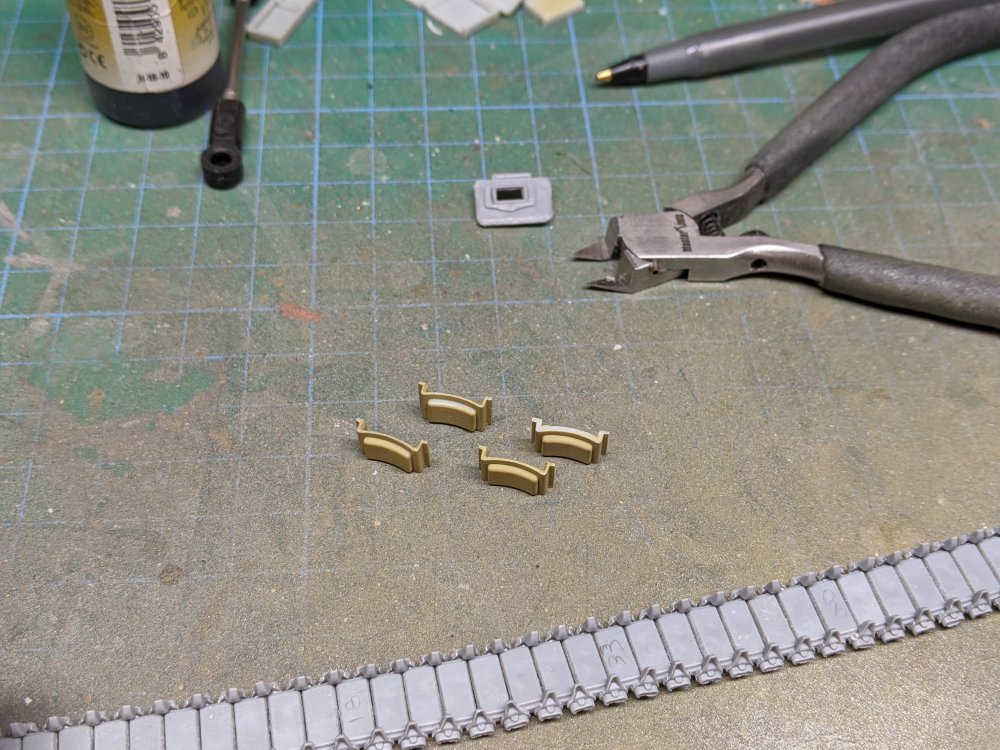
Spent a bit of time working on the Scammell. I got the shifter and shift gate installed. Talk about fiddly. Then the base for the driver's seat. For the backrests, I decided to thin them out a bit as the support frame looks a bit thick. The three I've done are on the left compared to the stock one on the right. Turning to the Grant, I've added some of the hull details. I also finished building the second run of tracks.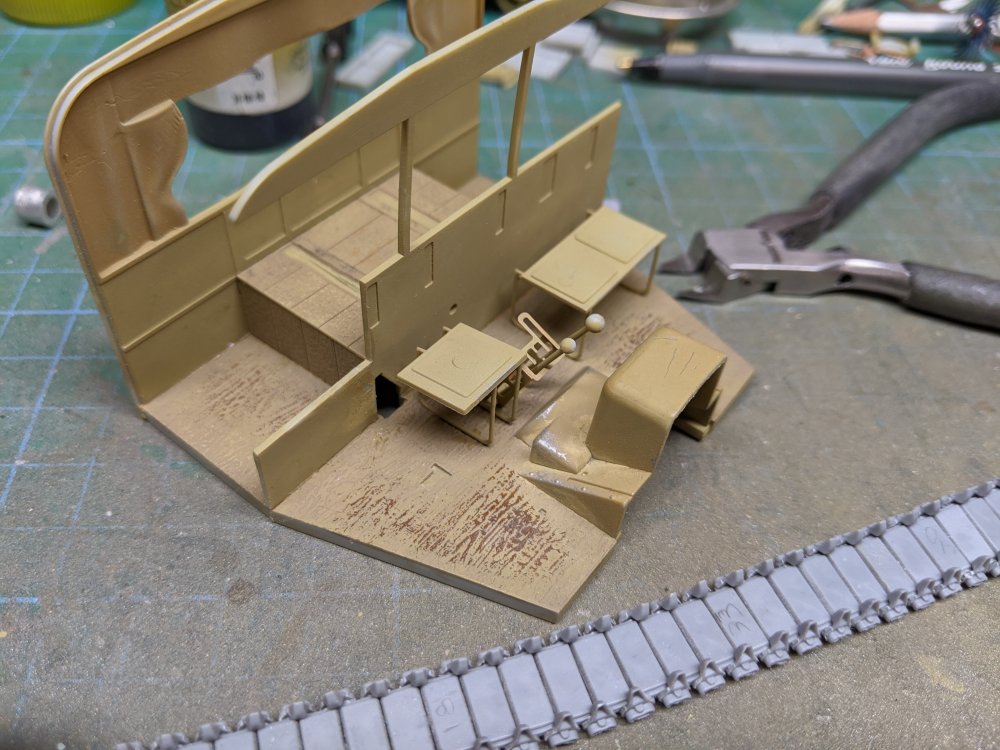

-
HK Models Do-335 A-12
BlrwestSiR replied to JeroenPeters's topic in LSM 1/35 and Larger Work In Progress
Those belts are awesome. -
HK Models Do-335 A-12
BlrwestSiR replied to JeroenPeters's topic in LSM 1/35 and Larger Work In Progress
Really nice. -
Yup, the Black Sun kit in 1/72 I've got it in the stash. Somewhere...
-
HK Models 1/32 Lancaster Hints, Tweaks and Tips,
BlrwestSiR replied to NigelR32's topic in Modelling Discussion
Aerocraft has just released a set of brass undercarriage for the Lanc. https://aerocraftmodels.bigcartel.com/product/avro-lancaster-undercarriage-set-for-the-hong-kong-model-kits They sure are purdy. Carl -
Das Kamel - Hansa Brandenburg W.12
BlrwestSiR replied to DocRob's topic in LSM 1/35 and Larger Work In Progress
That bit of work on the springs does make a difference. Do you know what the diameter is for that part? I may have some springs that small. -
No, Goose was taking the Polaroid. And he hates it when "She's lost that Lovin' Feeling" There's also this recent figure release: https://www.hobbyeasy.com/en/data/o9lgmituqcaacmepmjka.html
-
In that case, don't forget to have Maverick flipping the bird.
-
For a moment I thought you were going to be building two of them at the same time as I saw your new WIP first. Carl
-
Those are definitely a different shape compared to the Merlin ones on the Lanc. How do you cut such thick plastic sheet so cleanly?
-
Harv, some is about the same for softness but that's fine as they're thin arms, like the ends of a away bar. Will make it easier to tweak their fit The actual suspension A arms are quite rigid and I don't see any sag issues happening.
- 31 replies
-
- 3
-

-

-
- model factory hiro
- mclaren
- (and 1 more)
-
Tough call. Their 917 is a gorgeous kit. I picked up a different vintage Porsche from them in 1/12.
- 31 replies
-
- 3
-
-
-
- model factory hiro
- mclaren
- (and 1 more)
-
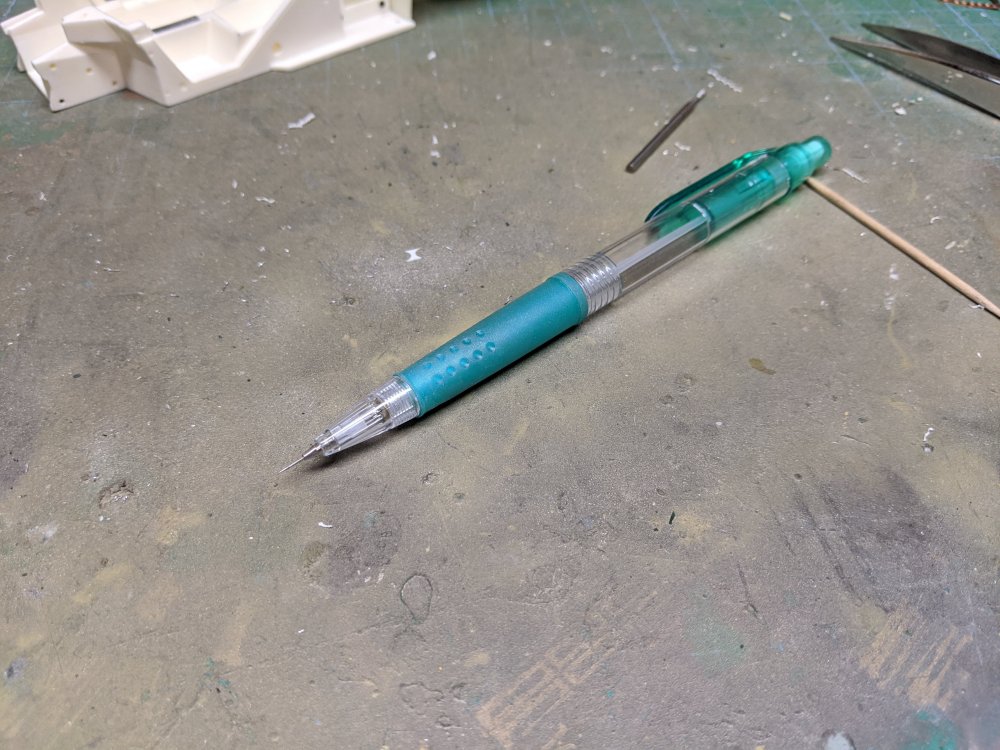
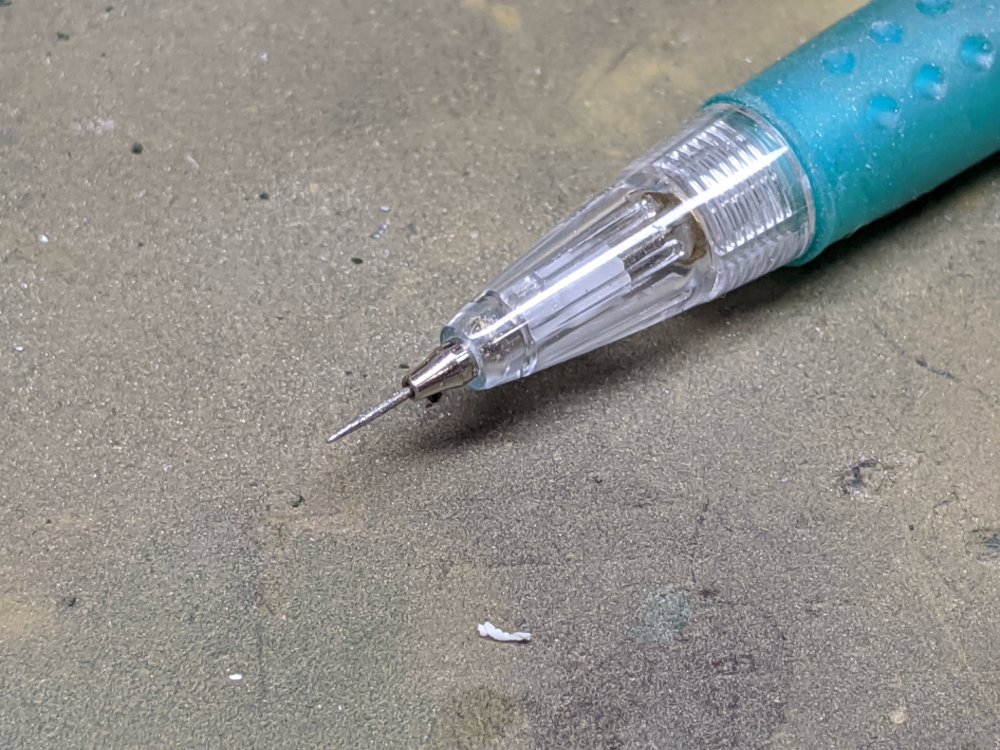
Those look cool. I think I bought this to go with my other sanding pencils (for want of a better term). They're like the fibreglass pens but a much smaller tip and come in various grits.
- 31 replies
-
- 2
-
-
- model factory hiro
- mclaren
- (and 1 more)
-
I don't remember where I got it from. In fact, I'd forgotten about it completely.
- 31 replies
-
- 3
-
-
- model factory hiro
- mclaren
- (and 1 more)
-
Das Kamel - Hansa Brandenburg W.12
BlrwestSiR replied to DocRob's topic in LSM 1/35 and Larger Work In Progress
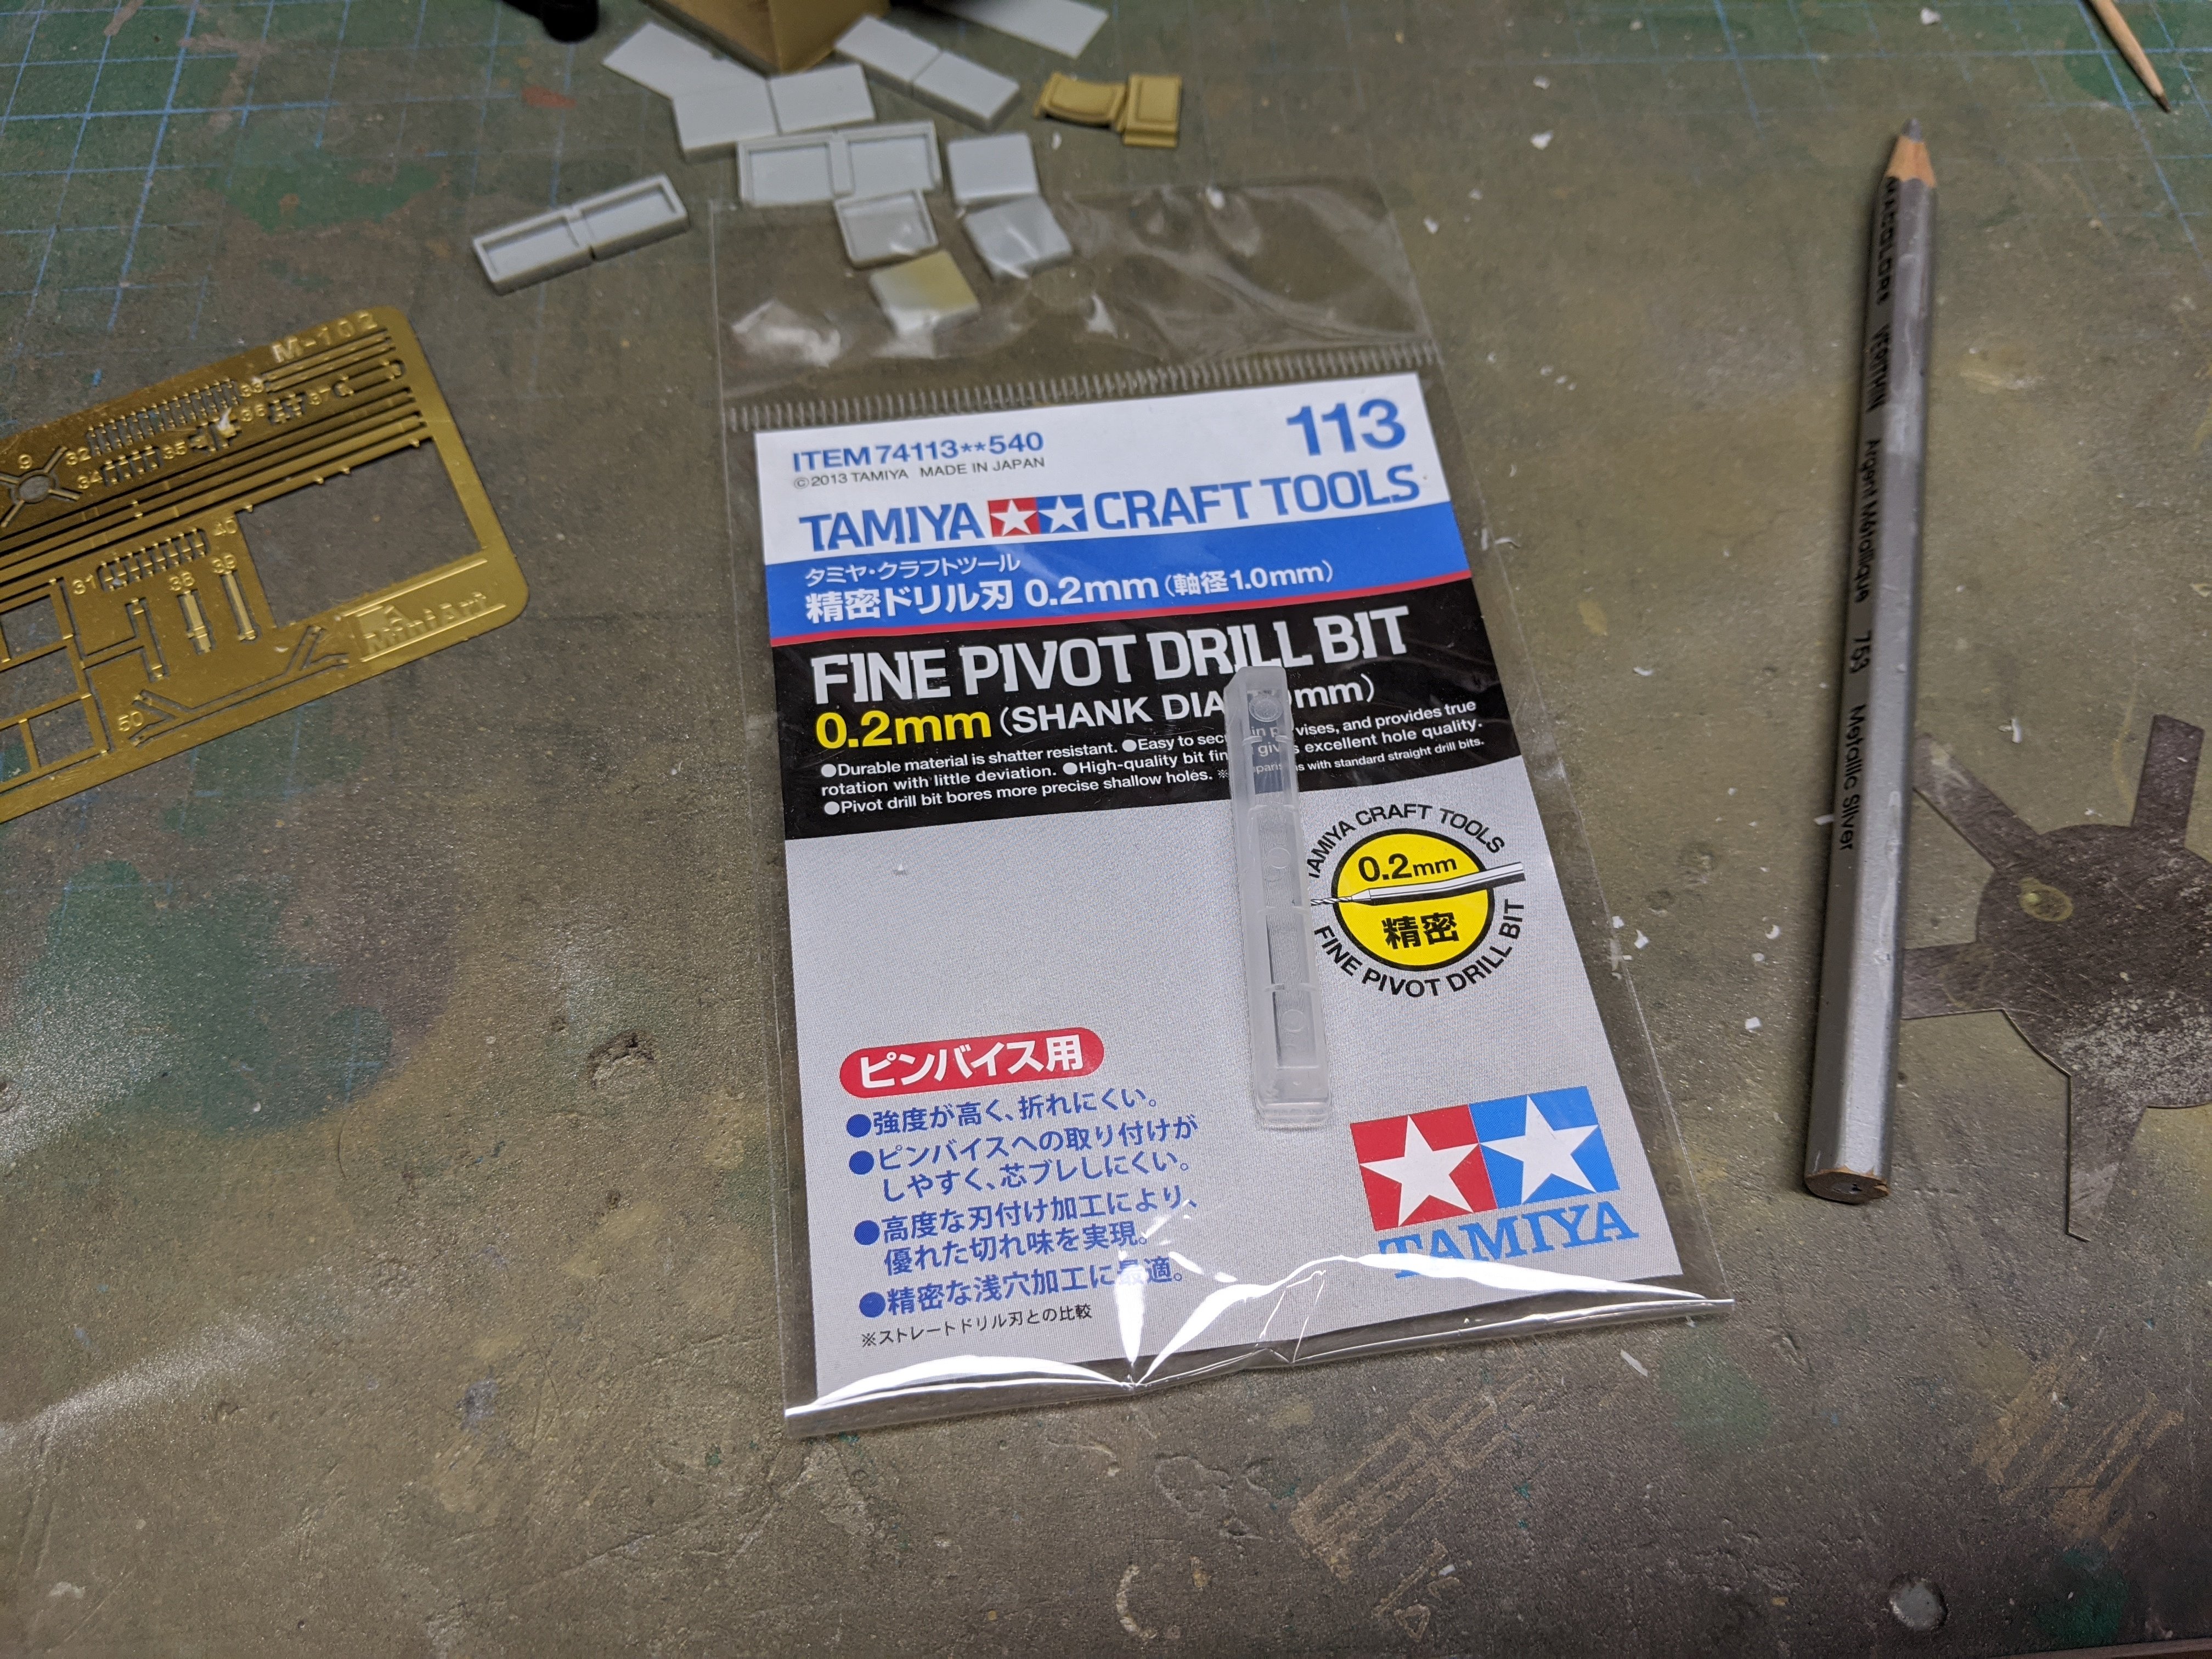
Rob, Tamiya makes some drill bits that might be what you're looking for. Carl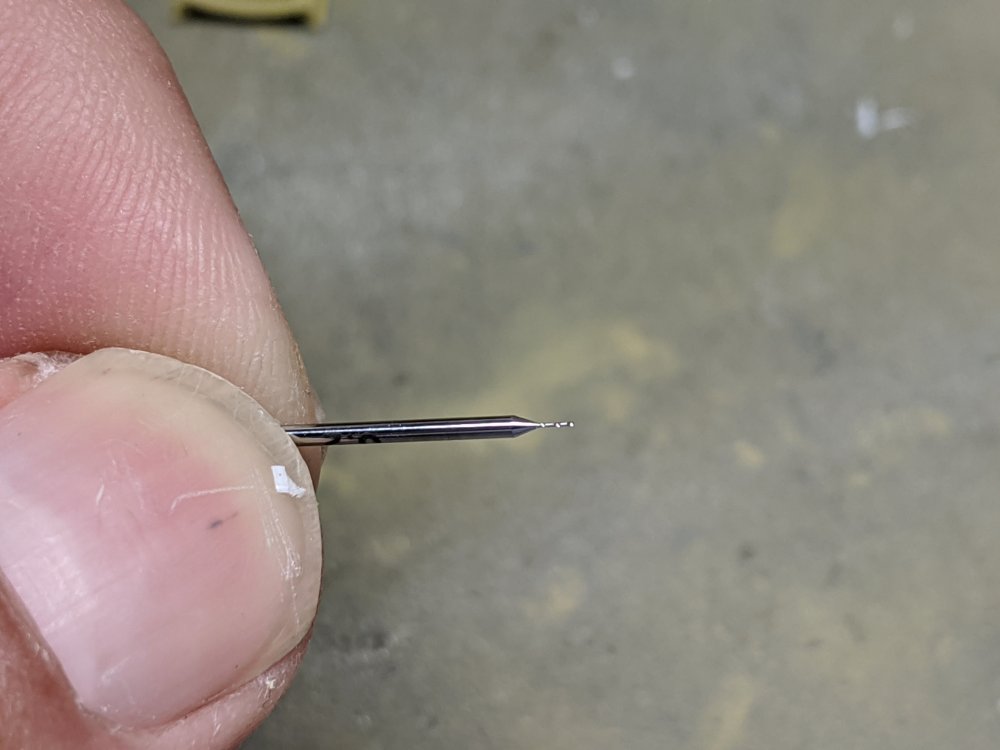

-
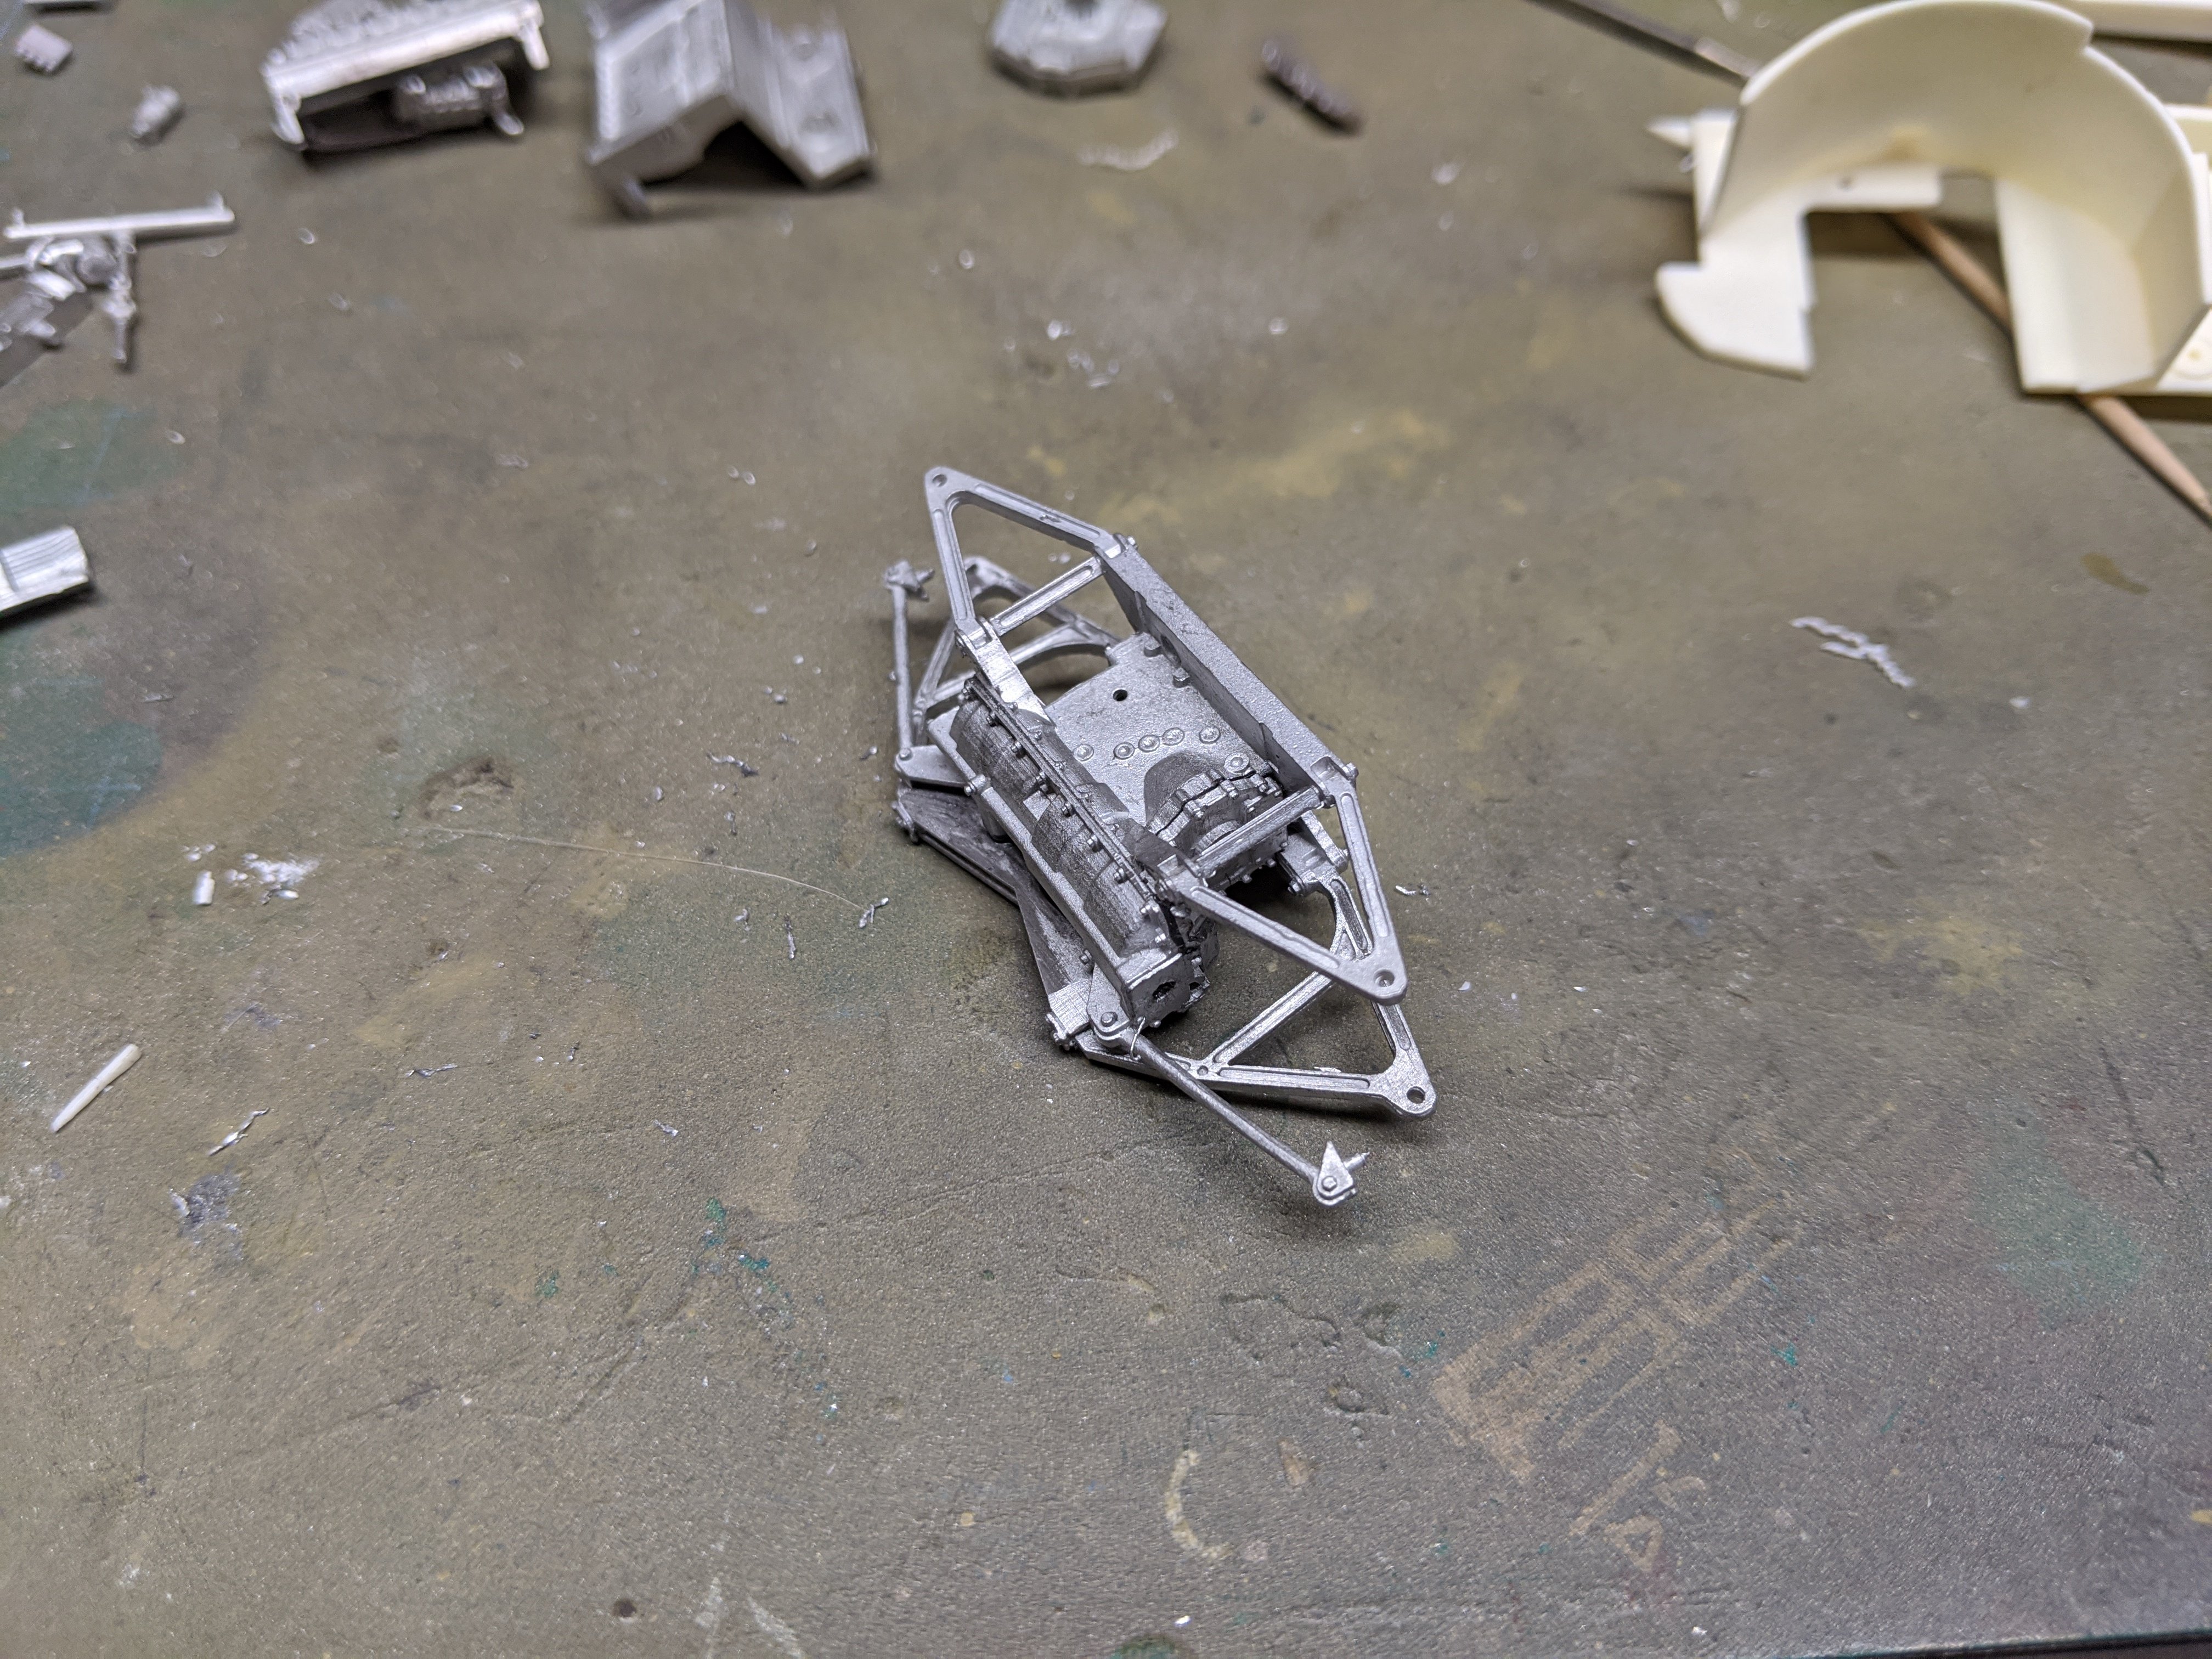
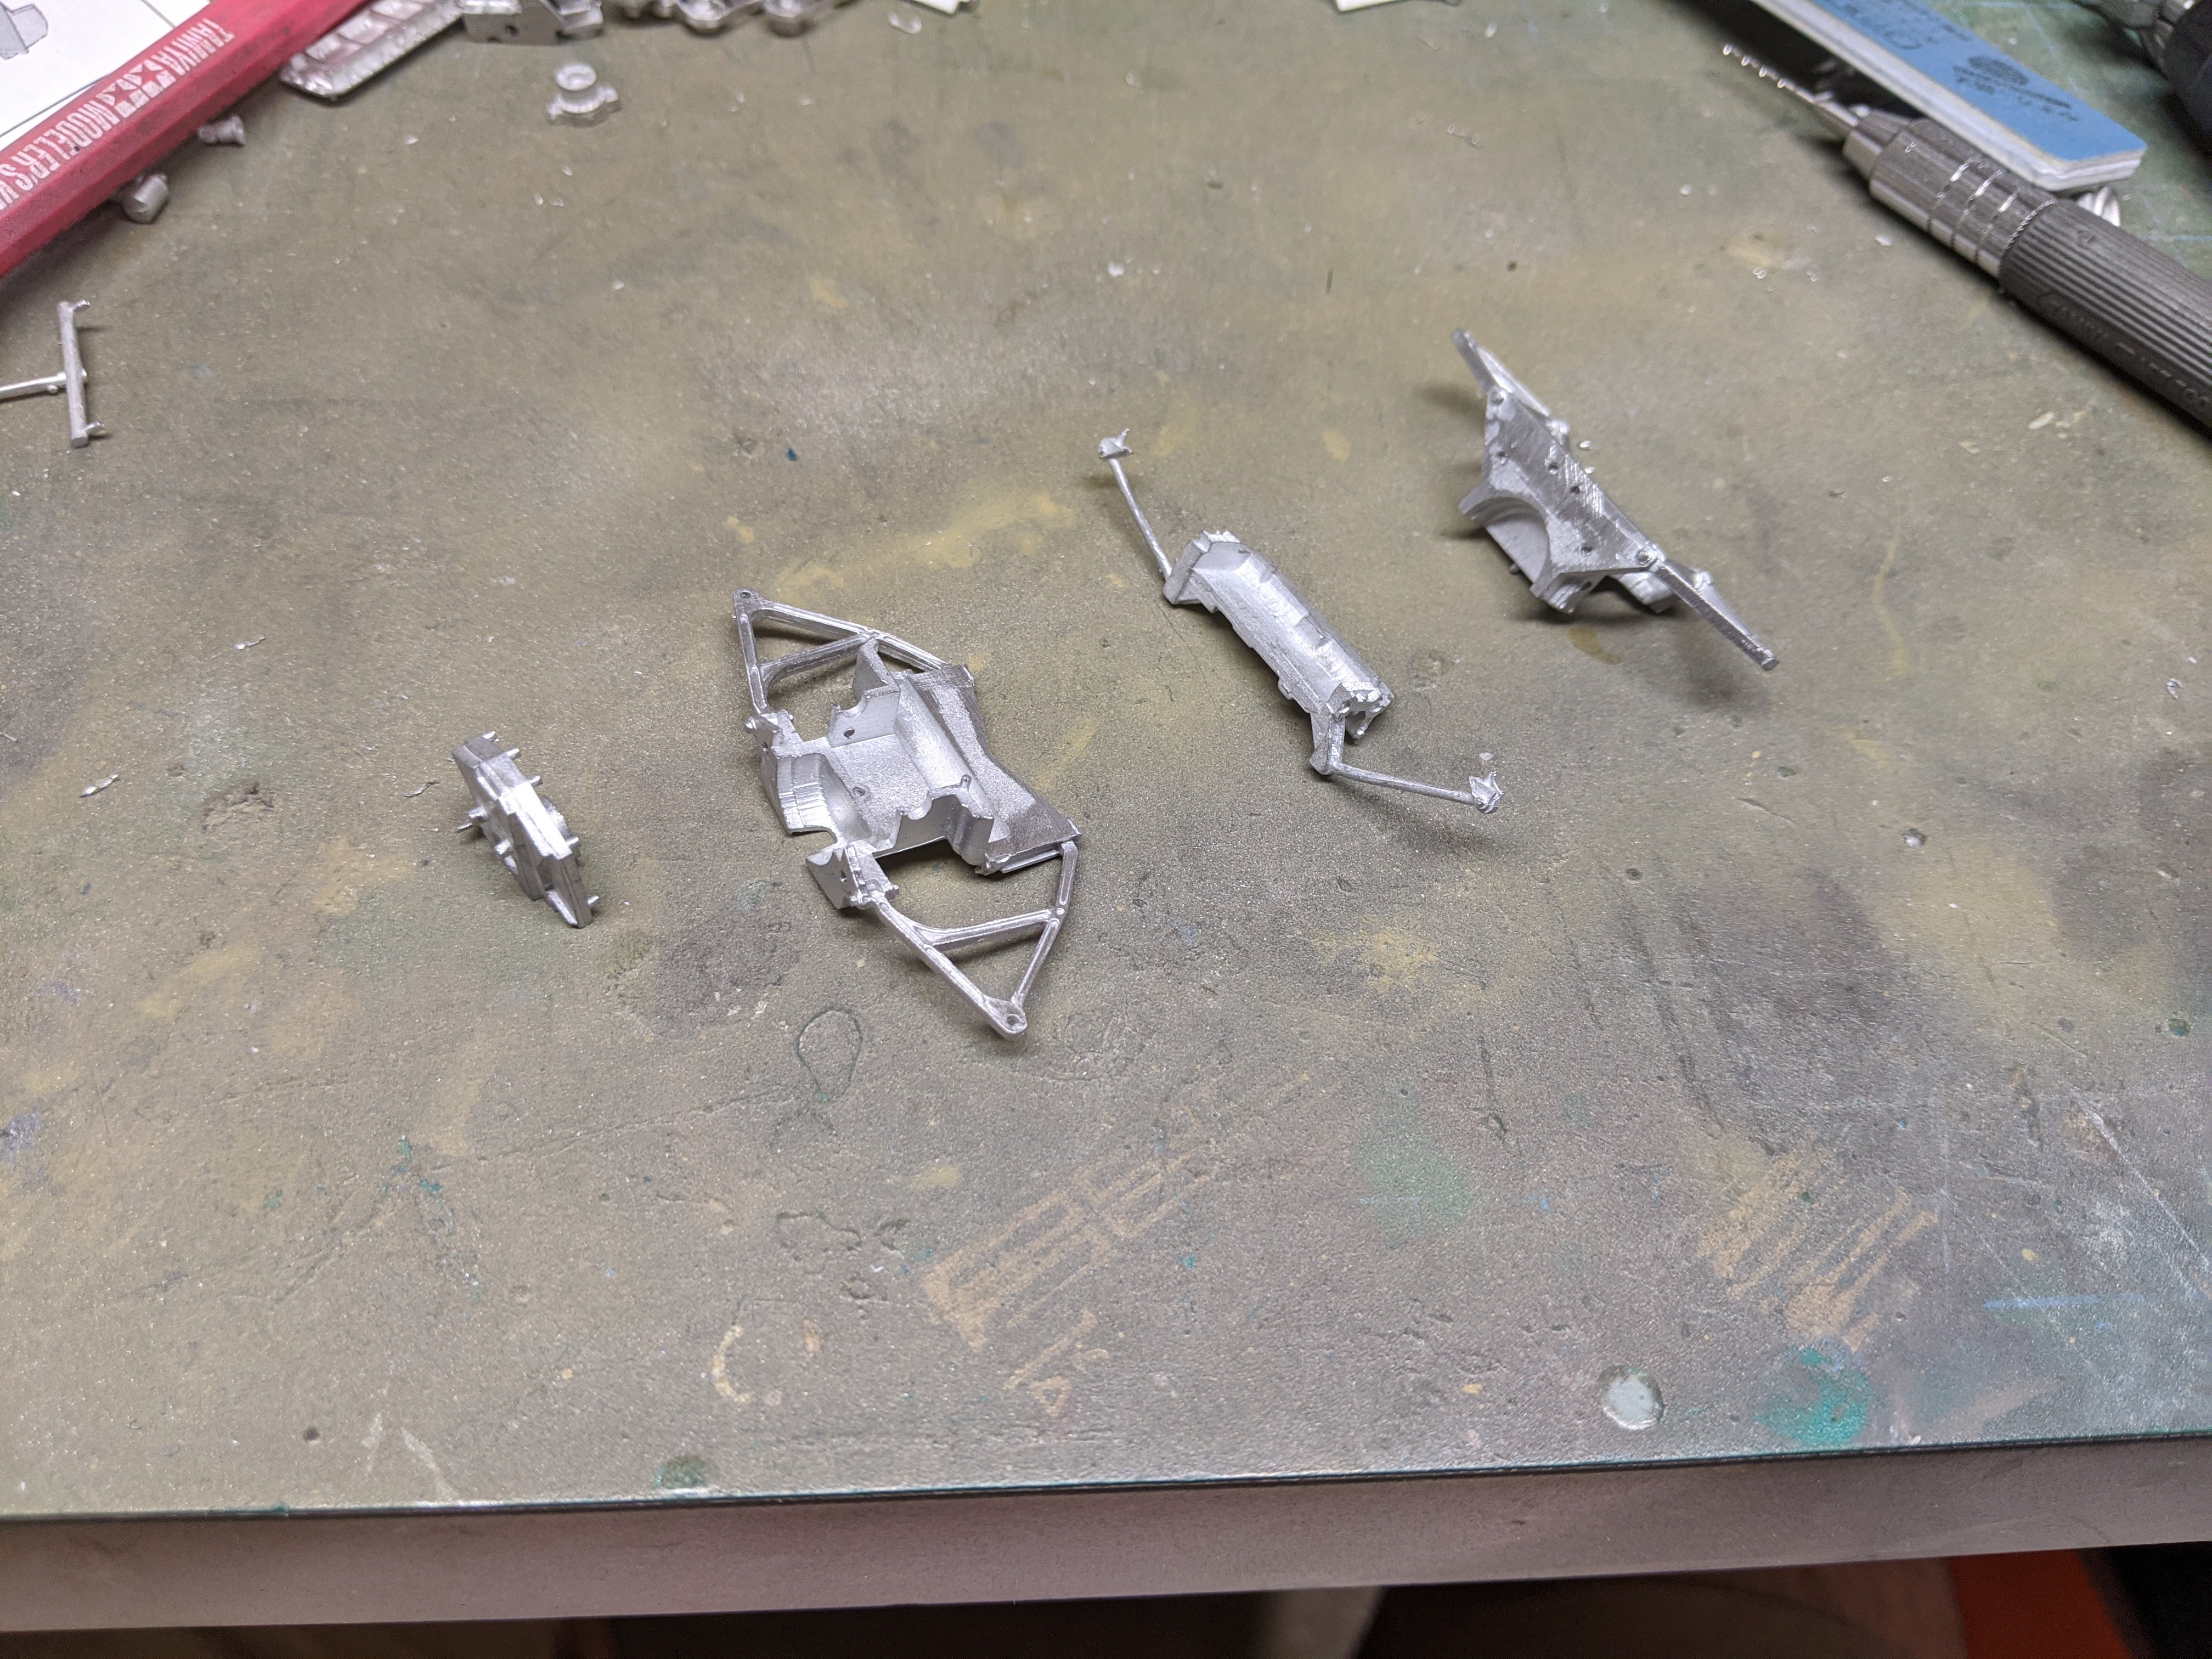
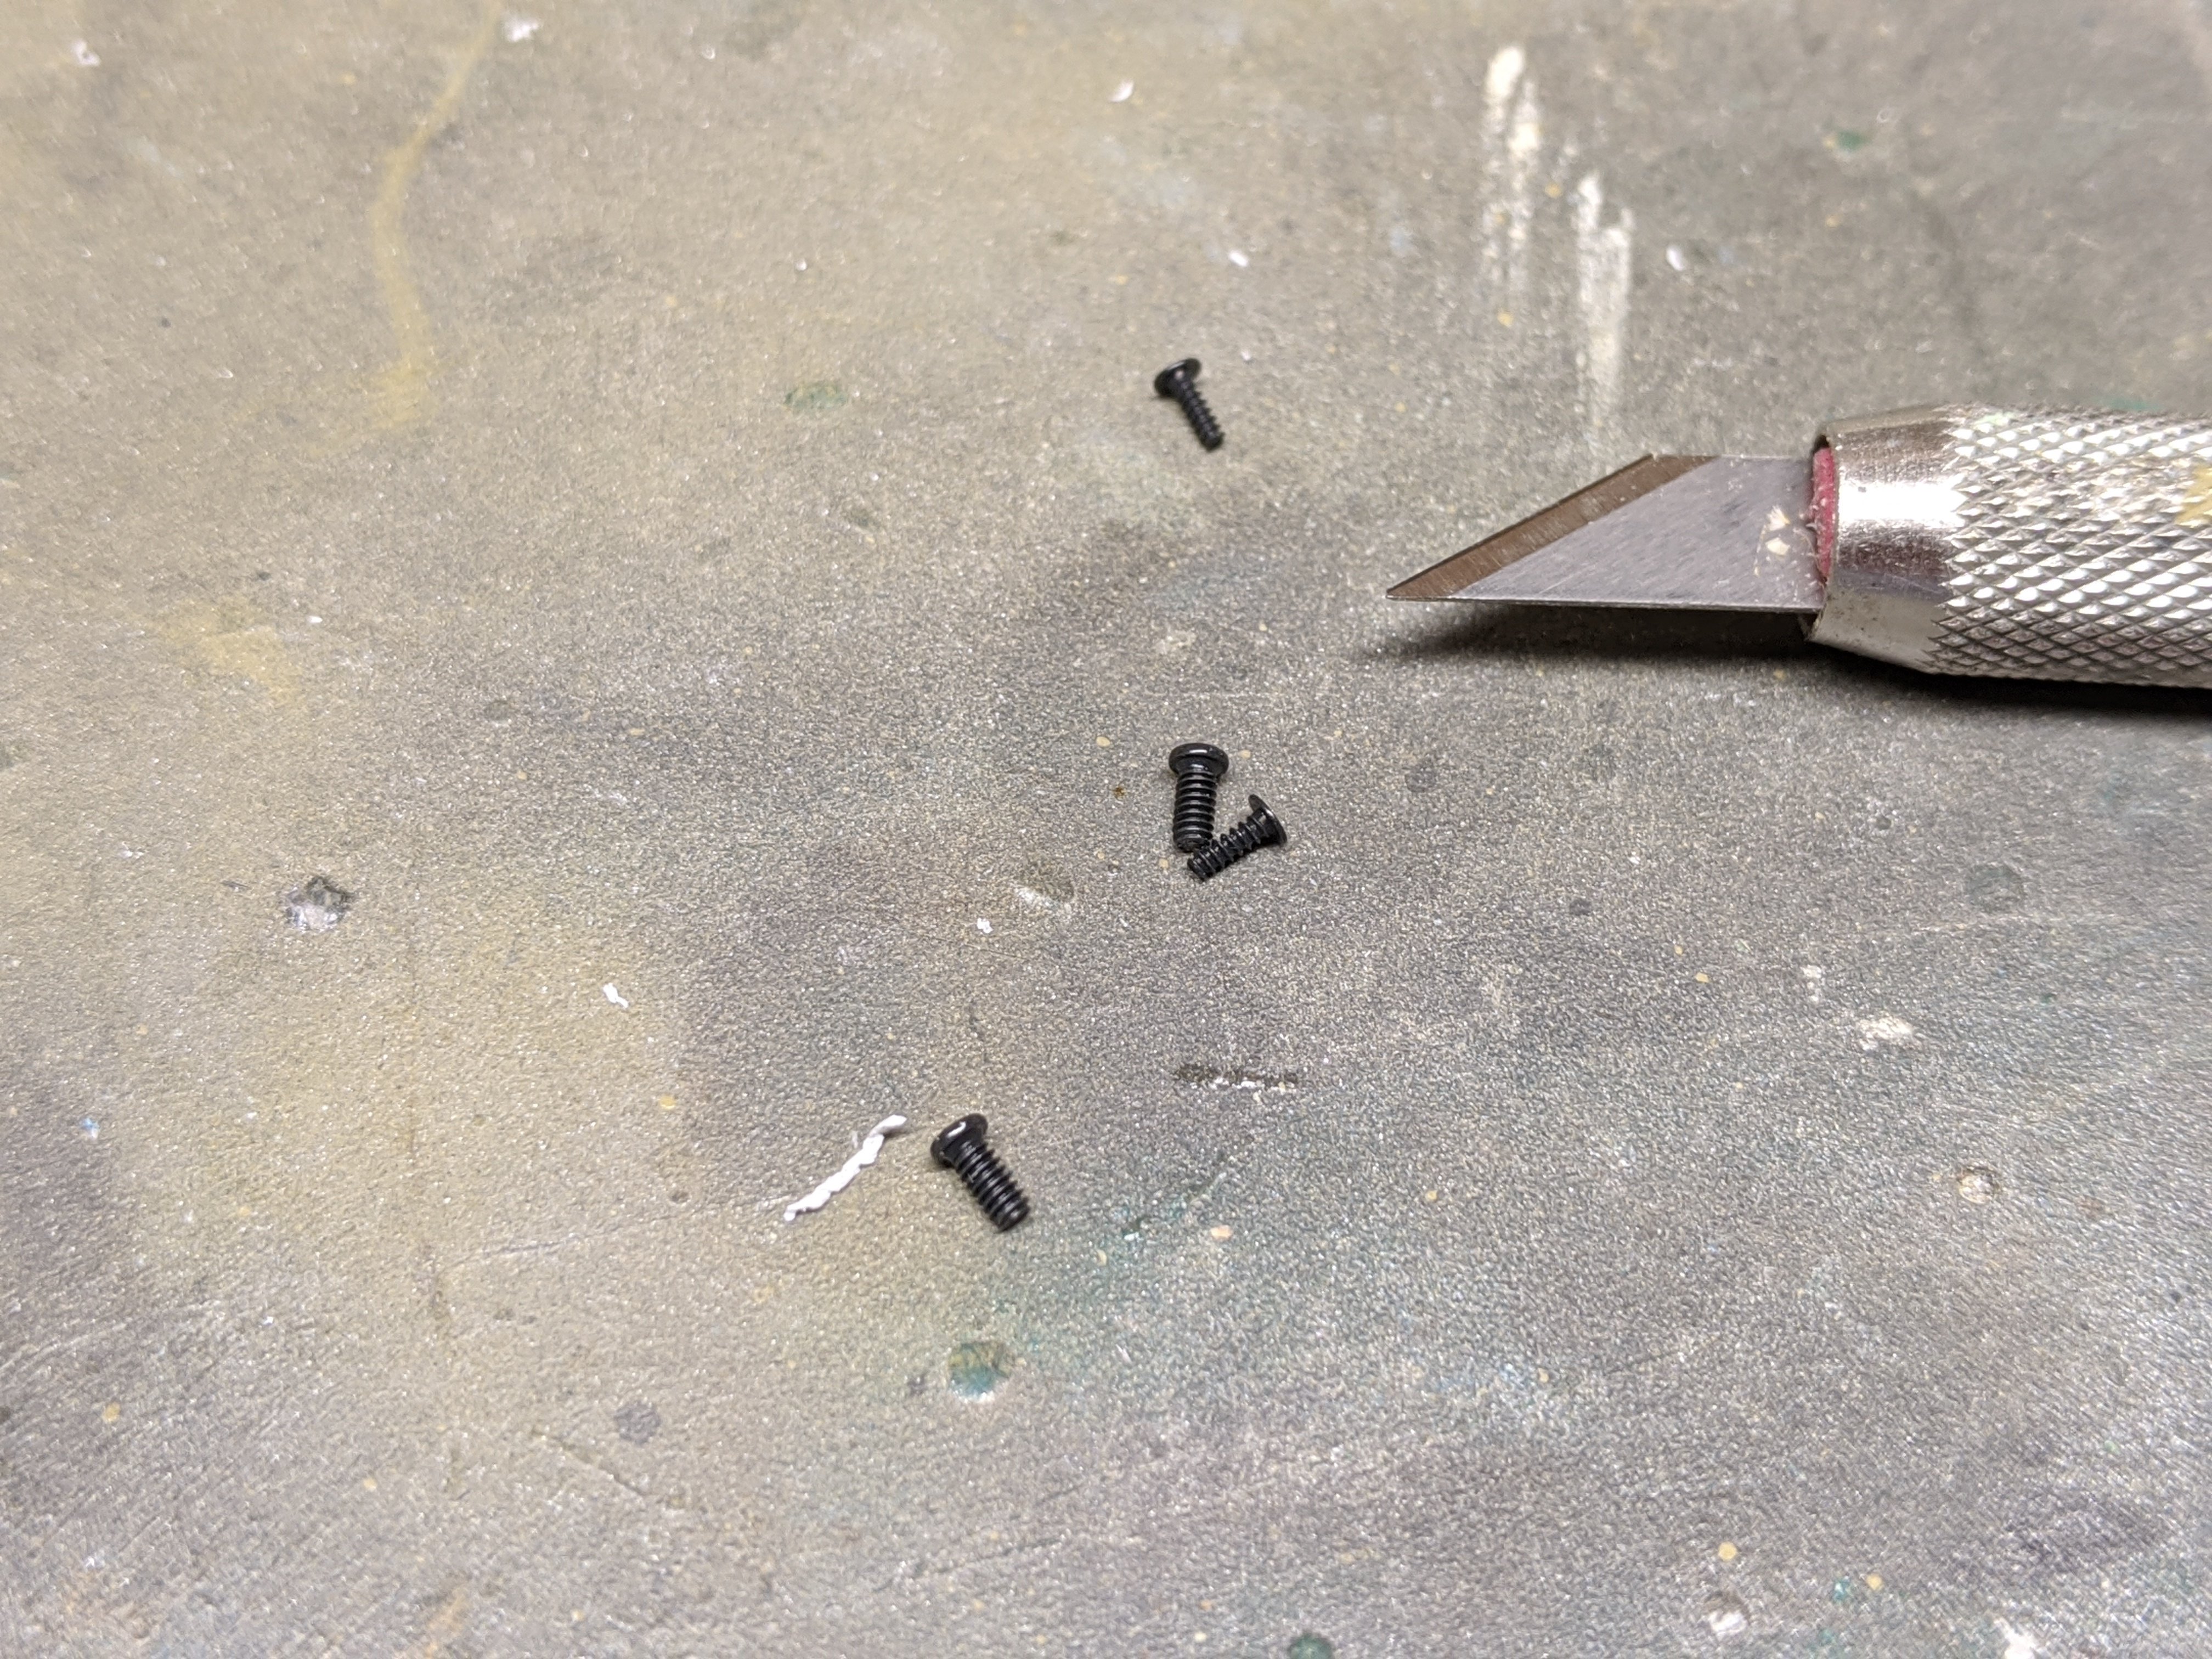
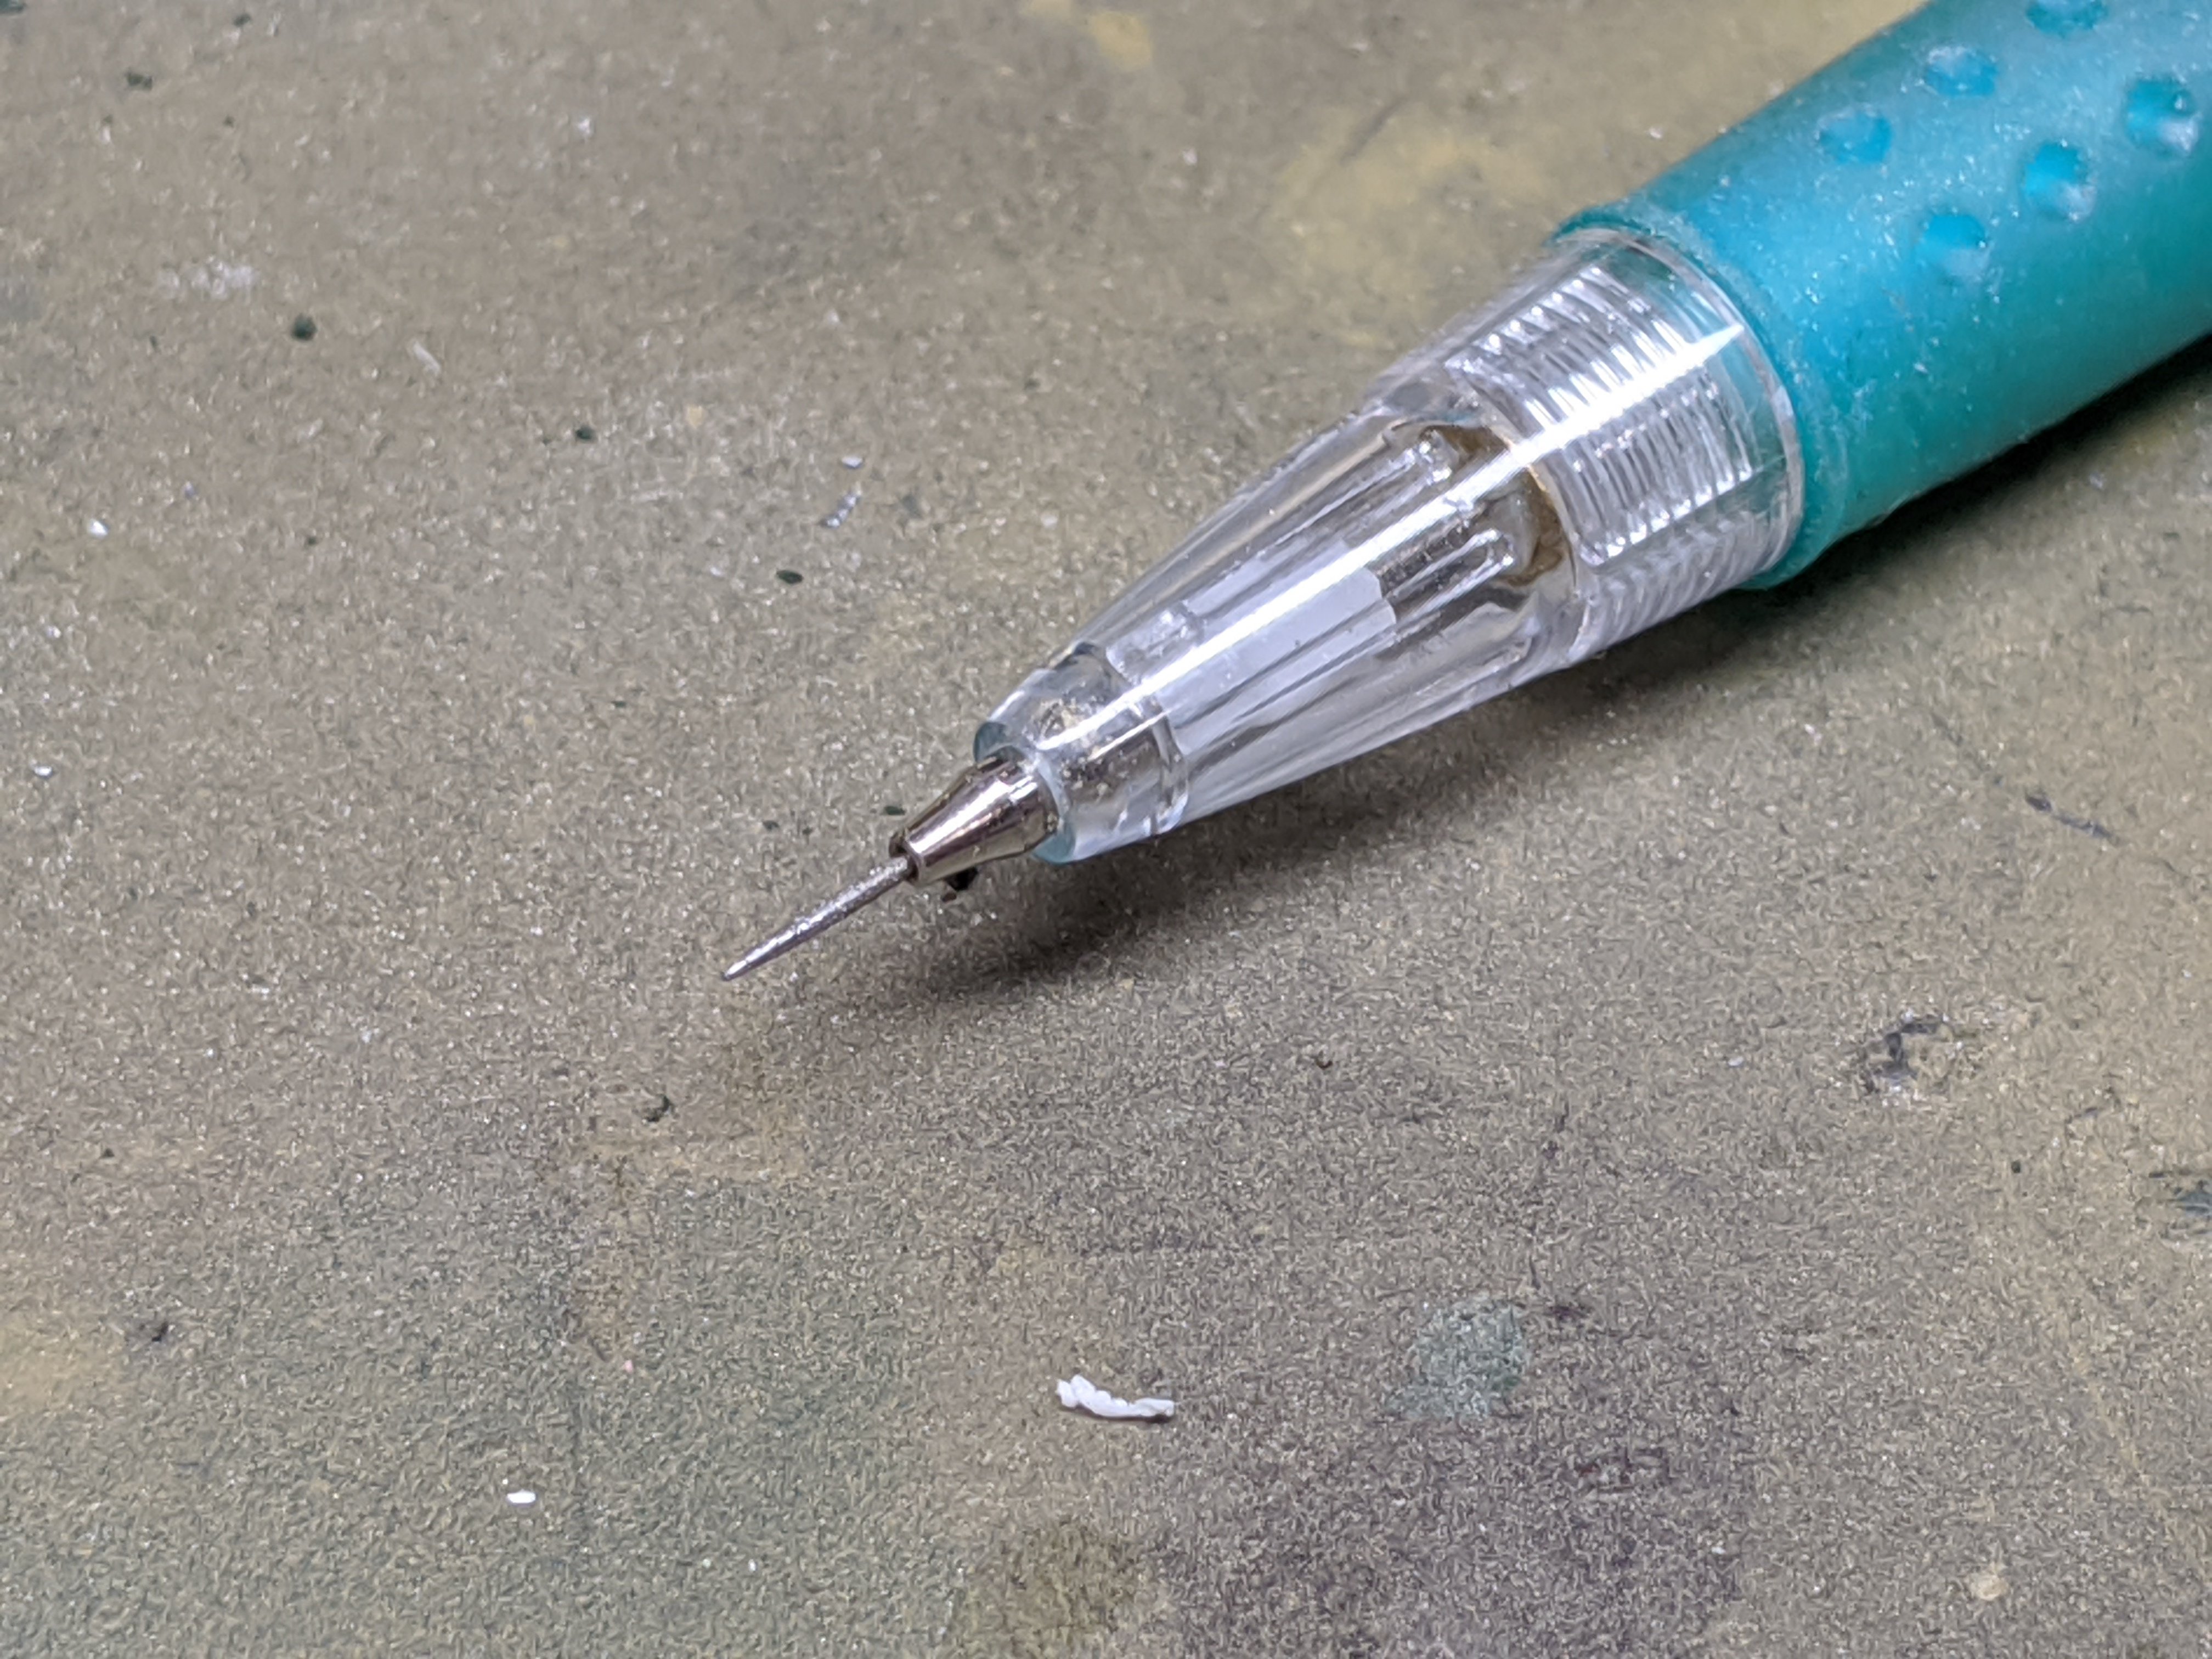
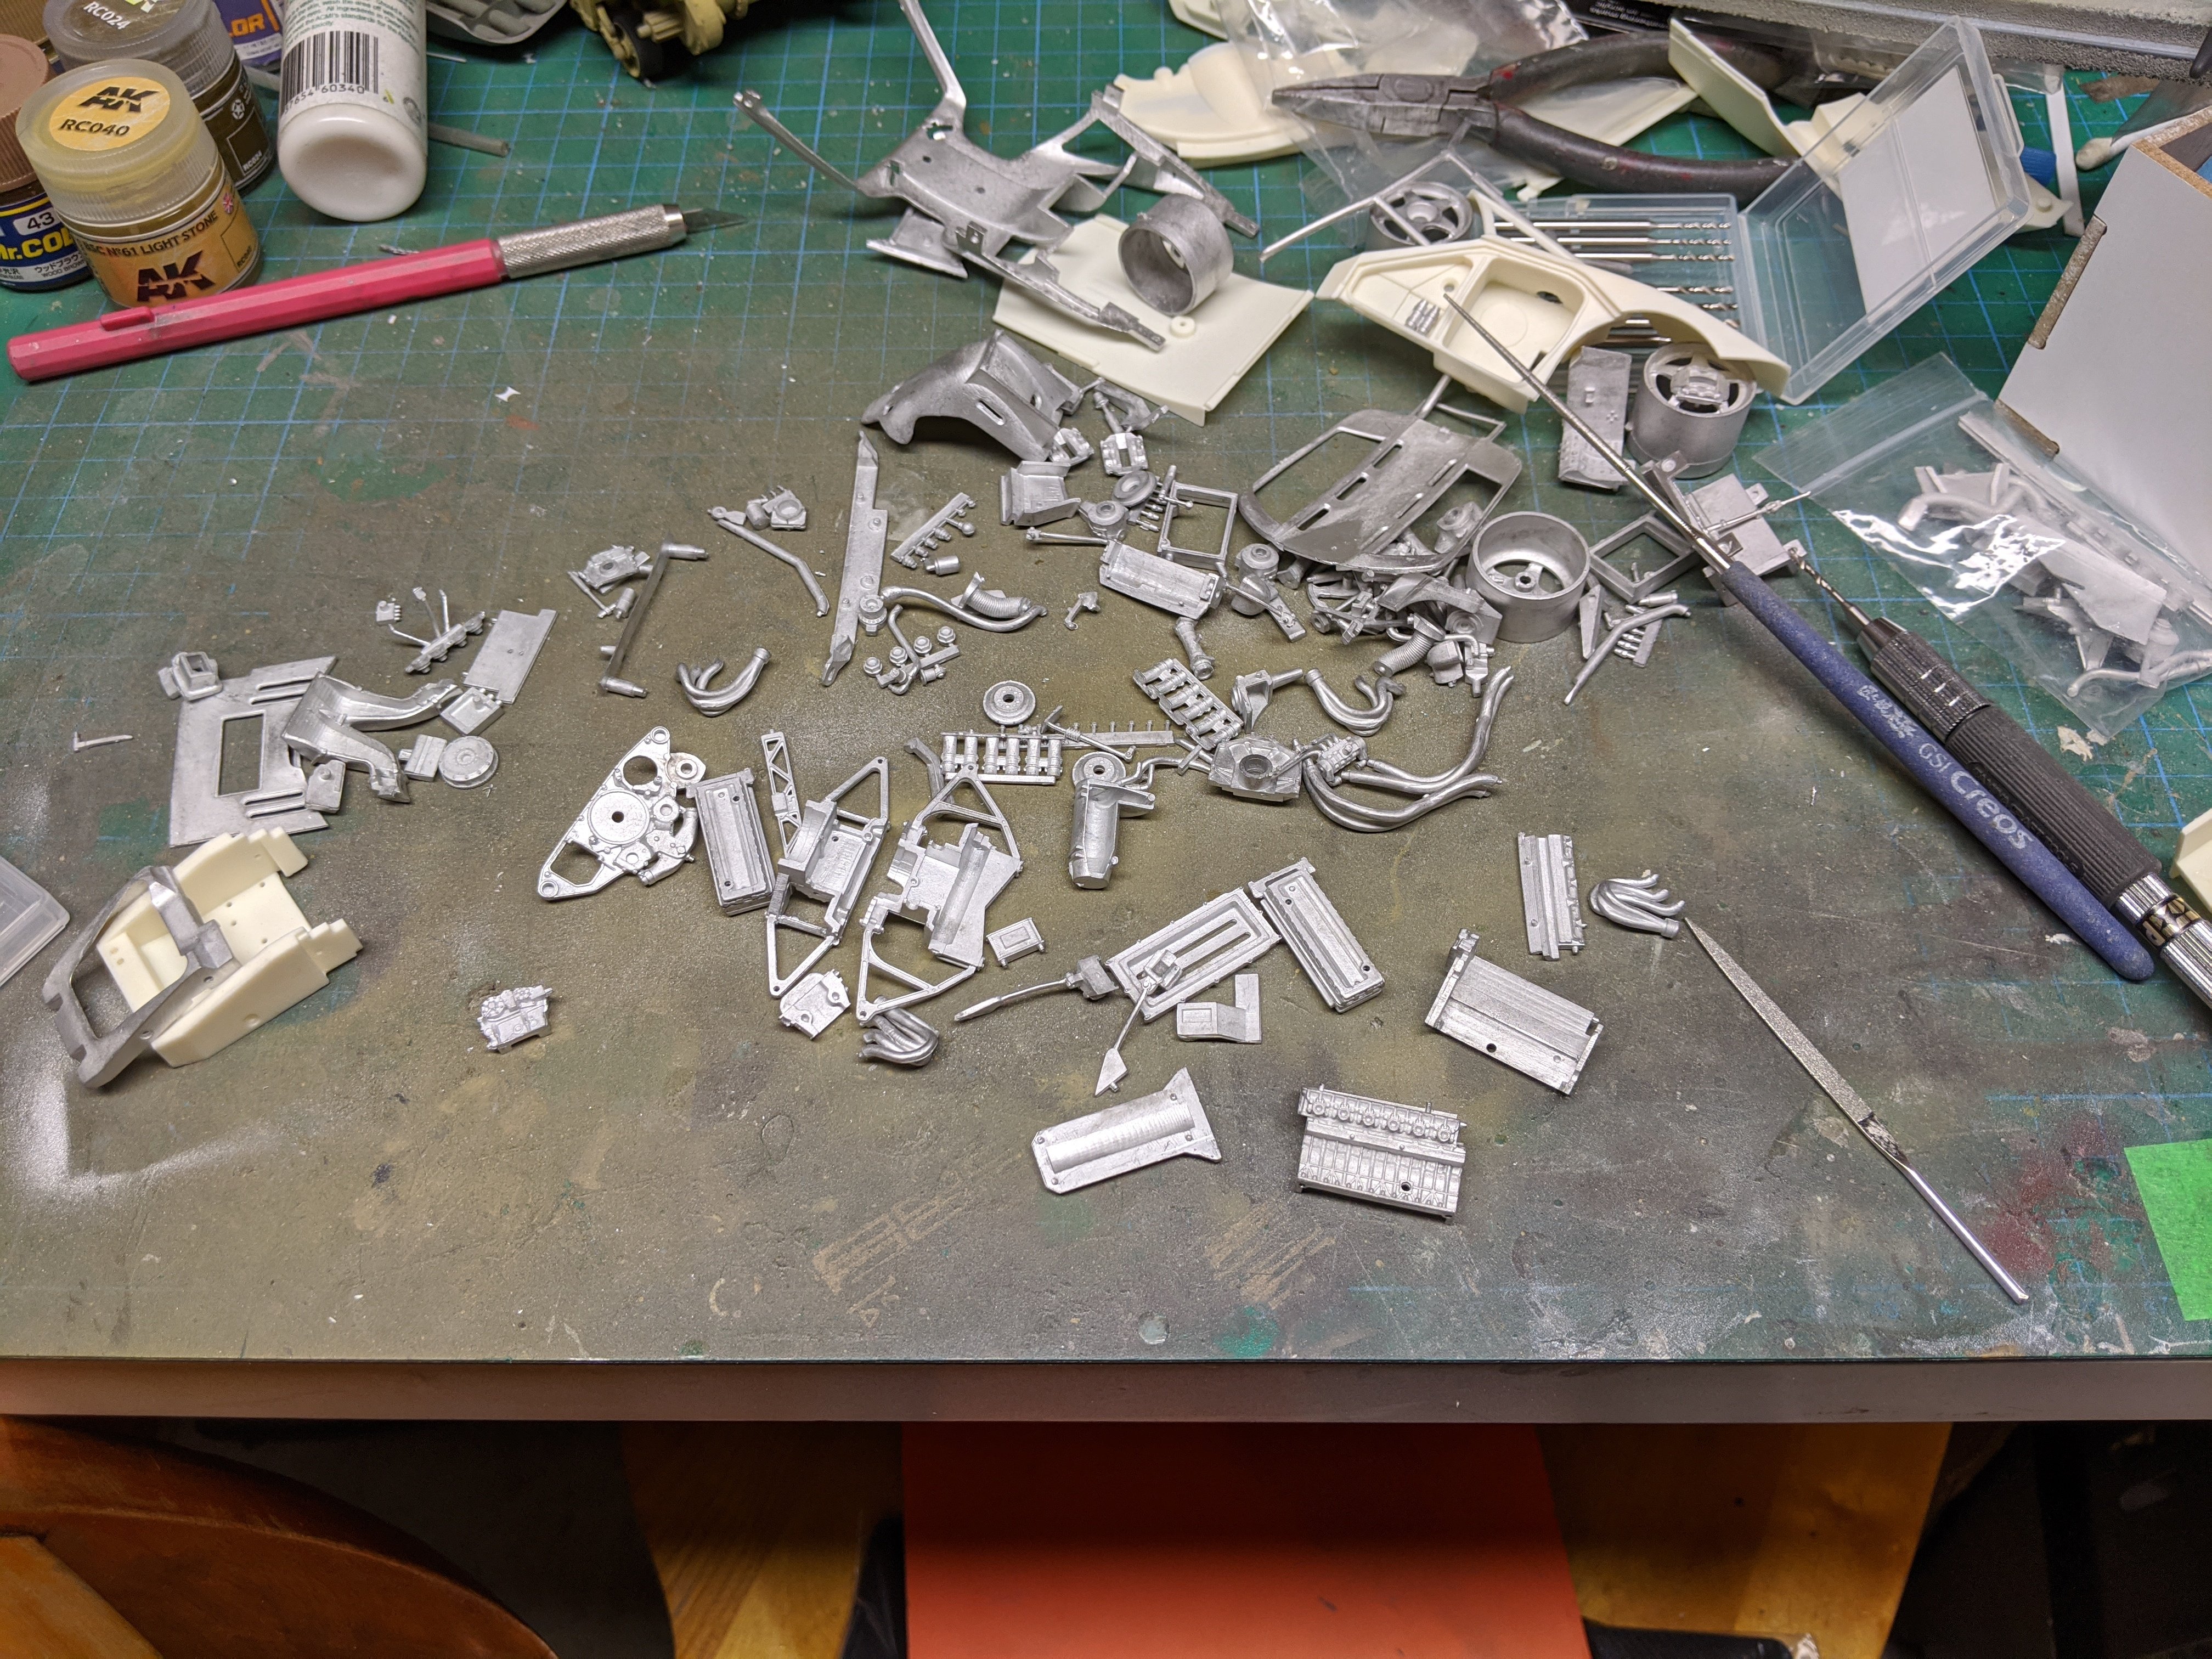
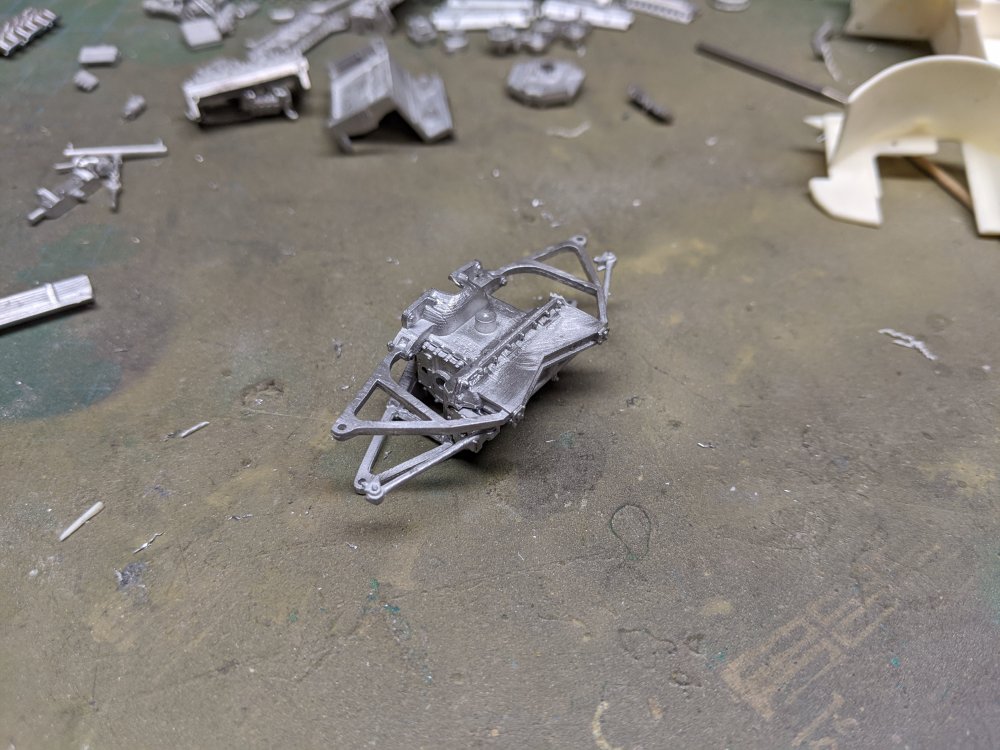
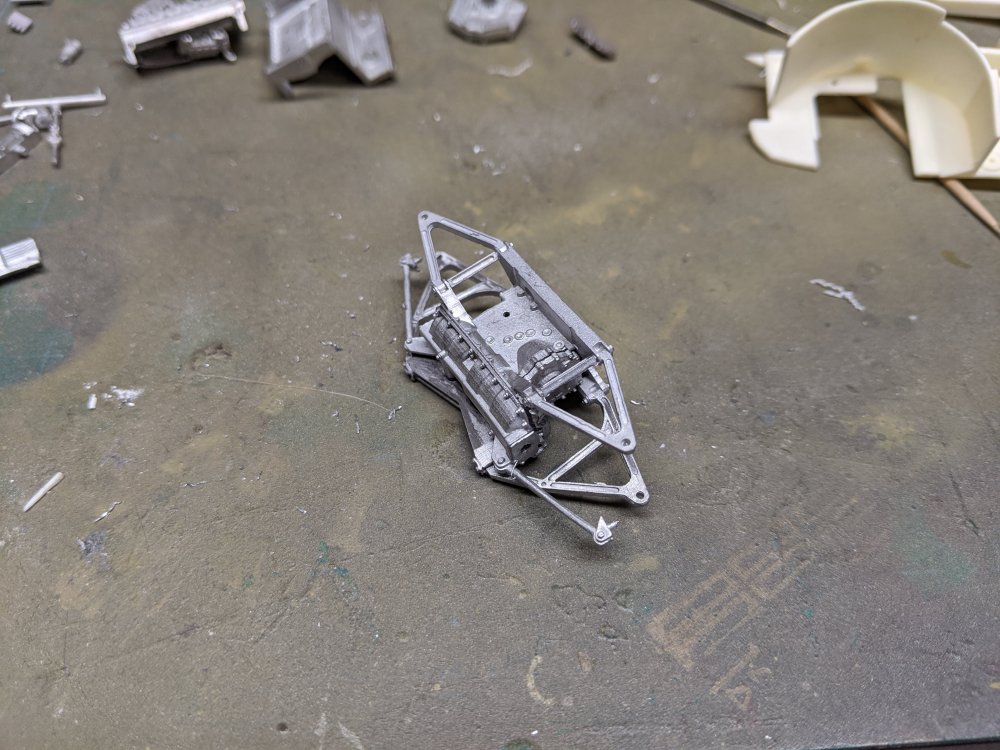
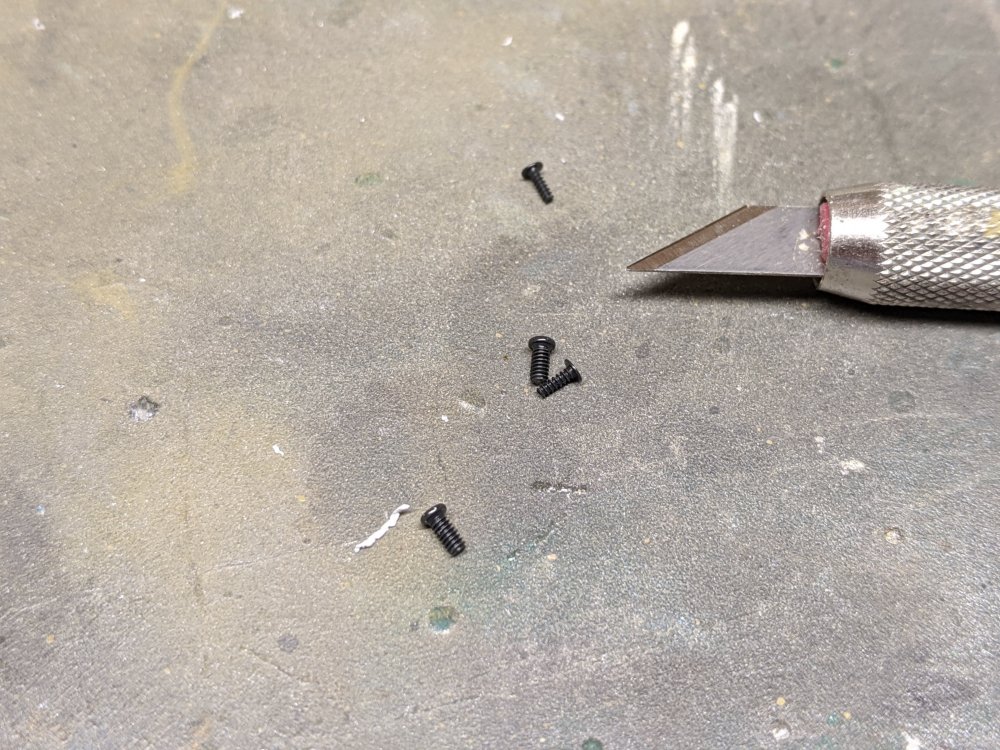
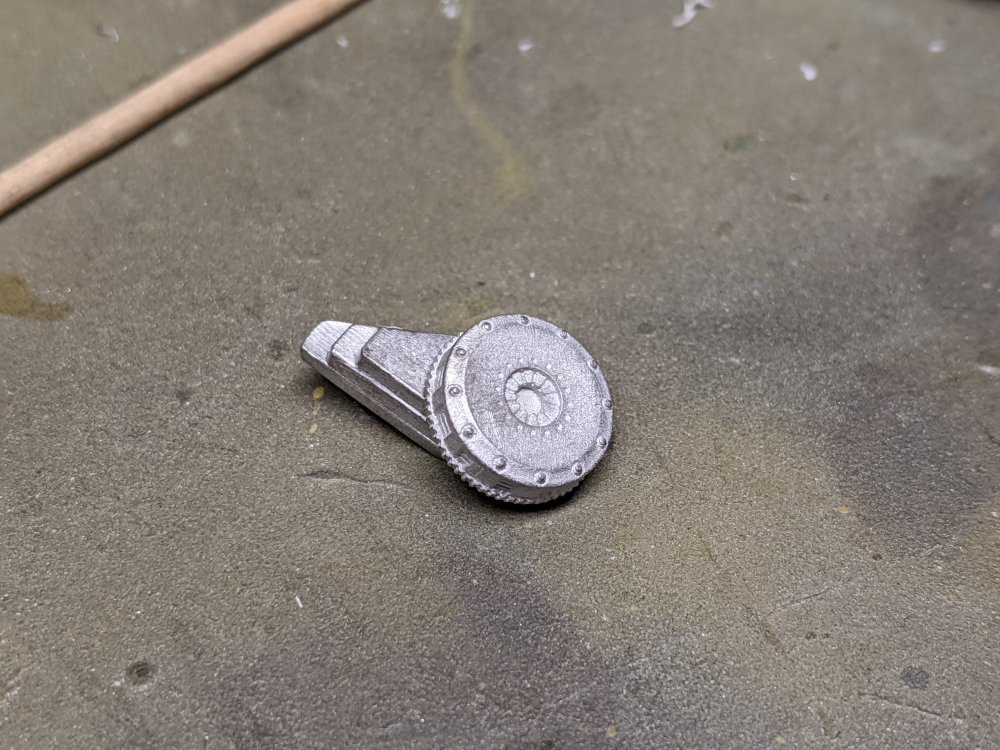
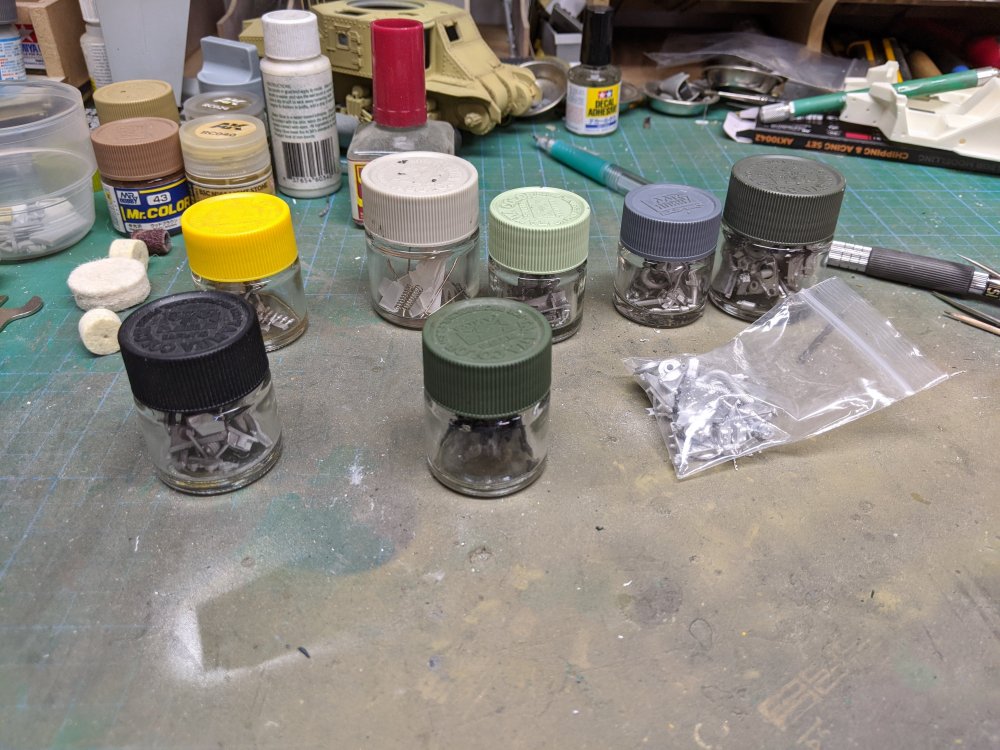
I decided to start with the transmission and rear suspension. There's only a couple parts to the basic core. For the assembly, I used 5 min epoxy to give me some working time. But before that, you have to drill out the various holes for the attachment points. Thankfully MFH gives you a simple for where the drill should go. Most are even the right diameter so you know what size drill bit to use. Going through the parts, I was wondering what the disc was until I took a closer look and realized it's the clutch. I have it resting on another part in the pic below. MFH has you use some screws for some of the assembly but they're tiny. I don't know if I'll be able to find a screwdriver for the smaller screw in the pic which is 1mm by 3mm long. One tool that will be handy is this file. I don't recall where I got it from but it's been great for all the tiny slots and openings that need a quick cleanup. Finally to keep track of the various parts, I put them into some empty Tamiya and Gunze paint jars.

- 31 replies
-
- 5
-
-
- model factory hiro
- mclaren
- (and 1 more)
-
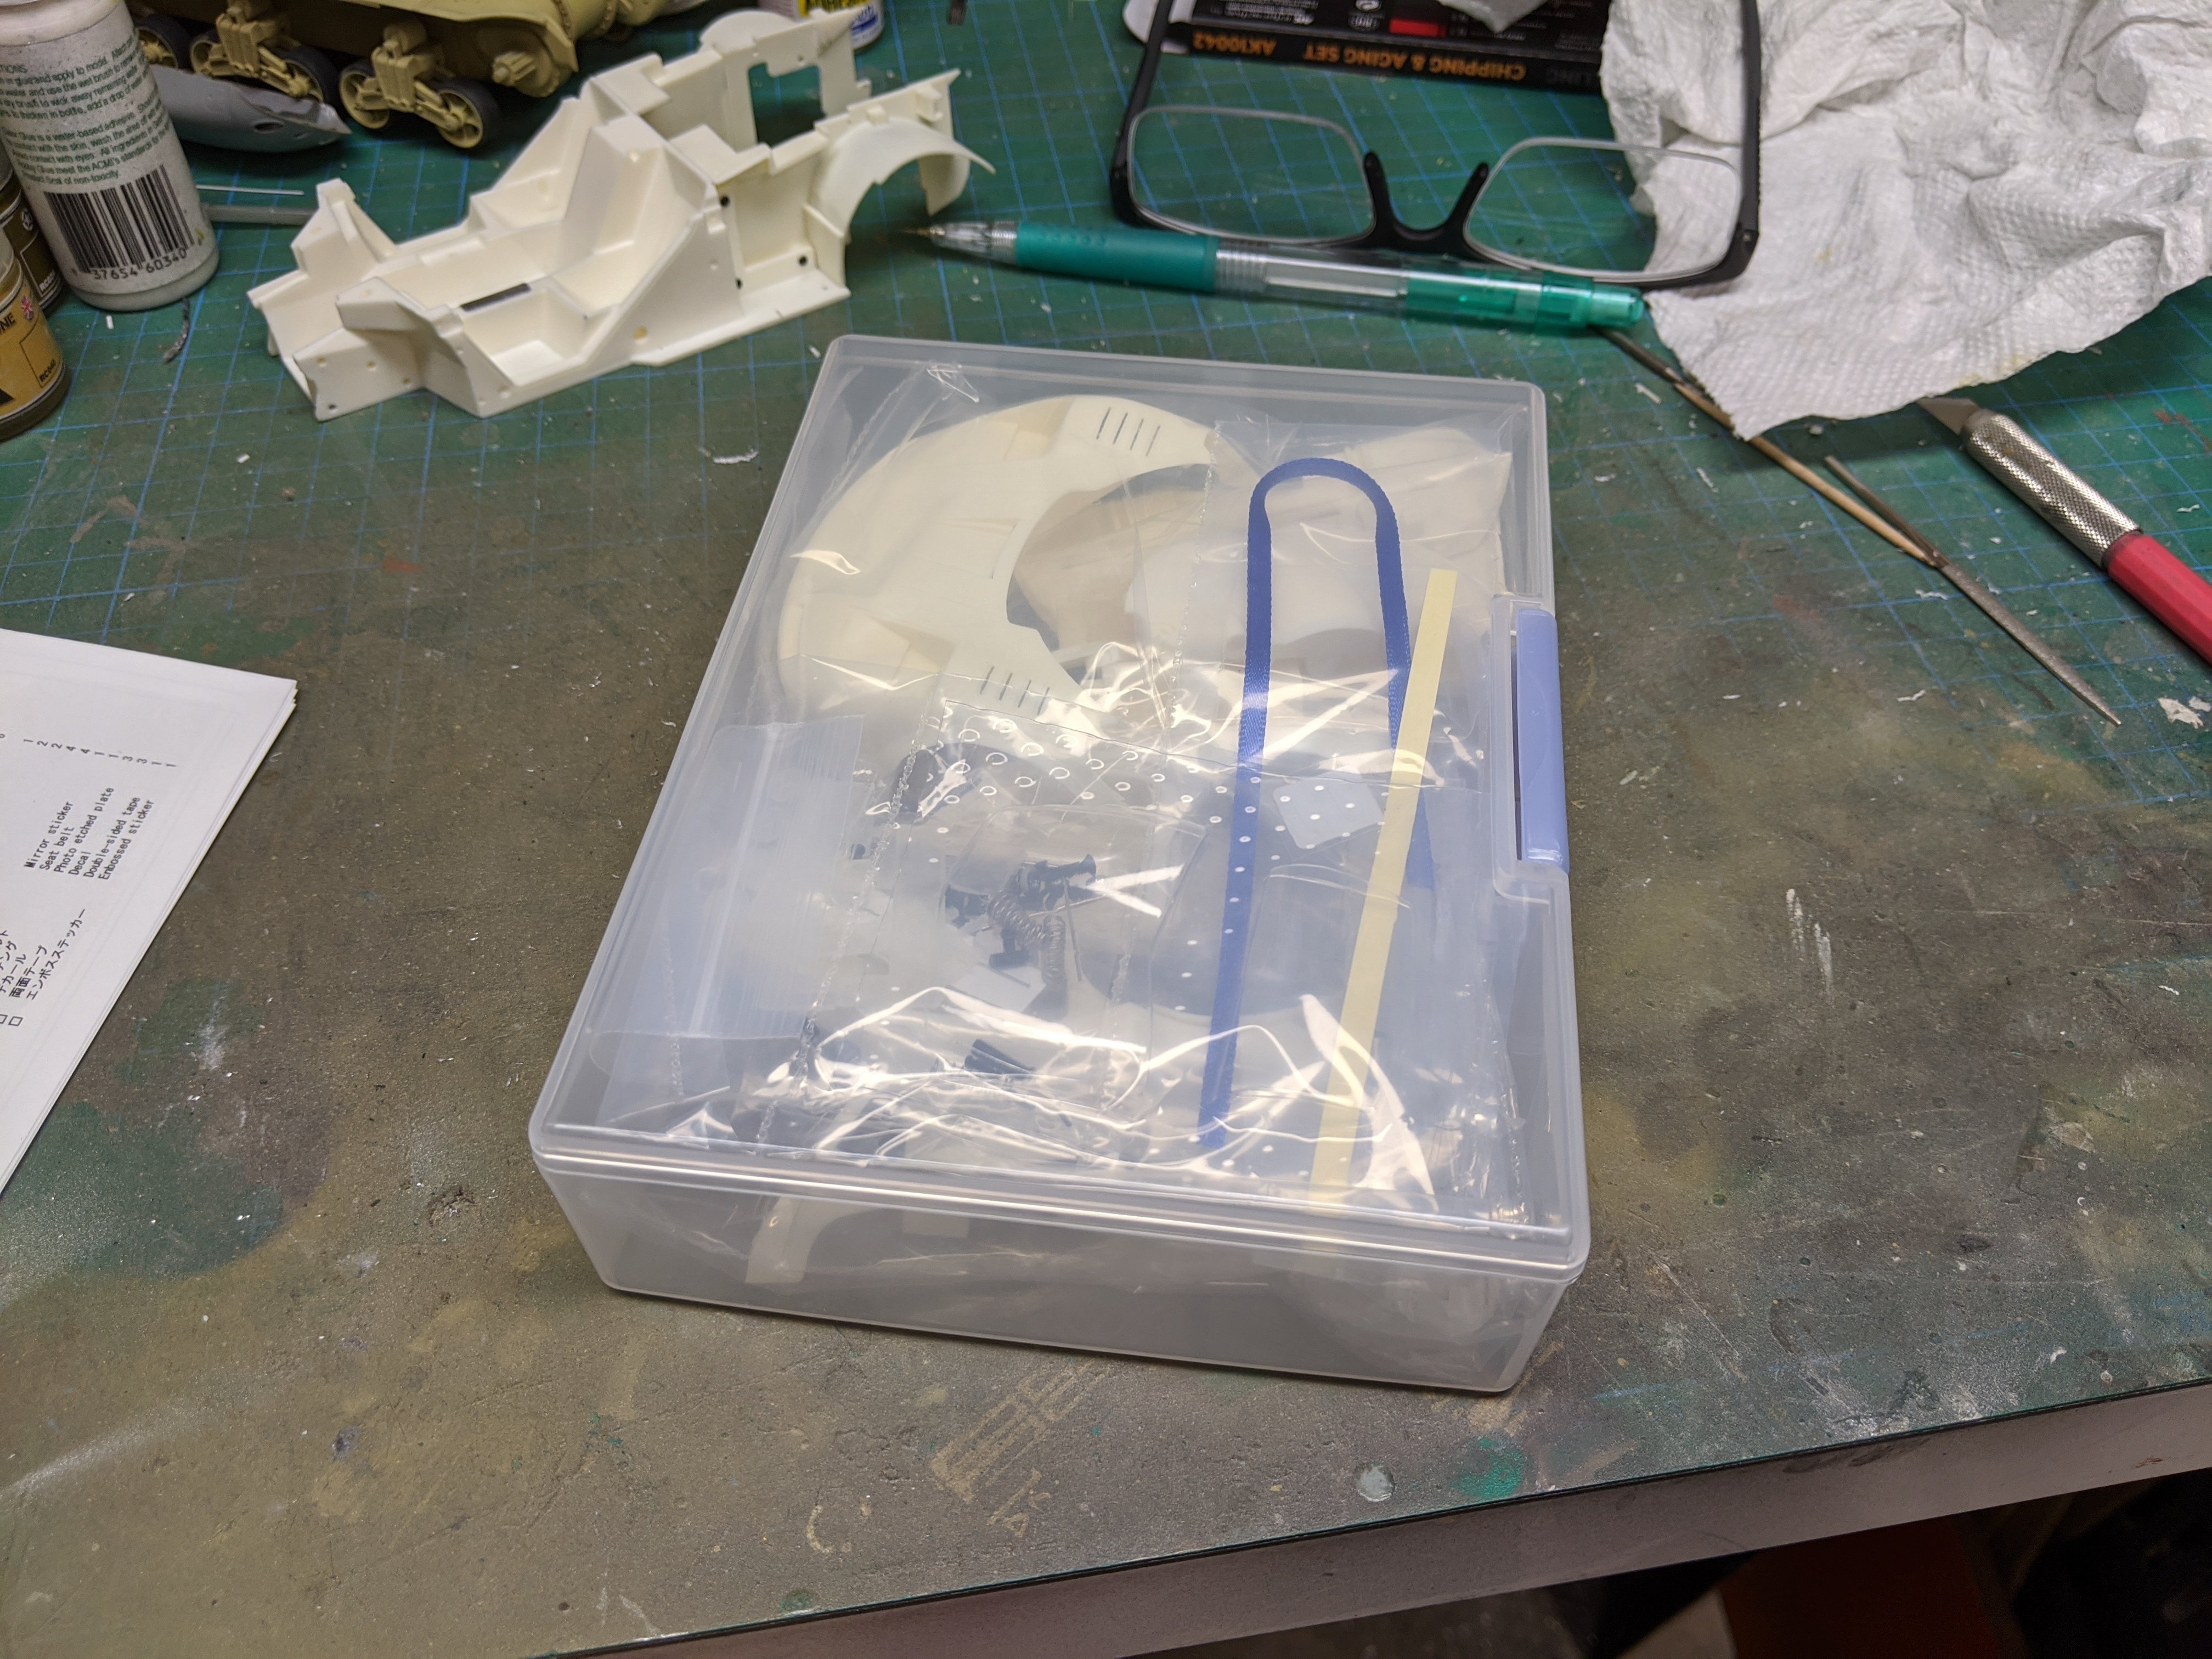
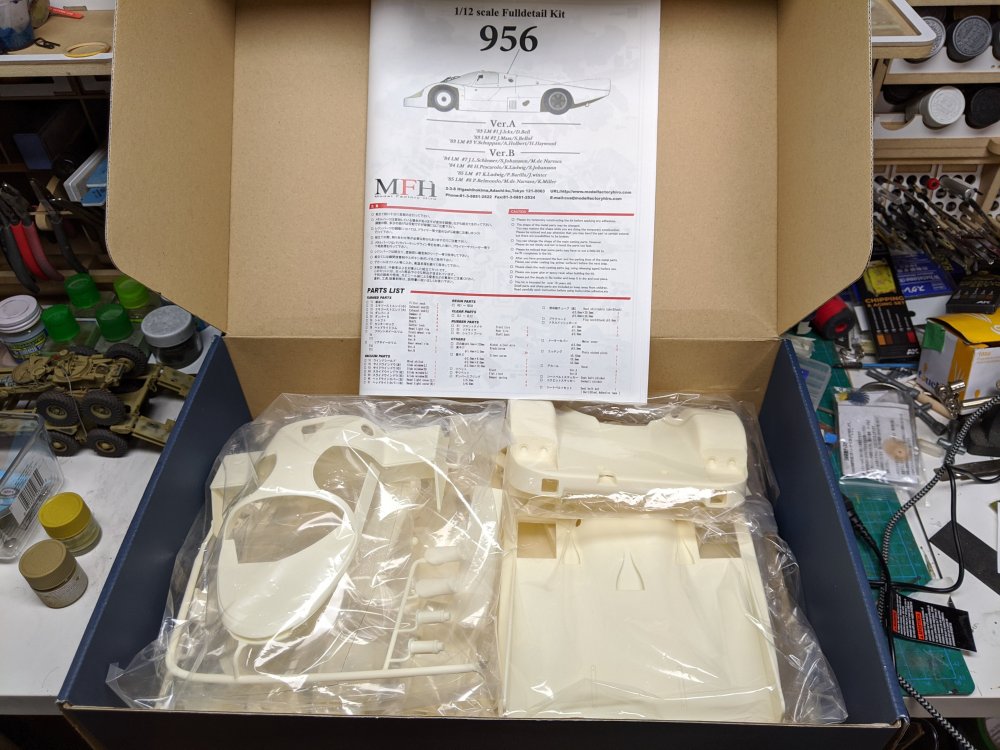
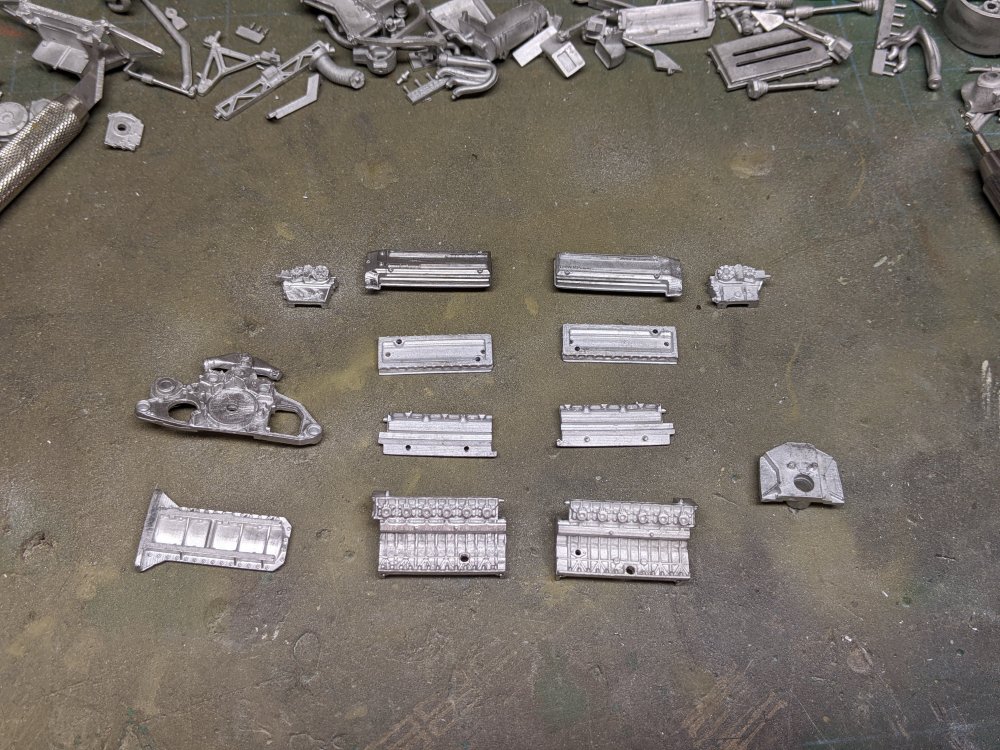
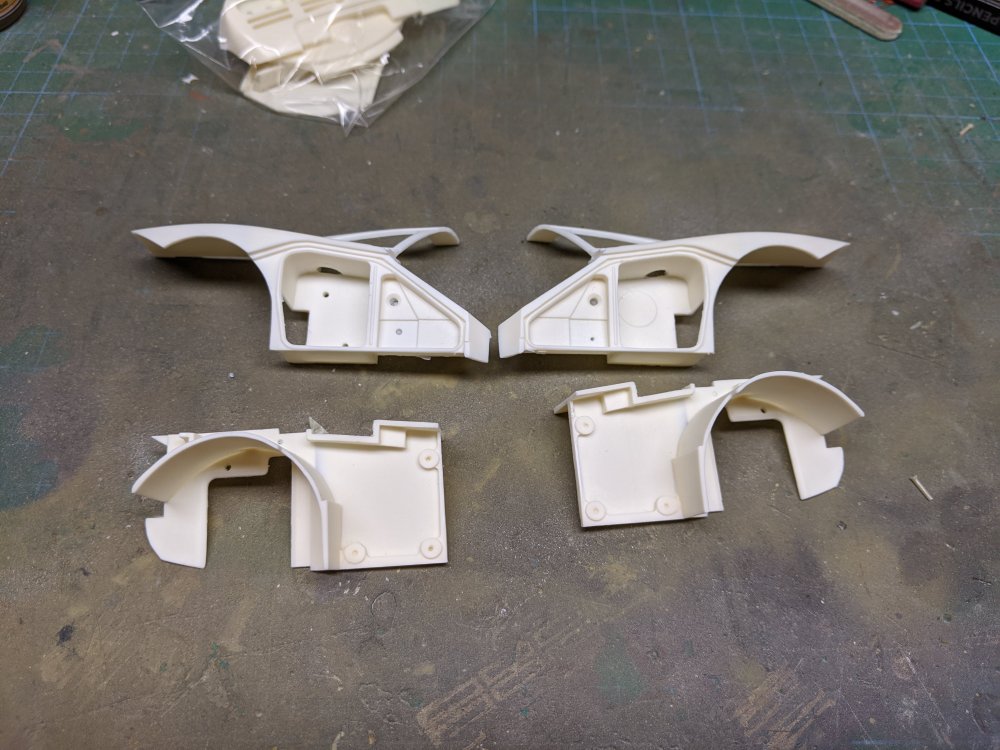
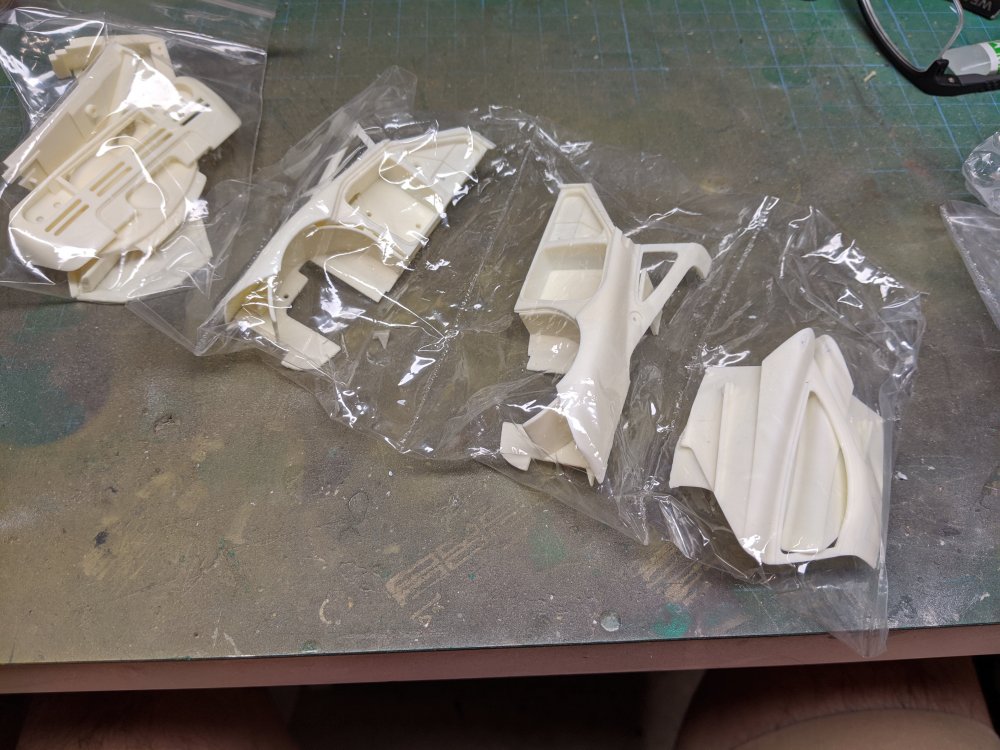
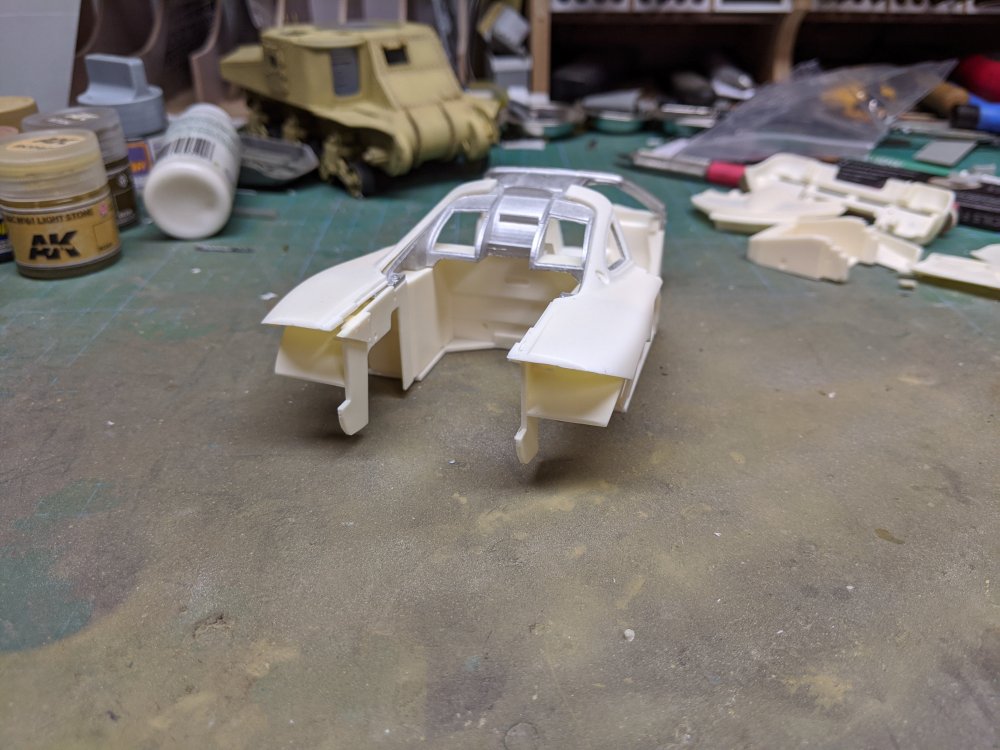
The body panels are further protected by individually bagging each one. I tried a quick dry fit of some of the body panels and the chassis. The fit is surprisingly good. The parts are interleaved and interlock so you really have to follow the instructions. Here's what it looks like after opening the metal parts bag. I started by sorting them out a bit. Then got work on the engine. These are the parts to make the block and cylinder heads.


- 31 replies
-
- 4
-
-
- model factory hiro
- mclaren
- (and 1 more)
-
When I opened the kit after getting it, my first thought was "what have I gotten myself into?" It was quite overwhelming especially since so many parts are tiny.
- 31 replies
-
- 4
-
-
- model factory hiro
- mclaren
- (and 1 more)
-
What is on your bench right now ? Share a picture :)
BlrwestSiR replied to Martinnfb's topic in Modelling Discussion
Here you go: -
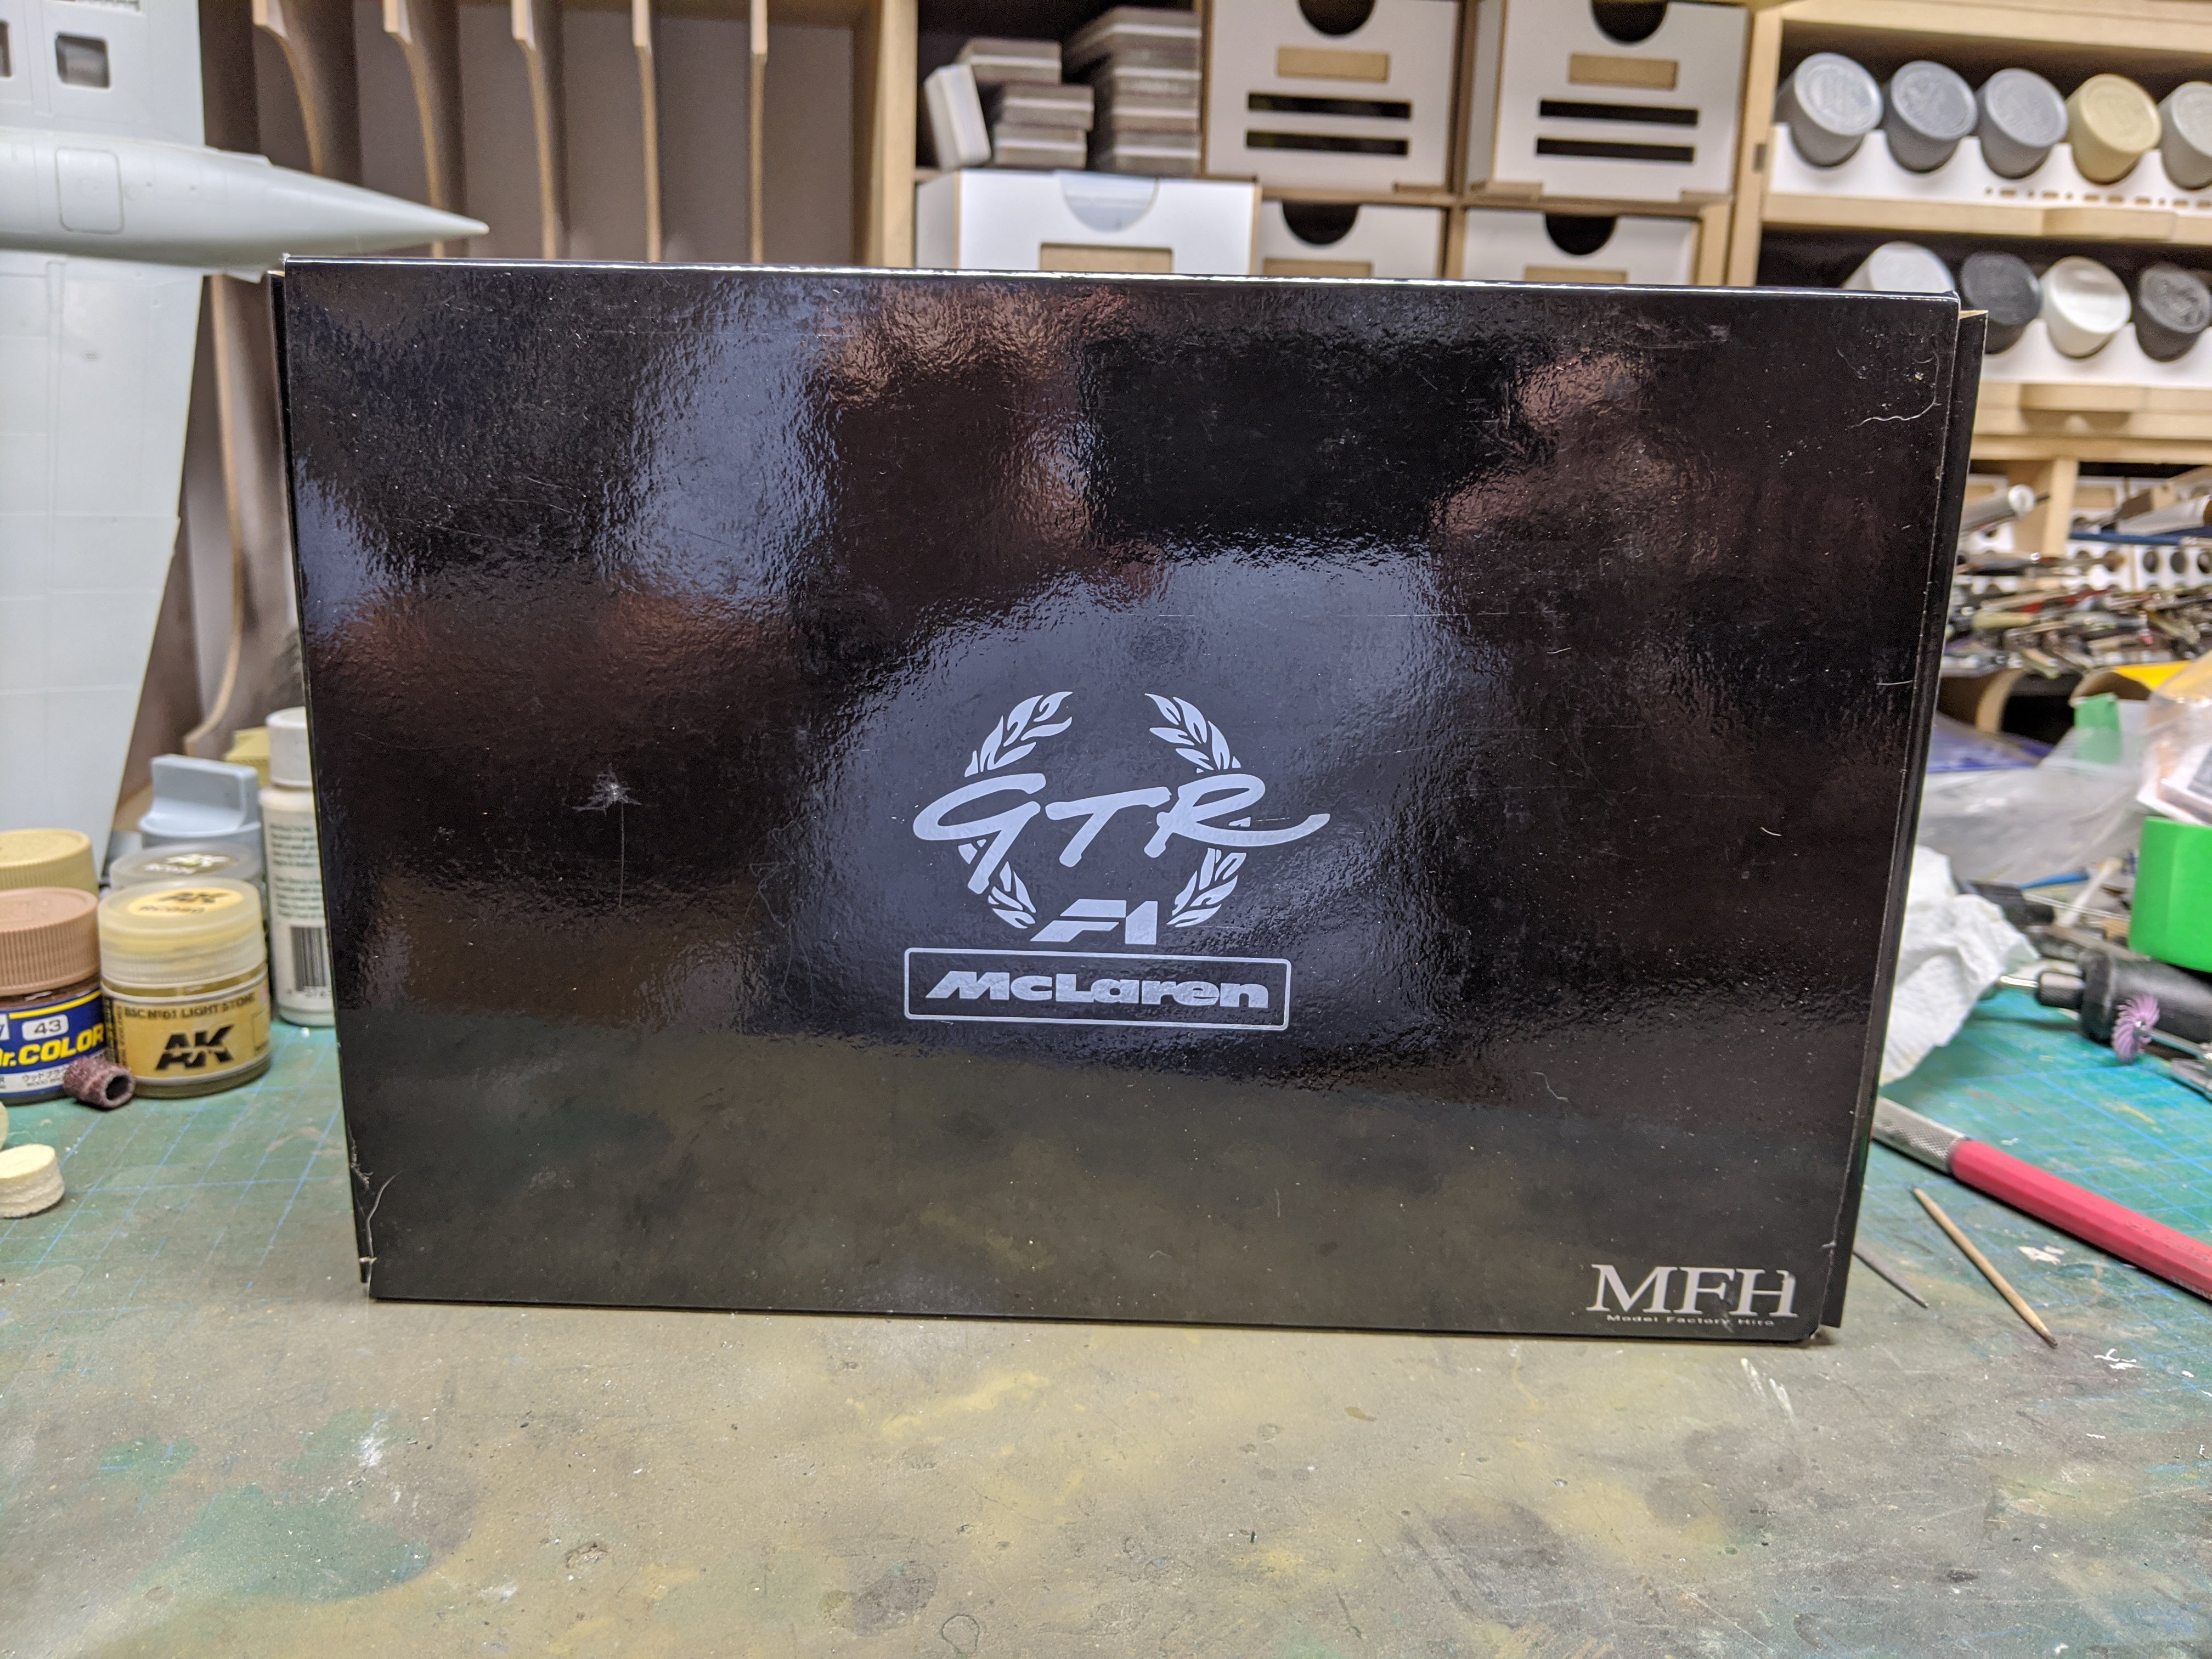
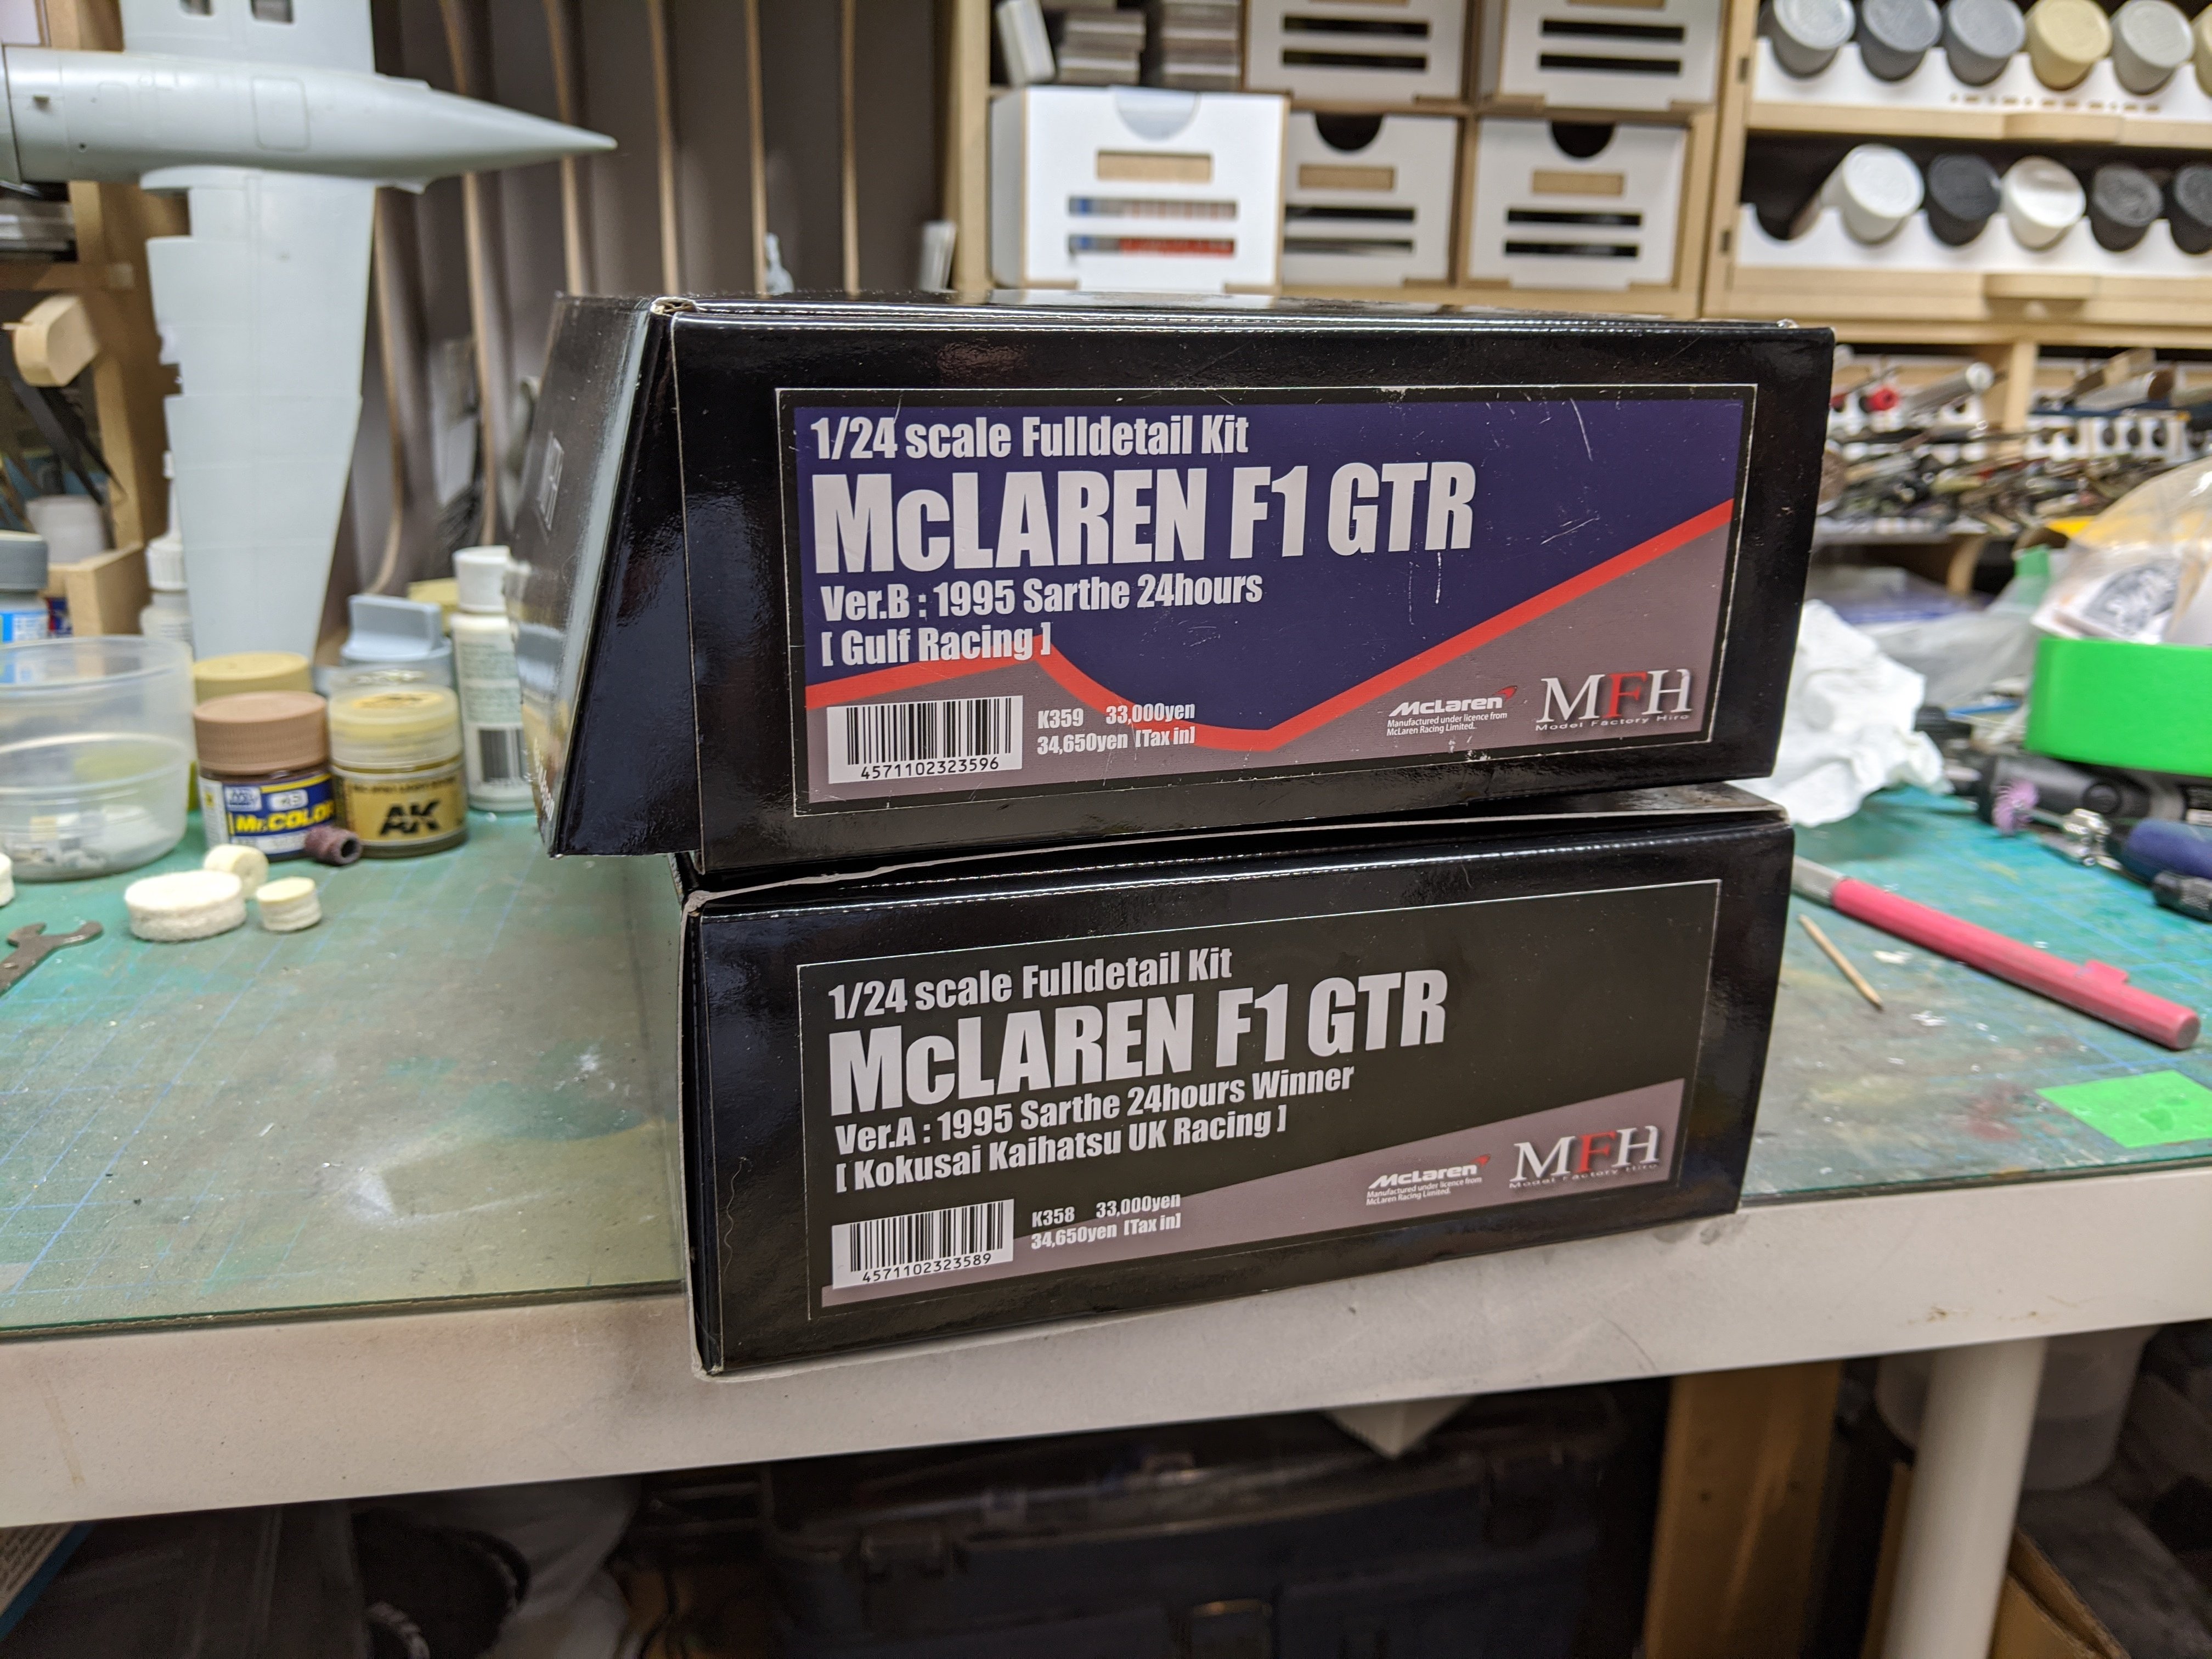
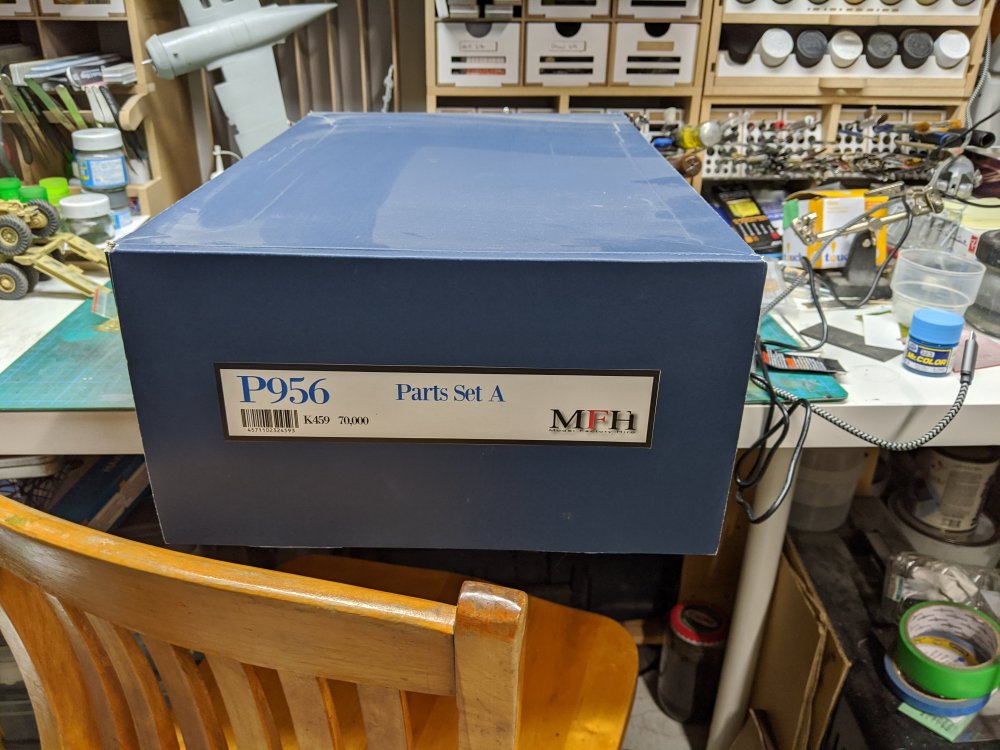
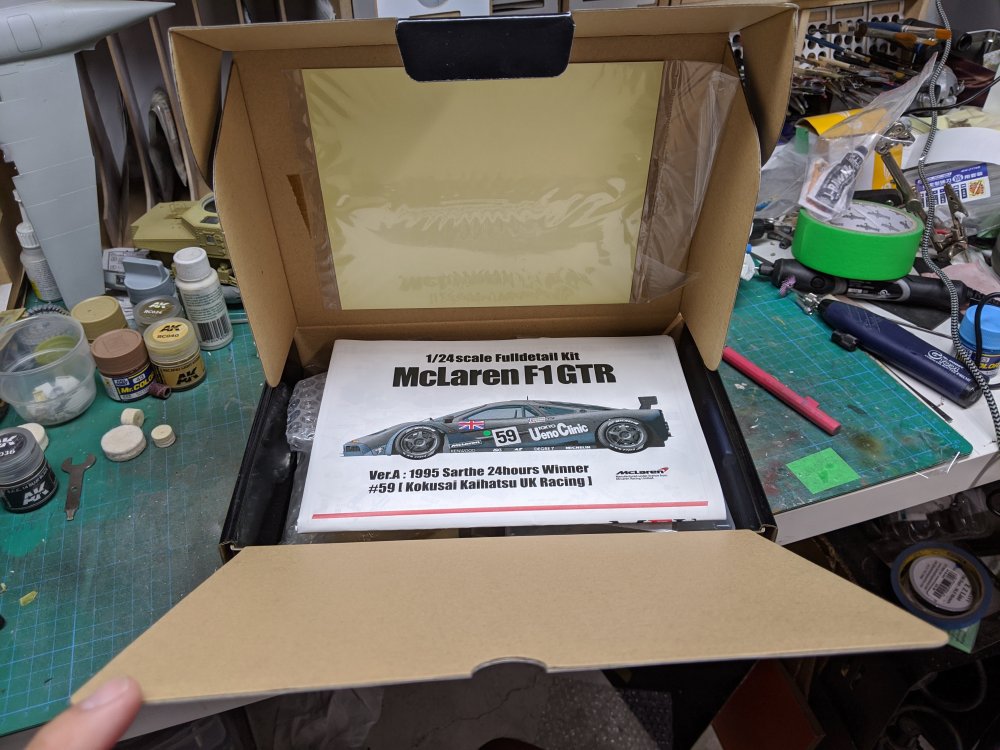
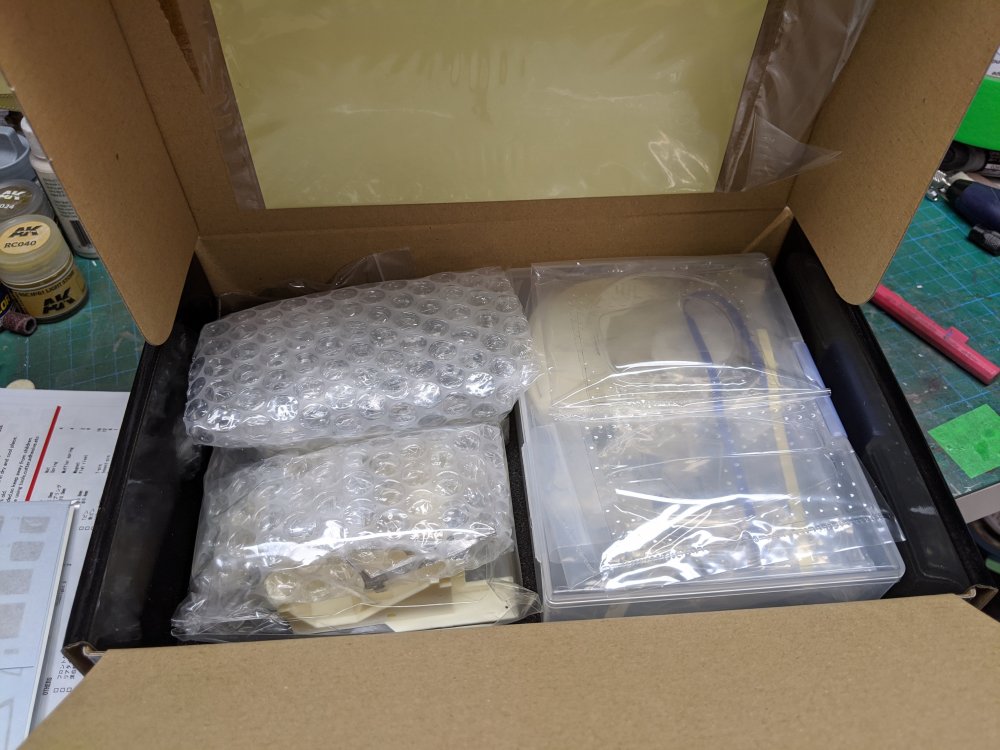
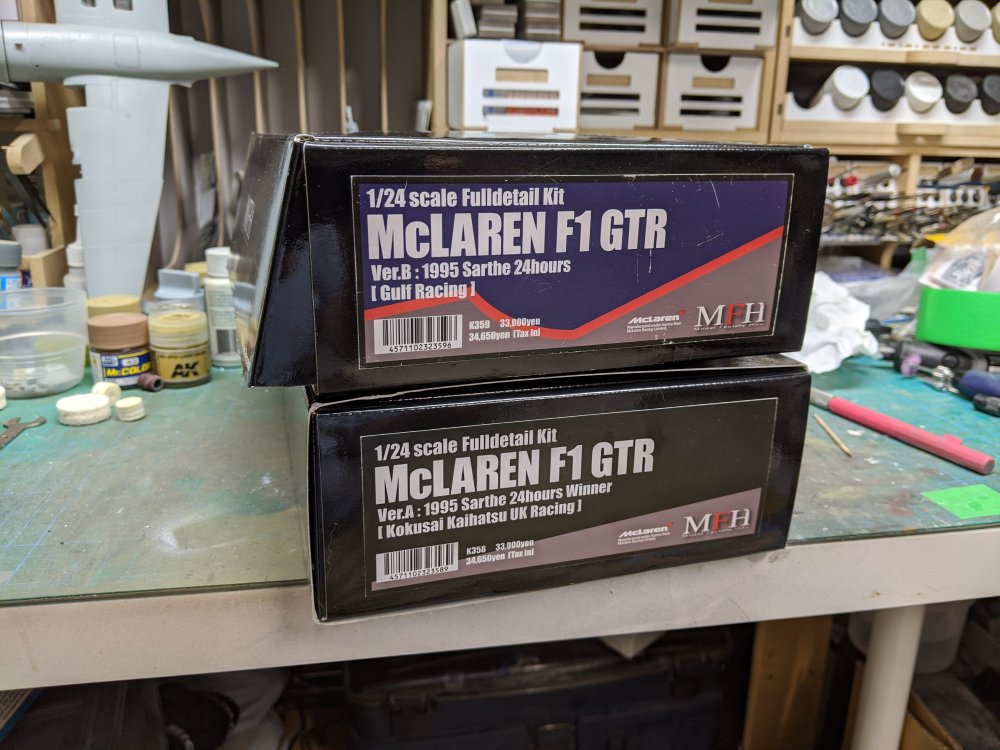
The McLaren F1 has been one of my favourite cars pretty much since it first came out. For quite some time, there weren't any 1/24 kits available of it. Studio 27 did a curbside kit that's very basic and for a while, that was it. Then Model Factory Hiro announced they were going to do a series of them in their full detail line. I immediately placed a preorder. They've got 4 versions of the short tail early cars (my favourite) and a similar number of the later long tail ones. More recently Aoshima and Fujimi have released IM kits of the car both in short tail and long tail versions. Onto to the kit. The box isn't very big, a bit smaller than a typical Revell USA car kit box. With the inherent complexity of the kit, I bought two in case I screwed one up. Hopefully that won't happen but never say never. Here's what you see upon opening the box. MFH packed the delicate resin body panels in a separate clear box to keep them safe from damage.


- 31 replies
-
- 4
-
-
-
- model factory hiro
- mclaren
- (and 1 more)