BlrwestSiR
-
Posts
9,091 -
Joined
-
Last visited
Content Type
Profiles
Forums
Events
Gallery
Everything posted by BlrwestSiR
-
Thanks guys! I'm hoping I'll be able to leave one engine visible. Or at least with the cowls removable. We shall see.
-

American trucks......my soft spot......
BlrwestSiR replied to a topic in LSM 1/35 and Larger Work In Progress
My 2002 Civic had the shifter mounted up on the dashboard. It was practically next to the wheel. Great for just reaching over and changing gears. Ron, Danny you guys have some crazy mods planned for your builds. The craziest I'm getting is putting a trunk and rear seat in a "73 Ford Falcon XB. For some reason, they moulded it with a pair of gas tanks there instead. -
Share how COVID-19 Quarantine has affected you.
BlrwestSiR replied to 1to1scale's topic in General Discussion
They're doing a phased in approach here too. So restaurants with patio space are allowed to have sit down customers suitably spaced. There's one caveat that's been creating attention though. No singing or dancing is allowed. Guess folks won't be allowed to break into song about how great their appetizers are. -
I was shamed acquiring modeling supplies yesterday.
BlrwestSiR replied to ScottsGT's topic in General Discussion
Talk about progress. I remember when it was the little McD coffee stirrer spoons that's folks would use to put recreational substances up their nose. Maybe it's just giving them a reason to discontinue straws and save a buck or two... -
Truly impressive looking build. It's really coming together now. Carl
-
Great looking cockpit. We are such children at times. My wife's just happy I have friends to play with.
-
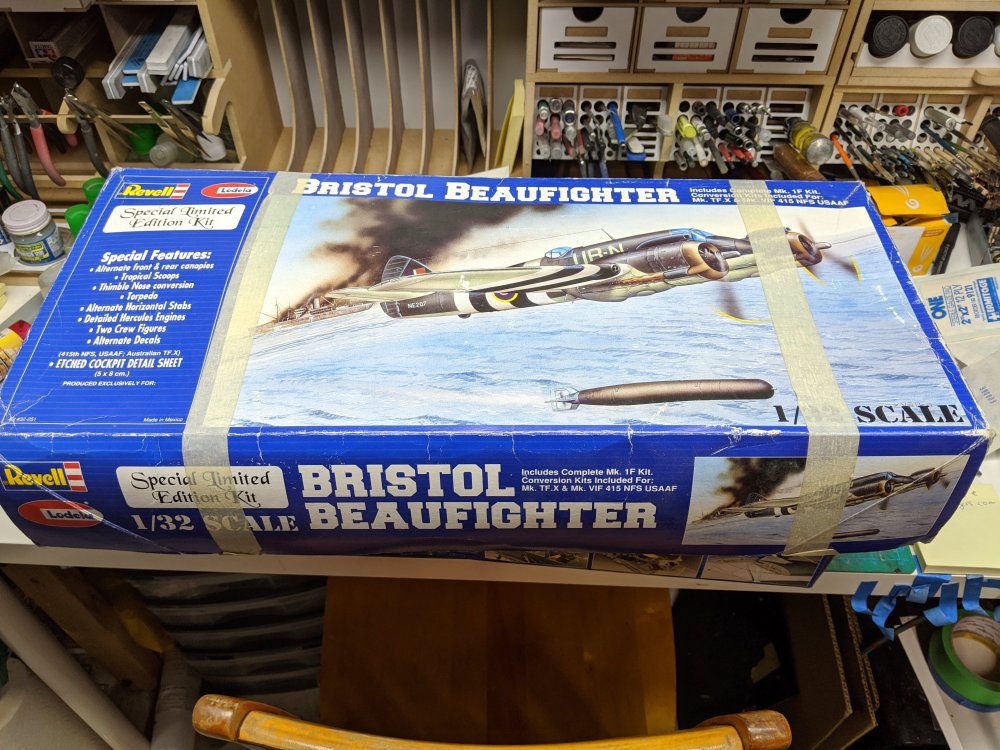
Hmmm, I've got the Trumpeter 103C kit in the stash...
-
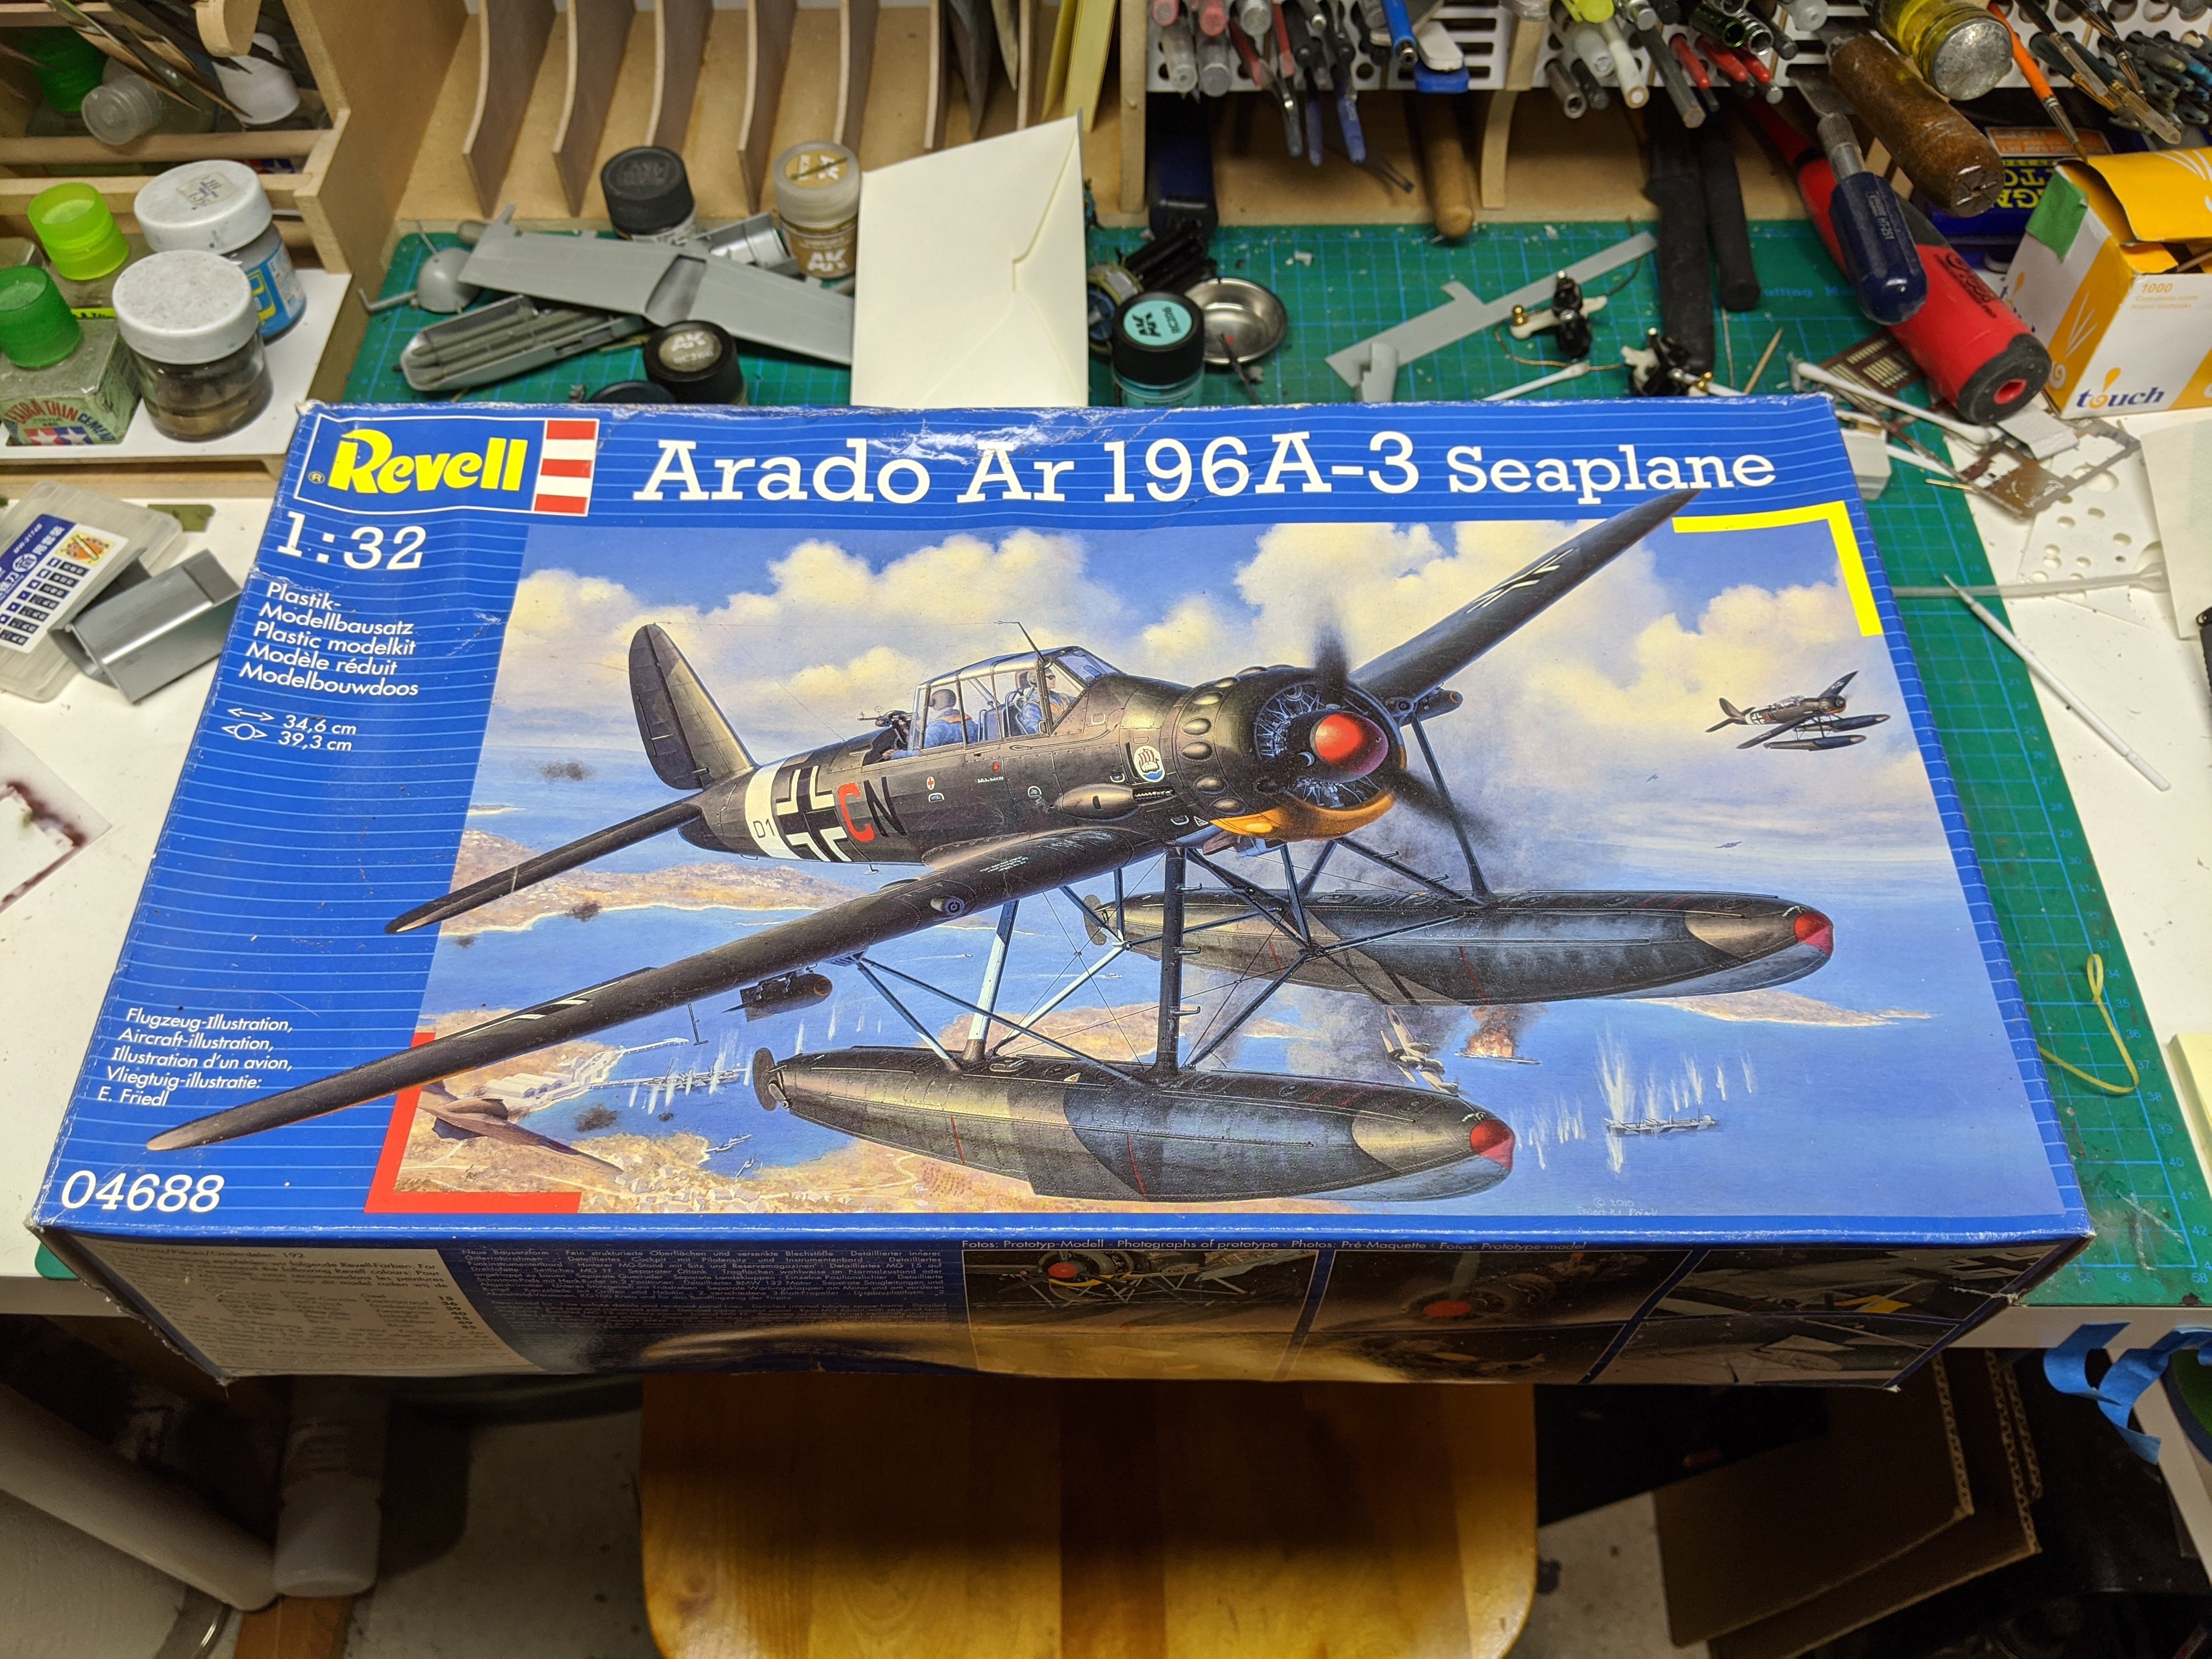
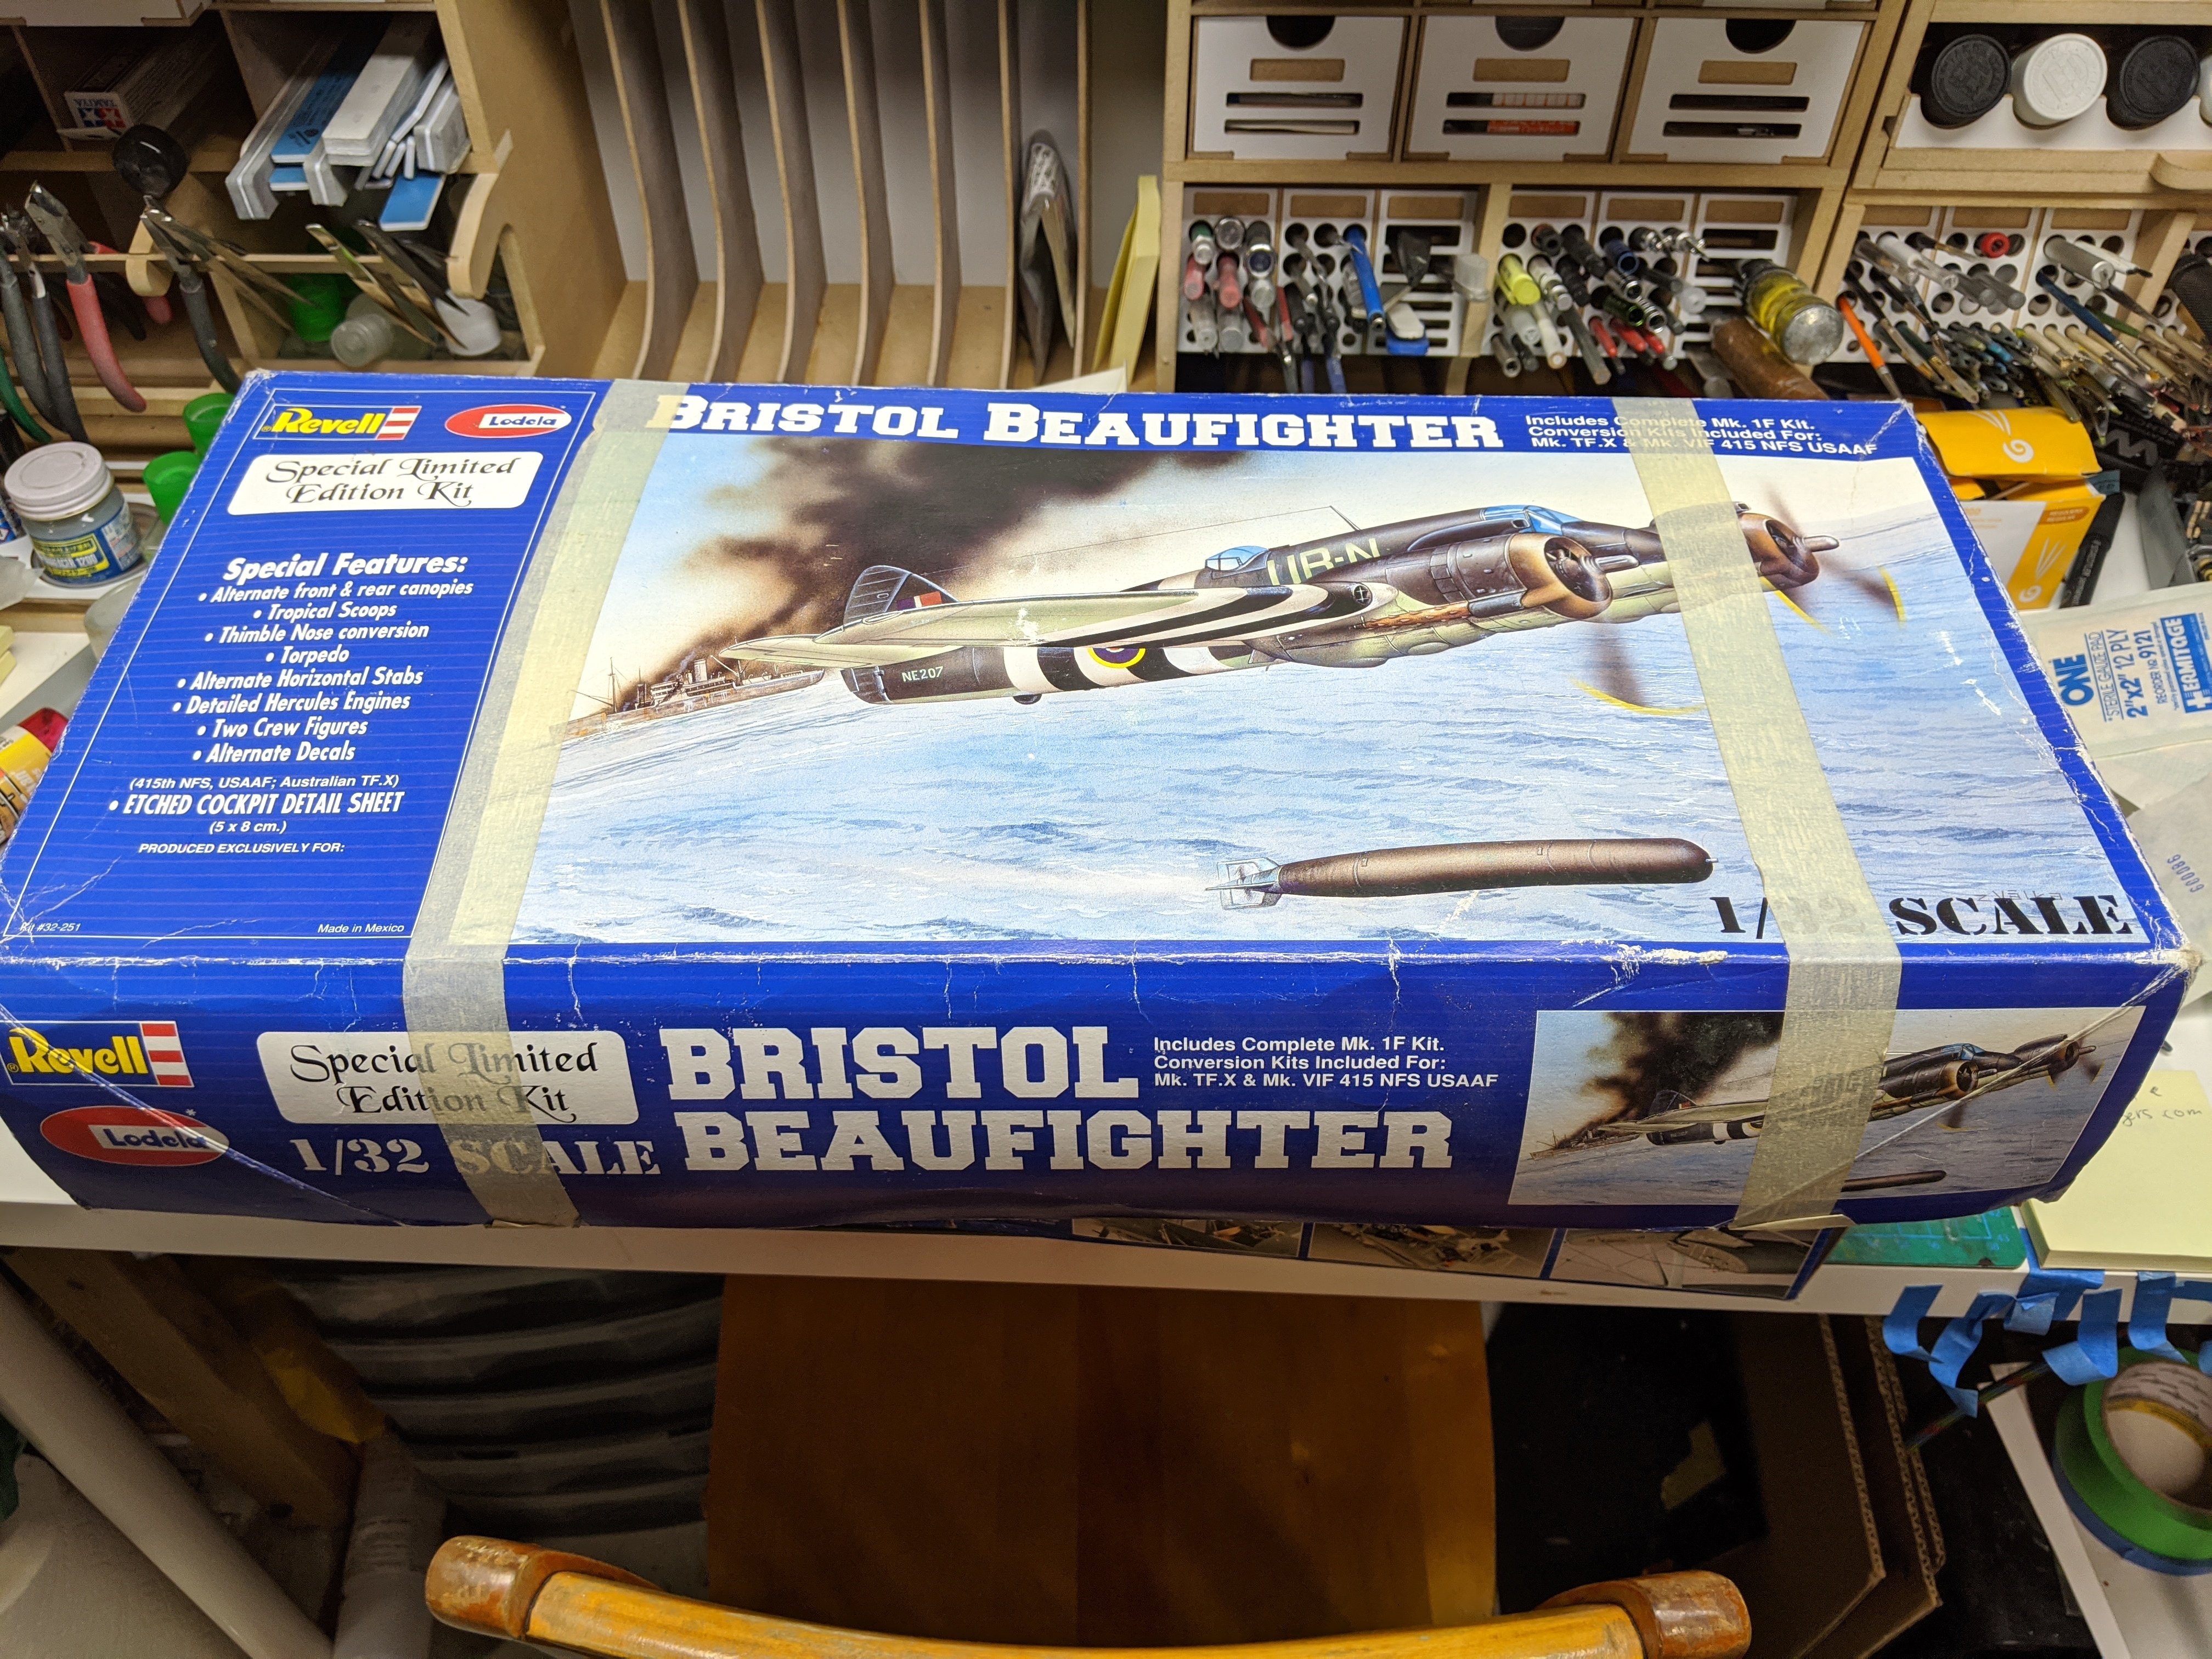
These arrived from Hubert yesterday: Thanks Hubert for filling a couple holes in my stash.

-
What is on your bench right now ? Share a picture :)
BlrwestSiR replied to Martinnfb's topic in Modelling Discussion
Nicely done Martin! Fast too. You should add a Jagdpanther to the mix so you'll have S,M and L, like the three Bears. -
There's an idea. The Stratos is one of my favourite cars.
-
Custom Detolf Shelf
BlrwestSiR replied to BlrwestSiR's topic in LSM 1/35 and Larger Work In Progress
Thanks Graham! That's still one thing I haven't tried. One day...- 42 replies
-
- 1
-

-
- ikea
- display case
- (and 1 more)
-
Custom Detolf Shelf
BlrwestSiR replied to BlrwestSiR's topic in LSM 1/35 and Larger Work In Progress
Thanks Rob! I was really happy with the ay it turned out. Honestly, I had forgotten to apply them at the time and decided not to mess with it. Maybe on my next one I'll remember to use them.- 42 replies
-
- 2
-
-

-
- ikea
- display case
- (and 1 more)
-
Custom Detolf Shelf
BlrwestSiR replied to BlrwestSiR's topic in LSM 1/35 and Larger Work In Progress
Thanks Rob! It was the one flown by Eric "Winkle" Brown after the war. Most of the pics were swallowed by the great Photobucket debacle but I have a couple.- 42 replies
-
- 2
-
-
- ikea
- display case
- (and 1 more)
-
Custom Detolf Shelf
BlrwestSiR replied to BlrwestSiR's topic in LSM 1/35 and Larger Work In Progress
I just checked and an Arado 234 doesn't quite fit either unfortunately.- 42 replies
-
- 2
-
-
- ikea
- display case
- (and 1 more)
-
What is on your bench right now ? Share a picture :)
BlrwestSiR replied to Martinnfb's topic in Modelling Discussion
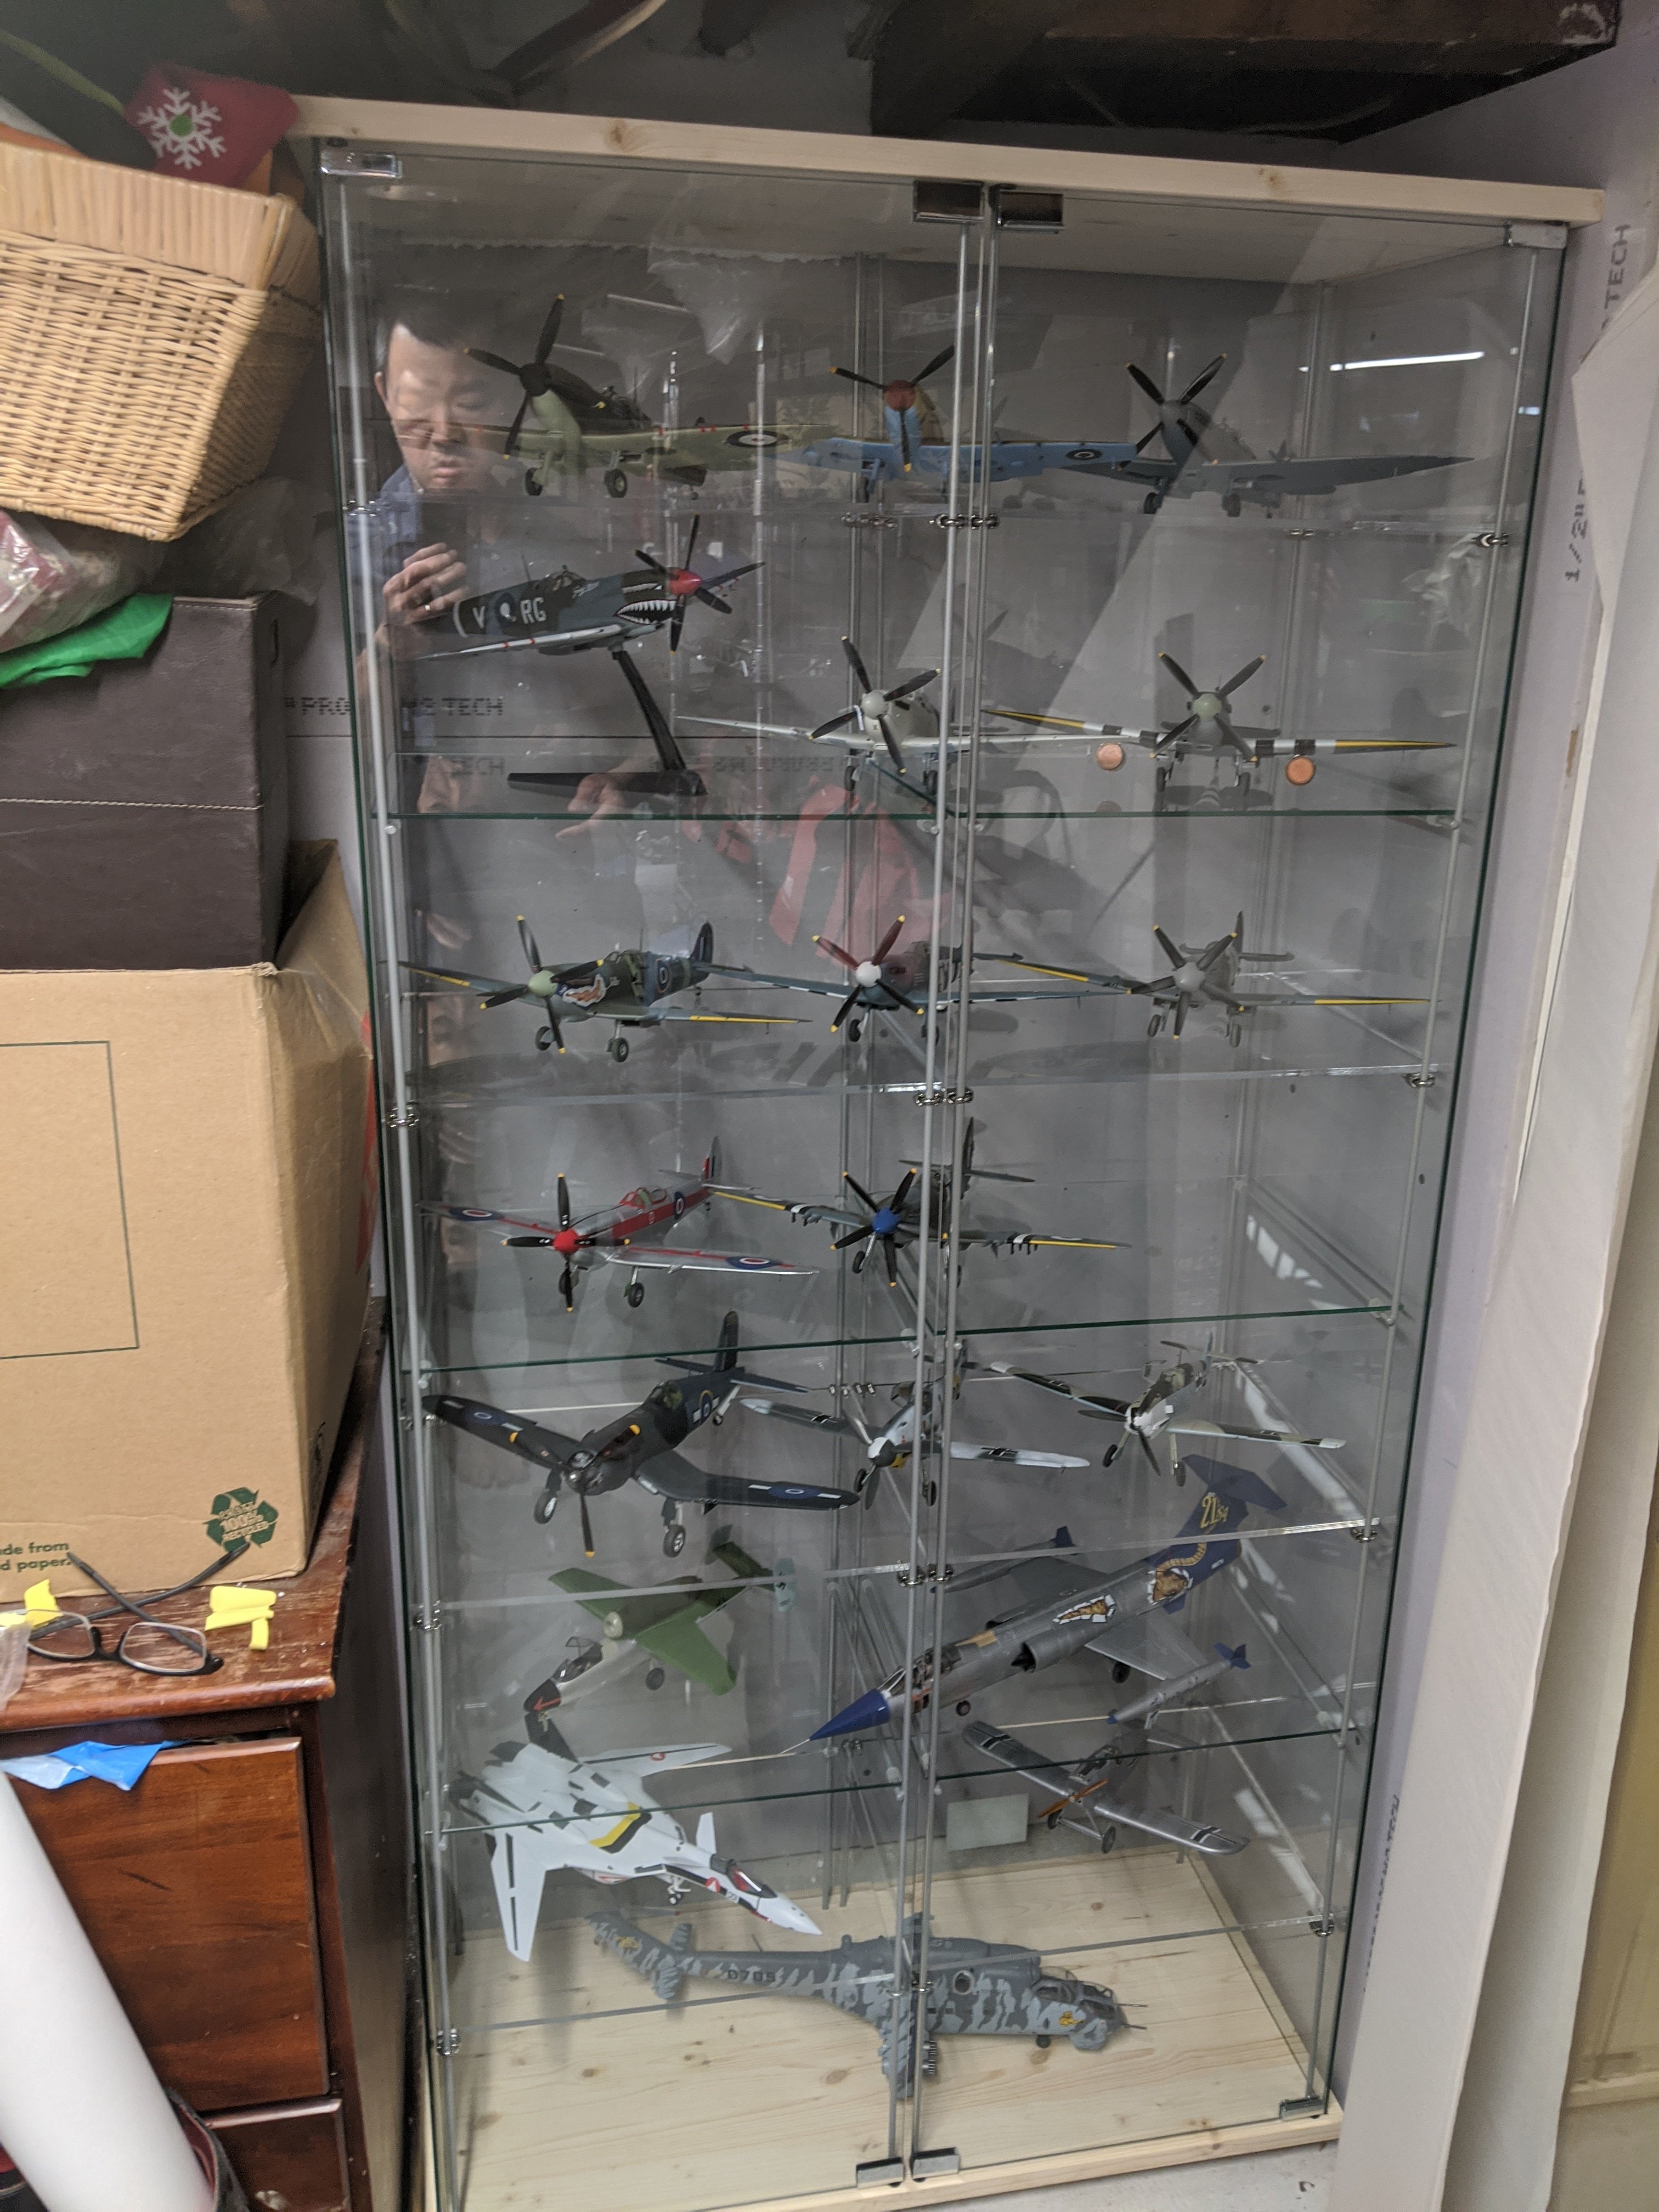
Ernie, if you mean the wood one, it's two Ikea Detolf shelves on a custom base and top. I used a router to cut the groves for the glass and used 3/4" thick pine. Here's the WIP: -
What is on your bench right now ? Share a picture :)
BlrwestSiR replied to Martinnfb's topic in Modelling Discussion
Nice looking tank there Gus. Tracks are either a Zen like experience or the task from Hell depending on how they go together. Carl -
What is on your bench right now ? Share a picture :)
BlrwestSiR replied to Martinnfb's topic in Modelling Discussion
There's a different style of doors I found called Glassvik. They have a heavier frame to them but would fit. https://www.ikea.com/ca/en/p/glassvik-glass-door-white-clear-glass-50291662/ For my Detolf, the stock doors they come with fit. I just hadn't installed them until last night.
-
Good question. She'll probably say something about boys and their toys, shake her head and go back to whatever she was doing. She's gotten used to it now.
-
Custom Detolf Shelf
BlrwestSiR replied to BlrwestSiR's topic in LSM 1/35 and Larger Work In Progress
A Bf 110 won't fit unfortunately. I tried my Dragon one in it and the wingspan is just slightly too big. I haven't tried my Mosquito but that fits in my Bësta so I'm ok there. That's where I've stuck the Bf 110. It's a lot better than on top of a model box in the stash. Here's the Bësta with a couple F-4s and the Mossie in it. Here's the Bf 110 on its shelf. If they still made those doors, I'd have bought more and stuck with these. I'd swap out the lower doors for the glass ones.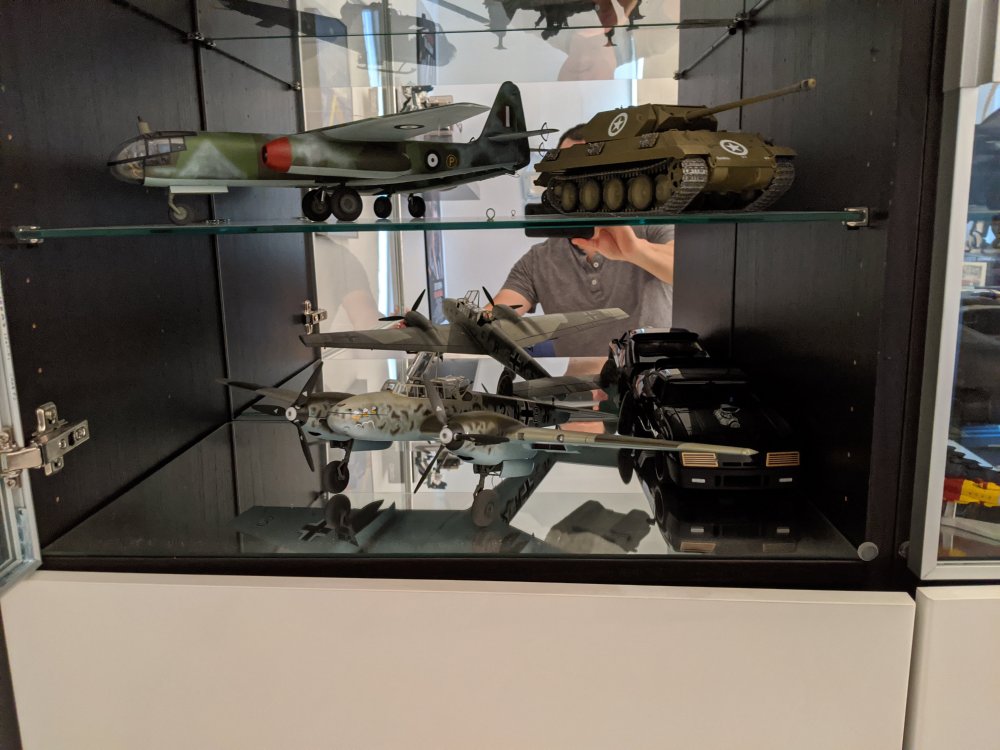
- 42 replies
-
- 4
-
-
- ikea
- display case
- (and 1 more)
-
We could make it a true group build. Everyone picks a car/ locomotive....
-
Custom Detolf Shelf
BlrwestSiR replied to BlrwestSiR's topic in LSM 1/35 and Larger Work In Progress
A T-33 with tip tanks just fits but it pretty much takes up one half so I've put it in my original single Detolf. For the grooves, I used a 3/16" bit to match the thickness of the glass. Just in case anyone wanted to know the size.- 42 replies
-
- 2
-
-
- ikea
- display case
- (and 1 more)
-
Custom Detolf Shelf
BlrwestSiR replied to BlrwestSiR's topic in LSM 1/35 and Larger Work In Progress
Well, I've got 5 more (2 Tamiya, 3 PCM) in the stash so I'll be able to fill that gap and then some.- 42 replies
-
- 2
-
-
- ikea
- display case
- (and 1 more)
-
Custom Detolf Shelf
BlrwestSiR replied to BlrwestSiR's topic in LSM 1/35 and Larger Work In Progress
Thanks! I'll have to get some of those. Thankfully Lee Valley has a store near us so it's easy to find these things.- 42 replies
-
- 2
-
-
- ikea
- display case
- (and 1 more)
-
Happy birthday Smitty! Carl
-
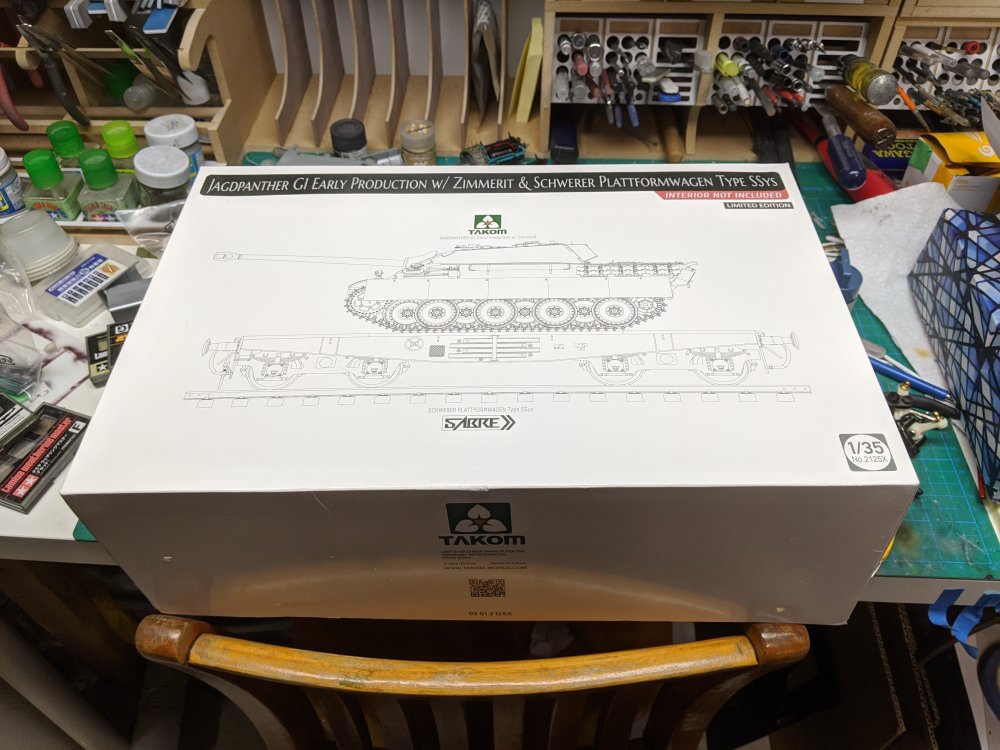
It took 6 months to get here from China but my SSYS platform car finally arrived. It even came with a bonus Jagdpanther.