BlrwestSiR
-
Posts
9,139 -
Joined
-
Last visited
Content Type
Profiles
Forums
Events
Gallery
Everything posted by BlrwestSiR
-

Roger's Large Scale RAAF/RAN Research thread
BlrwestSiR replied to Artful69's topic in Modelling Discussion
It was around $70 for the conversion work and one set of masks plus the price of the decal sheet. Figure $35 for a second set of masks. Certainly it would be possible to upscale other markings too. For the B canopy, completely crazy idea but how close is the Trumpeter F/G canopy to the B? Maybe when your F kit arrives see how close it is? Might be easier to get one of those. Carl -
Looking forward to your second build of this kit. I hear you on the burn out bit. I had that happen to me as well but on the Tamiya one. Shouldn't have tried building two of them at once. Carl
-
I had to check my build of Grim Reaper to see what I did with the flaps. Definitely down.
-
Roger's Large Scale RAAF/RAN Research thread
BlrwestSiR replied to Artful69's topic in Modelling Discussion
Rog, I took a closer look at the 1/48 sheet and think it may be possible to have it upscaled into a mask set. I did something similar for my CF-18 markings. I'd have to get the 1/48 sheet first and get it scanned and then converted. The nice thing about doing it that way (IMO) is that it would probably be easier to paint the large orange sections rather than applying such a large decal. Let me know if you're interested in that approach and maybe we can get a couple sets done at the same time. Carl -
Roger's Large Scale RAAF/RAN Research thread
BlrwestSiR replied to Artful69's topic in Modelling Discussion
I checked in and it's seems they didn't get enough interest so they're not moving forward with the 1/32 release which is a shame. Would have been nice to have done a hi-vis Tiger Meet plane to go with my CF-18. -
Depends on the subject matter for me. Most sci-fi fighter kits are 1/72 so I don't have much choice there. At least they're in a constant scale. Sci-fi capital ships are all over the map. Bandai's Death Star is 1/2700000 for example but they have the Millennium Falcon available in 1/350, 1/144 and 1/72 so naturally I have all three sizes. Aircraft I pretty much stick to 1/32. My boys are happy to pillage the smaller scale kits I still have. Cars, I've got some 1/24 but have a bunch of 1/12 kits. Carl
-
Happy birthday Harv!
-
Have fun Harv! Remember bit to drink the tap water. I suggest bourbon instead. Carl
-
Hasegawa 1/32 Ju 87D-3, "T6+CT"
BlrwestSiR replied to Mikester's topic in LSM 1/35 and Larger Work In Progress
Just catching up on this build. Really nice paint job there Mike. Still amazed at how big the Stuka was. And thanks for the Yahu IP panel too! Carl -
Roger's Large Scale RAAF/RAN Research thread
BlrwestSiR replied to Artful69's topic in Modelling Discussion
Rog, I saw this posted on Britmodeller and thought of you. https://roningraphicsaustralia.com/shop?olsPage=products%2F1-slash-32-raaf-2-ocu-75th-anniversary-hornet-2017-decals I'm tempted to get a set myself since they're Tiger Meet markings. But I'd have to find a kit as well after having sold mine. Carl -
T face.....................?.?
BlrwestSiR replied to Sir Desmond Glazebrook's topic in Modelling Discussion
If it's in reference to Eduard's canopy masks, those include masks for both the inside and outside of the canopy. Why they named them T Face, I dont have a clue. Carl -
I was just trying to figure out what this boat was called so thanks for the timely post. I haven't the faintest idea on what would be needed to build the USN version but hopefully you find what you're looking for. Carl
-
Trumpeter Mig-15 project, not unbuildable!
BlrwestSiR replied to 1to1scale's topic in LSM 1/35 and Larger Work In Progress
Nice to see this built. As I said previously, my first attempt did not end well. Seeing this, I may have to give it another shot. Hope things go well with your father in law. Carl -
Looking good there Harv. Nice approach working from the inside out. I need to finish something (anything really) that's on my bench before I join you with my Phantom. Carl
-
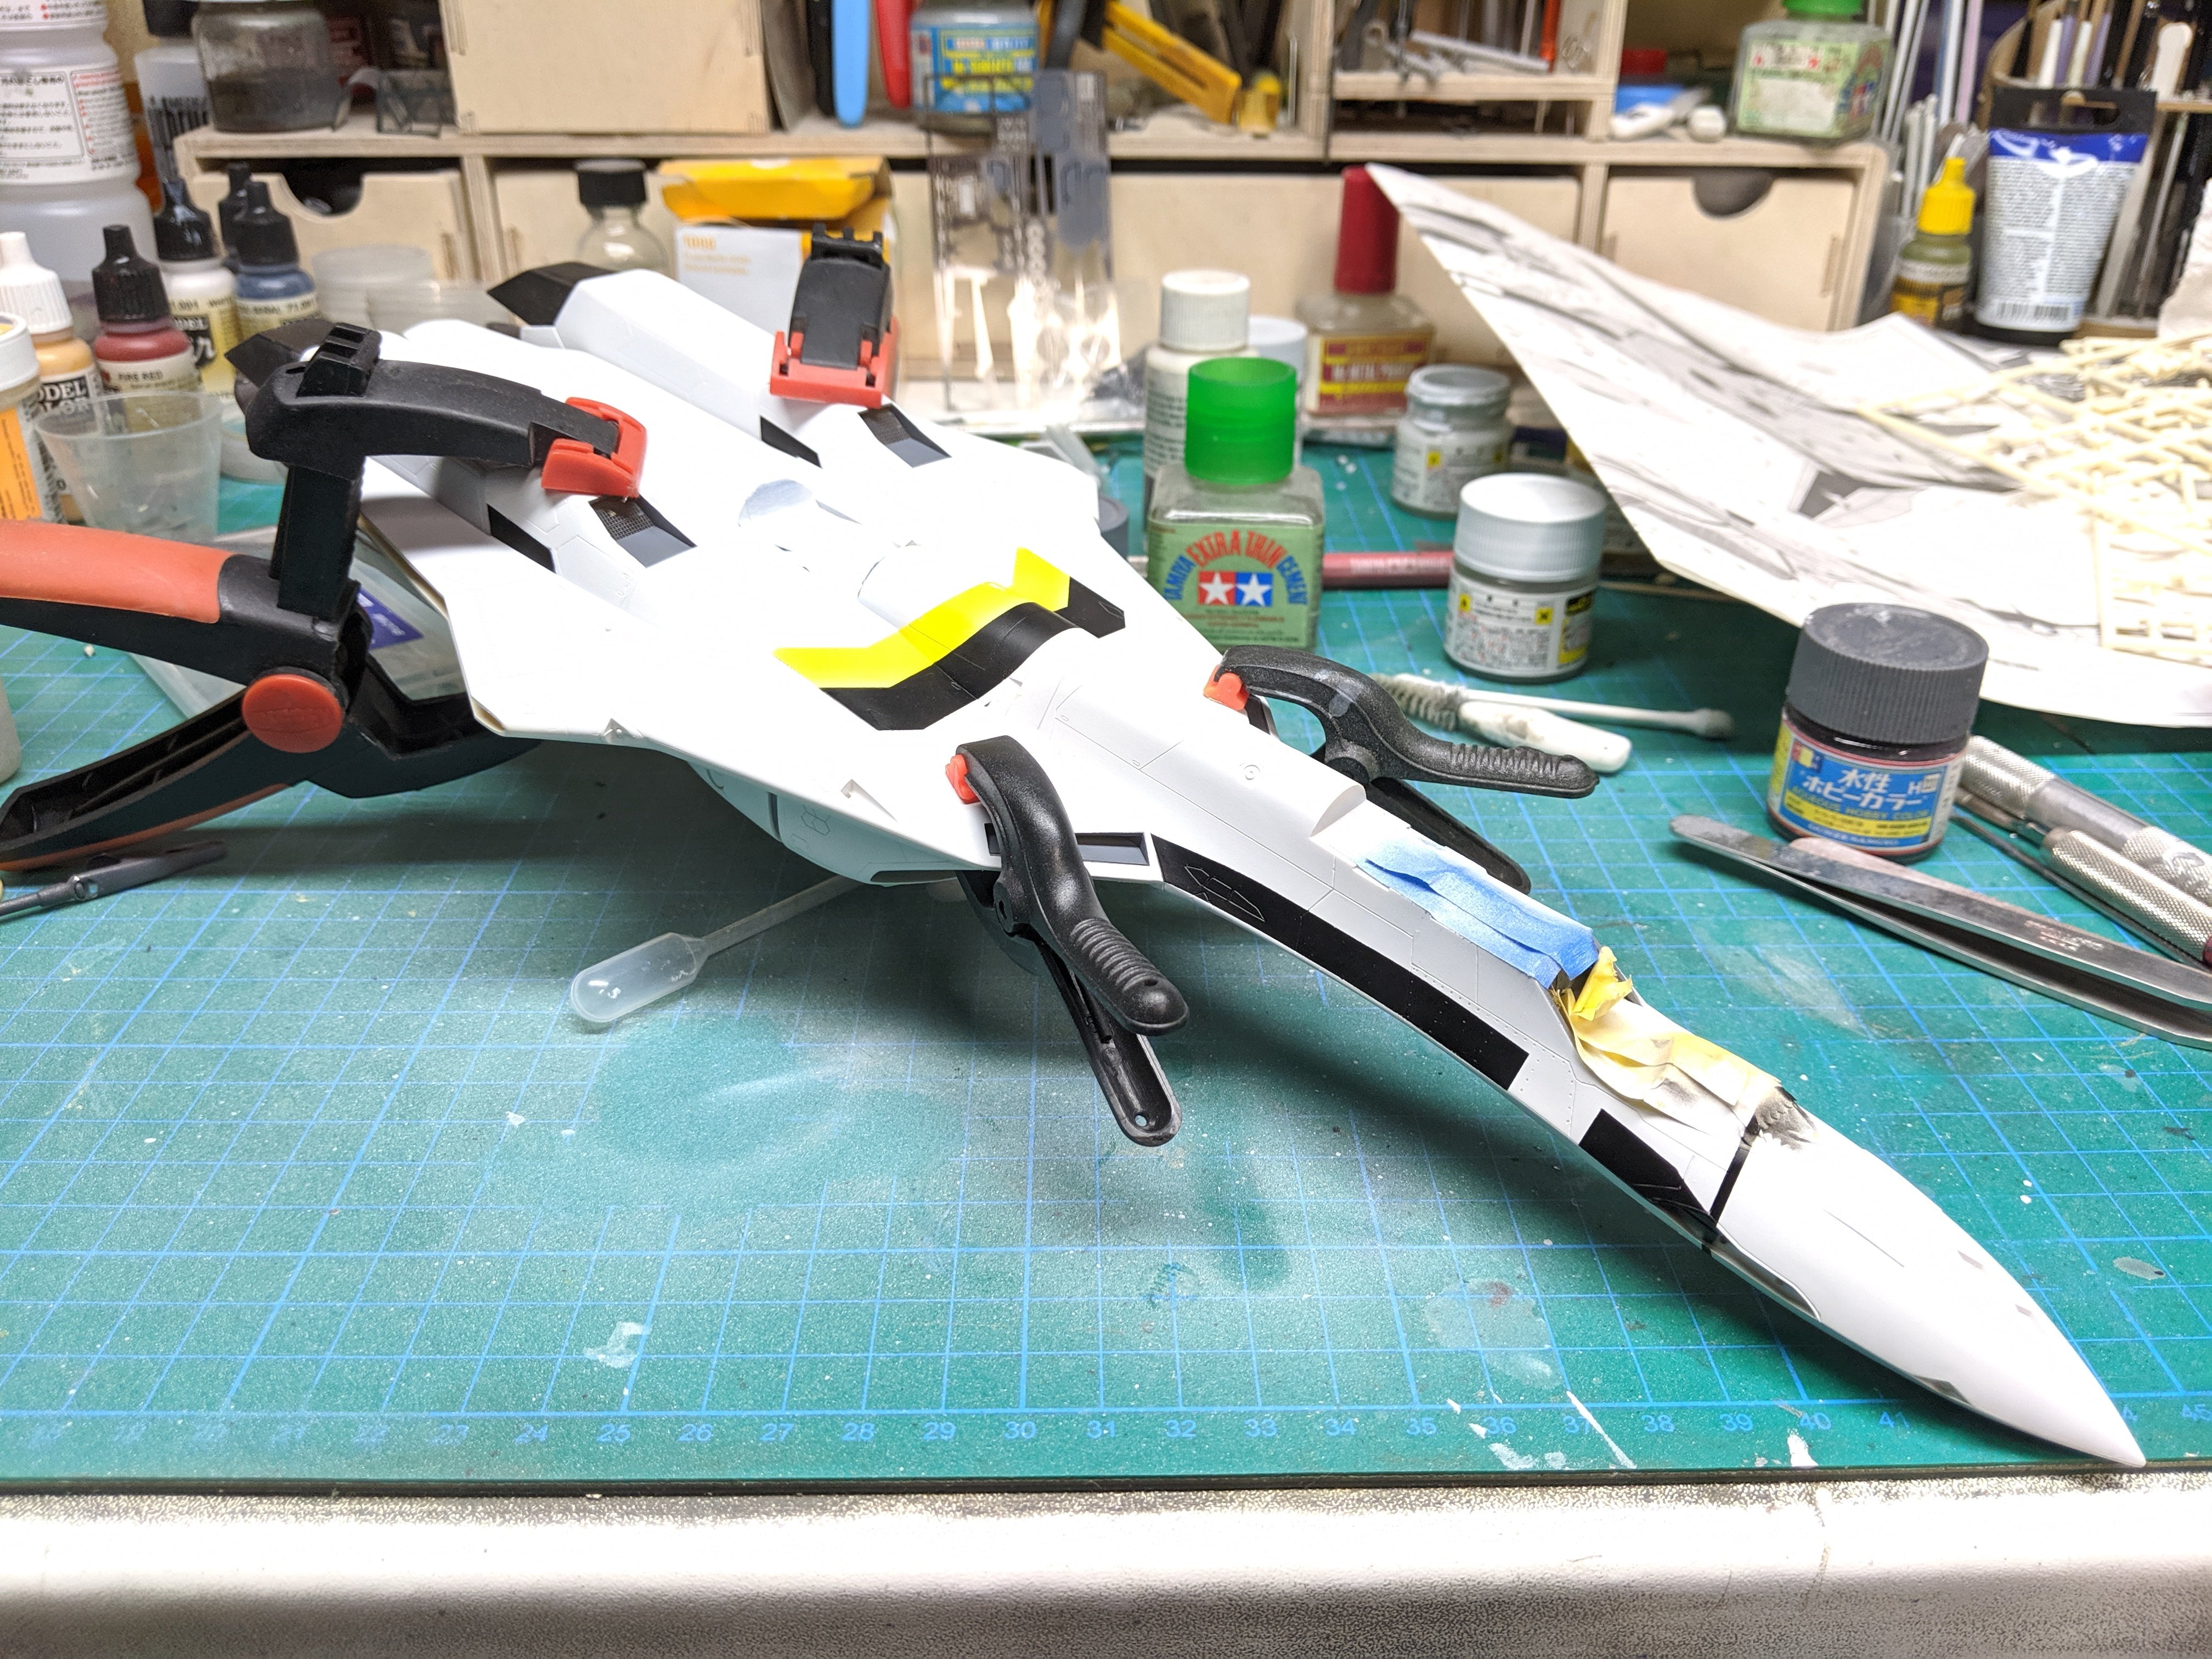
What is on your bench right now ? Share a picture :)
BlrwestSiR replied to Martinnfb's topic in Modelling Discussion
In conjunction with the arrival of my 1/20 Macross kit, I'm currently working on a more typical scale one. This is the VF-19 from the later series Macross Plus.
-
What is on your bench right now ? Share a picture :)
BlrwestSiR replied to Martinnfb's topic in Modelling Discussion
That's why I'm leaving my 1/72 kits for my sons. They have much better vision than I ever had. Nice job on your Spitfire Dale. Carl -
What is on your bench right now ? Share a picture :)
BlrwestSiR replied to Martinnfb's topic in Modelling Discussion
Rob, I built the Arado a couple years ago and really enjoyed it. Can't wait to see you work on it. If ZM do come out with one, I'll just have to build another. Carl -
Rog, I knew you'd like them. They're such a great design.
-
I still have a reasonably sized collection of Laserdiscs. I even have the last release of the original Star Wars films before George Lucas decided to make Greedo shoot first amongst other changes. I just need to grab a Laserdisc player from my folks.
-
That film is the reason I love the F-14. Even got it on BluRay. One of the F-14s I have in the stash will be a VF-84 one from the film. Carl
-
They also put this warning on every corner of the shipping box:
-
Here's a pic of the VF-1S but kitted by Hasegawa. The F-14 influence in probably more evident in the standard version.
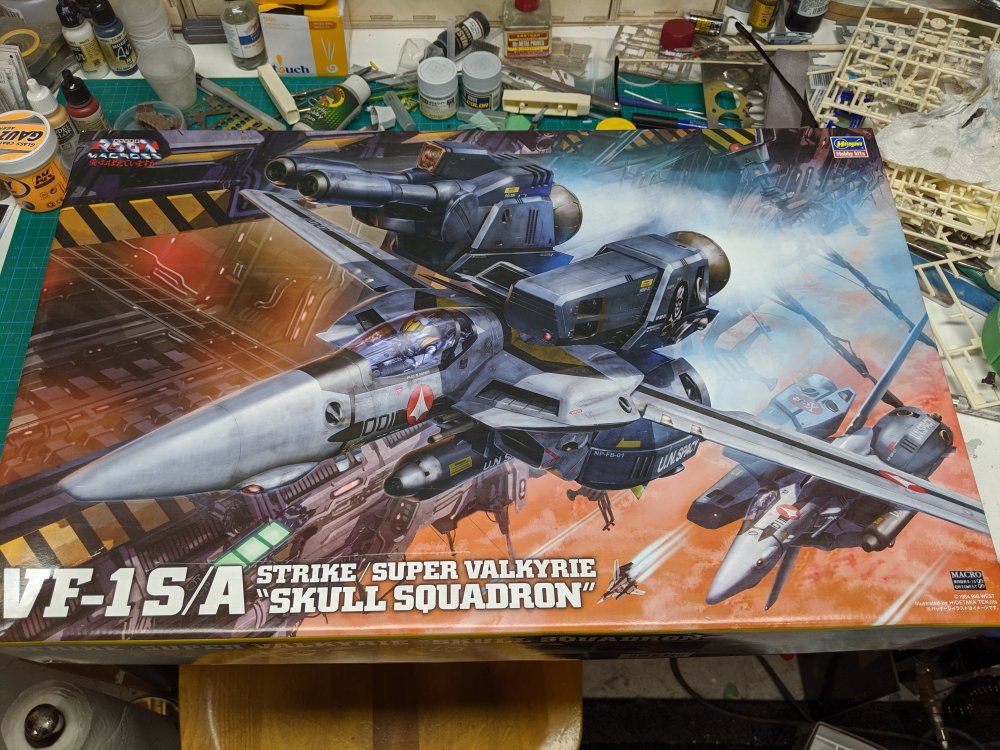
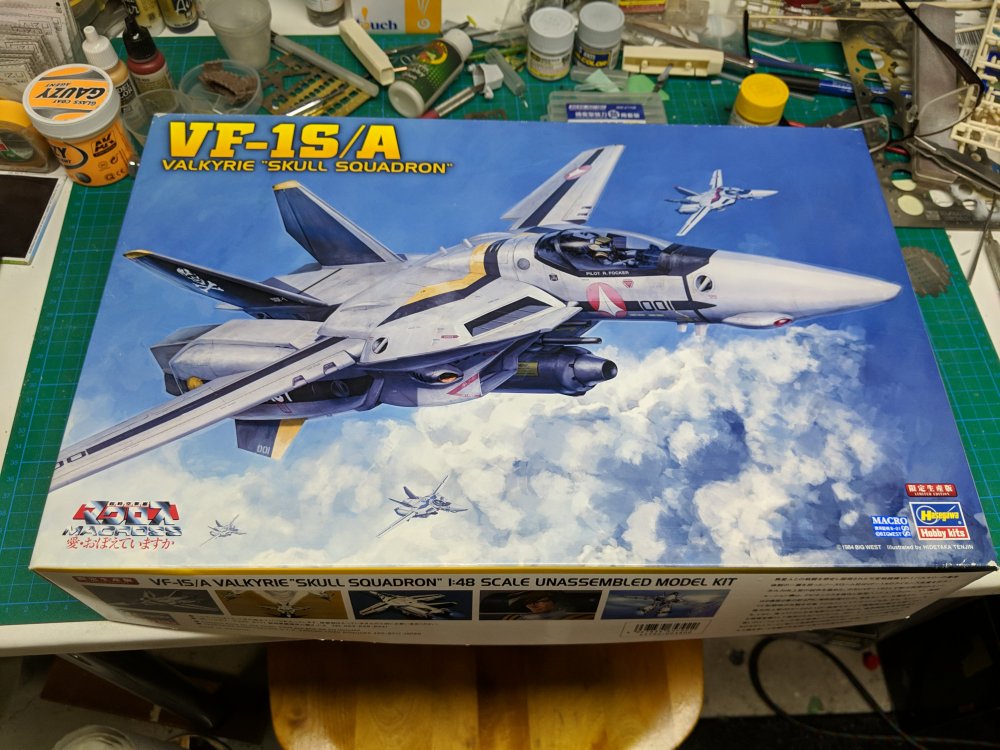
-
The VF-1 is from a Japanese anime called Macross that came out in 1982. It was edited and dubbed into English and renamed Robotech (which made a complete travesty of the show). Yup, the designers were heavily influenced by the F-14. The swing wings, twin tails and even the Jolly Rogers Skull and Crossbones. It can basically transform into a giant humanoid robot when needed and is space flight worthy. The Super/Strike versions are basically up- armoured and -gunned versions. Here's a link to the movie version if anyone's interested. There's some great animation in it which was all hand drawn. No CGI in this one. The song at the end became a huge hit in Japan. As for Top Gun, someone redid the intro using the Too Gun anthem.
-
Forgot, one more pic of what the model looks like: