BlrwestSiR
-
Posts
9,225 -
Joined
-
Last visited
Content Type
Profiles
Forums
Events
Gallery
Everything posted by BlrwestSiR
-
That chalk looks vaguely familiar but not something I've used before. Neat to see how it works. The antenna is a nice touch. Something I've usually left off my builds. But your description on how to do plus PW's ( I think it was him?) from earlier helped demystify it for me. Might have to try it on a future build.
-
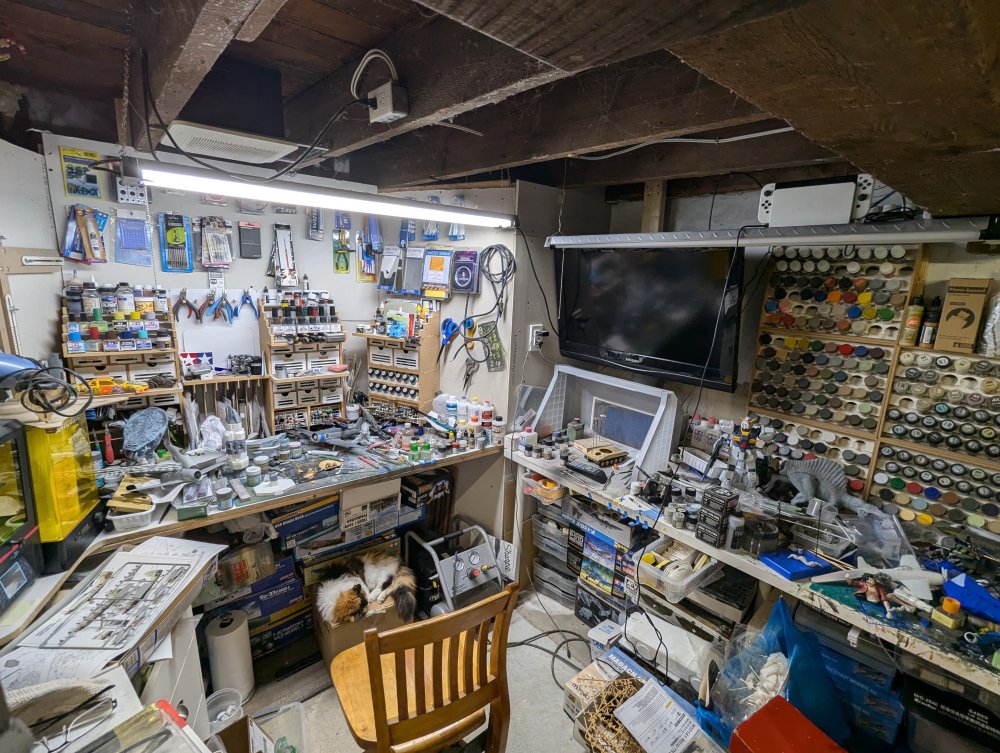
Kevin, I have 2 benches. One is 8 ft long but my sons have taken over half. The other is about 4 ft as well. But there's lots of floor space. Well, there would be if it wasn't full of open model boxes: You can see where my carpet monster likes to sleep when she's not in my lap.
-
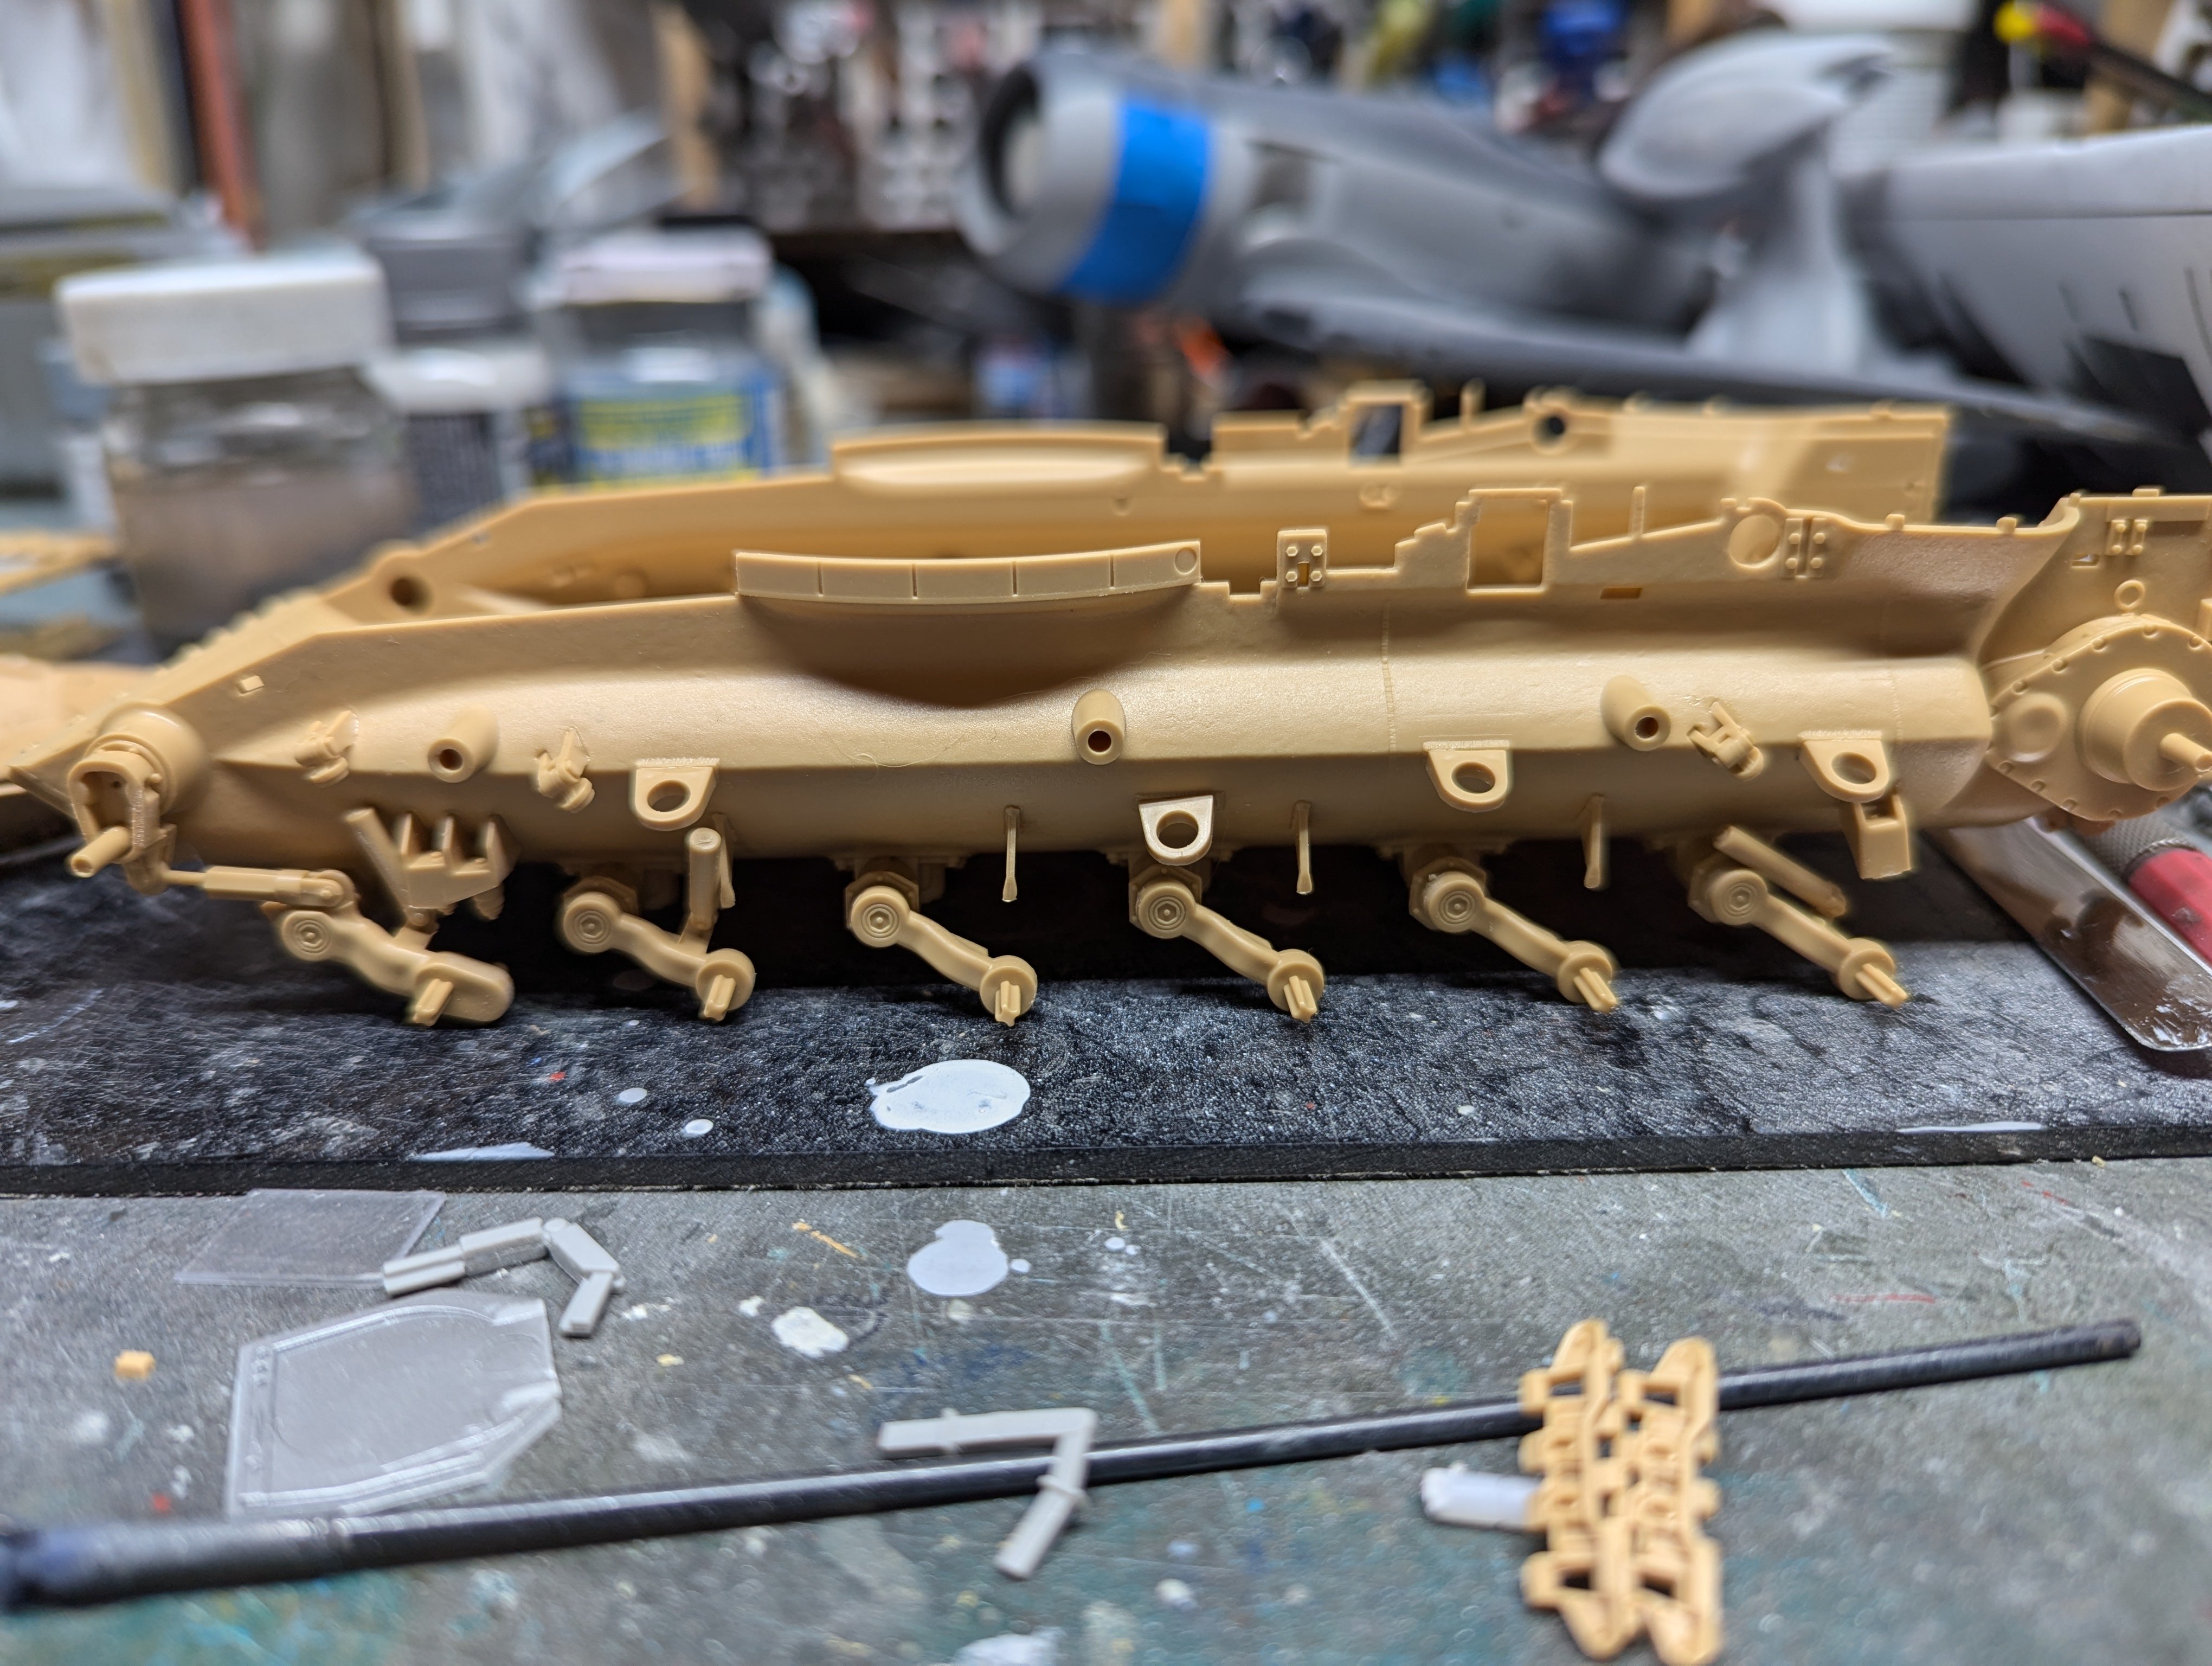
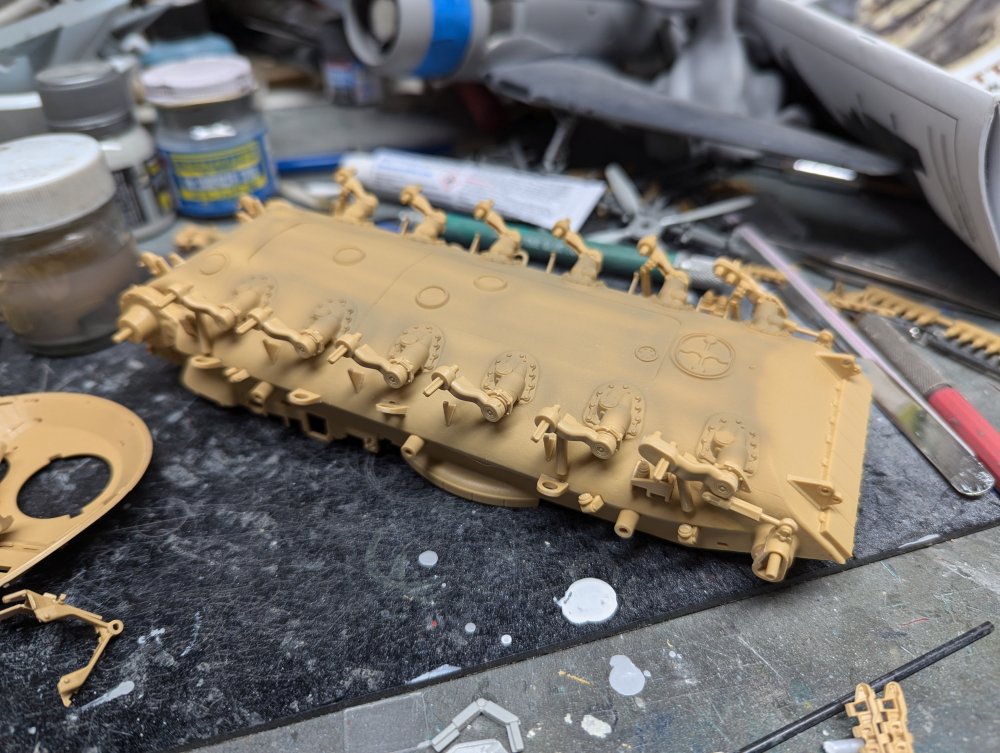
Suspension is now complete. Meng has given the kit working torsion springs. I'm not too sure about them as the suspension arms don't seem to sit level. Worse case, I just glue the arms in place.

-
See if you can get a case discount John!
-
I've got the decals for Big Mac Junior already. Or at least I did.
-

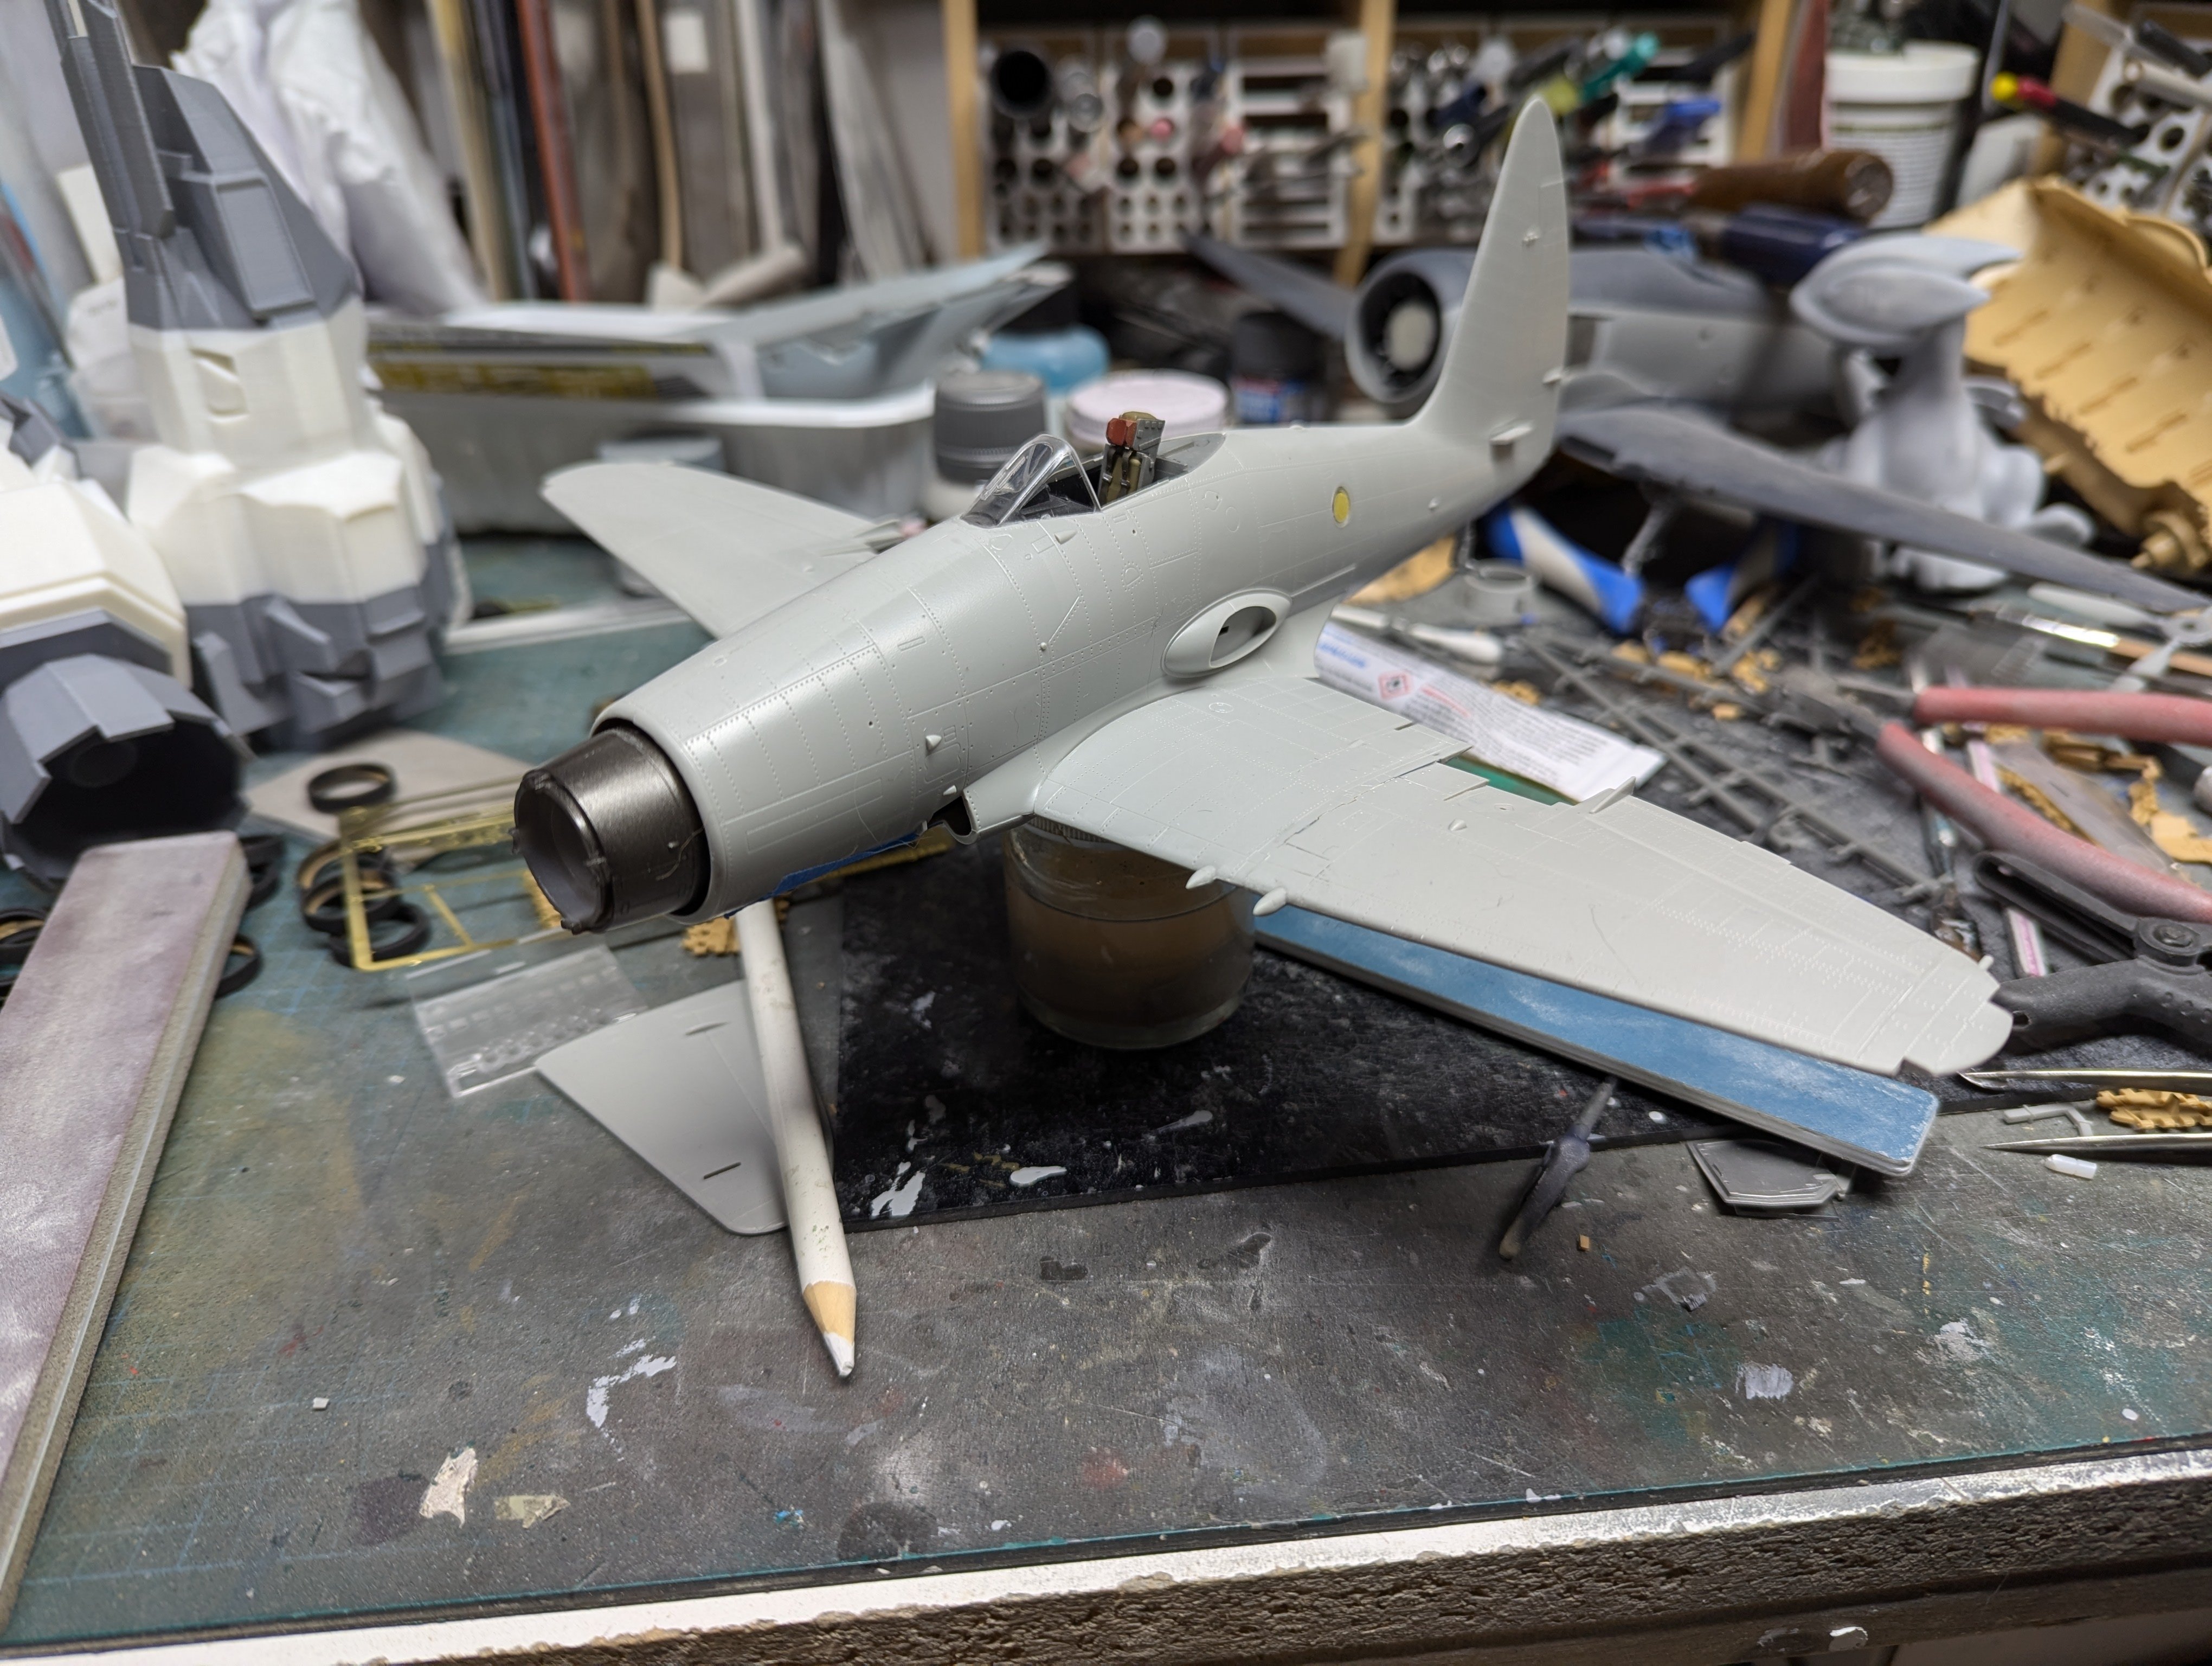
Westland Wyvern S.4 late- 1/48 Trumpeter
BlrwestSiR replied to BlrwestSiR's topic in The Sandbox Group Build.
Wings are on. The fit was very good. Pretty much no gaps on it. The airbrakes are done as well. The instructions say they're deployed with the wing unfolded so works for me.
- 50 replies
-
- 10
-

-
Now this will be different.
-
Nice assortment there Rob. I'd be curious to see what the Salvino's kit is like. Looks like they could be nice.
-
Glad to hear you have power back Scott. Chris, hopefully your cousins aren't too far behind that and get help and power back too.
-
Hubert, thanks for the description of the various steps involved. We recently got a Bambu Labs A1 which is a filament printer. Our youngest has been having fun downloading and printing files that are ready made. Hopefully he gets into the design side of things and he can learn how to make his own stuff.
-
At the moment, sometime next year.
-
Special Hobby 1/32 -Tempest Mk.VI -Egypt 1949-Finnished
BlrwestSiR replied to KevinM's topic in The Sandbox Group Build.
Very nice cockpit Kevin. I didn't know there was a Tempest VI, just the V and the II. Carl -
That looks really nice there Rog. Great to see so much progress on your place.
-
Tamiya 1/32 F4U-1D/FG-1D Corsair
BlrwestSiR replied to JohnB's topic in LSM 1/35 and Larger Work In Progress
Disappointing that the checkerboard aren't included. Hopefully you can come up with a workable solution. I checked out the link and there is a small blurb that says no checkerboard included. But easy enough to miss. You have to click on Item Description from the seller and then it pops up.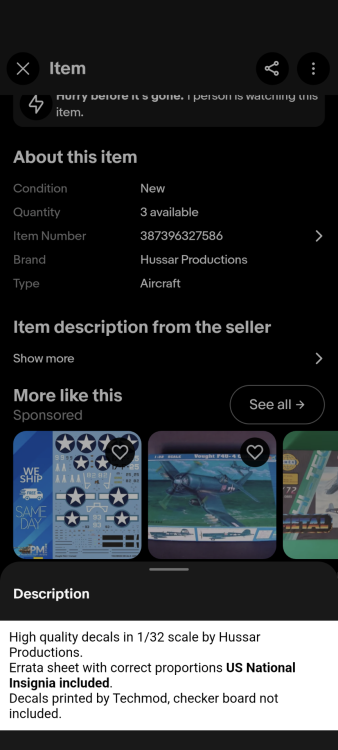
-
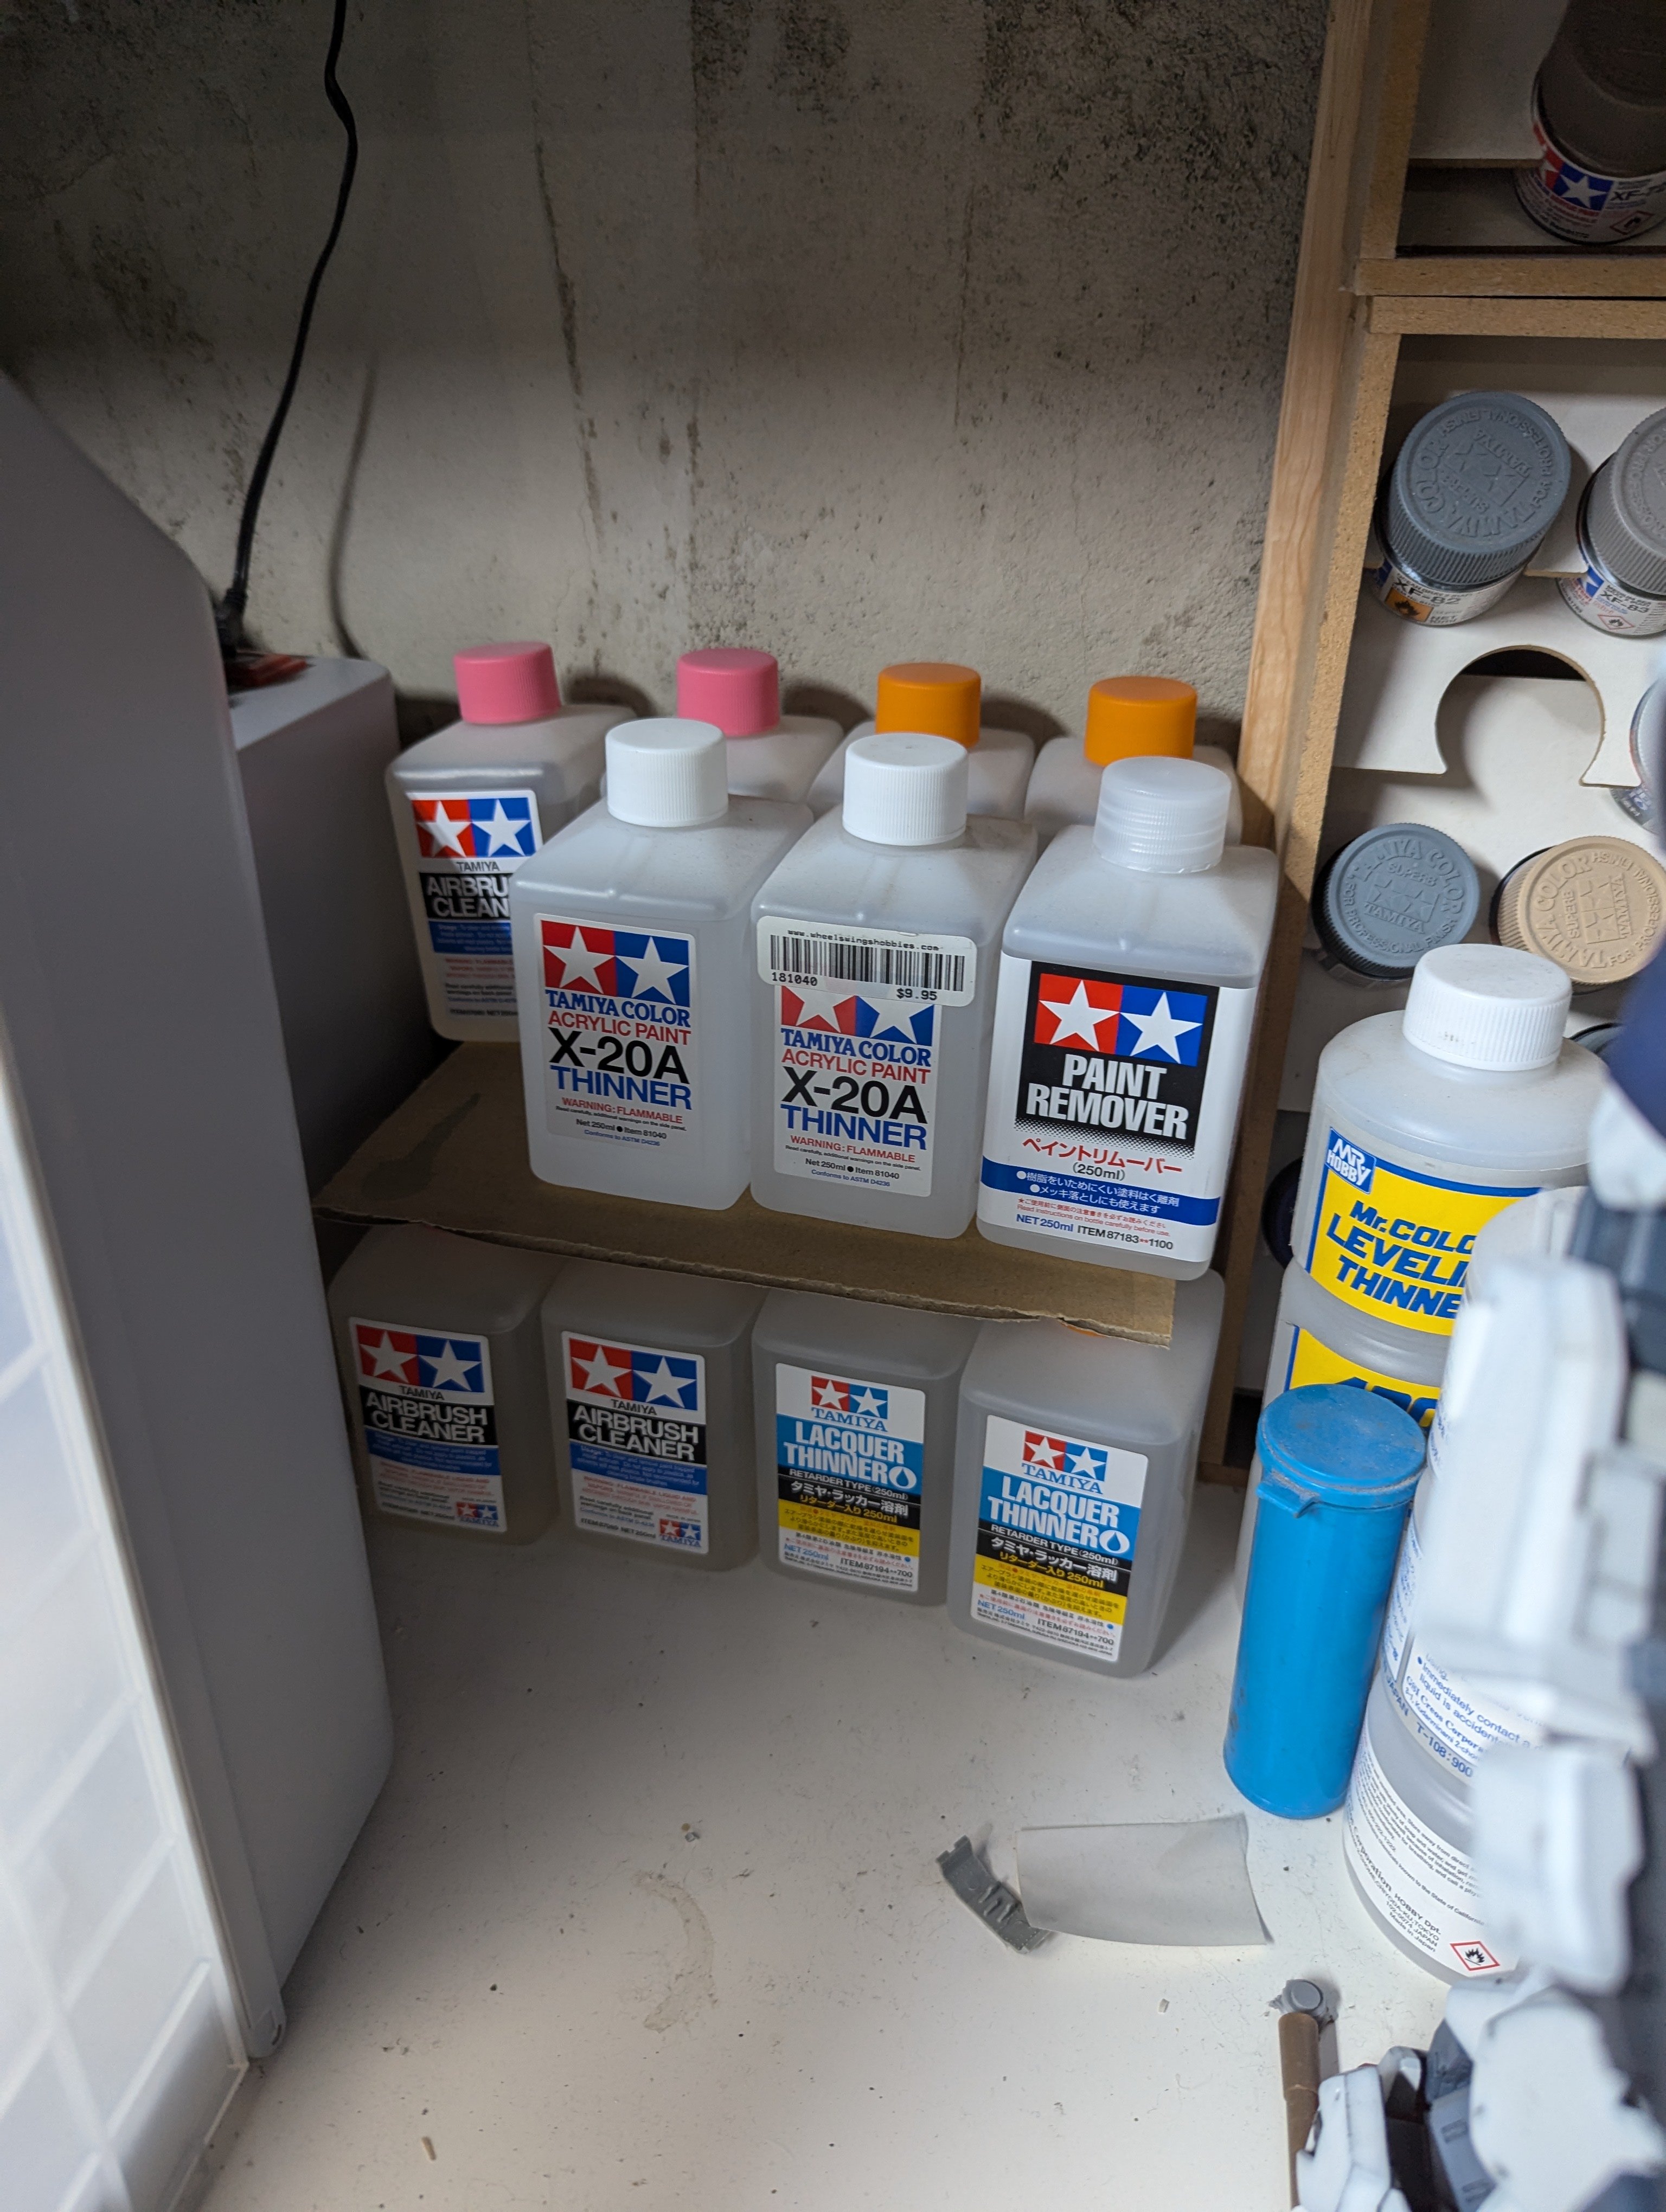
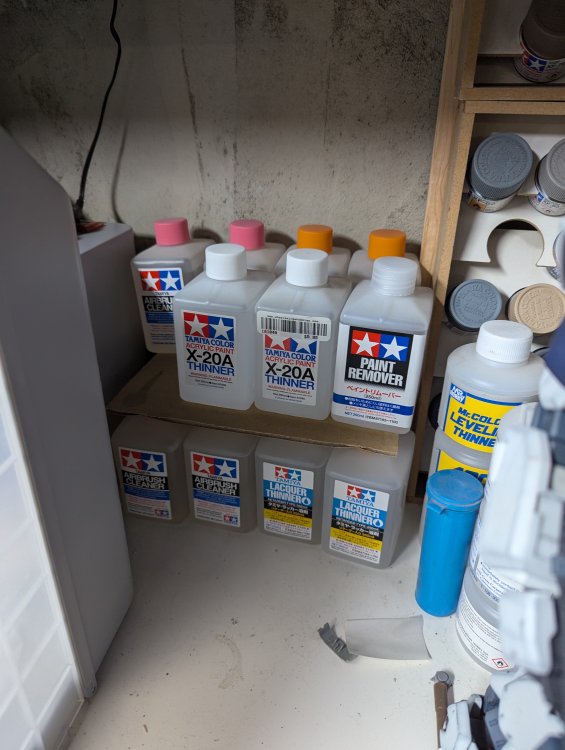
Yes, it's Tamiya's version of Mr Color Leveling Thinner. Works pretty much the same way. I didn't know Tamiya Airbrush Cleaner cleans off CA. I'll have to try that next time.
-
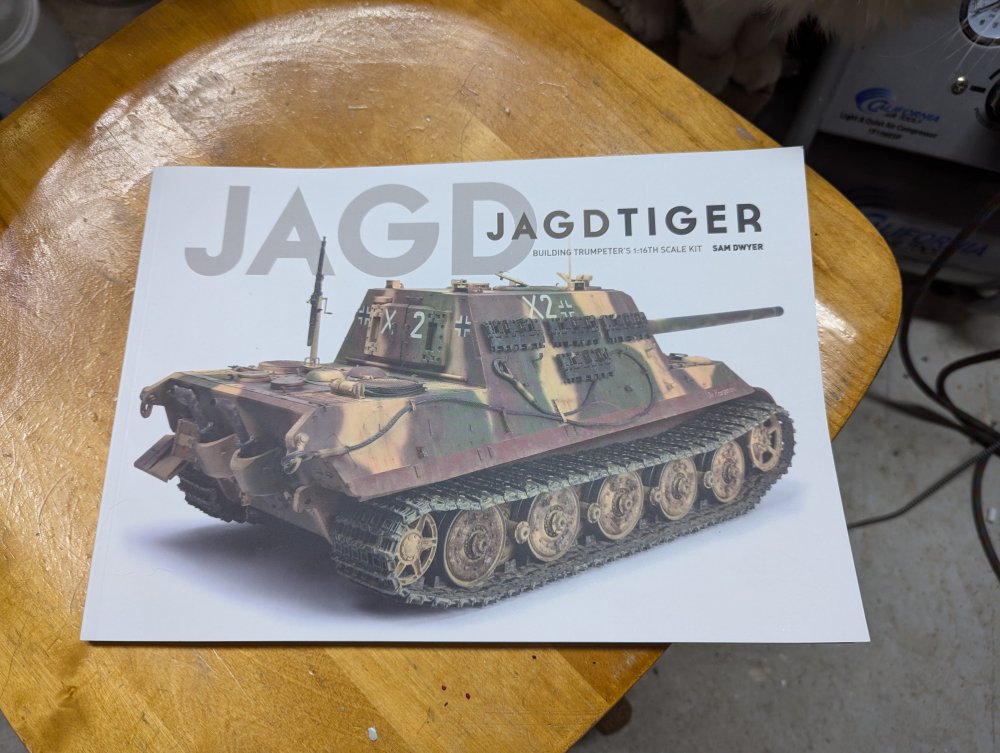
Odd about the white. I haven't had that happen before. Whenever one of the local shops does a sale, I stock up on thinner and cleaner. I think I'm good for a bit. I used to use Mr Color Tool Cleaner but the price doubled so Tamiya Airbrush Cleaner it is. As for new stuff, I got a book to help with building the big Trumpeter Jagdtiger kit.
-
Paul, I see you buy Tamiya supplies the same way I do.
-
Big Mac is one of the planes I'd like to build.
-
Wow, you can really see the water level change.
-
Stunning detail on that rotor hub.
-
Someone on LSP mentioned that there should be an announcement tomorrow at the Eduard show. So here's hoping.
-
Looks great there Dave. Nice to see you're making some nice progress.
-
There's a post over on Britmodeler saying that Eduard has announced a new tool P-51B in 1/32 for next year. https://www.britmodeller.com/forums/index.php?/topic/235145368-eduard-new-tool-p-51bc-in-32nd-scale/ Anyone else have any additional information? If true, I'd be up for at least a couple. Csrl
-
Wow Scott, hopefully that's the worst of it for you. Stay safe in the meantime. Carl