BlrwestSiR
-
Posts
9,138 -
Joined
-
Last visited
Content Type
Profiles
Forums
Events
Gallery
Everything posted by BlrwestSiR
-
Looks like the Post-It notes worked out ok. Now back to your regular programming.
-
 Nice work on the wash. It looks a bit dark in spots but these planes got dirty and weathered. I definitely don't think it looks overdone. Mig make a line of panel washes in different colours. I have a few of them and they do provide a more subtle effect. https://www.migjimenez.com/en/280-panel-line-washes Or like Rob suggested, make your own using oil paints. Probably more cost effective in the long run.
 -
1:35 MiniArt M3 Stuart Initial Production - full interior
BlrwestSiR replied to Fran's topic in Armour/AFV Reviews
Thanks for the review Fran. One nice thing about the kit having an interior is you can do one of the British ones used for recon later in the war where they took the turret off. Made it faster from the lower weight and gave it a lower profile too.- 5 replies
-
- 2
-

-
- miniart
- full interior
- (and 2 more)
-
LSM Modelling News 2023 merged Fran and Artful69’s threads
BlrwestSiR replied to Fran's topic in Modelling Discussion
I could go for a 1/32 B-58 as well. As long as it isn't as much as a used car anyways. -
Glad to hear that's all it was.
-
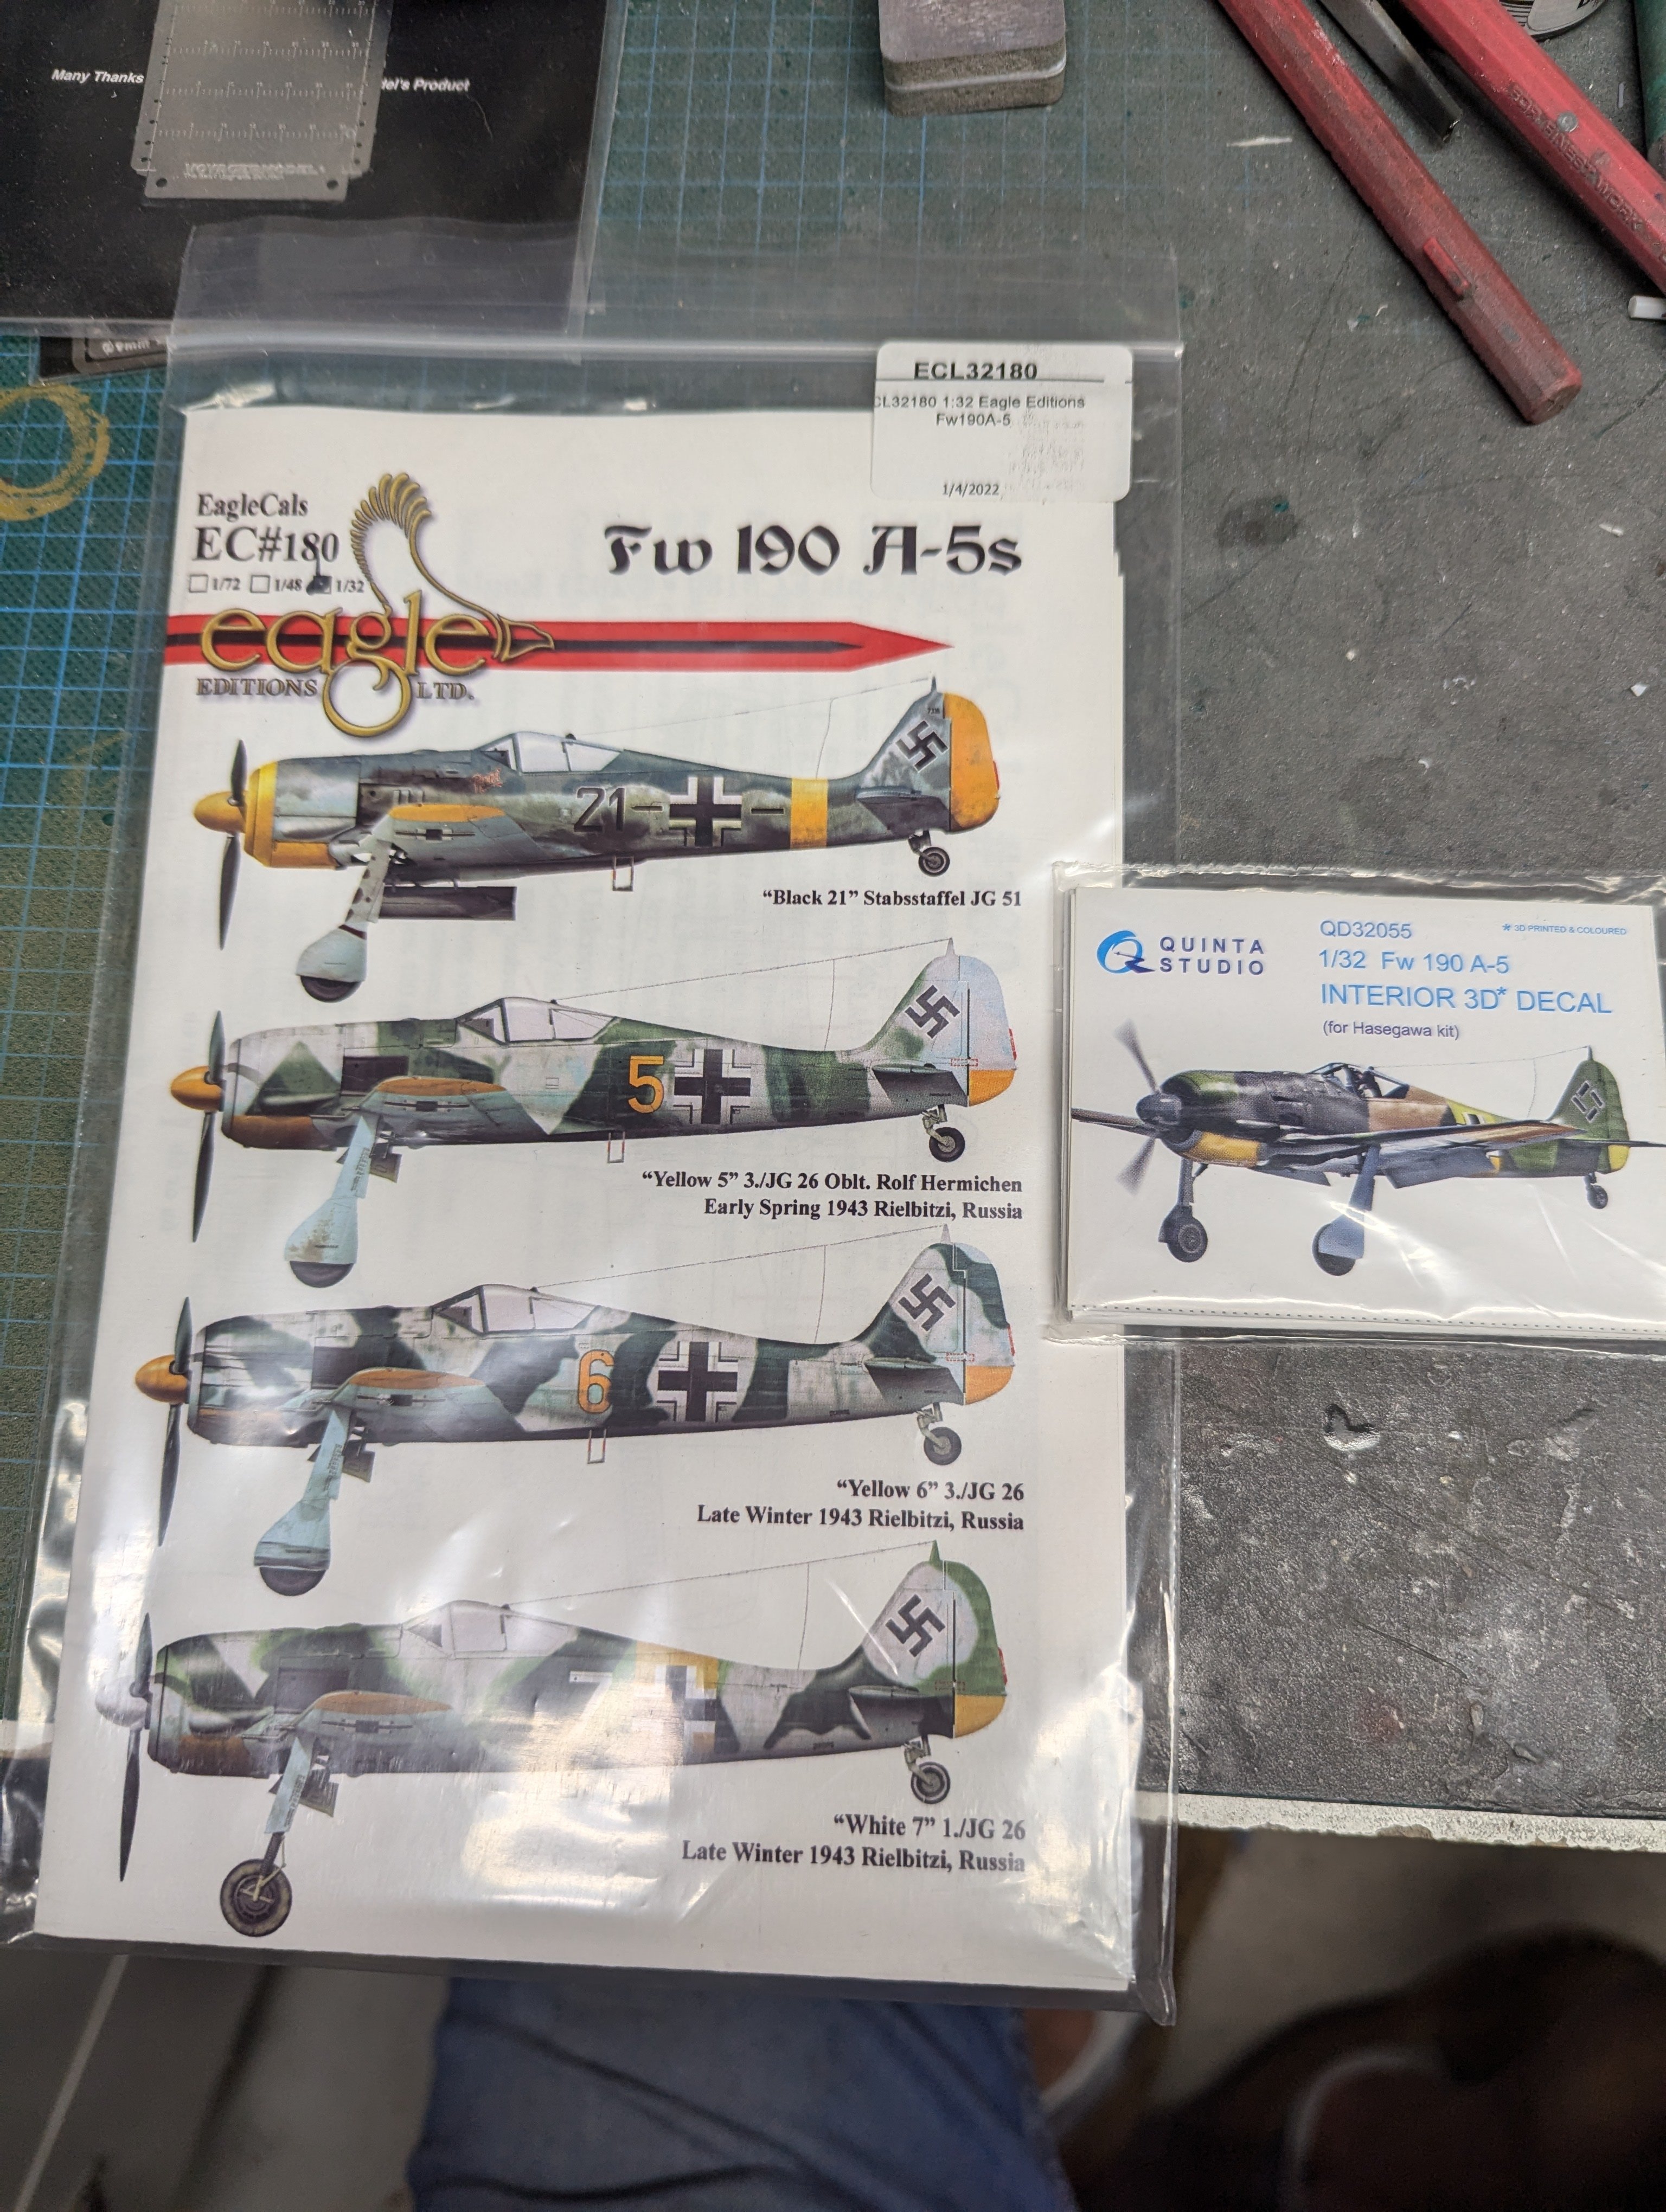
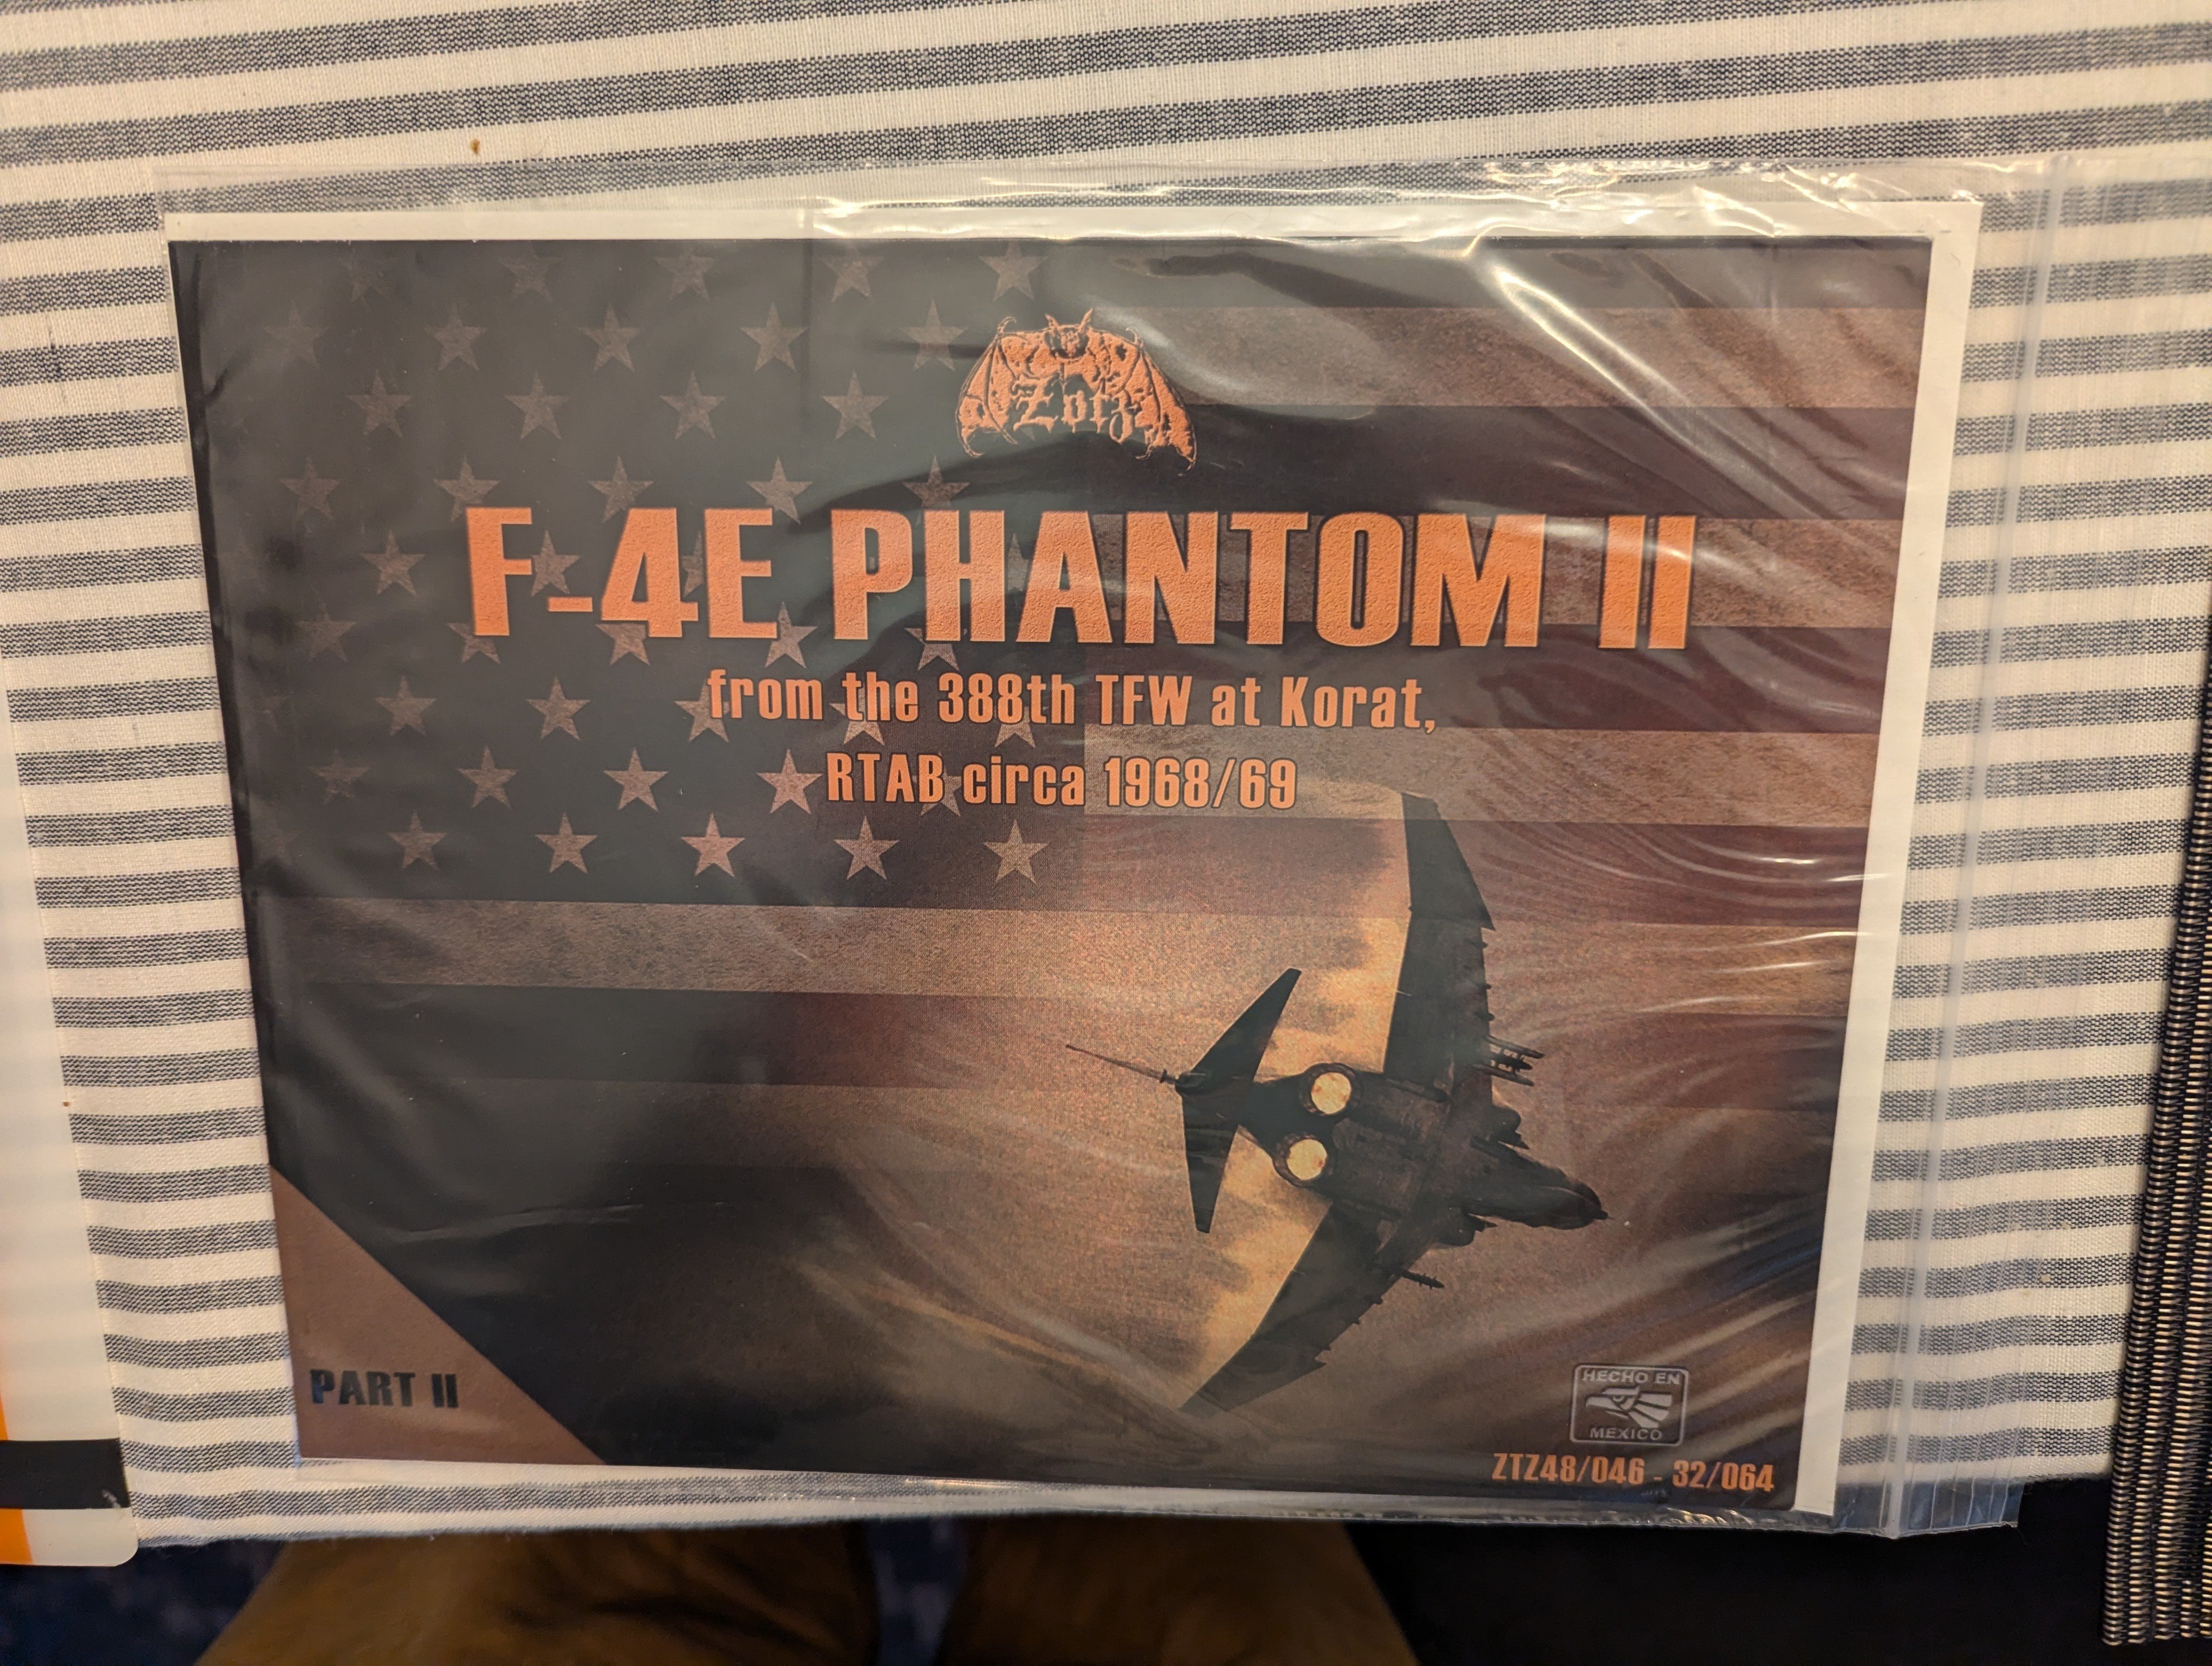
Dave, it was great to meet you and Tim, who introduced me to Gary from GT Resins. I also met the folks behind Werner's Wings, Flying Leathernecks and Andy (again) from AndyHHQ, the gent behind ValueGear. Judy from Eagle Edition. Just so many folks that are part of the hobby in one form or another. As for the ZM F-4E late, I had to buy one of those as I love that marking scheme. Edward actually won a model in the IPMS draw and someone else who did, gave their prize to Edward as it didn't interest them. He had a great time too. Everyone was so great with him. He got a bunch of free stuff from shops. I think they were happy to see a kid that was interested in the hobby.
-
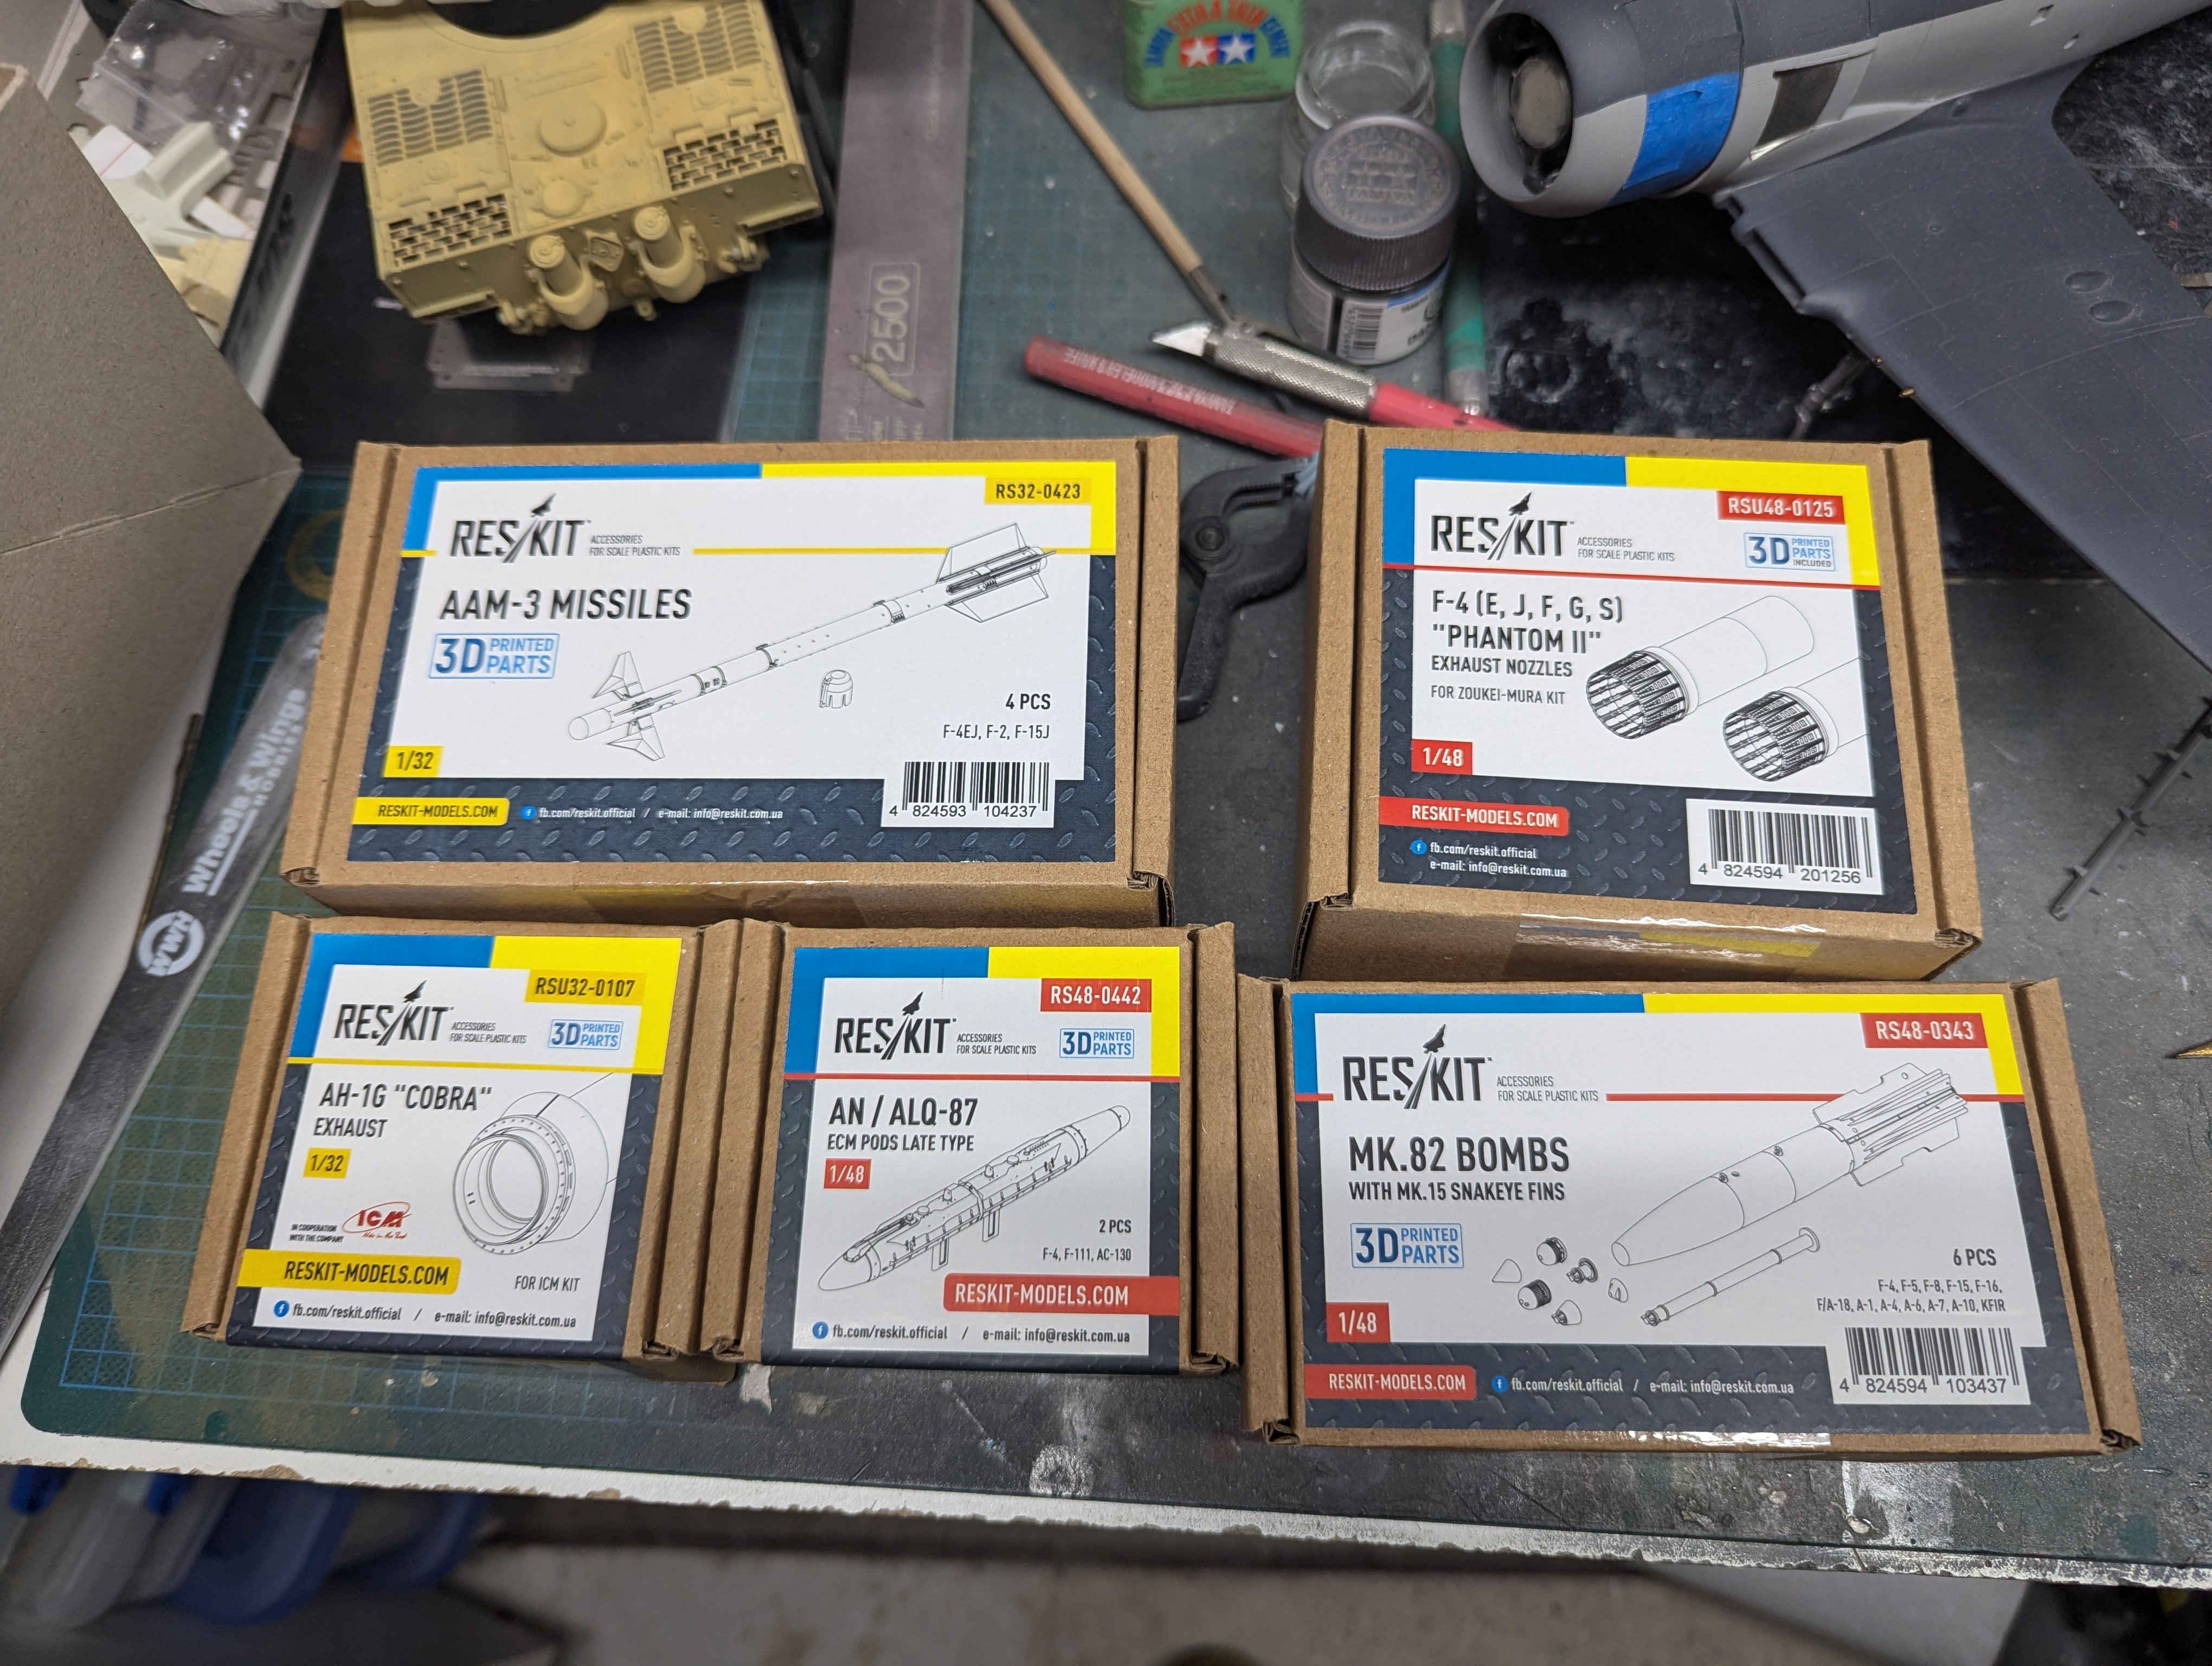
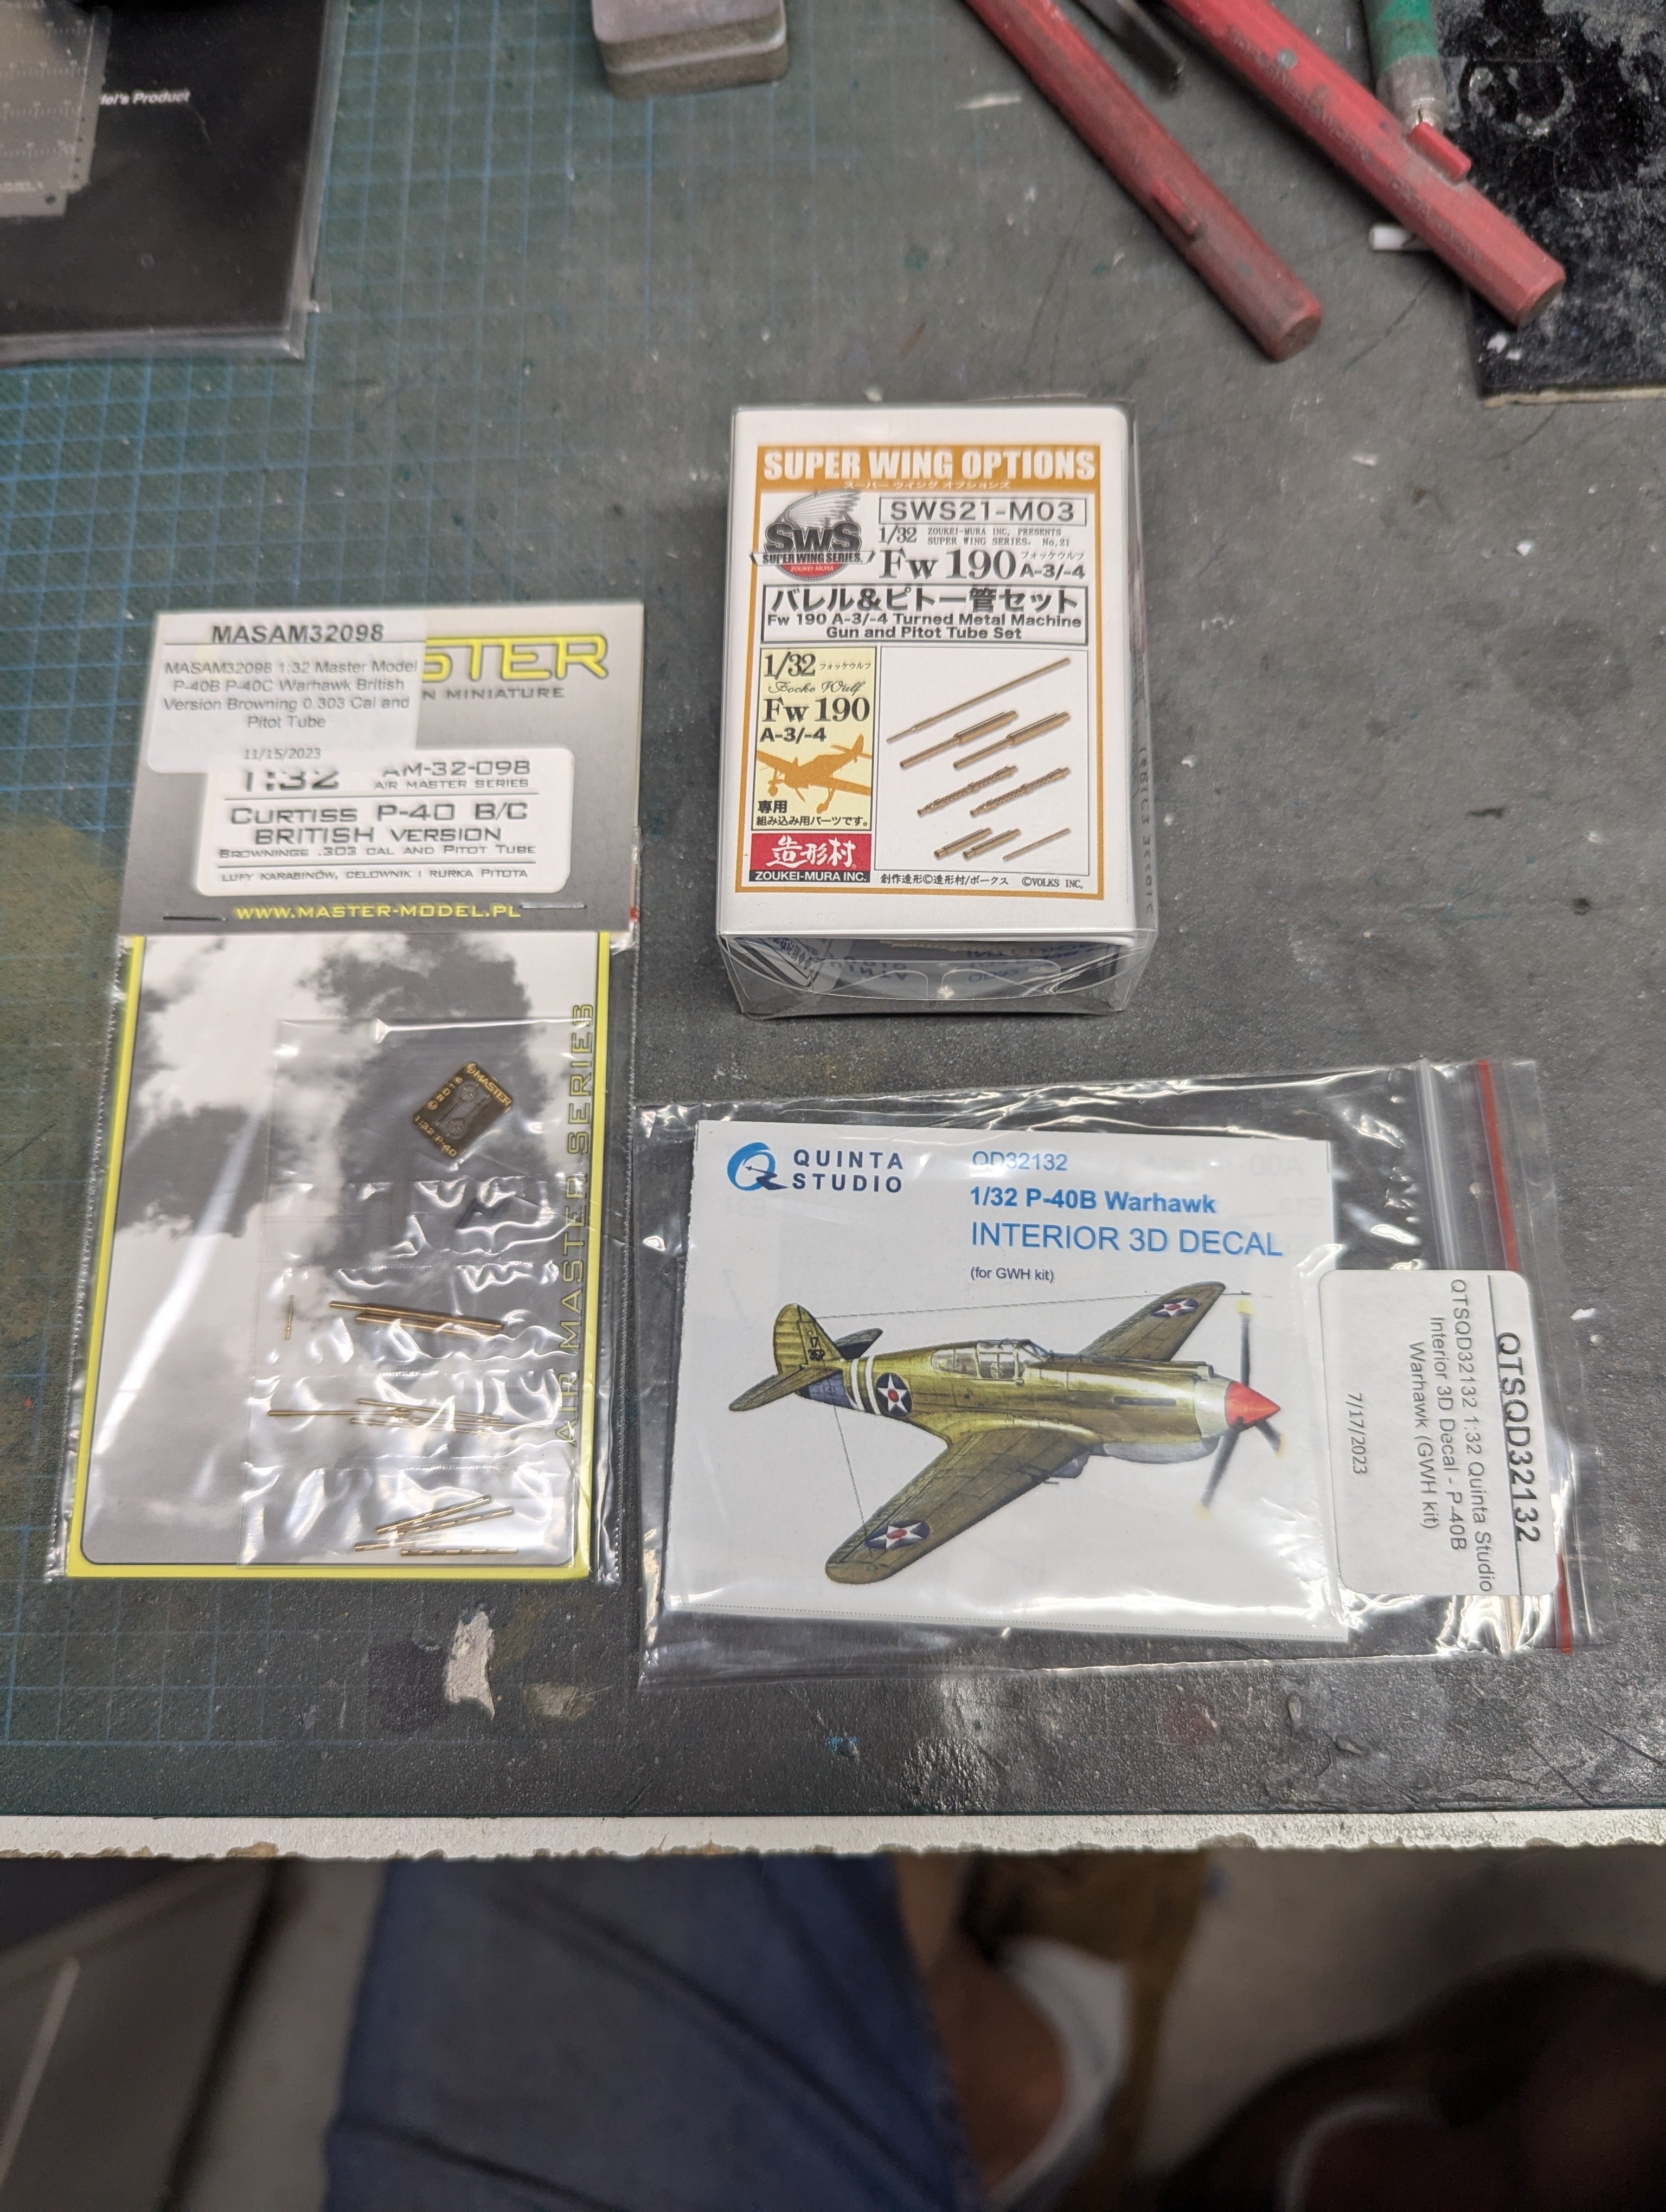
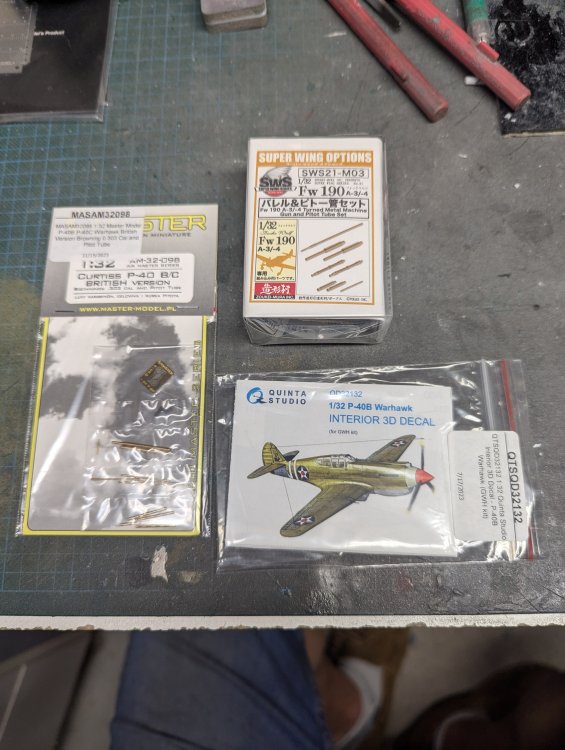
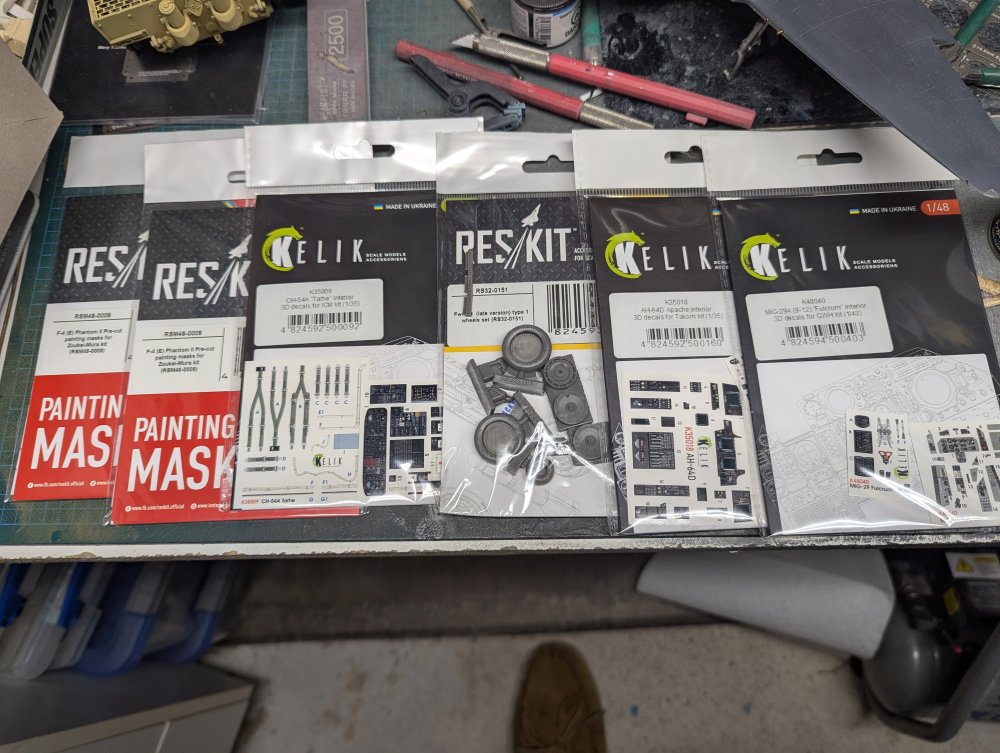
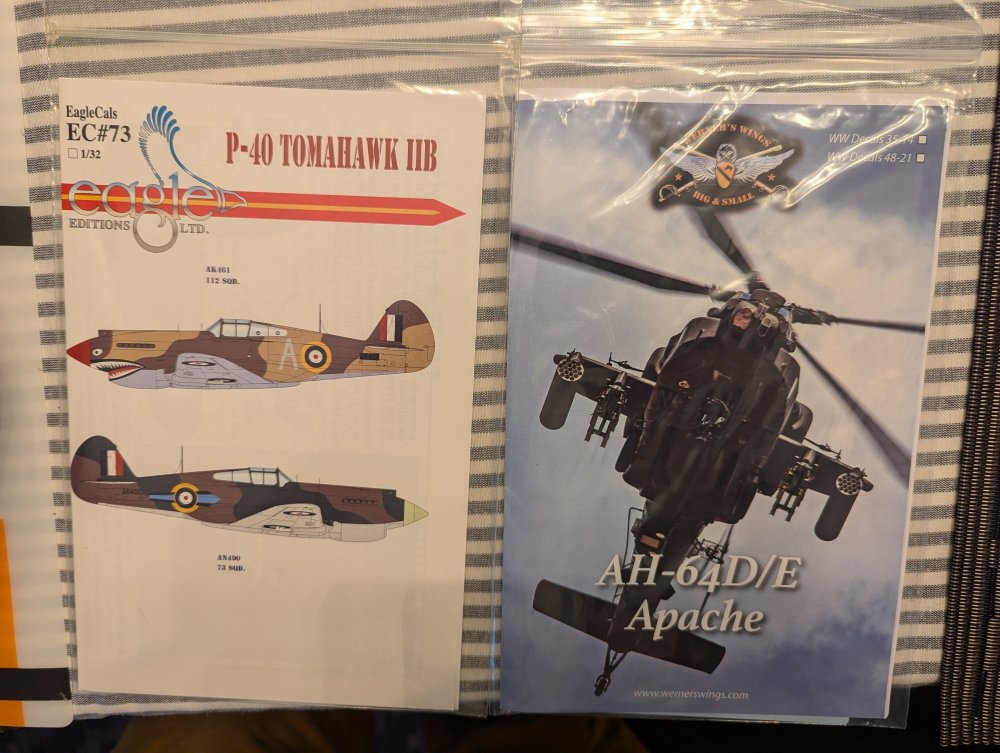
We got back last night from Chicago. I came home to a couple packages for me. First up was from Reskit. Stuff for several kits in the stash, including the last bit for my AH-64 after getting decals at the Nats. Then there was a box from Sprue Brothers. Great timing there if the new GB ends up being desert related I can do an RAF Kittyhawk.


-
Cobra Coupe - Le Mans - Model Factory Hiro 1/12
BlrwestSiR replied to DocRob's topic in LSM 1/35 and Larger Work In Progress
Some.vwry impressive detail there Rob. For the inbox tubing, maybe try substituting similar diameter tubing from Albion Alloy? They make many sizes in aluminum which would have a similar finish but would be much easier to cut. The Japanese really love using stainless for their PE for some reason. -
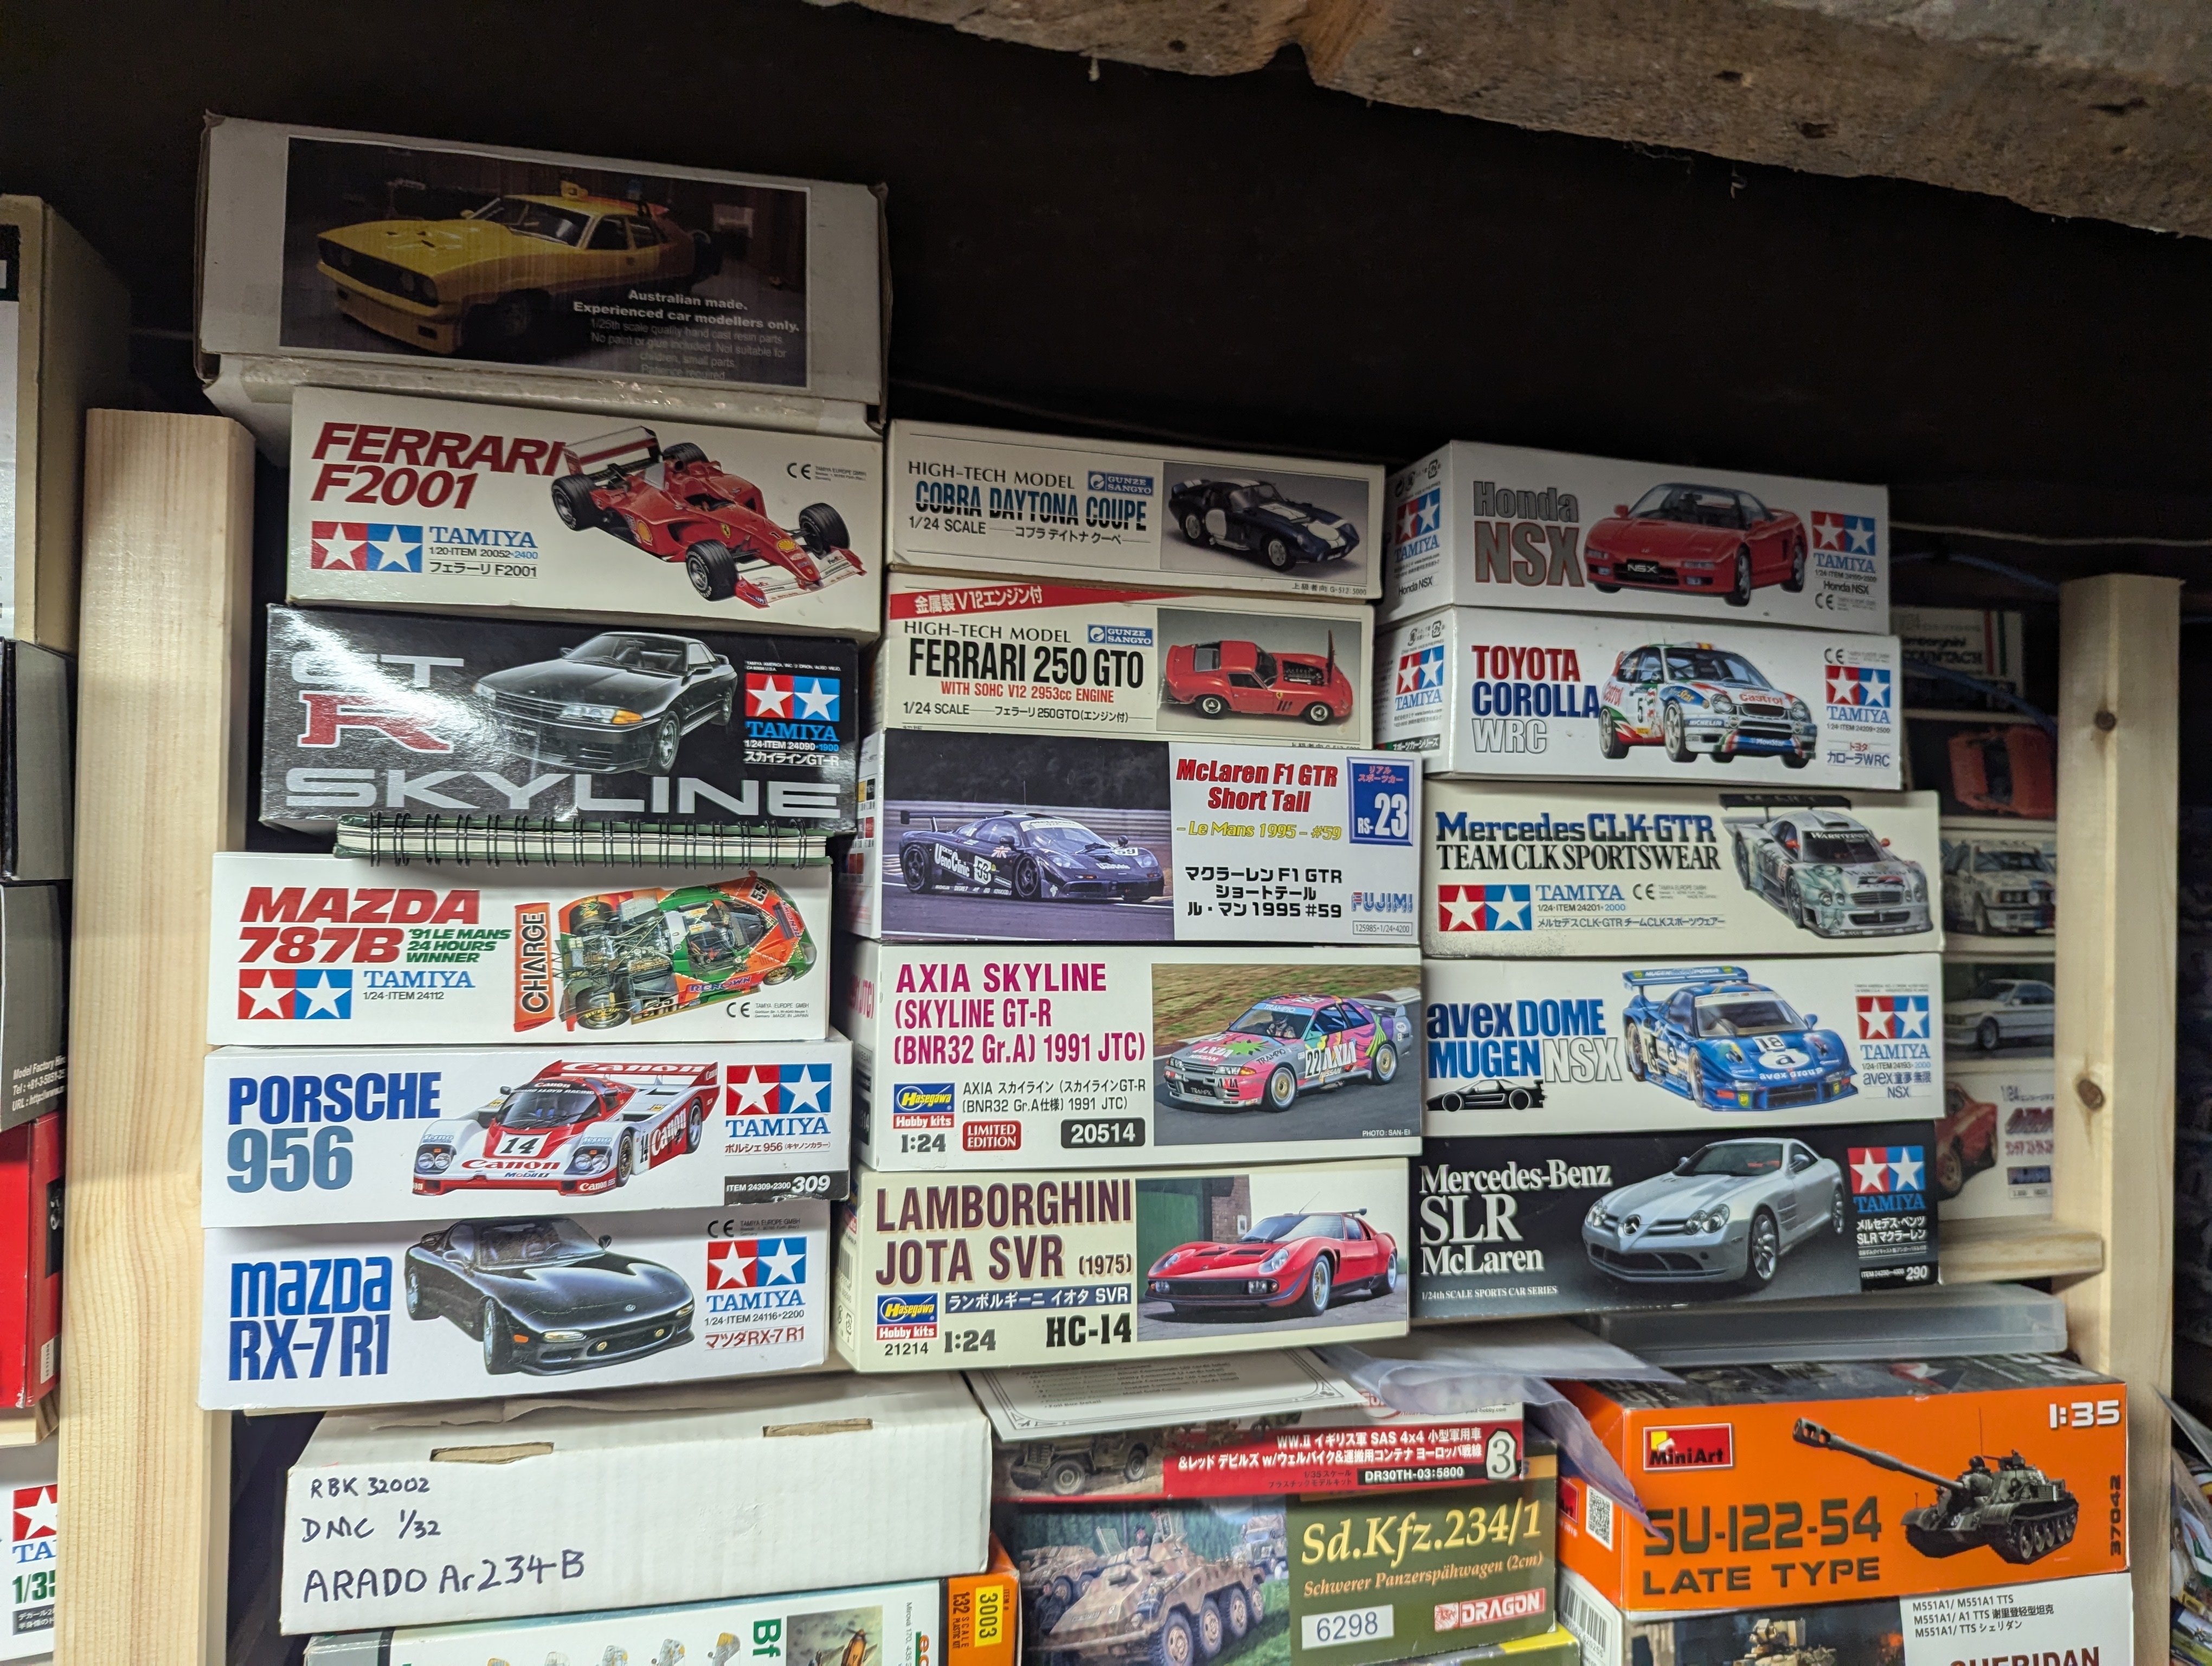
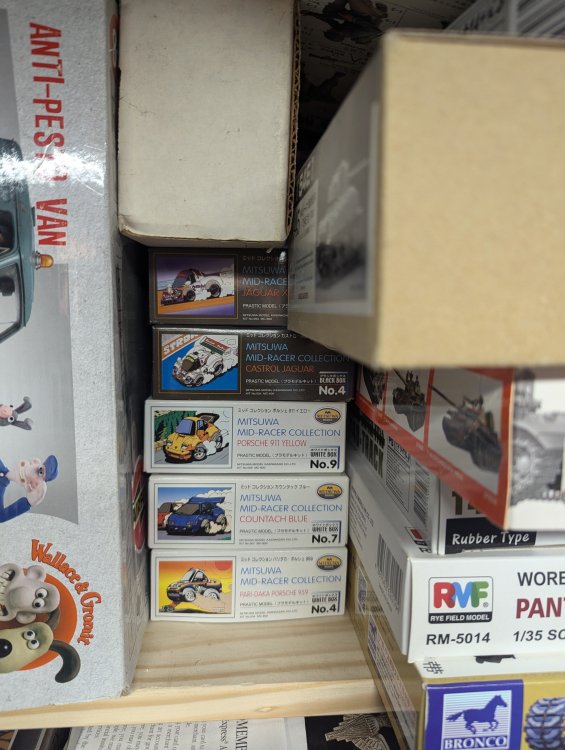
Racers could be fun too. Different paint finish for some of us. I definitely have some kits along those lines.

-
Ohhh, a Davis Monthan diorama! In 1/32!!! Might be a bit big. Otherwise sounds like a great idea Martin.
-
Scott, when I need to do touch ups, I use Post-It notes to mask over delicate surfaces, be it fragile paint or decals. They have just enough adhesive on them to stay in place but not enough to impact the surface underneath. I put them on on right before spraying.
-
Astra Militarum Baneblade warhammer tank
BlrwestSiR replied to FullArmor's topic in LSM 1/35 and Larger Work In Progress
Nice to see this back and glad to have caught up on it. If you're running the True Metal on, how are you keeping such a clean a sharp demarcation? They look like separate parts. -
Cobra Coupe - Le Mans - Model Factory Hiro 1/12
BlrwestSiR replied to DocRob's topic in LSM 1/35 and Larger Work In Progress
Peter, Christian at Mezzo Models told me to email Michael at: scalegrafixx@gmail.com for decal options. Apparently he's the one who does the decals. If the quality of the Escort is nice, I'm considering the 962 as well but probably the IMSA one especially if Lowenbrau decals are available. -
We walked through the 727 at the Chicago Museum of Science and Industry. Edward was impressed by the airstair at the rear of the place under the tail. The rear engine placement threw him off a bit until I explained the ducting.
-
It is a bit worrisome as John is on here fairly consistently. I hope everything is okay.
-
Nice helo kit there Peter. I'll be looking froward to watching your build. Flying Leathernecks just released a decal sheet for it. They had it at the Nats.
-
Cobra Coupe - Le Mans - Model Factory Hiro 1/12
BlrwestSiR replied to DocRob's topic in LSM 1/35 and Larger Work In Progress
I didn't want to clutter up your build thread but here's the link. The price and shipping seemed very reasonable. https://mezzo-mix-models.jimdo.com/modelparts-for-sale/ford-escort-mk1-race-version-in-1-12-scale/ There was a build of the kit on Britmodeler which is how I found out about it. After ordering the kit, Christian needs a 2-3 week lead time to print it out. He has several other models too and decals are available from another company. The engine in your Cobra is looking amazing. I'm still in awe at some of the details that MFH includes in their kits, such as the exhaust gaskets. -
Cobra Coupe - Le Mans - Model Factory Hiro 1/12
BlrwestSiR replied to DocRob's topic in LSM 1/35 and Larger Work In Progress
Rob, sorry to hear about your dog. Hope he's better or gets better soon. I looked around at the Nats to see if anyone had any MFH kits for sale but didn't find any. I've settled on a plan B at the moment for a 1/12 fix but it'll be a month before I see the results. Carl -
LSM Modelling News 2023 merged Fran and Artful69’s threads
BlrwestSiR replied to Fran's topic in Modelling Discussion
I'm moving that way myself. I still have a few more in 1/32 to get through but any new jets are 1/48. -
You've got to love a shark mouth on an F-4. Just suits the plane perfectly. I've used Zotz decals in the past and found them to be on the thicker side but tough as a result. It's interesting that you had the ink run on them. I've used Solvaset and even Tamiya X-20A thinner on them without the ink running. I just picked up the 1/48 sheet of the same decals you're using at the Nats. They've been hard to find as they're out of print and I wanted to do something other than the box scheme on my ZM build when I get to it. I may have to do some tests first before I apply my chosen scheme. Carl
-
Thanks for sharing Maru!
-
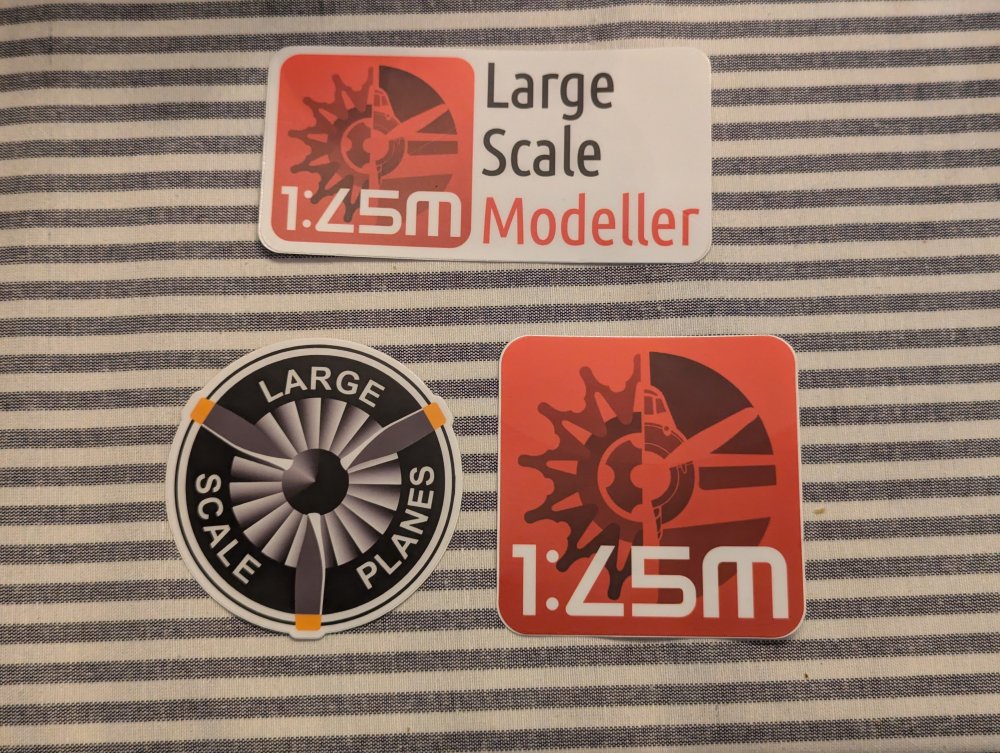
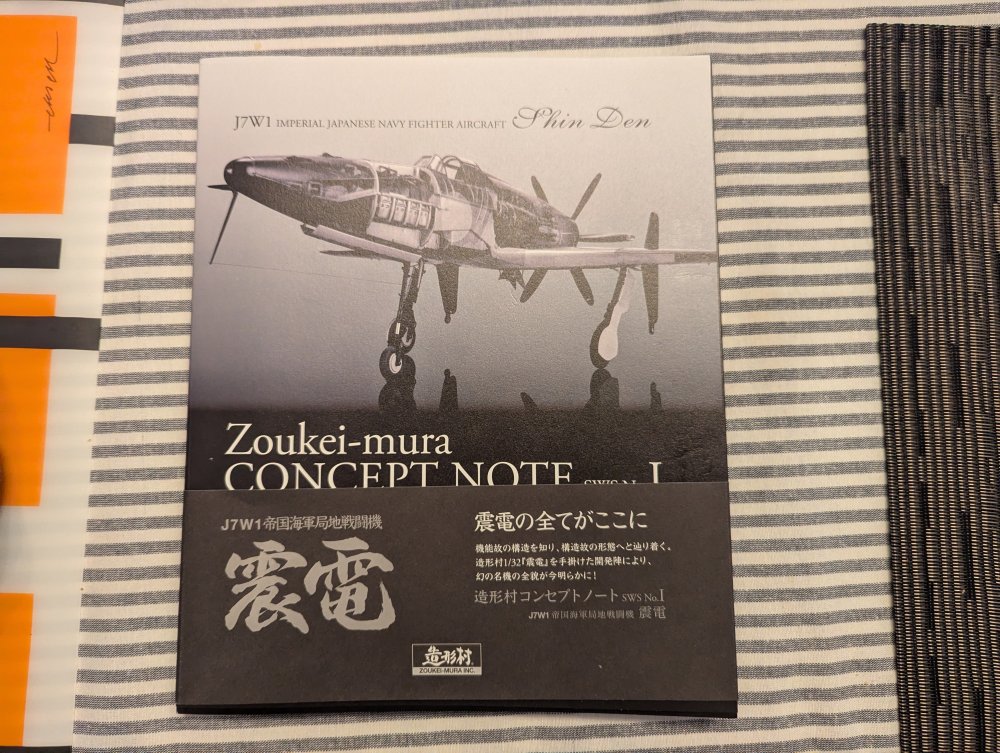
I picked up a few things at the Nats. Some stickers I was looking for: At the ZM booth, I picked up the Concept Notes book for the Shinden and the new F-4E late kit.

-
Supposedly the Trumpeter 1/32 Swordfish is a scaled up copy of the Tamiya kit which means it avoids some of the accuracy issues that can plague their kits.
-
Nice work on the Spitfire Peter. I'm just catching up on your progress. It's unfortunate that Tamiya didn't choose the route that Border did with the Lanc and provide a dummy engine for those who want the cowlings all buttoned up. I've found you can get away with the basic block, supercharger and cylinder banks. Everything else can be left off.
-
Well, I went to my first Nats and it was great. It was great to meet @biggtim and @denders and others. My son had a great time as well. Everyone was really great there from the vendors to other attendees. The only earful I got was from the IPMS Canada president when he found out I wasn't a member. And it was in a fun, polite way. Guess I know what I'll be doing. Sorry I missed out on meeting up with @Clunkmeister and any others but we could only do the one day. Carl