BlrwestSiR
-
Posts
9,193 -
Joined
-
Last visited
Content Type
Profiles
Forums
Events
Gallery
Everything posted by BlrwestSiR
-
I've got the first Rye Field Panther kit in the stash. The one with the full interior and clear upper hull. It looks daunting enough.
-
Interesting to see the difference in the execution of the camo. The rear one definitely is the more appealing to me as well.
-

Astra Militarum Baneblade warhammer tank
BlrwestSiR replied to FullArmor's topic in LSM 1/35 and Larger Work In Progress
Nice work on the turret and guns. The spare wheel and track holders are a nice touch too. -
Hubert, suposedly they're back. Someone took over the business. https://www.archertransfers.com/ArcherMain2.html
-
Whoa... Some very nice and precise river work there Hubert.
-
Cobra Coupe - Le Mans - Model Factory Hiro 1/12
BlrwestSiR replied to DocRob's topic in LSM 1/35 and Larger Work In Progress
That really is great looking engine Rob. Looking at some of the pics, is there enough clearance on some of the wires for the exhaust headers to fit onto the engine? -
Dennis, thanks for the information. I see I may have to do some touchups in the future on some of my Spitfire builds.
-
Great looking Rhino Chris. You really put white the effort into it and it was well worth it.
-
Great job Chris. I'm happy to have helped out. It's a great looking build.
-
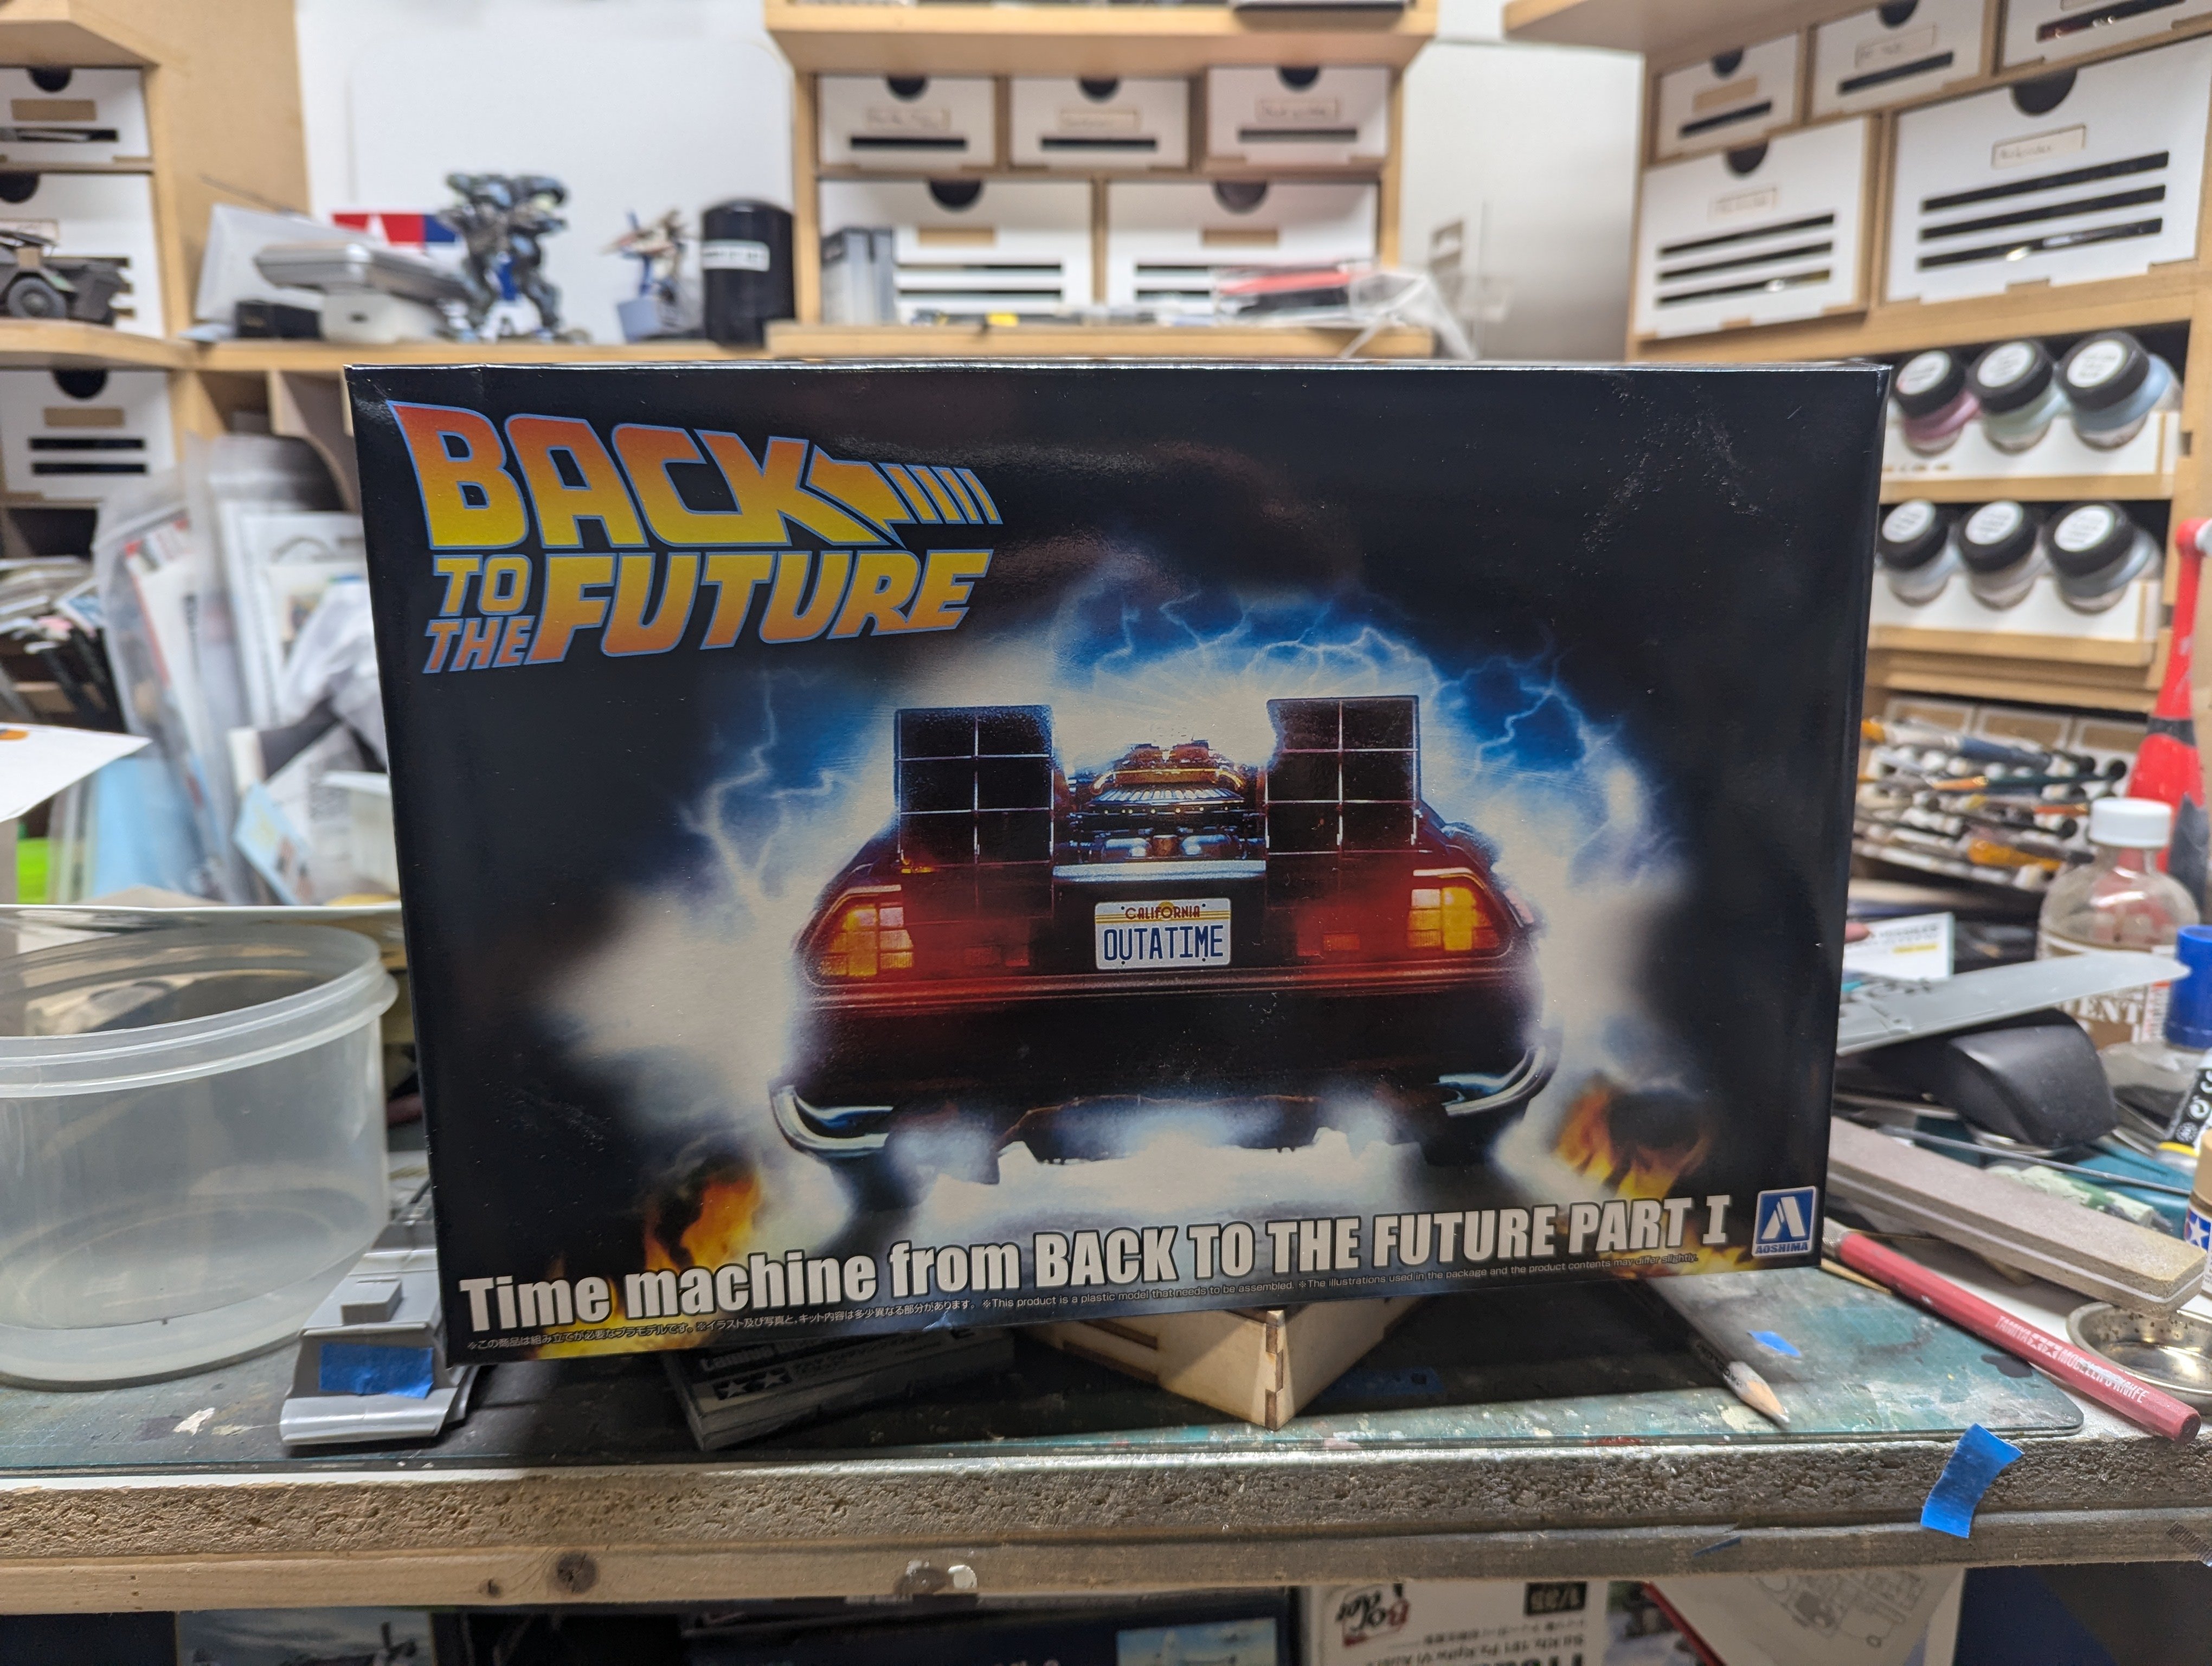
Too... ...much... ... information!!!!!
-
"If you're gonna build a time machine into a car, why not do it with some style?"

-
Cobra Coupe - Le Mans - Model Factory Hiro 1/12
BlrwestSiR replied to DocRob's topic in LSM 1/35 and Larger Work In Progress
That's a stunning looking engine there Rob. Well worth the effort that you've put into it. Hopefully the wiring isn't too bad. -
What is on your bench right now ? Share a picture :)
BlrwestSiR replied to Martinnfb's topic in Modelling Discussion
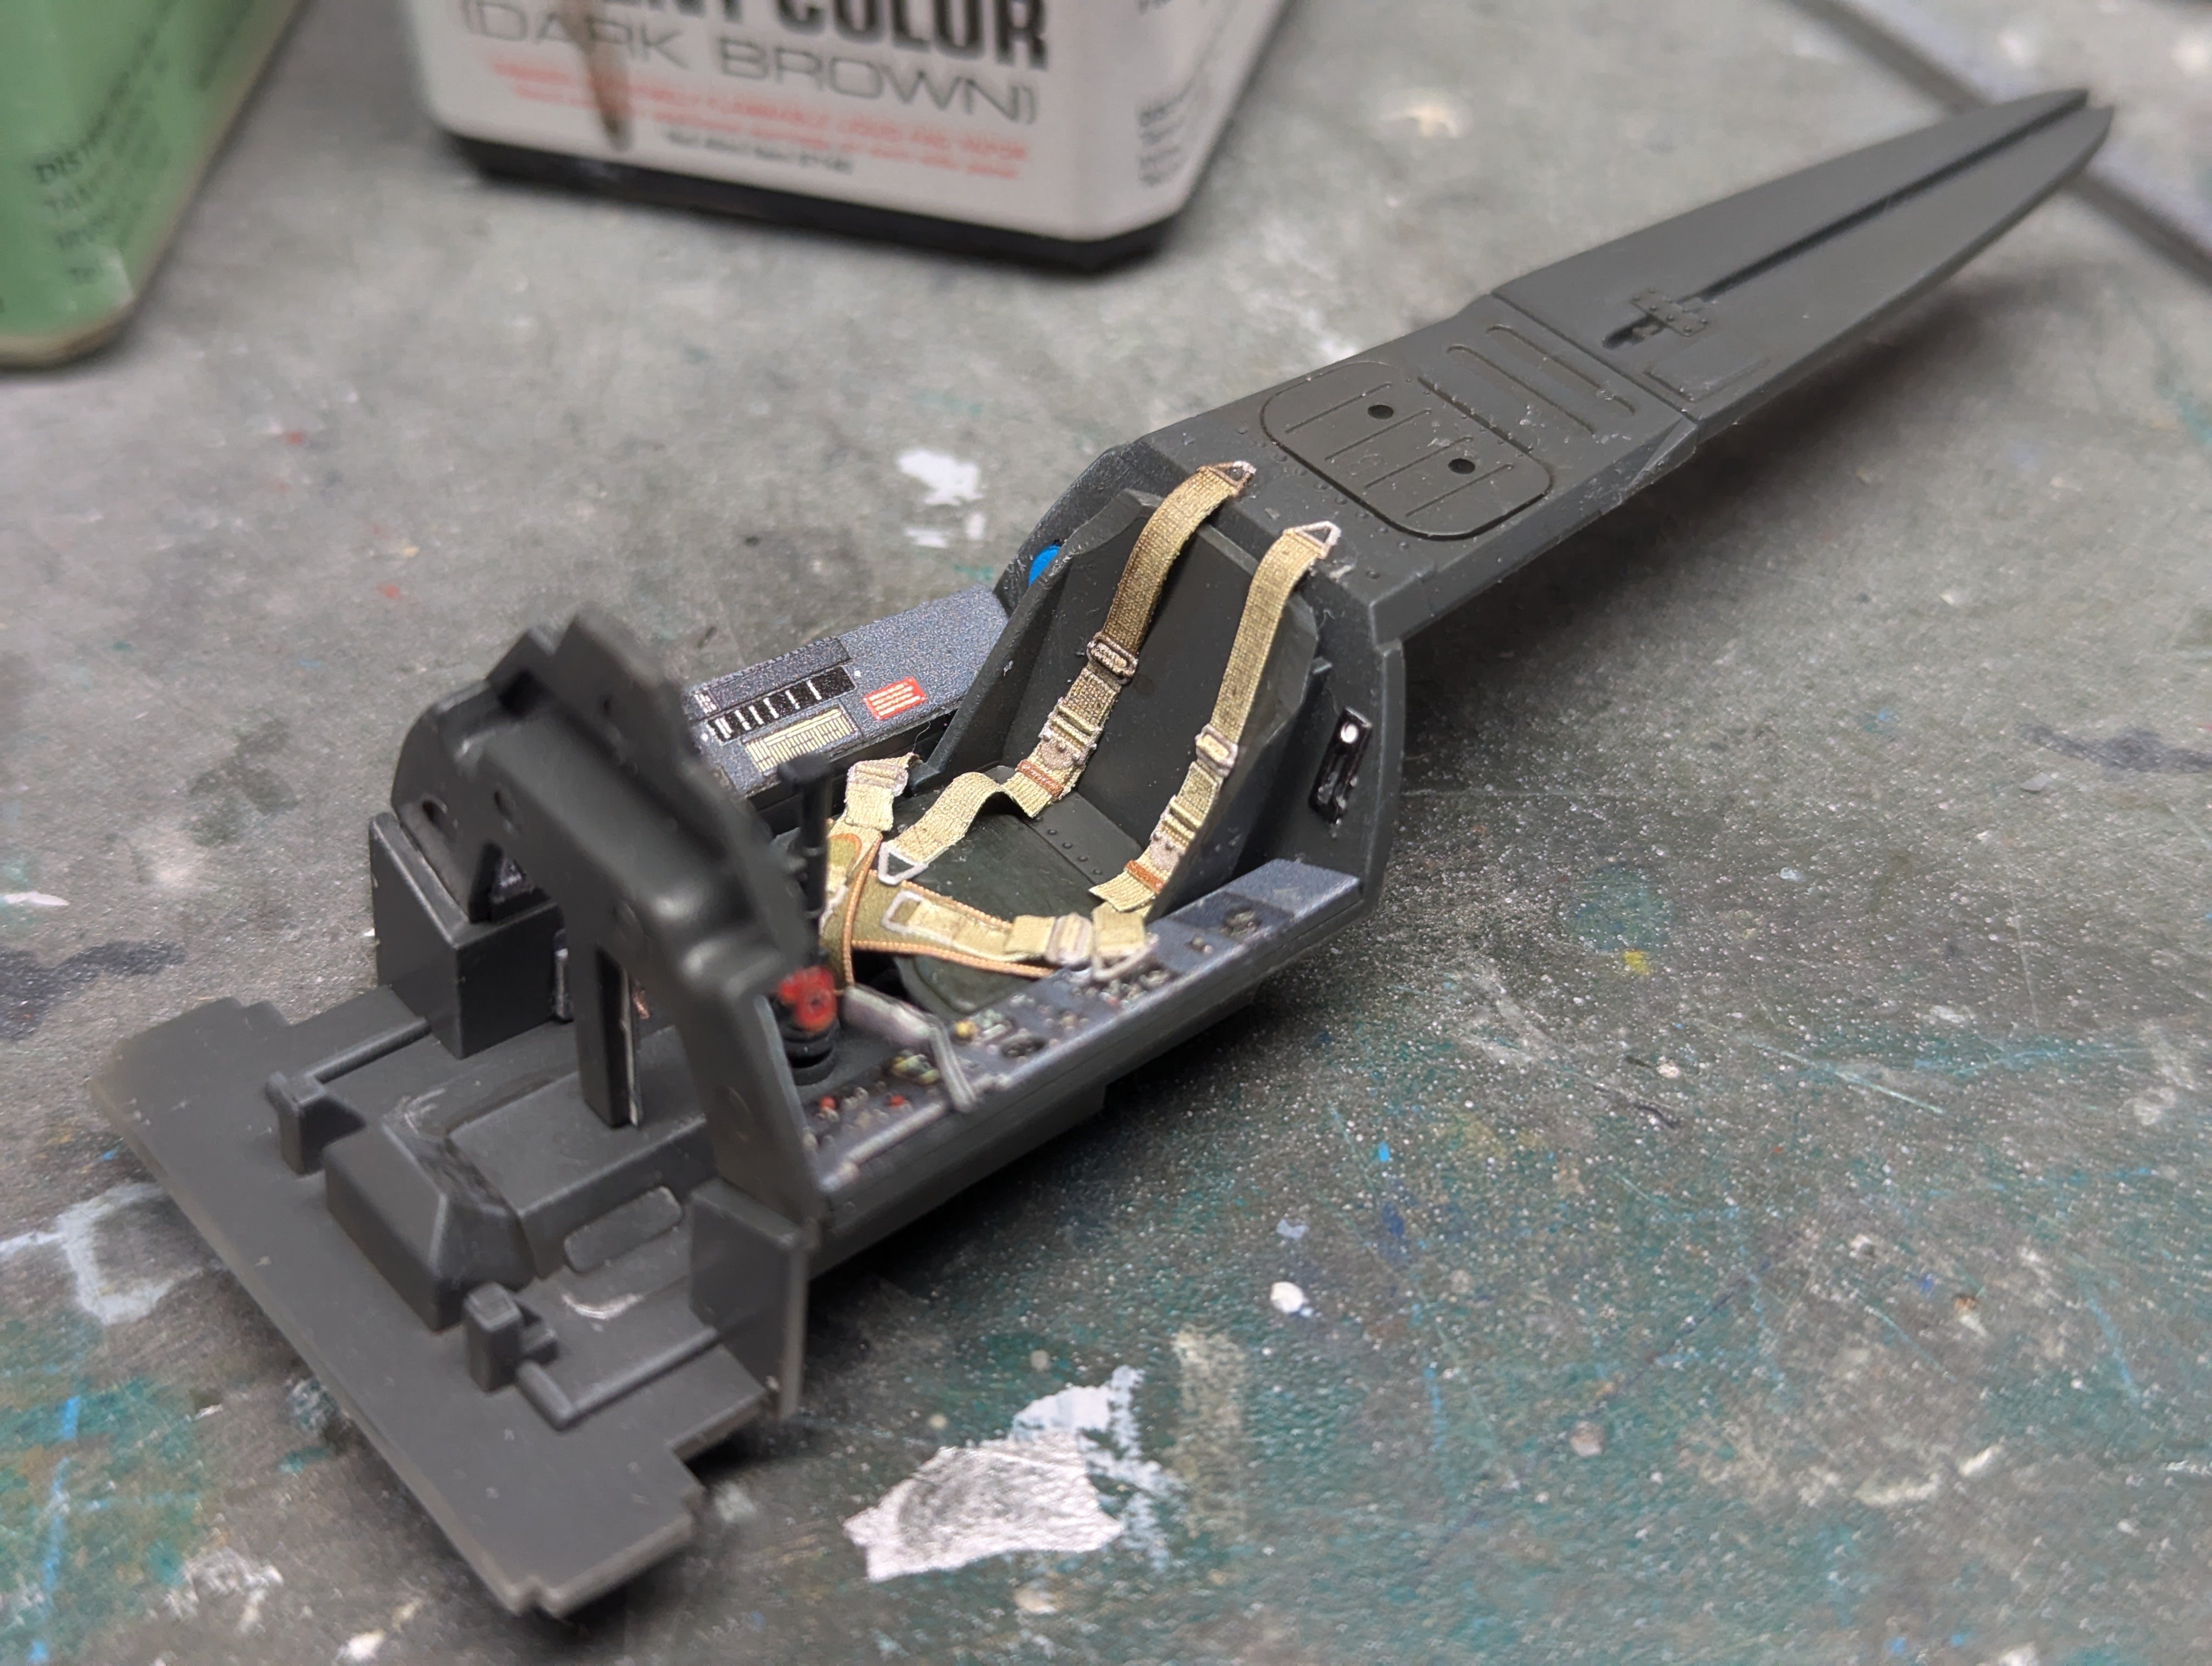
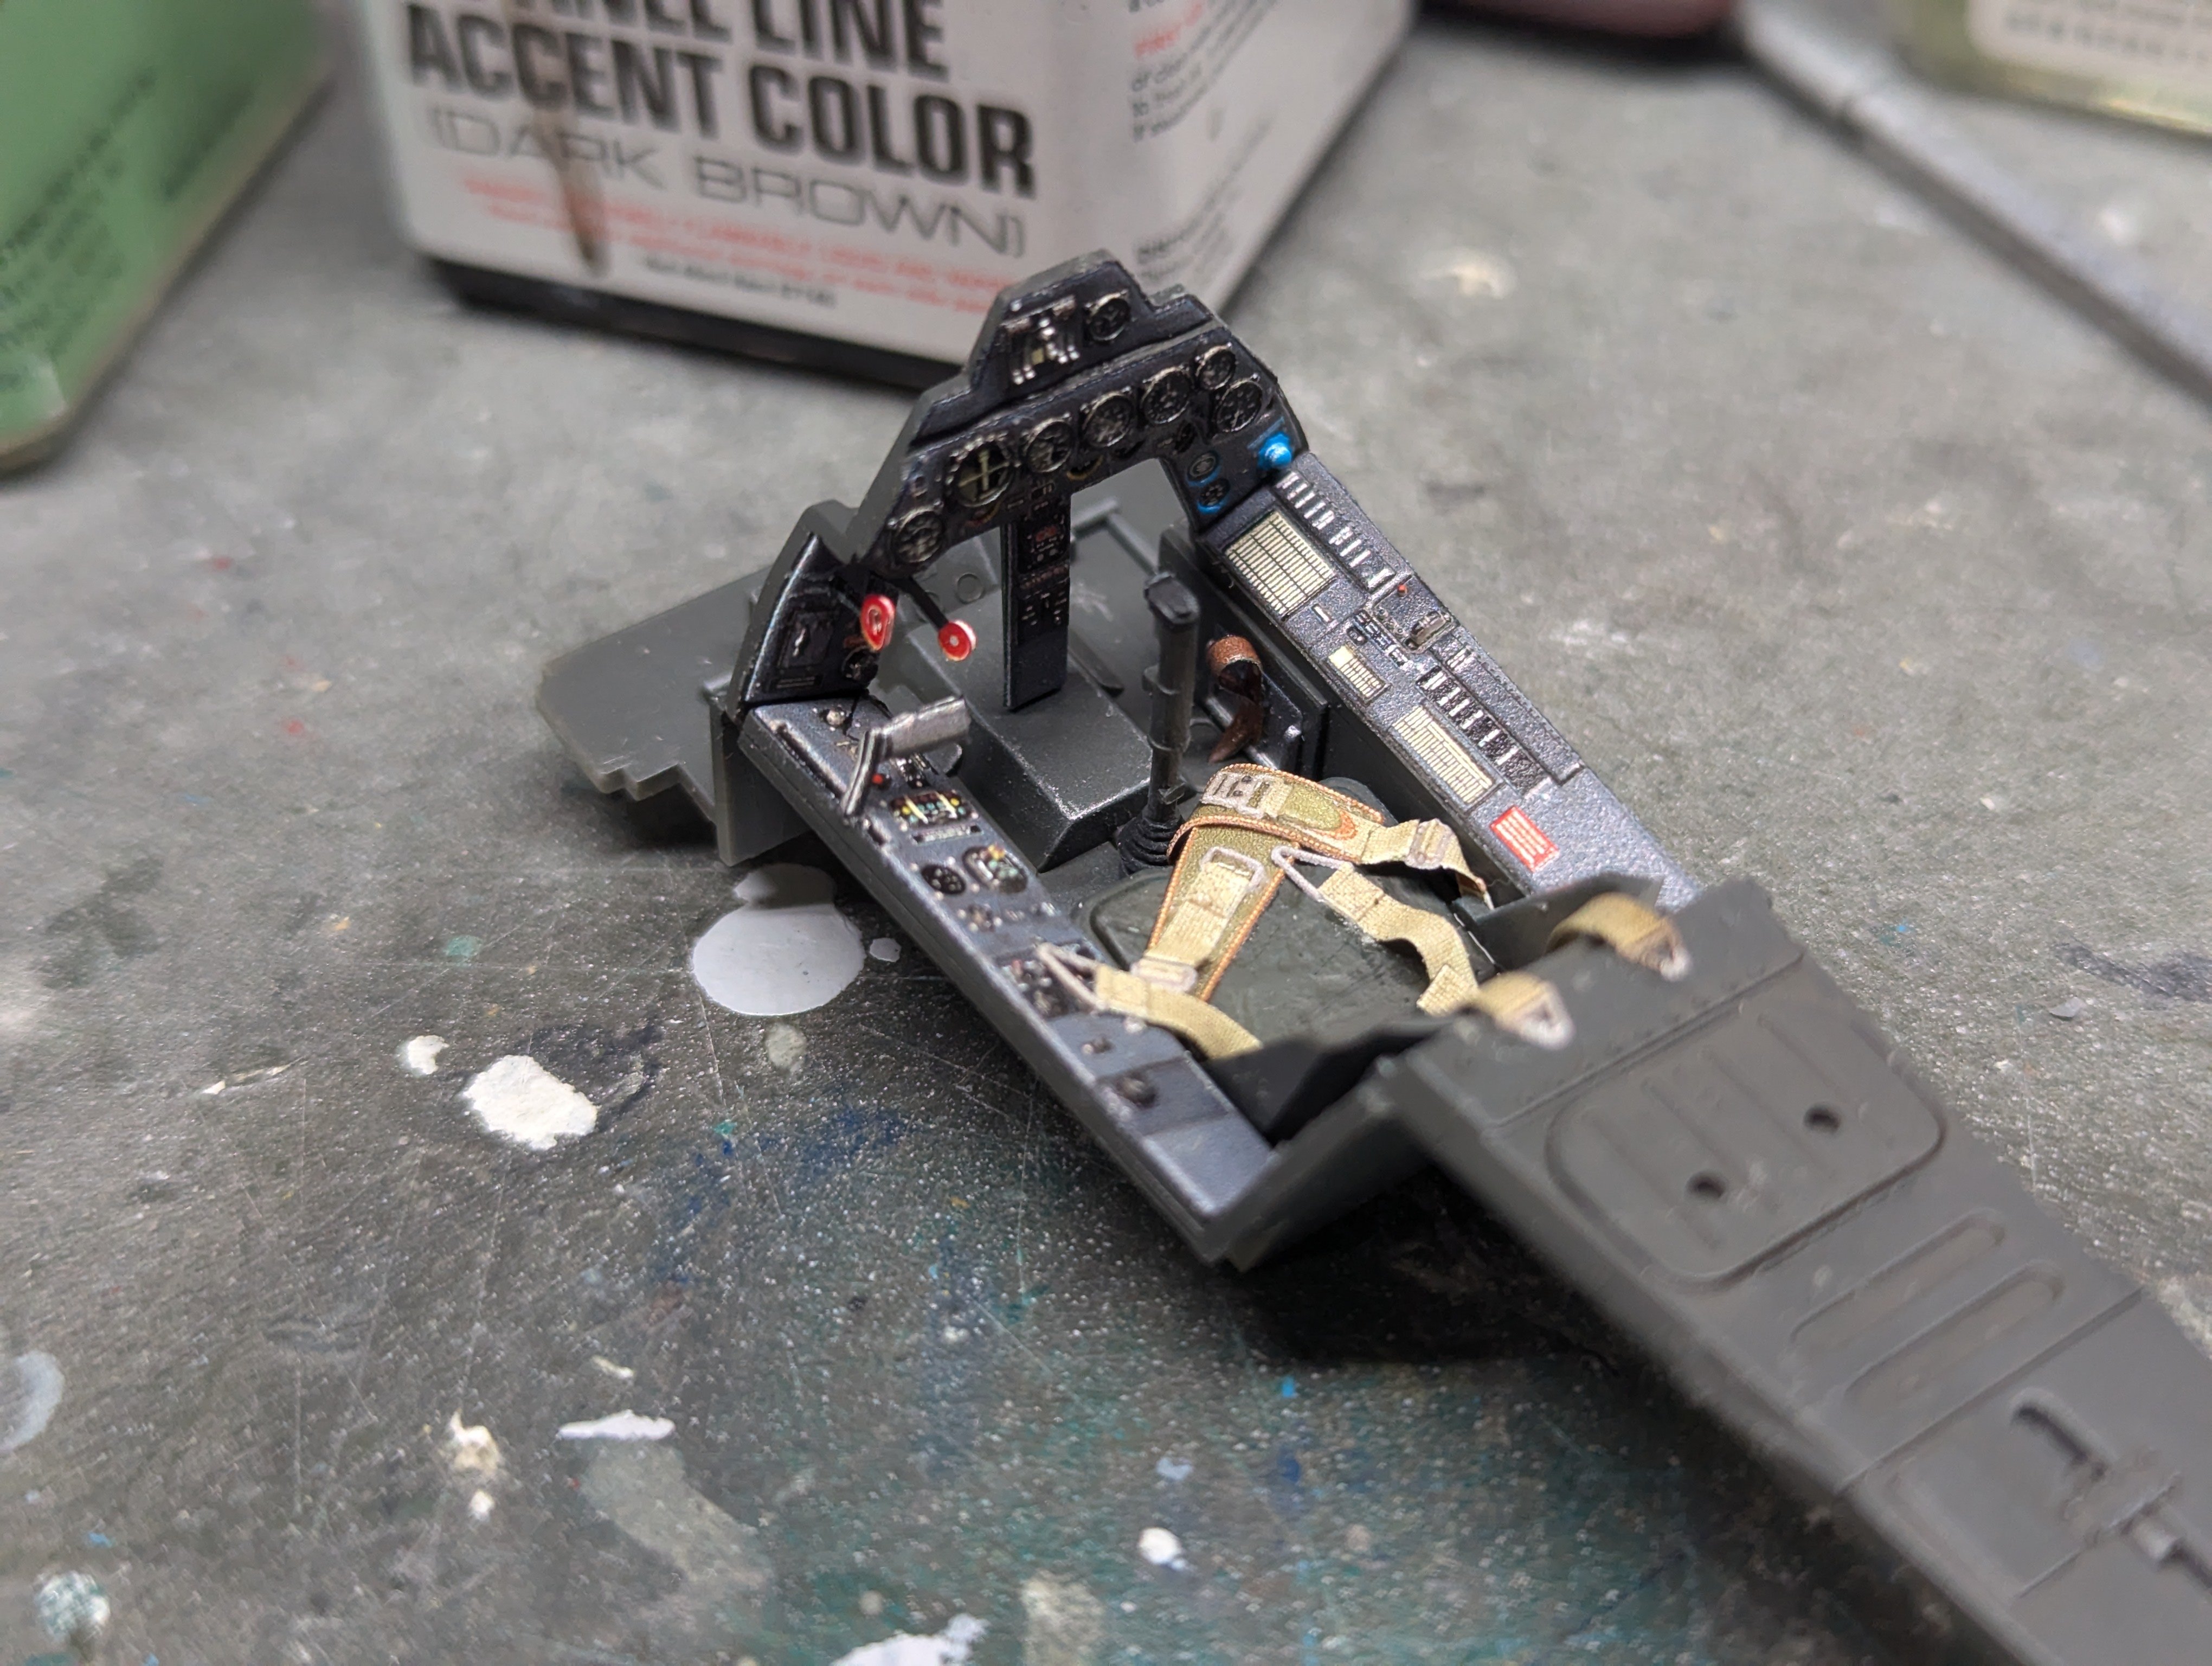
Hubert, the Reedoak figures really are on a different level. I have a pair of them from my Tamiya F-14 and they're truly stunning. Not only is the detail exemplary, but the figures fit the ejection seat and controls perfectly. No need to tweak anything to get their hands in place. -
Nice job on the clear bits there Chris. One other solution for the future is trying a clear UV gel. They would set up a lot faster so you could build up the thickness needed. You can also get a nice domed shape to them. I've used it for wingtip lights and IP dial faces.
-
Sorry I missed you too Ernie. I am glad the screwdriver missed anything critical though. Closest I come to that is watching an Xacto slowly roll off the bench and land in my foot. Which I'm sure has happened to others on here.
-
That's so cool to see the progress. Happy birthday too Rog.
-
F-15DJ Kai or Eagle Plus- Finished!
BlrwestSiR replied to BlrwestSiR's topic in The Great Twins Broup Bluild
I applied the decals and gave the missiles a wash with Tamiya Dark Grey. I didn't put all the decals on as each middle as it is has more decals on it than the F-15 itself.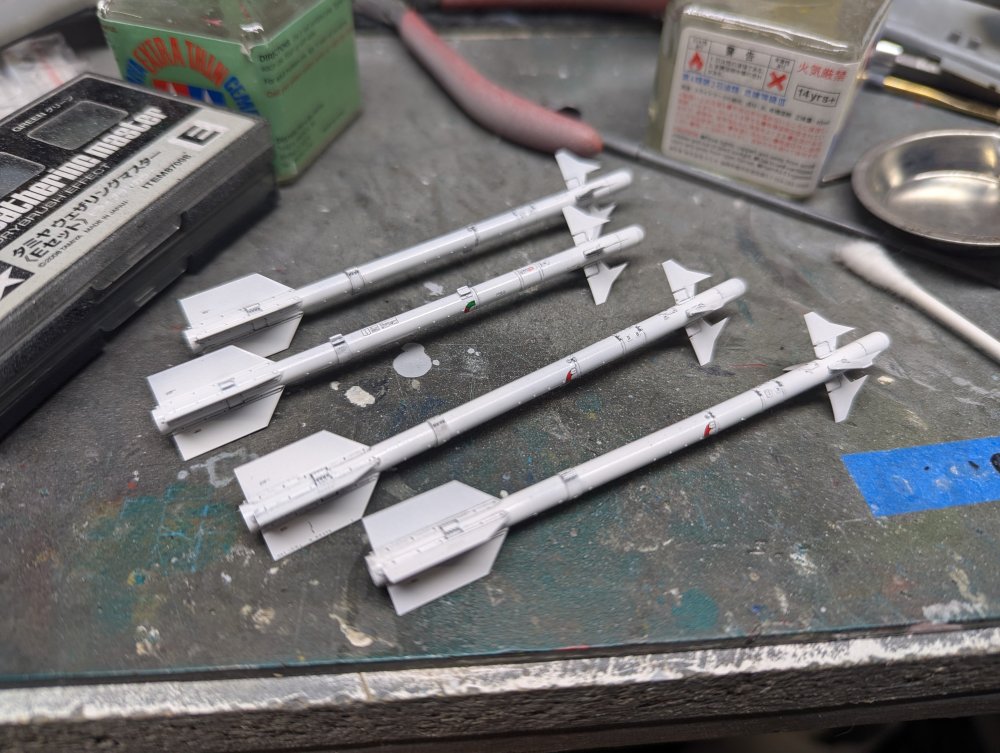
-
F-15DJ Kai or Eagle Plus- Finished!
BlrwestSiR replied to BlrwestSiR's topic in The Great Twins Broup Bluild
Thanks Peter. They're Japanese AAM-3 missiles actually. Fairly recent design so I thought it more appropriate for the build. I was originally going to use AIM-9X missiles which could explain the mix-up. -
What is on your bench right now ? Share a picture :)
BlrwestSiR replied to Martinnfb's topic in Modelling Discussion
Hey look, an RLM 66 squirrel!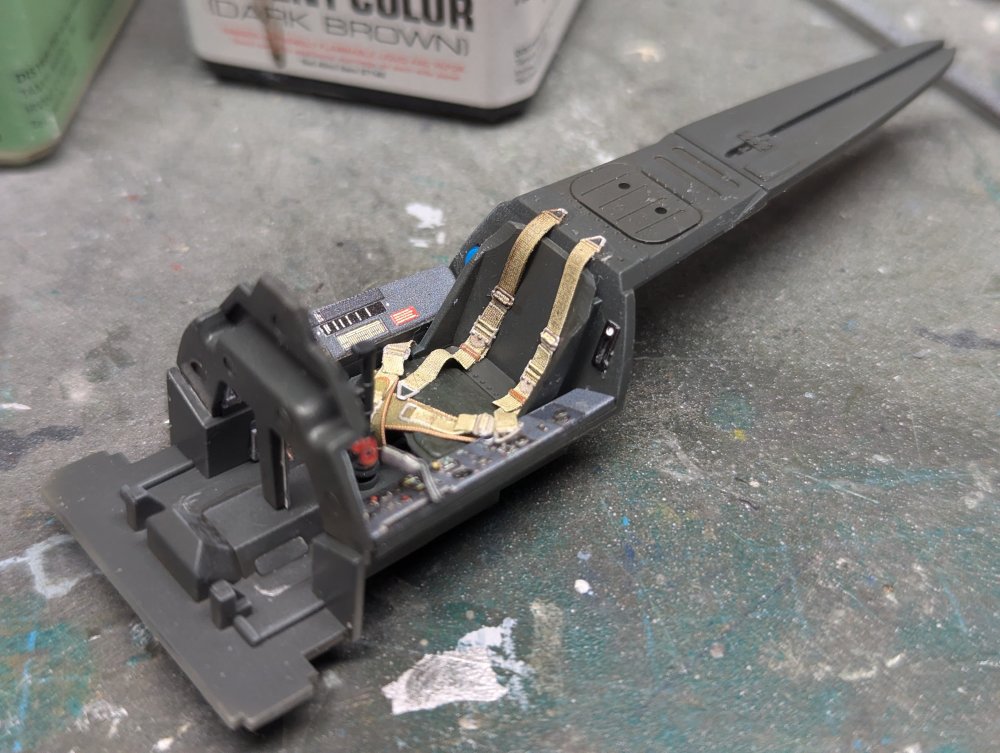

-
A quick update. After checking all the hoses I found one that was leaking. Ordered a replacement from the dealer before we left on vacation. This weekend I finally got it installed and topped off the power steering fluid. All is back to normal after a drive around the neighbourhood.
- 2,036 replies
-
- 5
-

-
- car related stuff
- anything about cars
- (and 6 more)
-
Welcome.back Kai! That's some great work there. The BoP looks impressive. The Thunderbolt even more so. Any chance you're working on a Star Fury to go with it?
-
The only problem with that is trying to remember what it was. I know one of my earliest models was a Monogram Snaptite Jet Ranger. Definitely not my first model but close to it.
-
Special Hobby F-80C saved from SOD
BlrwestSiR replied to JohnB's topic in LSM 1/35 and Larger Work In Progress
Nice job with the intakes John. Even nicer job on the Alclad finish. -
Great photos Dave. Glad to see the tables filled out a lot more from the first day when I was there. Hopefully next time we'll be able to stay longer.
-
Martin, the cars I've missed out on because the timing was slightly off or we didn't know they'd explode in value. In the mid 2000's, Nissan R32 GT-Rs were $12-18K CAD and you could find lots of them. Then the 2010s arrived, they became legal for US import and their prices shot through the roof. Nice ones are now $80K and up. In USD on top of it! Never mind what's happened to 964s and 993s.