GusMac
-
Posts
2,985 -
Joined
-
Last visited
Content Type
Profiles
Forums
Events
Gallery
Everything posted by GusMac
-
Used it a couple of times and have found a ratio of 70:30 mr surfacer to levellling thinner works well.
-

Tamiya F-15C IDFAF Commando
GusMac replied to GusMac's topic in LSM 1/32 and Larger Aircraft Ready for Inspection
Thanks. Currently it and the Mig are sitting on the dressing table in our spare bedroom but I suspect that won't be permanent! I'd like a display case but most options seem to be too small for big jets. -
Weathering on the hull looks spot-on in the pictures.
-
Hi Rog, Yes I saw over on LSP what Mark had achieved!? Mine was just luck, I could have ended up with anything - as far as my wife is concerned they are all just dust collectors. If I can convince her that that's a good reason to buy a display case big enough for 32nd scale jets then I'll have managed a similar 'con'!
-
Nice progress Micha. I really like the Vallejo Metal Colors and you have a lovely result with them there.
-
Thanks Rob. I went with the kit stencils which I don't think are complete. Certainly no panel numbers, although I've never seen any photos showing them on Israeli Eagles anyway. Well that's my excuse! Stencils are certainly the bug-bear of modern jets. The Tamiya decals are a bit thick but they settled nicely after some Microsol and the matt coat.
-
Thanks. A few things could have been done a bit better but I'm happy I'm moving up the learning curve.
-
Looking good. What a size! Must be hard to manoeuvre without demolishing half the room!
-
1/32nd Spitfire MkIIa
GusMac replied to ThomasProbert's topic in LSM 1/32 and Larger Aircraft Ready for Inspection
Lovely result there Tom. Very smooth paint job. -
Tamiya F-15C IDFAF Commando
GusMac replied to GusMac's topic in LSM 1/32 and Larger Aircraft Ready for Inspection
Dennis, Tom, Danny, thanks very much to all. Answer to what's next is posted in the 'What did you just get' section, although that is mainly to keep my wife happy! -
Tamiya F-15C IDFAF Commando
GusMac replied to GusMac's topic in LSM 1/32 and Larger Aircraft Ready for Inspection
Thanks Mikester. -
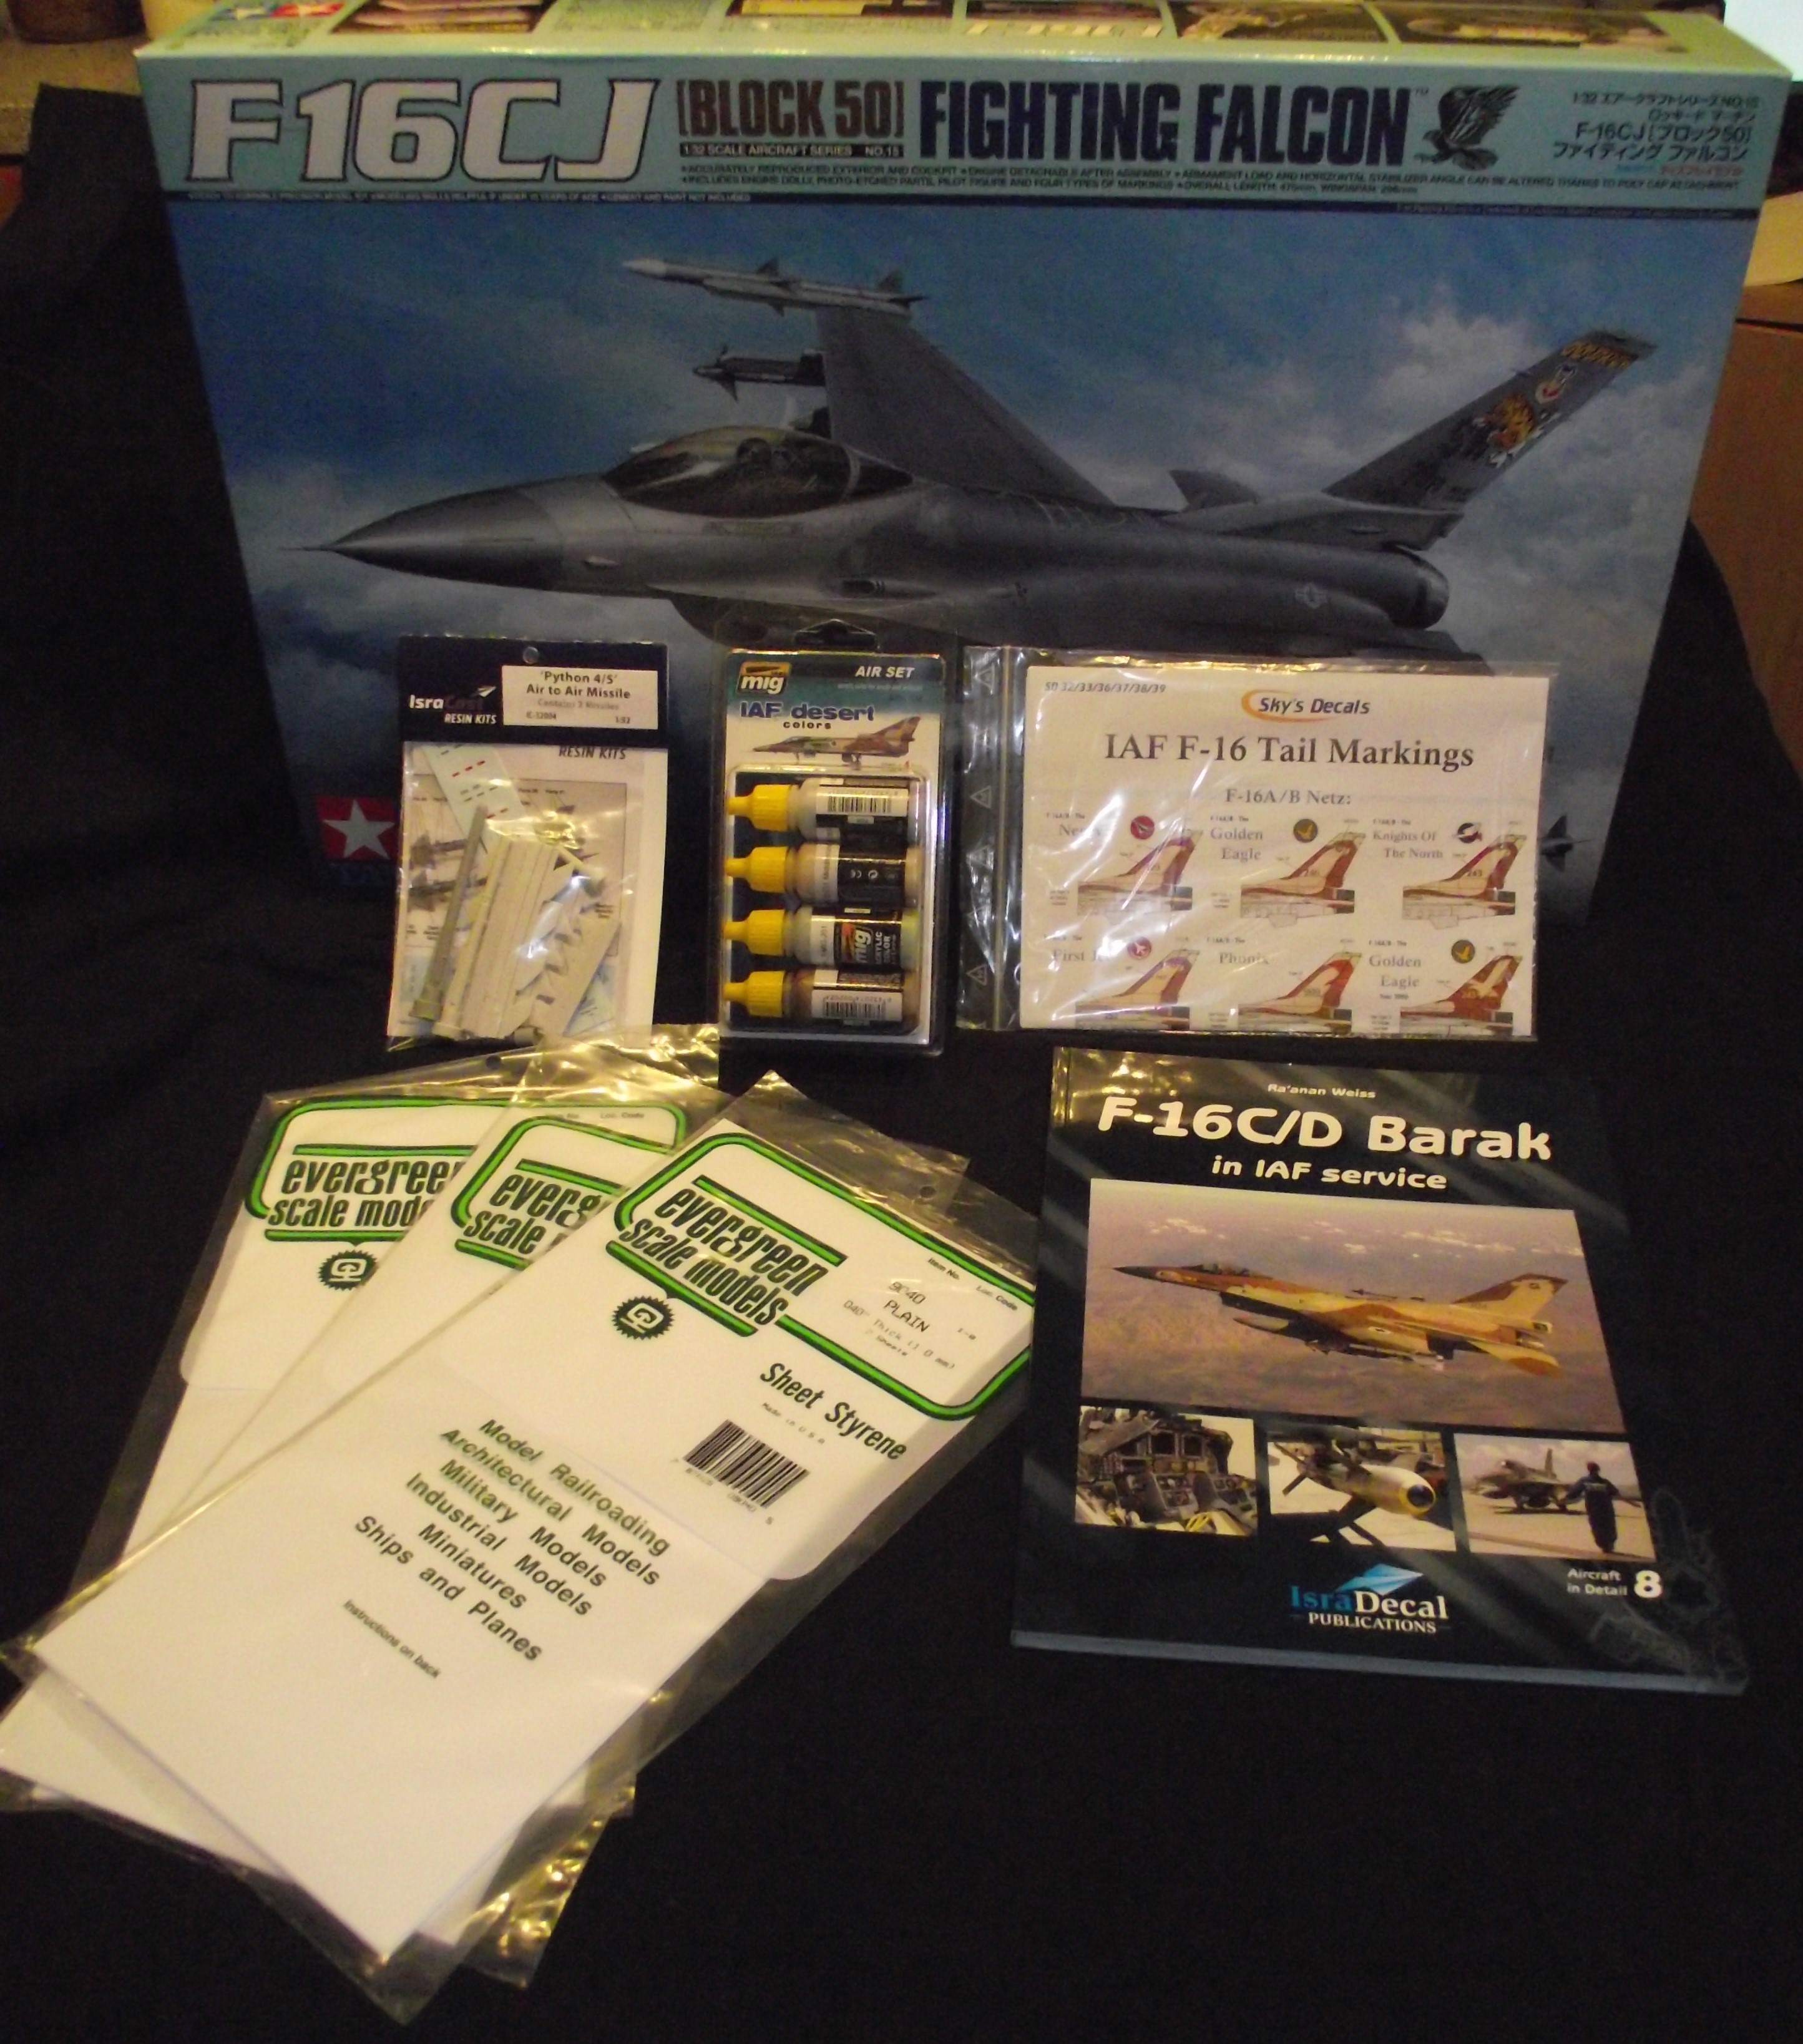
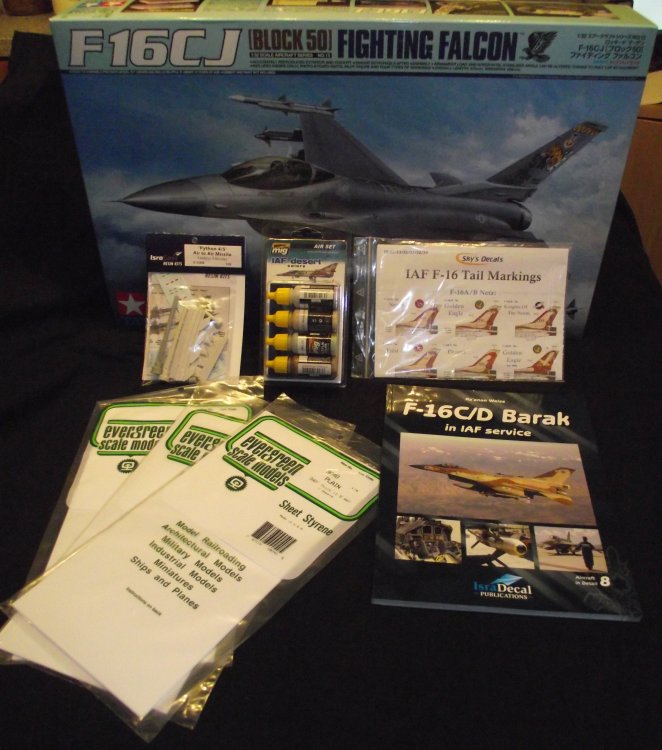
So, this is going to be the next project, although not the one I'd thought. The kit was a surprise Christmas present from my wife and she's keen to see it built. Having just finished one big grey jet I thought I'd go for something with a bit of colour and having the Maketar Israeli masks it seemed a Block 40 Barak 2 will be the plan. Want to try something new with every build. The Isracast Barak conversion set now seems to be rarer than rocking horse poop so the plan is to scratch build the antennae, tail extension, etc from a copy of the Isracast instructions I have. Looking forward to trying the Ammo paints as well. Have an Asuka M4A4 Sherman which might get built alongside this just for a change of pace.
-
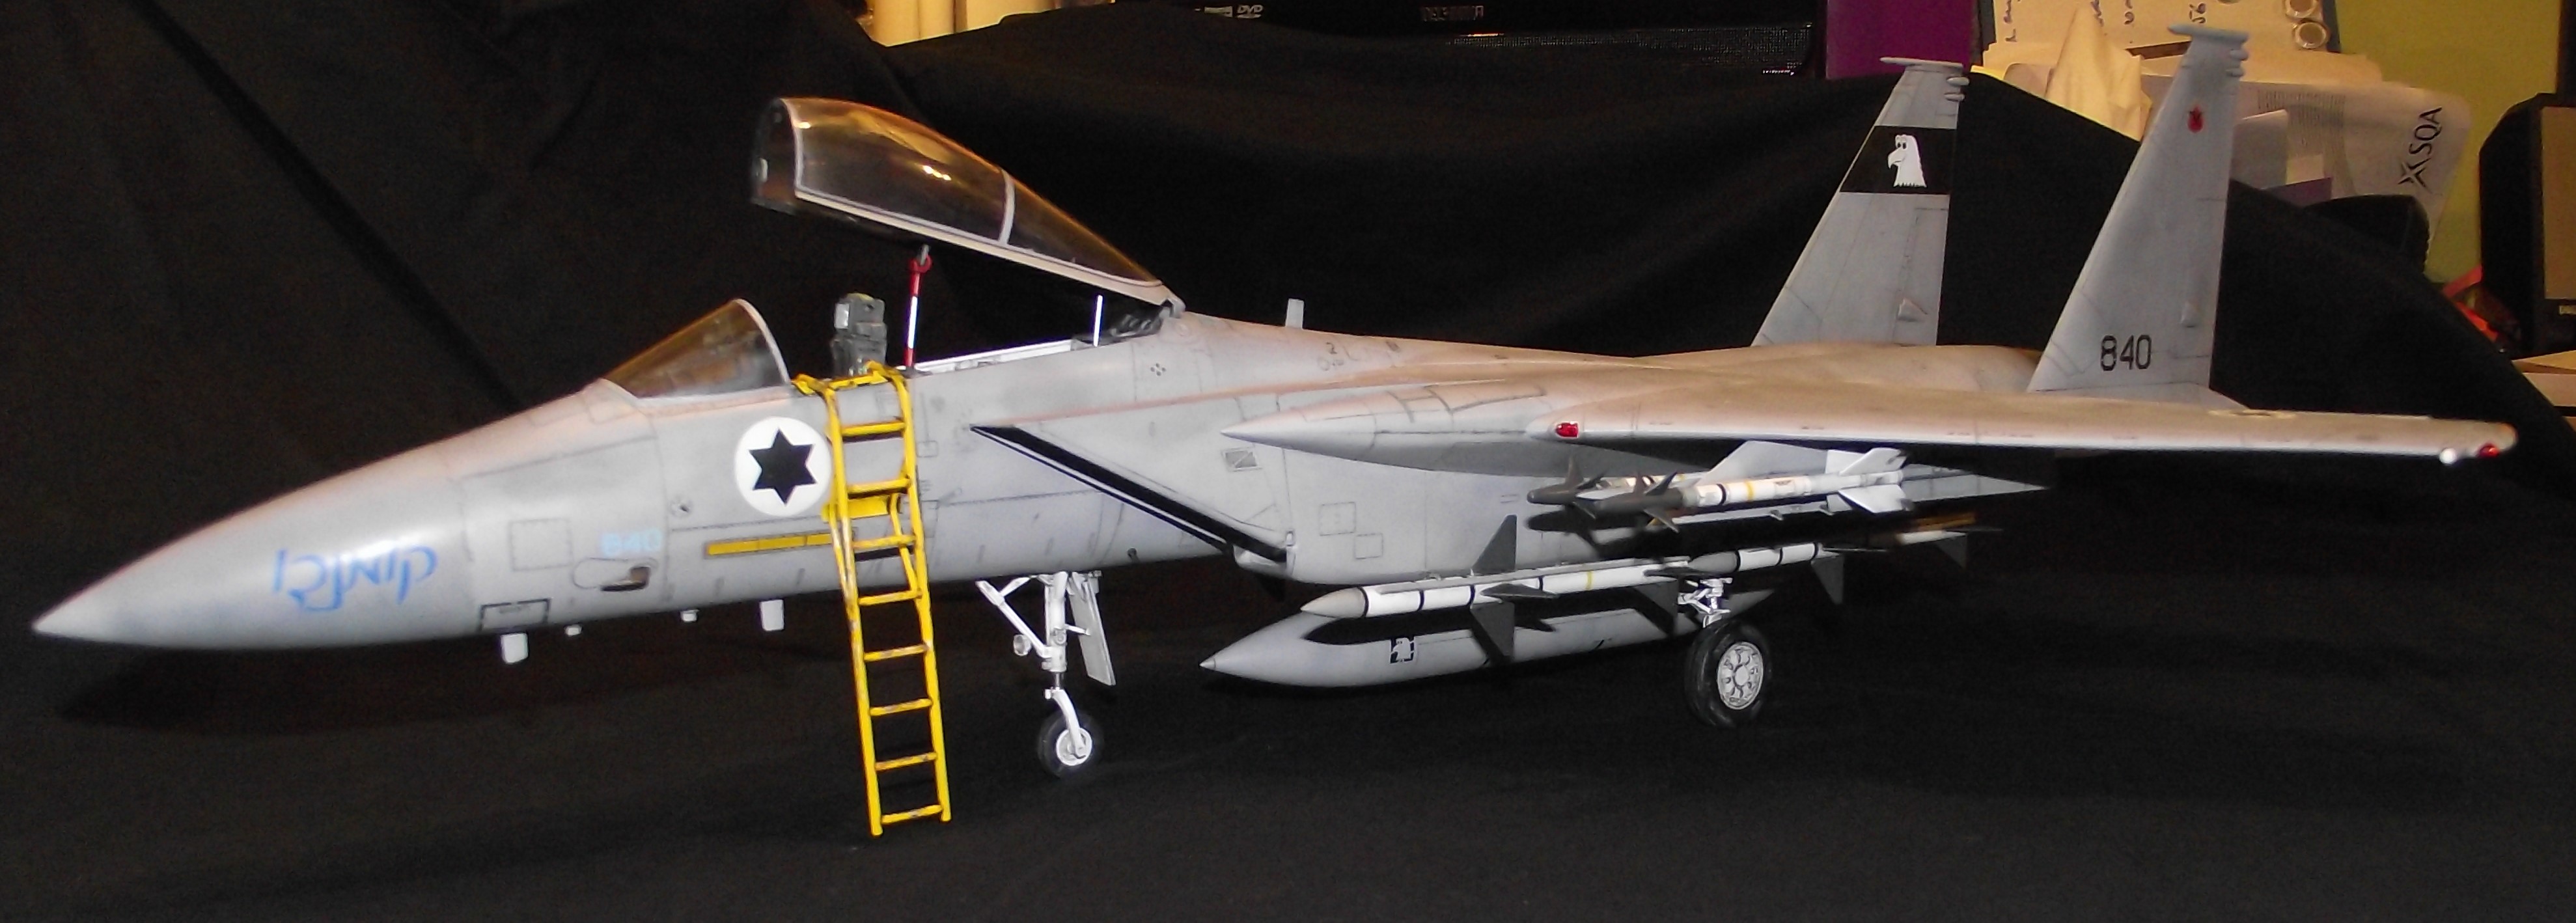
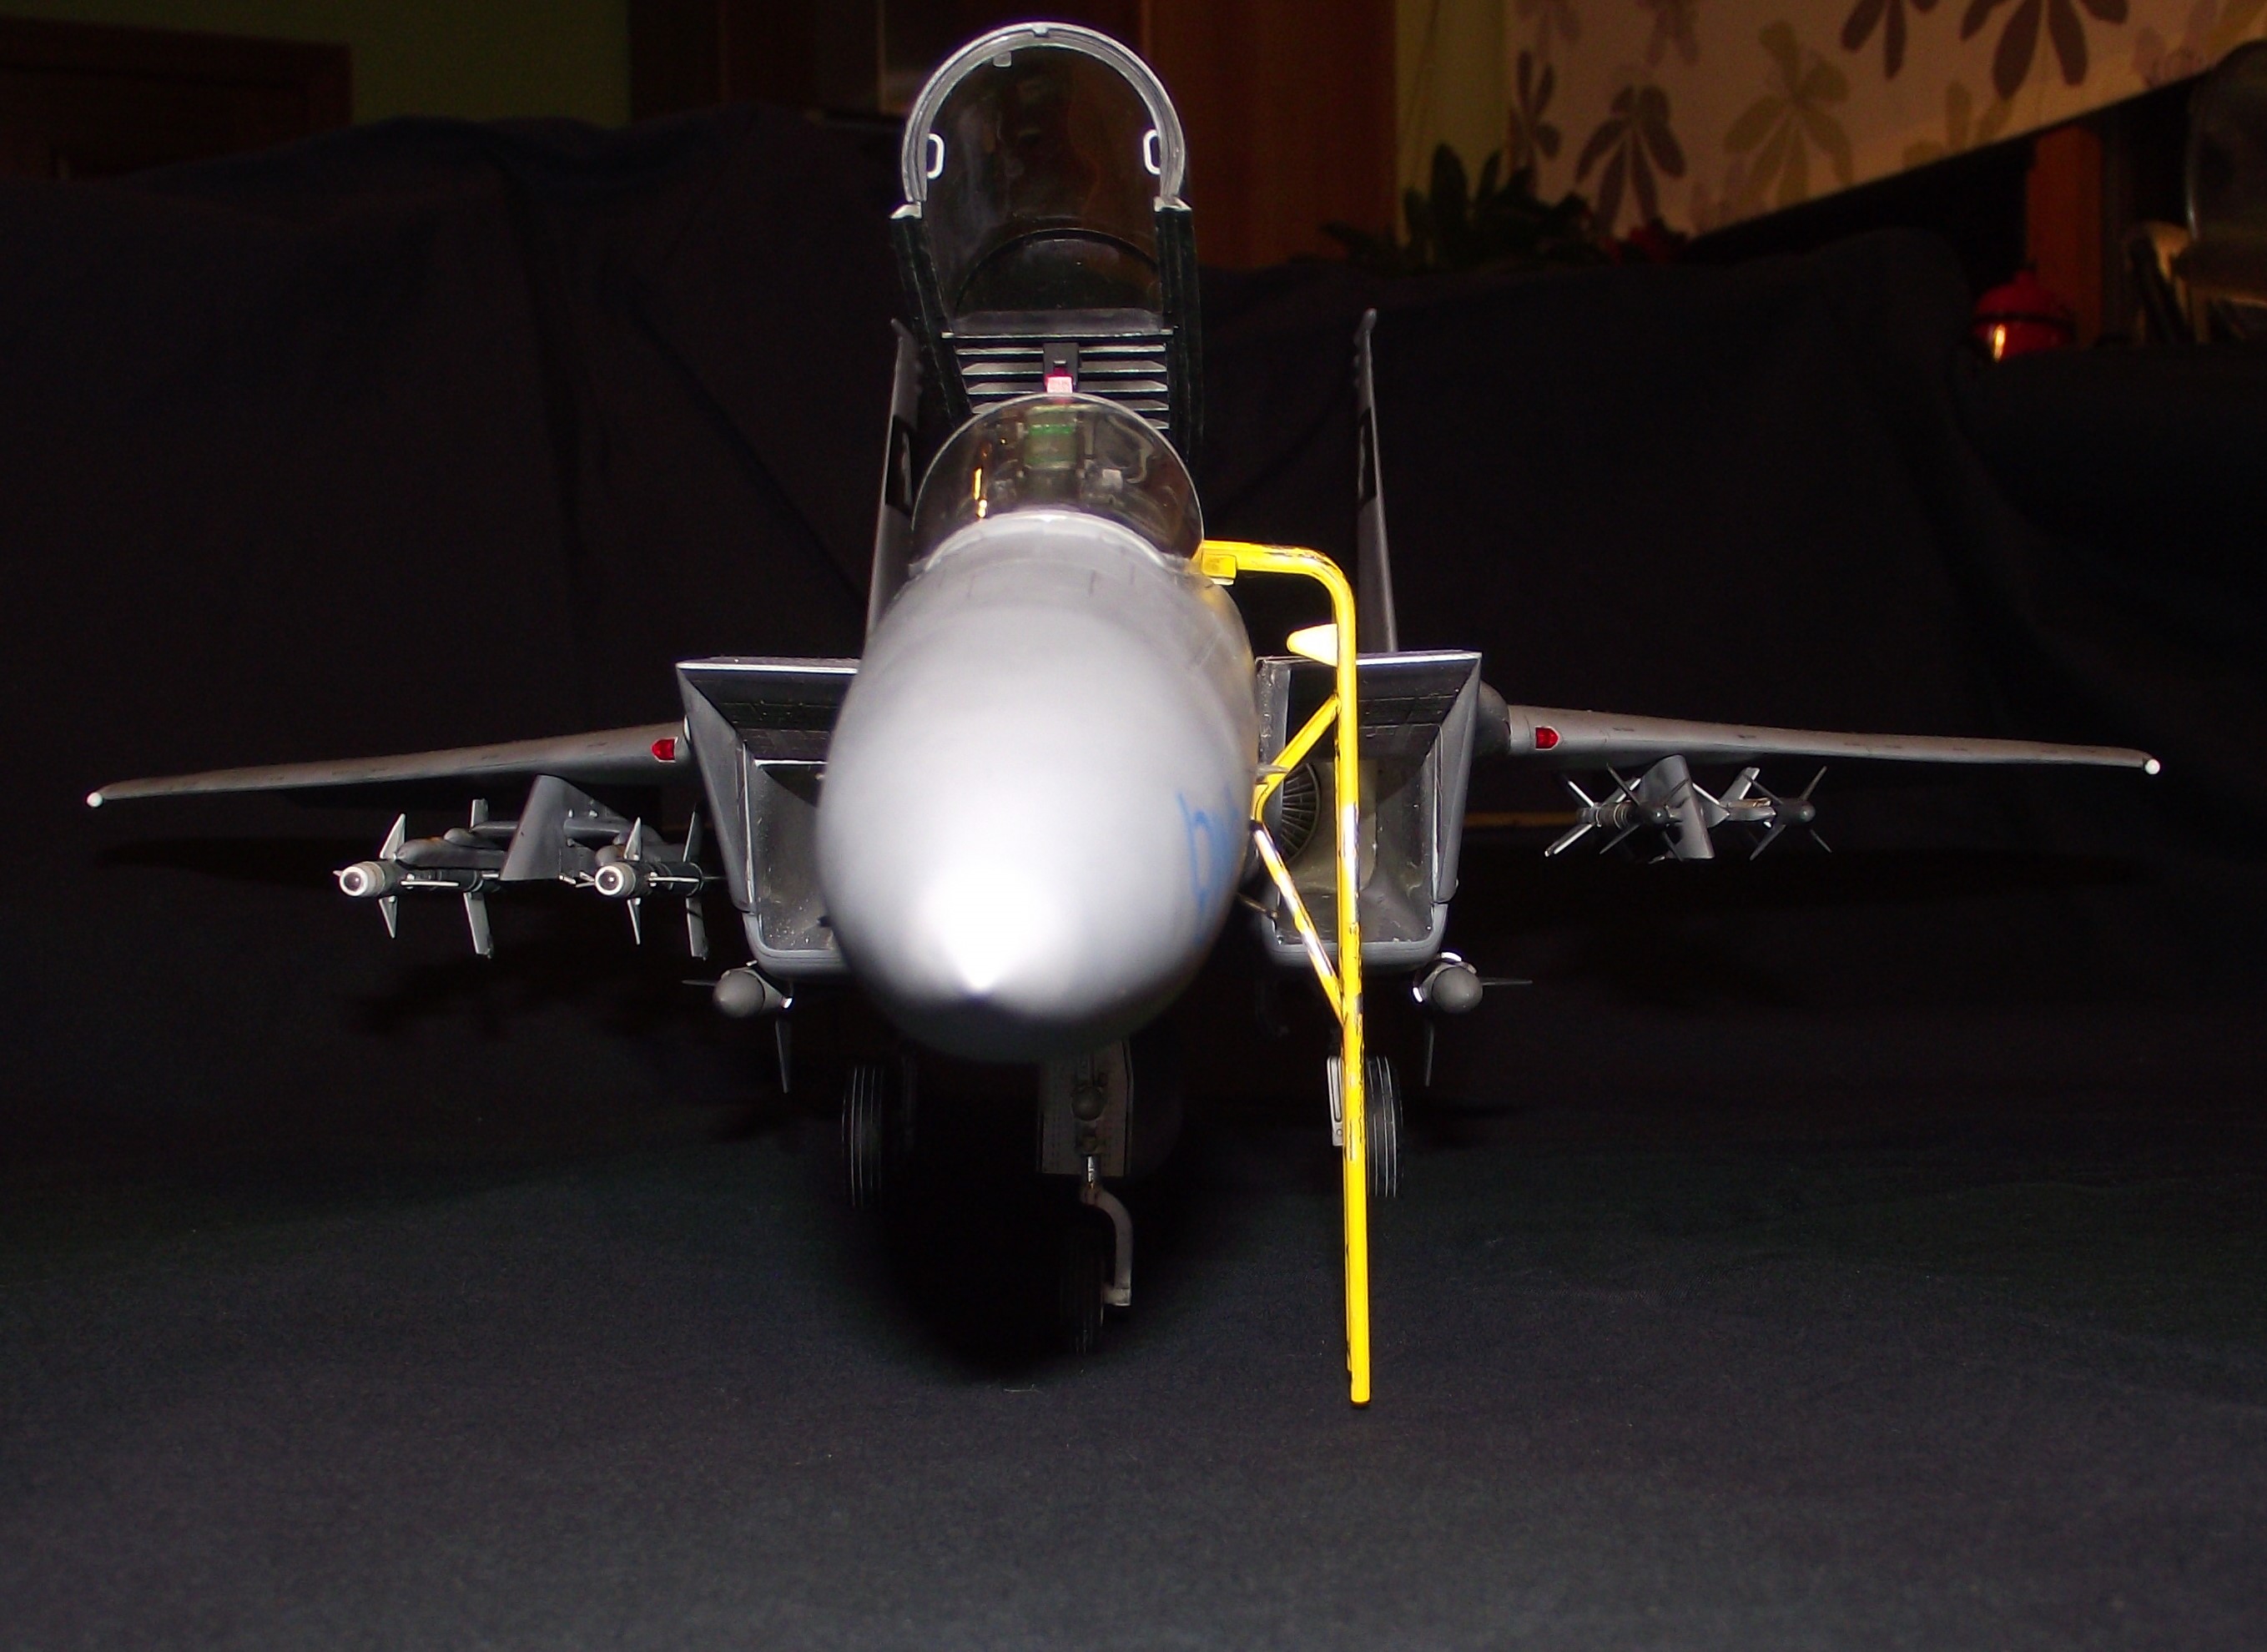
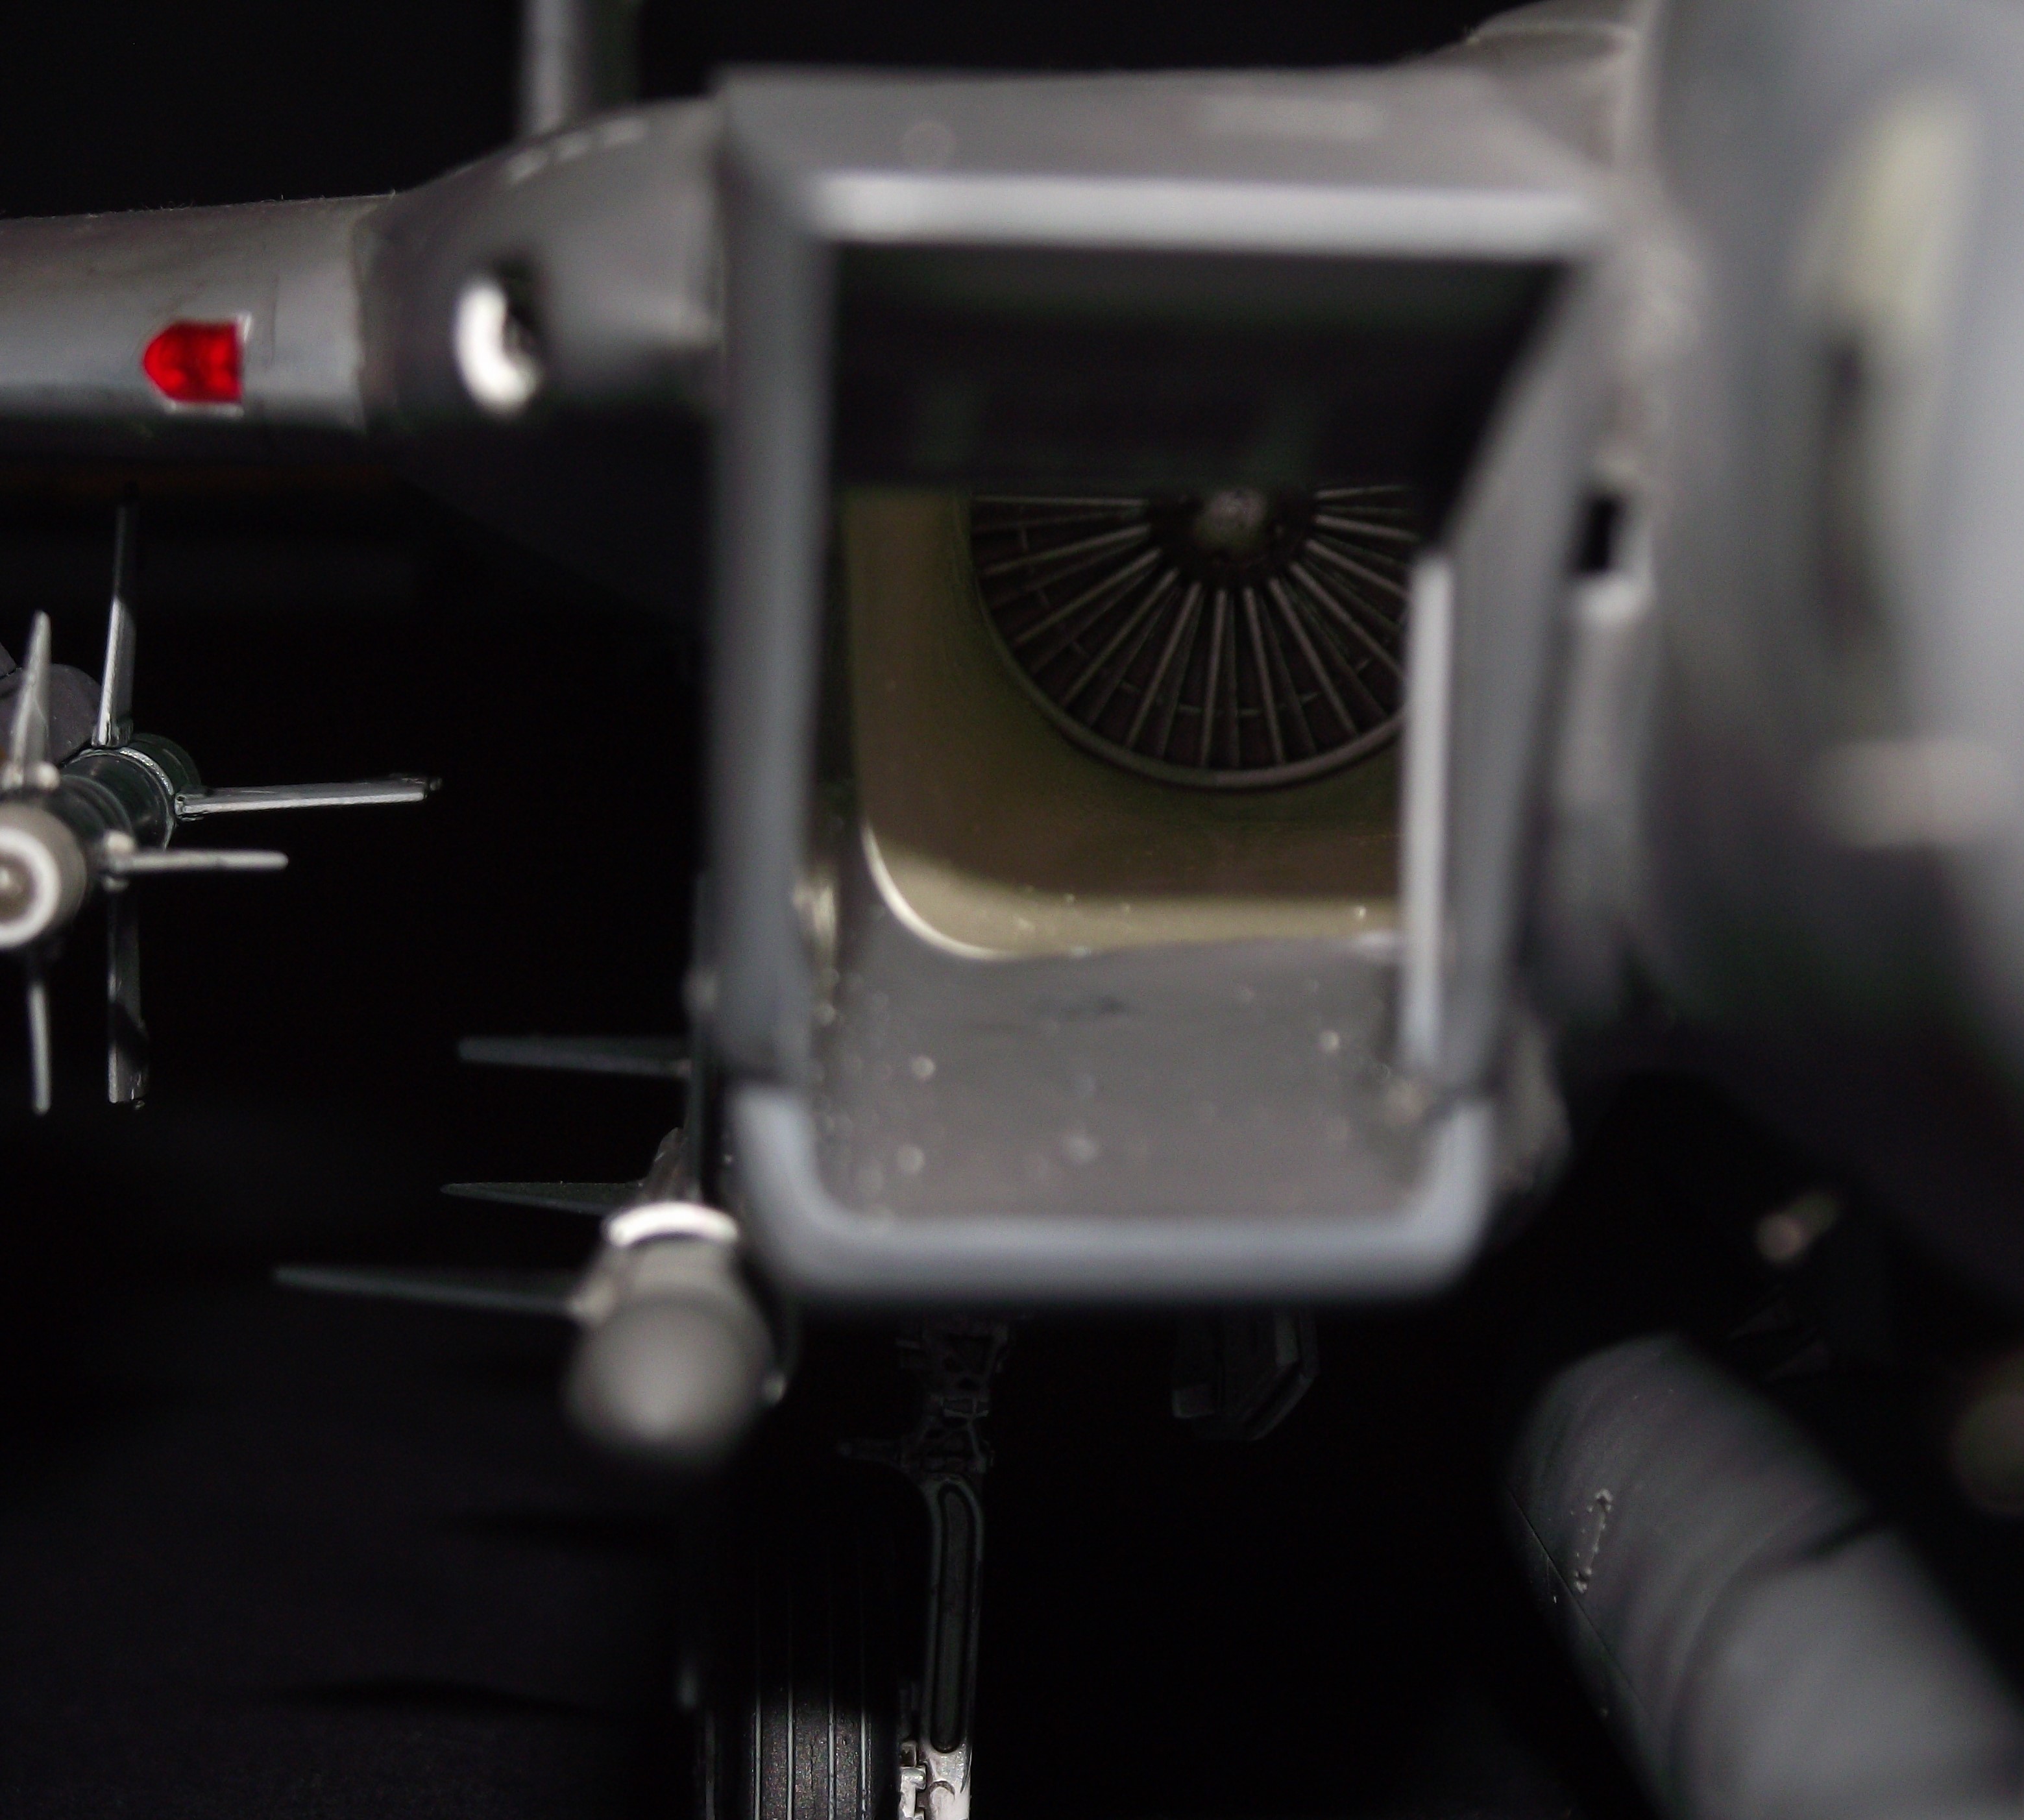
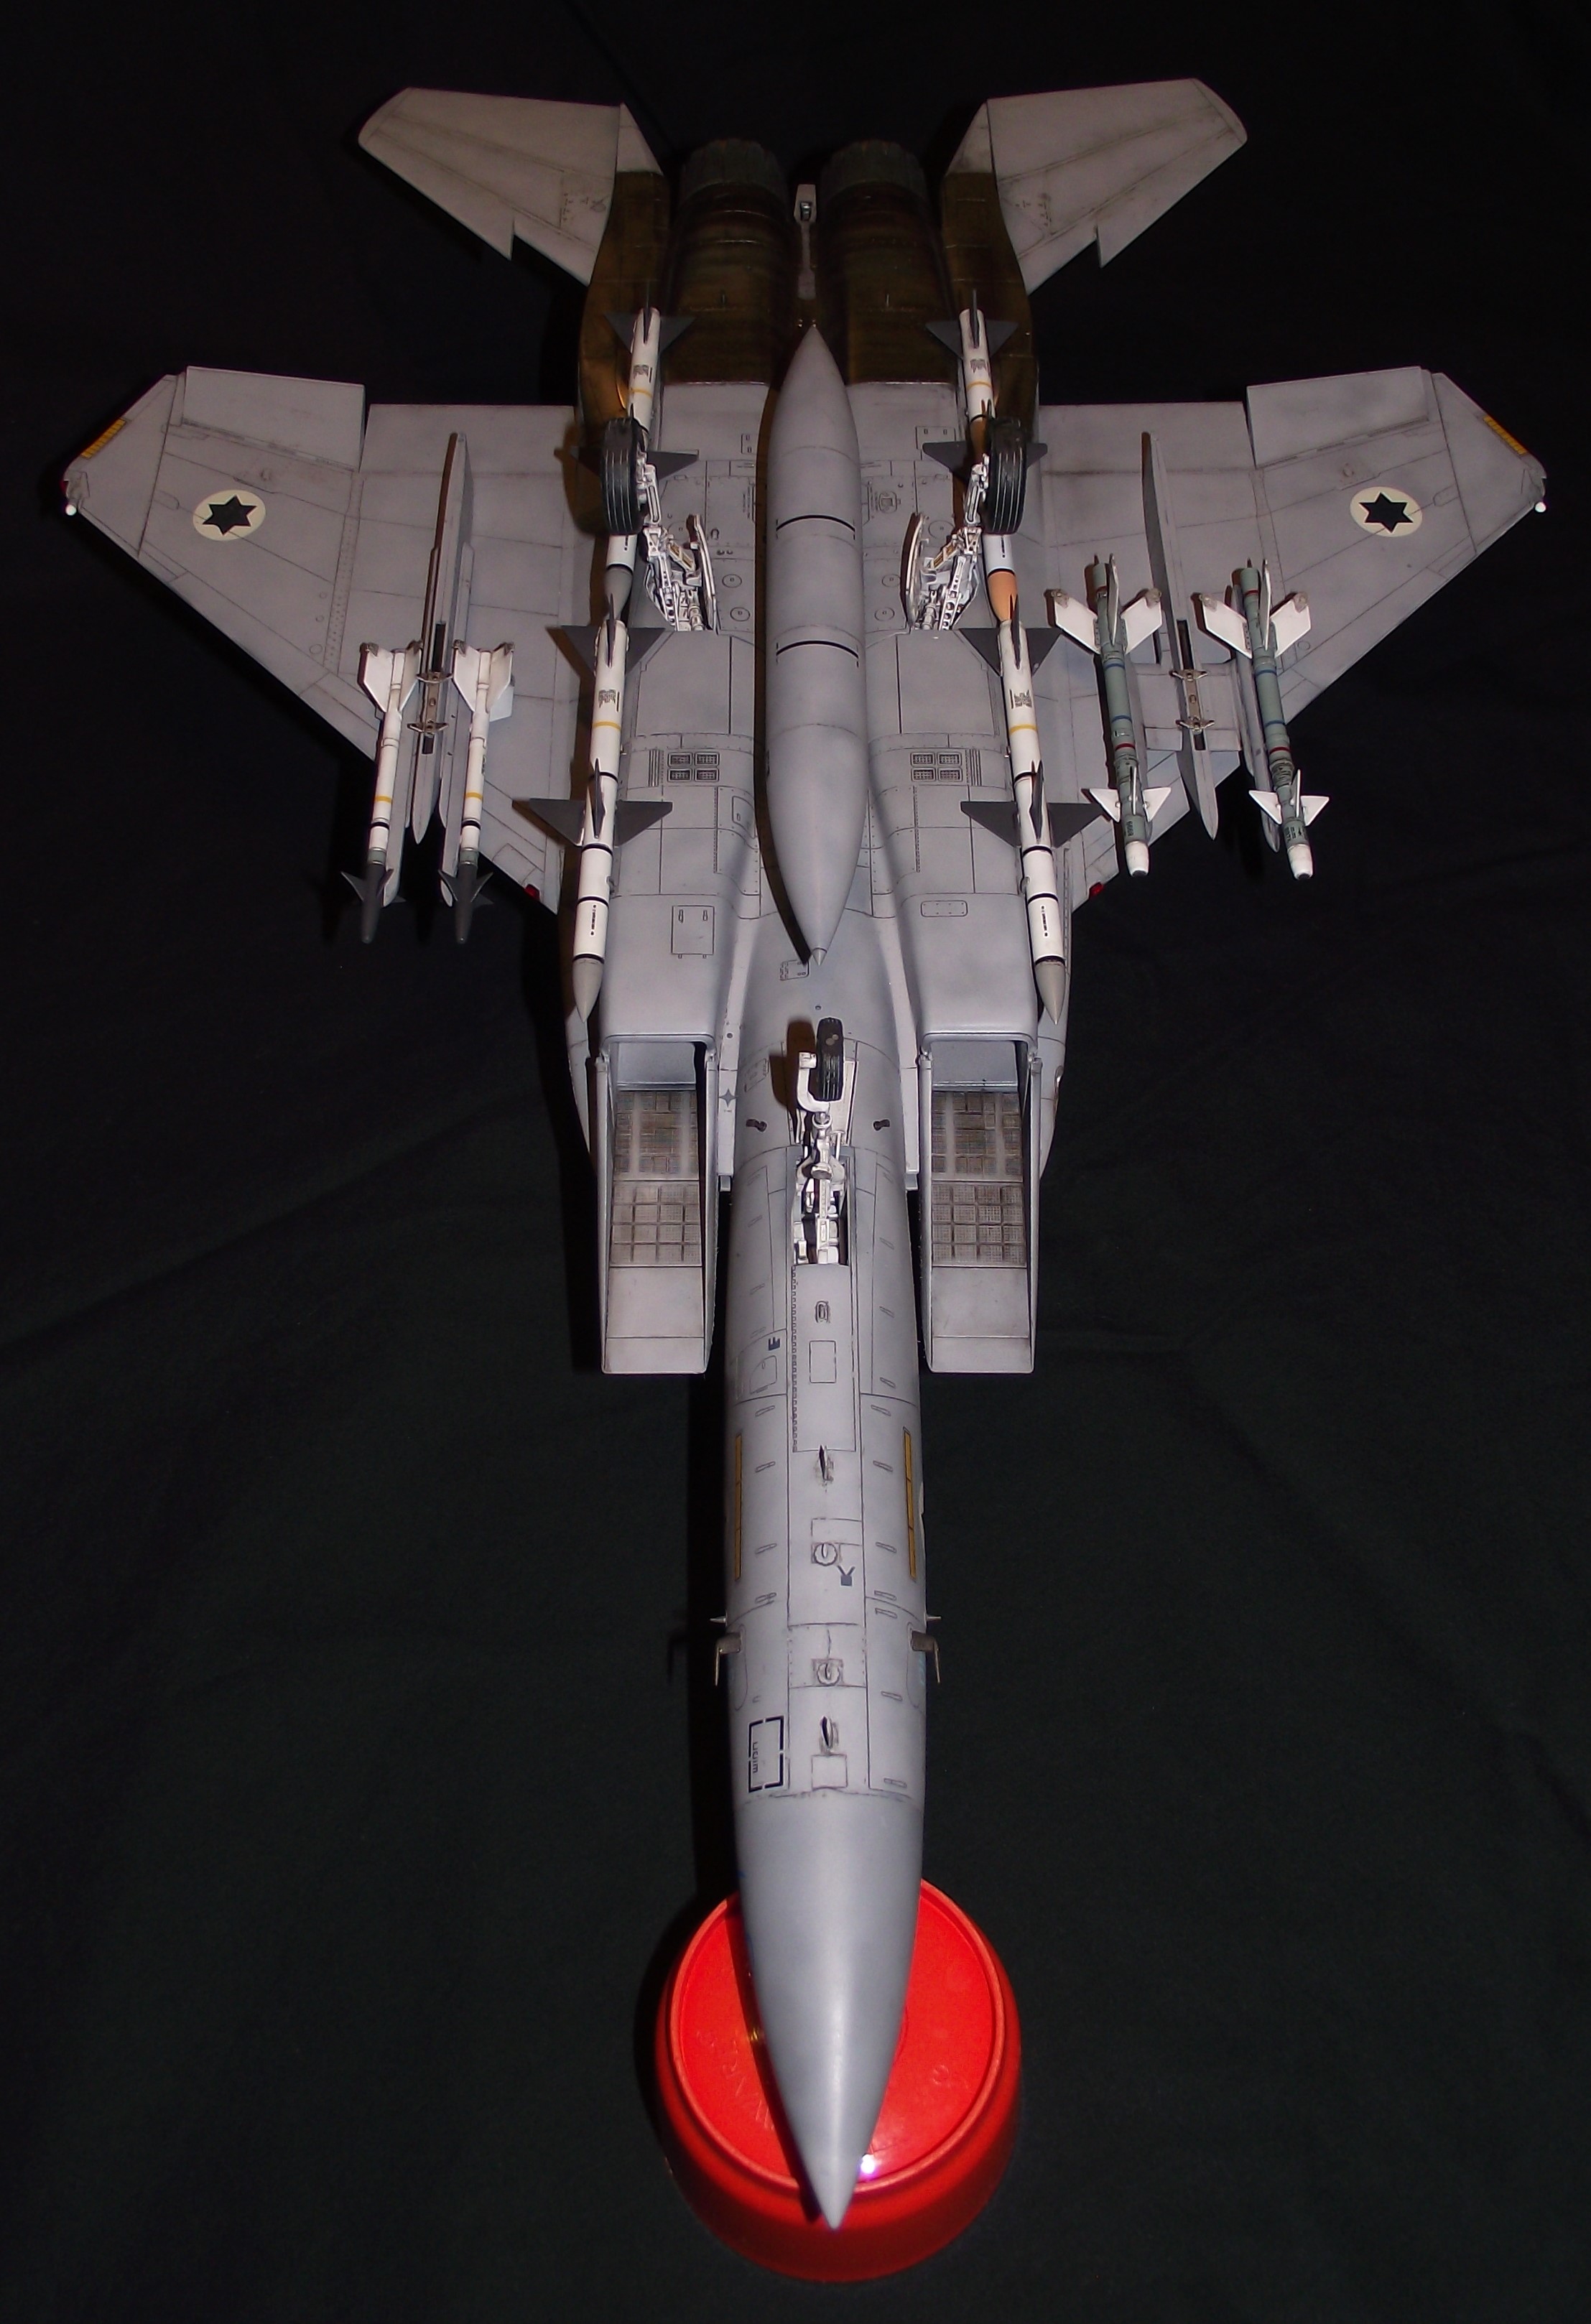
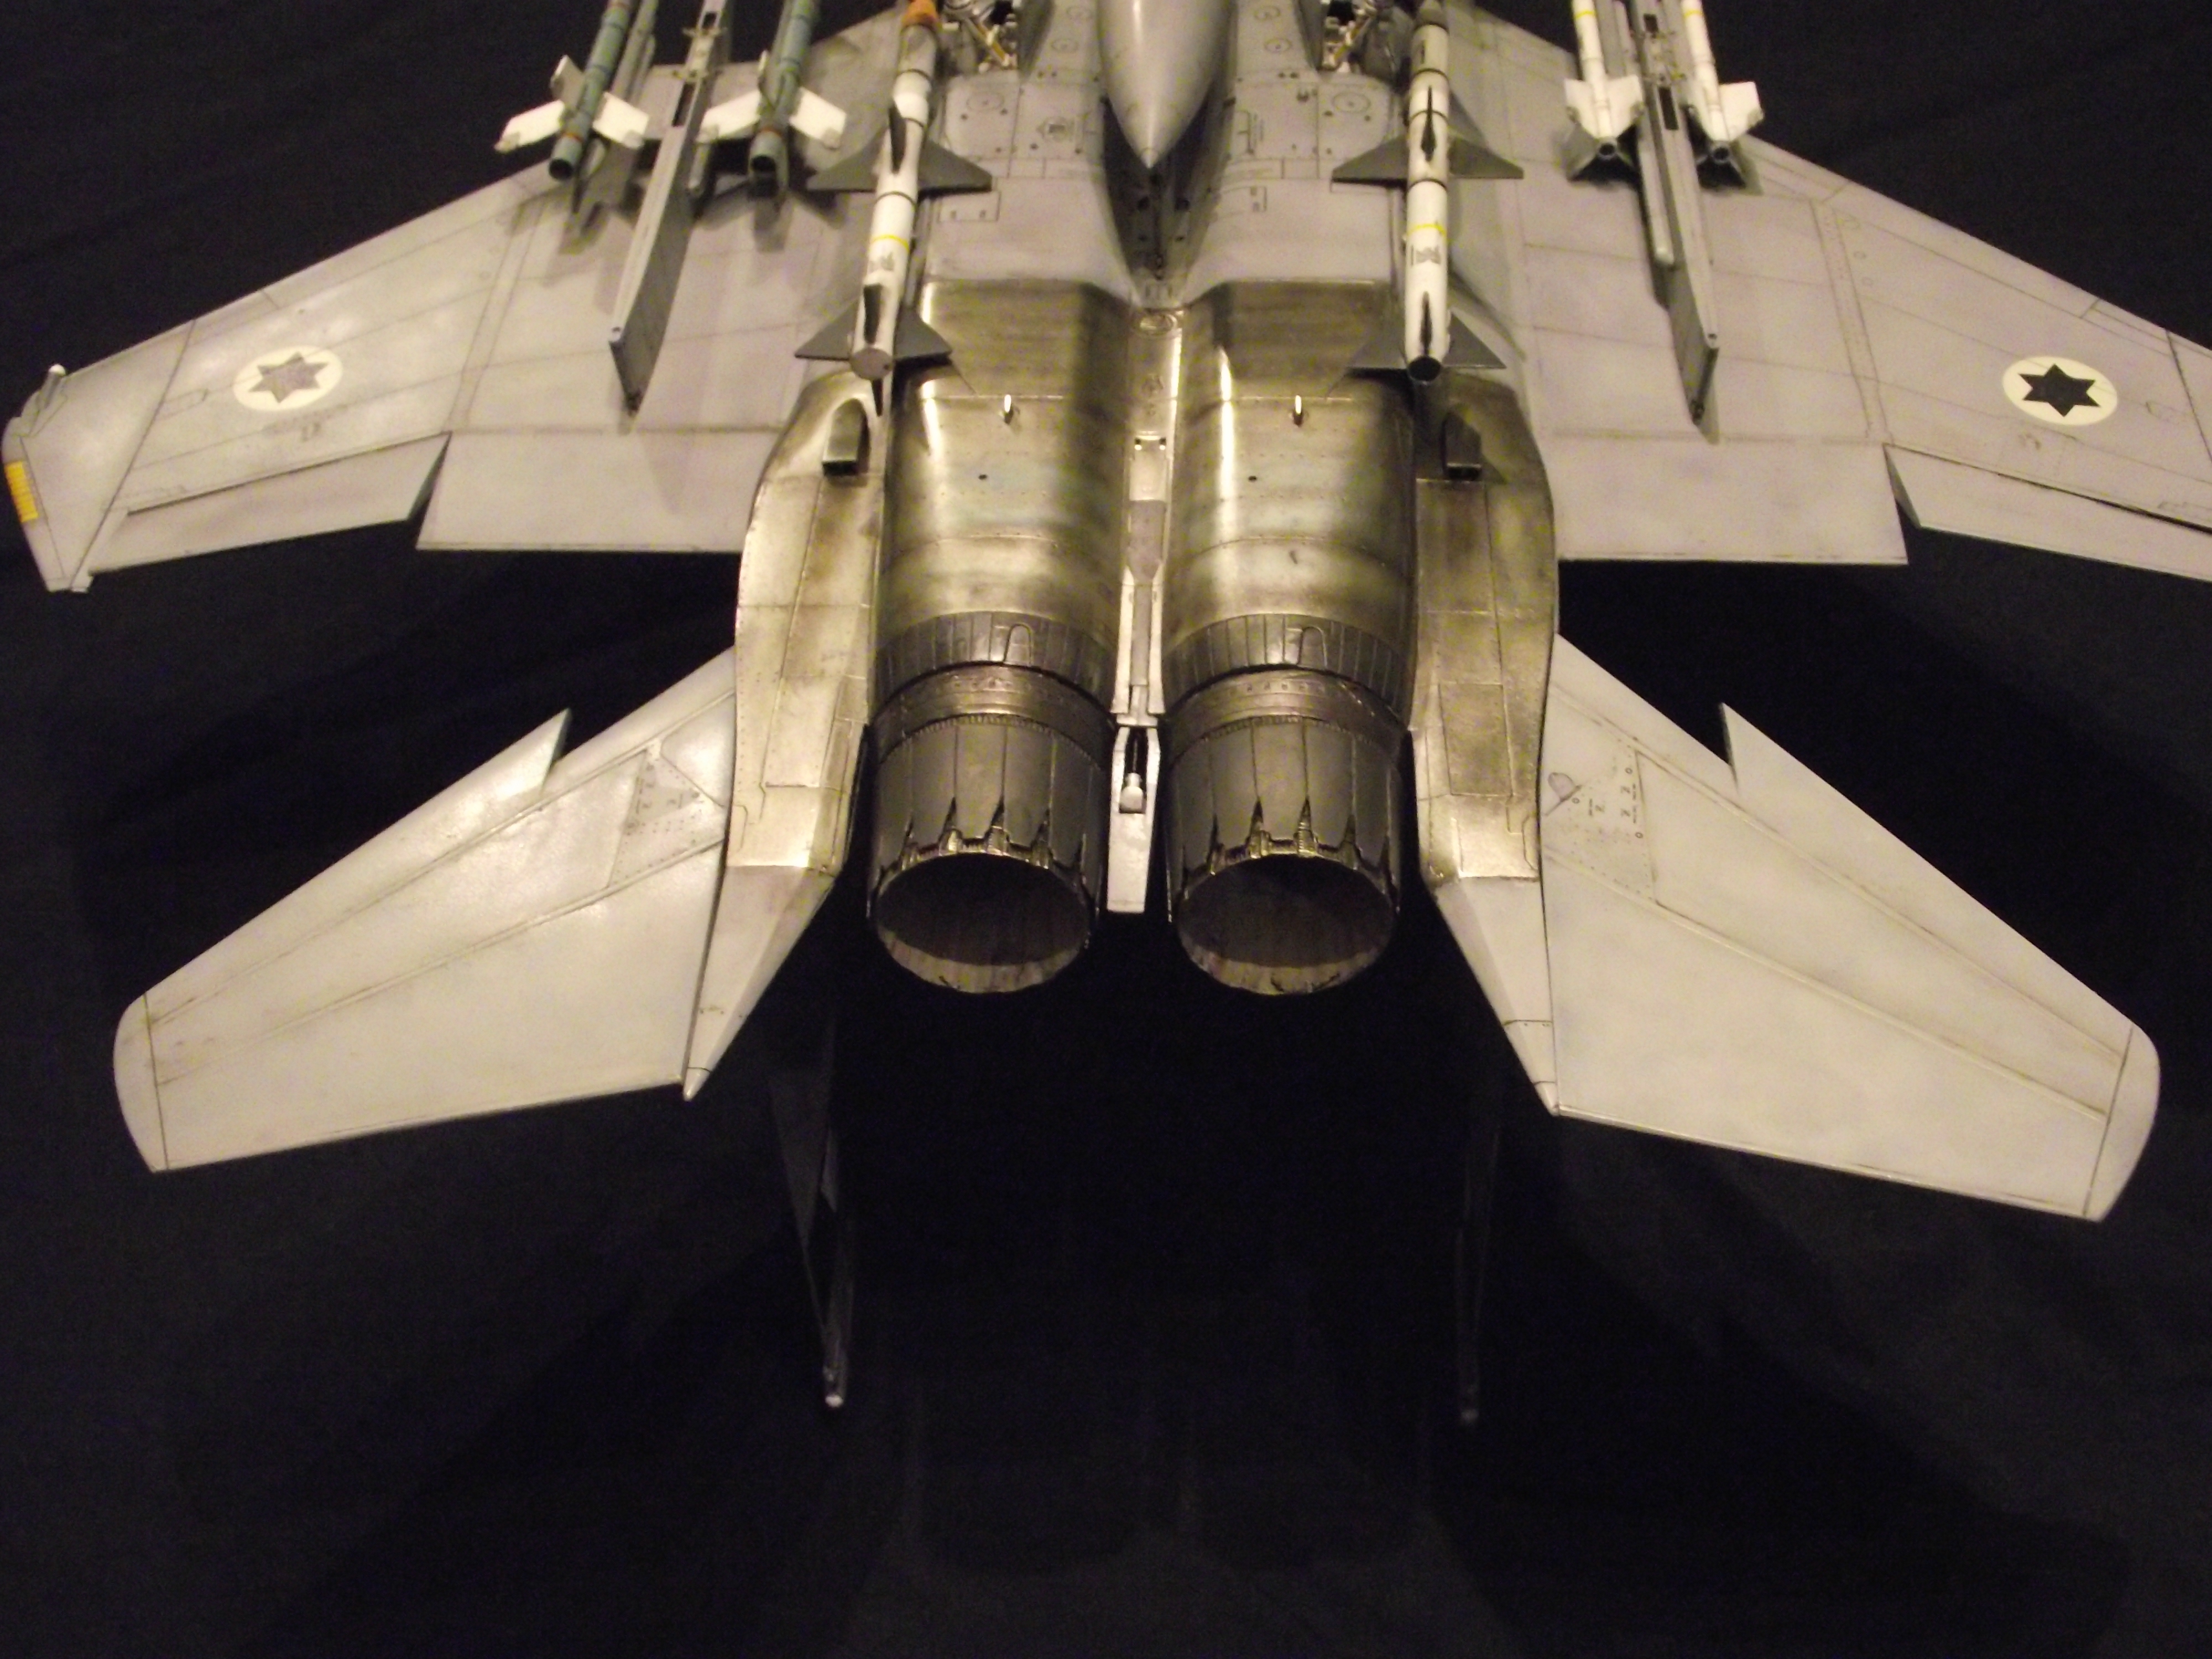
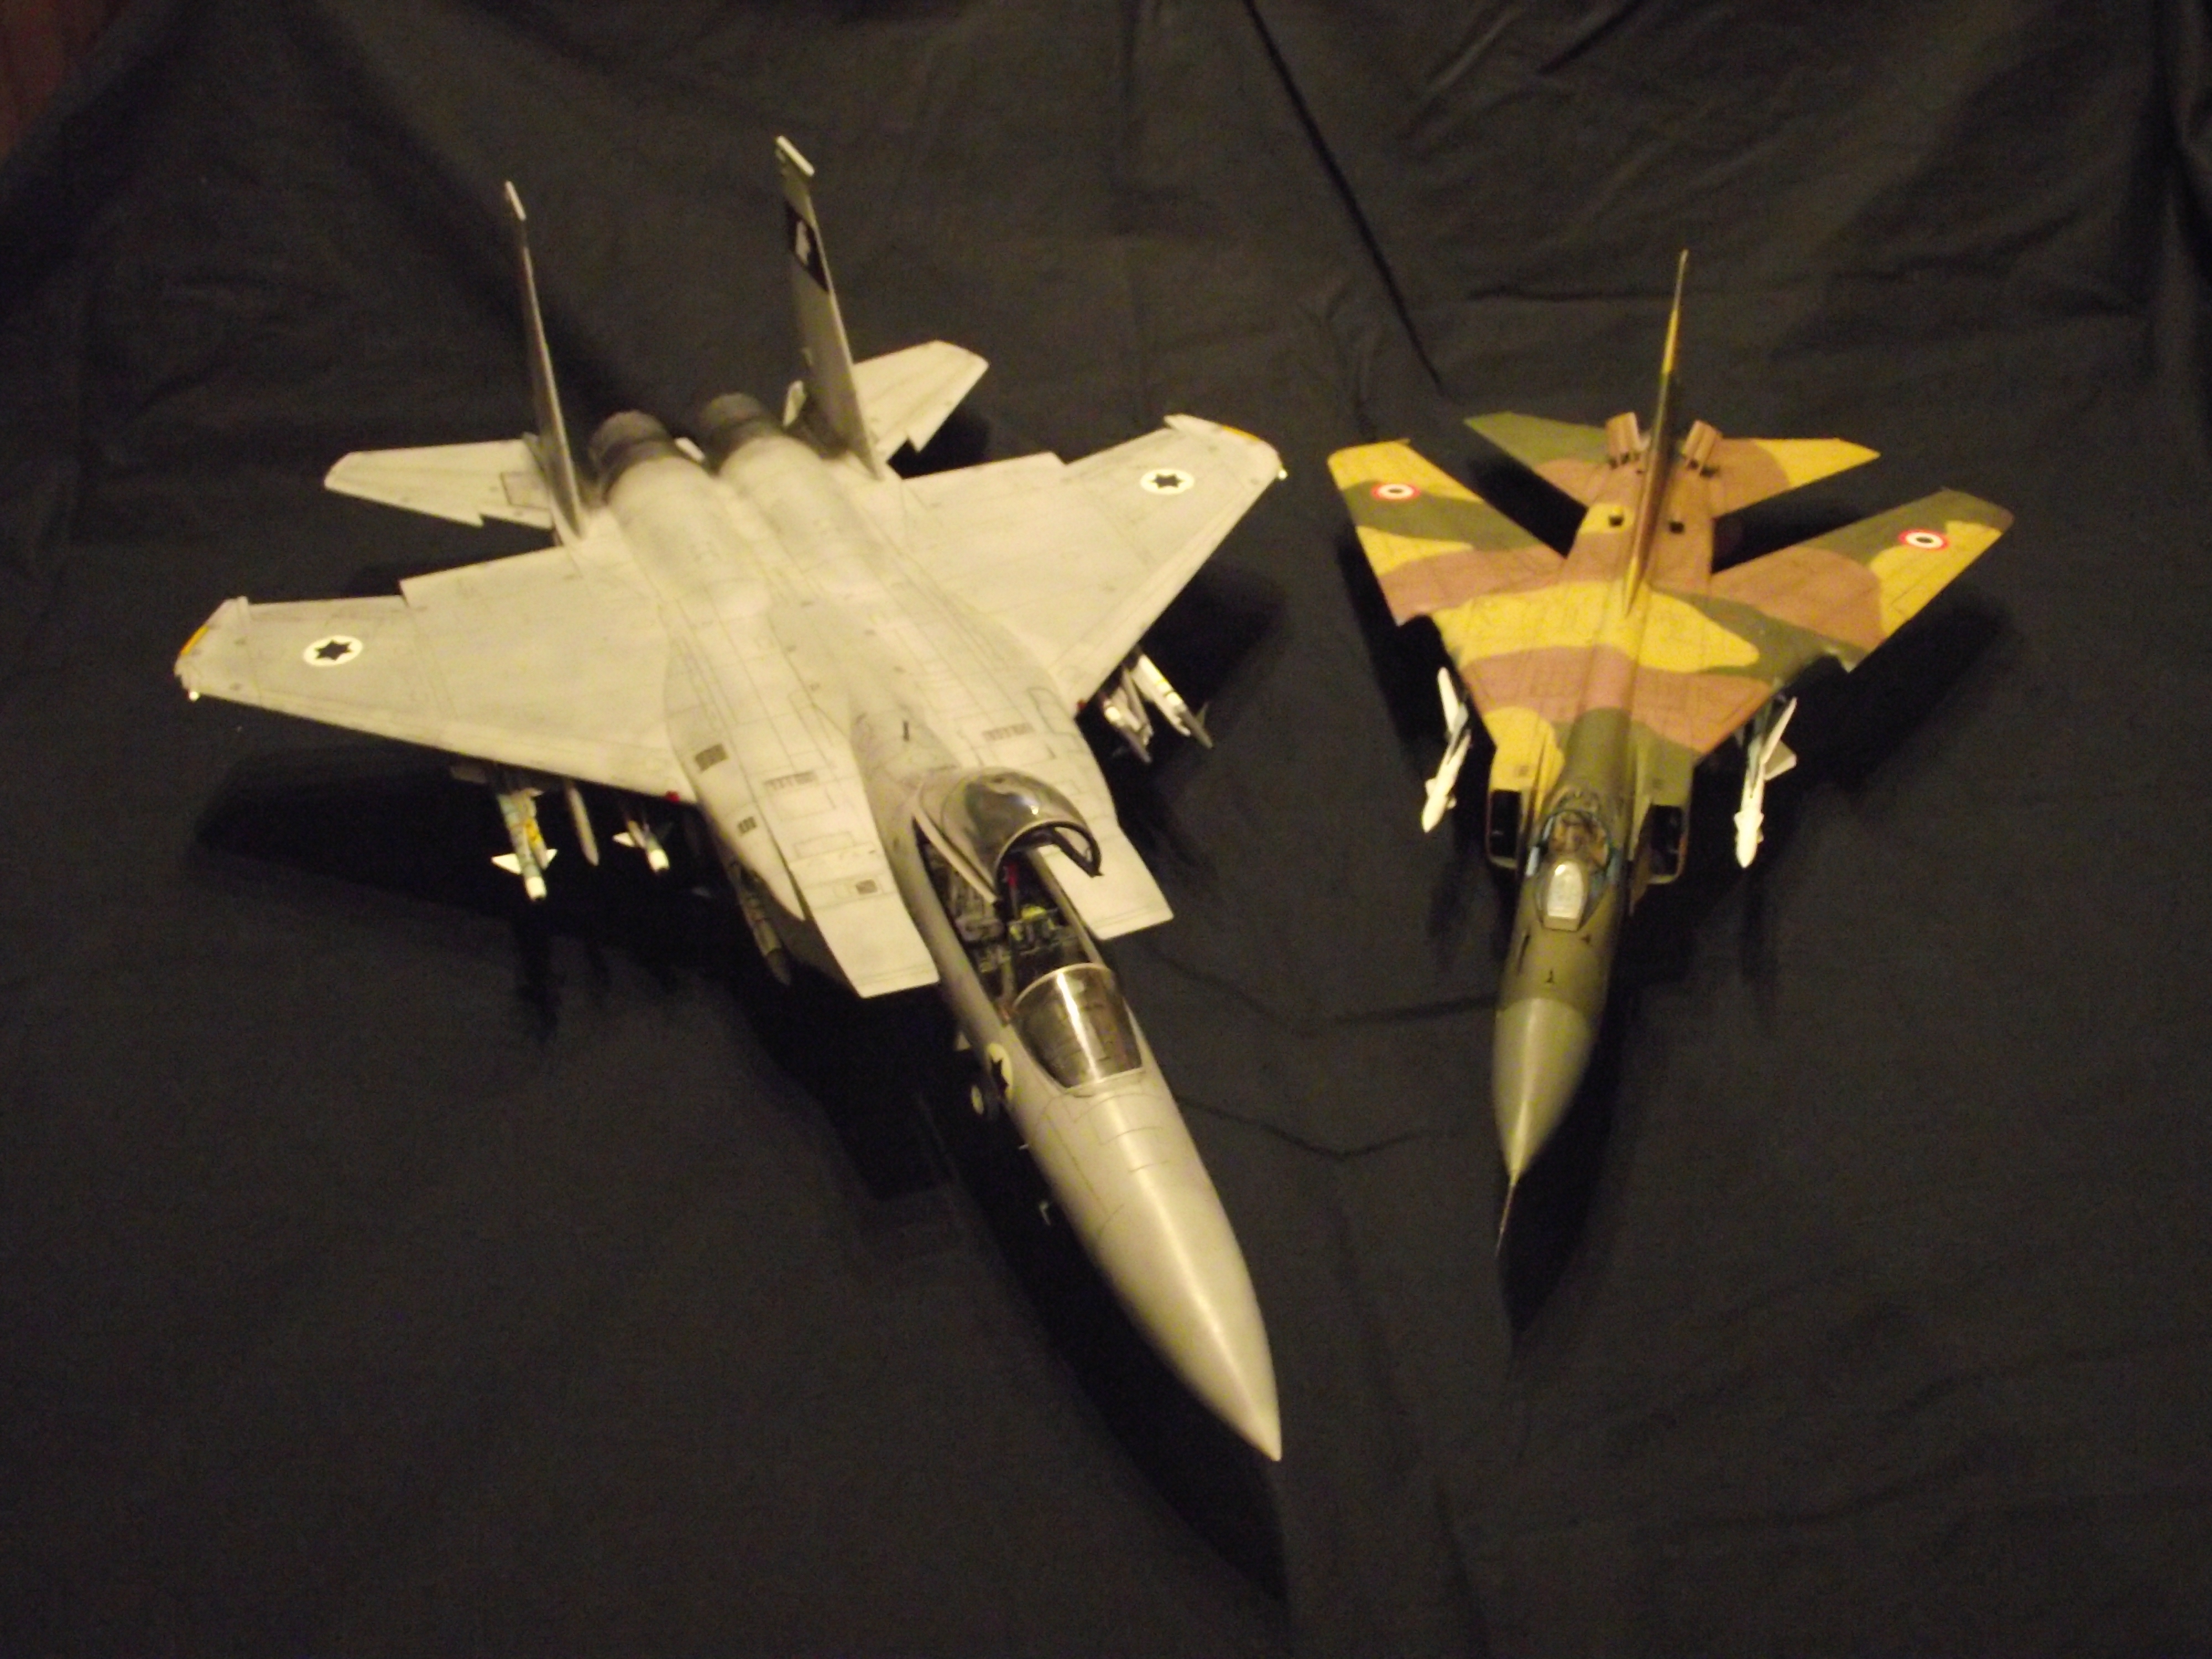
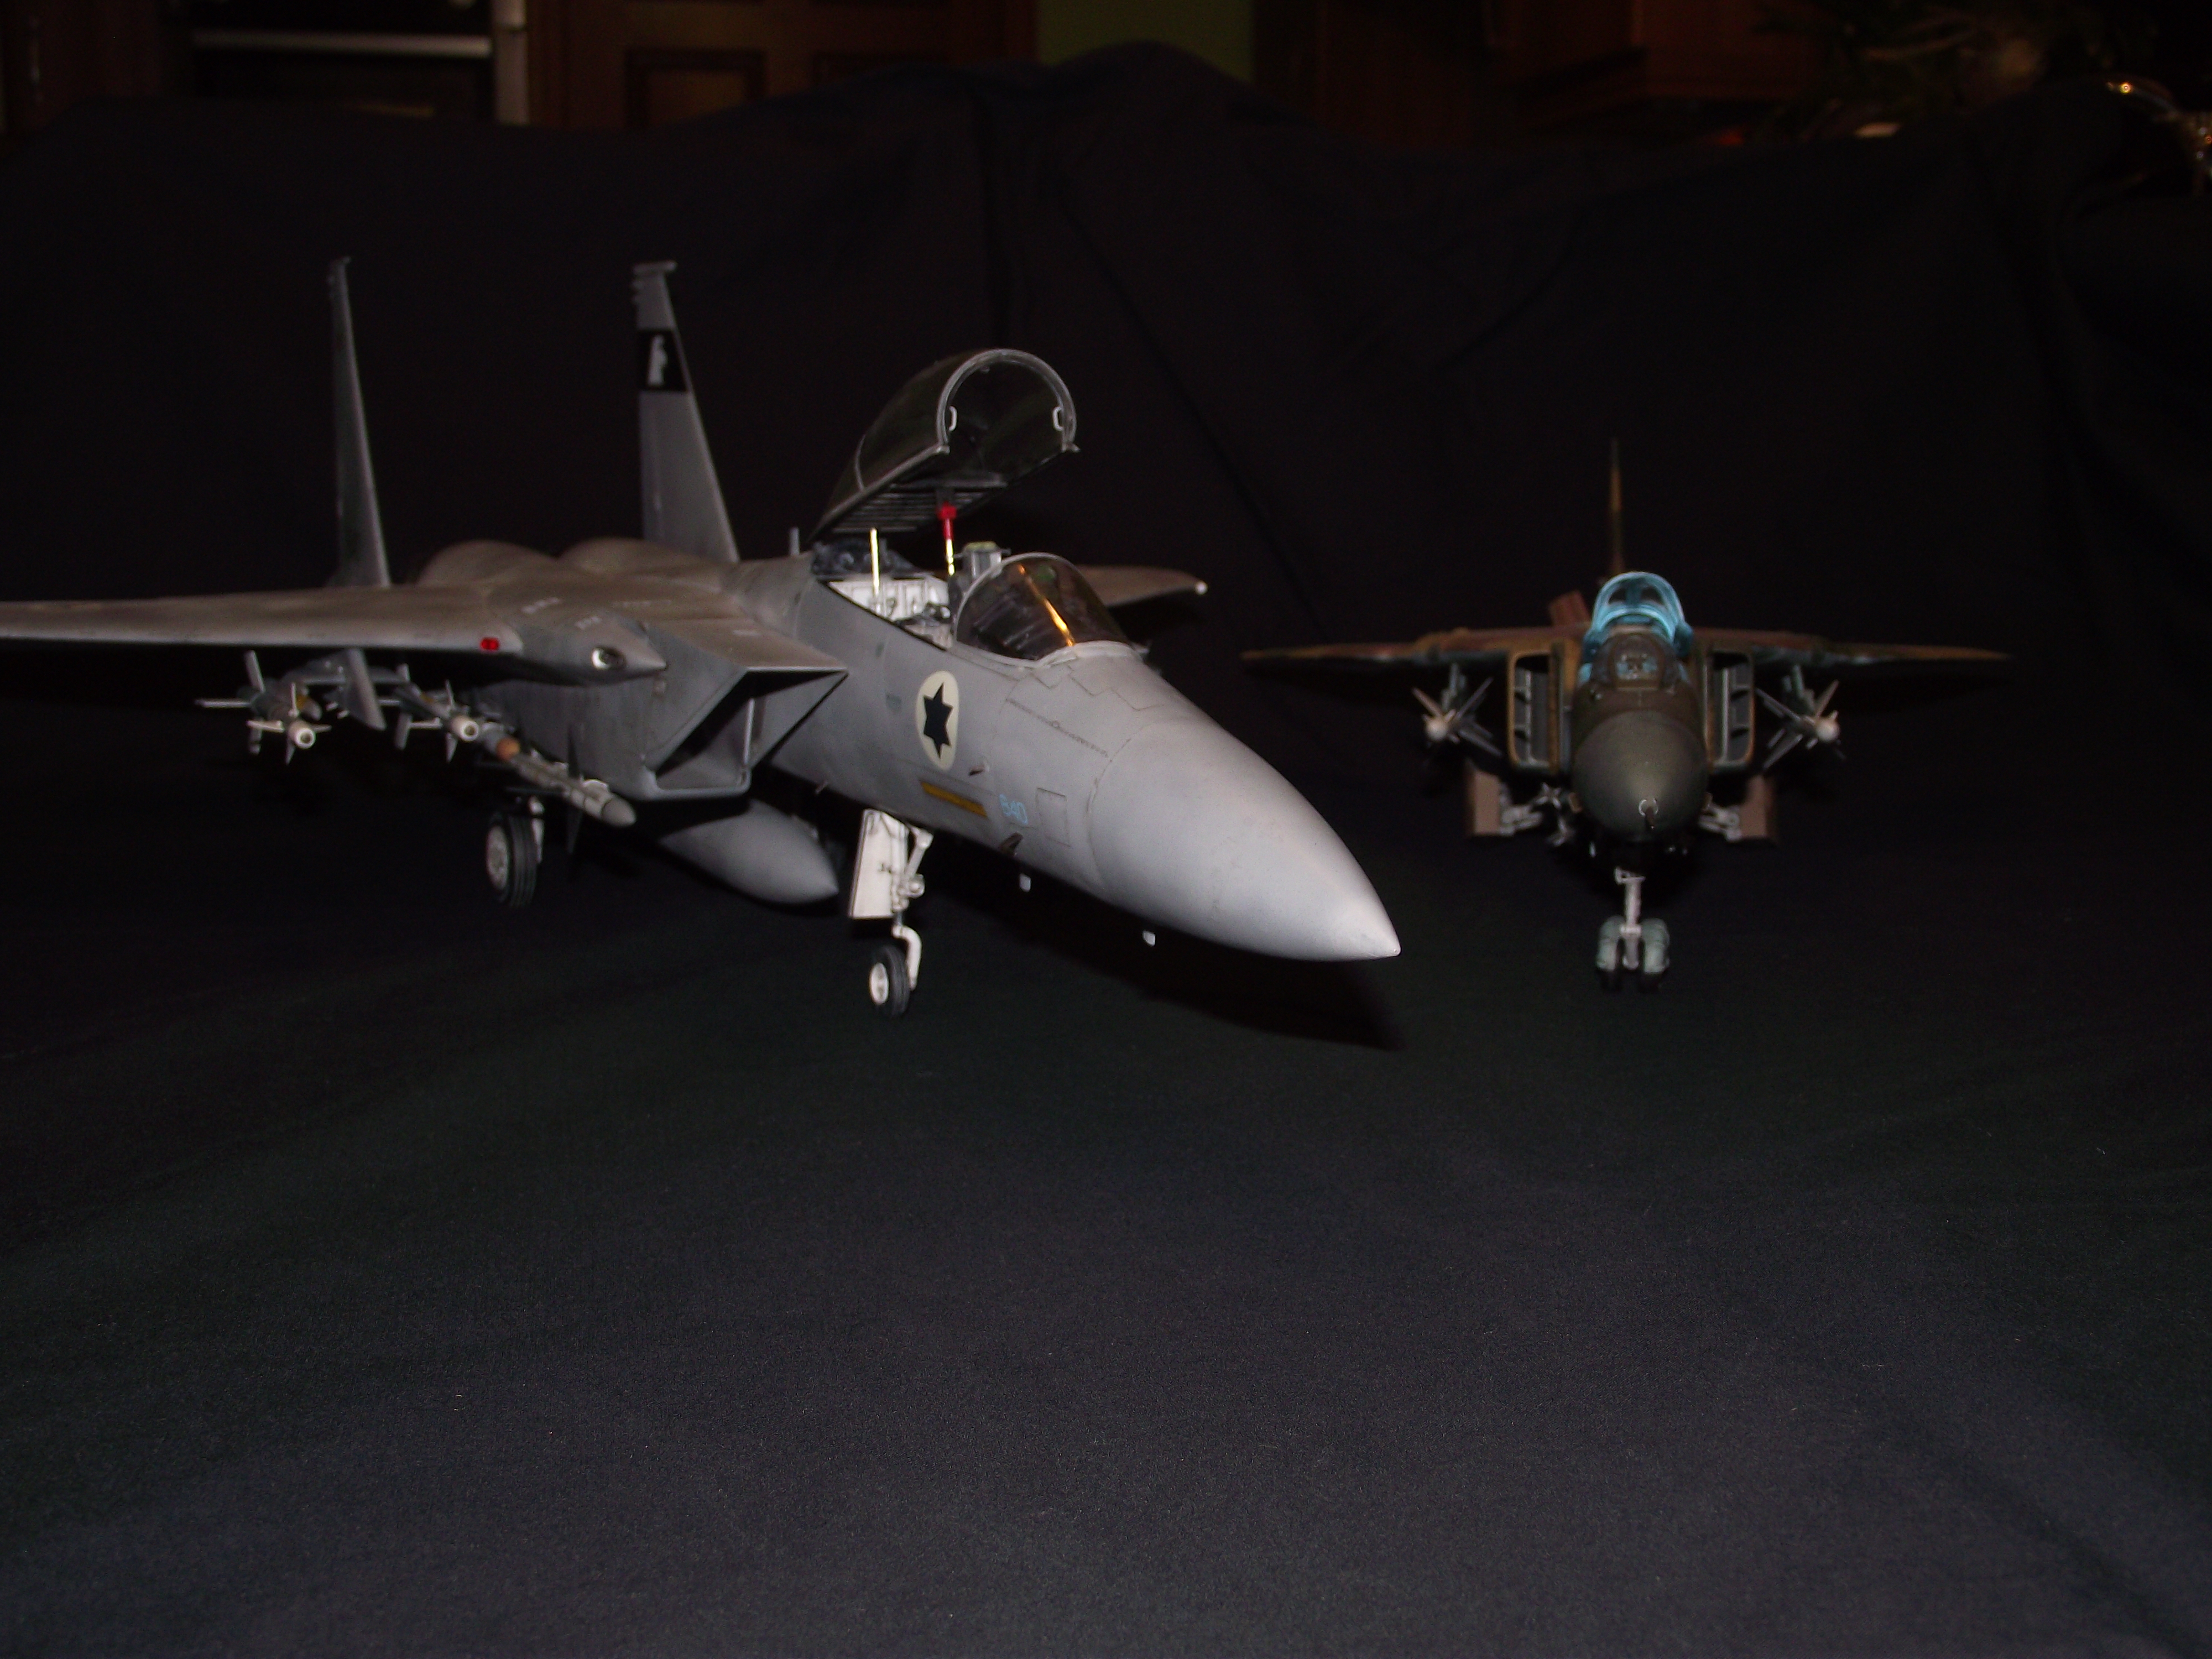
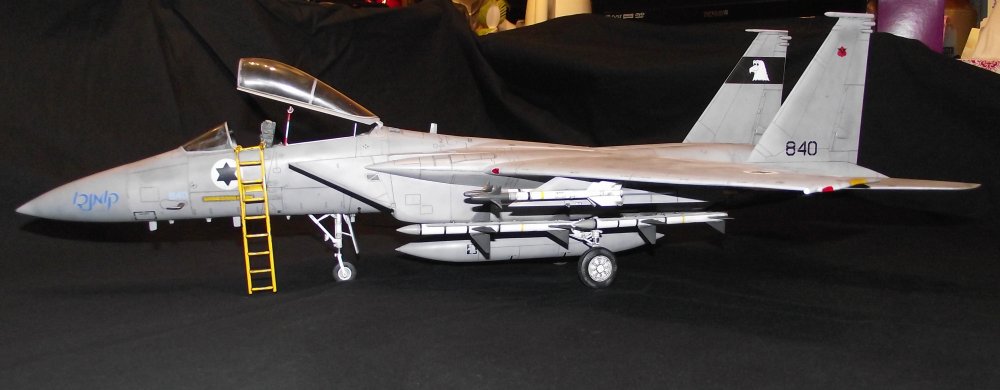
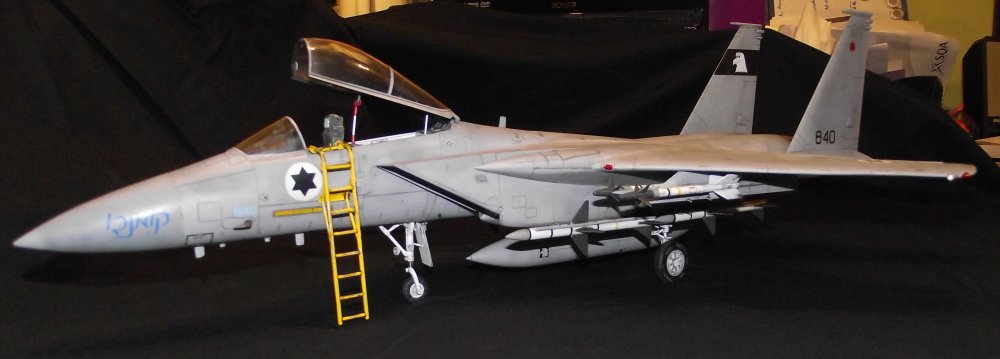
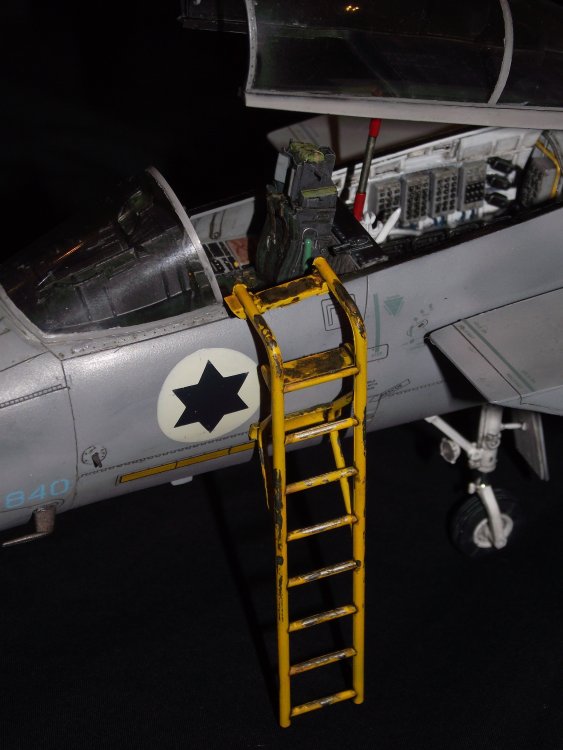
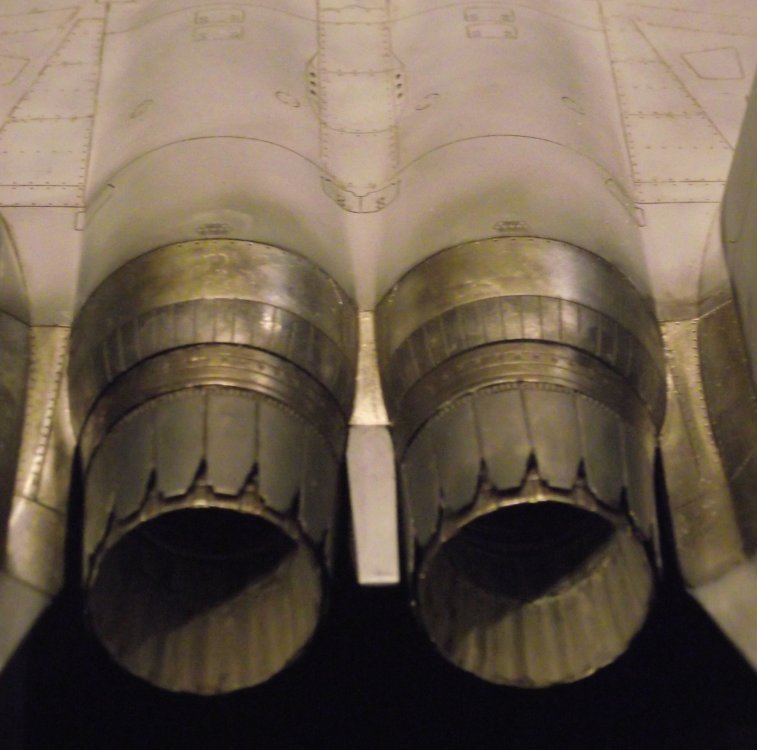
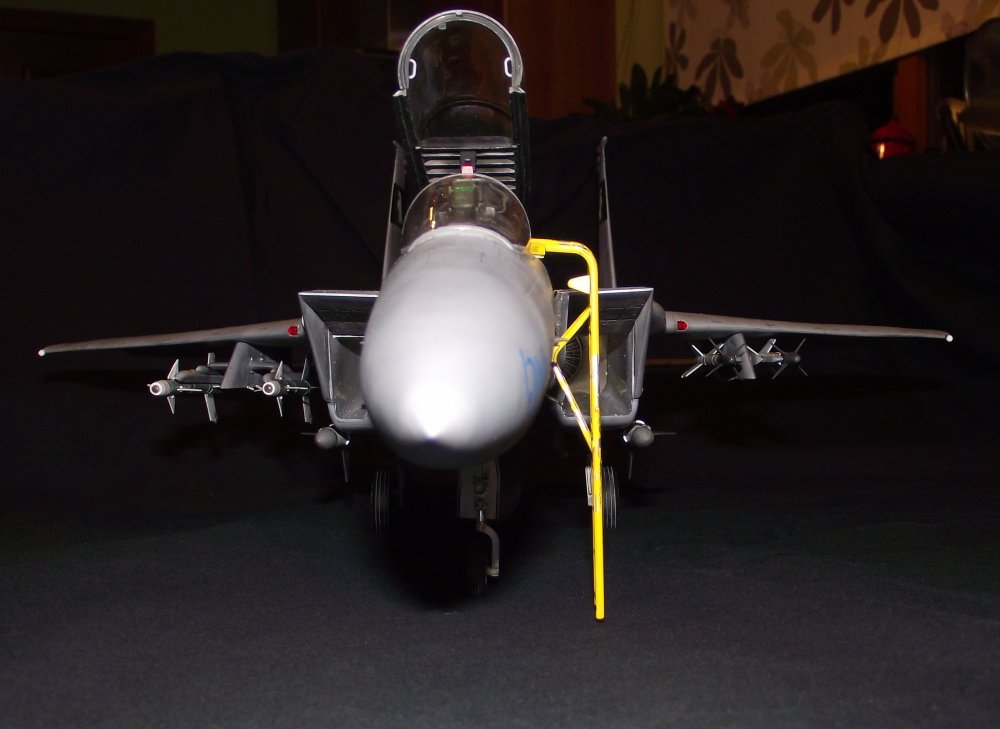
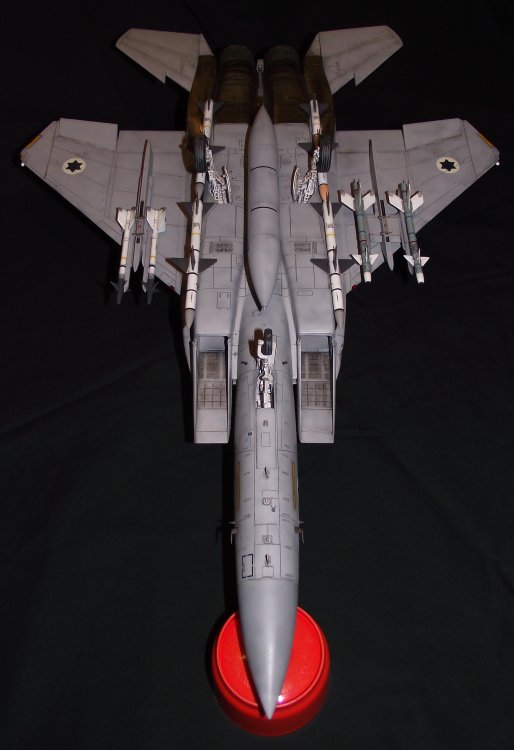
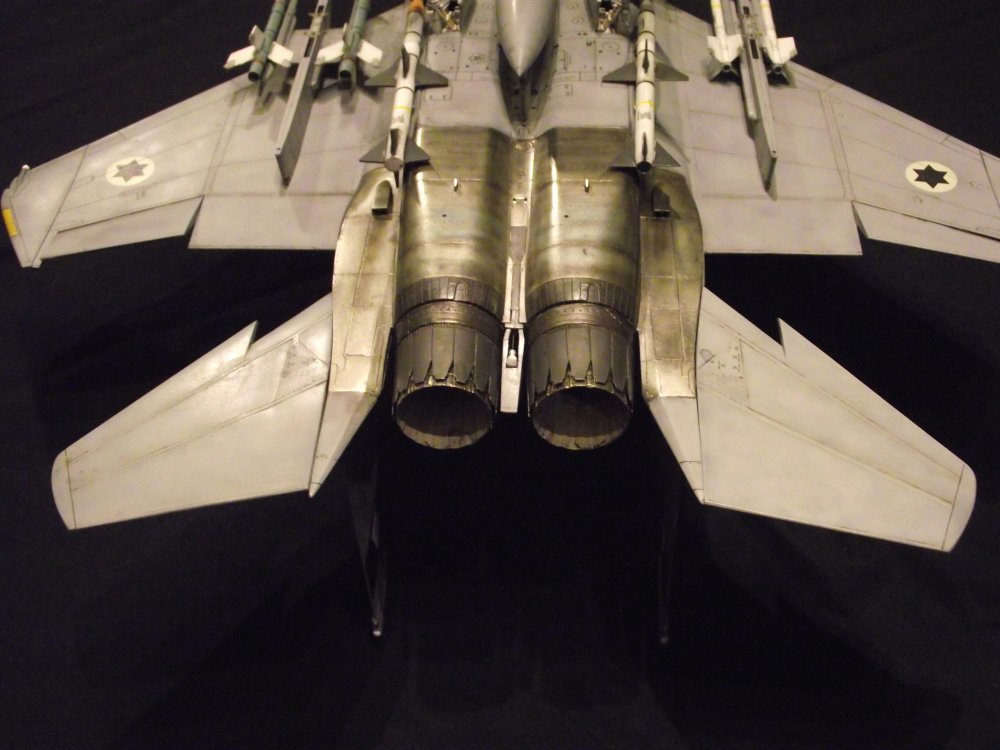
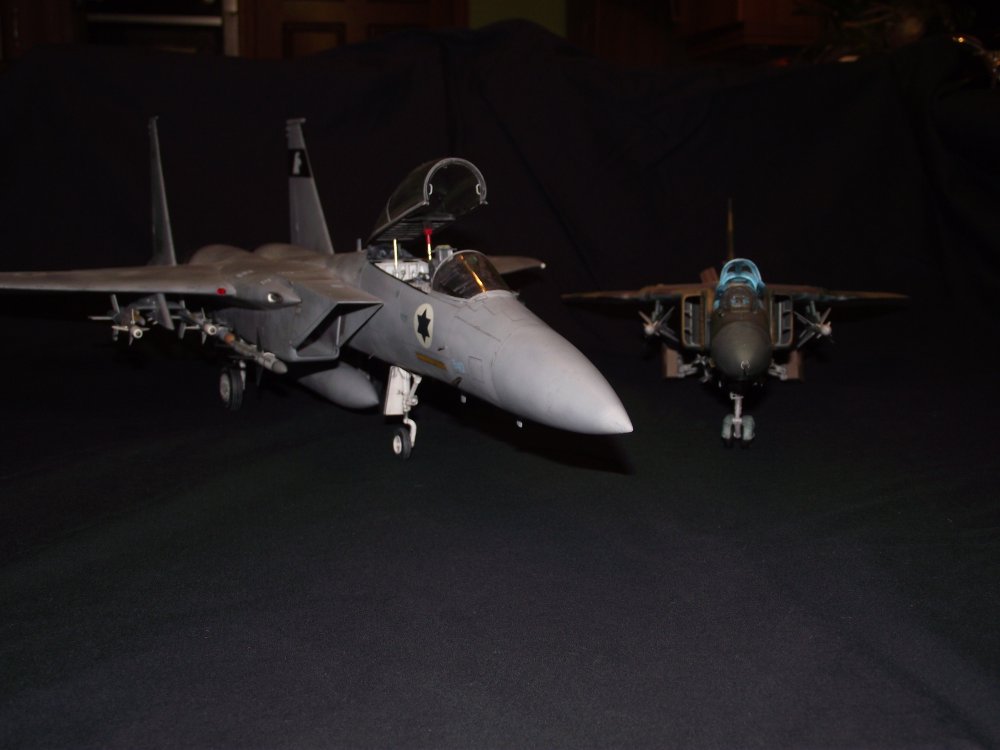
Okay, here is my first big Tamiya kit, the F-15C built as IDFAF aircraft 840 'Commando' as at the start of Operation Mole Cricket in June 1982. The airframe is often shown with 6.5 kill markings but that's wrong as it only ever claimed 3.5. This depiction is it would have been before it's first victory over a Syrian Mig-23 which I built last time. AM consisted of GT Resin seamless intakes, exhaust set and wheel set, all of which were very easy to use and install. Python 3s and their pylons were from Isracast and the decals were the Cutting Edge set which were nice and thin and settled down lovely. The main grey paints were Mr Hobby acrylics and everything else was Tamiya acrylics. Again used the Ammo panel line washes which are very easy to use and give a nice end result to my eyes. Big thanks to Dennis.E who provided a spare AIM-7 Sparrow after one fell victim to a 'friendly' chew from one of our dogs!! And here she is alongside the Trumpeter Mig-23MF built as her first kill over the Bekaa Valley when flown by Benny Zinker. Overall, I'm pretty happy with the outcome but a bit of a disaster with an attempt at salt fading took some of the joy out of it - it was a long chore to fix the damage but lessons learned for the future. I feel as though my skills are improving with each build but I think I have to speed up a bit - this has taken almost 11 months. The build review can be found here http://forum.largescalemodeller.com/topic/4635-idf-f15c-commando/ As always all comments welcome. Gus


-
Evening All Well, I'm calling this one done. Fairly happy with the outcome although some aspects could be improved. Certainly wouldn't repeat the fiasco with the salt-fading for instance! Will post a full set of pictures in the Finished section. As usual, all comments, critiques, etc welcome. Gus

-
Nice result of an unusual machine. Looks like the love child of an M109 and an earth moving machine.
-
Lamborghini Murcielago "Liberty Walk" - 1/24 by Fujimi & Eightyone81
GusMac replied to elmarriachi's topic in Non LSM 'WIP
Red looks cool Micha. -
What's the biggest part you have lost during a build
GusMac replied to NST's topic in General Discussion
Mine was a bit similar to Paul's and it happened on my current build. Four Sparrow missiles in the process of being painted and suddenly there were three?! Like Jeroen my first suspect was the missus, but the missing item turned up later in the bed of our younger dog, Salty - well chewed! Must have got knocked on the floor and he regards anything he can reach as fair game. DennisE kindly sent me a replacement all the way from NZ. -
Ta-152H-0 awaiting restoration at the NASM
GusMac replied to JeroenPeters's topic in LSM 1/35 and Larger Work In Progress
Stunning work. The worn RAF roundel is just great. -
Looks great. I think the lighting in the photos adds to the effect.
-
Hasegawa P-40E bringing back that mojo!
GusMac replied to Wingco57's topic in LSM 1/35 and Larger Work In Progress
Nice to see you back at the bench Cees. Hope you get the motivation to finish the Manchester at some point. -
Eduard P-47D Thunderbolt "Dottie Mae" WIP
GusMac replied to a topic in LSM 1/35 and Larger Work In Progress
That has gone together nicely. Far better than the Trumpeter version does - they have the spine as separate parts which just creates seams and poor fit where you don't want it. Can you actually see any of your IP wiring in there? The fit looks lovely and snug but not a lot to be seen. -
G6 "Rhino" - 1/35 by Takom
GusMac replied to elmarriachi's topic in LSM 1/35 and Larger Work In Progress
Looks great. Saw some reviews of this on The Modelling News and it looked intriguing. Certainly builds up impressively. -
Eduard P-47D Thunderbolt "Dottie Mae" WIP
GusMac replied to a topic in LSM 1/35 and Larger Work In Progress
Nice paint Danny. The colour looks good - certainly better than the hideous bile green in Brian's picture! -
Nice result Jorge. Wish someone would do a Mig-27 (or a decent conversion set) in 1/32.
-
Nice result Danny. I've never tried casting, was it really as easy as this makes it look? Funny that an 'incorrect' Mig-29 nose ends up being perfect for the -23. Looking forward to the new Mig-29s from Trumpeter and hopefully they've paid attention to the issues with the previous versions.