DocRob
-
Posts
7,043 -
Joined
-
Last visited
Content Type
Profiles
Forums
Events
Gallery
Everything posted by DocRob
-
This can be interesting for some of you, I guess. Revell is about to release a new tool Hurricane soon. The Modelling News: Revell's new-tooled 32nd scale Hurricane hits in December... Cheers Rob
-
Thank you John, indeed, I can see how you have built so many. It's my second Tamiya Corsair, with my detest for redundance, that equals to twenty Corsairs build by you . They are great kits and I can see myself build a third one, possibly a British conversion or a later model as my first GSB-pain mule. Your Corsair builds are a great temptation and I ask myself how much Tamiya pays you as their Corsair ambassador . Cheers Rob
-
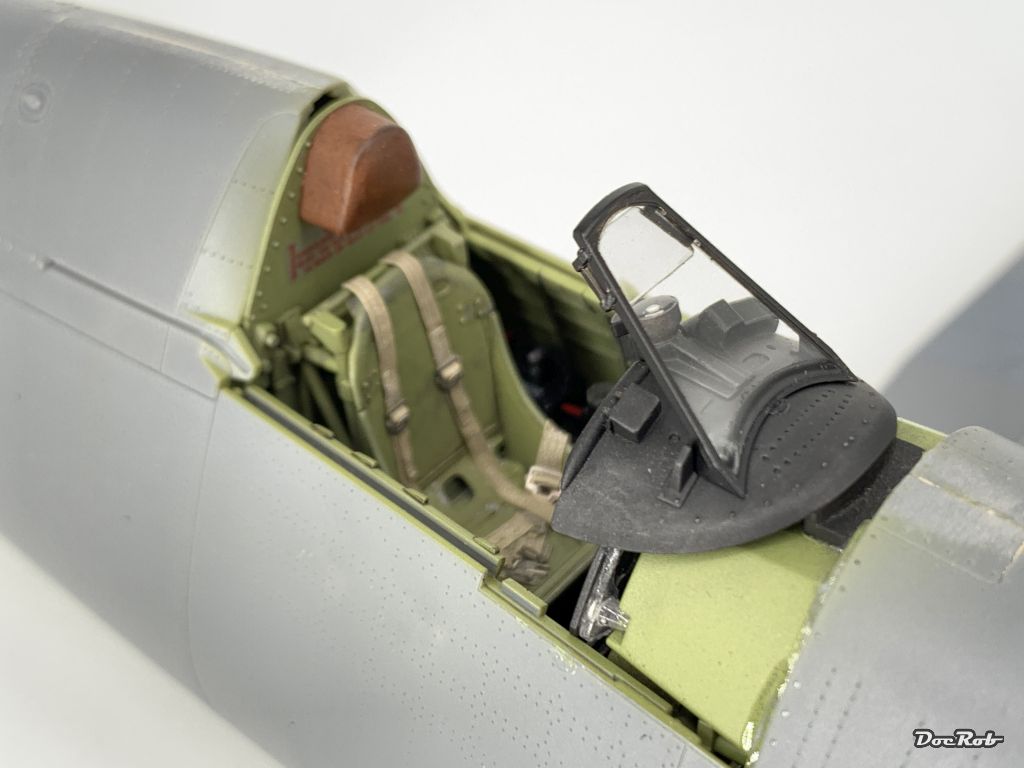
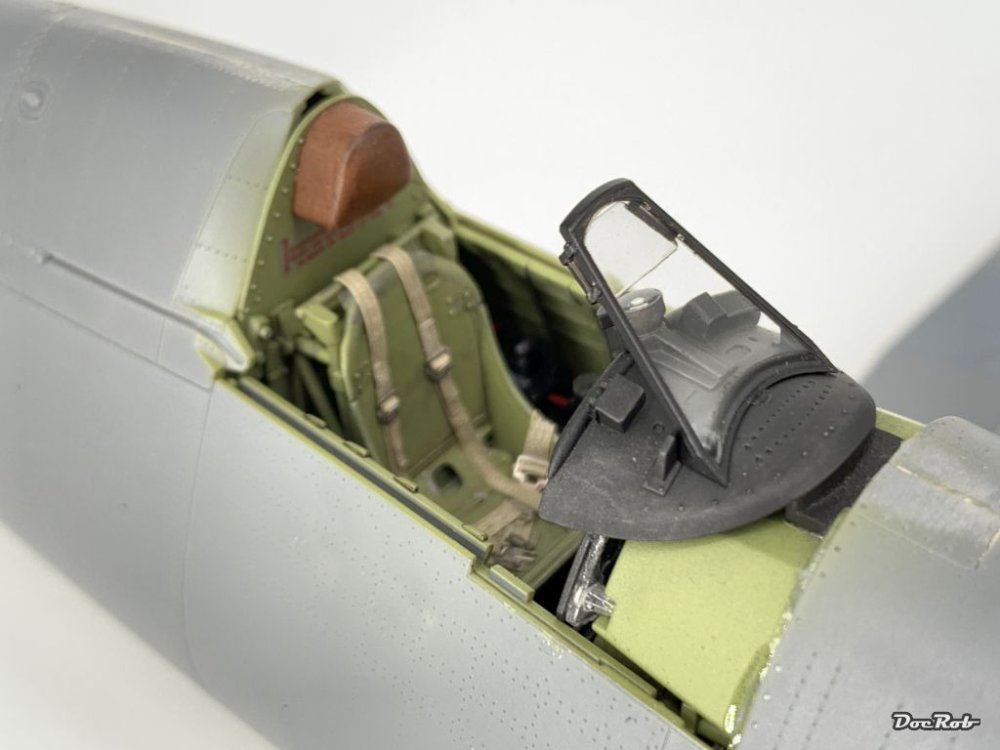
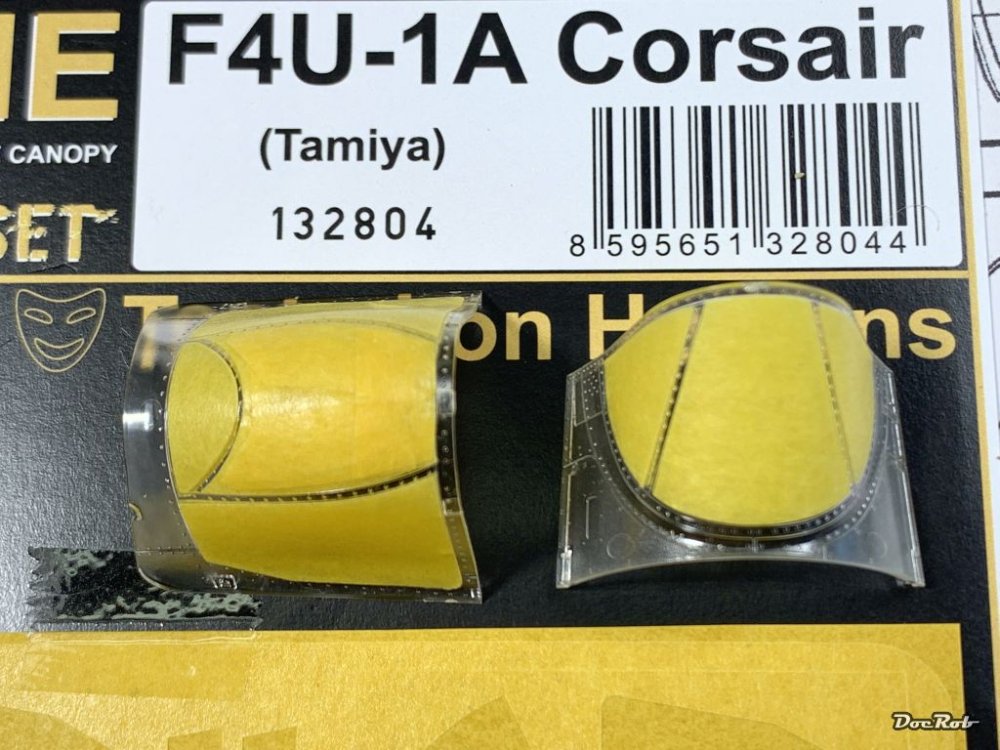
Poco a poco - step by step - I'm nearing the finish line construction wise. I masked and painted the protective glass and the inside of the canopies. The rear part of the canopy got the mirrors glued in before painting. These are made from silver PE, so i masked the reflective sides with a piece of Kabuki. You have to decide while building, if the canopy should be posed open or closed and there are different fuselage parts supplied for the area behind the cockpit. I opted for open and that leads to a gap with the canopy part slightly tilting forward. Because of this, I will paint the fuselage with a Kabuki tape masked cockpit, not using the canopy part as a mask, like I planned first. Cheers Rob

-
Thank you amigos, I never had fit issues with Eduard masks, but HGW's were a different breed in pastimes. Luckily this time there was nothing to complain at all. Cheers Rob
-

GWH Curtiss P-40B; The Flying Tigers
DocRob replied to Peterpools's topic in LSM 1/35 and Larger Work In Progress
Great work on the cockpit Peter, your painting style is very crisp. I hope the fit issues will be sorted out without too much fuzz. Cheers Rob -
Thanks Phil, it's not completely ready by now. I added some dust and dirt, but have to finish weathering. When I can get a hold on, there will be figures as well. Cheers Rob
-
P-51 Skyczar 363FG Staplehurst ALG June 1944
DocRob replied to nmayhew's topic in LSM 1/35 and Larger Work In Progress
Very nice Nick, I love the finish, it looks very 'metallic' as it should. Extra detailing makes your Mustang stand out. Have you used pre cut masks for the wheel wells? I only ask, because I have ordered two sets of masks from Miryoku for mine. Cheers Rob -
Nice and definitely something different, Carl. Cheers Rob
-
They do smell, you have to thin them heavily. I use Mr. Levelling thinner with a ratio of up to 2/3 thinner 1/3 color. So well thinned it goes down ultra glossy and sprays perfectly. Cheers Rob
-
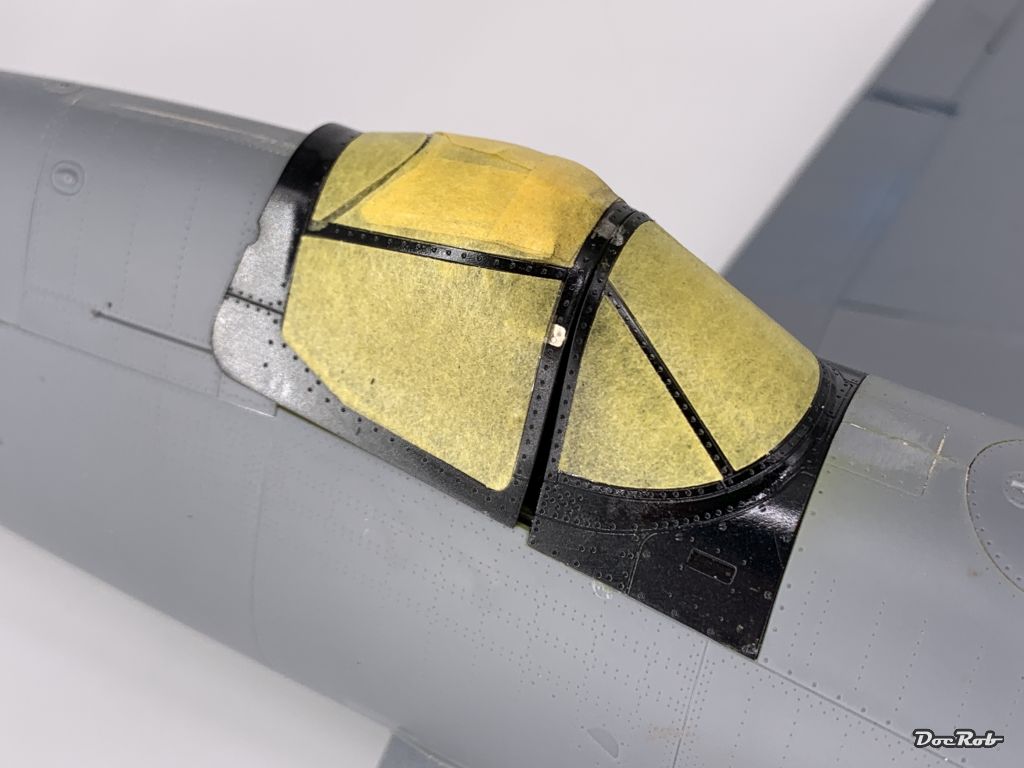
I have two firsts to report, one being only a little thing. I did an inside and outside masking job with the Corsair's canopy. The plastic was so clear, I skipped my usual bath of Pledge. The second 'first' was, the HGW kabuki masks were really fitting, something I haven't found, despite having used lots of their masks. They never fitted. Very often I was dissatisfied with HGW products, like the super fragile wet transfers, their super sets for WNW kits, in my case for the Hansa Brandenburg, which was widely unusable and yes, the never before fitting masks. I take it as a good sign and hope for the best with many other HGW products, I have in my stash. Cheers Rob
-
As much as I like AK's Extreme Metals, I really dislike their black primer. I tried it on two occasions and it never dried properly and stayed sticky even after days, never again . You have a primer coat applied, why not base coating with Tamiya's gloss black lacquer paint. It has a high gloss surface and dries quickly and should serve well under the Extreme Metals. Cheers Rob
-
Thank you Peter and Gary, indeed, the kits level of detail is amazing. As good as everything fits, you have to be attentive to the manual to not get confused. At least, it is, the way I use to build in large chunks, paint all the needed parts and then assemble. It's easy to oversee a part and then it's back to the booth . The good thing, I'm on the verge of being bored with building, as it's a plain necessity to reach the paining stage and the complexity keeps me interested enough to continue. Cheers Rob
-
GWH Curtiss P-40B; The Flying Tigers
DocRob replied to Peterpools's topic in LSM 1/35 and Larger Work In Progress
It's so very good to have you back here Peter. I like Carl's idea of presenting the engine along the P-40. Progress looking great. I wonder if the internal detail would be sufficient for a cutaway model, at least for the engine cockpit and radio section. I would be tempted to do a partially cutaway project for a change. Cheers Rob -
This is more of 2023 news, www.modellbau-koenig.de of Germany seems to receive some of these WNW kits too and will sell them in January 2023. I don't know, if I need more, but there are two, which I always liked to have, the AMC DH.2 and even more, the Albatros B.II and maybe a Dolphin. Cheers Rob

-
Nice Carl, only a few more panels to do . I will buckle in for a dramatic hyperspace ride. I thought about getting one too, but I'm not enough of a Star Was fan, but the Falcon is definitely tempting. Cheers Rob
-
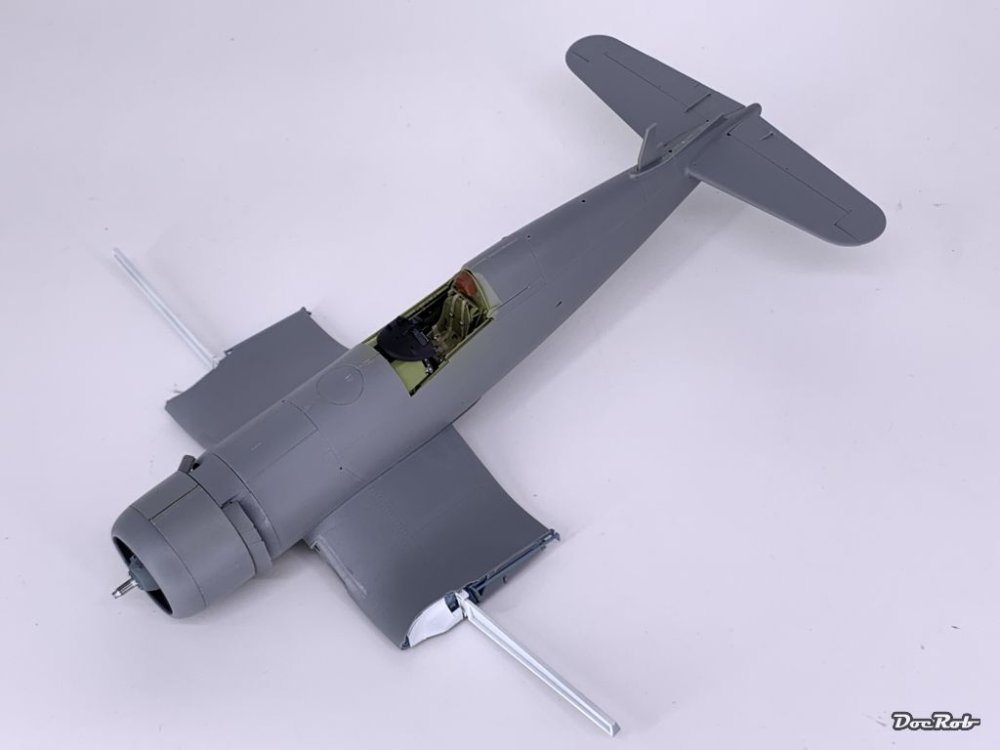
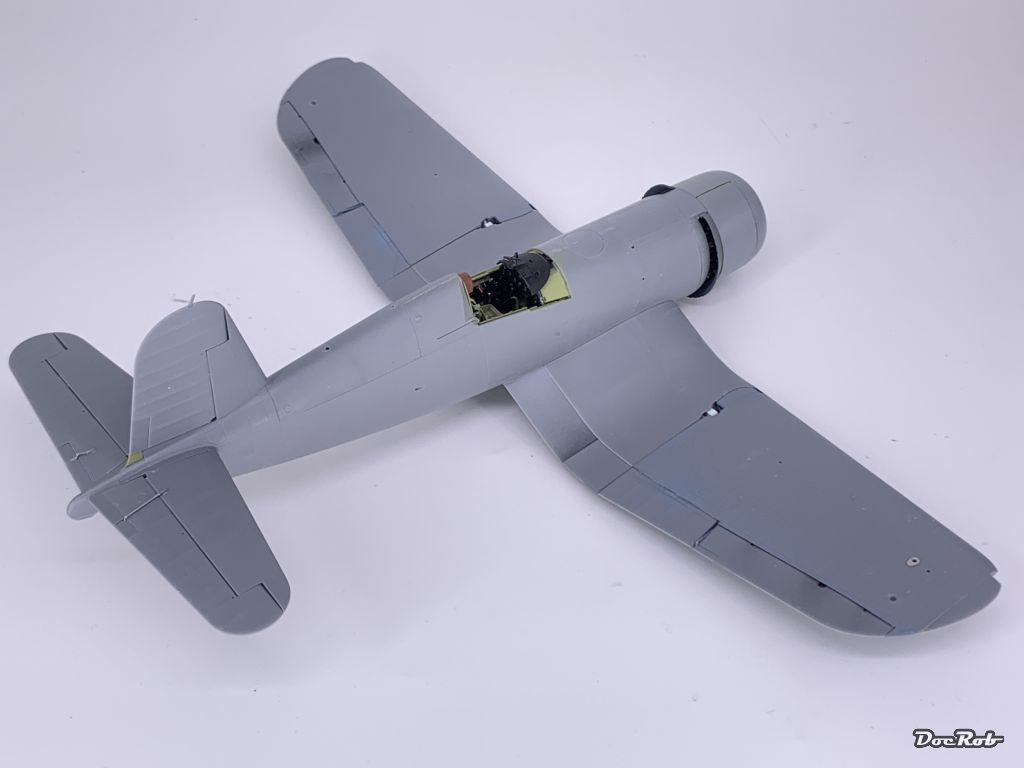
Phew, almost done with the build. I build and painted all the flaps and there are a lot, thanks to the bent wing design and folding wings. All flaps are up, like I've seen on pictures of parked Corsairs. I also painted all the landing gear parts and covers, but these will be attached after painting the fuselage and wings. The outer wing parts are not glued in place for now. Some more details to add and then, it will be painting stage. Cheers Rob

-
Thank you Paul, I would have thought, you have one in stash, with nearly the whole Tamiya catalogue in your possession. Cheers Rob
-
Like Hubert said, your 109 is looking very good. Other than Hubert, I like the contrast between recesses articulated lightly with washes and the prominent rivets. Cheers Rob
-
Colors and application looking great. Makes me want to start a ME-262 soon. Cheers Rob
-
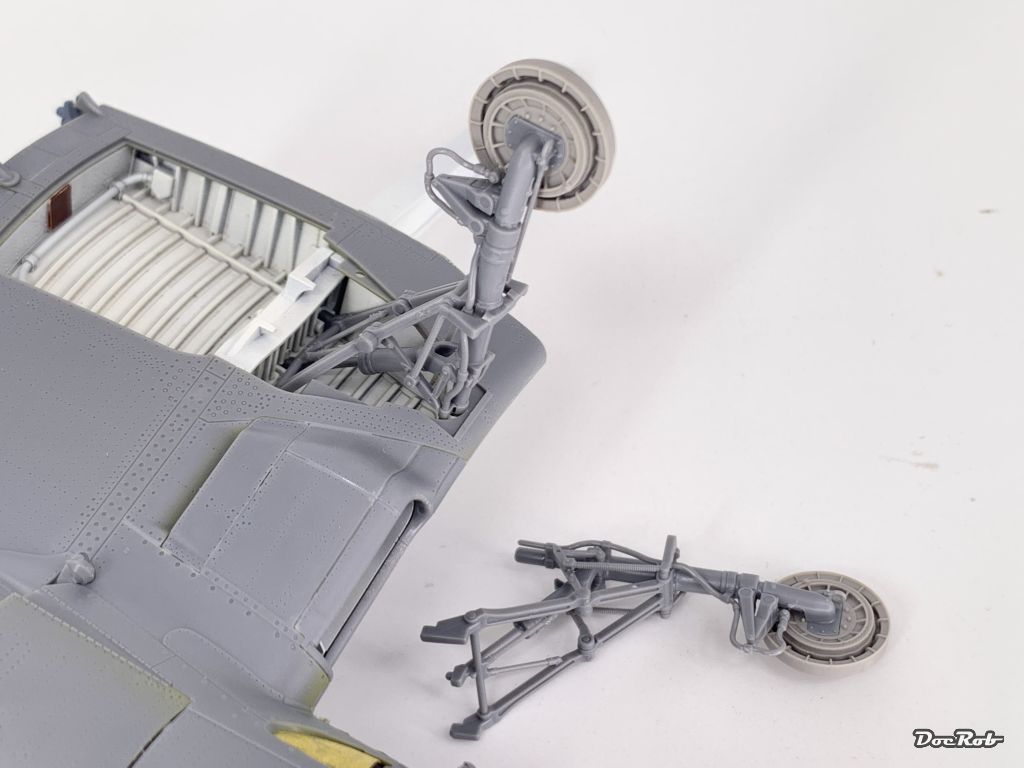
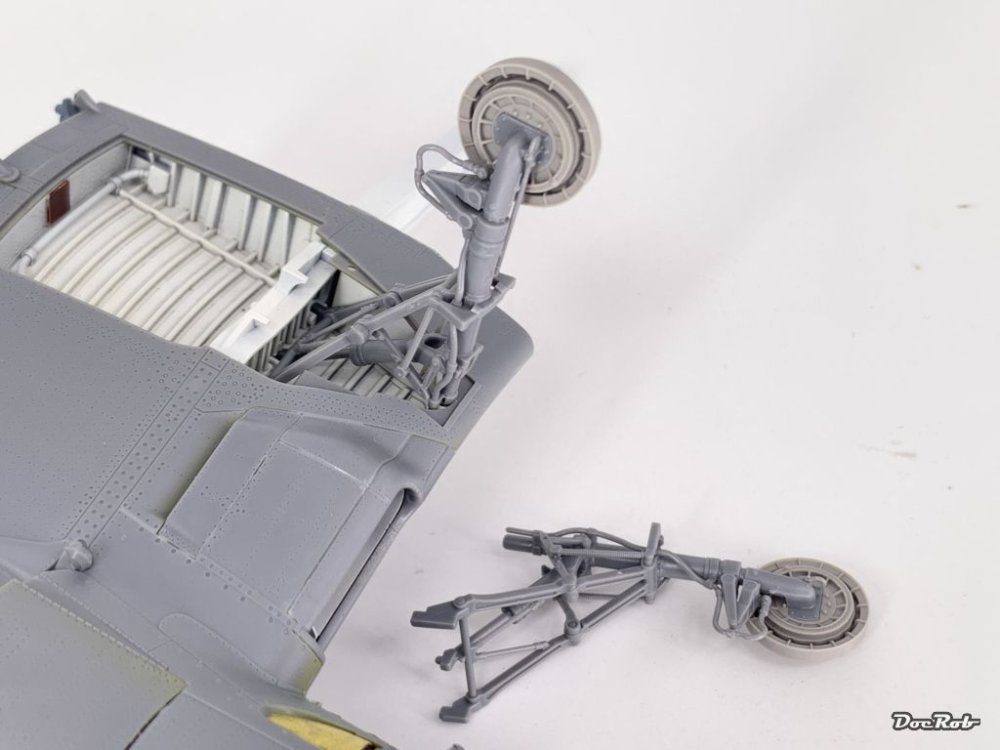
Not much to say, but praise the engineering of the wheel struts, a sturdy construction, despite the multiple parts used. There is a steel rod inserted into the main strut and Tamiya even depicted the brake lines, phenomenal. I use Brassin wheels, as I don't like rubber tires. The resin parts fit perfectly to the plastic, with only the small hole for the break line needs to be drilled out with a 0,5 mm bit. The best, the wheel struts are removable for painting. I don't know, why I used the SAC replacement on my first Corsair build, there is absolutely no ned for. Cheers Rob
-
Thank you Martin, you delivered the phrase for my desired look. The look of the Corsair I mean . Cheers Rob
-
Thank you Kevin, I would have liked to airbrush the landing gear and lg-doors in one go, but ran out of holding clips. My whole desk was full of parts to spray . Poco a poco, step by step like they say here. Cheers Rob
-
Looking good Martin, at least on a JL. I was about to do something similar to my JK as the original lights were a candle in the dark. Luckily I changed my mind and only the bulbs. These high tech thingies are so much brighter and they don't change the more classical front of the JK too much. Cheers Rob
- 2,035 replies
-
- 3
-

-
- car related stuff
- anything about cars
- (and 6 more)
-
I know what you are talking about Carl, having fought my Covid just now. The dizziness and headaches are terrible. I hope you'll be better soon. Thanks for your thoughts, I want to get over the construction phase, as perfection starts to bore me a bit . Cheers Rob
-
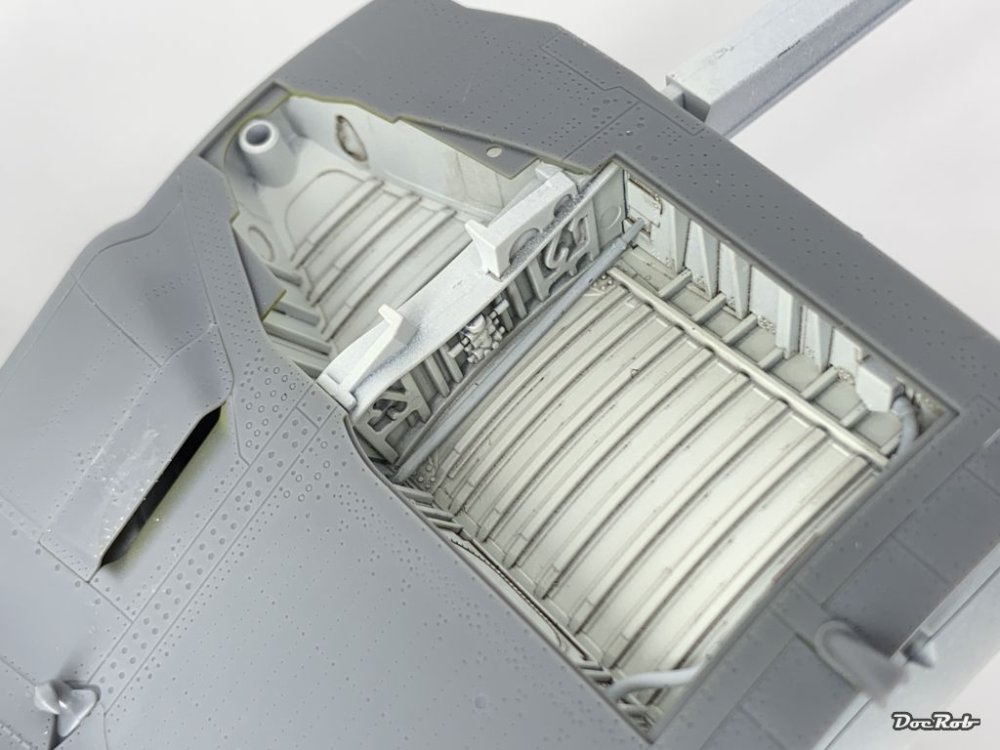
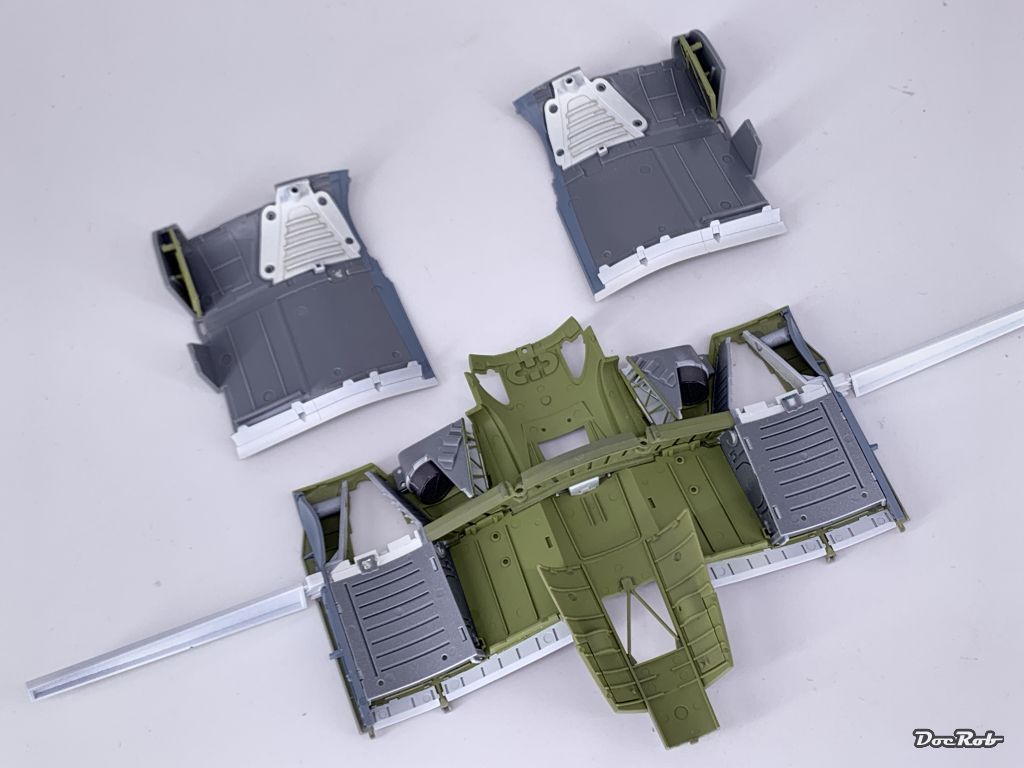
With the Covid and it's side effects more or less gone, it's time to get back on track and do some sports. Boy was I missing that. I'm still a bit weak, but today I thrashed my powerless bones into the Atlantic and had a good swim. A bit uncomforting were the Barracudas in huge quantity and different sizes. I don't mind the small ones, but don't like the cold stare of the larger ones. Back to the Corsair. There will not be too many updates until something interesting happens. I have to admit, building and painting of the inner and outer sections of the wings bore me a bit. I have to take care to not make mistakes, where there are so many options considering flaps up or down, wings folded or not,... On ModelShipWorld a member pointed out, that the wings of a Corsair only fold simultaneously, so gone was the one wing up option. The wings will not be folded, as my plane is land based. I finished all the assemblies for the wheel wells and inner wing parts, after painting tons of parts. ...and glued the wing roots and fuselage bottom to the rest of the fuselage. I think only Tamiya can produce so many strangely shaped parts to fit and lock into place with a tiny little snap. On my last Tamiya build, I used Microscale's Micro Mask for the exhausts and it took hours to peel that off, horrible stuff. This time, I inserted a small piece of Kabuki tape to the inside of the fuselage to cover the exhaust opening. This can be pulled off with tweezers after painting. The wheel wells itself are very beautiful rendered oob. Cheers Rob