DocRob
-
Posts
7,048 -
Joined
-
Last visited
Content Type
Profiles
Forums
Events
Gallery
Everything posted by DocRob
-
Hmmh, difficult to say, you chose the Argus engine and it dos look a little toy like on the sprue with the molded on rockers, .... To remove the plastic properly will not be so easy in this case. Rebuilding the rockers out of Nickel Silver Tube a bit easier. The result would benefit from the extra work for sure. At least you got something resembling springs for the valves with the Argus. I looked for the WNW pictures of this build, with the seemingly unaltered Mercedes engine an this looks fine to me, given some of the details are obscured by the large exhaust. I'm happy because mine will be build in the same scheme. With my recent Hansa Brandenburg build, I took the extra tour and it payed off, but the kit had a second half cylinder block without the rocker arms molded on, which made it easier. Cheers Rob
-
Sweet, nice detailing. Can't wait to start mine, it's such an interesting bird - err - pigeon. Cheers Rob
-
Hubert is absolutely right, Vallejo Air thinned with Mr. Leveling Thinner is a nightmare except, If you are an airbrush cleaning fetishist . I learned it the hard way, trying to clean my airbrush from a tar like paste. Since then, I do a little pre mix on a lid of an old yogurt tub and wait for some minutes, lesson learned . Cheers Rob
-

1/24 Kit Form Services Daimler Ferret resin kit build
DocRob replied to PeteF's topic in LSM 1/35 and Larger Work In Progress
Having the real one in the backyard, there are no excuses for less attention to the details . Your build looks like the real thing as far as I can tell, bravo. Cheers Rob -
One way to deal with an all-black night fighter...
DocRob replied to GazzaS's topic in Modelling Discussion
Can't say, that I like it, the way the chipping is done. The places with heavy chipping do not follow any logic, like being in the airstream or walked on. It has not to be totally right, but has to seem so. Cheers Rob -
What is on your bench right now ? Share a picture :)
DocRob replied to Martinnfb's topic in Modelling Discussion
You spoilt it, by preparing the upper wing . Cheers Rob -
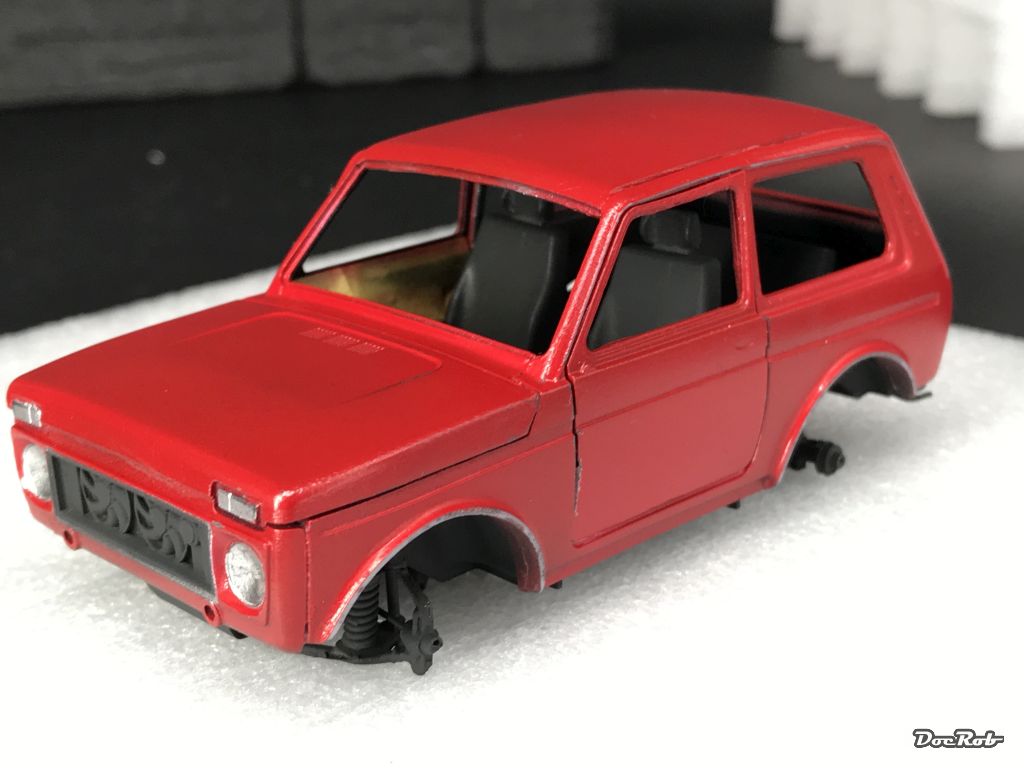
The tiny Lada got wheels at least, among other parts like fenders and mud flaps. It payed off to insert copper wire into wheel hubs and drill the axles. This way, it was much easier to adjust the wheels correctly and there is a bigger area for the CA to bond. Some details are still missing, like the mirrors and wipers, but adding these will be the last step, because of their fragility. Next steps will be some touch ups and the license plates. Cheers Rob


-
Iike Gaz said, nice work and thanks for the comparison of the Bitskrieg bits and kit parts, I haven't decided, which I will buy for my PZL. The radiators for sure. Cheers Rob
-
HK Models Do-335 A-12
DocRob replied to JeroenPeters's topic in LSM 1/35 and Larger Work In Progress
I'm interested too, until now, I was not brave enough to paint a big bird without proper priming, when camo and masking was a topic. In surfing we call the first guy in the water 'current dummy' . Cheers Rob -
Round-cross-section stretchy line. Does it exist?
DocRob replied to GazzaS's topic in Modelling Discussion
Have you checked the Ammo of Mig stuff? BNA (this is your ZIP code?) has three different sizes available. I don't know, if the stuff is round cross sectioned, but I would guess so. Cheers Rob -
Round-cross-section stretchy line. Does it exist?
DocRob replied to GazzaS's topic in Modelling Discussion
I would try to get some Uschi stuff. They have three different diameters and I checked the 'standard' line with an optivisor and it looks round shaped. Uschi´s high stretch elastic rigging - Uschi van der Rosten Carpet Decals (uschivdr.com) Cheers Rob -
1:32 scale Ansaldo A.1 'Balilla'
DocRob replied to sandbagger's topic in LSM 1/35 and Larger Work In Progress
Nice seeing you tackle the Ansaldo. I thought a lot of times about buying one, but kept it for later when I'm grown up model wise. Cheers Rob -
For Tamiya Acrylics I work with Mr. Levelling Thinner in my airbrush, a dream combo. I have reduced clogging and finer spray and a longer drying time of course. Thanks to Ernies persistence, I tried this combination, after I had no luck at all using the levelling thinner with colours of other brands, like AK and Lifecolour, which dosen't mix well in the best case or went lump in the worst. Cheers Rob
-
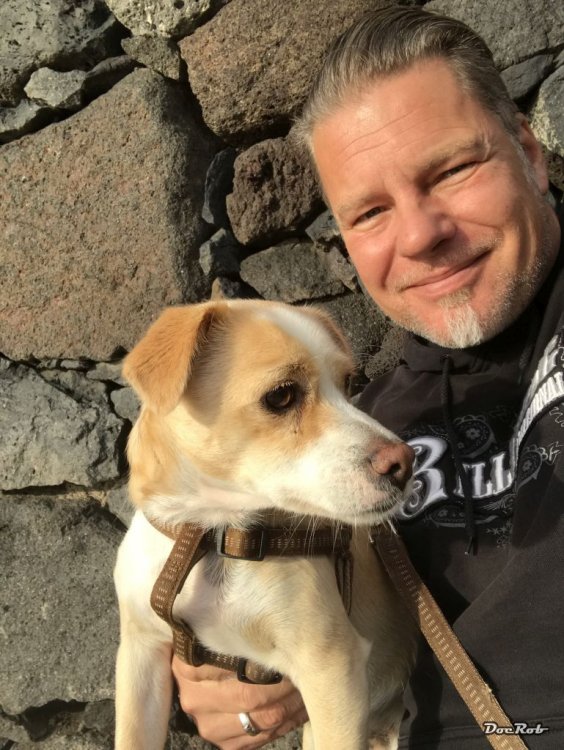
Great idea Harv, it's nice to have an image of you guys. While looking for a picture, I realized, how rarely I got photographed, usually I'm the guy behind the camera. Cheers Rob
- 77 replies
-
- 13
-

-

-
I use a mix of Tamiya Flat and Pledge as dullcoat. You have to be careful about the amount of Tamiya Flat though, to prevent fogging. The great builder FichtenFoo experimented with that mix and I had the same results like him. Another side note. If you use that mix, be careful with panelliners like the Tamiya ones on the varnish coat. They are too aggressive and will ruin the surface. Clear Coats with Future Floor Acrylic | FichtenFoo Cheers Rob
-
Ahh, the wheels, just joking, they will be added, when the base is ready. There are some other bits too to be added . Cheers Rob
-
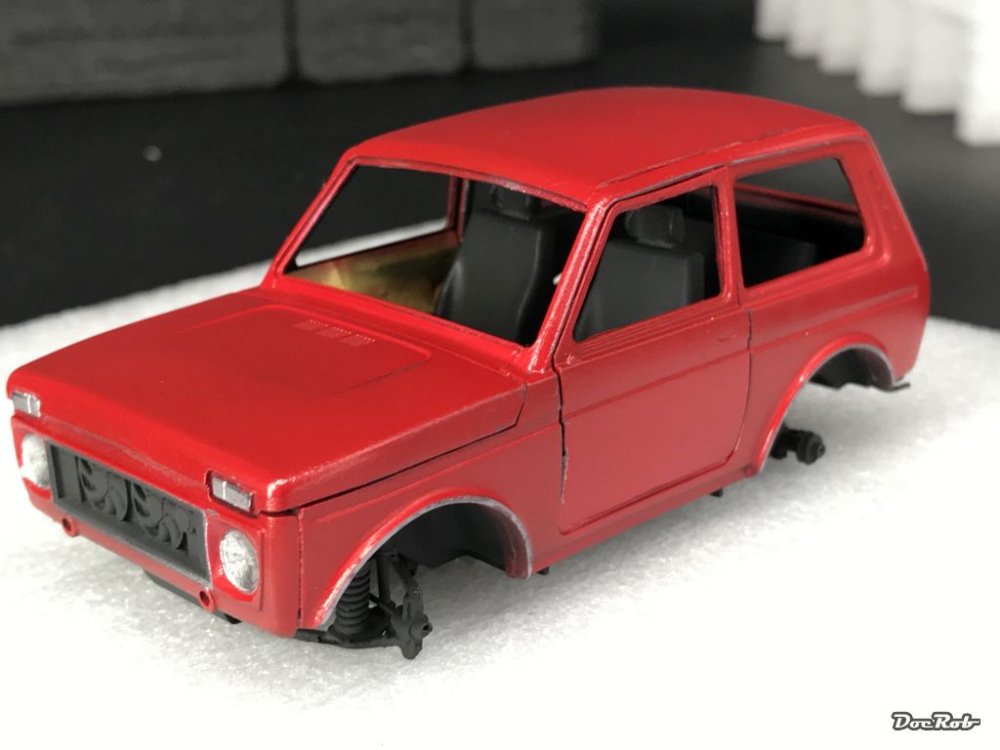
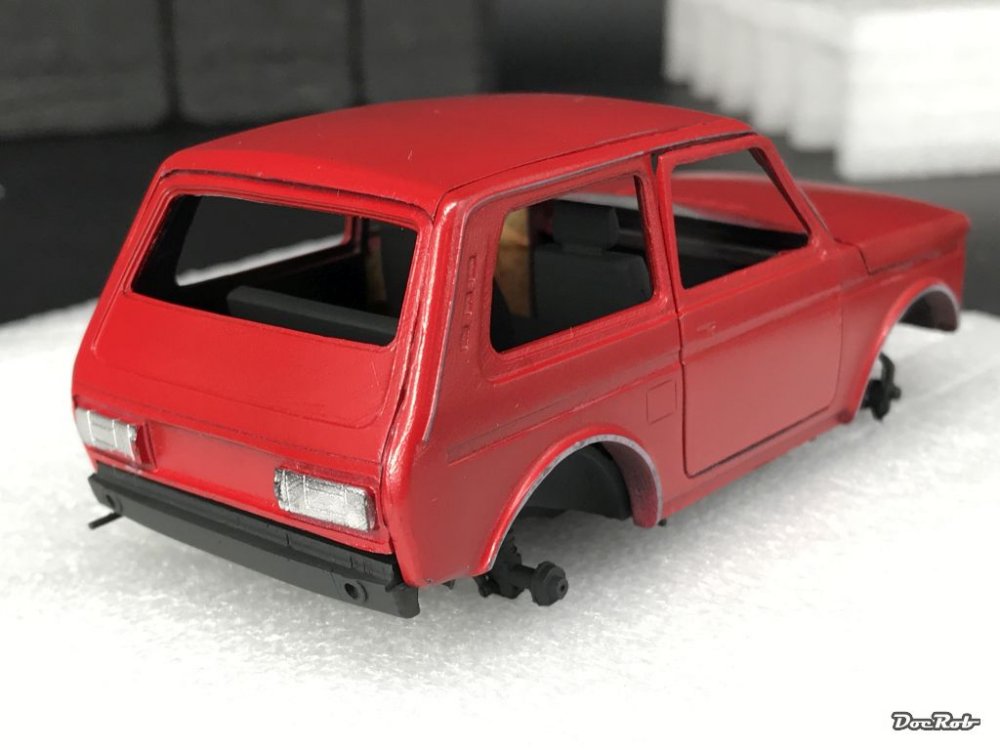
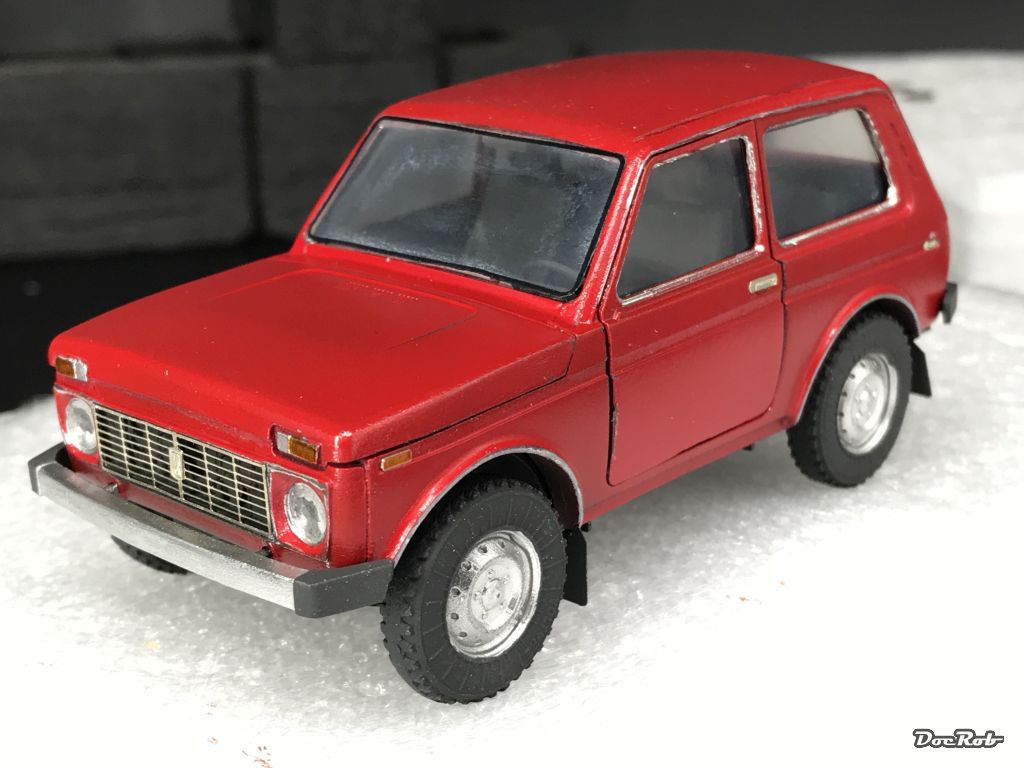
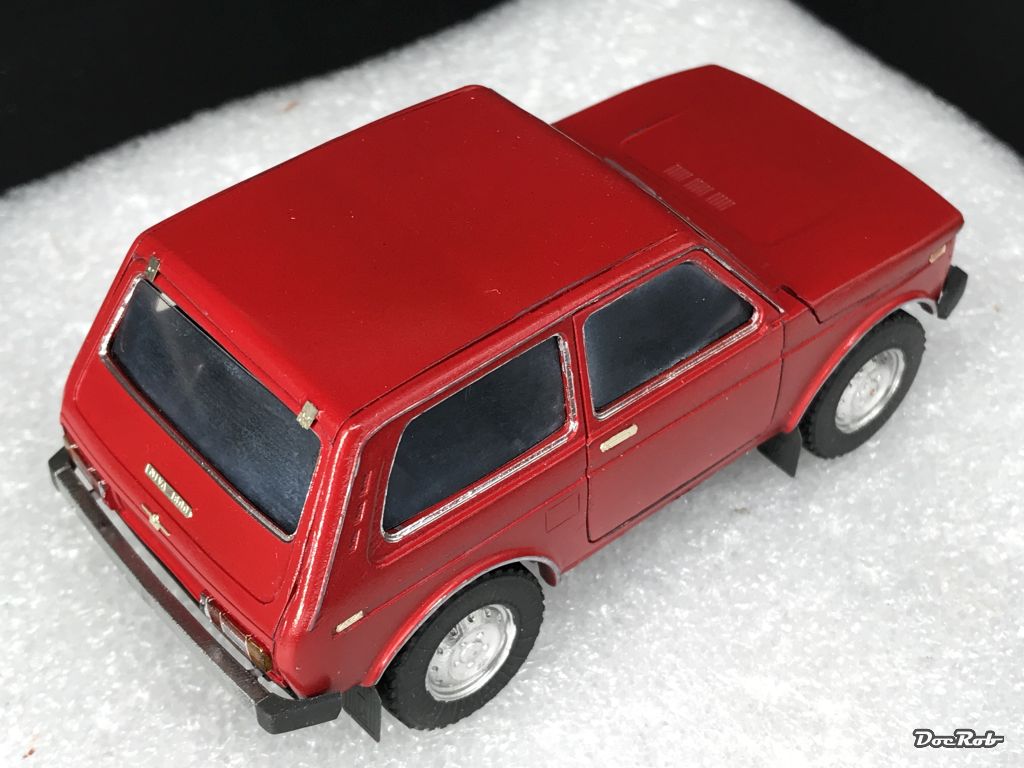
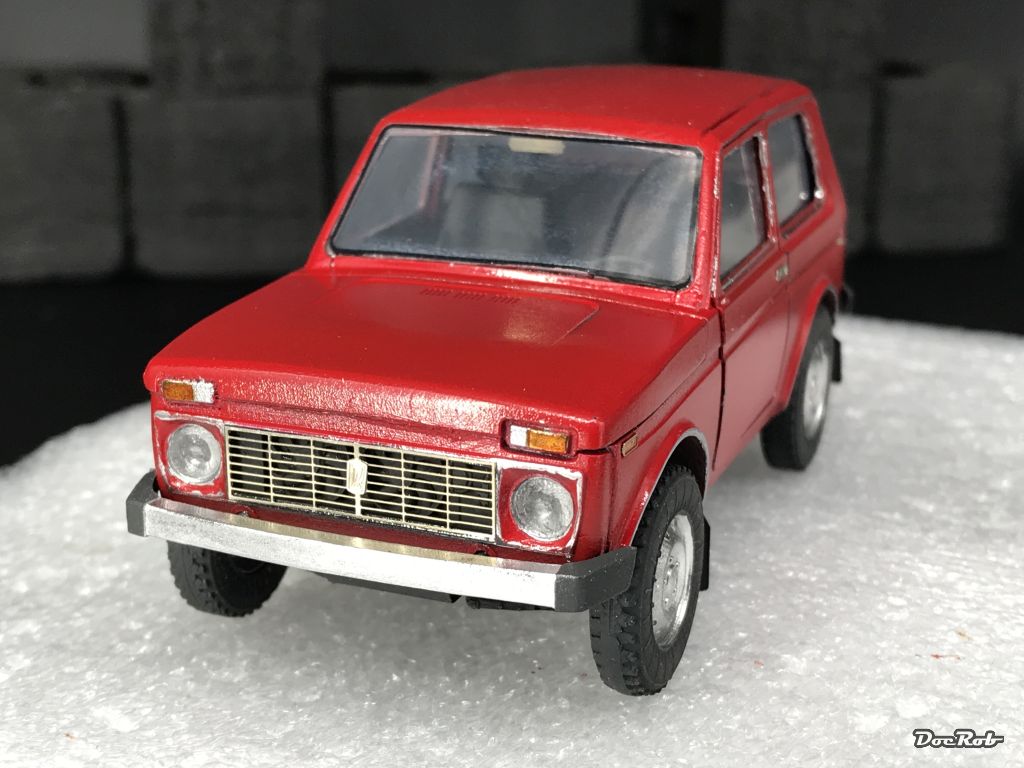
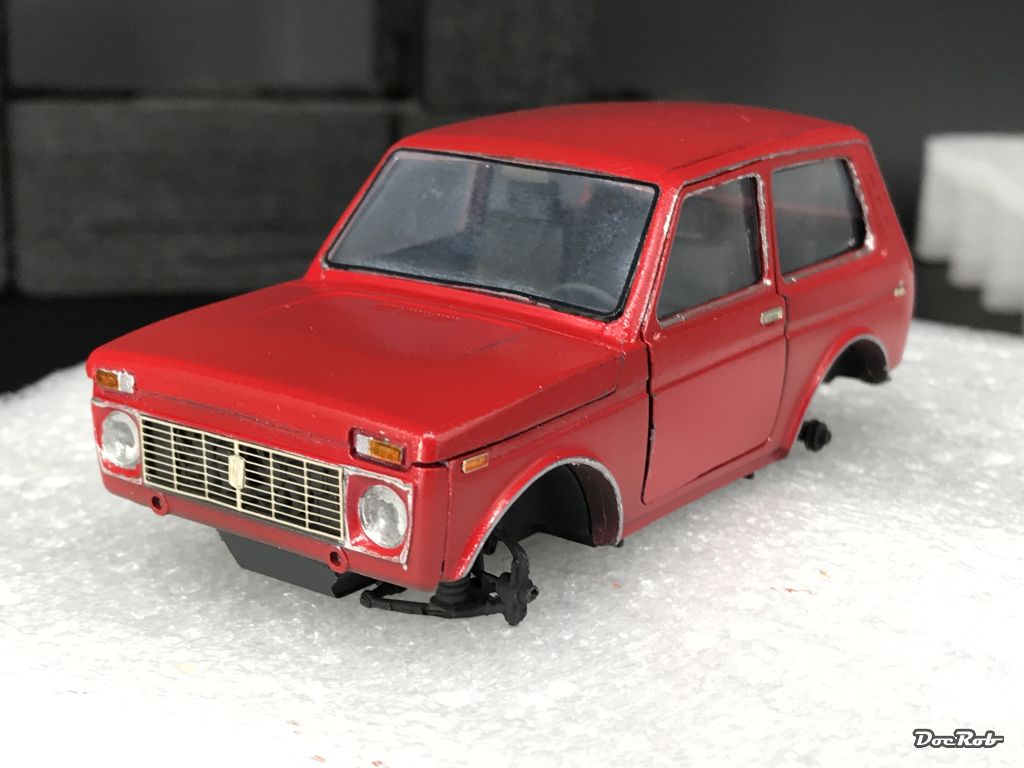
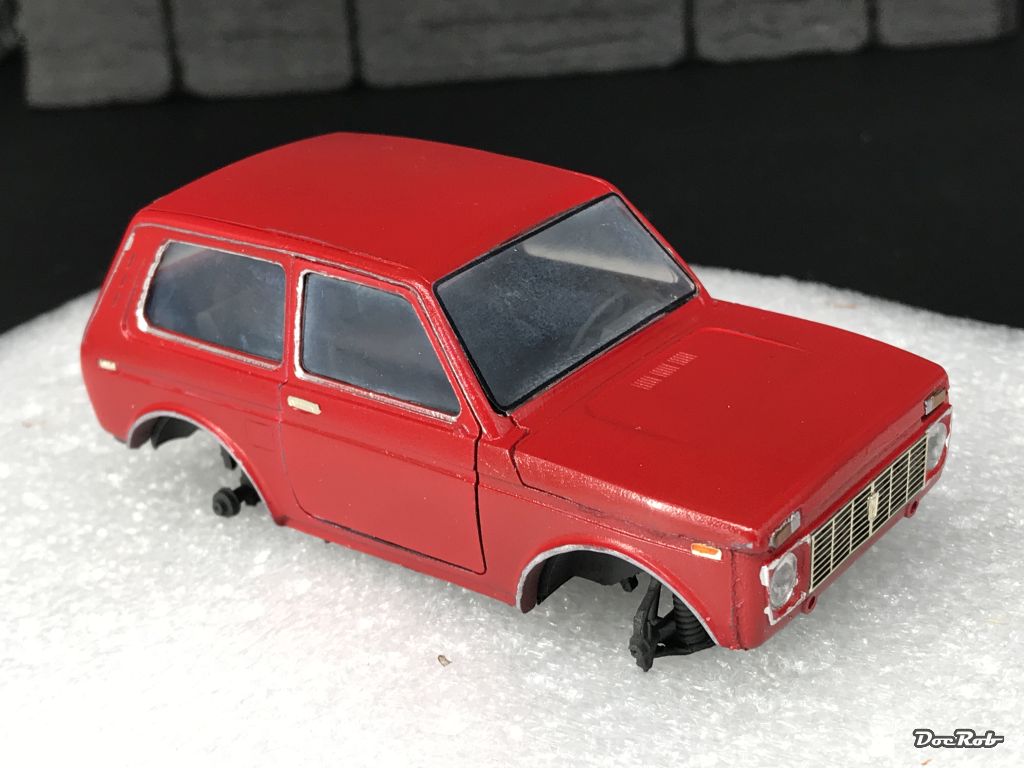
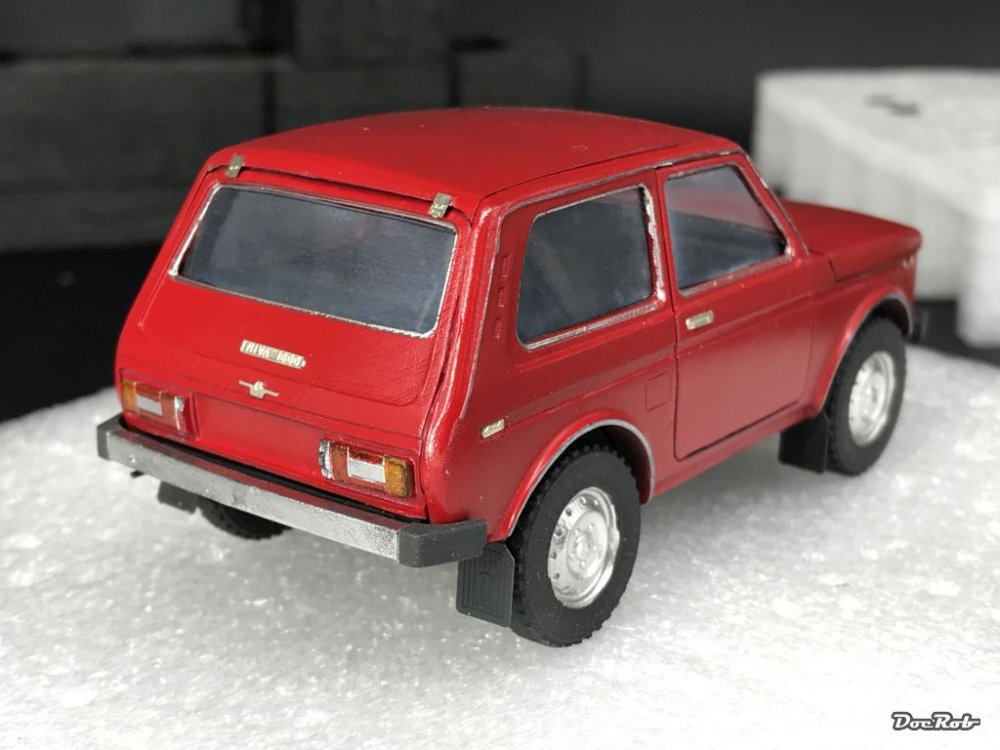
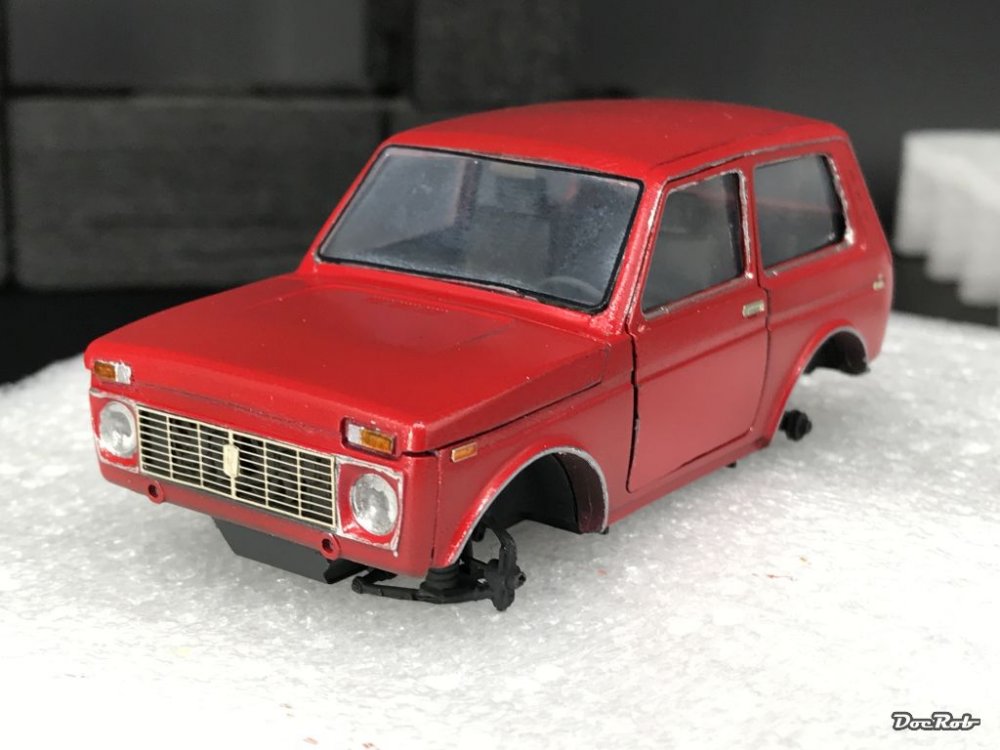
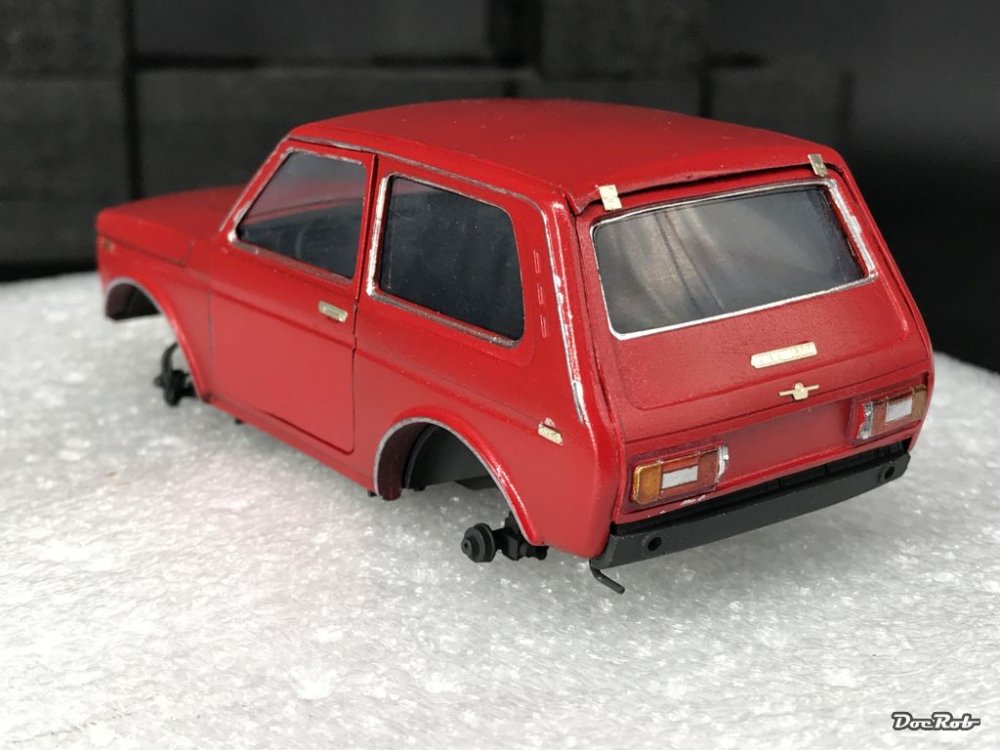
Some more progress with the Niva. I added the windows, front grille, many tiny PE parts for body fittings, added the headlights and painted the backlights. The gluing of the windows proved to be not to easy. it's printed acetate which has to be cut out. Yesterday, I applied some CA on some of the cut out acetate and had no reaction. Today while gluing in the windowpanes, I seem to notice a little clouding, lets see how this will work out. I have to do a lot of touch ups, before I assemble the body to the chassis. It's not the easiest kit to build and I made some mistakes during the process. You have to find these miscues yourselves, this time, because most are simple errors, which nothing to learn off . Please remember, this car is really small, it's 1/35 scale and looks better to the blurred non macroed natural eye . Cheers Rob

-
Thanks Gus, you are right, red tones are the most sensitive car paints. They fade rapidly in the sunlight, with only some exceptions. I saw some rather old Toyotas, where the red paint still looked, yeah, red. In daylight, there is no pinkish shade in the Tamiya red, it looks more, as if you added some drops of red brown and one drop of blue into the mix. I like that shade a lot for the Lada and liked it even more for the red parts of my recent 1/48 Siemens Schuckert WWI plane build, where it has just the right deepness, without being to prominent and flashy. Cheers Rob
-
1/24 Kit Form Services Daimler Ferret resin kit build
DocRob replied to PeteF's topic in LSM 1/35 and Larger Work In Progress
Your Ferret looks astonishing small compared with these Vallejo bottles, given the scale, the grade of detail is jaw dropping though. The interior looks lived in realistic and I like all the tiny bits and pieces on the body. A great build of a seemingly not too easy kit. Cheers Rob -
Zoukei-Mura P51D Mustang SWS No 4.
DocRob replied to Bomber_County's topic in LSM 1/35 and Larger Work In Progress
Looking great Phil, I hope a lot of these details remained to be seen through the bubble top. I agree with Harv, the plastic looks a bit clunky, but you did a great job here. Cheers Rob -
Thank you Gaz, I will keep your idea in mind for other builds. I have to admit, that I'm completely lost with car builds, at least with that glistening showroom look. I have one or two car kits in my stash, to train exactly this look. Then it will be time to use some polish. With the Lada, it wouldn't look right and I would have had to spent more time with surface preparation before priming. I was astonished to see that many cast marks after the aluminum layer. They skipped my eye before. Cheers Rob
-
Thanks Jeff, maybe the look is caused, because the Ladas were imported individual by road from Siberia, through ice and snow, to show their trustworthiness. The Tamiya red is pretty close to the actual Lada red, that's why I used it. Thanks Carl, haven't thought about this, but you're right, these Xtreme Metals look extremely, err, metallic. Cheers Rob
-
Thanks Phil, you found exactly the right words for the look I'm after, not totally rotten, but past the showroom look. It will be a little bit more refined looking, with all the tiny bits and pieces added, along with the lights. I already chromed the window frames and other tiny trimmings. Cheers Rob
-
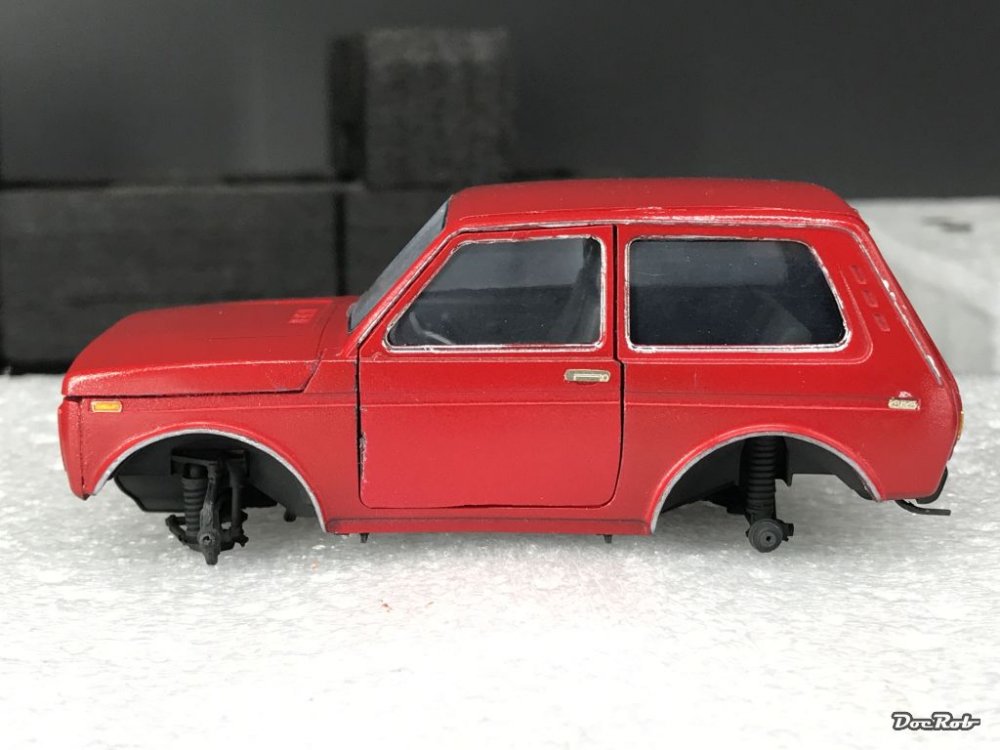
Muchas Gracias Señhor . Yesterday I sprayed the body parts with Tamiya gloss red and didn't like the result at all. With all different mixing rates with thinner and changing of the pressure, I got a little grainy result. There were also traces of the cast form still visible, that were not properly filled by the primer and red coat. I decided, to let it dry completely and today sanded with a 4000, 6000 and 8000 grid pads with moisturized surfaces. I'm not completely satisfied with the result, but the Lada is not supposed to look completely new, that's why I decided against stripping and repainting for now and against a clear coat as well. The interior and doors are only attached loosely and the next steps will be detailing with PE, chroming some details with Molotow markers and then the much dreaded adding of the window panes. Cheers Rob