DocRob
-
Posts
7,048 -
Joined
-
Last visited
Content Type
Profiles
Forums
Events
Gallery
Everything posted by DocRob
-
Very nice Gus thank you. This little tank looks like it was designed to be as small as possible around the big gun. I like the colour rendition. What type of matte coat do you use? You shouldn't have mentioned it . Cheers Rob
-
Looking good Phil, I like those Marines birds and especially the F4, with her unique design. Your colourful paintjob is nice and clean and so much more appealing than the low-viz schemes. Cheers Rob
-
Nice one Gus, I like the shading and modulation and would really appreciate some real light pics or at least some without flash. Nice touch with the vision blocks. Cheers Rob
-

What is on your bench right now ? Share a picture :)
DocRob replied to Martinnfb's topic in Modelling Discussion
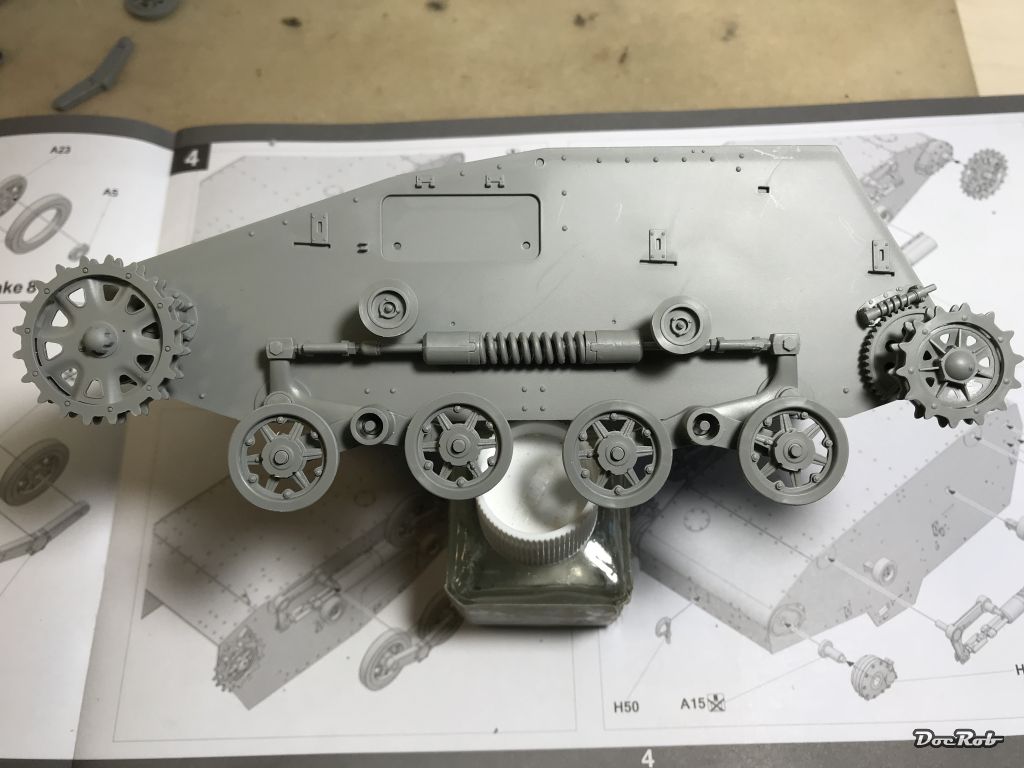
While some oil colours are drying on the Hansa Brandenburg, I continued the assembly of the Chinese Tankette in 1/16 scale. I like the visible and partly working running gear, which is only loosely assembled here. The spring actually works, at least when the housing is added. The chain tensioner isn't functional, but looks like . Cheers Rob
-
Thanks for the review Francisco, it's definitely not a WNW kit, but I think you can build a nice replica out of this, with the addition of masks or alternative decals. I haven't bought one, as I think it's not so much ahead of the Roden offering I have in stash along, with some AM. As for bent parts, when I look at the sprues of my WNW Camel, I hope for the best, but the sprues are heavily bent, because otherways they wouldn't have fitted into the box . Cheers Rob
-
I never discovered something like that, but I also never used Tamiya (rattle can?) primer over an existing paint coat. Taking into account how the stuff smells, I think it's very aggressive and might interact with sub layers. Interesting, that the problem does occur only in parts. Cheers Rob
-
Scammell tractor/trailer with M3 Grant
DocRob replied to BlrwestSiR's topic in LSM 1/35 and Larger Work In Progress
Will do, if you don't plan to put other large objects into the scene. I would play a little with the positioning to add some drama. Cheers Rob -
Das Kamel - Hansa Brandenburg W.12
DocRob replied to DocRob's topic in LSM 1/35 and Larger Work In Progress
It's more like putting the pressure onto me myself, by triggering it from your continent far away Cheers Rob -
Smooth looking airframe Gaz, not only because of the filled gaps, but design wise too. Never had too much appetite for a Do 17, but this may change... Cheers Rob
-
The multiple grey shades make it alive. The speedster should look great with that base paint. Cheers Rob
-
Das Kamel - Hansa Brandenburg W.12
DocRob replied to DocRob's topic in LSM 1/35 and Larger Work In Progress
Thanks Gaz, for putting the pressure on me . Crew means dio too, lets see, first the prop and exhaust. Cheers Rob -
Silver Wings Hawker Hart
DocRob replied to BlrwestSiR's topic in LSM 1/35 and Larger Work In Progress
Looking good with all the framework, Im really eager to se how you tackle the full resin build. I'm not brave enough to do so, but wait, I started a full resin build some years ago... Cheers Rob- 39 replies
-
- 4
-

-

-
- silver wings
- hawker
- (and 1 more)
-
Das Kamel - Hansa Brandenburg W.12
DocRob replied to DocRob's topic in LSM 1/35 and Larger Work In Progress
Haha, a witch without a V8 is old school , my witch treated me brutally, twisting and bending with strange noises to be heard, but it worked, I'm aaaaaaaaalllllliiiiivvvvvveeeeeeeeeeeee Cheers Rob -
Das Kamel - Hansa Brandenburg W.12
DocRob replied to DocRob's topic in LSM 1/35 and Larger Work In Progress
Fast, wait until the rest is done , I'm a slow finisher, but thanks for the compliment Jeff. Cheers Rob -
Das Kamel - Hansa Brandenburg W.12
DocRob replied to DocRob's topic in LSM 1/35 and Larger Work In Progress
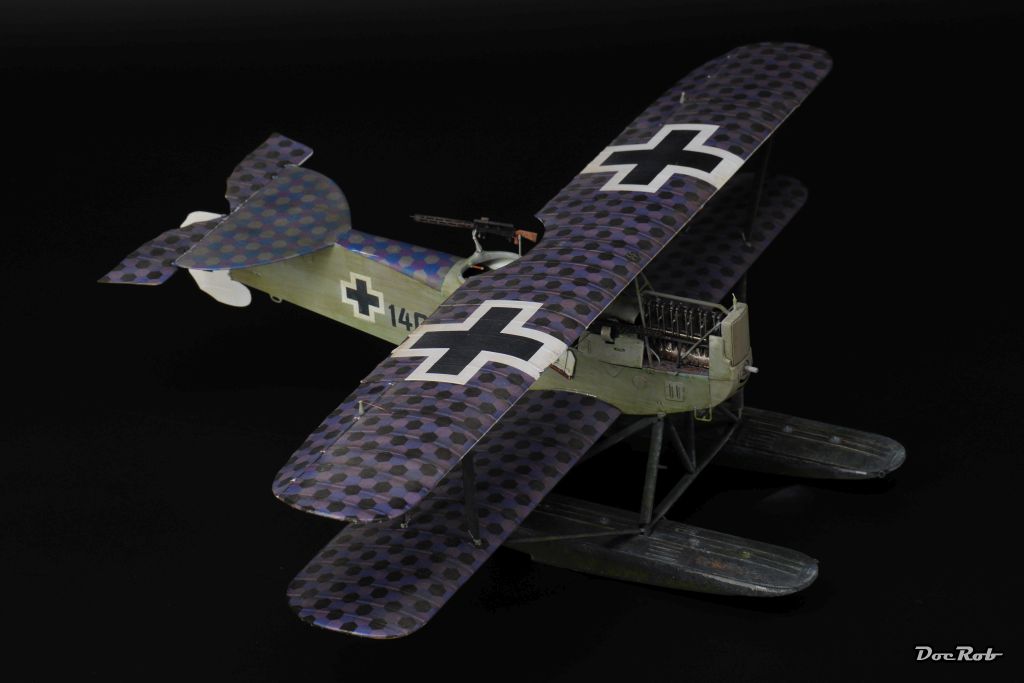
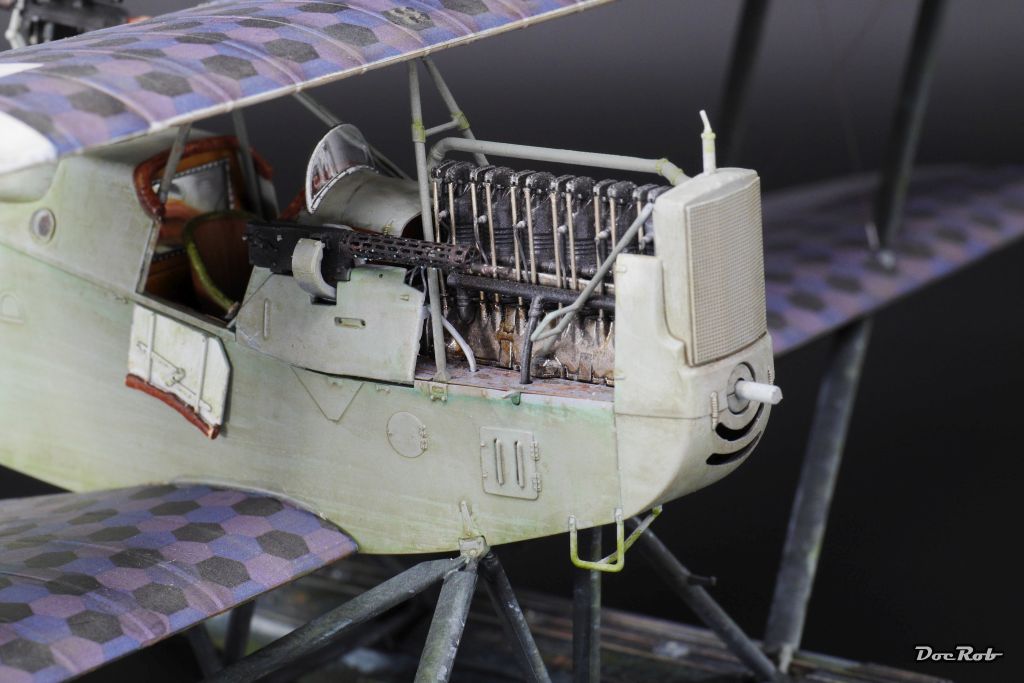
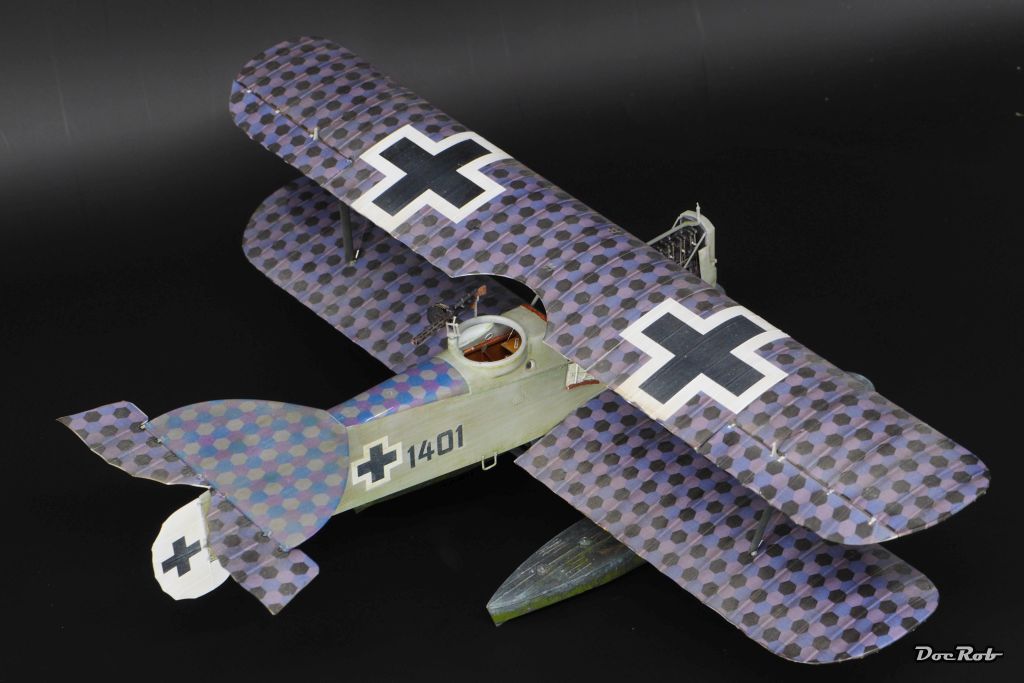
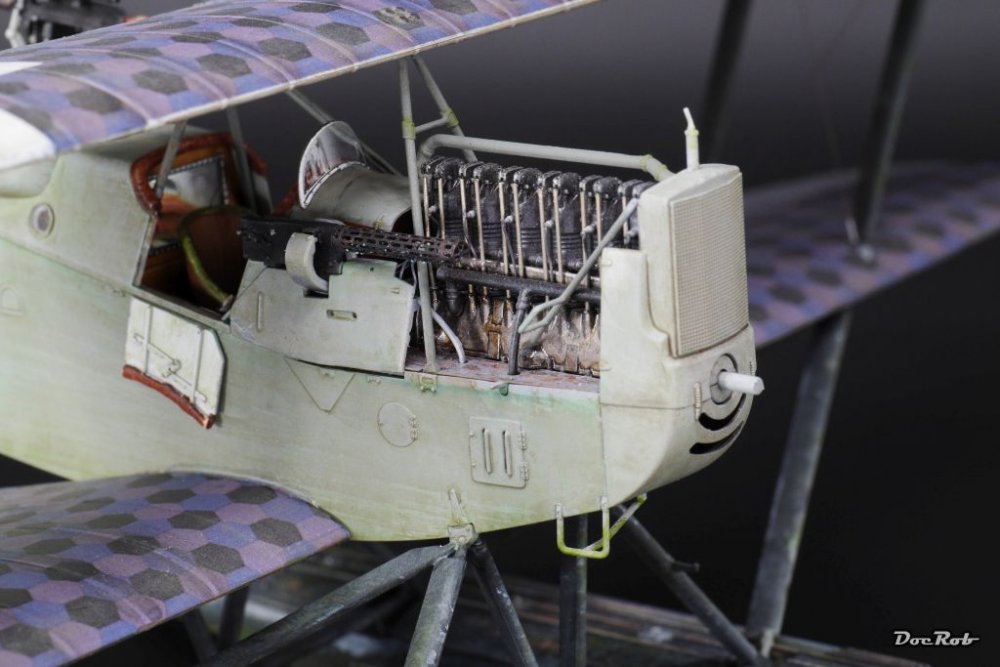
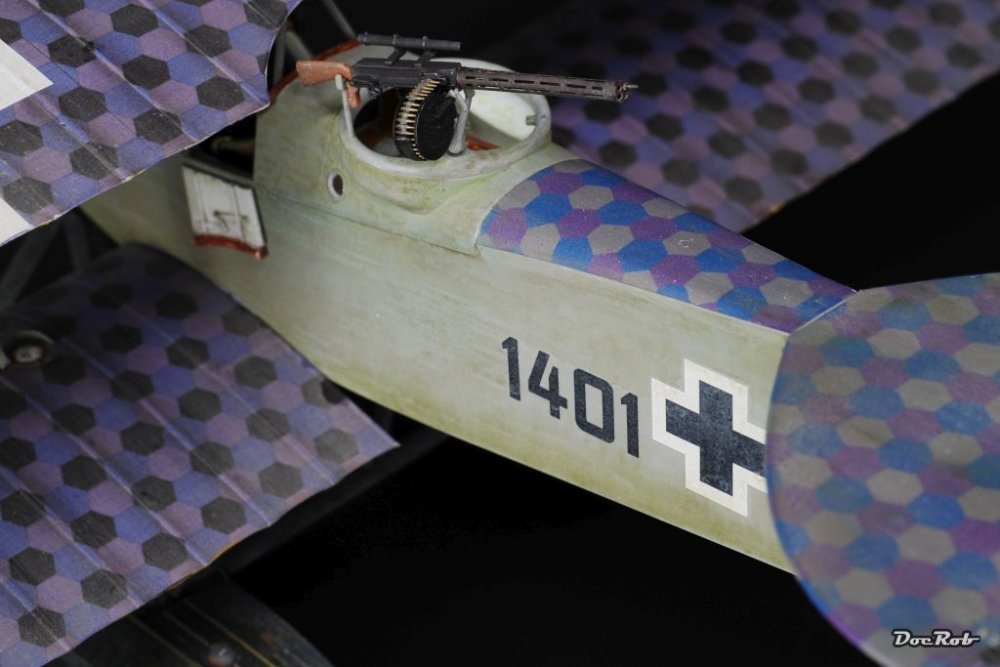
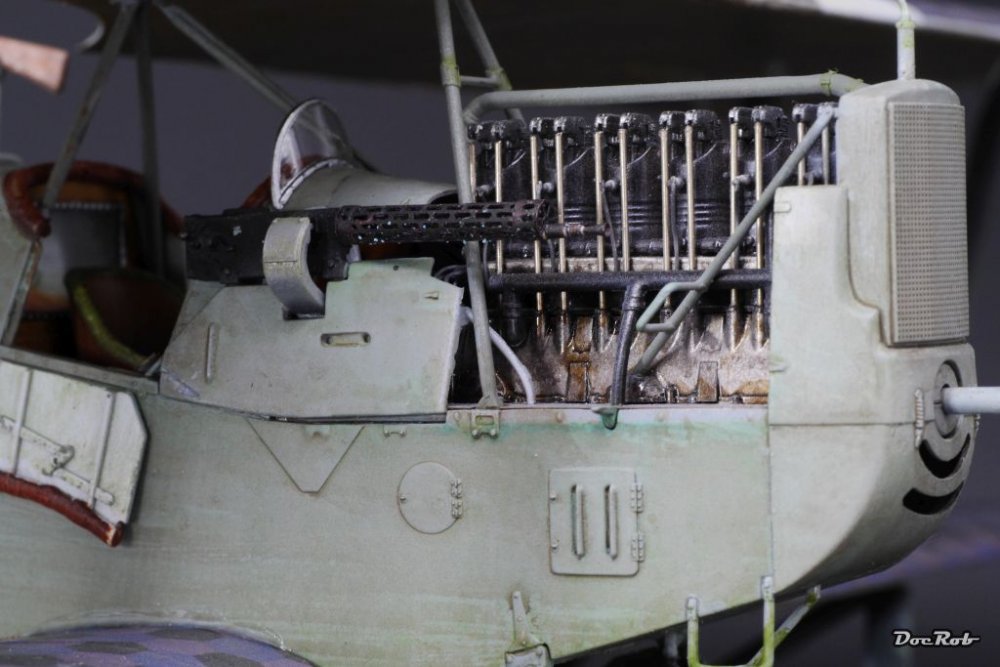
Almost there, but wait, this thing needs a propeller, I have to admit, I forgot it, but it's puttied, sanded and primed now. There are some touch ups to be made, the exhaust to be added and then there are the figures and maybe the dio, ..., ok, here in Spain, they call it mas o menos ready . I finished rigging the struts, rudder and ailerons and added these parts to the wing/fuselage. The Parabellum for the operator is only preliminary and is missing the rectangular etched sight.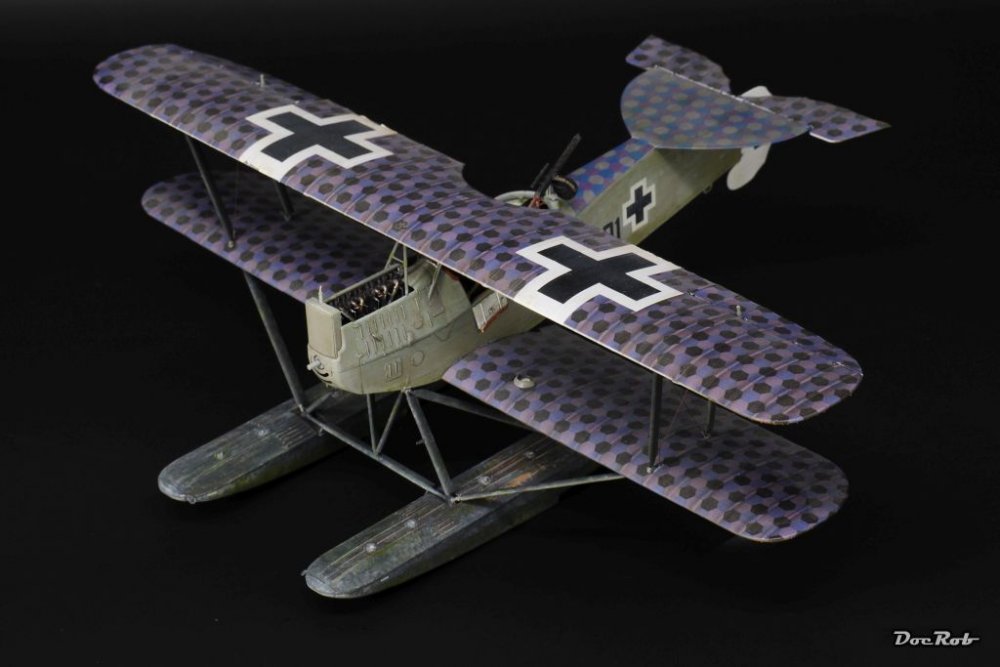


-
Camo is looking bueno Gaz, I'm always afraid of these freehand paintjobs. I may have to train that with a soon to start project. Cheers Rob
-
Das Kamel - Hansa Brandenburg W.12
DocRob replied to DocRob's topic in LSM 1/35 and Larger Work In Progress
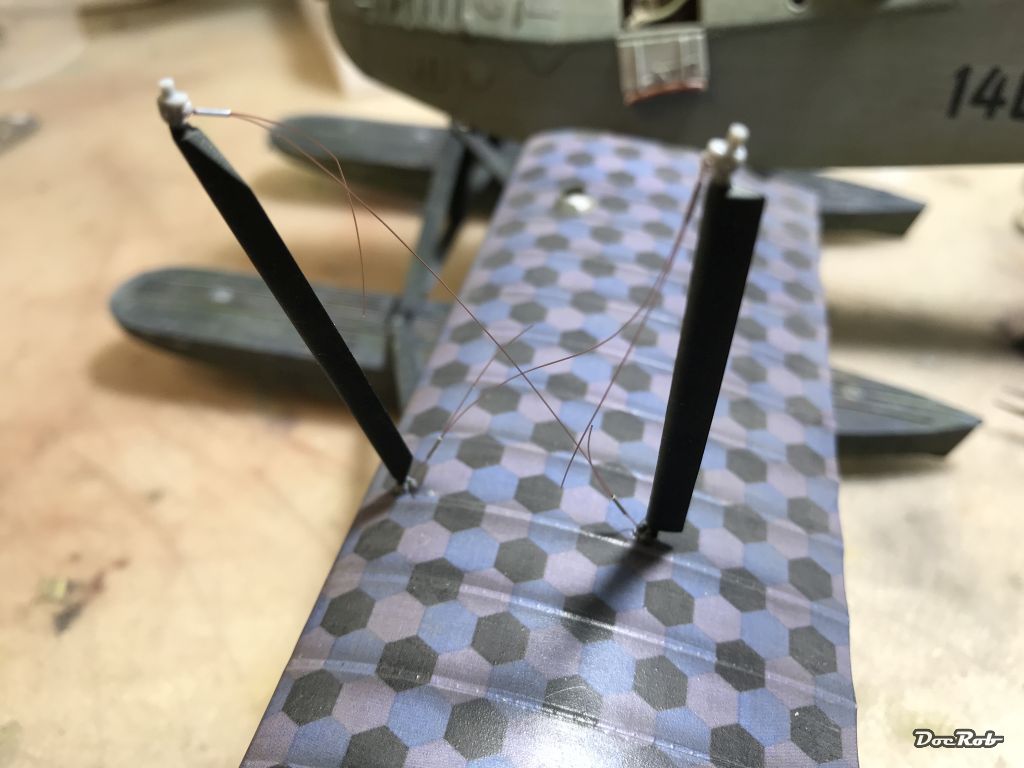
Muchas gracias Gaz, it looks a bit preliminary , but it makes live way easier after adding the upper wing. I have only to pull everything taut. The Aluminum micro tubes are hard to fiddle through the fishing line for the second time, but when done they hold in place almost without glue, nearly self securing. Cheers Rob -
1:32 scale Ansaldo 'Baby'
DocRob replied to sandbagger's topic in WW1 1/48 and larger Ready for Inspection
Your 'Baby' is a real beauty Mike. The appearance of the different materials is exquisite, the little setting on the base adds to the atmospheric presentation. Cheers Rob -
Das Kamel - Hansa Brandenburg W.12
DocRob replied to DocRob's topic in LSM 1/35 and Larger Work In Progress
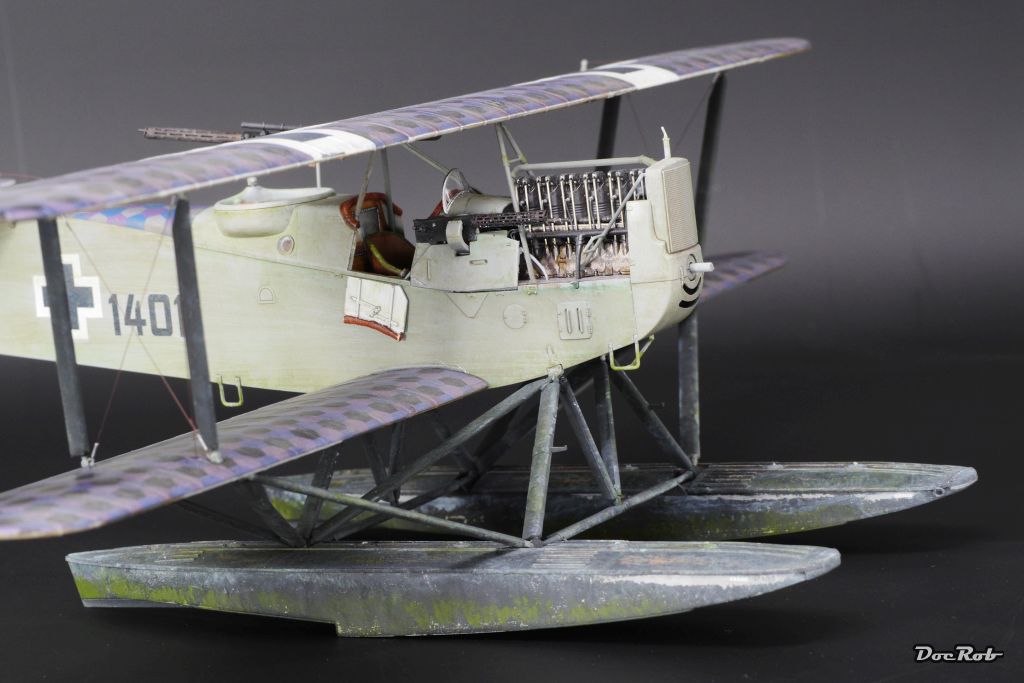
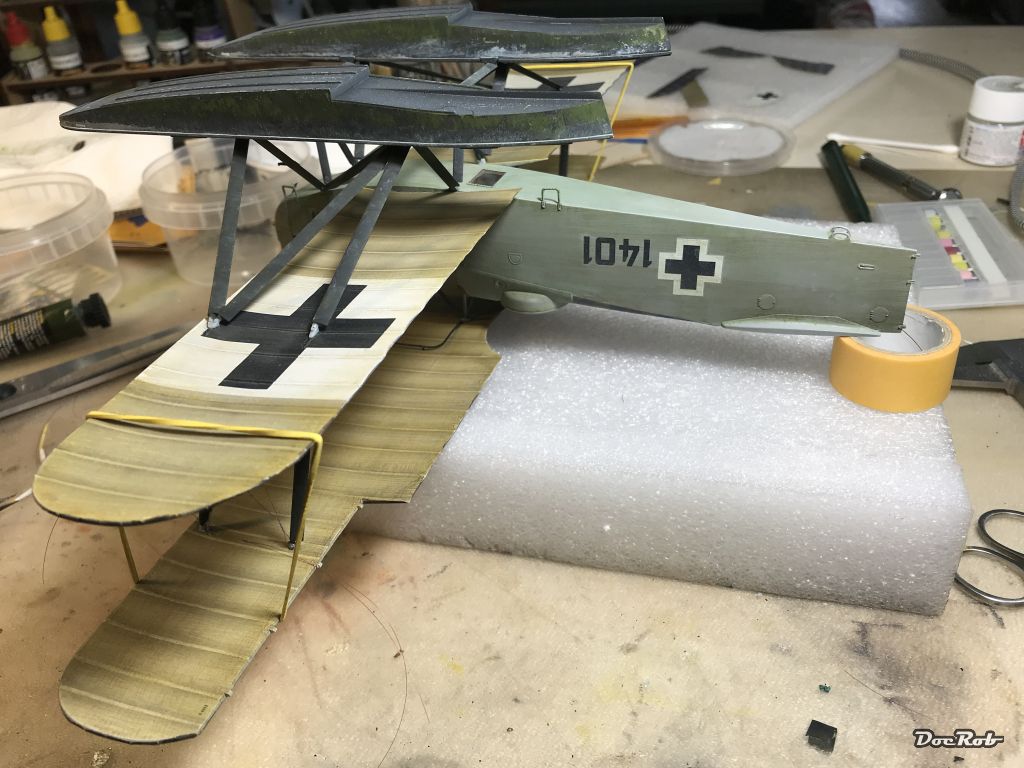
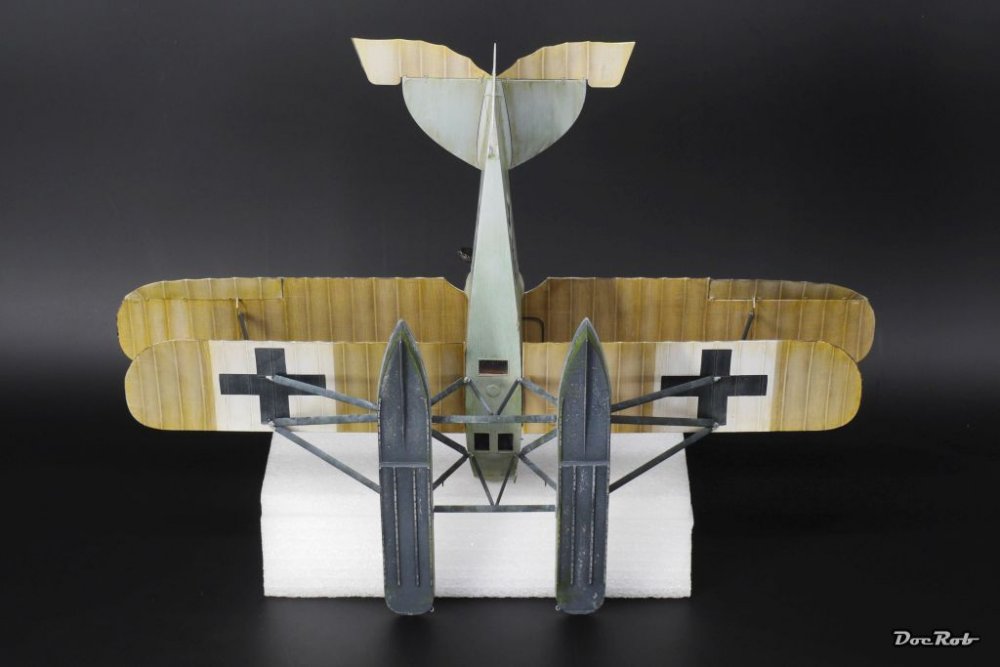
The thing got wings , at least the upper ones added now. I drilled 0,3mm holes into the upper wing, where the steering wires for the ailerons will be placed and glued fishing line in with CA. The aileron horns got pre drilled, so when adding the ailerons the lines only need to fiddled through the holes in the horn and glued into place. I rigged the struts loosely with fishing line and micro tubes through the casted eyelets. That enabled me to pre rig everything and once the glue has dried for the upper wing, the structural wires need only to be pulled taut and fixed with CA, easily done. Then I glued the struts into the lower wing and with the glue still fresh, turned the Kamel upside down, to align the struts to the upper wing. With the help of two not to tight rubber bands, the alignment of the struts was finished and all glued with Tamiya Extra Thin. Cheers Rob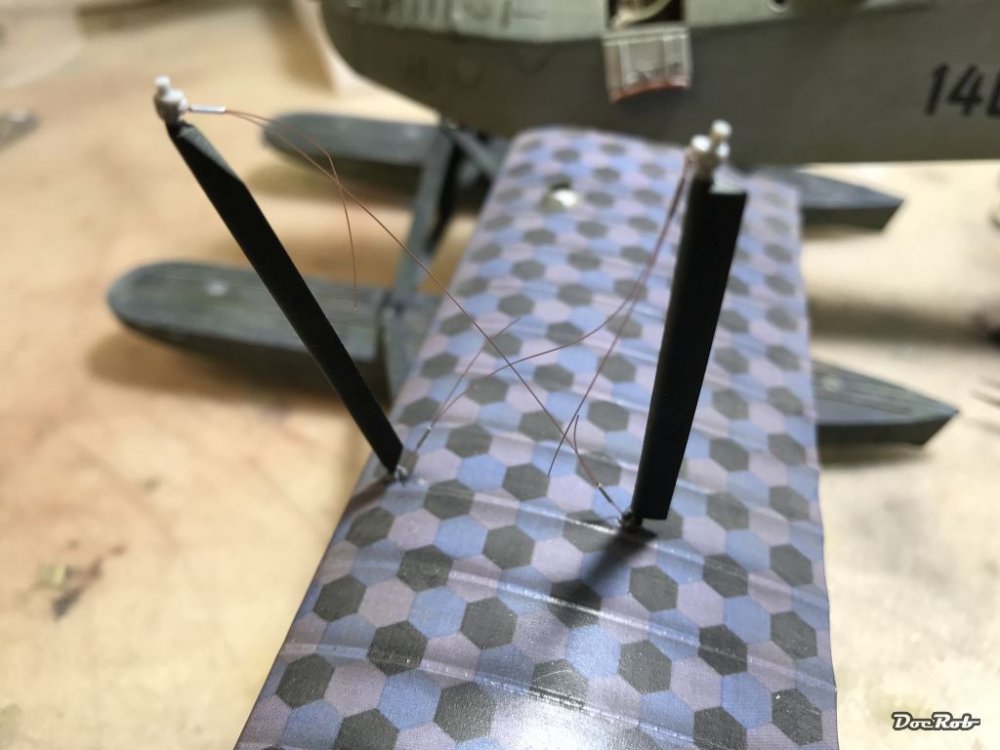

-
Das Kamel - Hansa Brandenburg W.12
DocRob replied to DocRob's topic in LSM 1/35 and Larger Work In Progress
The last years were good with my back due to lots of sports, but now it stroke me. I have an appointment with a witch today to fix it. It's said that she's really good at it. Cheers Rob -
These racks look great, can't wait to see the III with camo and Schürzen. Cheers Rob
-
Das Kamel - Hansa Brandenburg W.12
DocRob replied to DocRob's topic in LSM 1/35 and Larger Work In Progress
Thanks Gaz, I have a bad back in the moment, that will cause a little delay. I pre rigged the struts lately, added some minor details and can't wait to add the second wing. Cheers Rob -
I use them mostly for applying pigments in hard to reach areas. Cheers Rob
-
Coming from a guy, who is followed by large scale submarines the other day, makes you curious . Cheers Ro
-
1/32nd Heinkel 219 // Werner Streib crash At Venlo
DocRob replied to Rowdy's topic in LSM 1/35 and Larger Work In Progress
Wow, destruction as a form of art. Cheers Rob