DocRob
-
Posts
7,048 -
Joined
-
Last visited
Content Type
Profiles
Forums
Events
Gallery
Everything posted by DocRob
-
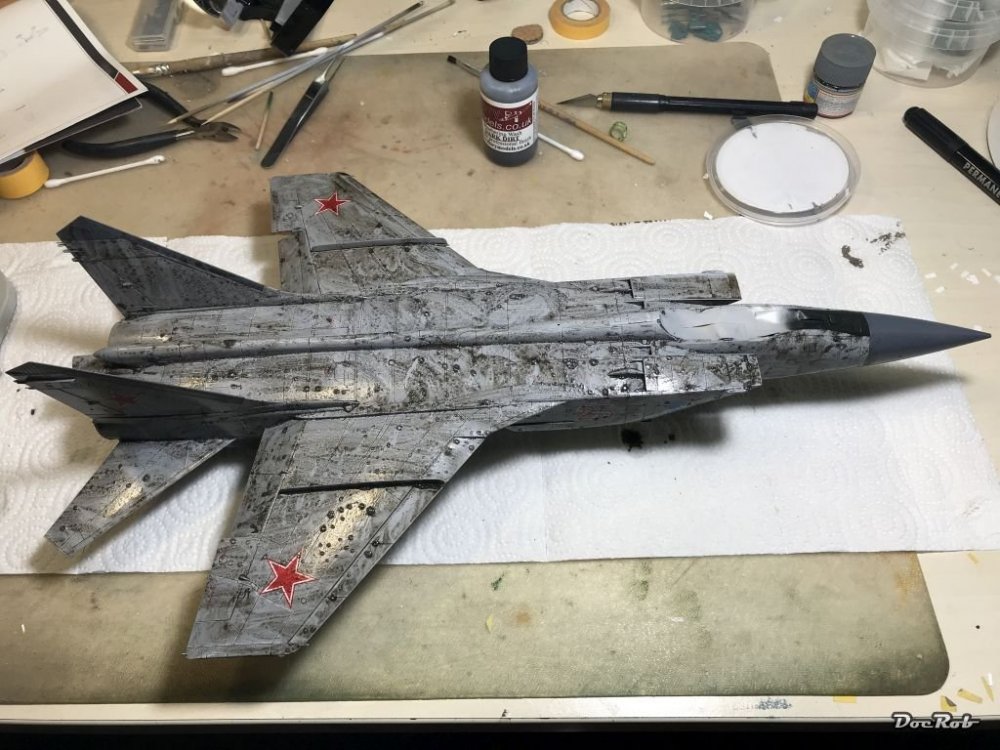
Oh no, what happened to the Mig ? That's my first try of Flory washes, let's see how this will look after drying and removal of the wash. I may sand the wash off with a very fine sanding sponge, to get a worn panel appearance, but have to try that first. My expectations with this clay based wash are, that there is no aggressiveness and disturbance of my underlying layers of paint and clear coat, which I had, while using other washes. For sure she will never look like this again . Cheers Rob
-
Interesting to see, how the surroundings define the type of cars used. Until I reached my tiny island, I wouldn't had believed that there could be such kind of automotive monoculture. In the case of my island it is one third of Pickups, one third of Berlingos, Kangaroos, ... and the last third are others, but I think a third is overestimated here. Most families have two cars, one of each of the first two groups in any given condition, because, well they are families and need a family car and nearly everybody has a patch of land or more and needs a 4 wheel driven Pickup for transport. Cheers Rob
- 2,035 replies
-
- 3
-

-
- car related stuff
- anything about cars
- (and 6 more)
-
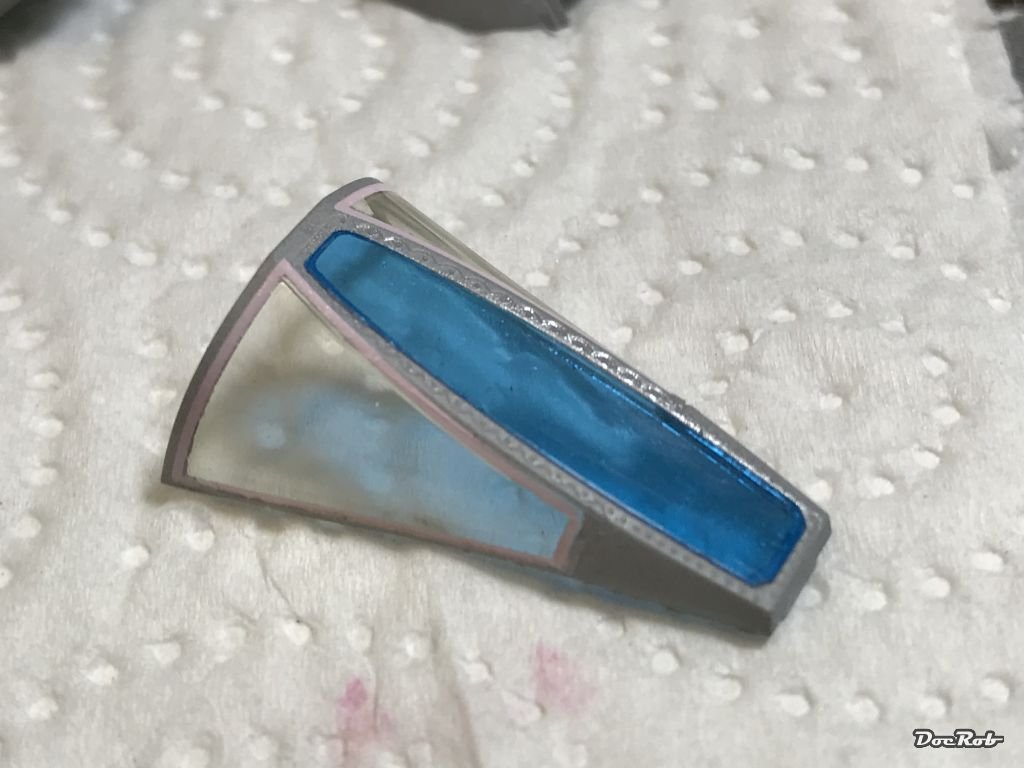
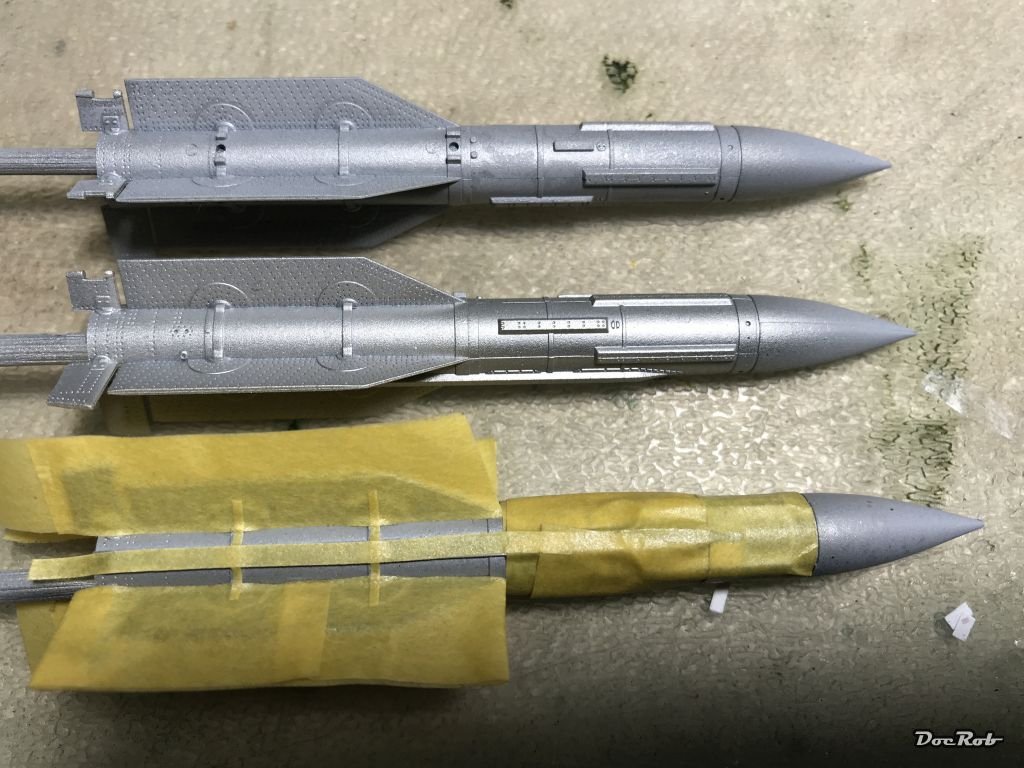
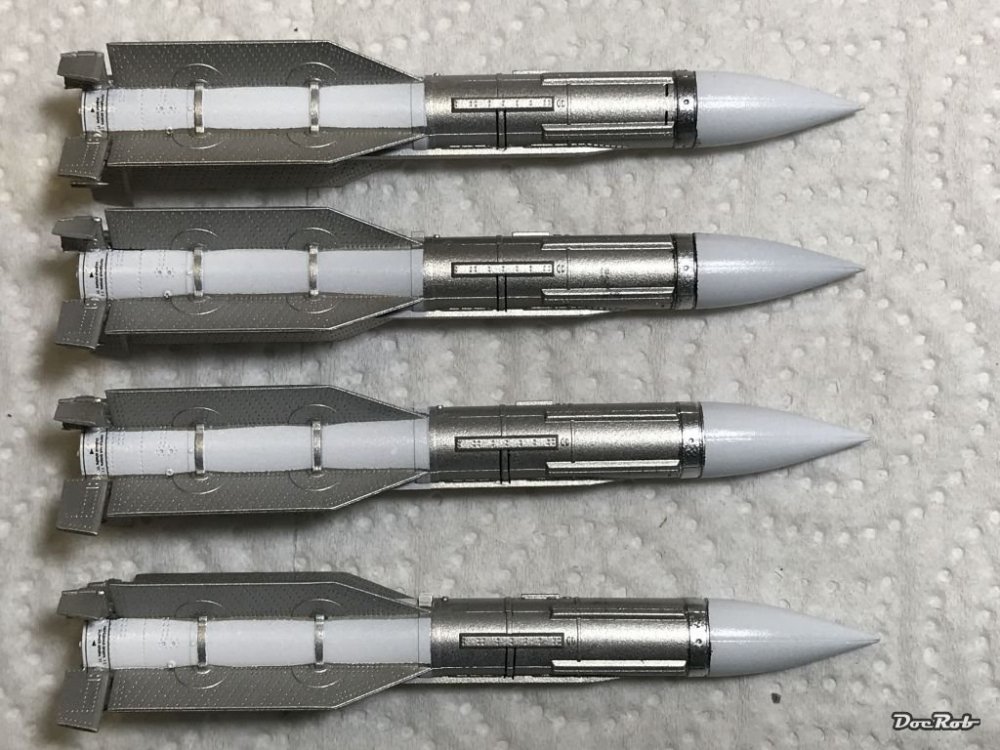
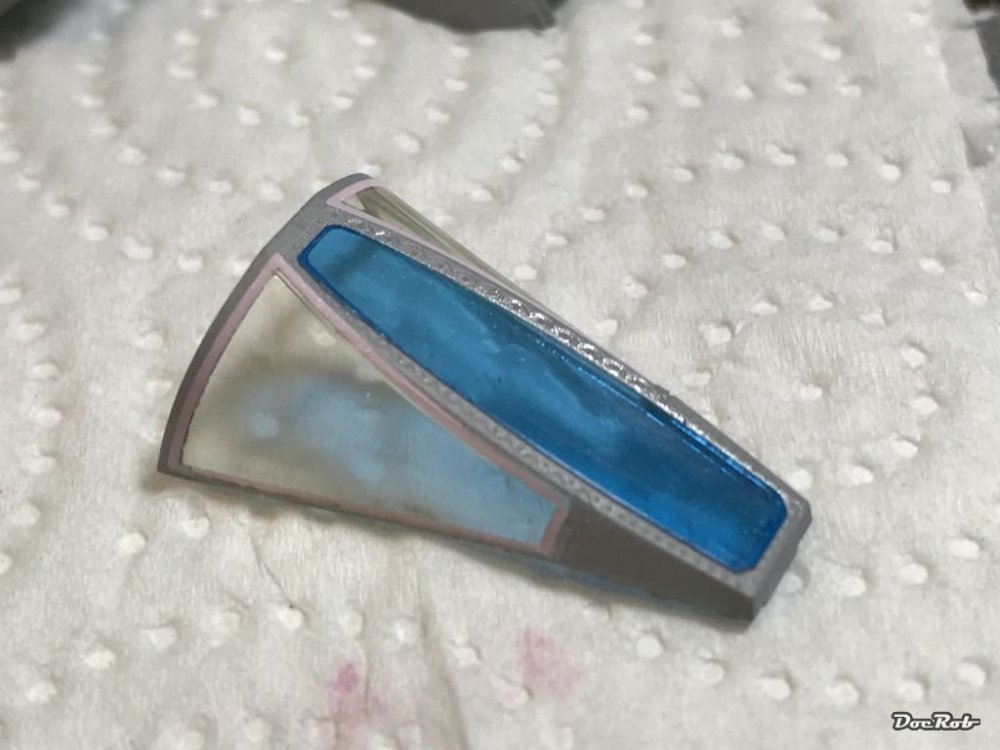
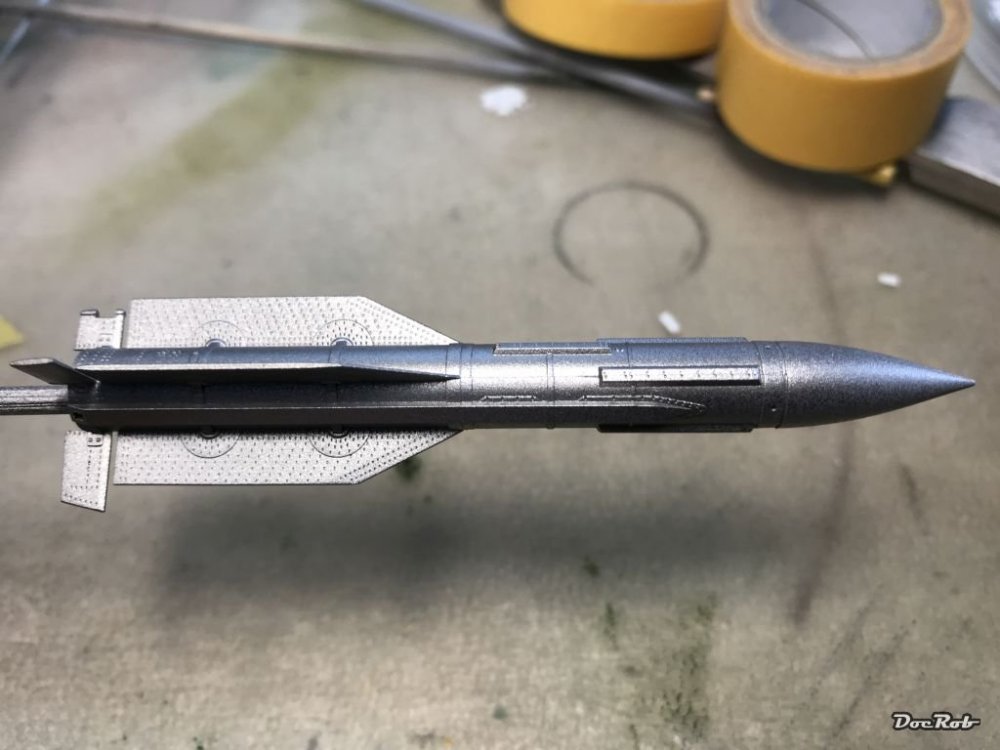
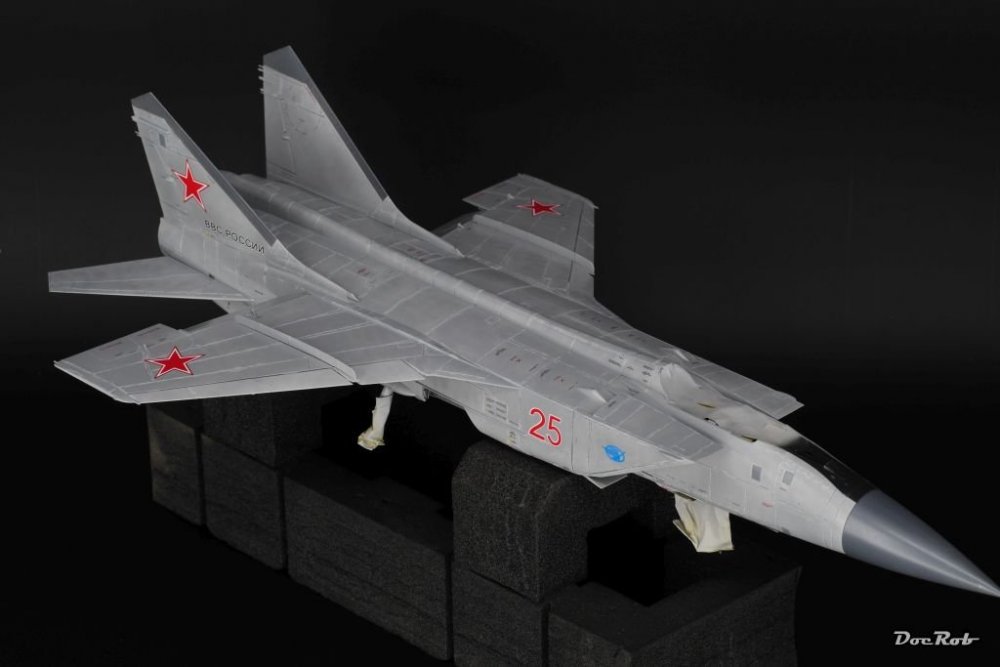
Who would have thought, that the final steps with the Mig take so long, and it's not, because I'm lazy. I airbrushed the missiles in white and masked a chrome band around their fuselage, this time I had no issues with paint peeling while removing masks. Xtreme Metal colours are so much better to work with, than Alclads. I added spoilers and foldable wings to the missiles, tried different types of wash and decided against it. Soft washes gave not enough effect, the enamel ones blind the metallics. For the same reason, I didn't want to use a clear coat. There are lots of, guess what, stencils on the missiles, so I started with these. This is how they look now with the jet exhaust still to be added, beside some stencils. To me the result rectifies the huge masking job. In tests, I was not able to tint a clear part blue, with different types of colours, Tamiya, AK and Gunze. The results were either to light or they were not transparent enough. If you have good tips for airbrushing tinted parts, feel free to share them. Furball produces some tinted plastic foil for the Mig-31, which is semi pre cut. After removing the foil from it's surroundings (not so easy), I glued it onto the canopiy with some Pledge under it. Cheers Rob
-

Scammell tractor/trailer with M3 Grant
DocRob replied to BlrwestSiR's topic in LSM 1/35 and Larger Work In Progress
I like it, the articulation will be good to enhance the drama in a dio setting. Cheers Rob -
Very nice, I wouldn't have thought it to be 1/72 without the headline. It's always a good feeling to get one of these painful bench occupiers finished. Interesting to see the different colour hues on the pics of the original, and we are discussing the exact appearance of certain colours permanently . Cheers Rob
-
What is on your bench right now ? Share a picture :)
DocRob replied to Martinnfb's topic in Modelling Discussion
Very believable facial expression with the figures, not the tank . Is the blue tint on the tanks headlights liquid mask or some special lenses? Cheers Rob -
Both are real lookers, great work on the F. I own the regular kit as well and will build it as a G-version with AM-decals. Cheers Rob
-
Today I masked the missiles and airbrushed them white. By this way, I'd like to show you a tool which became very much used by me lately and proved to be good. It's one of my Voyager mask template, this here for stripes. You put some Kabuki tape on, slice with a sharp scalpel and you are ready to go from 0,5 mm on. It's good for masking laminated propellers and with different type of strips like on the missiles. I have others with etched circles and curves, rectangles, squares and stars. Cheers Rob
-
Thanks Martin, interesting to see the different paintjobs on the Vympel missiles. Cheers Rob
-
Figure painting needs a different skillset than armor or aircraft painting and I think it's a good idea to learn some of the technics from a master. It's always better to be able to ask questions and get the tips when needed. BTW, I might have chickened out with the canopy seal problems, but the good thing with the kit is you get a second chance with the untinted canopy, it's like a safety net. Cheers Rob
-
Putin would have been a good outcome for my Mig, but mine look like the ones you normally see in movies about undead . Your Putin looks good by the way, I like the overall wrinkles. To my excuse I have to say, that mine had some tiny cast issues in problematic areas around the faces, which I had to hide with a bit of paint. Cheers Rob
-
Thanks Gus, he might look like a mutant made of Kirk Douglas and Gaz's Avatar Thanks Gaz, I hope they will look ok in the pit, but I know I can do better, sometimes it just doesn't work the way it should. I have a lot of resin and white metal figures in different scales and I will train a lot in between other builds. The hardest thing in figure painting is to get the colours prepared to a grade, thin enough to flow and to work wet in wet specially on the skin tones without being to translucent. The worst possible effect is clogging, which I had to fight with these two guys and I have no idea why. Cheers Rob
-
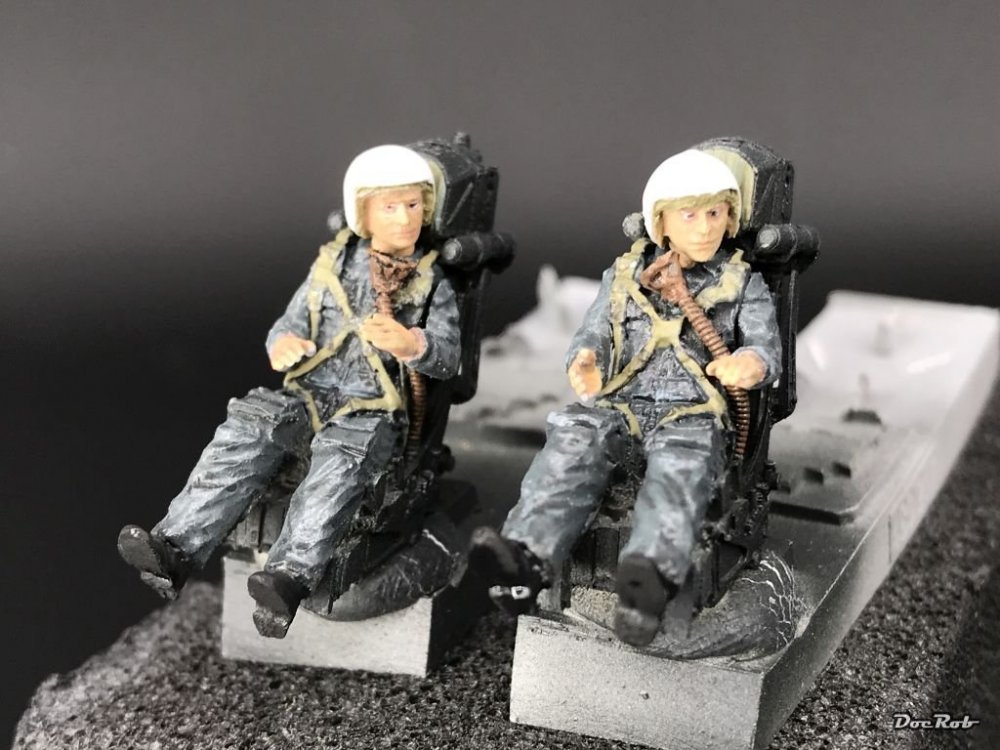
The bad Mojo continues. Today I tried my patience while painting the pilots and had lots of trouble with the paints to adhere. The resin figures were properly primed before and I used colours which are frequently on my bench. After painting and repainting and reducing some gloss and mixing colours with different thinners, to enhance the adherance, while covering well enough, this is where I am. Don't judge too harsh, these guys are small in 1/48 scale. They look better in the cockpit, but I had better results with figure painting, even in this scale. I slowly run out of patience with all the amounting last minute problems with the build. Normally I would paint strip the pilots and try again, but I will leave them as they are and will always feel bad about it Cheers Rob
-
Gracias Señhor, I try my best. Sounds like a cunning plan, to sand, fill, polish and whatelse on a clear part . I have had mixed results with Alclad, but masking on it never worked out. Like you say, some colours loose some of the metallic sheen and go dull and some, and Titanium is the worst, just peel, while looking at. Good to know, that your results with Vallejo Metallics were satisfying, but since they worked great for me, I will stay with AK's Xtreme Metals for now. These are definitely more durable than Alclads and have a great metallic appearance. As I never worked with Pale Burnt Metal, I hope that will not change with masking the missiles. Cheers Rob
-
Scammell tractor/trailer with M3 Grant
DocRob replied to BlrwestSiR's topic in LSM 1/35 and Larger Work In Progress
Almost half done with the tracks Cheers Rob -
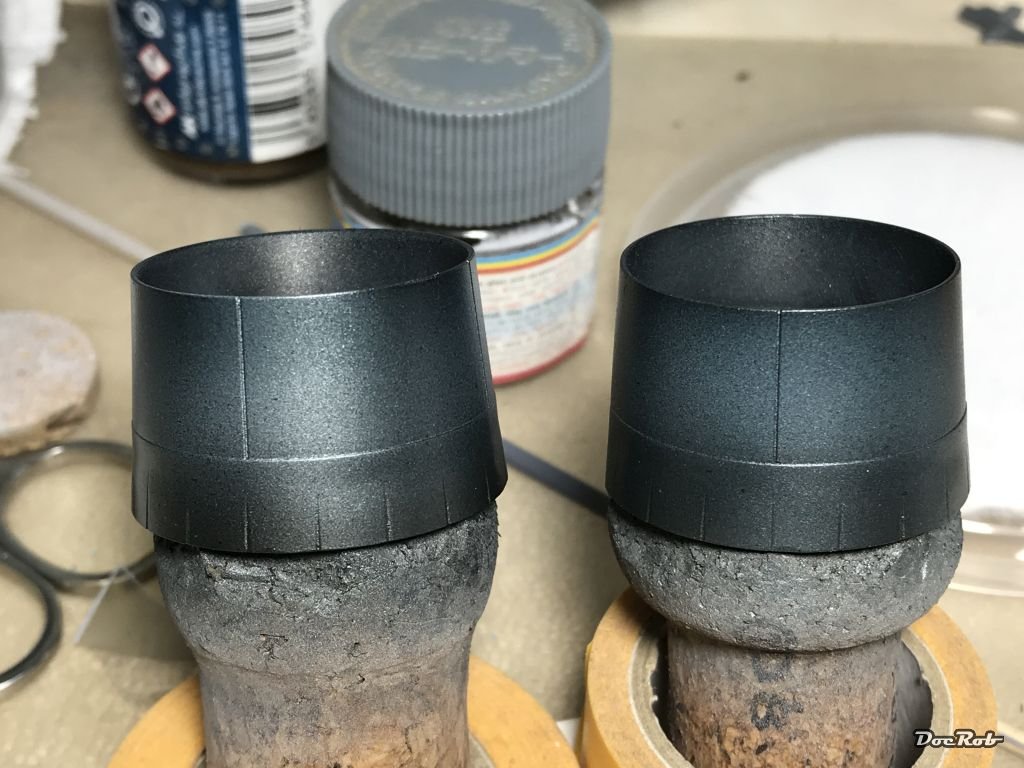
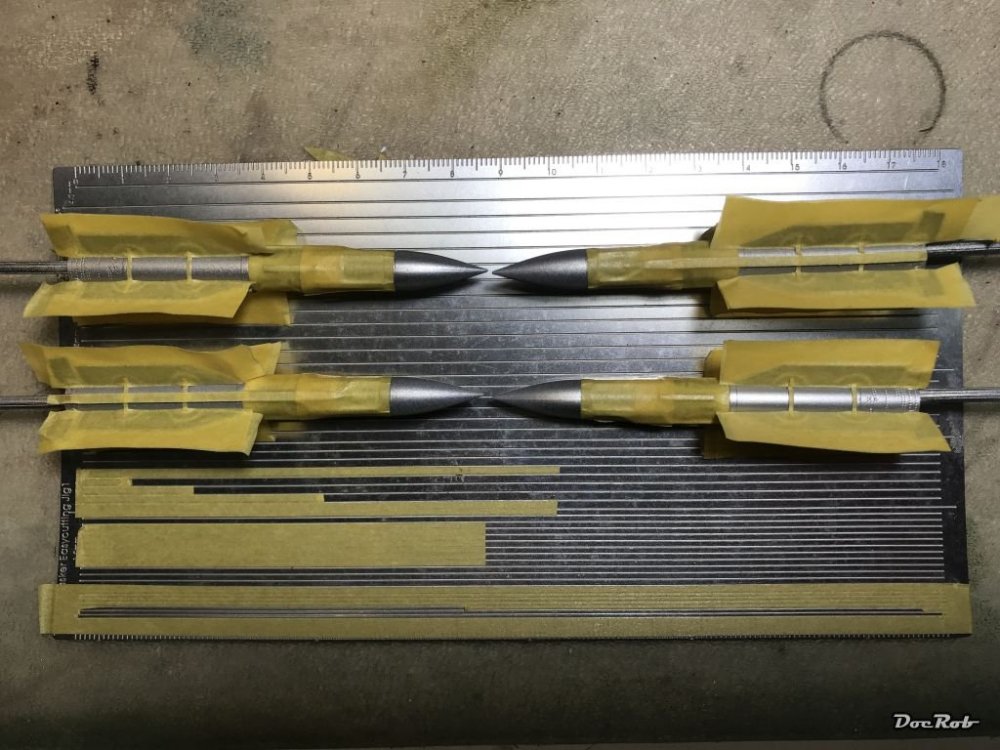
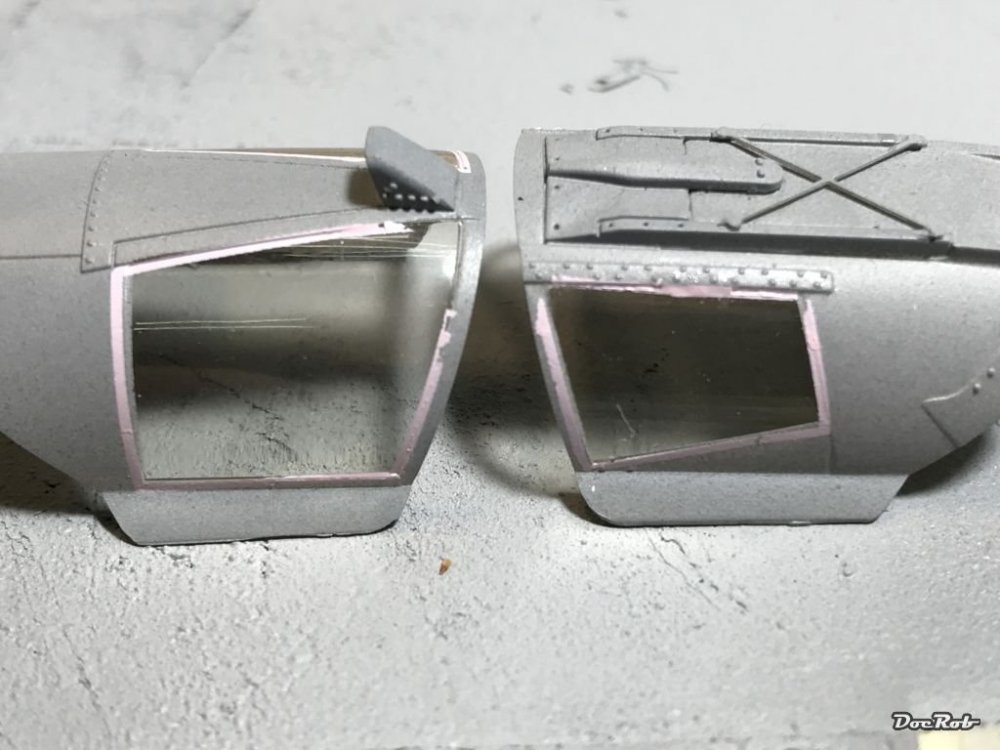
I ran into some trouble lately with the Mig, namely with the canopy seals as I guessed it would happen. While removing the transfer film very carefully, I managed to rip parts of the seals apart. They are unbelievable fragile and while trying to put on some spare strips, messed up even more. The spare strips partly crumpled on the transfer foil. So in the end, the bad parts will be handpainted in the end and there will be no seals on the inside, as I used one of the inside transfers for one, I completely messed up on the outside. Maybe the normal decals would have been the better choice and if I totally mess up, I always have a second try with the non tinted version of the canopies. While always waiting for the transfers to dry, I started on the missile and painting the large ones with Alclad Titanium which looked great, but adhered so bad, that I teared most of the colour off while removing detacked Kabuki tape. I will never use Alclads again, they are so fragile, some more some less. Titanium is among the worst and yes, I primed properly. I only discovered the problem after completely masking two missiles, while correcting a misaligned tape. The middle shows the original Titanium look, the upper is stripped . After wiping off the Alclad, I sprayed the missiles with Xtreme Metal from AK. It's called Pale burnt Metal and looks Titanium like and has a nice shine. I hope it adheres better, but generally, I had some very good results with different Xtreme Metal colours and these are my go-to's for metals. Speaking about metals, I painted the burner cans with different tones of Xtreme Metals, first Jet Exhaust, then a little transparent blue in parts, then highlighting with Titanium and toning down again wit Jet Exhaust. The cans will be refined with a dark wash and maybe some pigments later. Cheers Rob


-
 great result on a stunning build. The contrast between the bright coloured plane and the plain coloured figures and base is enhancing the visual drama of the scene. Cheers Rob
-
Hehe, so true . Let's hope the canopies stay clear, when removing the transfer film and the seals stay in place. I didn't dare to use Micro Sol on the clear parts, just water and a drop of liquid soap. Cheers Rob
-
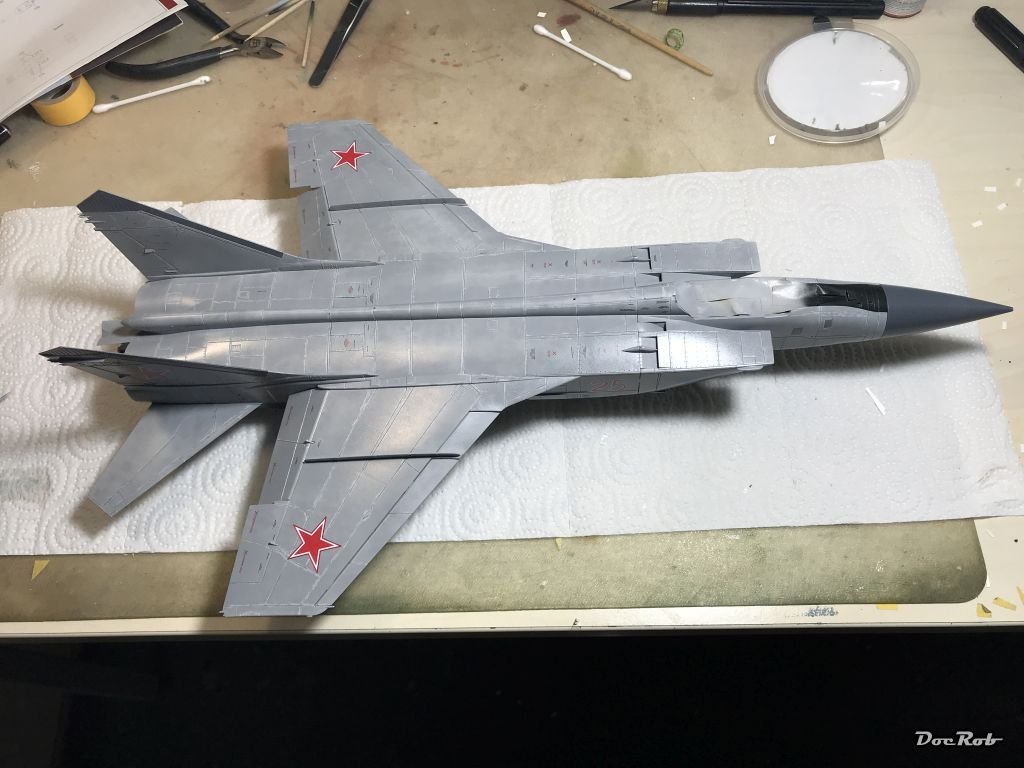
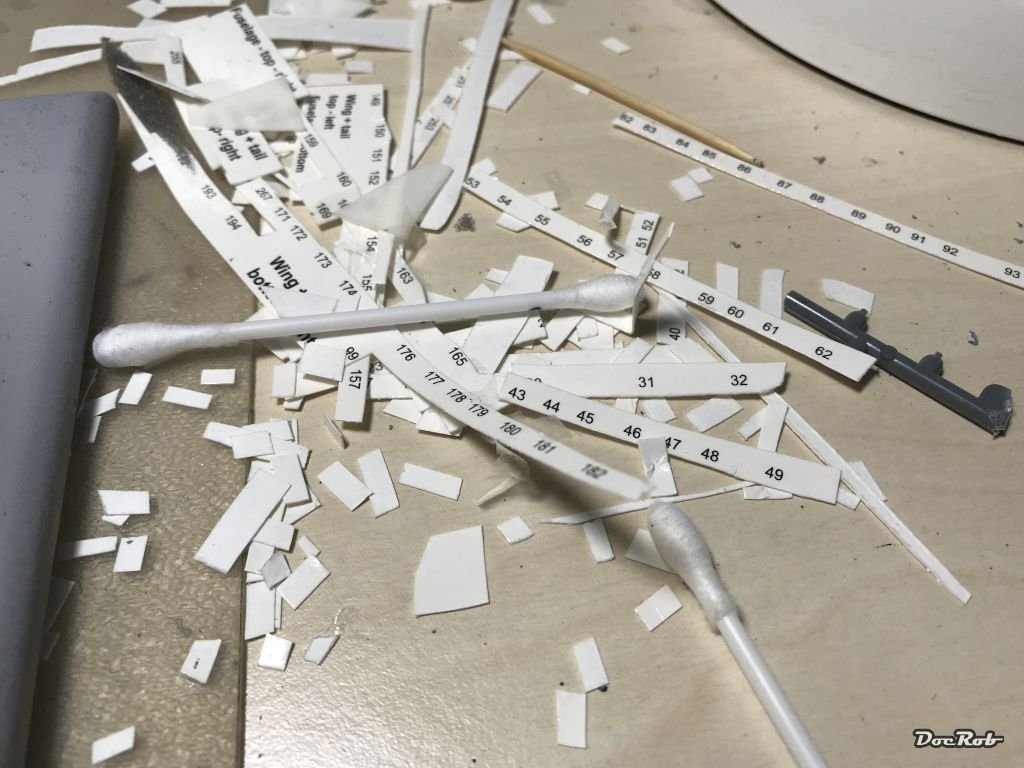
Phew, stenciling is mostly done. Only the weapons pylons and the missiles are missing, but this will be addressed later. After thousands of cuts, my bench looks like this and in between, I cleaned a little. It felt as if they put Tolstoy's 'War and Peace' on the plane, separated by sentences . Another Job, I was not looking forward to, is using wet transfers for the pink sealings on the canopy. Today I managed to apply the outer ones and the outcome will decide, if I do the inner ones too (the pic shows the seals still with transfer foil, which will be peeled of tomorrow.) Cheers Rob


-
1:32 scale Ansaldo 'Baby'
DocRob replied to sandbagger's topic in LSM 1/35 and Larger Work In Progress
Thanks Mike, the Fokker E.V/D.VIIII will be one of my next builds. I read your great build log and plan to use flattened brass for the struts as well, because the supplied ones look really flimsy. Other than you, I will use pre fab connectors for the tubes for soldering. I got some of the Aviattic goodies for my build and hope that the Lukgraph engine will fit under the resin hood. Your log will be a nice guideline for my build, so thanks again for the work. Cheers Rob -
I feel your pain, but when put on the model, they are just great, better than all the decals I ever tried. Patience though is the key to success with these wet transfers and I'm not very good at patience. When I think about past jet builds with silvering stencils applied after many hours of good work as one of the last steps, to get an unwanted result in the end, I opt for the wet transfers and go through that pain. I always hated decaling, because of the possible fail potential towards the end of a build, but these HGW's are predictable in a way, if the surface is prepared and you follow the instructions you get what you ask for. Cheers Rob
-
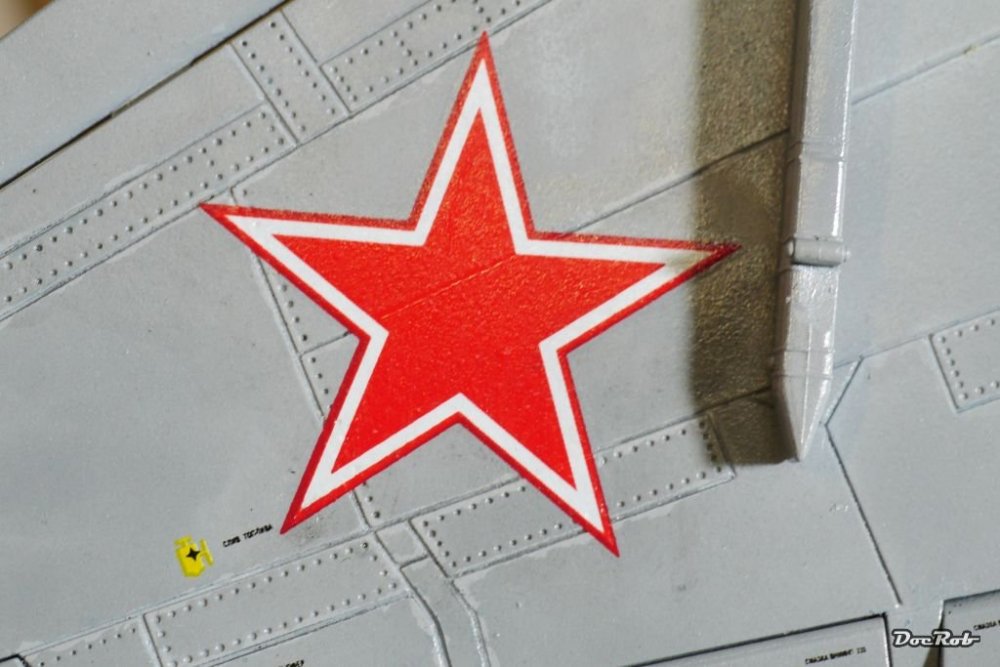
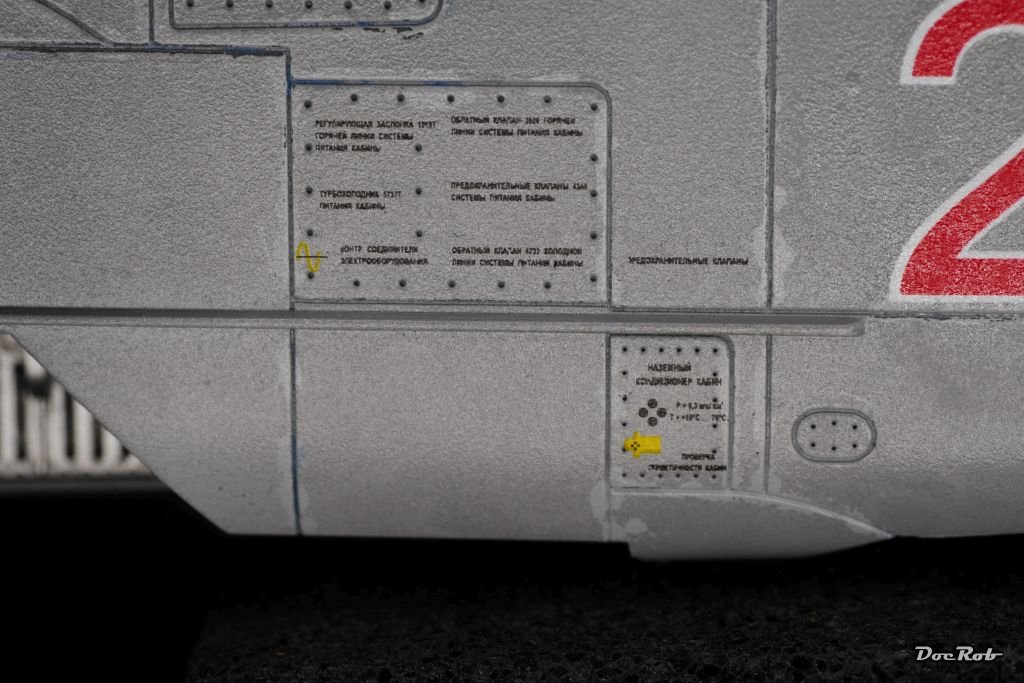
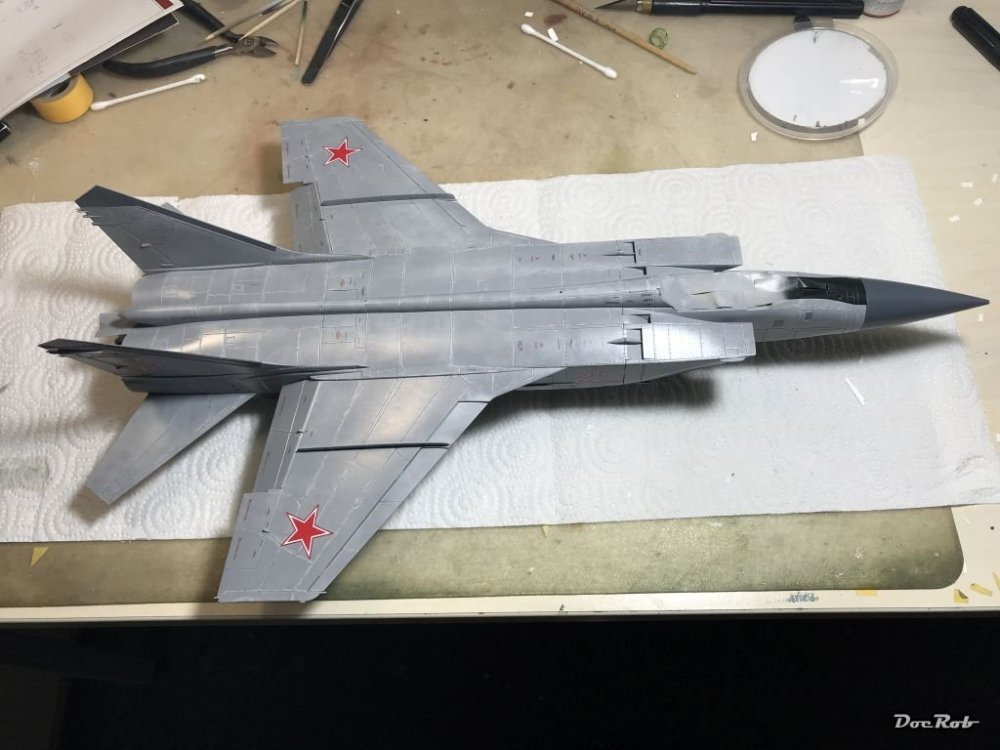
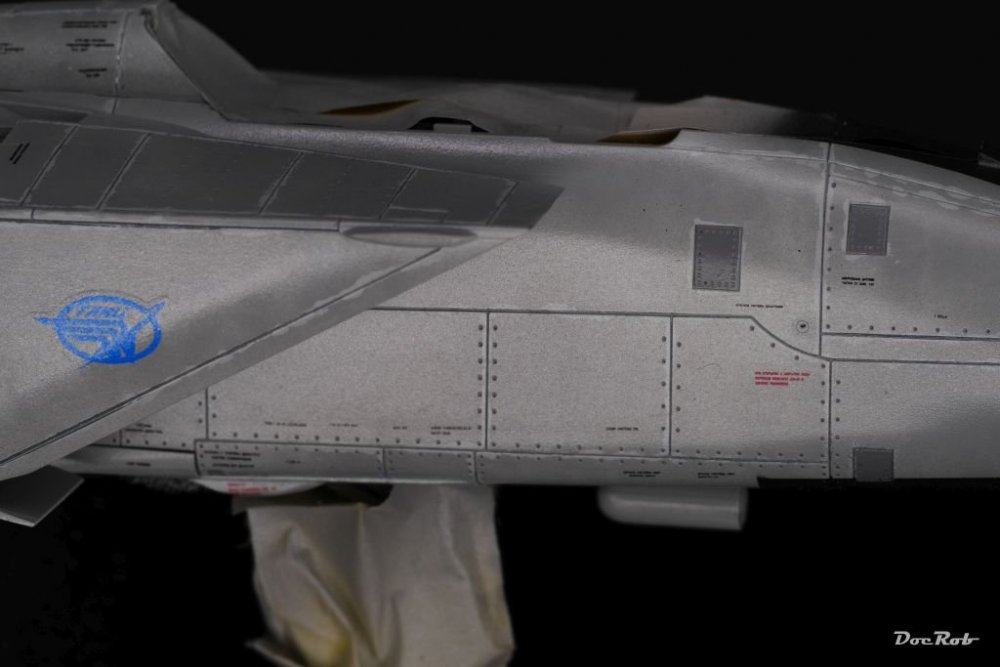
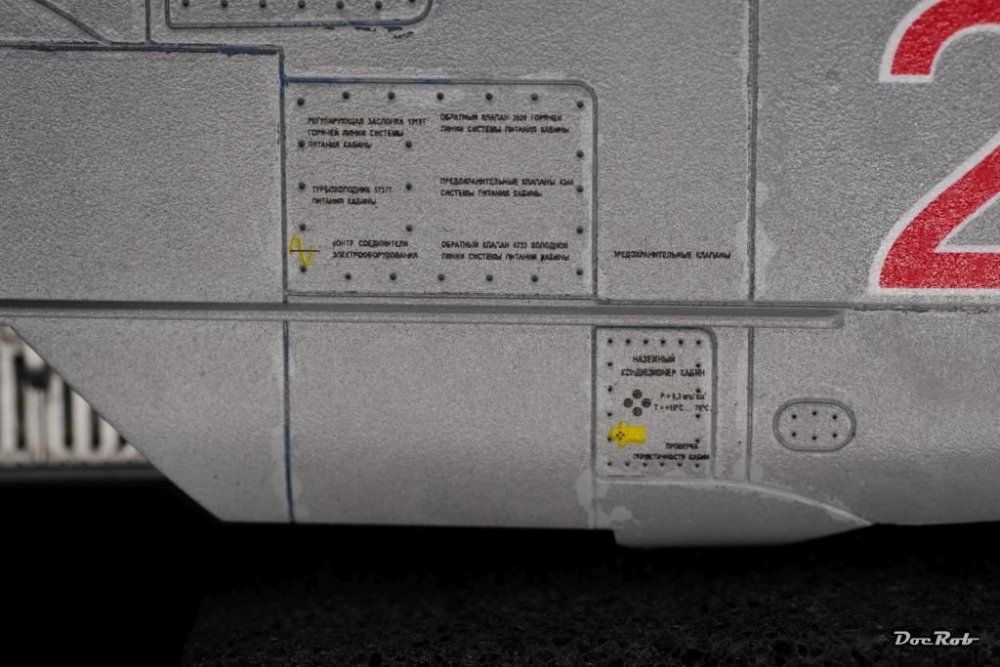
Back to the Mig, step by step, I apply the stencils. As much as I like the results, as painful is the process. It takes even longer, then with normal decals. You have to cut every single stencil, apply it carefully with a little setting fluid, wait for some hours to remove the transfer film and clean off the glue residues with a dampened cotton swab. With the hundreds of stencils, you need some structure and discipline, not to miss a nearly invisible transfer film here, or forgot to put a stencil in the right place. The removal of the transfer film should be done very gentle, because it's easy to rip off parts of the stencil (believe me it happened to me, but I guess a heavy weathered Mig will not have factory fresh looking stencils ). I do the stenciling in sections, which is really time consuming but safer and 3/4 are done. Don't get me wrong, I'm fascinated by the product, the stencils are like matte printed onto the model, no shine, no borders, absolutely no visible thickness and no silvering. I will use wet transfers where I can in future builds and I have some sets for other planes. In the next two pics you can see the quality of the stencils vs. the very good kit decals. The blue MIG-logo is a decal and has borders and shininess, as has the red number in the next pic The grey rectangles in the first pic are wet transfers too, and they match my dark grey perfectly. Even large wet transfers like this are perfect after careful application. The chips in the middle are chips, no bubbles, because there is nothing to bubble . From far away, you obviously nearly can't see a thing of the work of hours. Cheers Rob
-
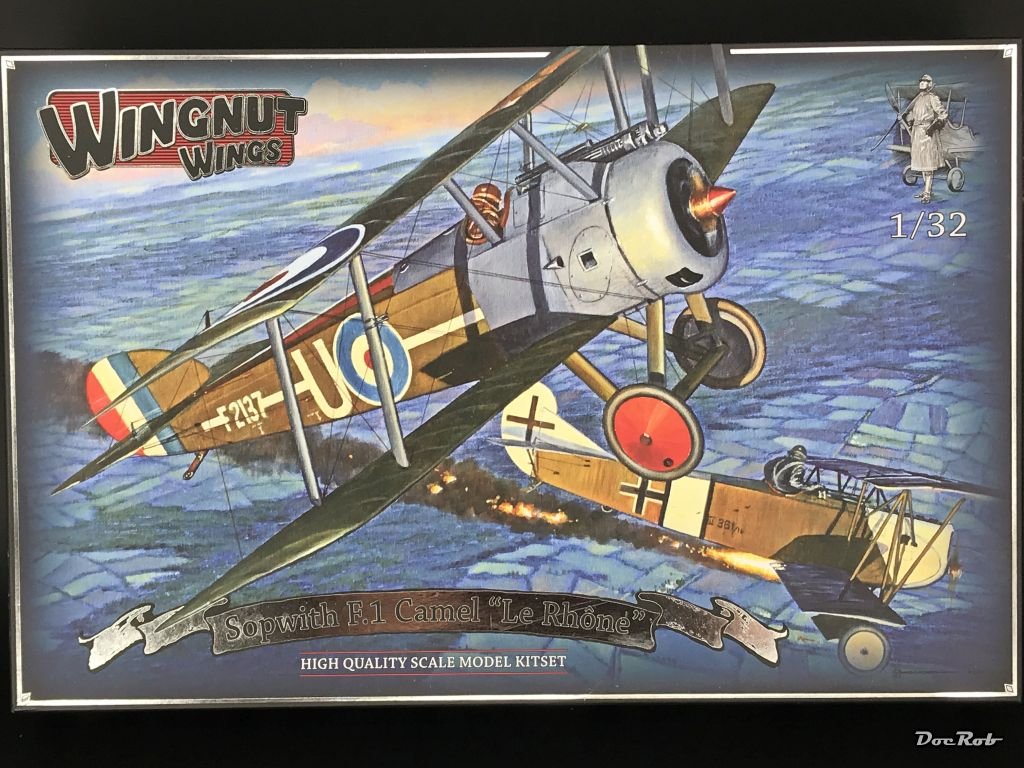
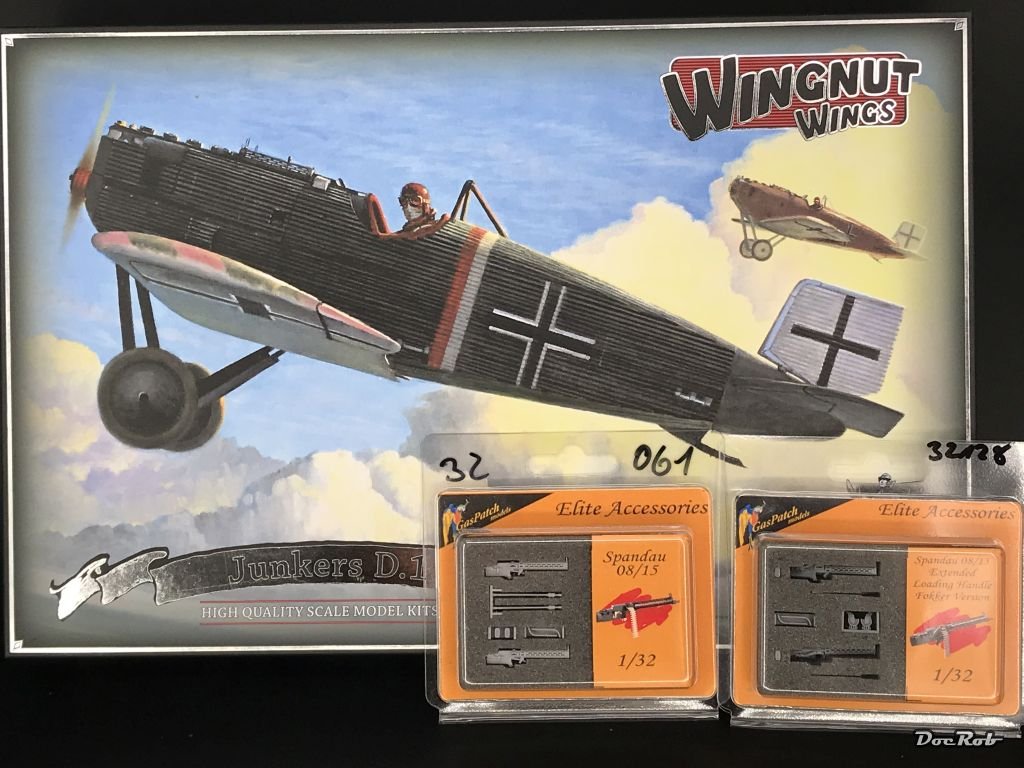
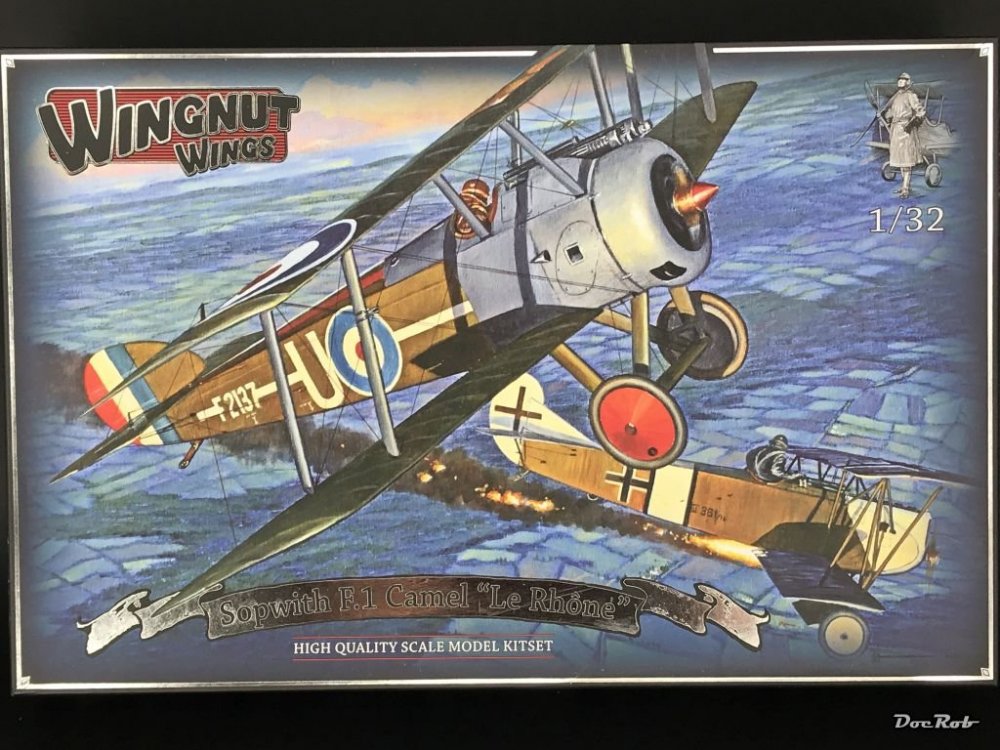
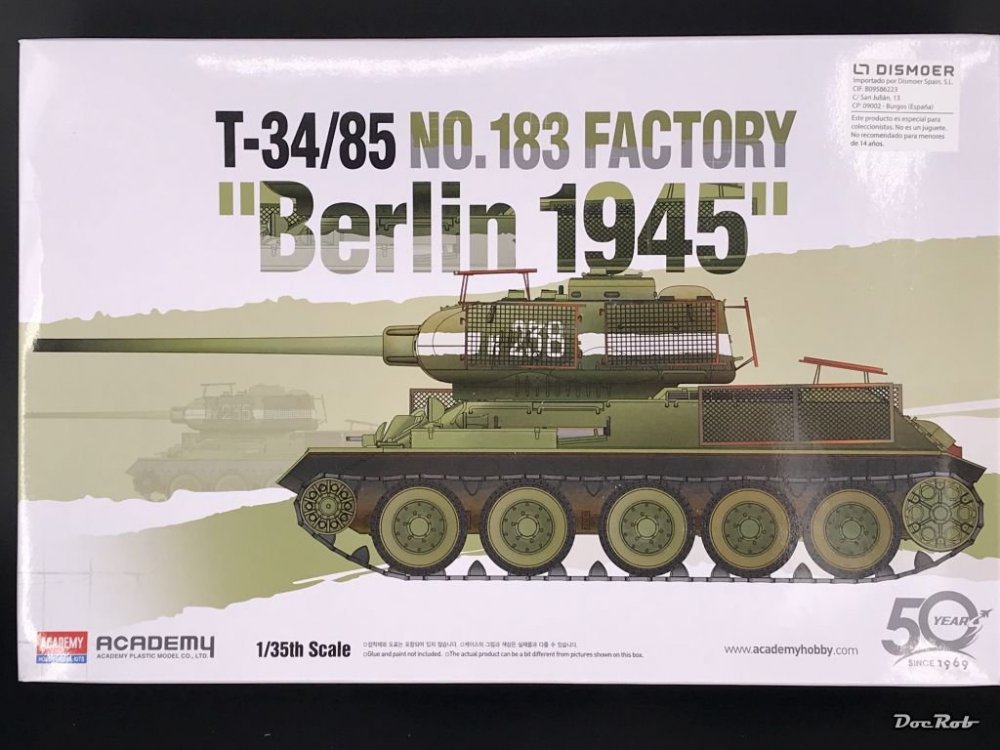
Some packets from Germany just arrived, the last ultimate wish I had concerning WNW kits was the Fokker D.1 and I finally managed to get one of the last and added some Gaspatch 08/15 for the Junkers and anothe Fokker. Sometimes I've to ask myself, why I haven't ordered the D.1 before . The Camel was more of an accident, just because it was there, or because my WNW stash is to biased to German planes. The reason for that is in the least a kind of nationalism, but interesting paintwork, great design and no flat rigging . I considered all the different Camels and went with the Le Rhone one, because it has a brilliant paintjob, the blue 'Suds' and will receive a Lukgraph resin engine (if it fits) and some other goodies. Last but not least, I got a T34/85 with added bedspring armor. One of those was in front of my grandparents house in the final days of WW2. It will be fitted with at least one figure in front as a little dio. Cheers Rob

-
1:32 scale Ansaldo 'Baby'
DocRob replied to sandbagger's topic in LSM 1/35 and Larger Work In Progress
Thanks Mike, I will order one and decide then where the need is the biggest. In a WNW Camel, there is a lot of cowling around, the Roden DR.1 engine doesn't look to shabby on the sprues, but the Fokker D.VIII from Micro Mir is a likely candidate. Cheers Rob -
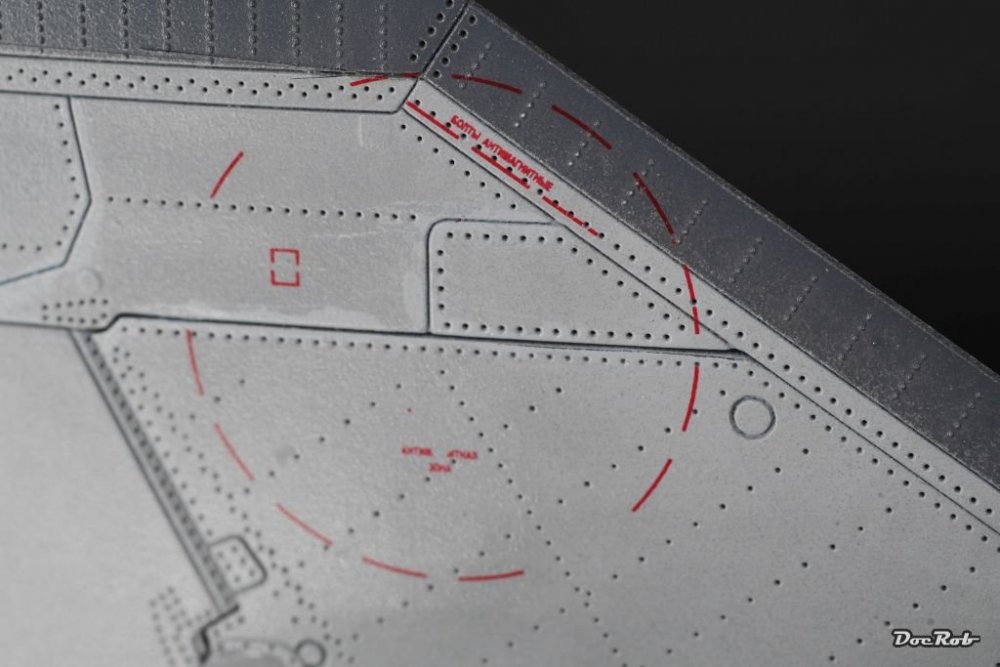
After no changes in the appearance of the cloudy surface around the decals, today I dabbed some Pledge around one of the stars with a brush and after drying, everything looks fine to me. There is still a slight difference in shinyness, but that's because the surrounding areas are airbrushed. When the stencils are finished, I seal the decals with another coat of Pledge and this will be gone. Thanks again for your encouraging help. Cheers Rob