DocRob
-
Posts
7,045 -
Joined
-
Last visited
Content Type
Profiles
Forums
Events
Gallery
Everything posted by DocRob
-
Good idea Carl, here is the link. Cheers Rob
-
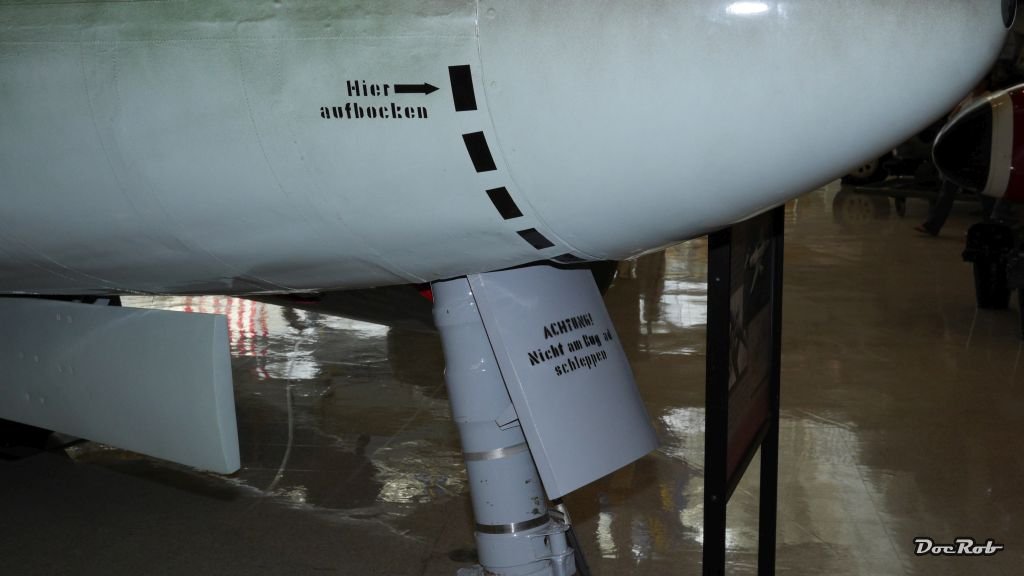
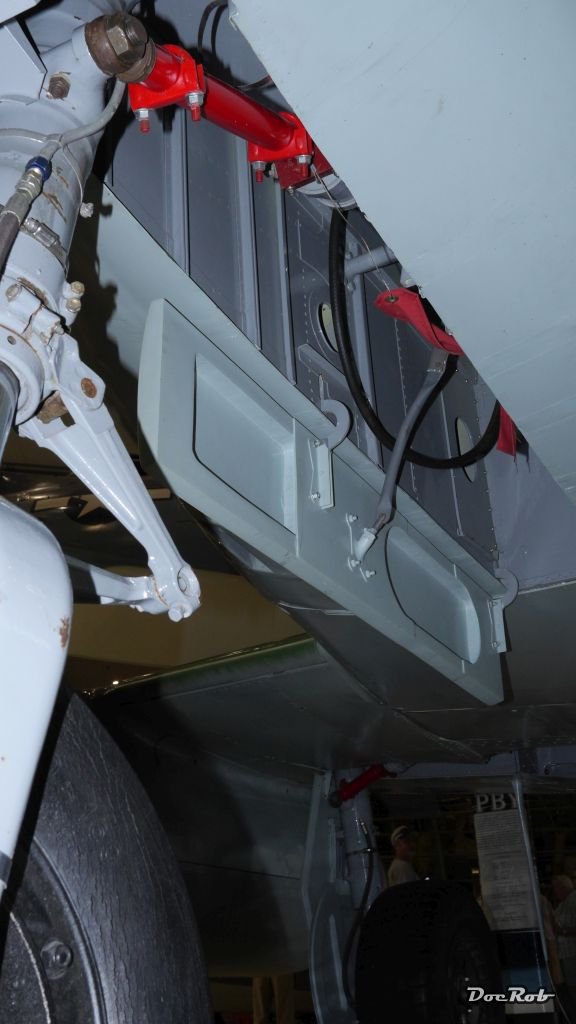
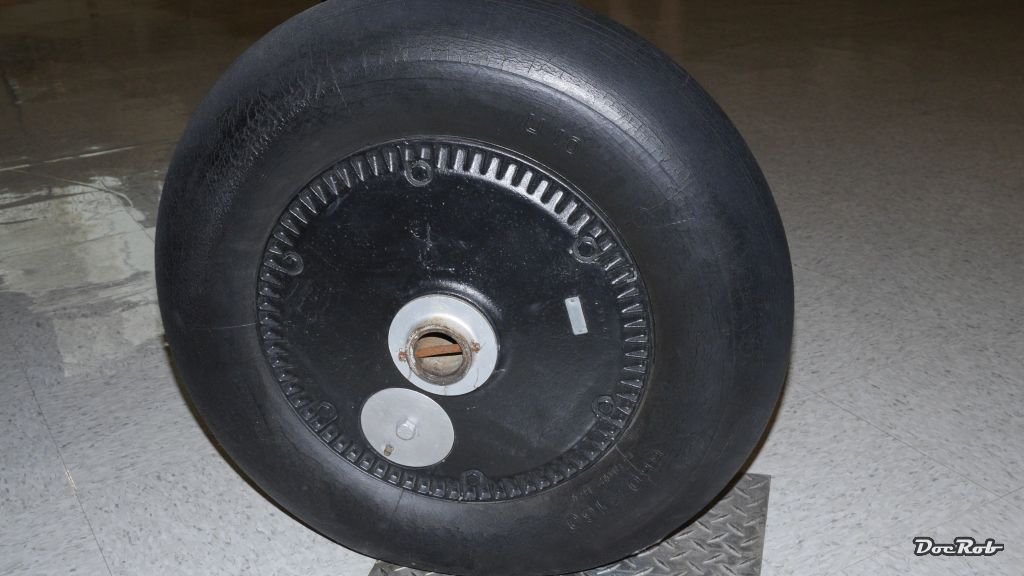
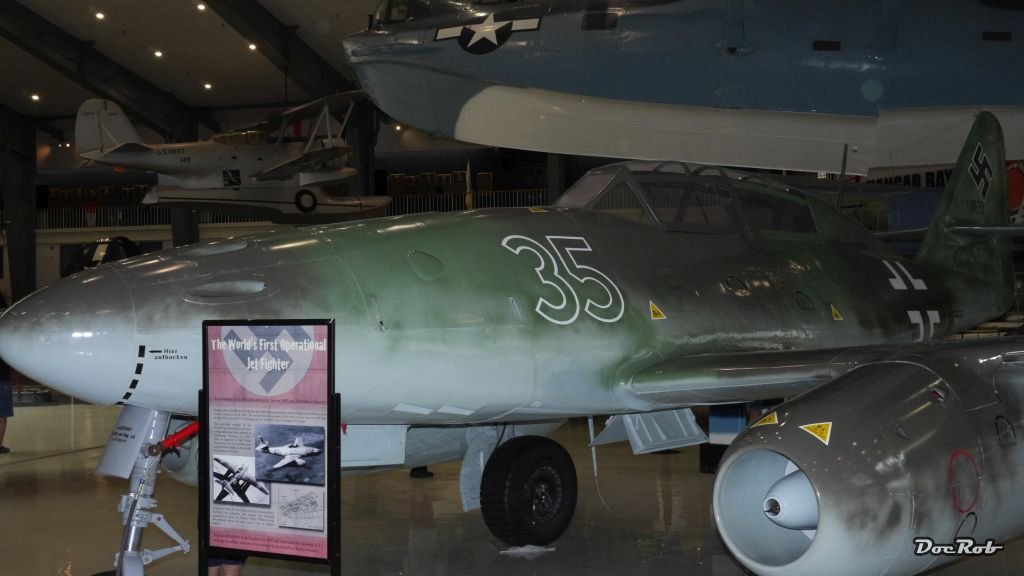
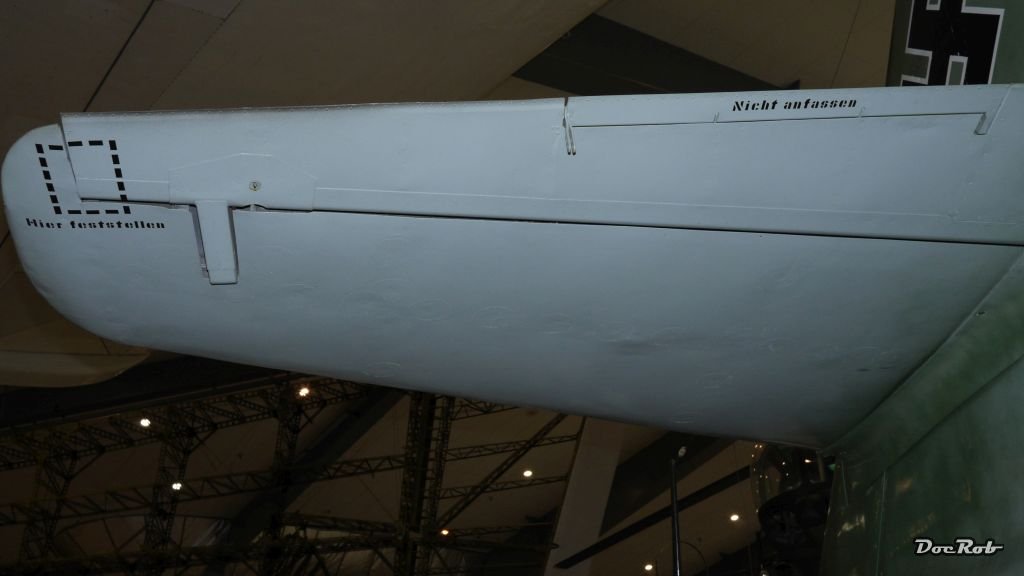
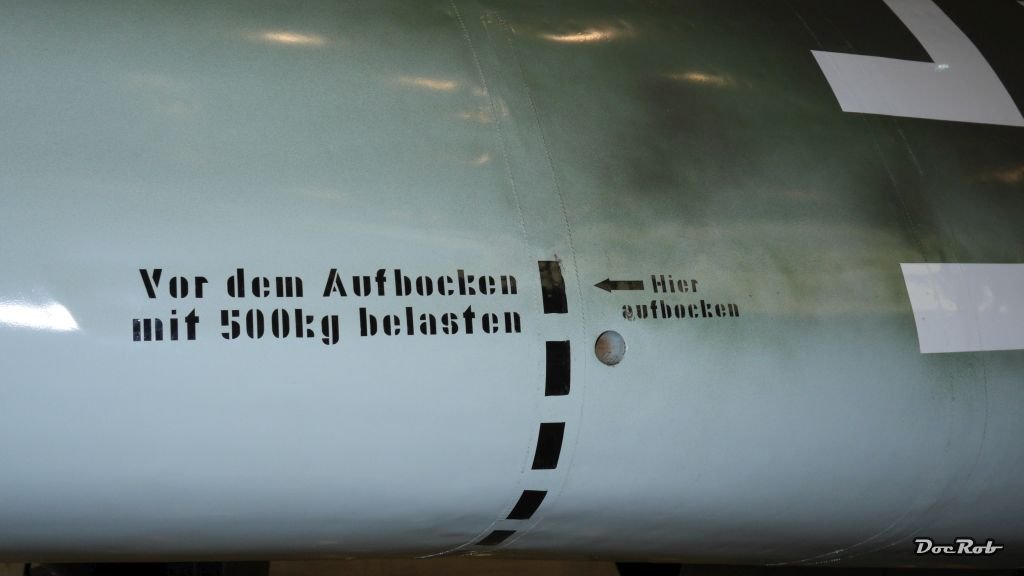
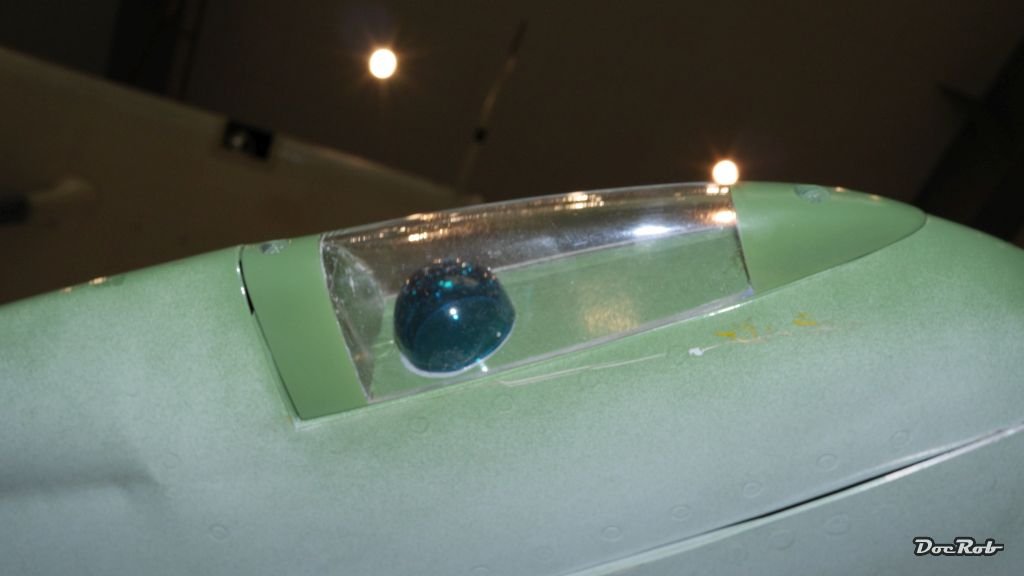
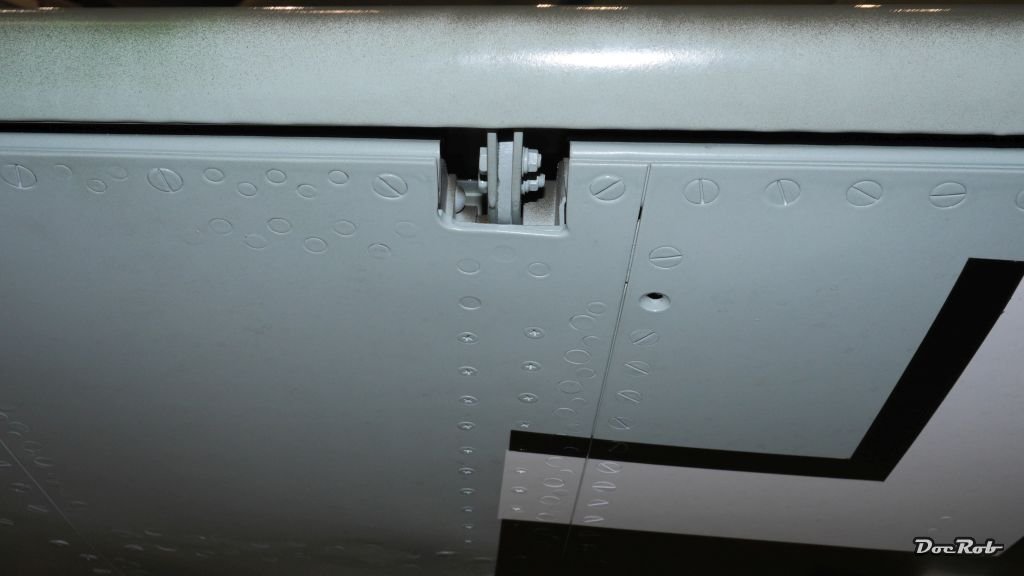
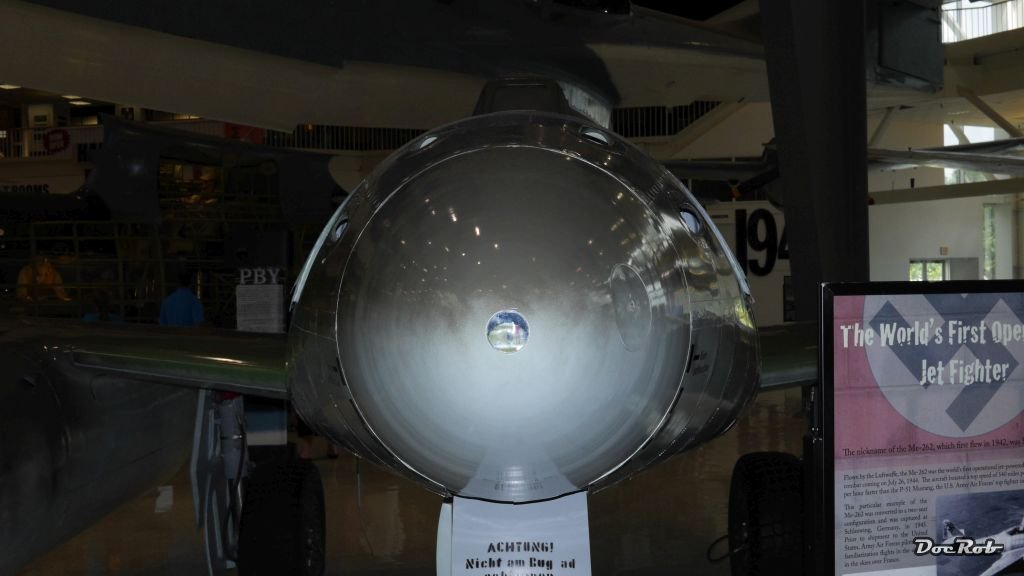
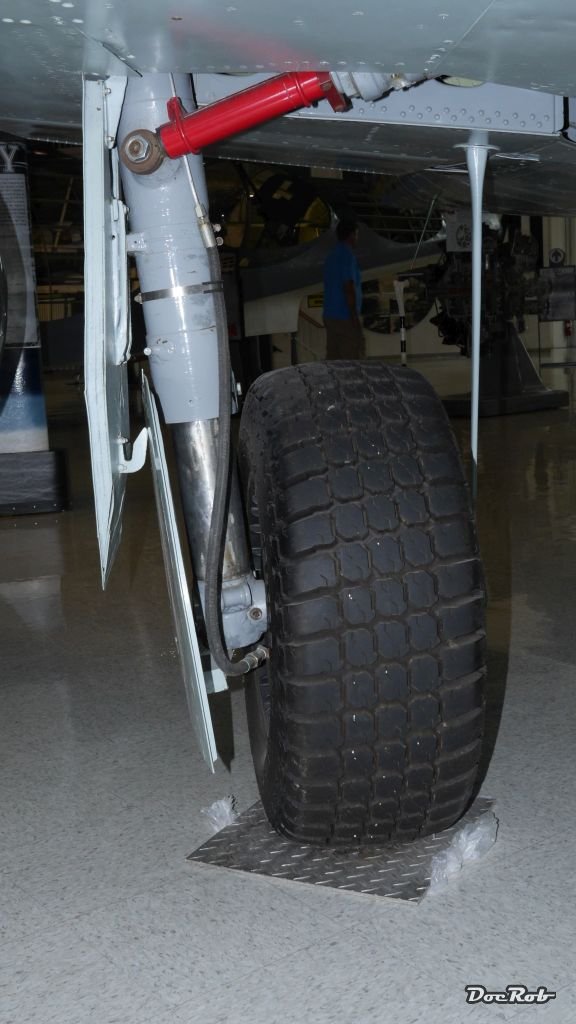
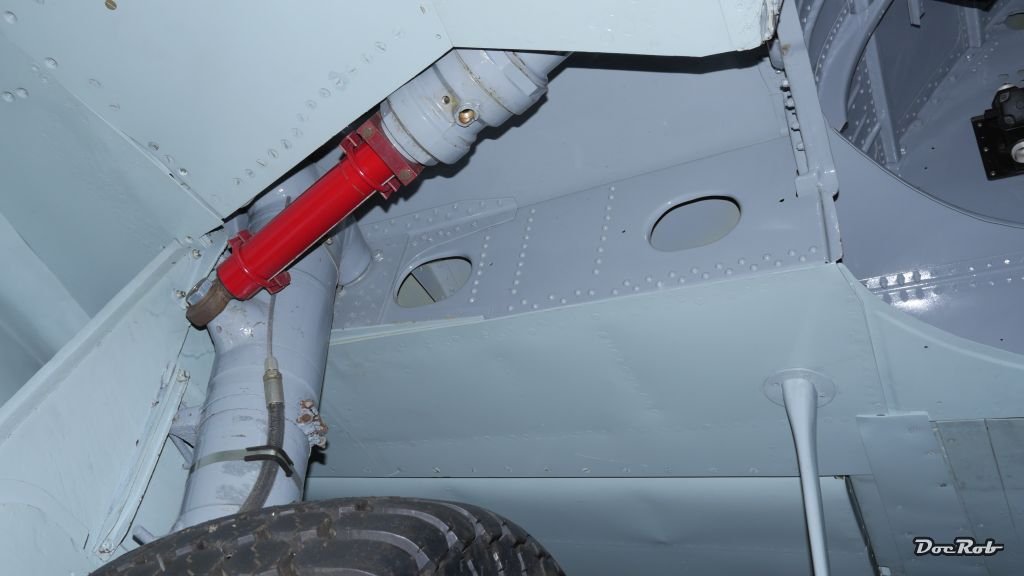
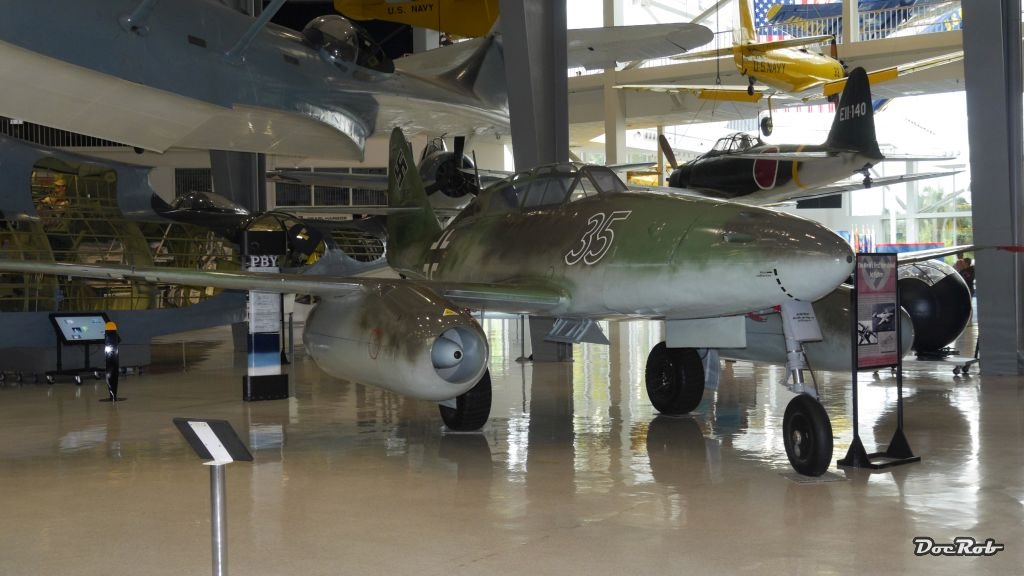
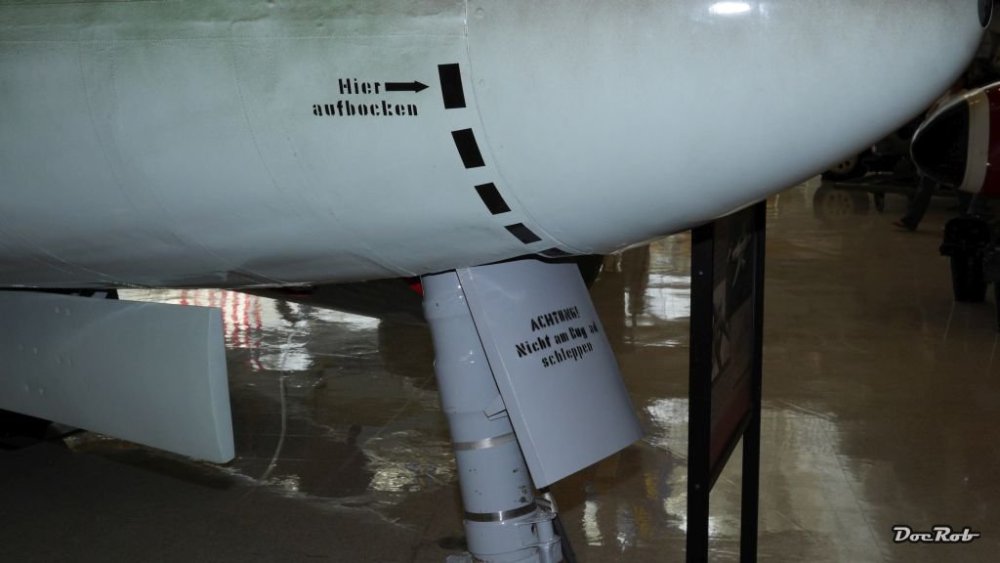
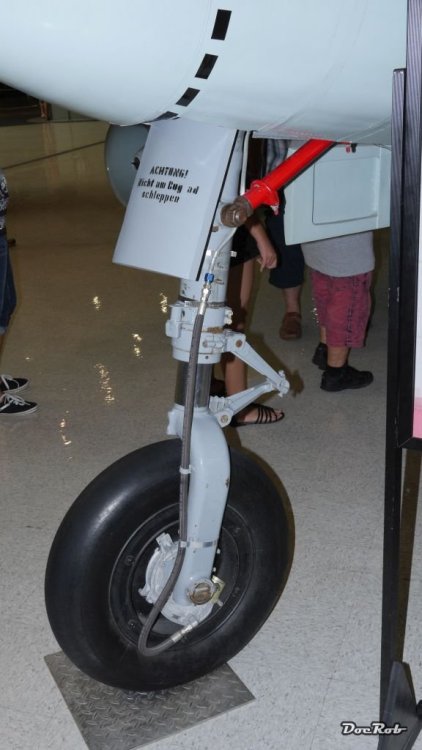
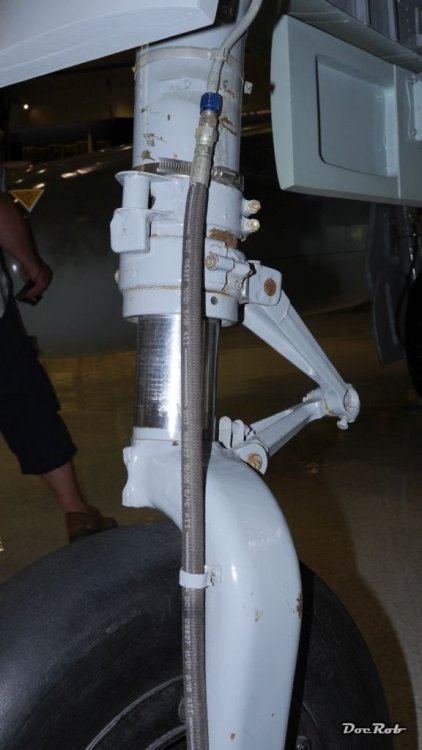
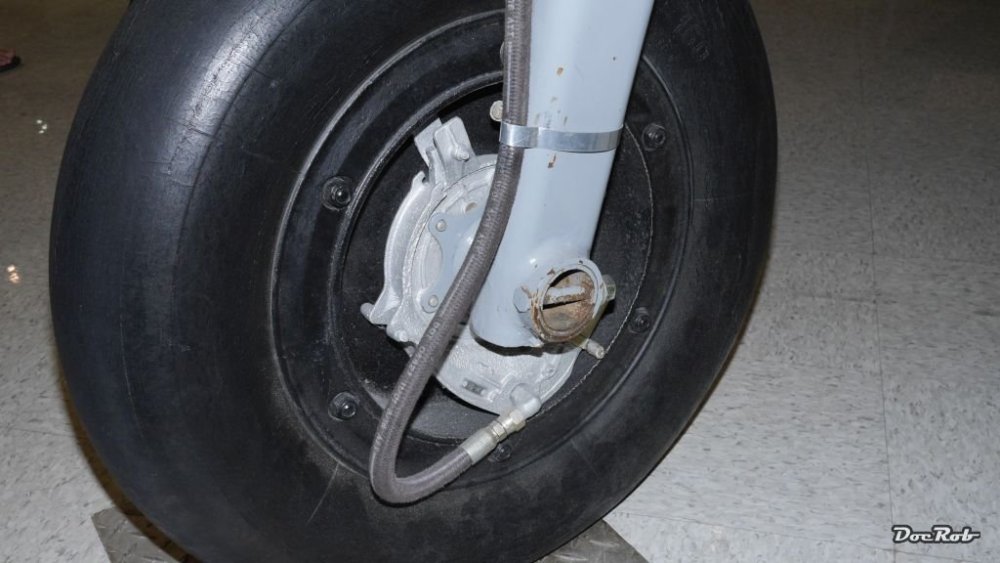
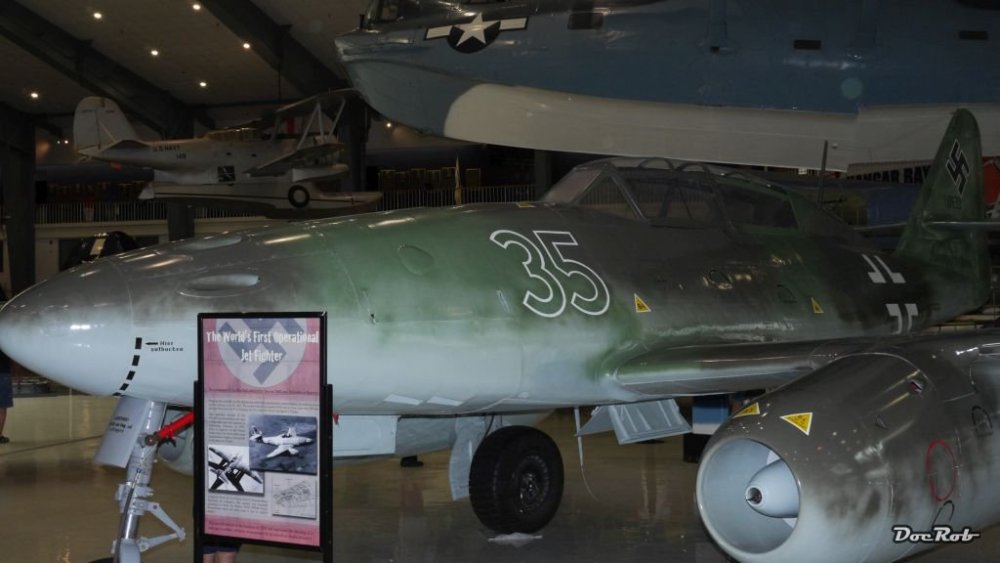
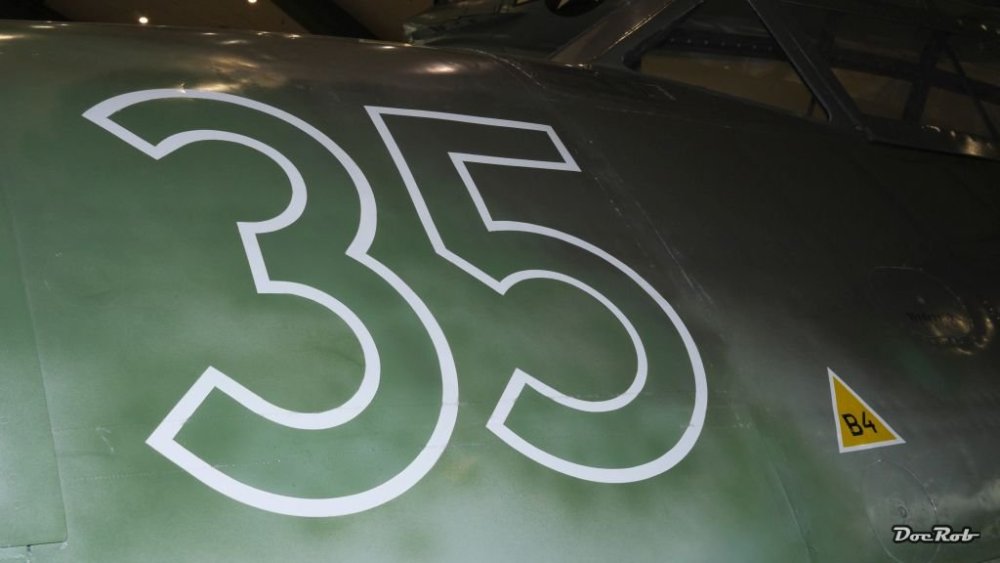
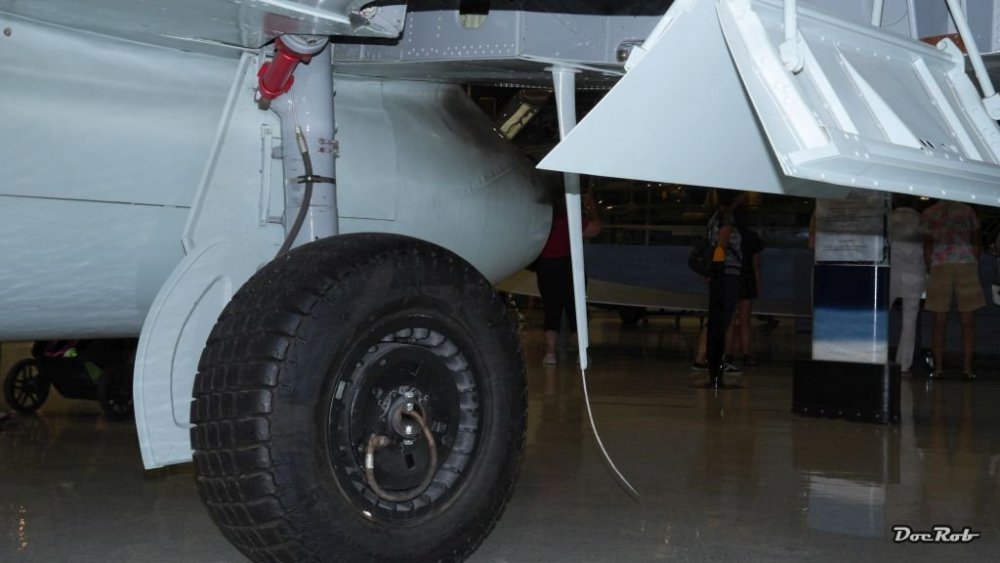
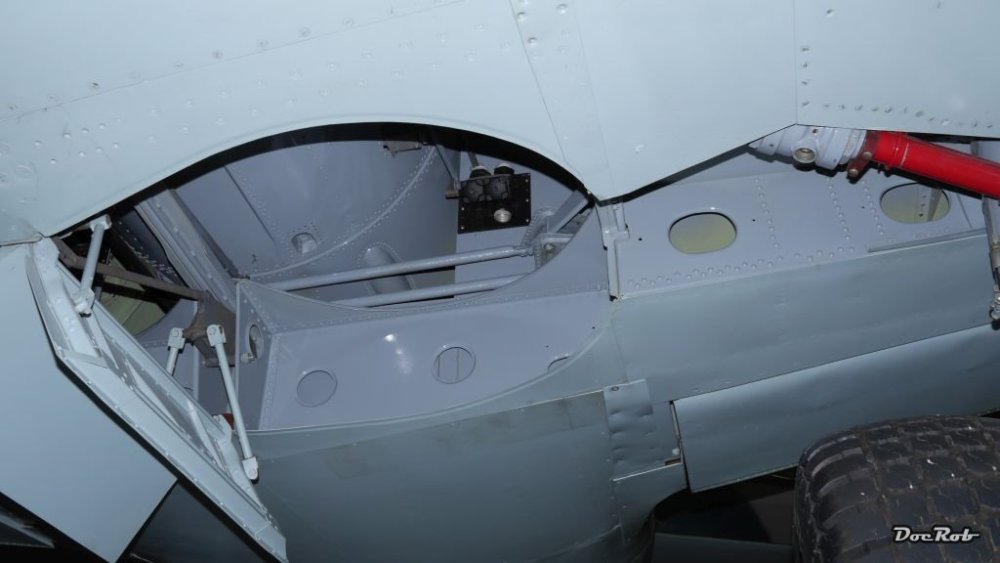
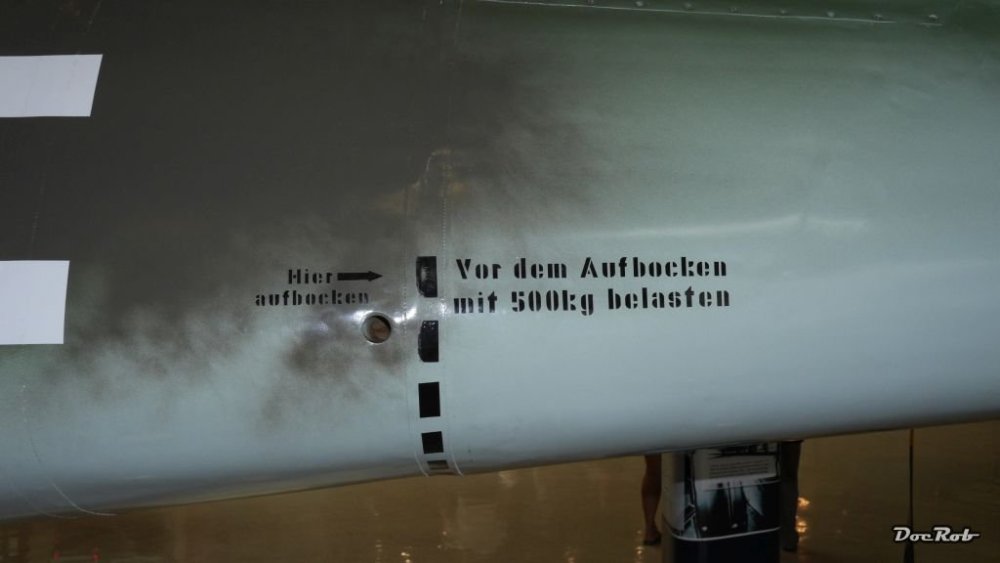
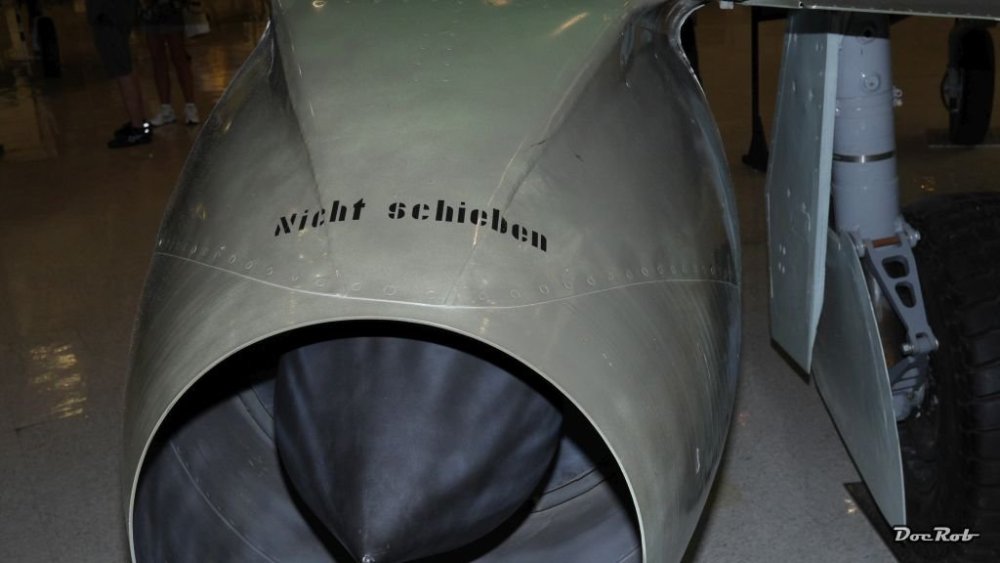
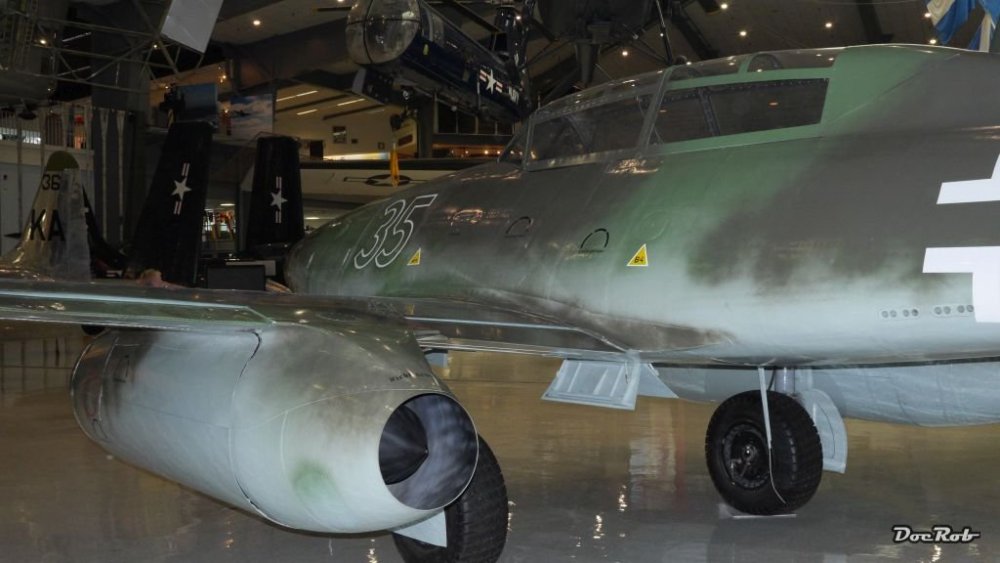
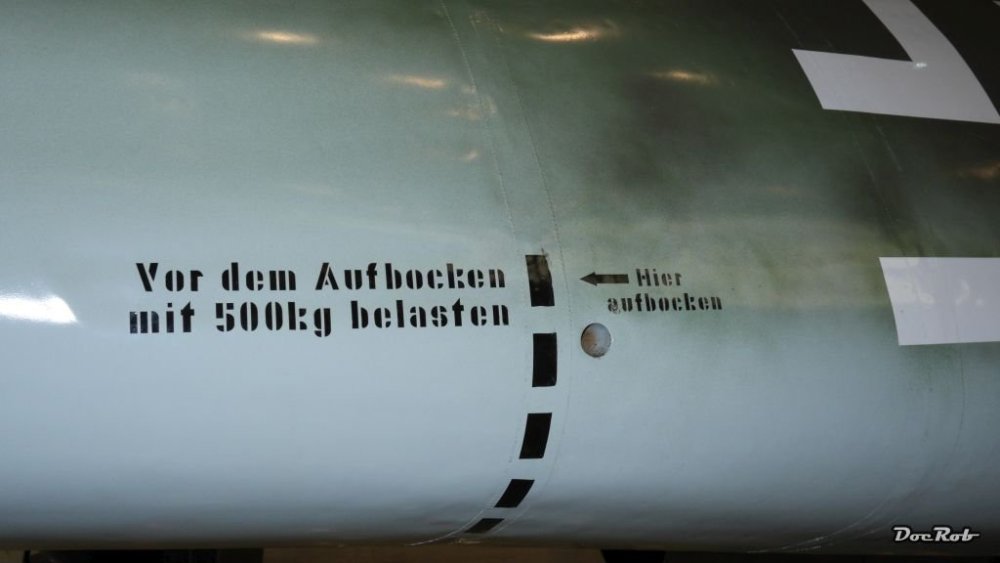
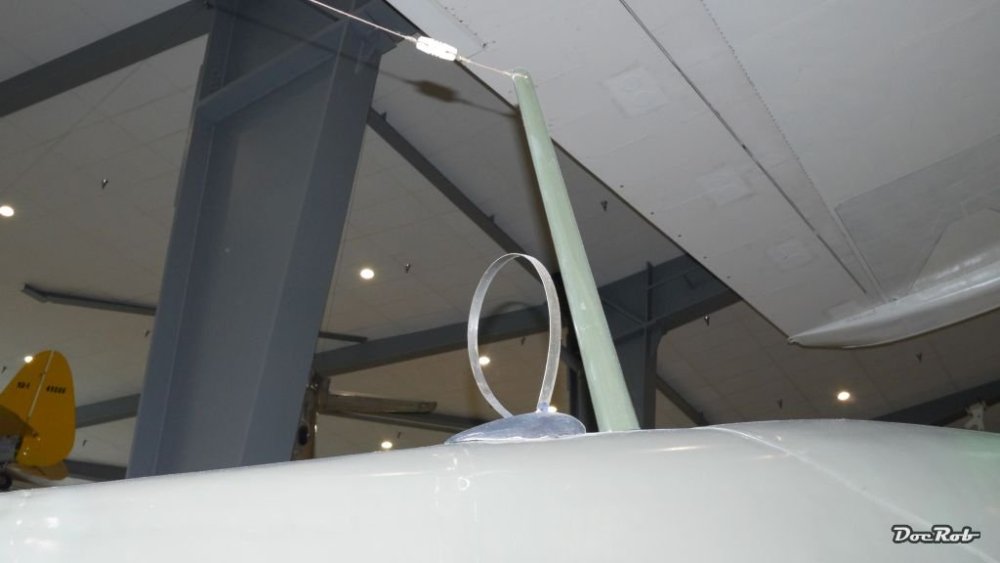
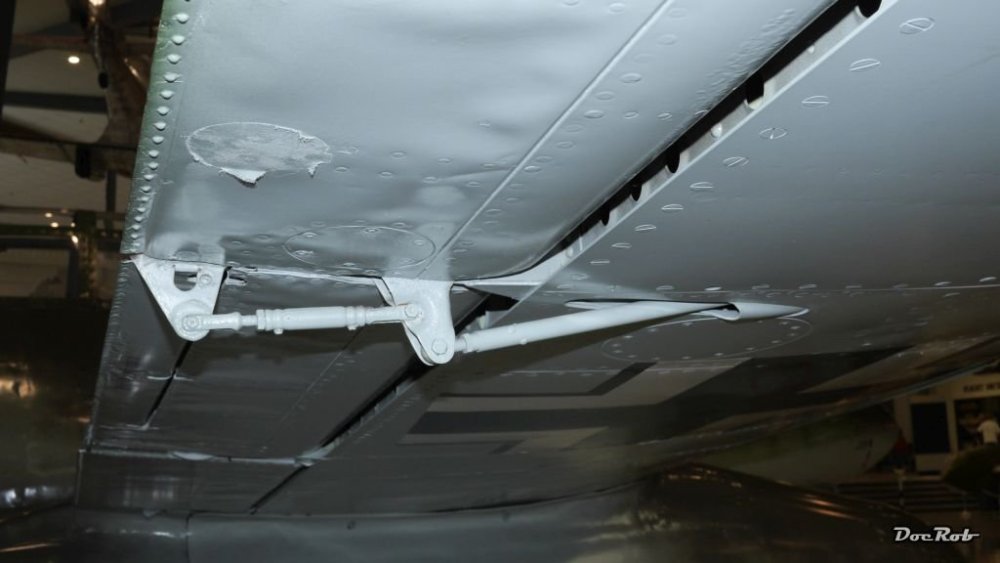
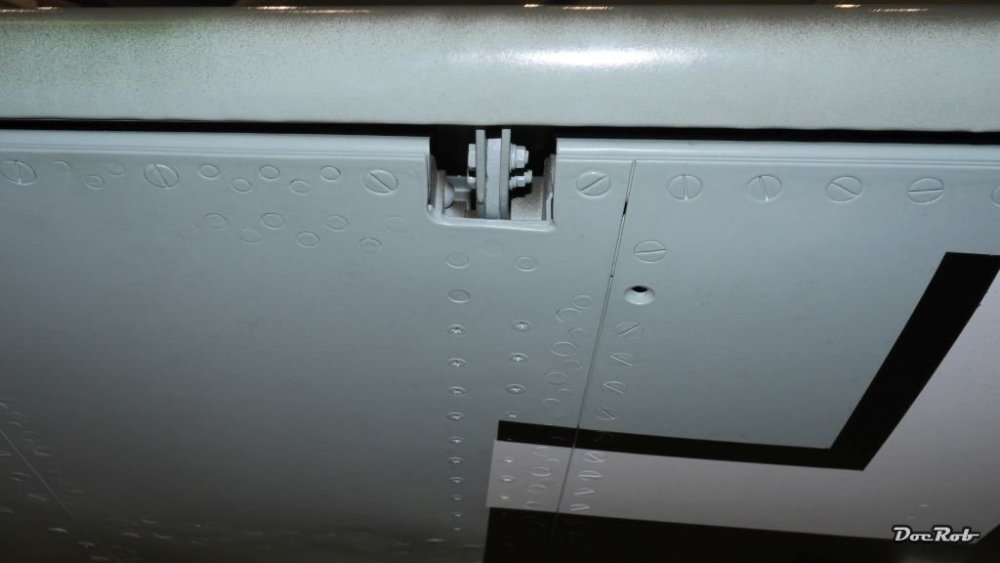
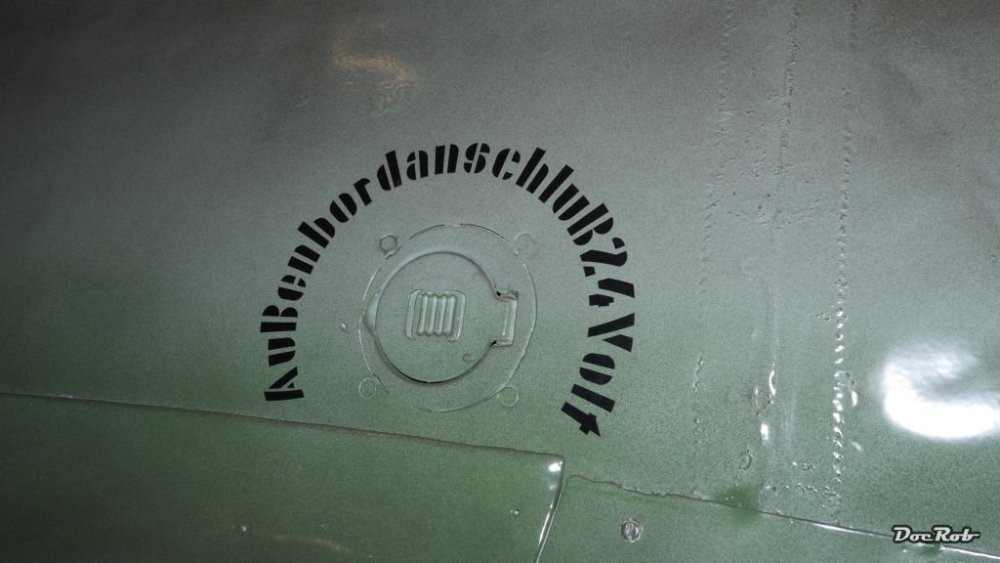
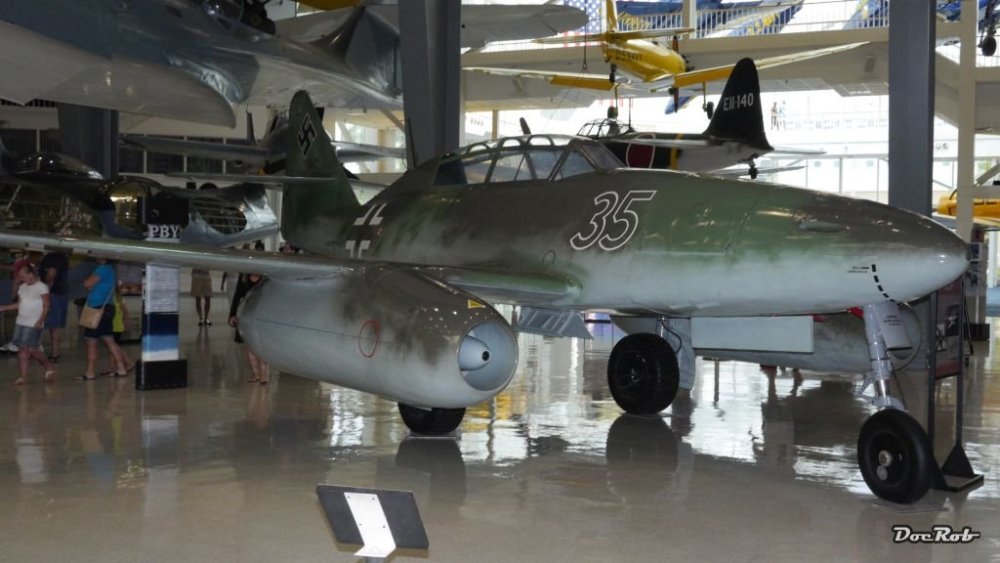
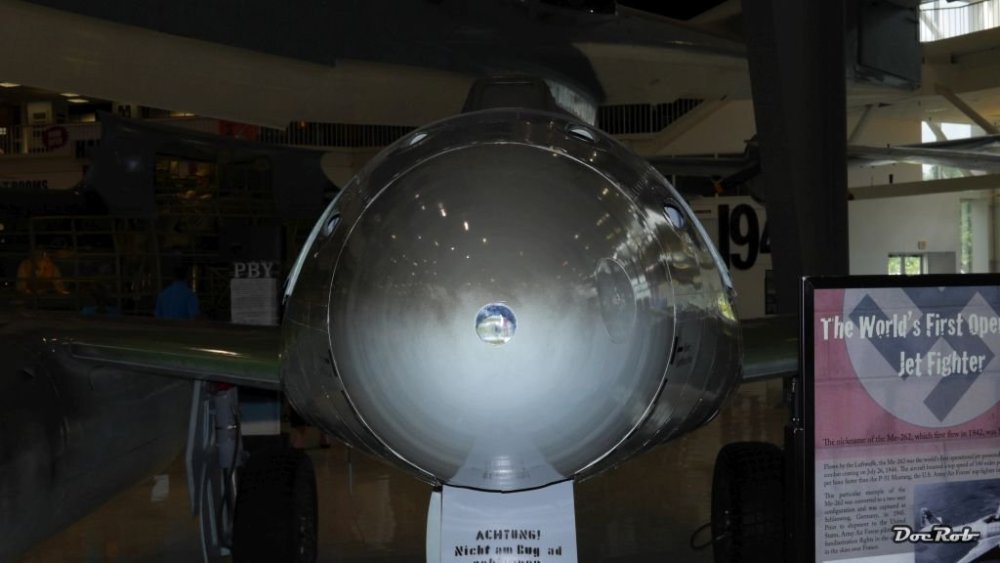
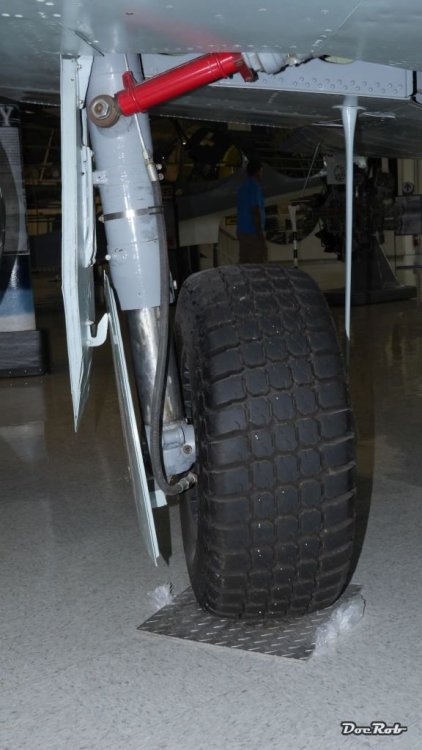
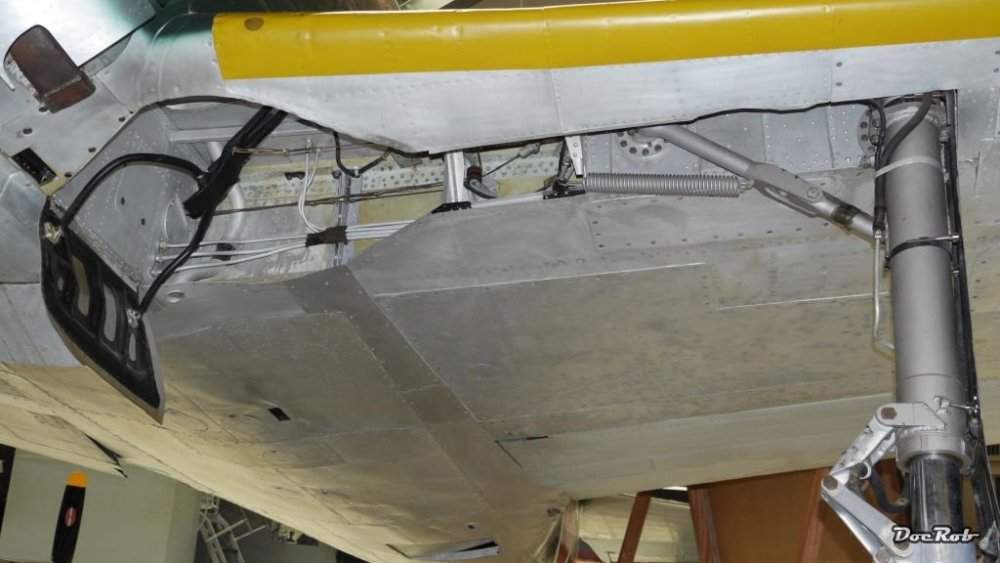
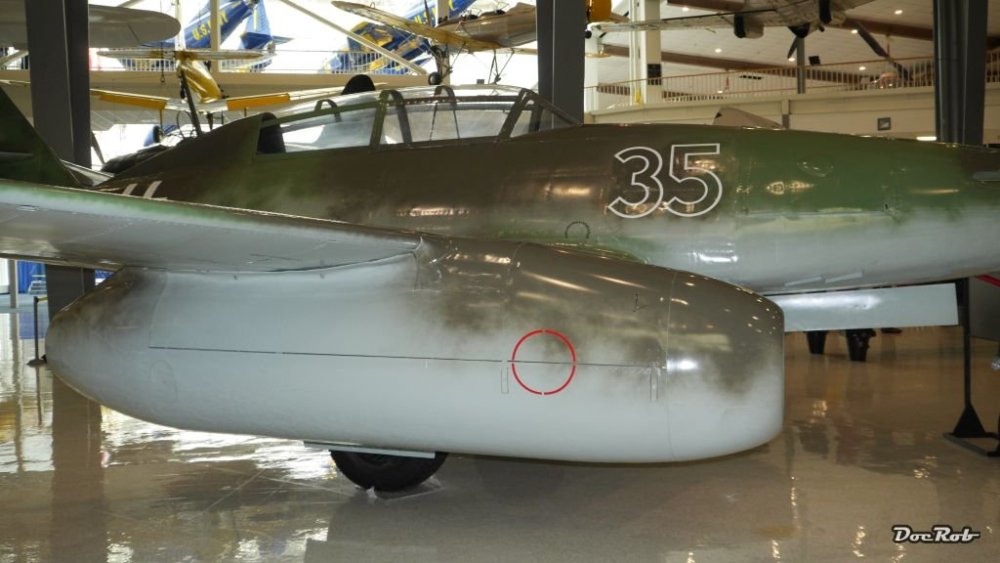
Here are some pictures I took in 2013, while visiting NASM Pensacola. It´s the number 110639 “White 35”, supposedly a trainer variant. Cheers Rob


-

PBJ-1H underwing recognition lights when radar pod added.
DocRob replied to Clunkmeister's topic in AIRCRAFT
I checked my ProfiModeler modification set, but there is nothing. You can see clearly, that it´s not on the wingtip, though. I hope somebody comes up with proper information. Cheers Rob -
I think so Chris, I have to check mine, which is still unused. I have also some white Prym elastic thread thread, which I plan to use for my Camel and Gladiator build. Cheers Rob
-
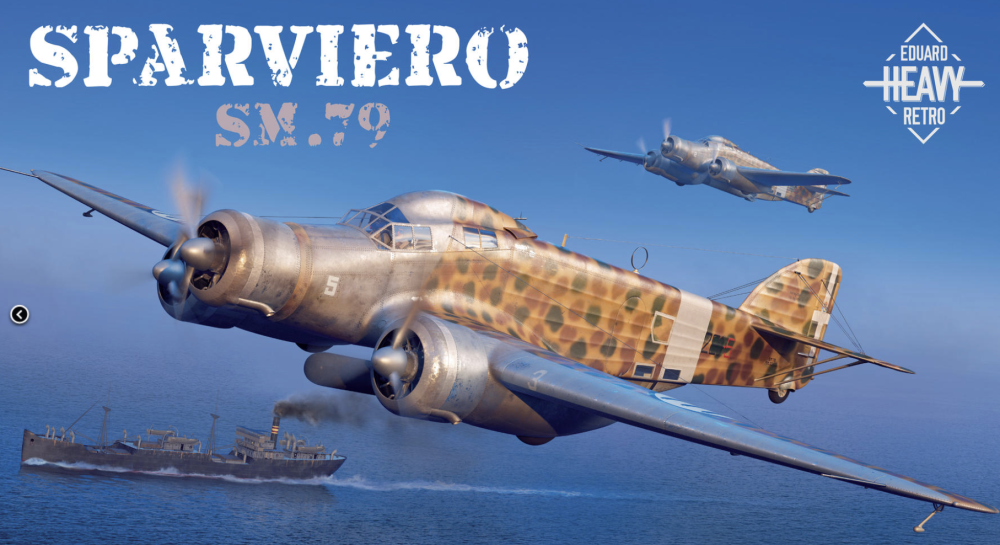
Yeah Martin, I can see that being by one third out of the GB theme isn´t close enough. The Sparviero will have it´s chance later . Cheers Rob
-
@Martinnfb One more question, before I choose. The new Sparviero kit from Eduard is a must build for me. This ugly flying tractor attracts me a lot. I know it has three engines, but could we just say, it´s a twin with an extra aggregate? There will never be a triple engine GB, so this poor fellow will never appear in one. Cheers Rob
-
I have about 30 detail pics from the Me 262 nightfighter from NASM Pensacola, I took a decade ago, If you want them, I can put them here Carl. Cheers Rob
-
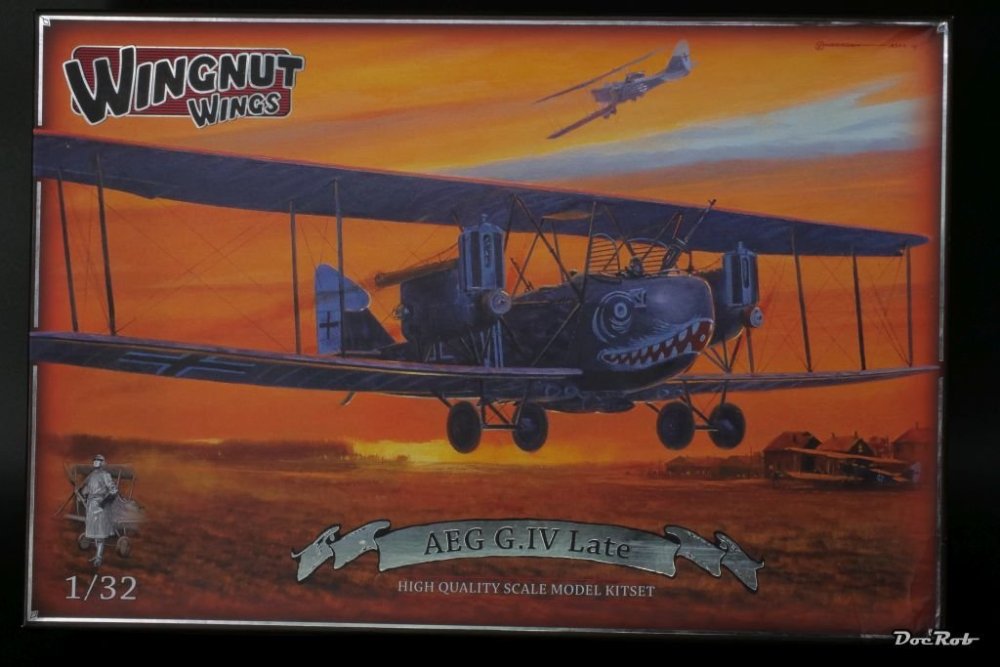
I found rigging my wooden sailing boat is more complicated. I built three simple to rig planes from WNW and MikroMir, a Pfalz, a Hansa Brandenburg and a Fokker D.VIII and developed my method with Bob´s buckles and thin fishing line. The benefit of this method, is you strengthen the wing-strut connection and the plane will be more rigid in the end. I used a simpler effort with my two 1/48 SSW´s from Eduard with elastic thread. It´s not that hard with these simple planes, but with the AEG this would be a step up. I still have to manage British rigging with flat wire. Cheers Rob
-
That seems to be a fine kit and you´re doing a great and speedy job with the russification of the Havoc, Martin. Will she be ready tomorrow? Cheers Rob
-
You build as fast, as the Schwalbe was seen by it´s opponents, Carl. I have the same kit in stash and shuddered, thinking about the flimsy box full of AM, interestingly completely different from your choice. I will follow your progress, as the 262 is up my schedule, but that´s not meaning too much. Jet Exhaust from AK is a strange color, and one of the less durable ones besides Titanium, but I like the effect, you achieved. Cheers Rob
-
Nice choice Bill, the Mossie is such an elegant plane and the kit is supposedly perfect. When I saw you entering the Mossie into the GB, mine was off the bench, because, I prefer no double builds. Yours will be a stunner for sure. Cheers Rob
-
Zoukei-Mura P51D Mustang SWS No 4.
DocRob replied to Bomber_County's topic in LSM 1/35 and Larger Work In Progress
NMF is looking good Phil, not too shiny, which would not match the OD tops . Great to see, that you got the mojo back and will finish your P-51. Cheers Rob -
Thanks for your opinions Señhores, the Do-17 is ruled out. If I take part, it will be Do 335 or AEG. Counting your input, the AEG is the winner even taking into account a redicule in code by @CANicoll . I´m a bit more tempted by the AEG as well, but it is indeed a huge project with all the decaling and rigging. @Bomber_County: The Tamiya Mossie is out of question, Bill is building one and that´s enough. I also don´t want to build a super kit now, even with tons of resin to add. Cheers Rob
-
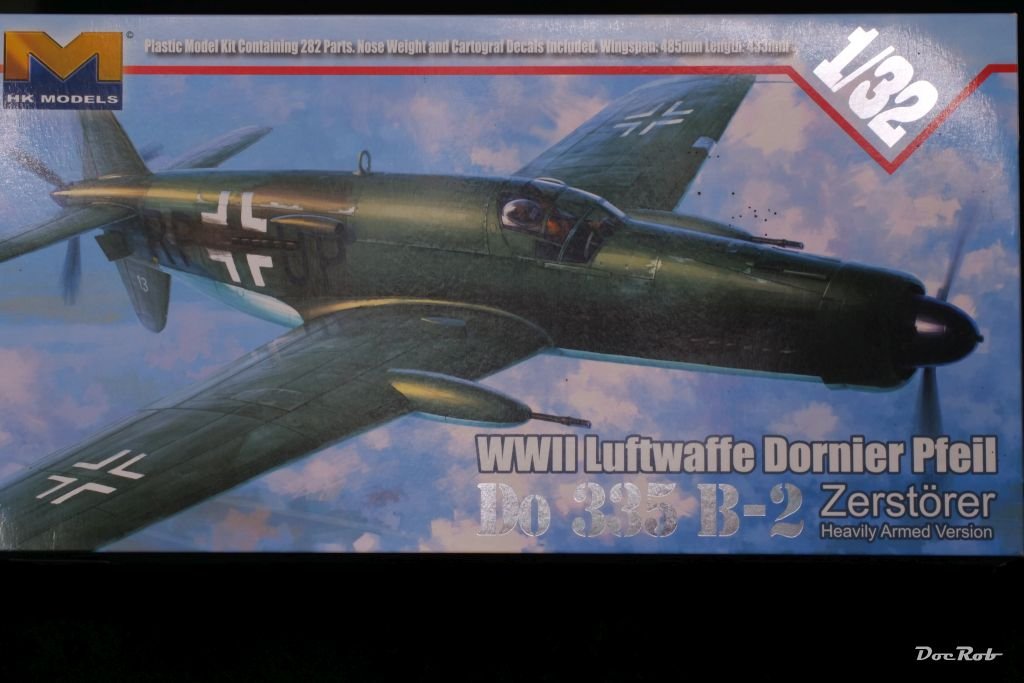
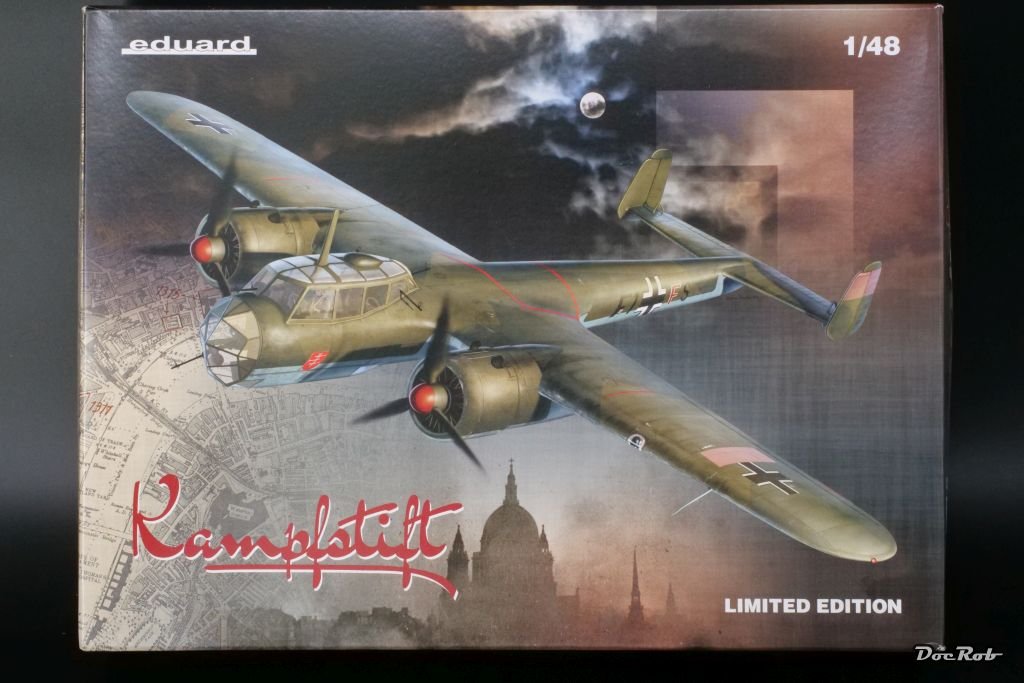
Some days away without a computer an whoosh, there is a new group build. The theme initially didn´t ring a bell with me, having recently finished a Fly 1/32 Arado 234 and the Tamiya 1/48 P-38. I thought for a bit and came with the PBY 1H, converted from HKM´s B-25, but Ernie got that. Tamiya Mossie, meh, ME 262 also covered by Carl others in stash, also meh. I´m still undecided and need some persuasion to take part, as my modeling plans included everything except twins. Possible candidates from stash (there´s more, but there is a little itch with these). AEG G.IV, might be a bit too much work, but I thought about starting this one more than once. The DO-335 with loots of goodies, also nearly started a while ago. A 1/48 Do 17 Z Hmmh, forgot to take a pic, but there is also the 1/32 Horten from Zoukei Moura. All German subjects, turns me also down a bit, I don´t know.......................................................................................................................................................... Cheers Rob


-
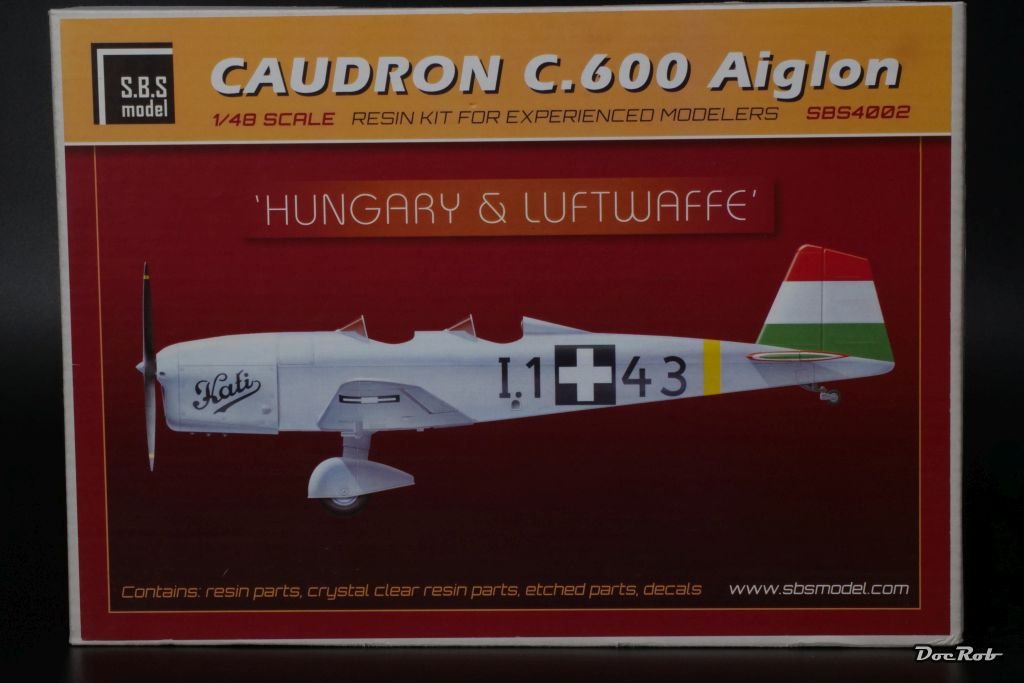
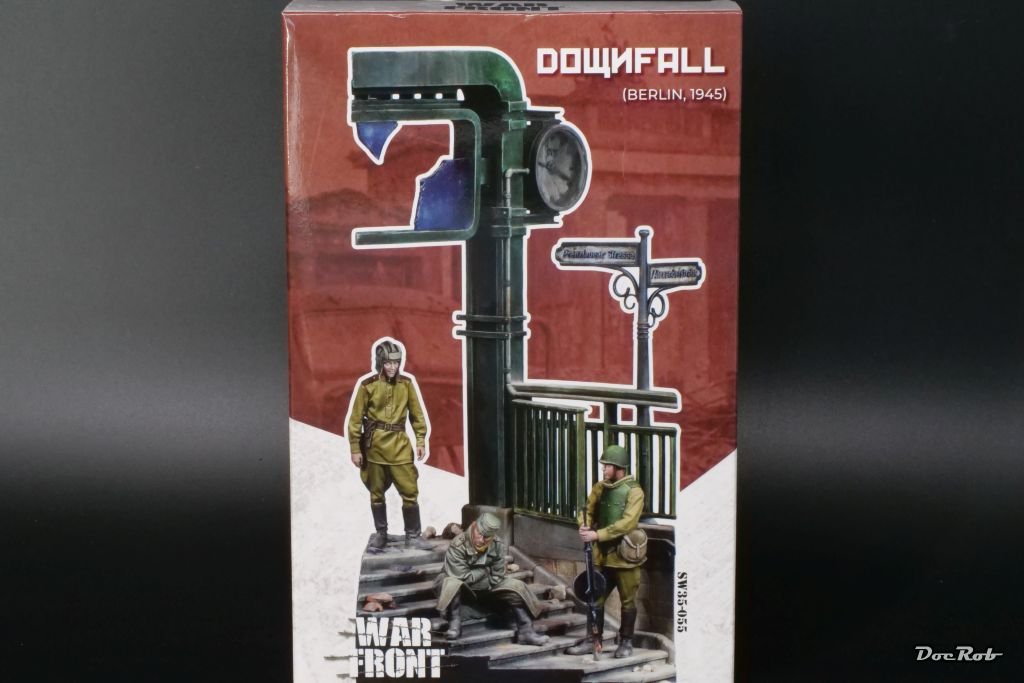
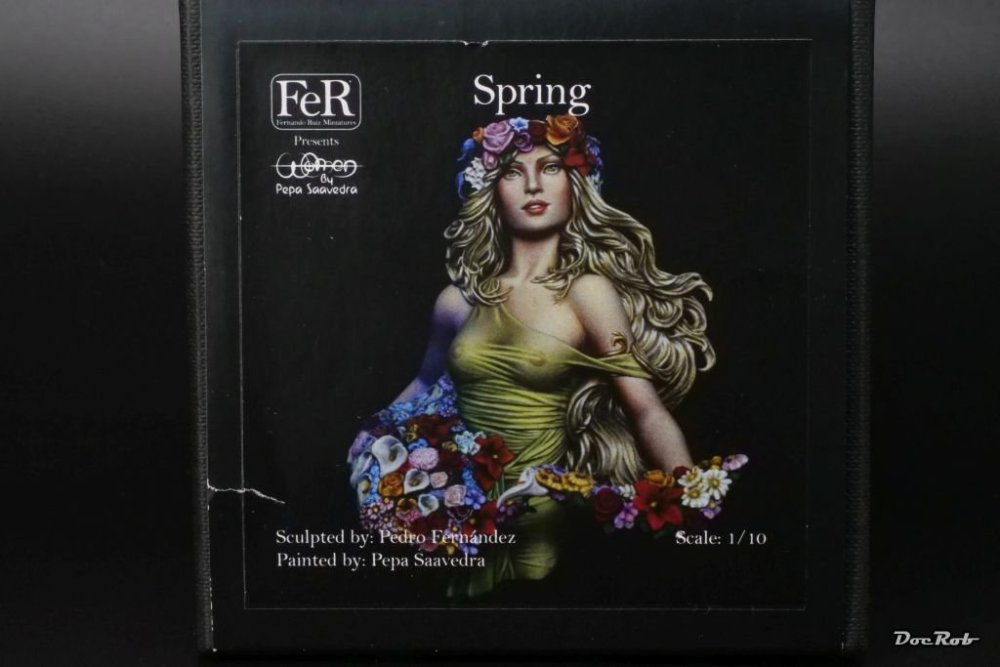
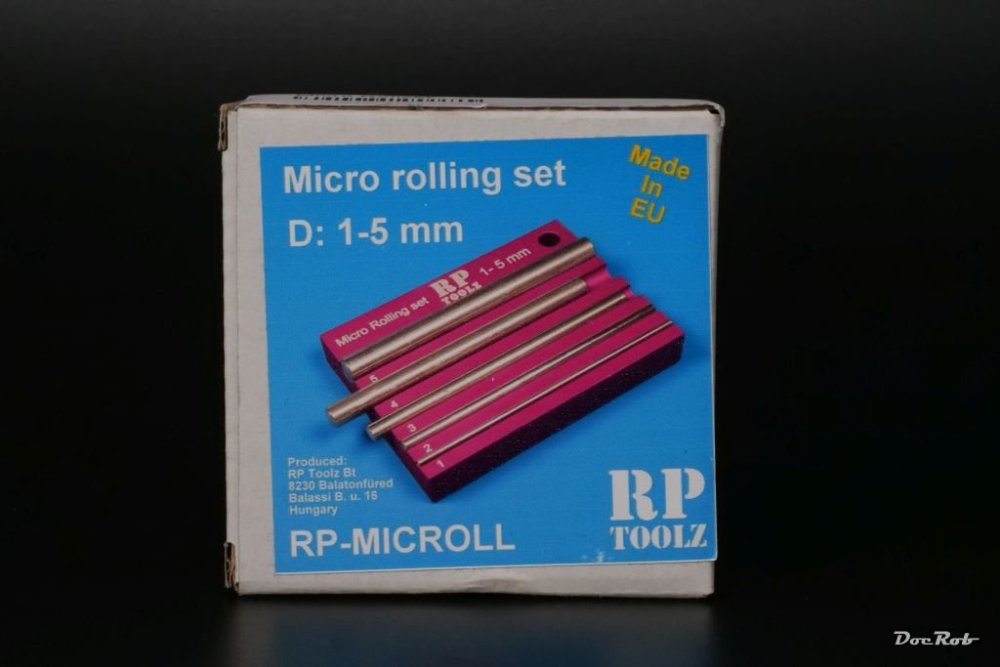
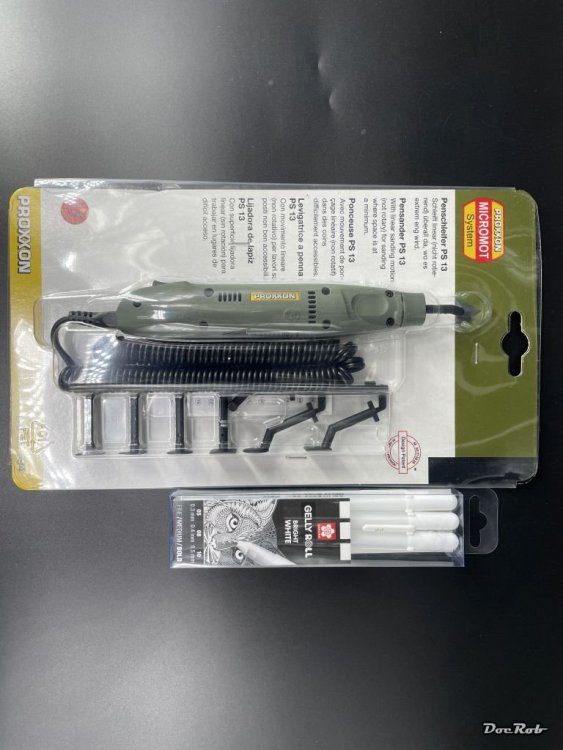
I have been away for a Berlin trip, lots of family affairs, visited good friends, good bars, fine restaurants and finally a LHS. As I was flying baggage was limited and needed for other big city goods to bring home. SBS 1/48 Caudron C.600 resin kit. I originally wanted the civilian version which was sold out, than the Spanish Republican, but went with the Hungarian instead, because I wanted a silver bird and no camo. Next some figures which show a scene from the last days of the war in Berlin, my old hometown. The street signs seem to be wrong, but I will research this later. This set is made from resin by Scale 75 in 1/35. Something for honing my figure painting skills a bit later with more experience to get beforehand. I spoke to the guy in the shop and he told me, he painted her twice for customers and gave me some precious tips for painting. Last but not leas, some tool. A Proxxon pen sander along with whit markers, which were recommended by a member over on MSW for tire painting. Finally a micro rolling tool for diameters ranging from 1 mm to 5 mm. The bigger brother came in handy, while building the USS Arizona with tons of rounded PE. There were many parts with smaller radii, where I had to improvise. And now I will be busy the next days, follow up your various builds and other threads. Cheers Rob


-
MiniArt P-47D Thunderbolt: COMPLETED 2/13/24
DocRob replied to Peterpools's topic in LSM 1/48 Work in Progress
Very nice Peter, the Jug is looking great. The engine, cowl, fuselage fit is always a bit of a challenge with the big radial engines. A one piece cowling would have helped, but what I see on your pictures seems to be a good fit. Hopefully the masks arrive soon for painting the beast. Cheers Rob -
LSM Modelling News 2023 merged Fran and Artful69’s threads
DocRob replied to Fran's topic in Modelling Discussion
Gone are the days, where another NZ-venture dared to roll out a Gotha UWD, a bit like an anti 109 . Cheers Rob -
Indeed, good news, I want a Kingfisher too, thanks for the news. Nobody seems to have them in Europe. Wait and see... Cheers Rob
-
LSM Modelling News 2023 merged Fran and Artful69’s threads
DocRob replied to Fran's topic in Modelling Discussion
I developed a new term for this and similar ones - BSG - B= Big or Boring, S=Sales, G= Generator. Cheers Rob -
LSM Modelling News 2023 merged Fran and Artful69’s threads
DocRob replied to Fran's topic in Modelling Discussion
Yawn, pretty inspired choice , what´s coming next, FW 190? Cheers Rob -
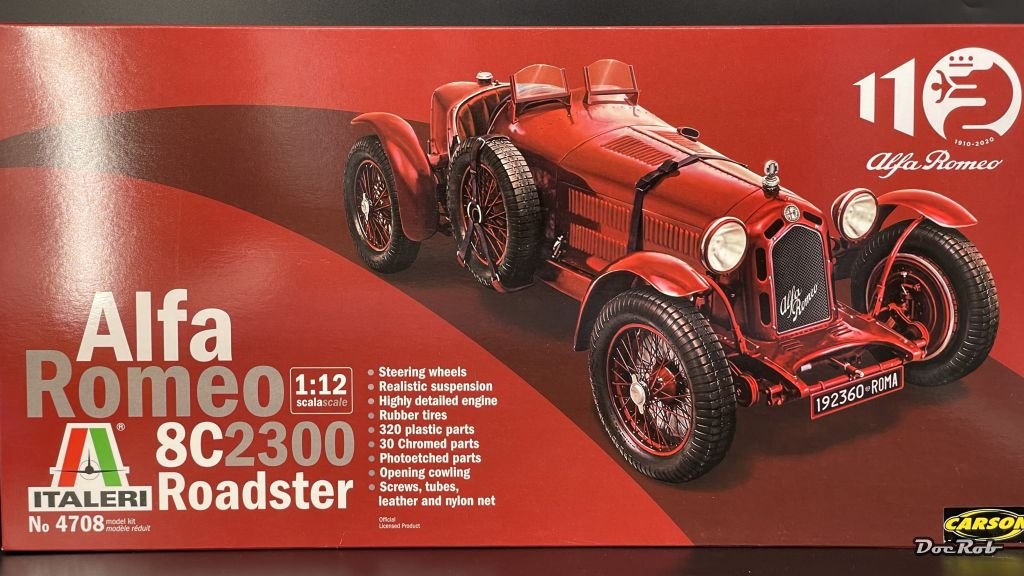
Some of the vintage racers, like the Mefistofele and Fiat 806 date back to Protar releases and are a real mixed bag to my knowledge. I would recommend some research before biting. The Bugatti and Alfa Romeo C8 2300 Monza and Roadster are relatively fresh releases and seem to be better made. Same can be assumed with the Cincecento, where Italeri also offers a cool Abarth racing version. Cheers Rob
-
Hello FA, there were sprue shots in the Modeling News. I will comment about the parts, when I start my WIP which might be soon, somehow the Alfa whispers ´build me´in my ear. The Modelling News: An Alfa roadster, top of the range, a desert Crusader, flying bananas & a Stork in Italeri's December preview... Cheers Rob
-
Some madness must have befallen me lately. I bought my first kit for 2024, which is generally sane, but it´s an ITALERI kit , something, I would´ve thought impossible a while ago. I got the kit for a very decent price and just couldn´t say no. The Alfa Romeo 8C 2300 Roadster attracted me and I hope it´s one of their better kits, at least, it´s not one of the old Protar re pops sans metal parts. The box content doesn´t look too bad and there are several build logs out there, which deem the kit buildable. I measured the kit spokes and they are a bit too thick with nearly 10 mm diameter in real life. I may address this with the crazily demanding wire spoke wheels, made by Unobtanium. I definitely add the wire lock bolts from the same company. unobtainium.digital Cheers Rob

-
1/18 Supermarine S6B - S1595
DocRob replied to airscale's topic in LSM 1/35 and Larger Work In Progress
Holy cowl , fantastic. Cheers Rob -
Great work Phil, that´s as close to F1 kits as you can get with armor, being all open. You see, its only a small step and brighter colors (and no carbon decals). Cheers Rob