belugawhaleman
-
Posts
2,670 -
Joined
-
Last visited
Content Type
Profiles
Forums
Events
Gallery
Everything posted by belugawhaleman
-
I looked up those Mig-Ammo sets. They look like interesting products. Thanks for the info. Paul.
-
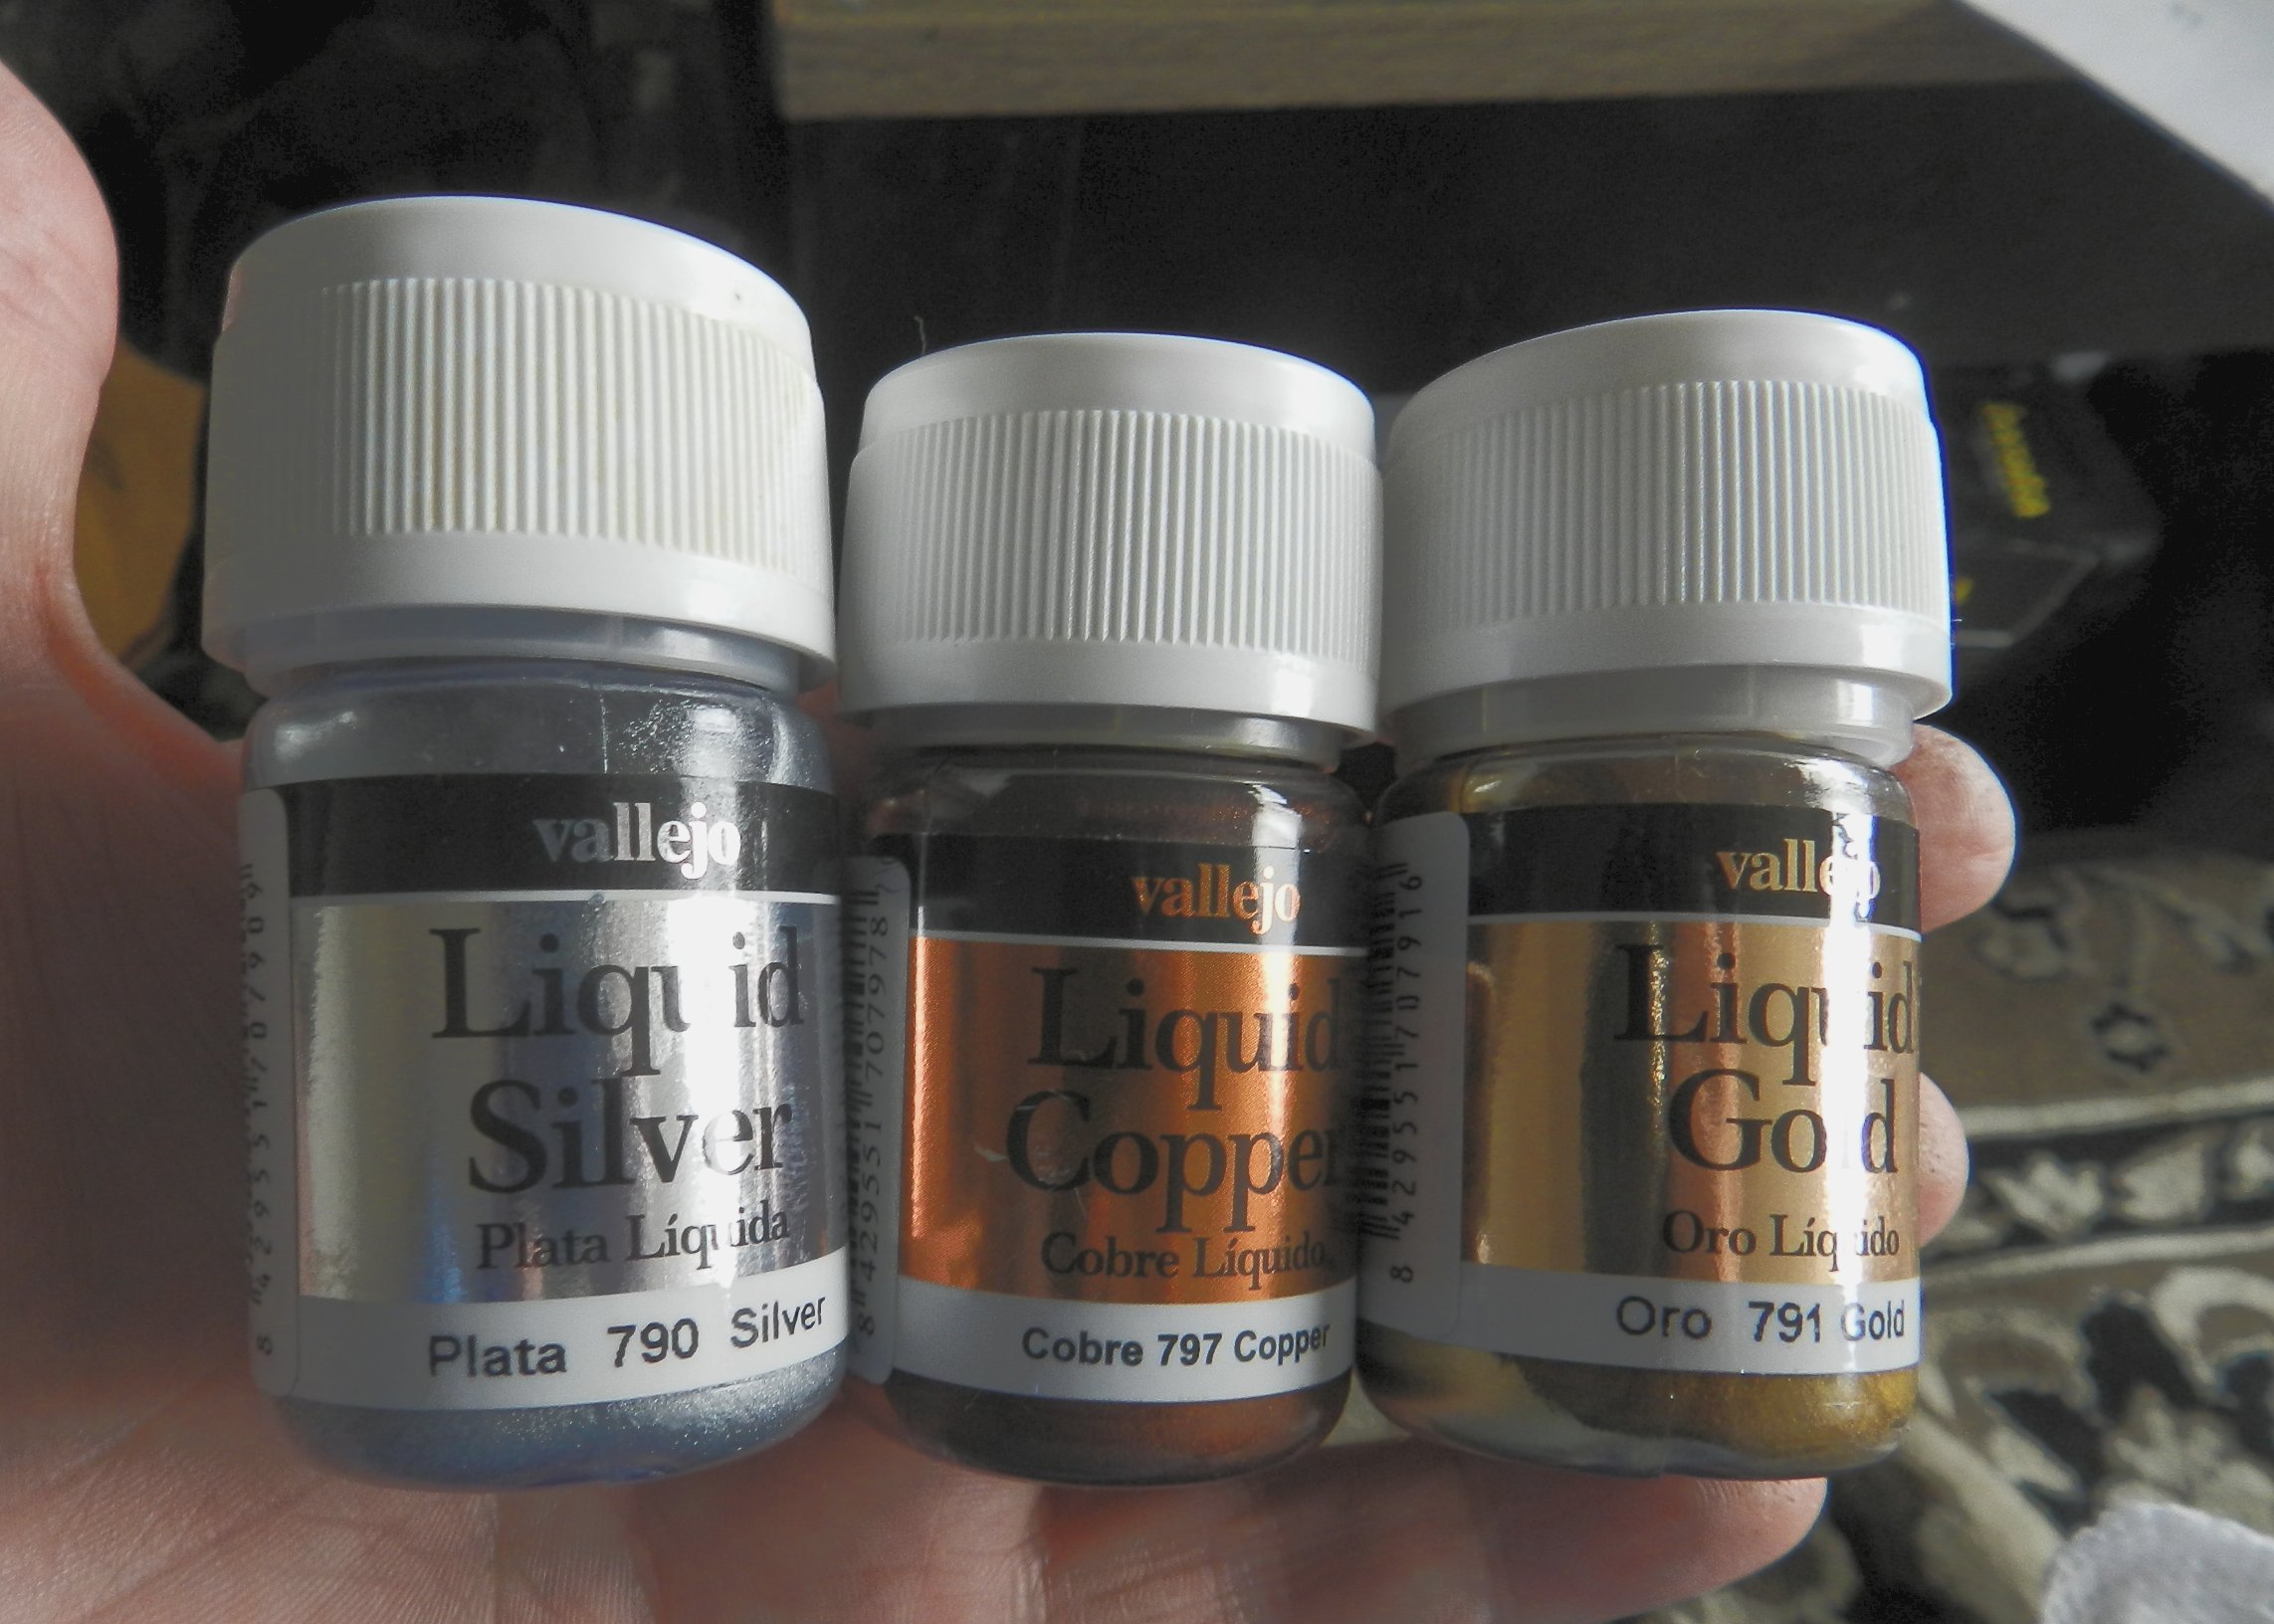
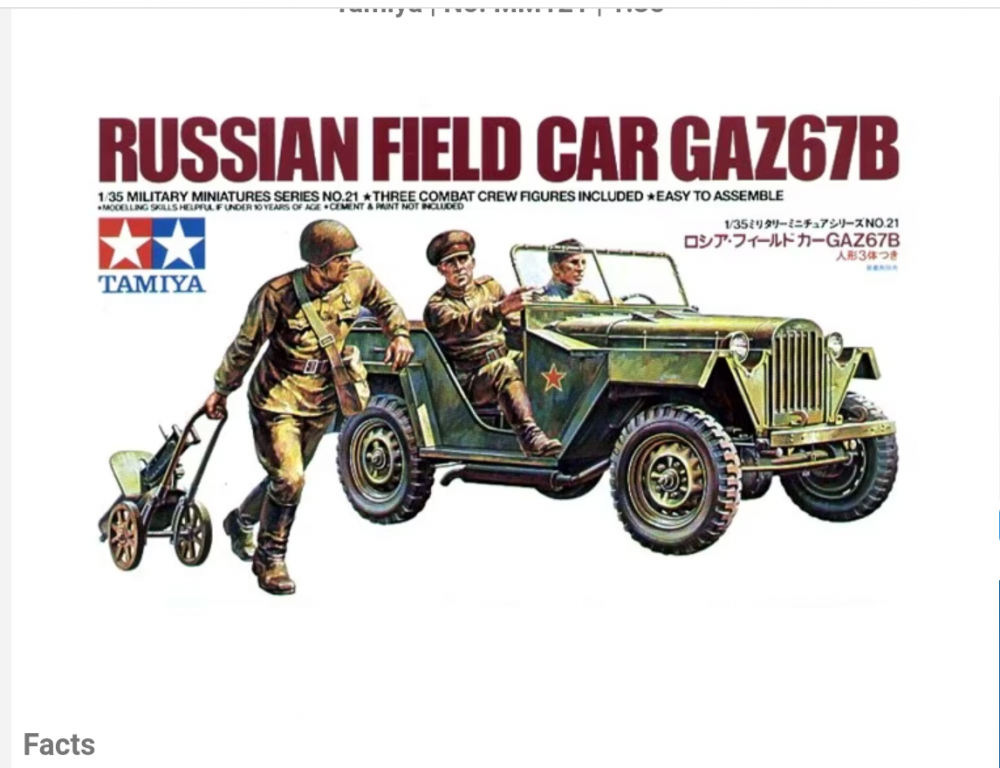
More stuff came today: From Tamiya; their M4A3E8 "Easy Eight" Korean War kit in 1/35 (#35359-4000). This is the kit that also includes Sprues for their older GAZ67B in 1/35 (# MM 121). I remember building this little Soviet "jeep" back in the early '80's. A look on Scalemates showed that it dates to 1973! So, A little nostalgia for me. Anyway, I plan to use the Star Decals AFV's in Cuba #1 sheet to build a Sherman that was in Santa Clara, Cuba in January 1959 . The kit looks great , as it's a Tamiya, after all ! I already ordered a Aber barrel (#35L-186) for it, which wasn't easy to find in stock anywhere. I got it from Burbank's House of Hobbies if anyone is looking for one. Also today I got three bottles of Vallejo's "liquid" metallic paints: their gold (#791), copper (#797), and silver (#790) I'm looking forward to trying these out.


-
Interesting. I was thinking about buying the Hobby Boss Schneider, and I have Takom's St. Chamond, but the camouflage has always been a bit daunting to me. I also have the big Takom ft tanks, which being larger, doing the camouflage might be a little easier. I guess I must Eventually get over my inhibitions and go ahead and give it a try. I'm dying to build Takom's St. Chamond as it is one of those "So weird I must build it tank kits" as is the Schneider. Also, I've been looking at those Gundam markers. The fact that somebody used a sharpie I found amusing somehow .
-

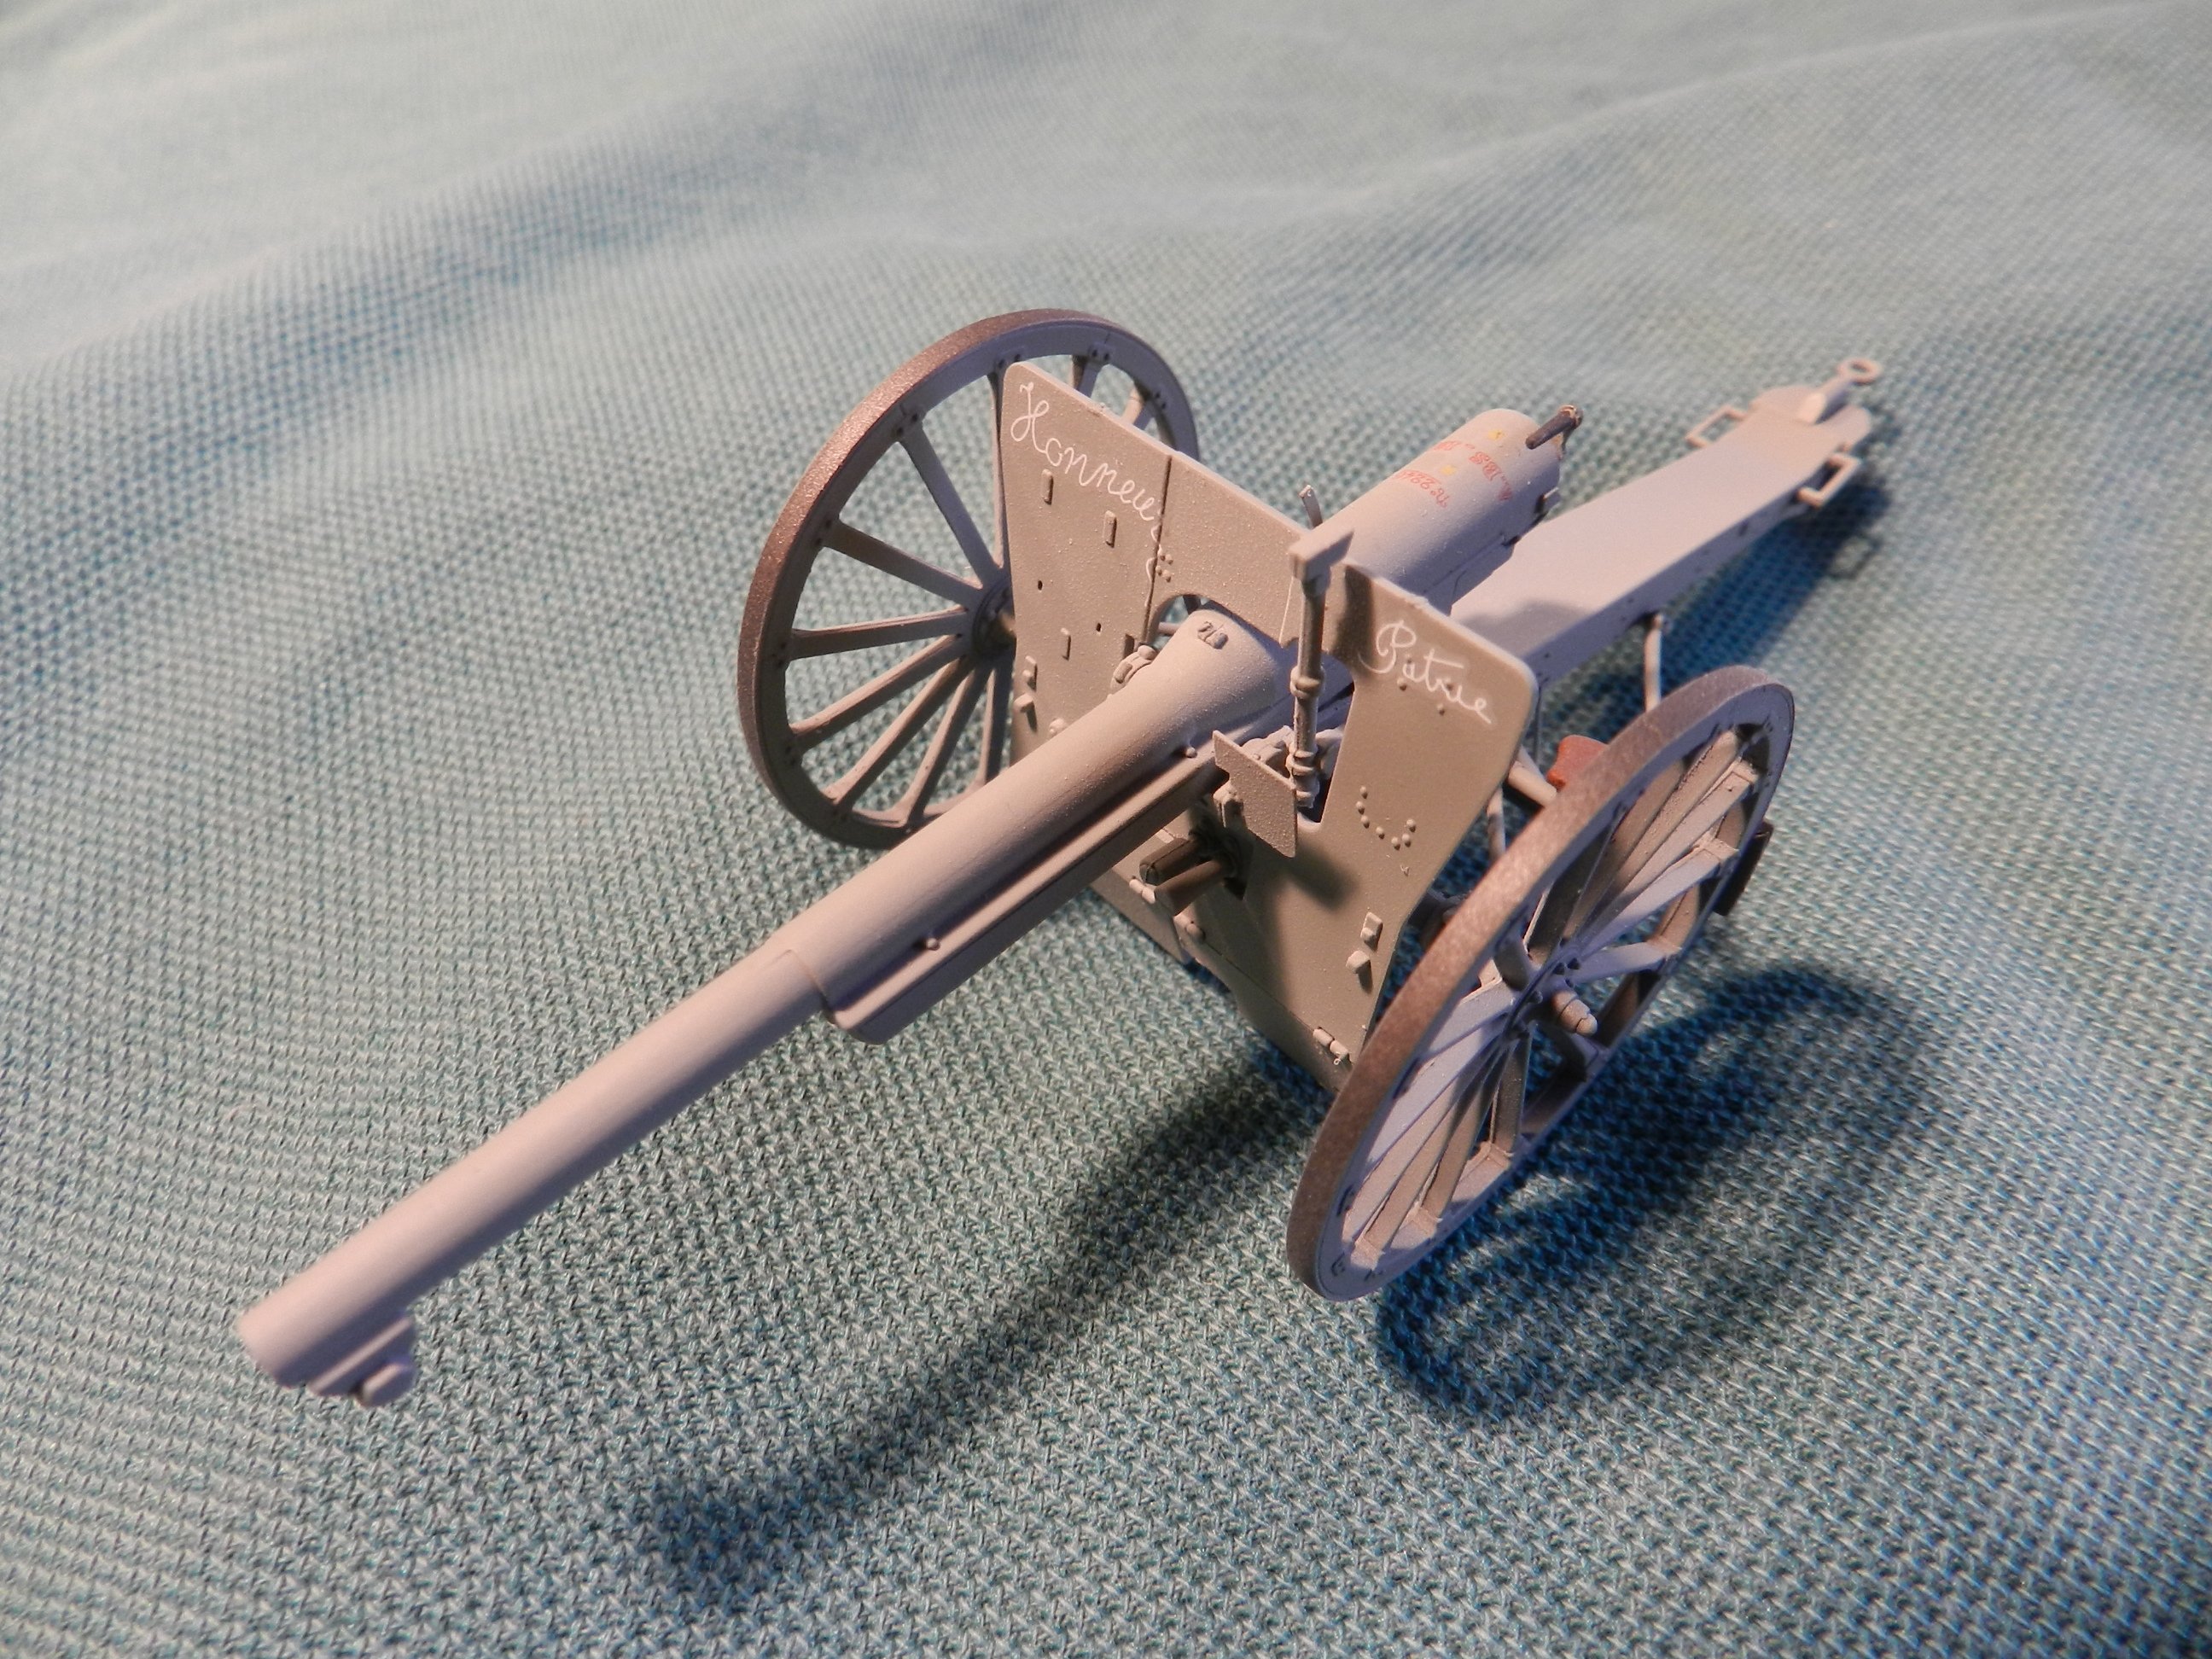
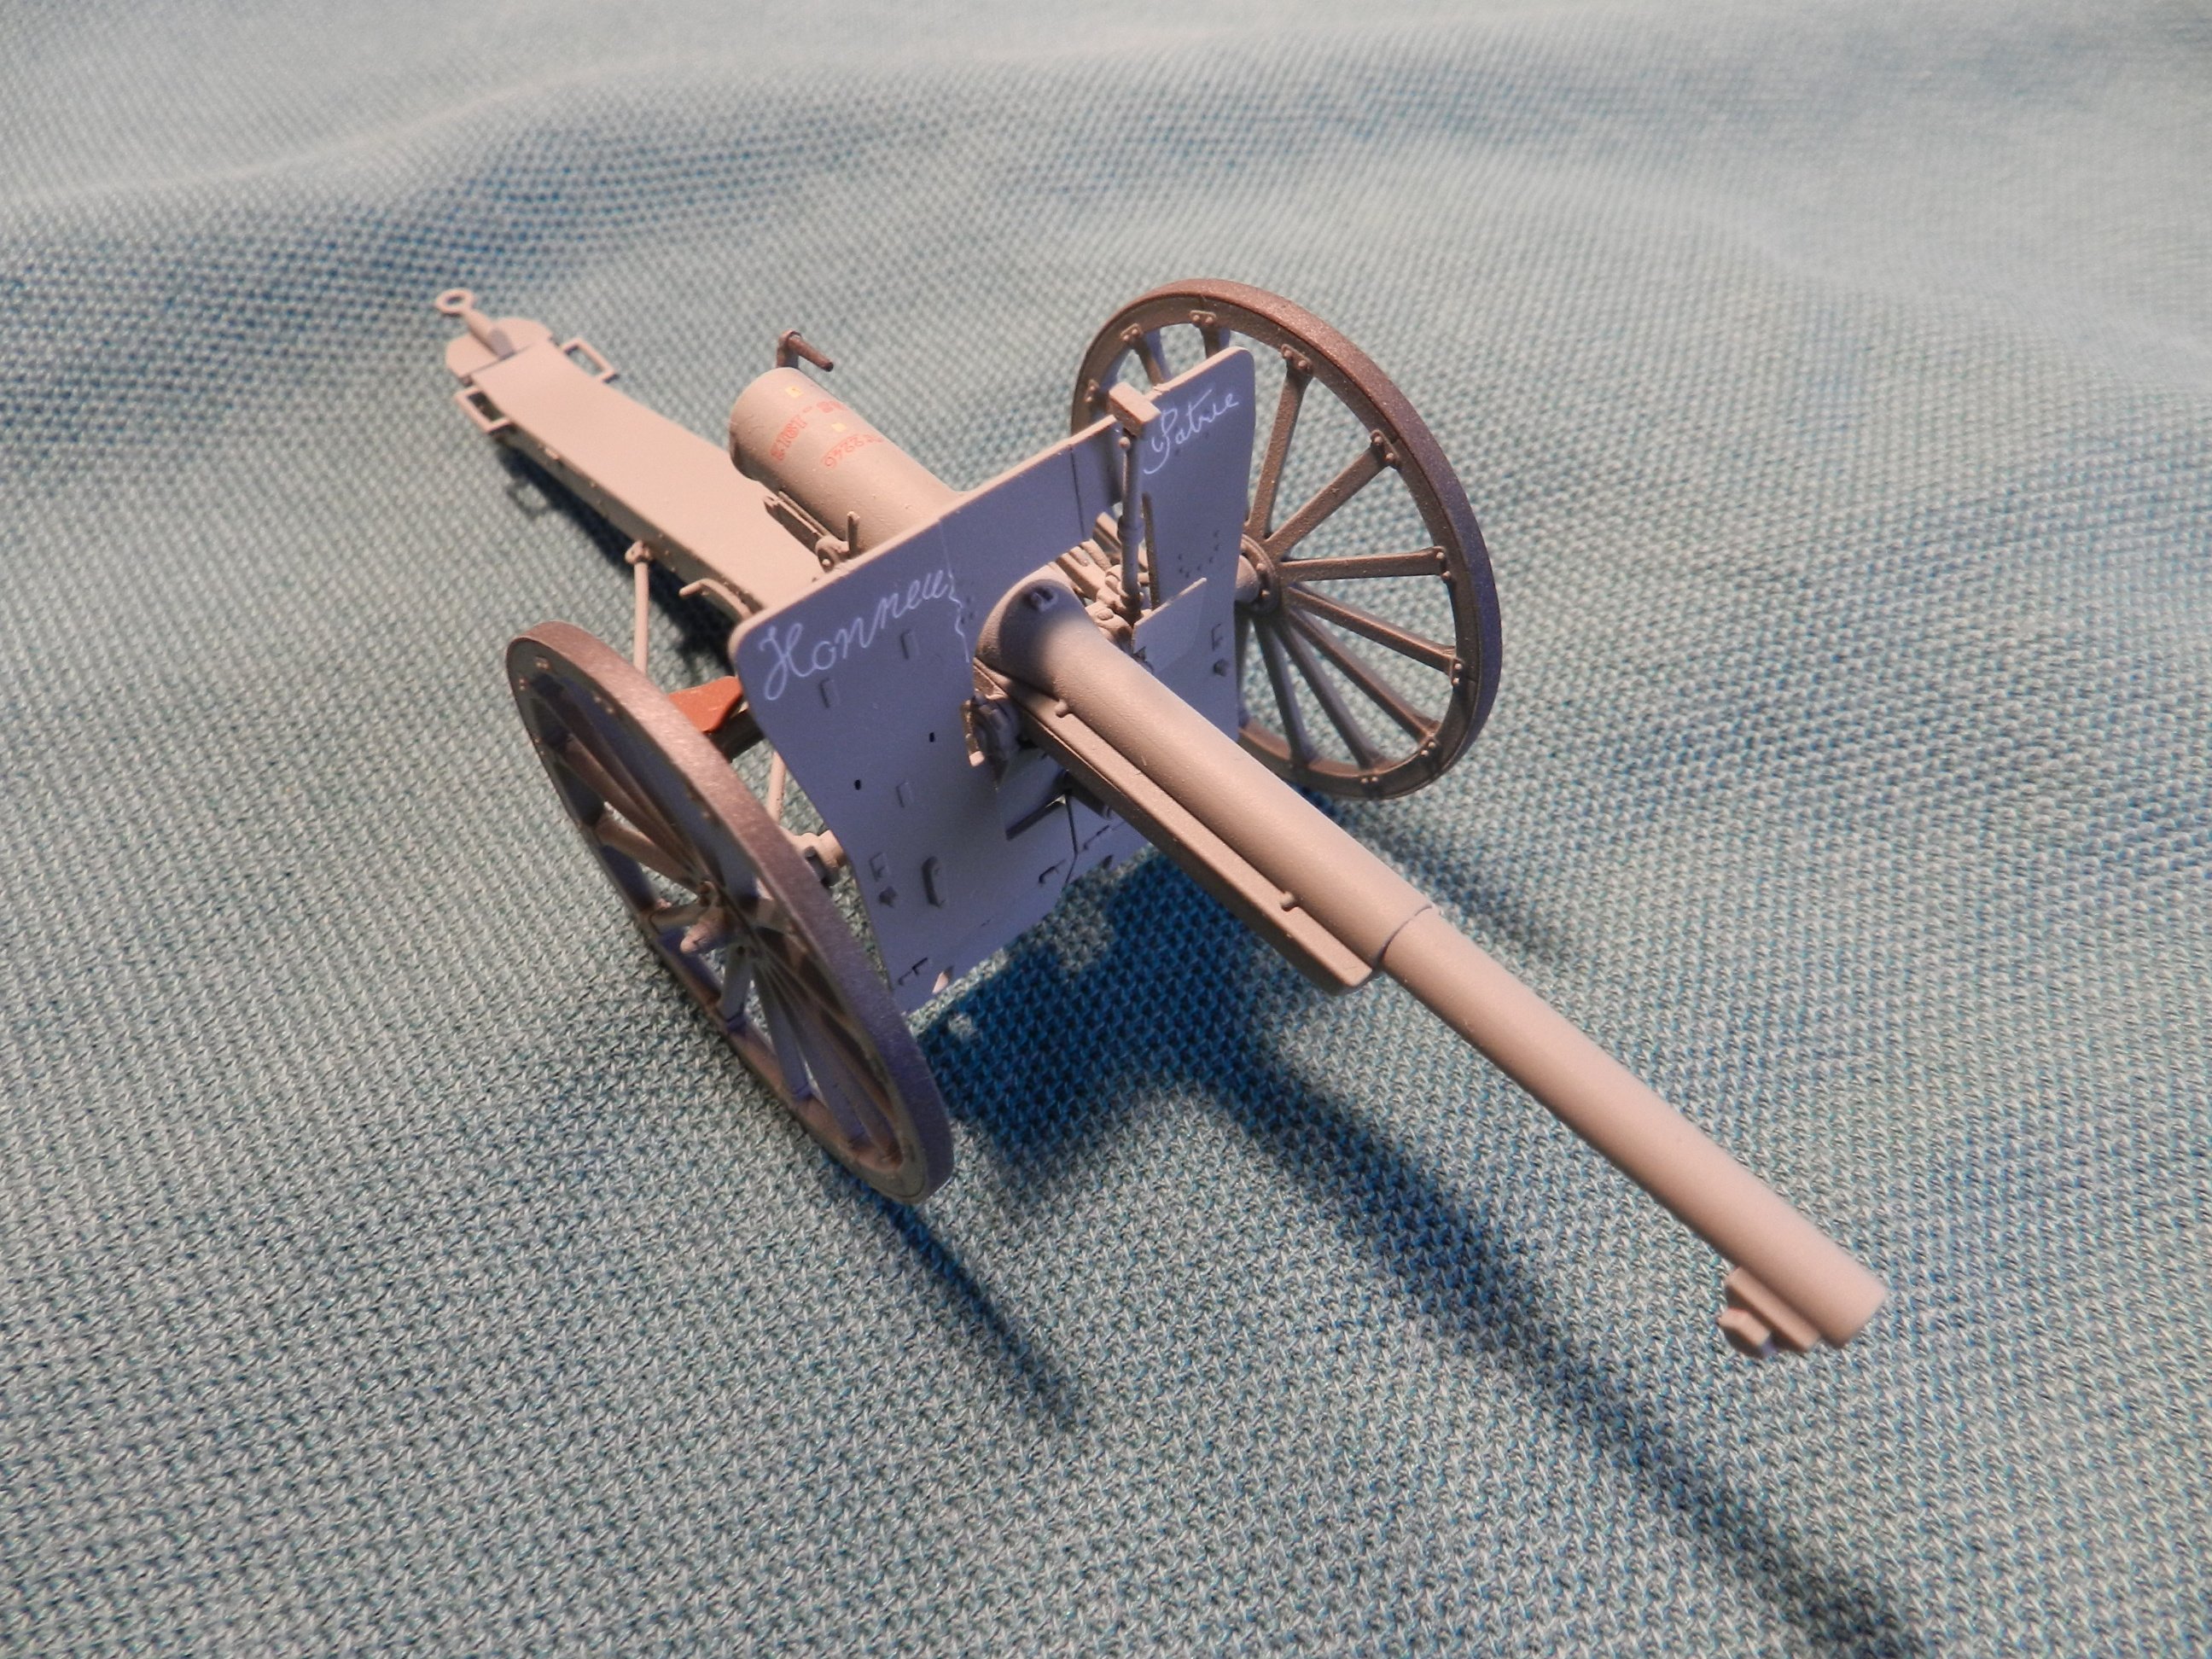
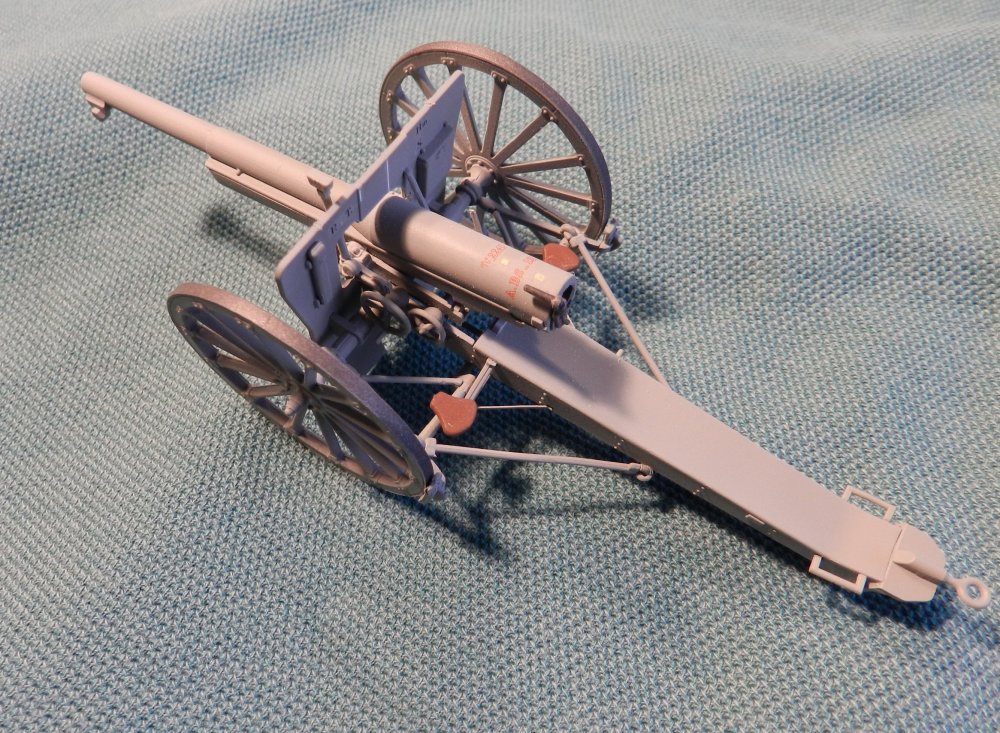
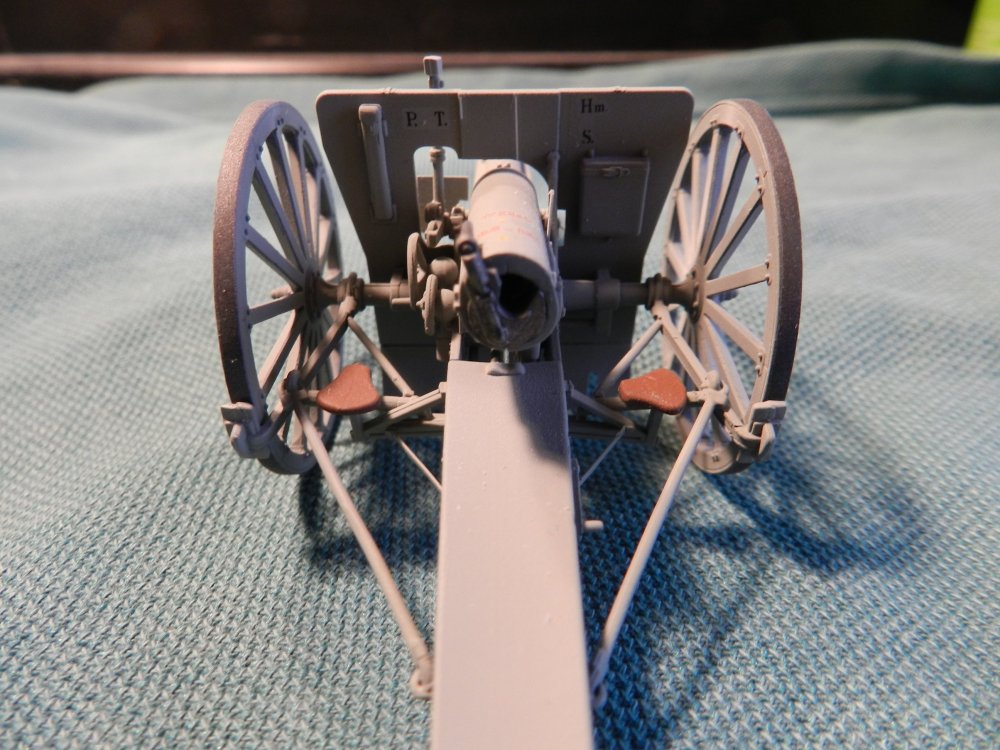
IBG 1/35 French 1897 75mm field gun.🇫🇷
belugawhaleman replied to belugawhaleman's topic in LSM Armour Finished Work
Thanks, John. -
Duchess of Kingston - Beauty of the Seas - Wooden Sailing Ship 1/64
belugawhaleman replied to DocRob's topic in Non LSM 'WIP
Fantastic work Rob! -
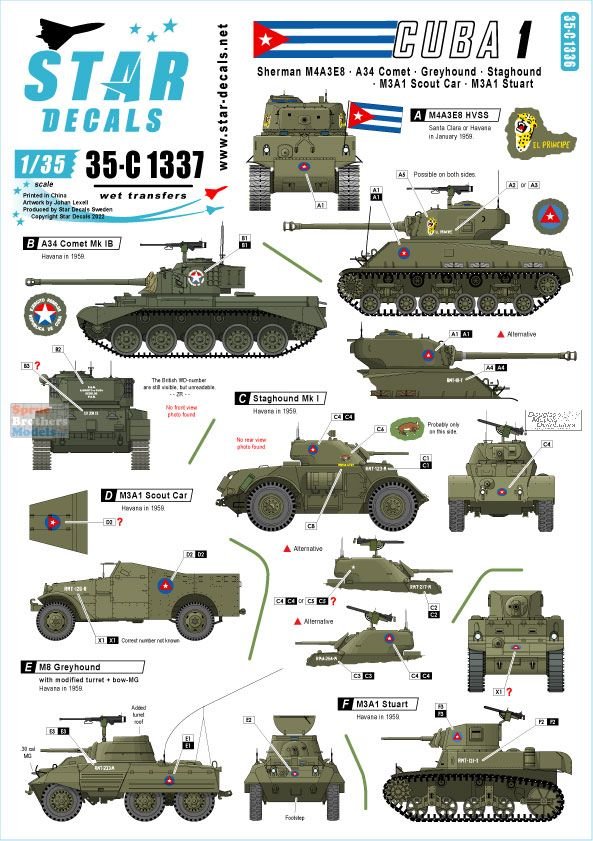
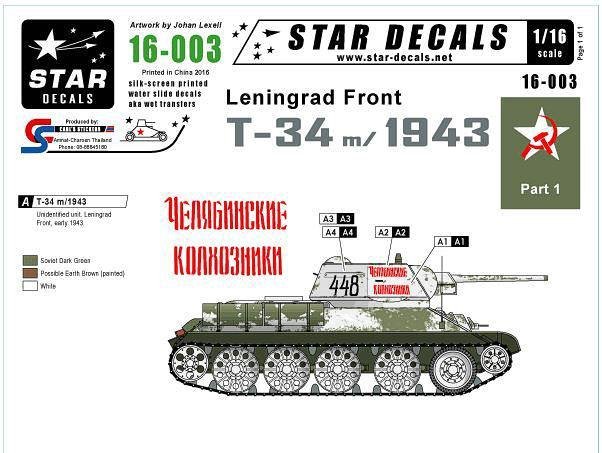
These came in the mail today: Decal sheets from Star Decals. First, is their decal sheet 35-C 1337 Tanks & AFVs in CUBA 1 🇨🇺 ; featuring 1/35 decals for a M4A3E8 HVSS Sherman, A34 MK1B Comet, M3A1 Scout car, Staghound MK1, M8 Greyhound, and a M3A1 Stuart. I'll go for probably, the Sherman. Also in 1/16 scale, is their sheet 16-003 Leningrad Front T-34 m/1943. This is for a white wash camouflage T-34/ '43. I have a Trumpeter 1/16 T-34/ '43.

-
1:32nd scale Fokker D.VI
belugawhaleman replied to sandbagger's topic in LSM 1/32 and Larger Aircraft Ready for Inspection
The weave pattern on the lozenge fabric detail looks awesome! Very well done! -
IBG 1/35 French 1897 75mm field gun.🇫🇷
belugawhaleman replied to belugawhaleman's topic in LSM Armour Finished Work
Thanks I'm not sure, but I noticed that a Skoda gun kit I have has a similar set of seats. The Skoda also has a pair of seats at the front of the gun to cary passengers while the gun is being towed. -
Finished this today. In 1/35 scale, this gun is tiny! An occasionally fiddly, but fun build this Little gun was a quick build. I still have some details to paint, but more or less its finished. I used one of my new Mig- Ammo rubber brushes to help place the decals. The brush worked well for that purpose.


-
F-80C "Beer City Special" done!
belugawhaleman replied to JohnB's topic in LSM 1/32 and Larger Aircraft Ready for Inspection
Another great one John! -
That's a great-looking T-28 John!
-
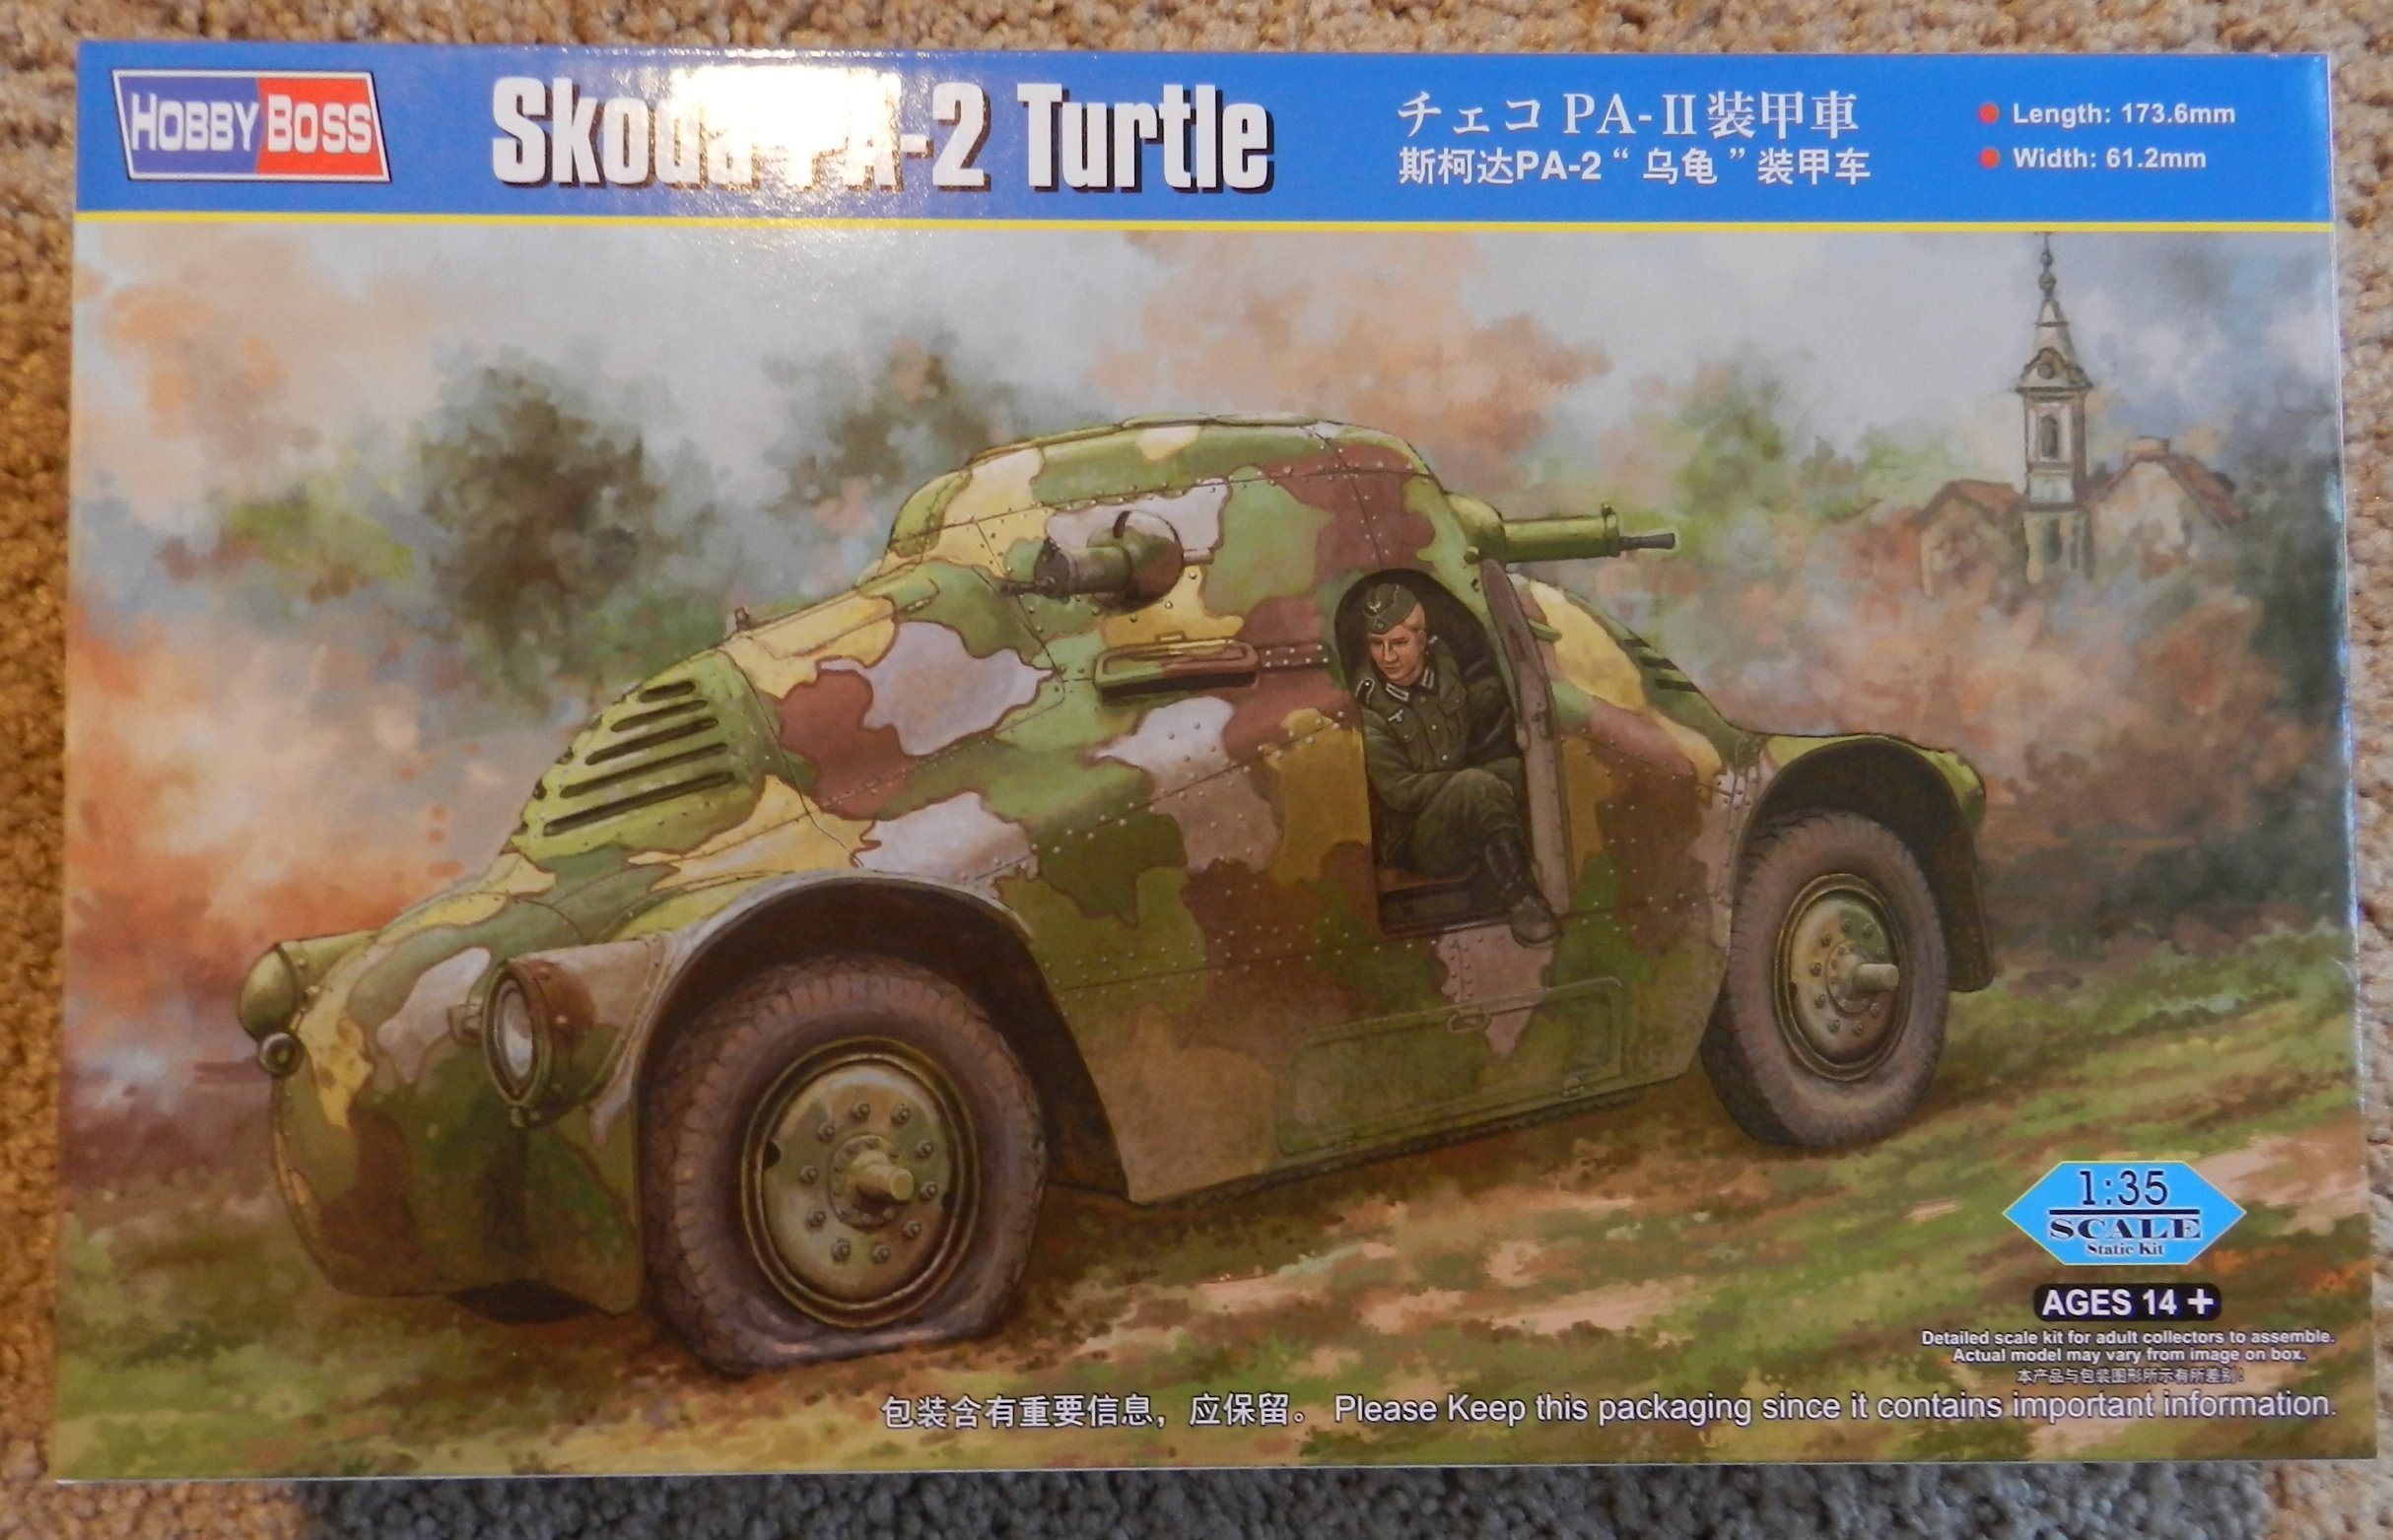
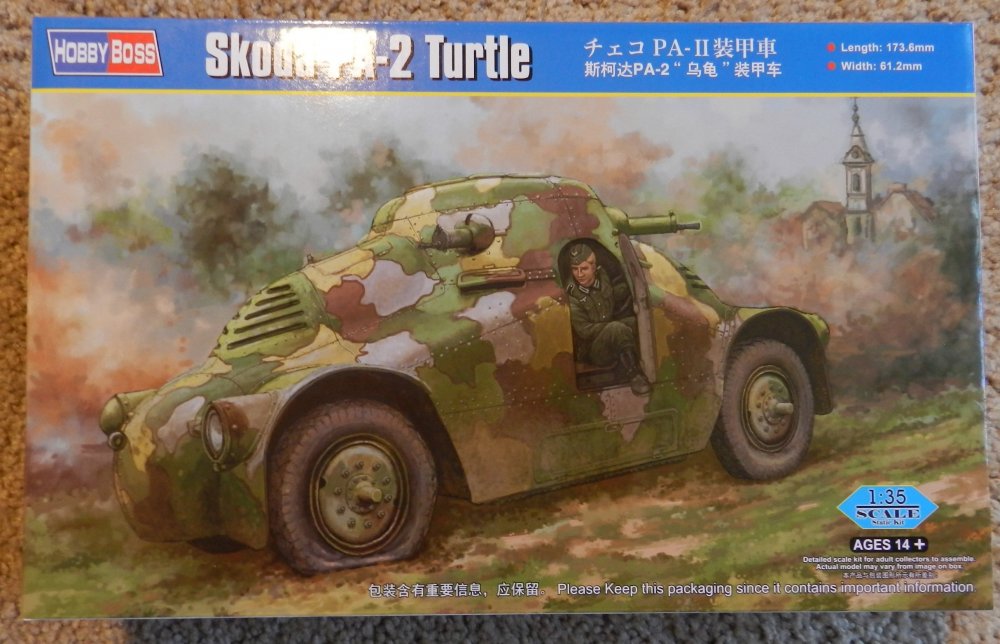
Thanks. The Turtle kit also has a panzer grey option as used by the Germans that I'll probably do, but the Austrian police camouflage version looks tempting; using the silly putty method may help with that. I saw a modeler online use a Sharpie to make the thin, black, demarcation lines between the colors.
-
Great build John!
-
Expecting another quality quick-build John! Will be watching. There's a T-28 that is a regular at my local airport's annual air show. It is painted in navy grey and is very loud.
-
Will do. Until then, here's a video from the Mig- Ammo YouTube channel explaining how rubber brushes are used to apply pigment.
-
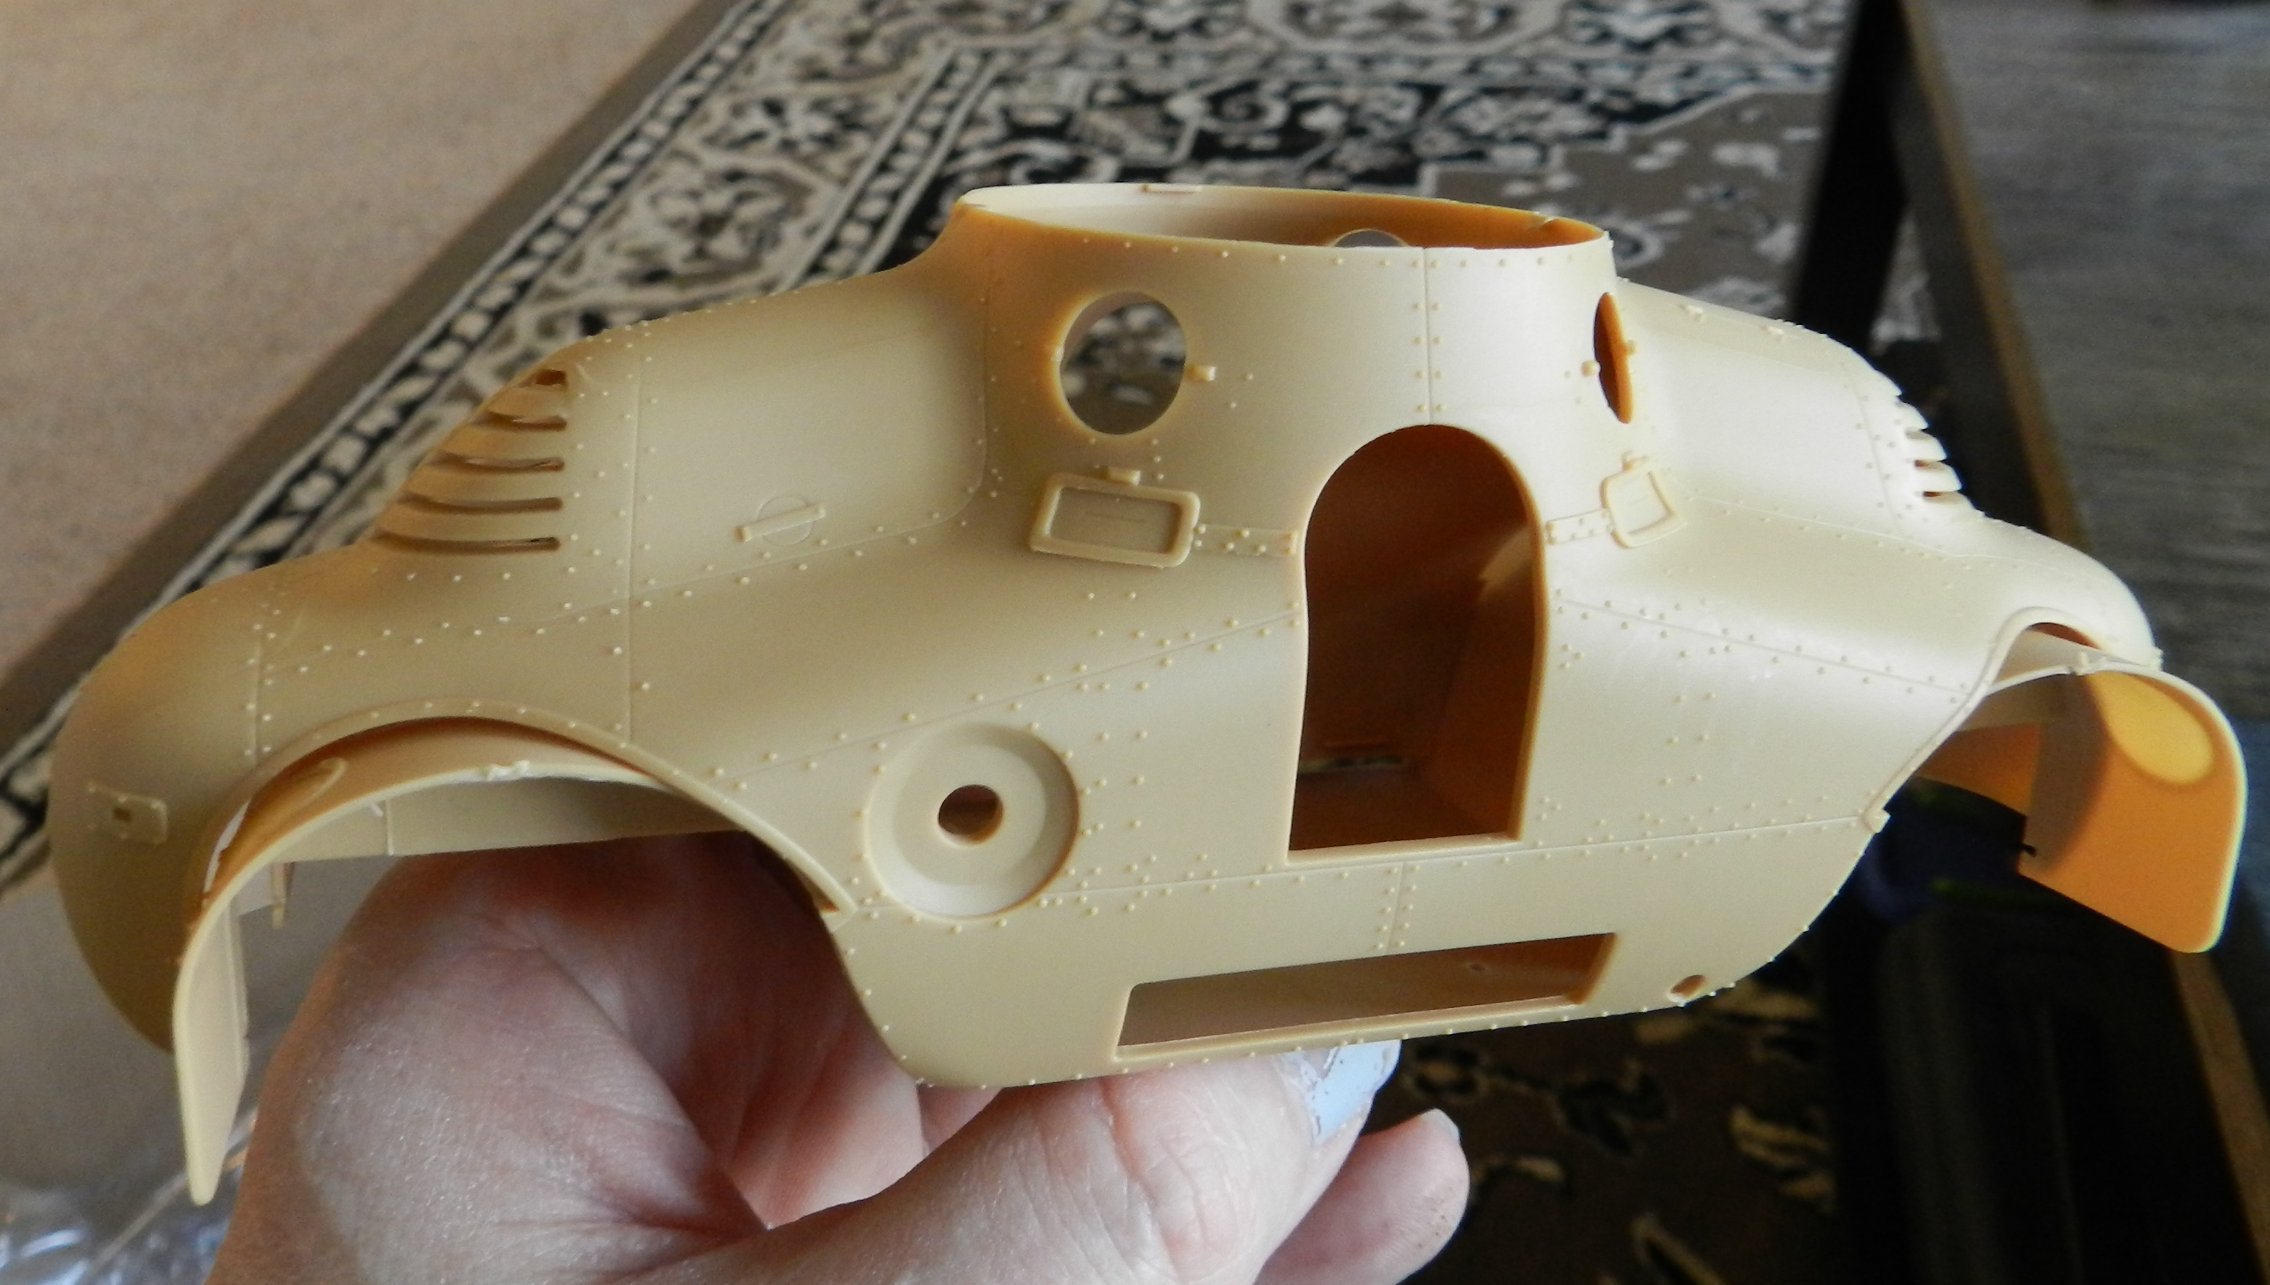
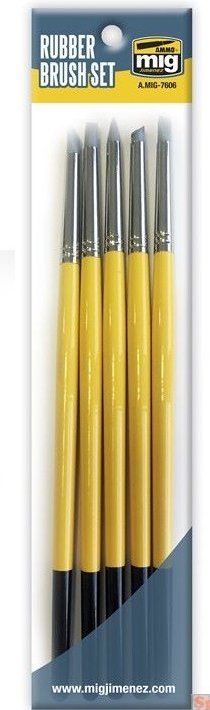
Got these today: From Hobby Boss their Skoda PA-II turtle in 1/35 scale. I've been looking for either the Hobby Boss or Takom kit of this bizarre vehicle for some time with only the Hobby Boss Kit available at this time. This my first Hobby Boss kit and I think it looks pretty good. You know a vehicle is weird-looking when you need a molded-in arrow to tell you which end is the front! The kit offers two sets of rubber tires, photo etch, and decals for a few different versions. I also got a set of rubber brushes (silicone) from Mig-Ammo. They're used to apply pigment and paint to models like a rubber stamp. I have an armored car kit from Copper State Models that has fine script on the radiator grille that I couldn't think of how to paint until I saw these. We'll see how that works out.

-
Reading Duel Of Eagles by Peter Townsend. A good read so far.
-
Duchess of Kingston - Beauty of the Seas - Wooden Sailing Ship 1/64
belugawhaleman replied to DocRob's topic in Non LSM 'WIP
More great progress! By the way, can the liquid gold paint be airbrushed? If so, with what thinner? -
AFV Club FV107 Scimitar 1/35
belugawhaleman replied to Jackster's topic in LSM 1/35 and Larger Work In Progress
Nice build! I've never built one of the AFV club kits, but I see they have some interesting subjects including some WWII Japanese tanks. -
What is on your bench right now ? Share a picture :)
belugawhaleman replied to Martinnfb's topic in Modelling Discussion
Thanks -
Duchess of Kingston - Beauty of the Seas - Wooden Sailing Ship 1/64
belugawhaleman replied to DocRob's topic in Non LSM 'WIP
Coming along nicely Rob! The gold paint is A good match for gold leaf. This really is A superb build so far and I've enjoyed following your progress. -
What is on your bench right now ? Share a picture :)
belugawhaleman replied to Martinnfb's topic in Modelling Discussion
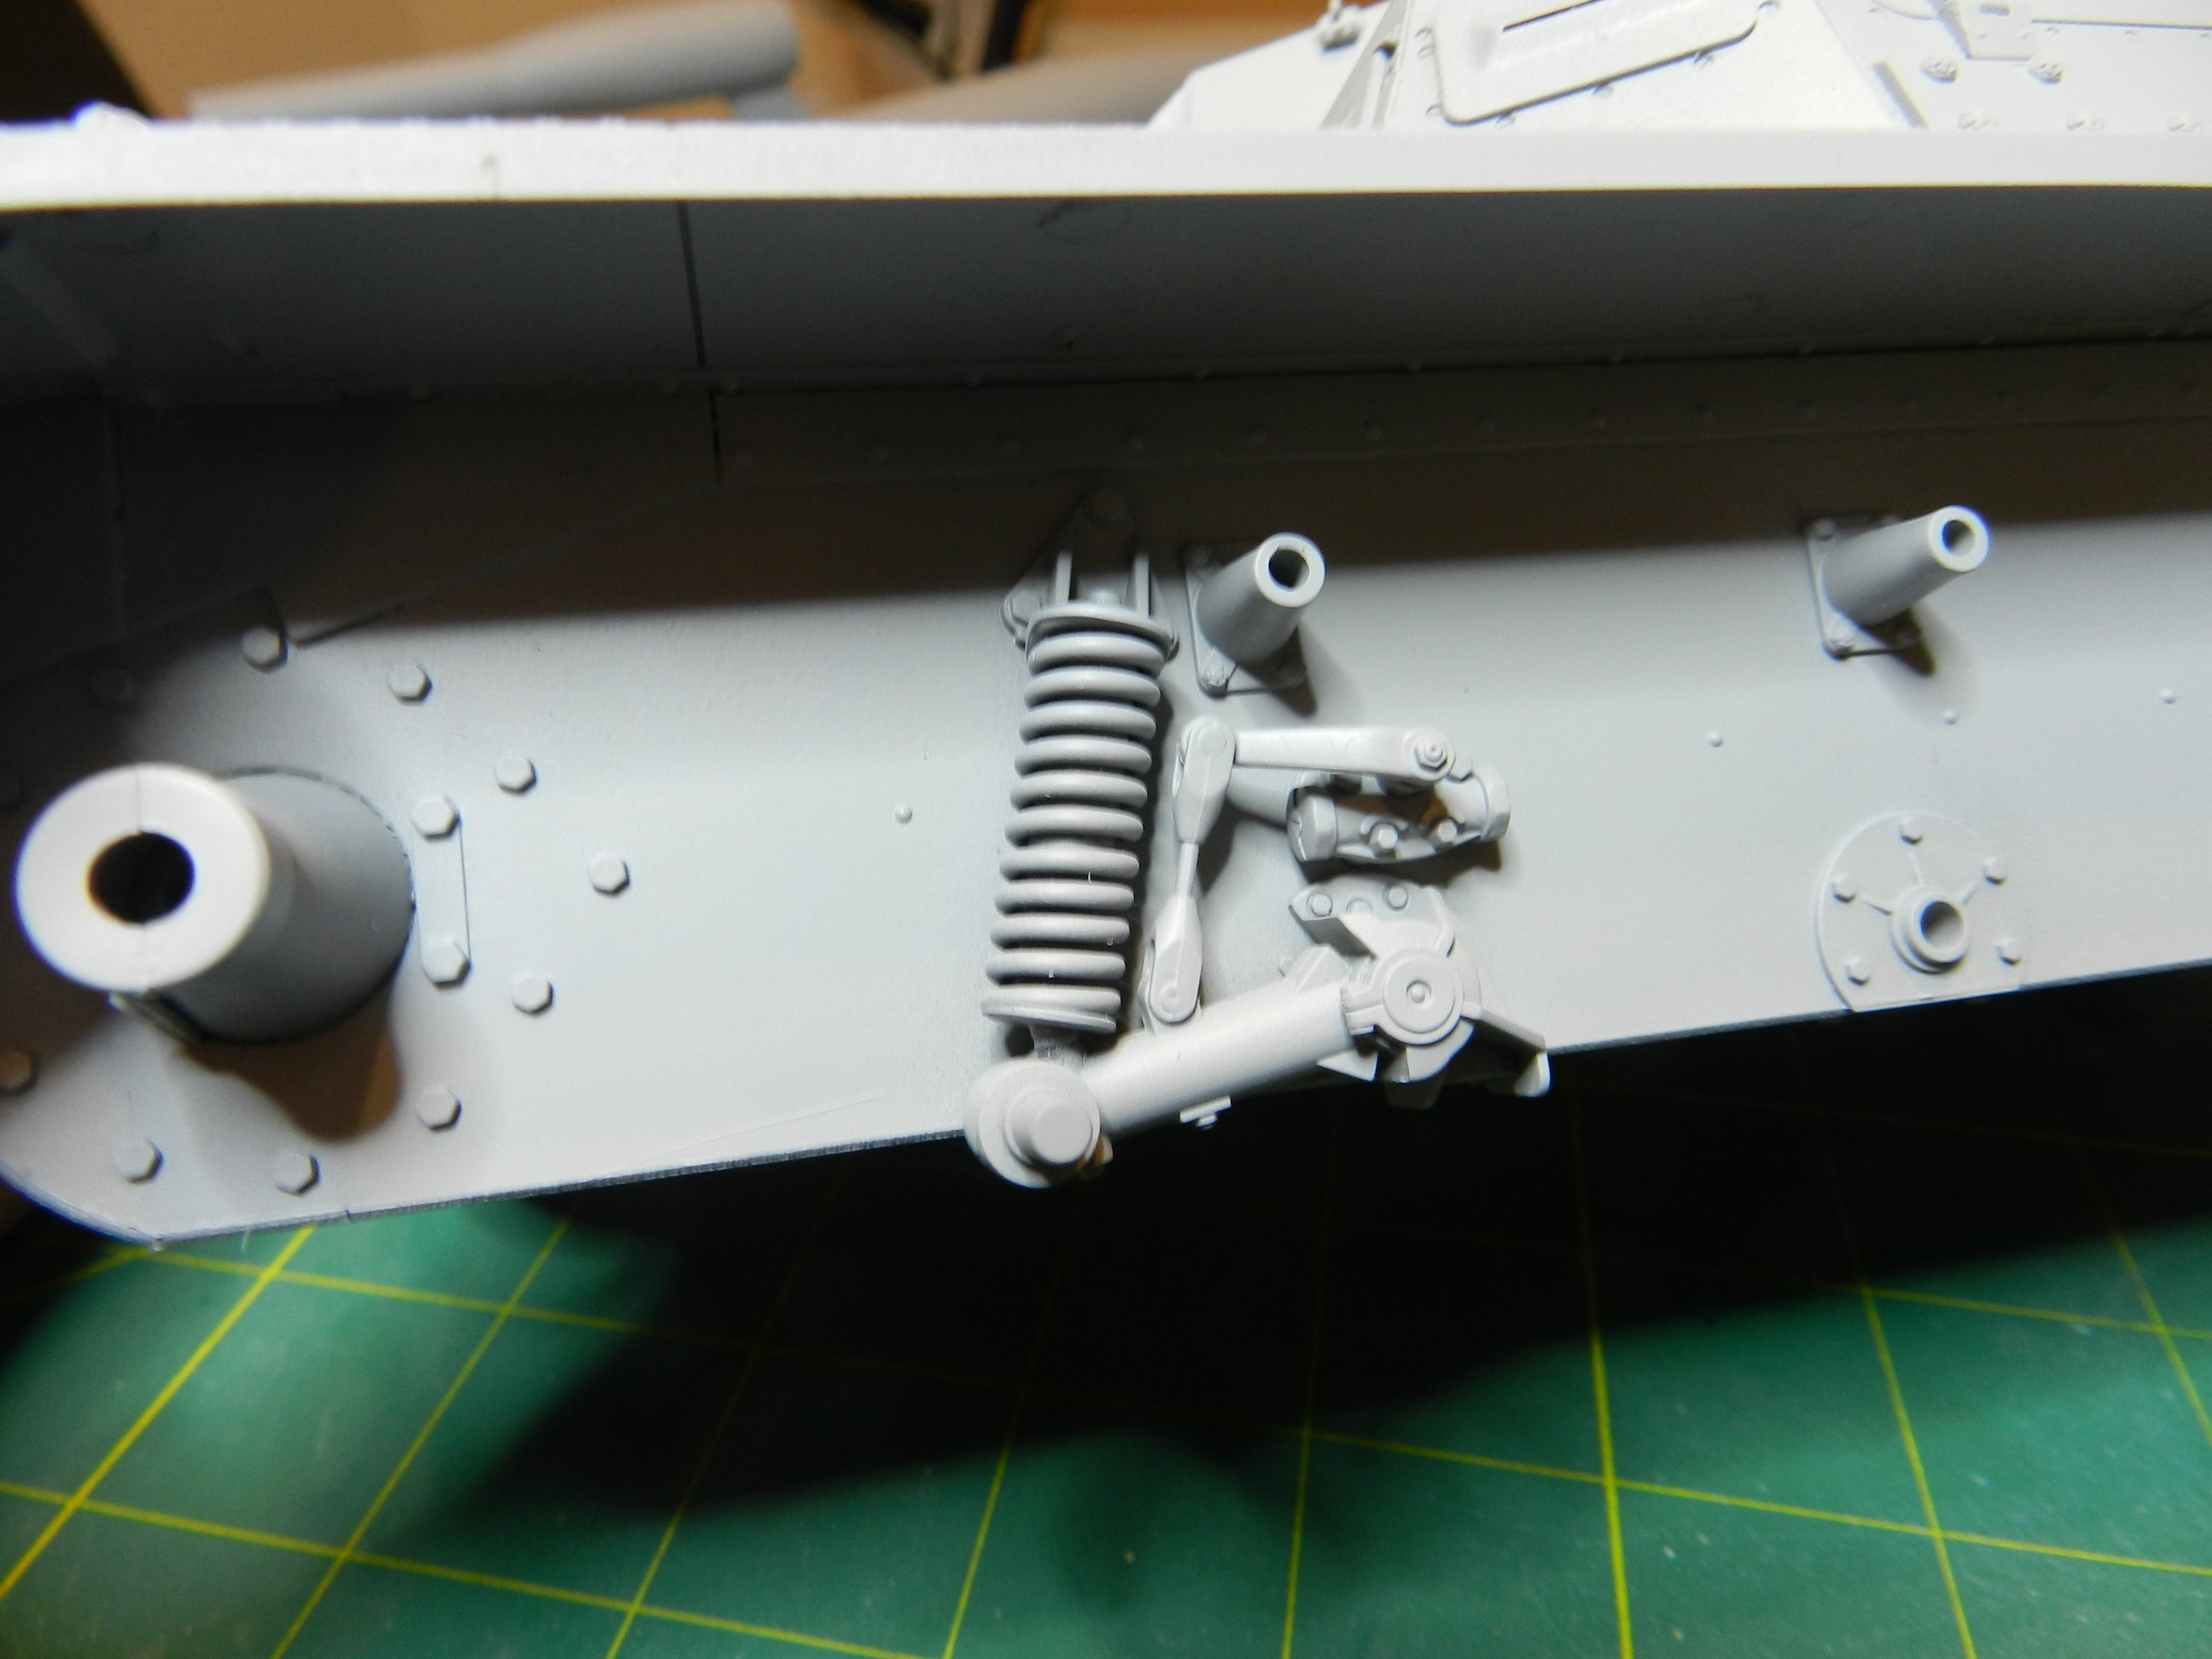
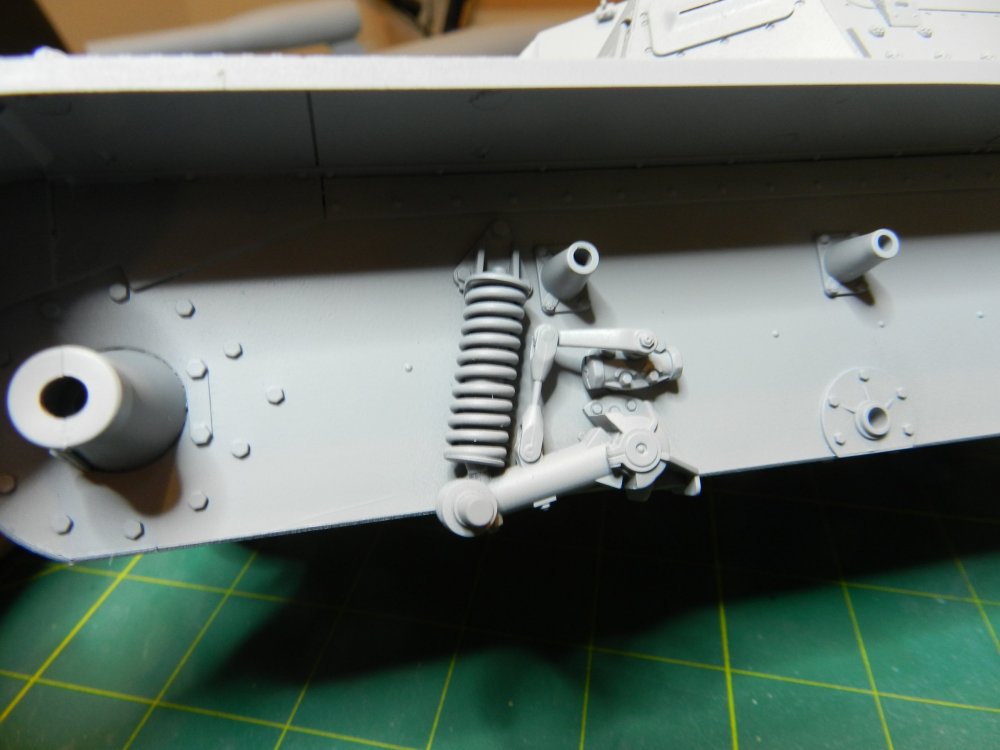
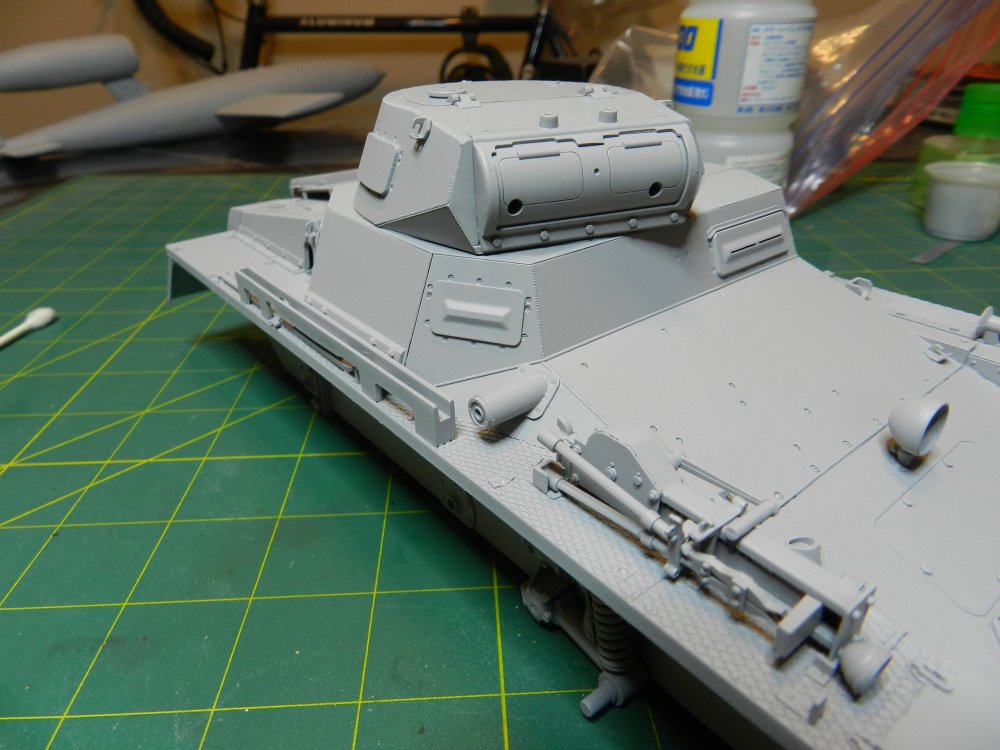
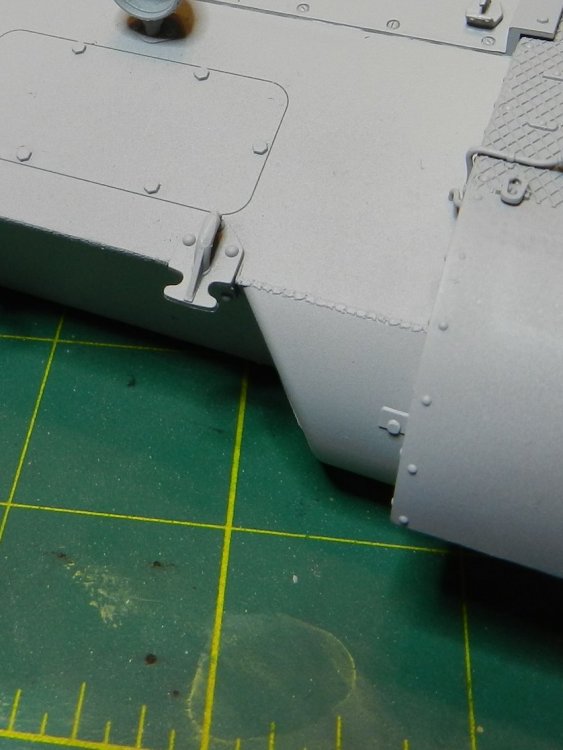
Been working on Takom's 1/16 Panzer 1a. Some pictures in primer. I added some weld beads to the front of the hull and I used some replacement springs from T Rex Studios, A definite improvement over the ones provided in the kit. Thinking of doing something a little different with the decals.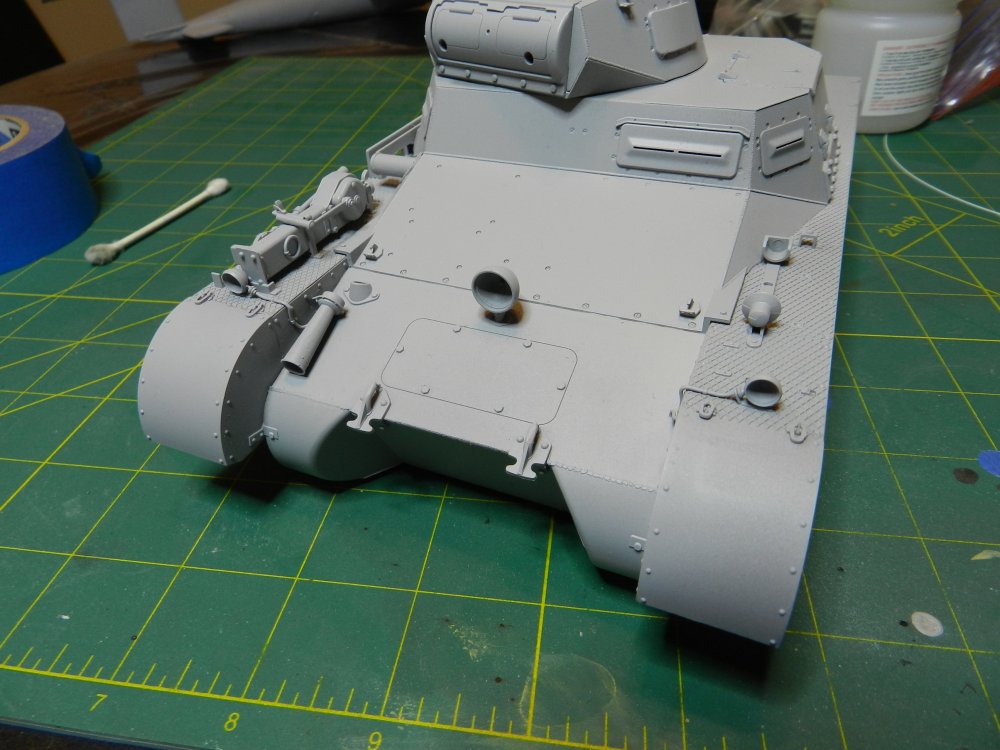
-
Looks amazing Carl!
-
Czech Model F-80C up
belugawhaleman replied to JohnB's topic in LSM 1/35 and Larger Work In Progress
That's one good-looking Shooting Star John! -
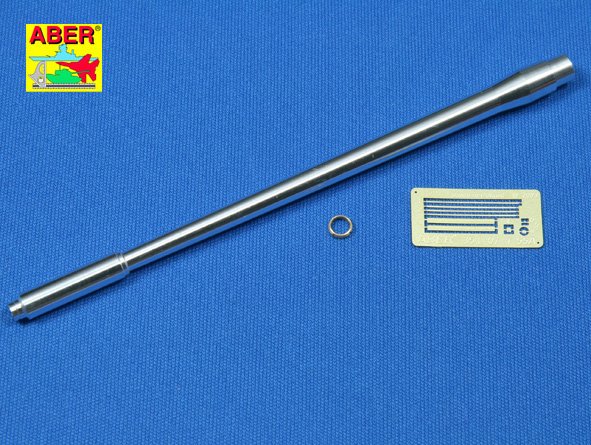
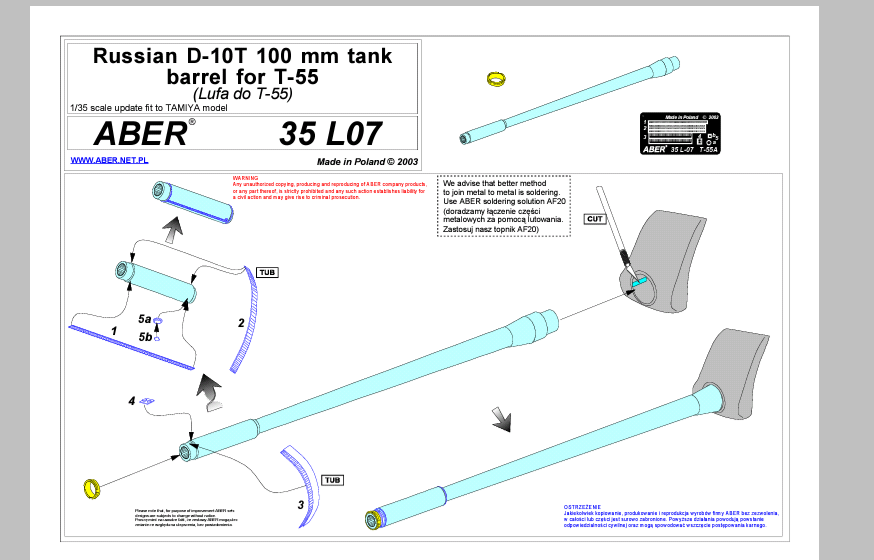
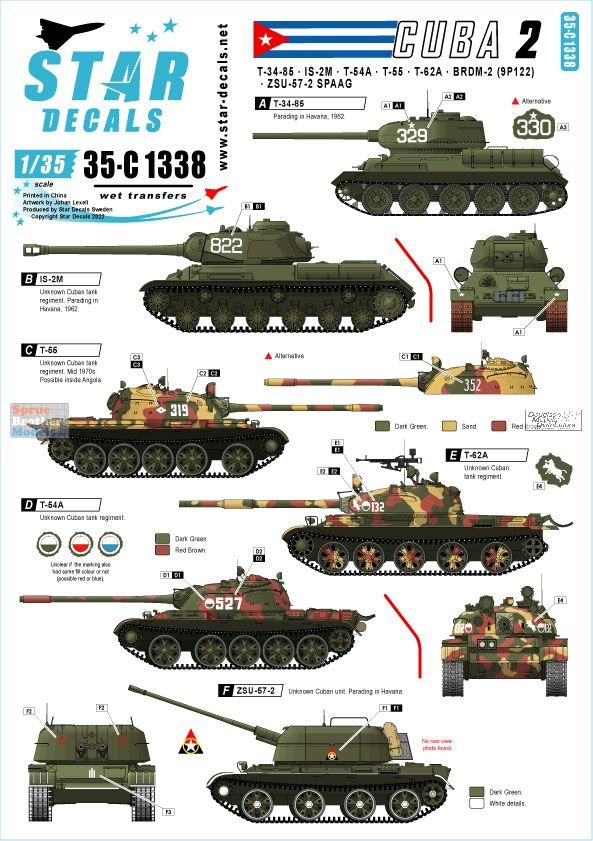
Got these today: From ABER, their Russian D-10T 100mm tank barrel for T-55 (35 L-07) and from StAR DECALS their 35-1338 Tanks & AFVs in CUBA 2 both for 1/35 scale. There is also a decal sheet from STAR that offers markings for pre- Soviet vehicles, mostly U.S, but also a British Comet tank. I may purchase that one as well as its pre-Castro apparently. My dad was born in Cuba, he would prefer that.