BlrwestSiR
-
Posts
9,218 -
Joined
-
Last visited
Content Type
Profiles
Forums
Events
Gallery
Everything posted by BlrwestSiR
-
We got rain here overnight and this morning so that's helped clear the air a fair bit.
-
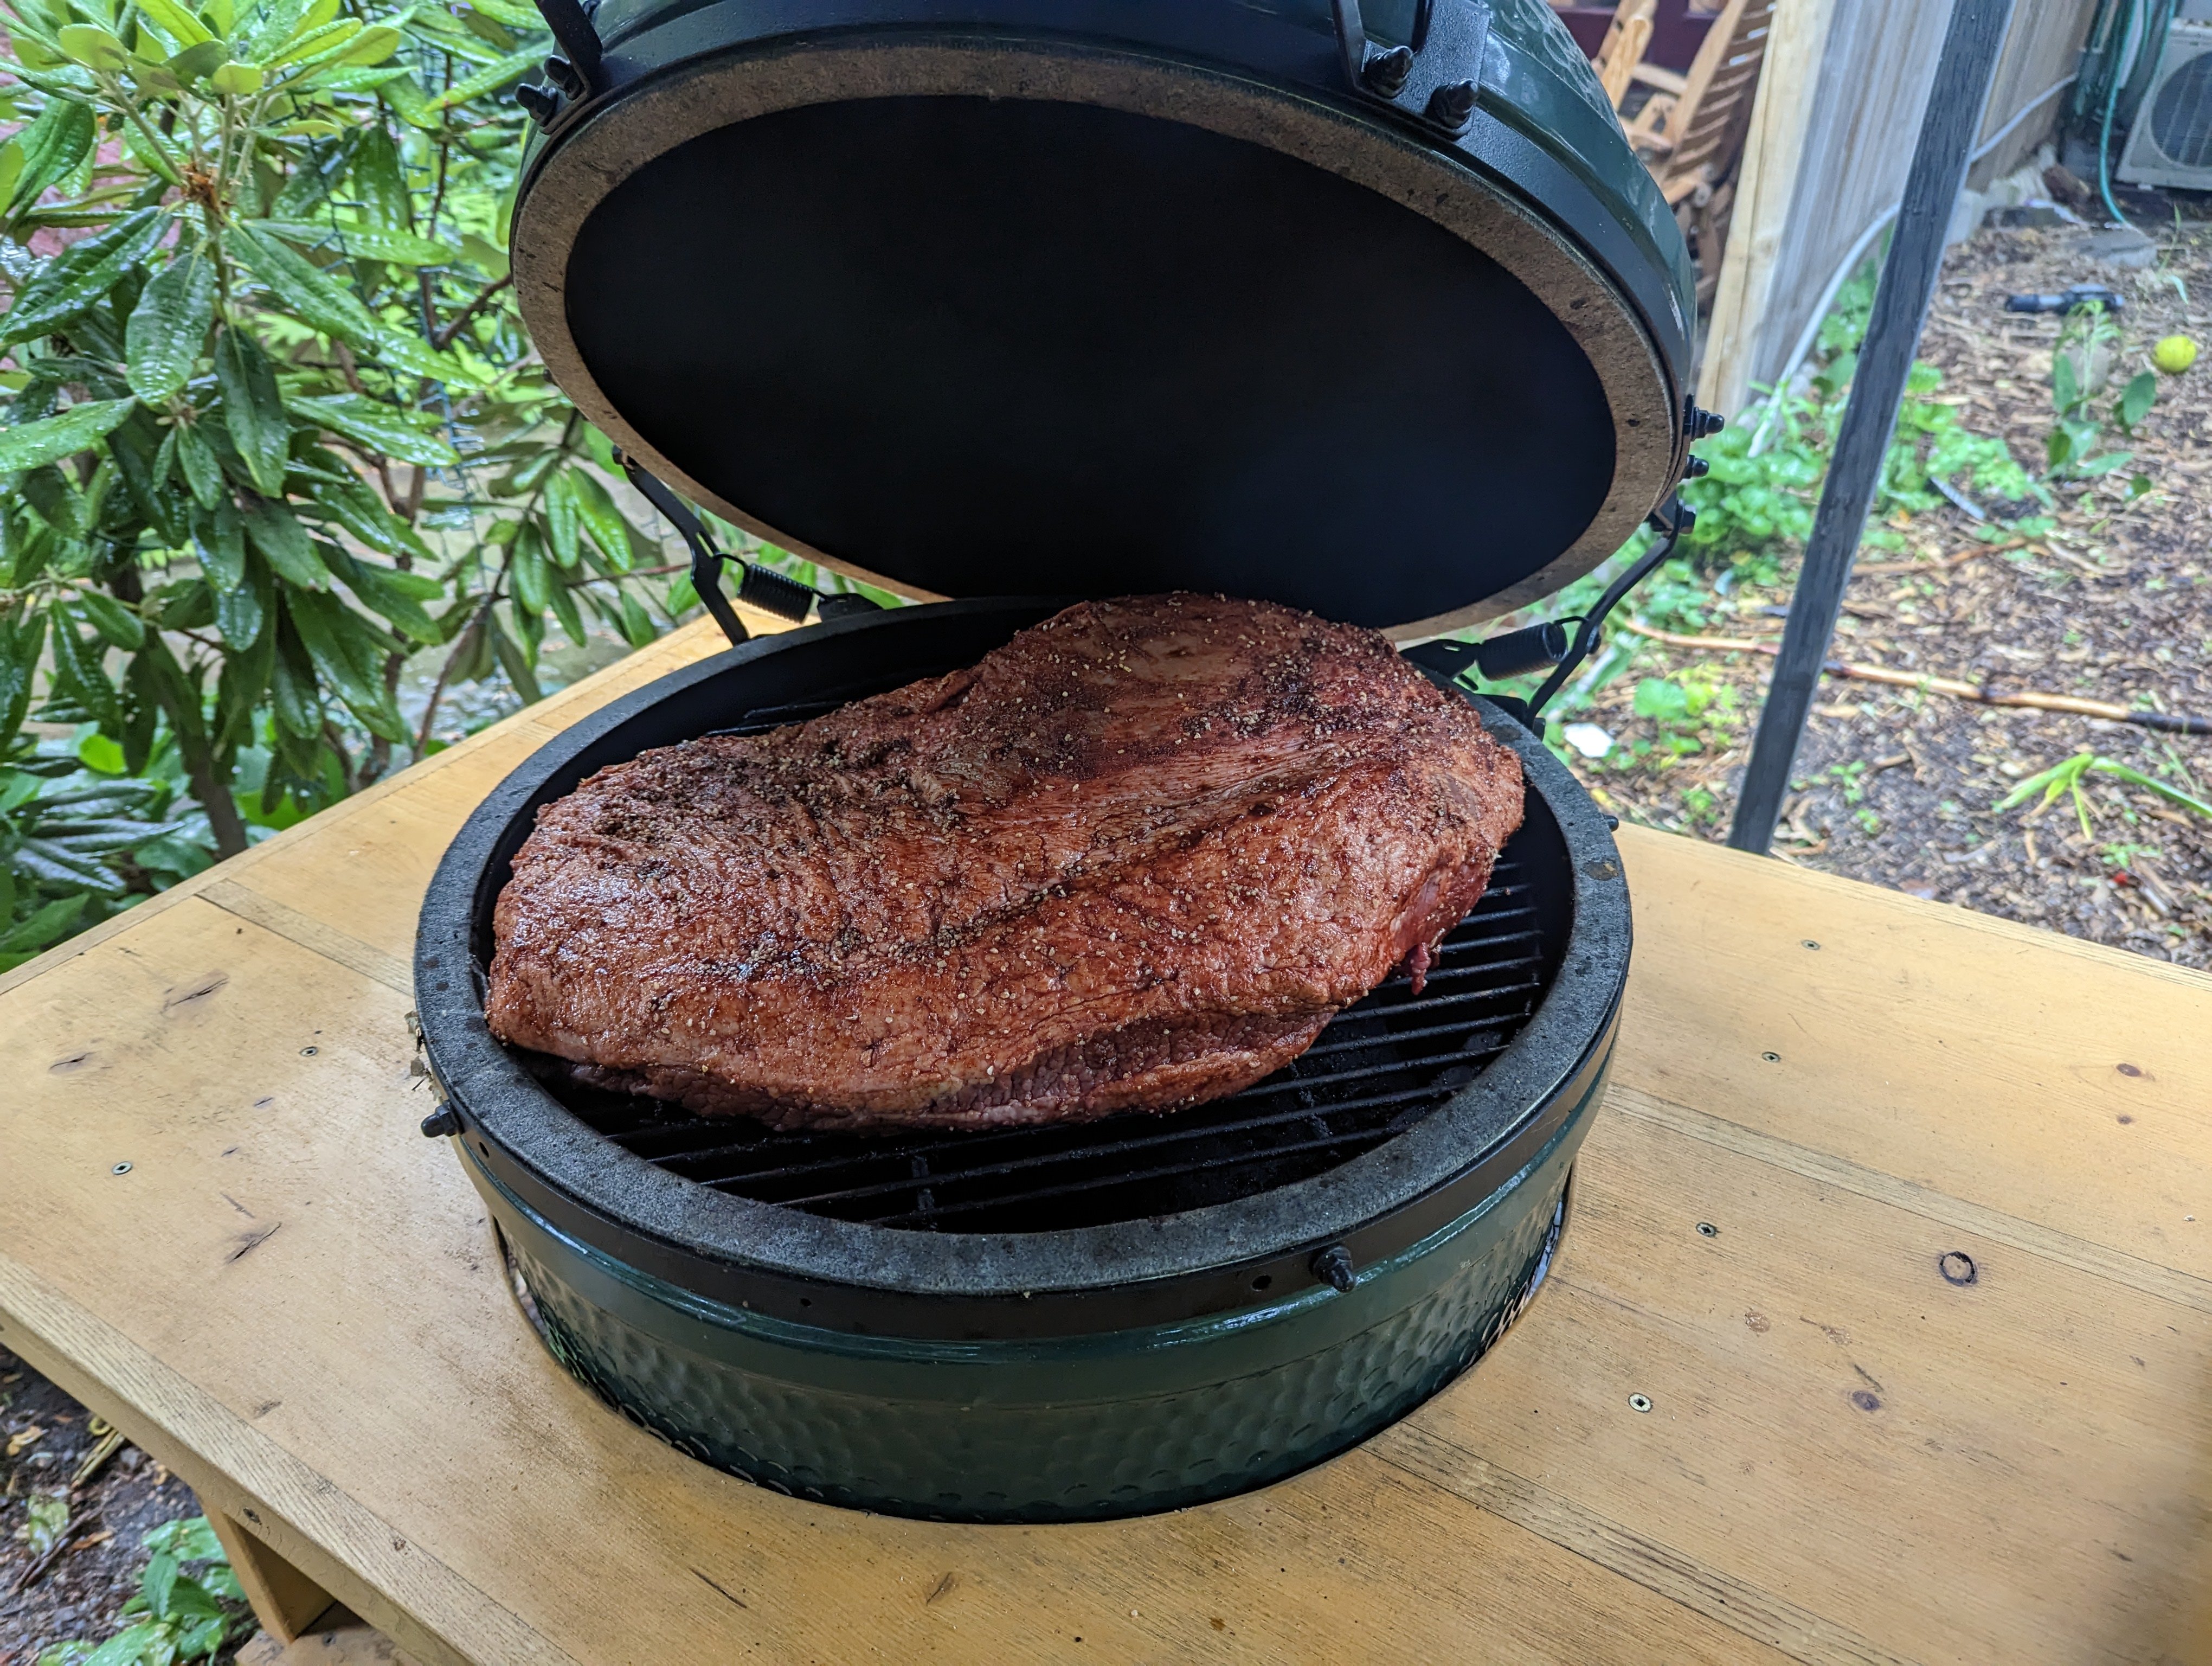
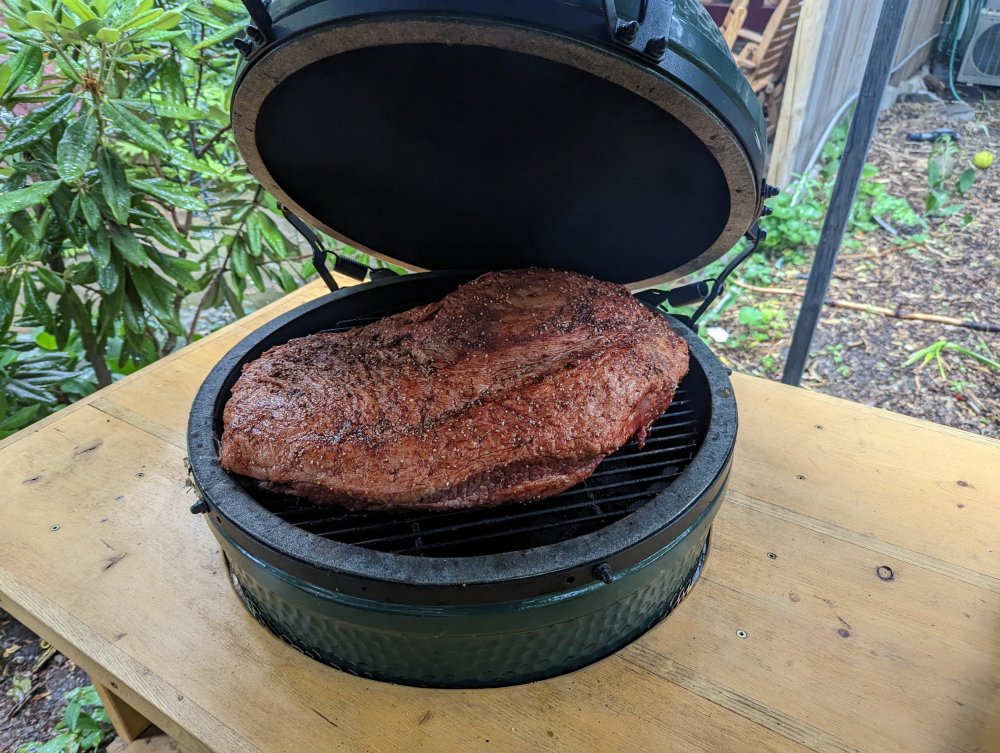
I'm off to get butchers paper to wrap the brisket for the last 3 hours it's on the grill. That'll help keep it moist. Pork definitely cooks different on the Egg. There's a bit more fat that helps keep it from drying out. I have another brisket to do Tuesday and then next weekend we'll be doing pork, so probably a shoulder.
-
 @ScottsGT, I was just watching the film and noticed that the CAG's Tomcat has Gull Grey control services when it traps at the beginning of the film. Is that the one you're doing or one of the Tomcats from the dogfight? Carl
 -
I might be contributing to the smoke a bit today. Just put this on the Egg....
-
The instructions that Martin posted are probably the best reference for the layout of the tiered launchers. To make the rocket setup, you need several different bits of AM. The stubs are made by MDC I believe. Special Hobby does the rails, and Infinity does the saddles for the tiered rockets. The guard rails are the remaining hurdle. Rockets themselves are made my several companies- Profimodeler, Aires and Special Hobby. I wish Master would scale down their 1/24 set to 1/32. Hope that helps. Carl
-
Nice paint job. I see that we're approaching the paint job from opposite ends. I'm starting with the white and you're starting with the grey.
-
"Alert 1 to Eagle 1, splash the Zeros!"- Tamiya F-14
BlrwestSiR replied to BlrwestSiR's topic in Let’s Get Wet Group Build.
A very brief update. I filled, sanded, filled again and sanded again the intake seams. Then re-scribed the panel lines I'd sanded off/filled in. Many coats of white later, the lower fuselage is painted.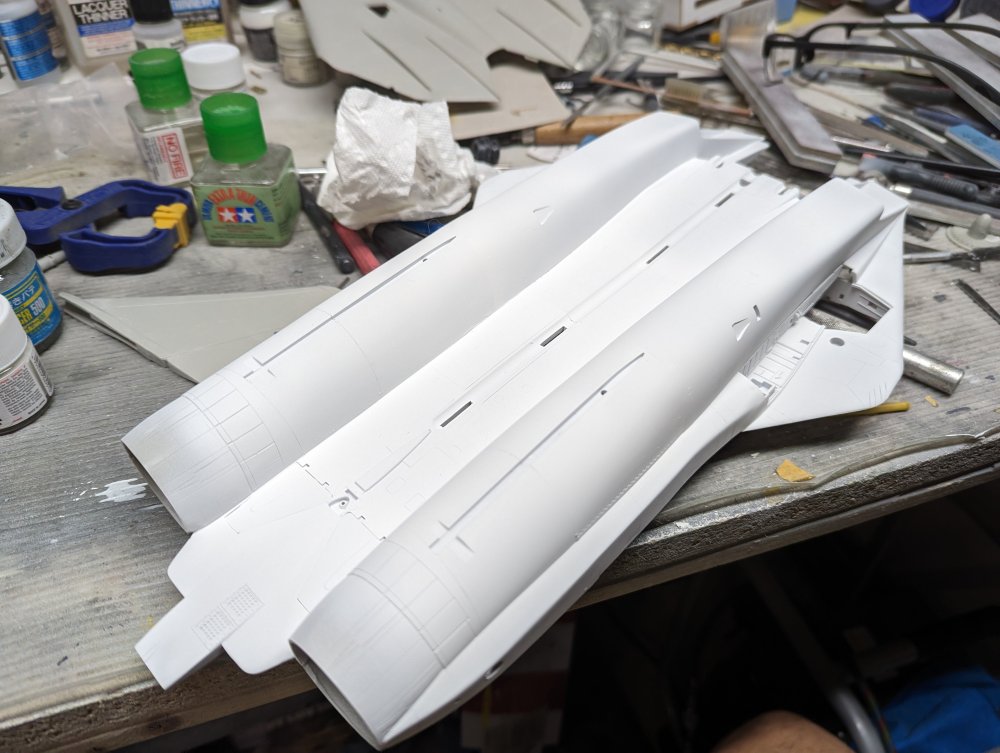
-
Same here. Had the dog out for his morning walk and really felt it.
-
Peter, I agree. I know @ScottsGT has a 1/350 USS Enterprise which might sound like a small scale but is close to 1m (40") long. A large, scale model vs. a large-scale, model.
-
There's several big fires in Quebec and eastern Ontario as well. The smoke from those fires reached Toronto yesterday. It basically smells like a campfire outside. The air quality here is now the third worst in the world. My kids' school board has cancelled all outdoor activity for the time being. Stay safe folks, especially anyone with breathing issues. Carl
-
Nope, definitely not a Tiger. The Tiger is near the top of the pile but this and the Tomcat are first.
-
Peter, that could be a good topic. Certainly this kit would fit into most of those categories. If you look at the first pic I posted of the box, you can see the fuselage to my HK Lanc to the left.
-
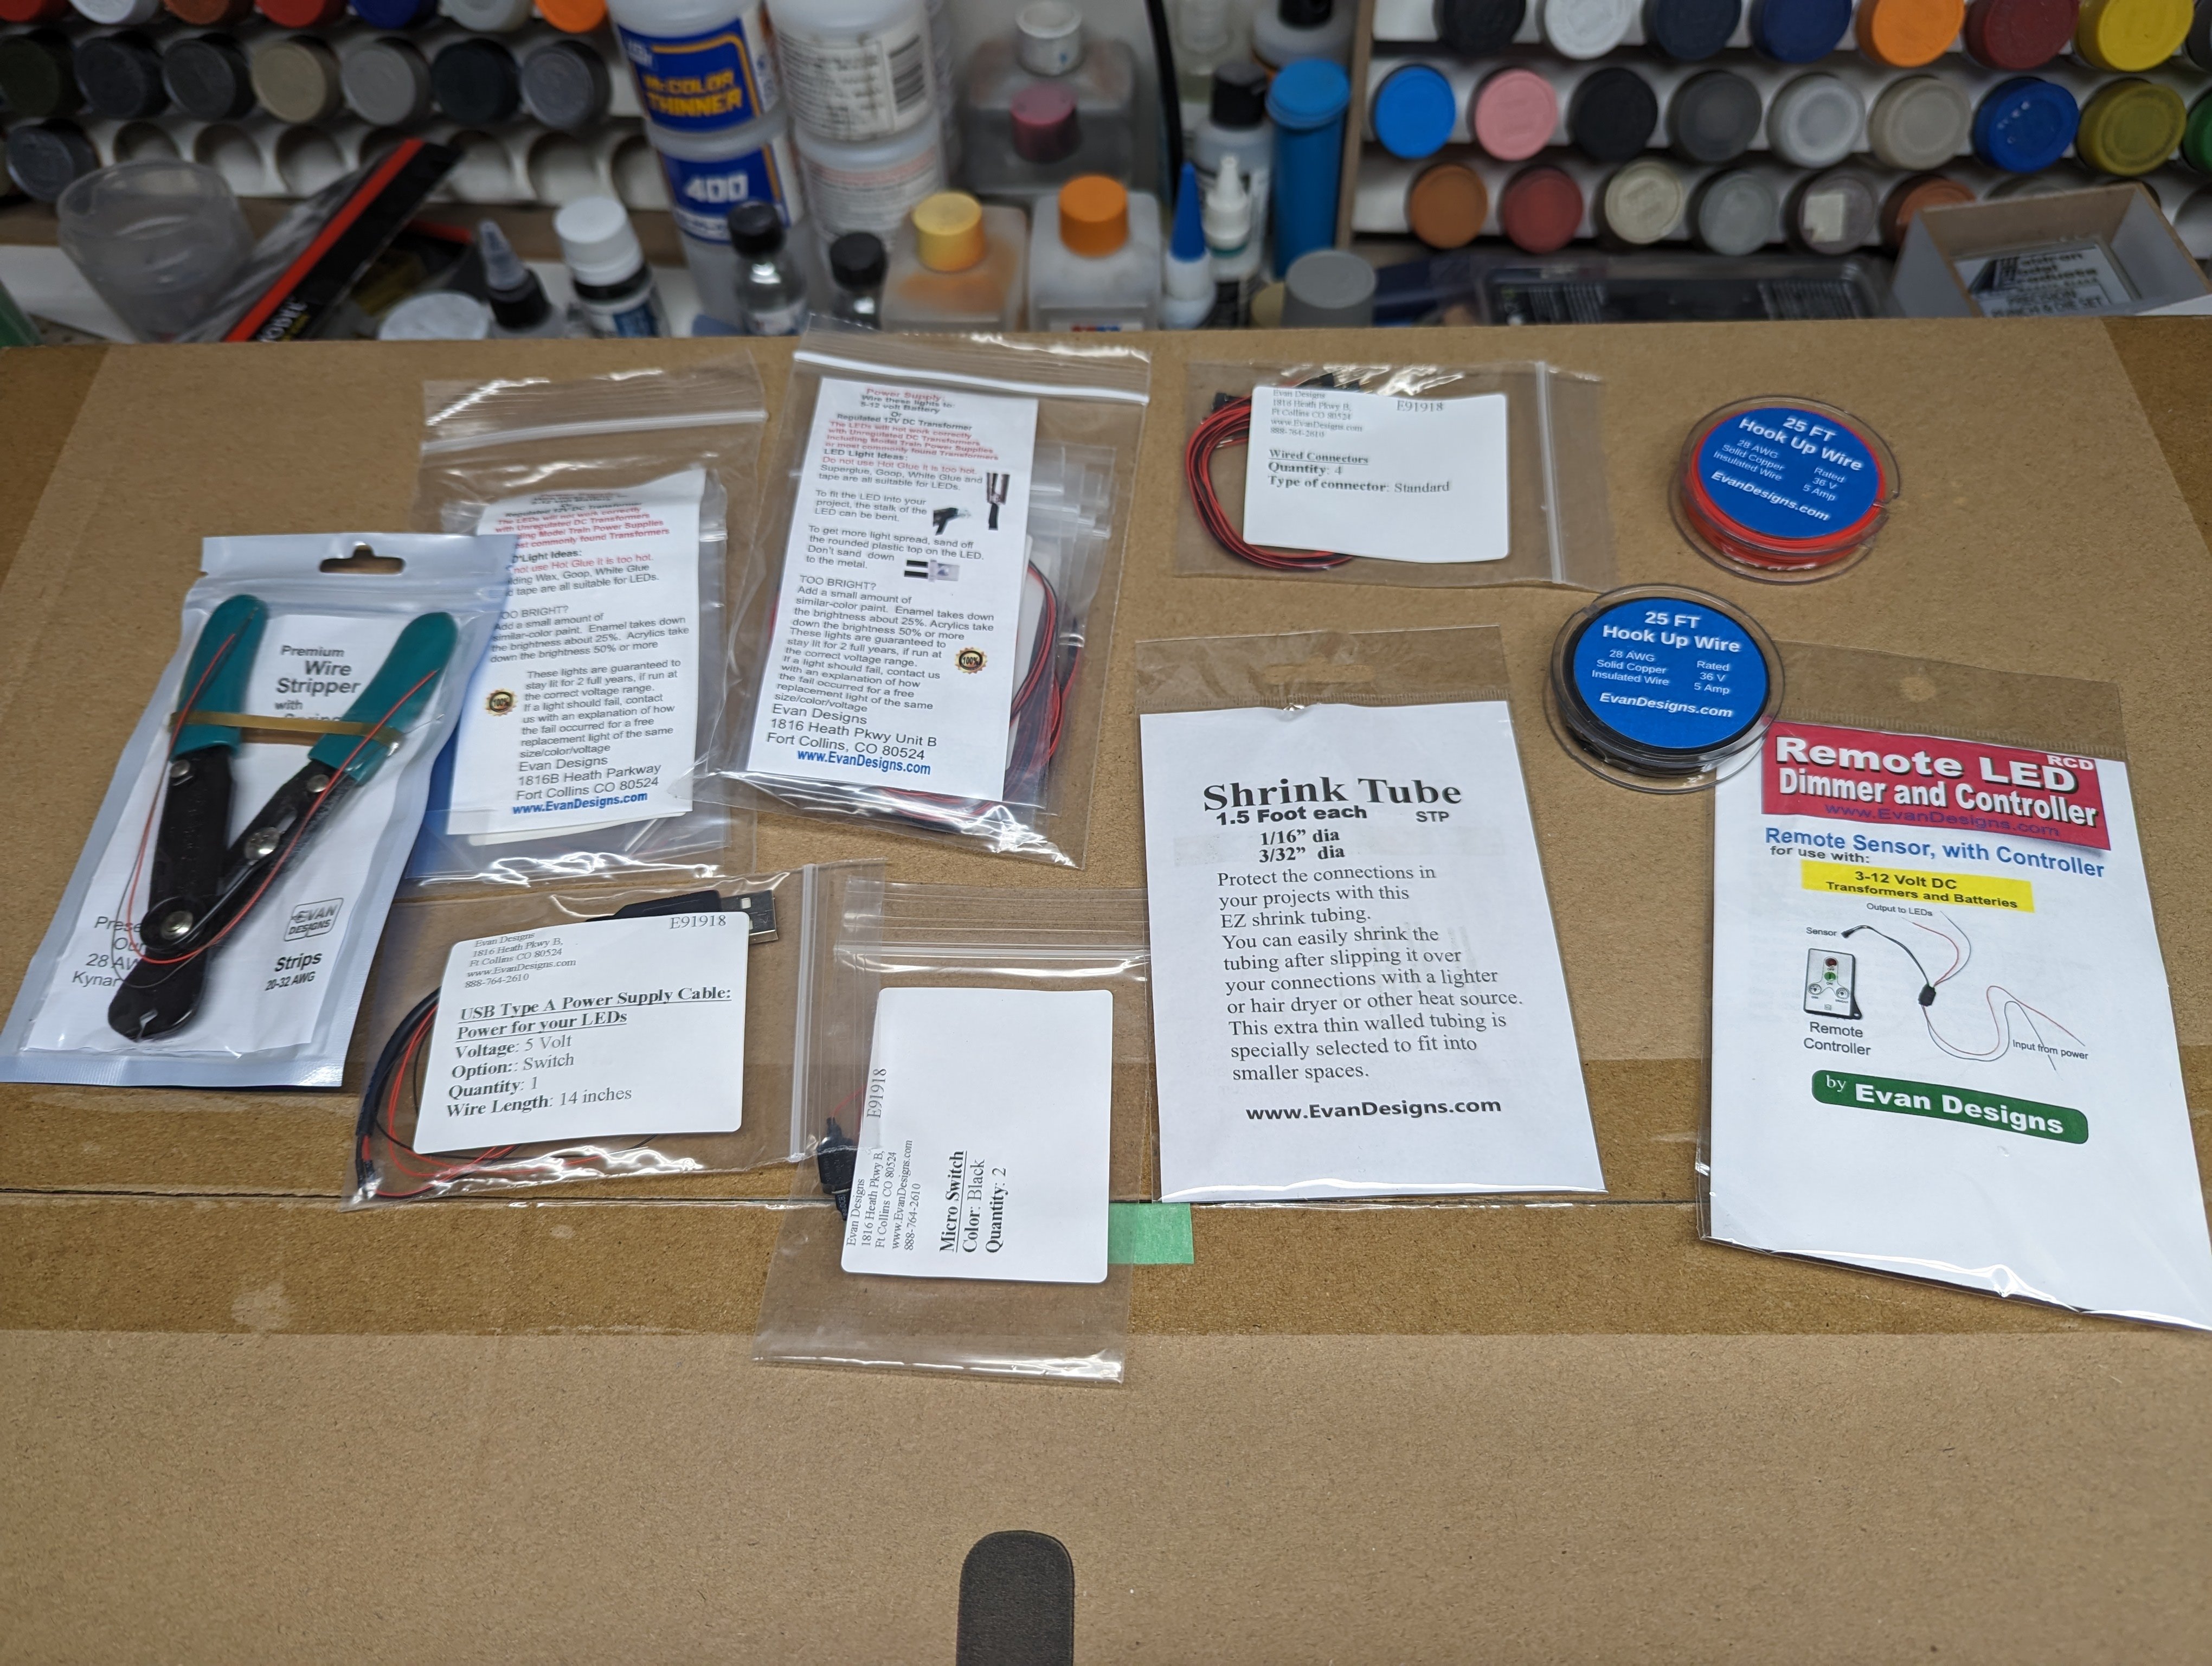
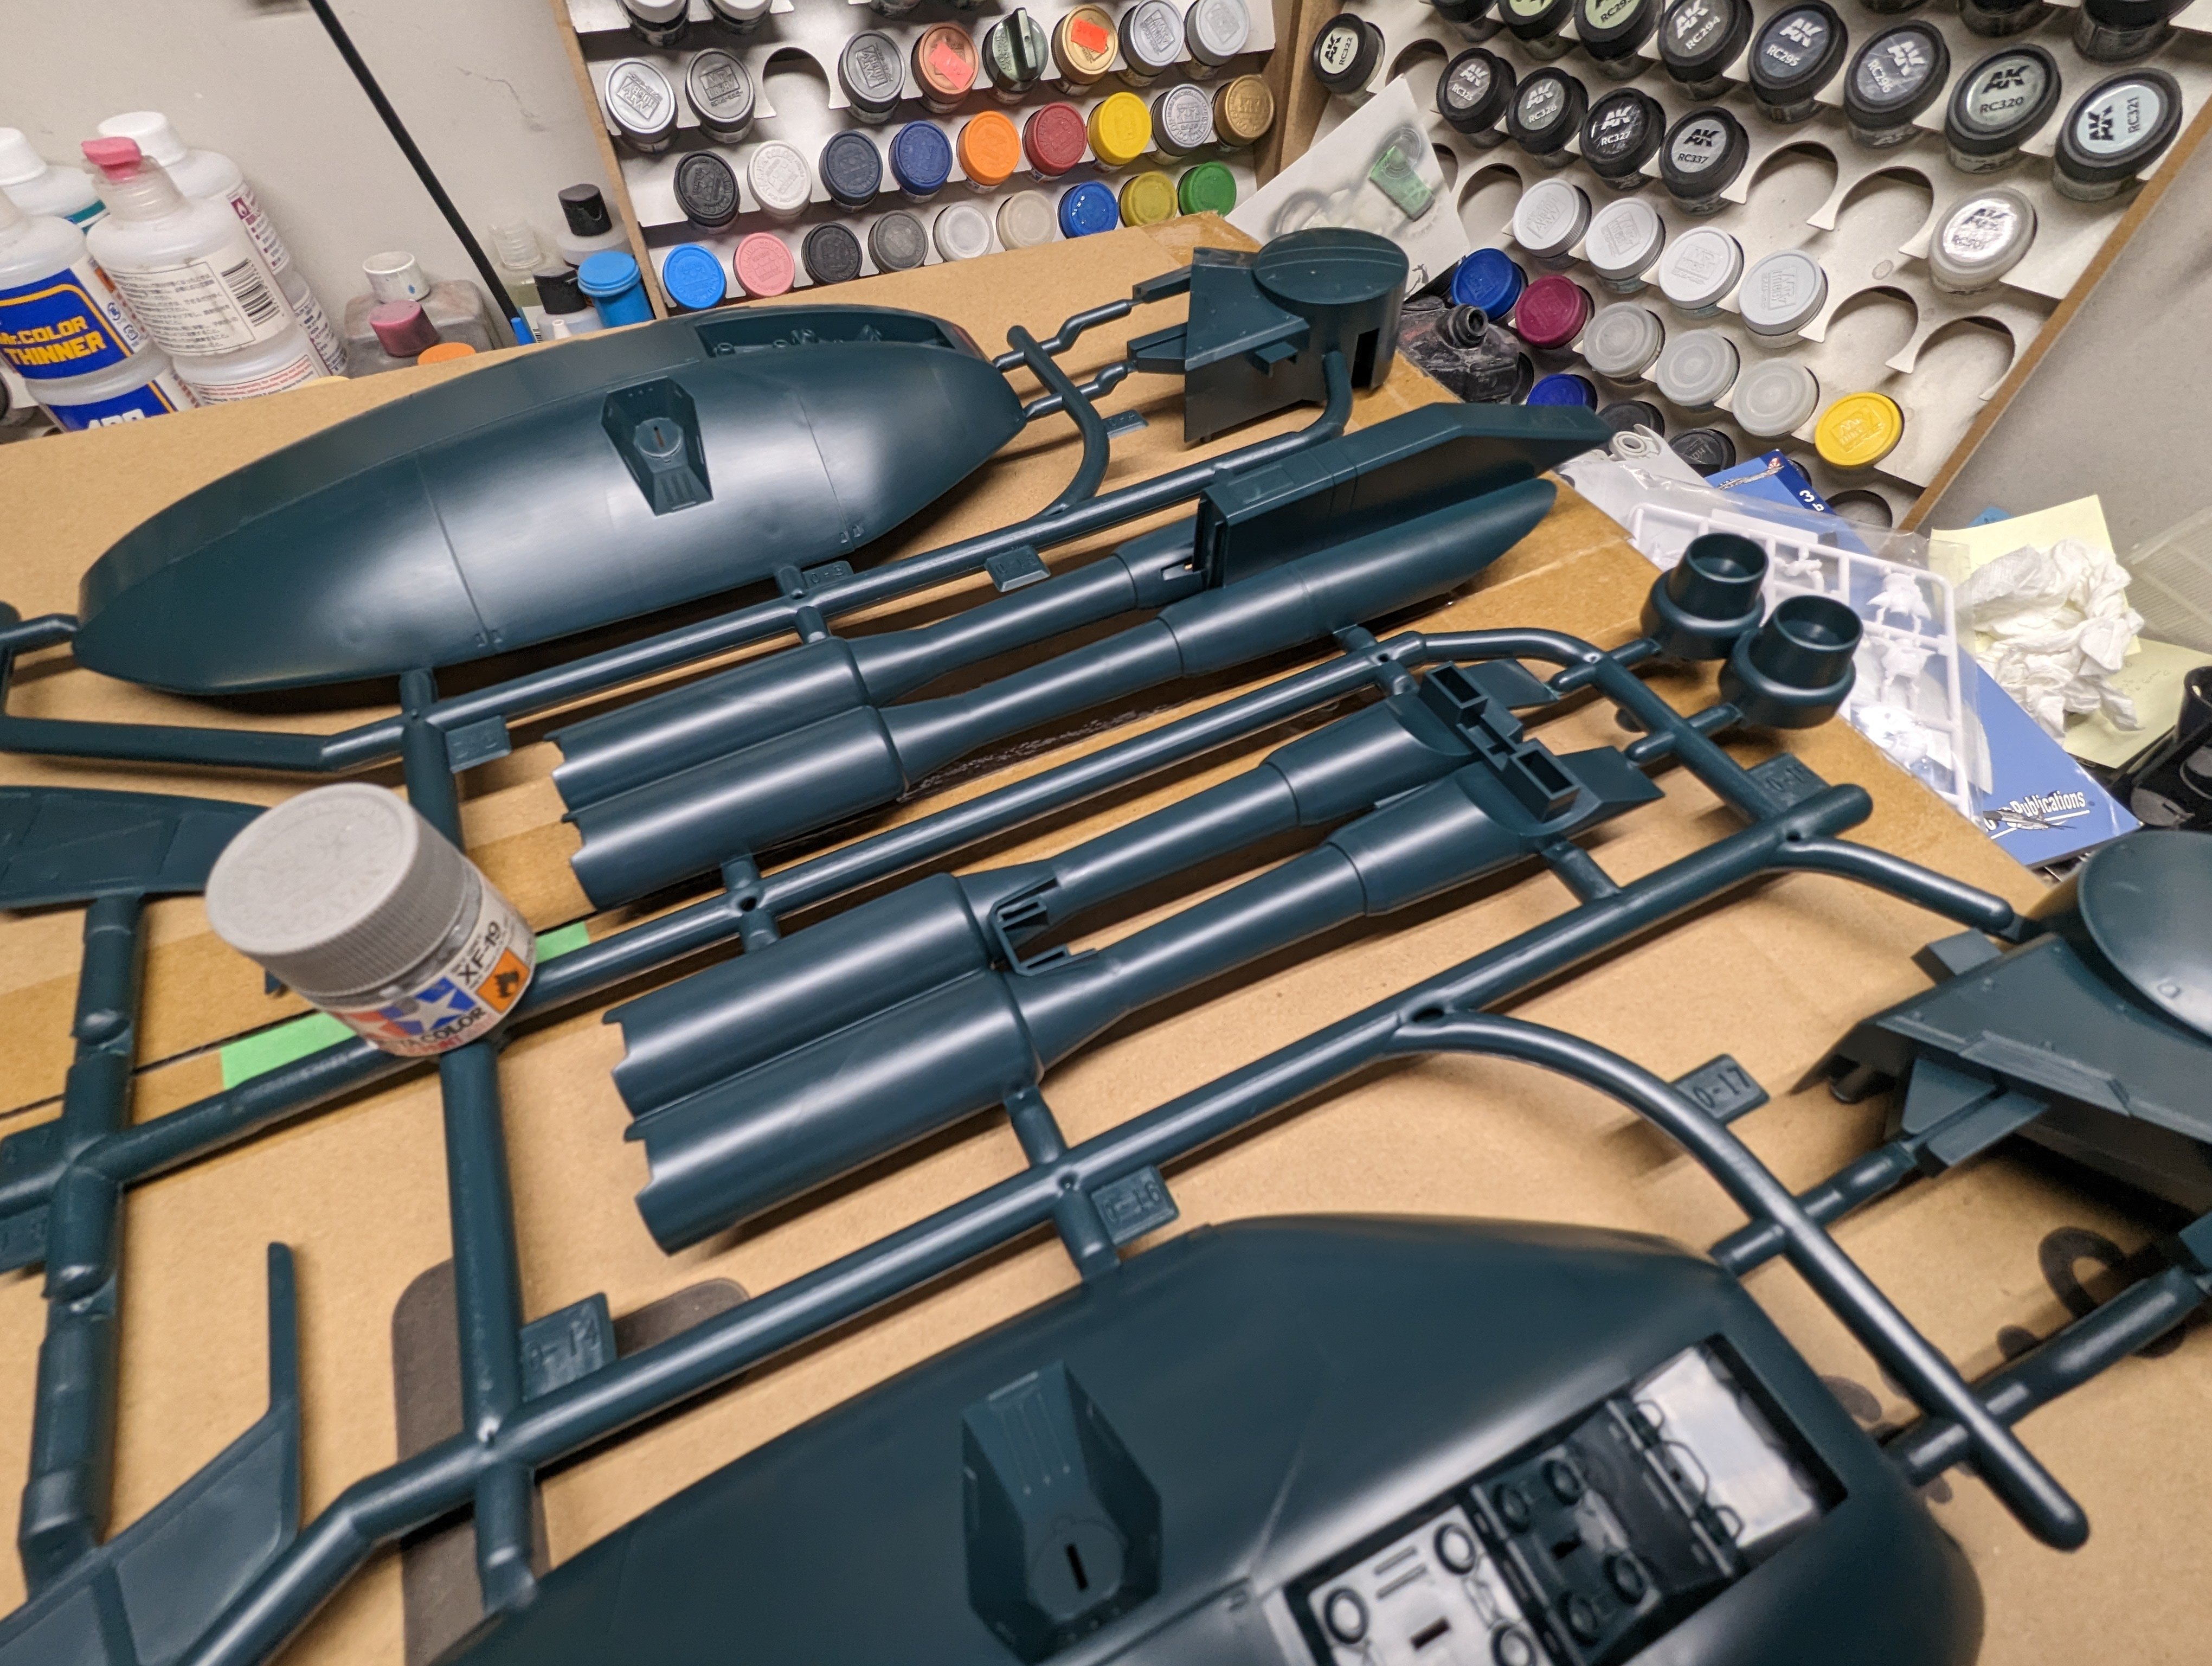
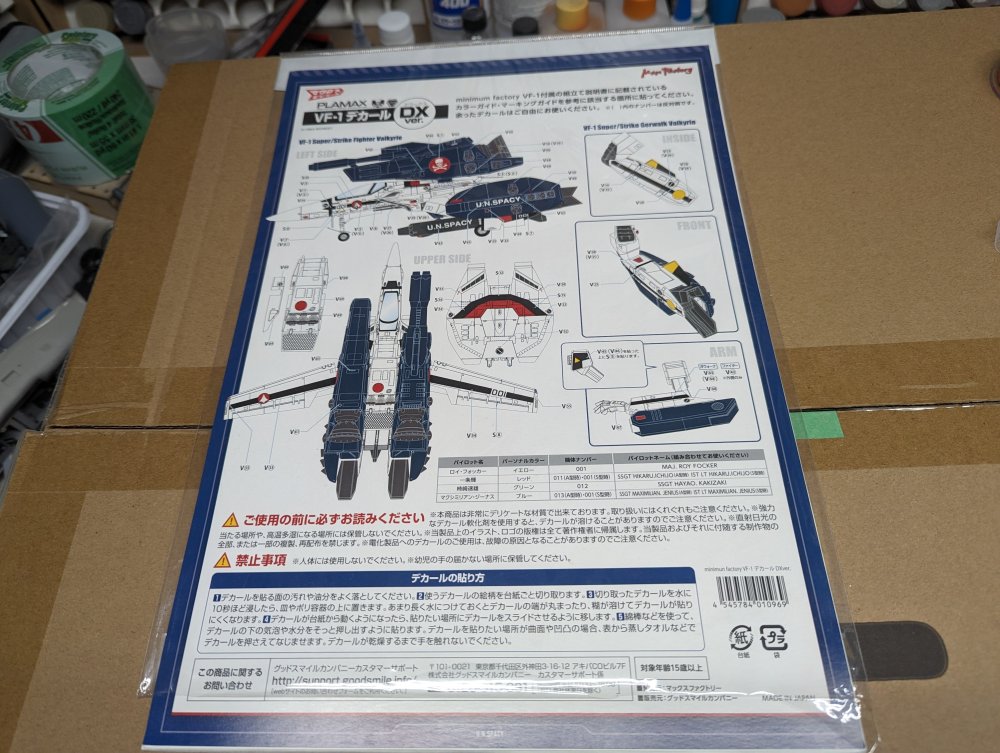
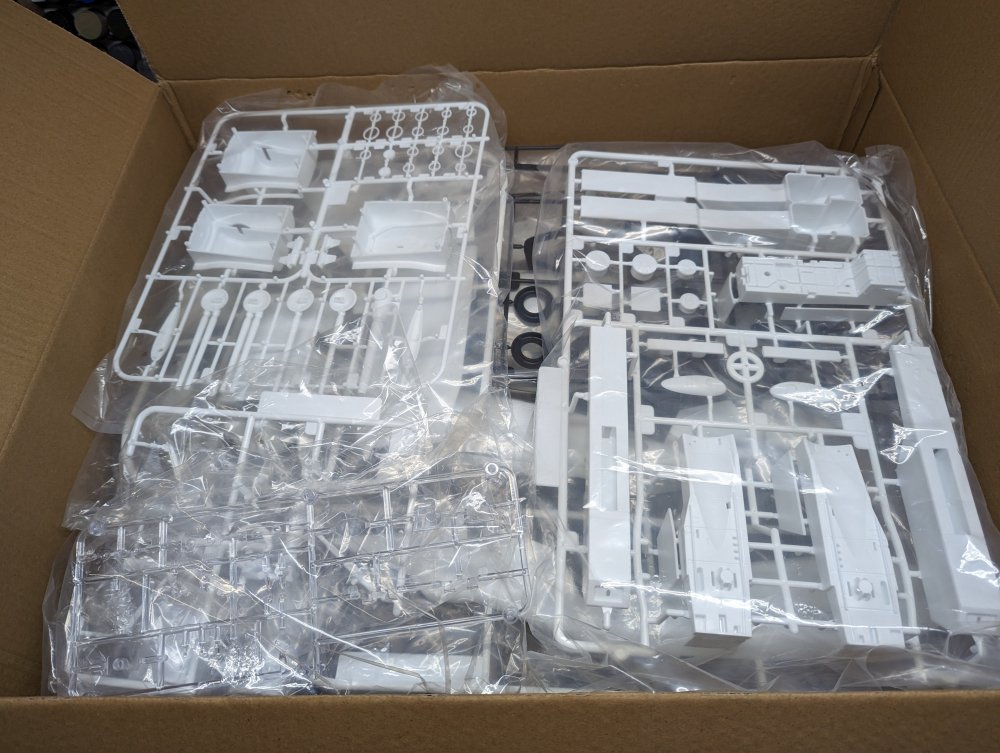
Here's what inside the boxes. Compared to the Tamiya F-14 that I'm currently working on. Fuselage The FAST pack secondary cannon A bottle of Tamiya acrylic inside one of the engine nozzles. The pilot. This is the AM I'll be using on the build. I decided to add lighting to the model so I contacted Evans Design and they were great help in figuring out what I needed and how best to light the model. I also bought the optional decal set as the kit comes with stickers. Lots and lots of paint too but we all know what they look like.


-
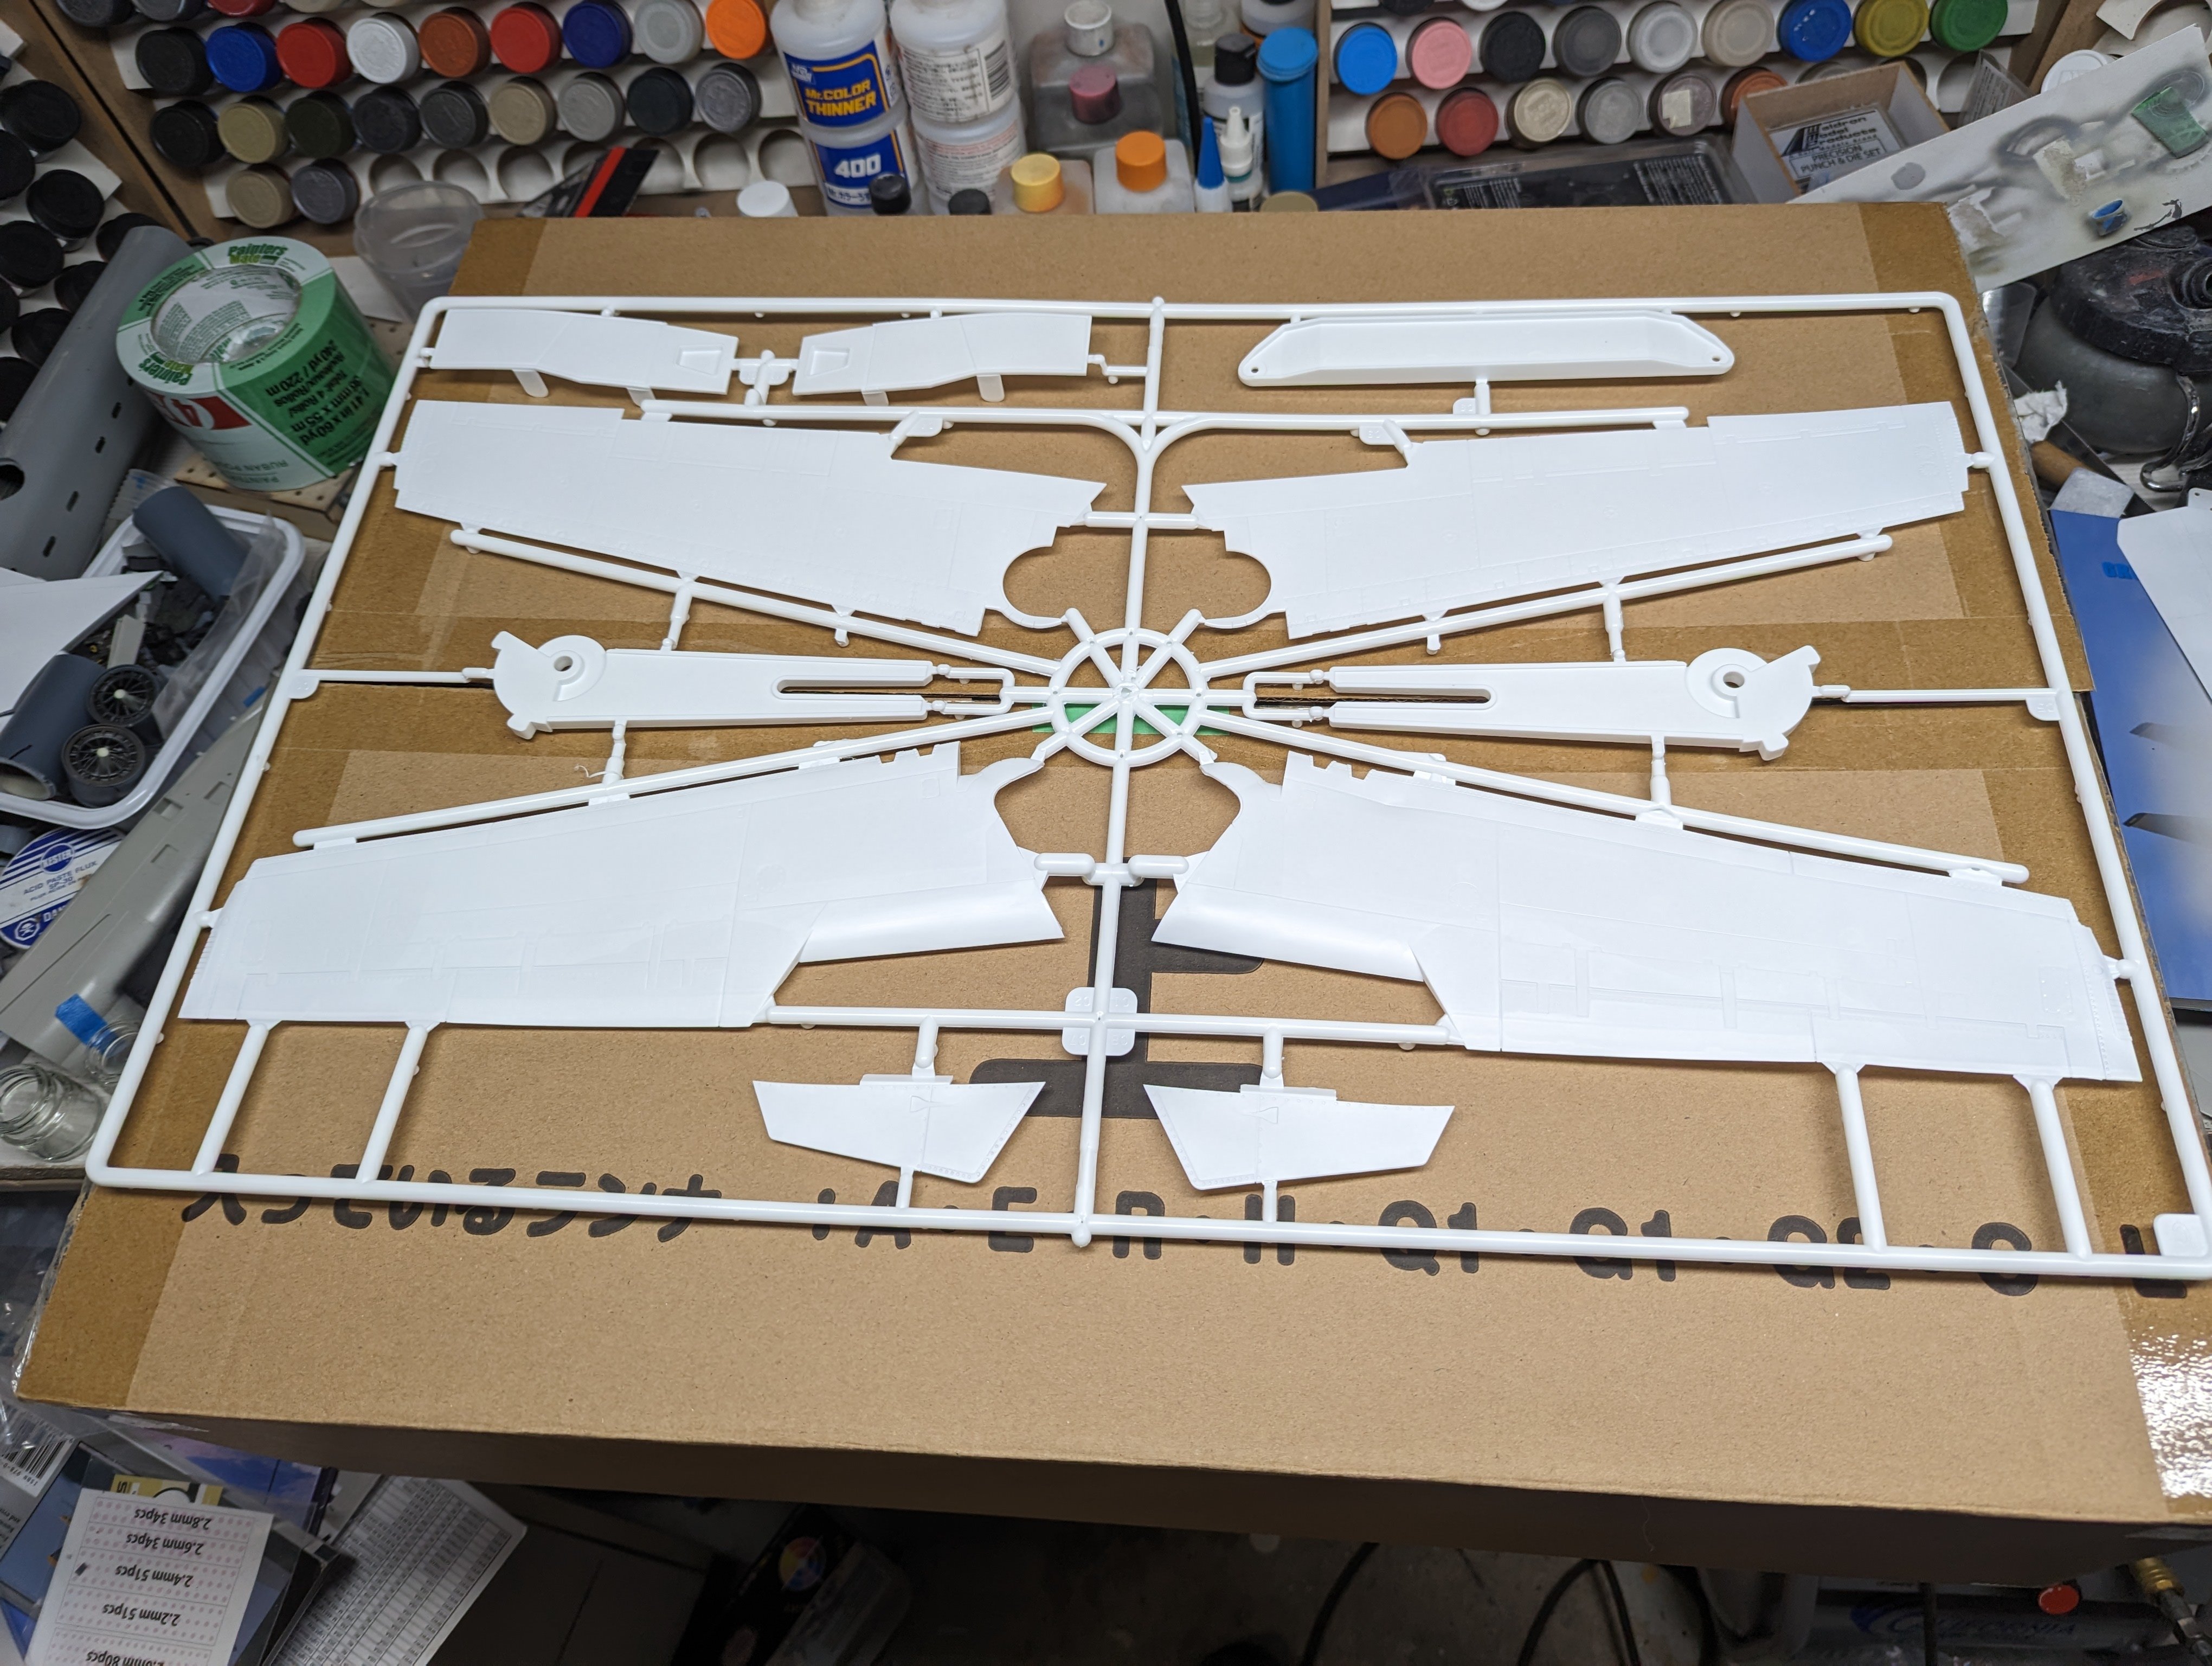
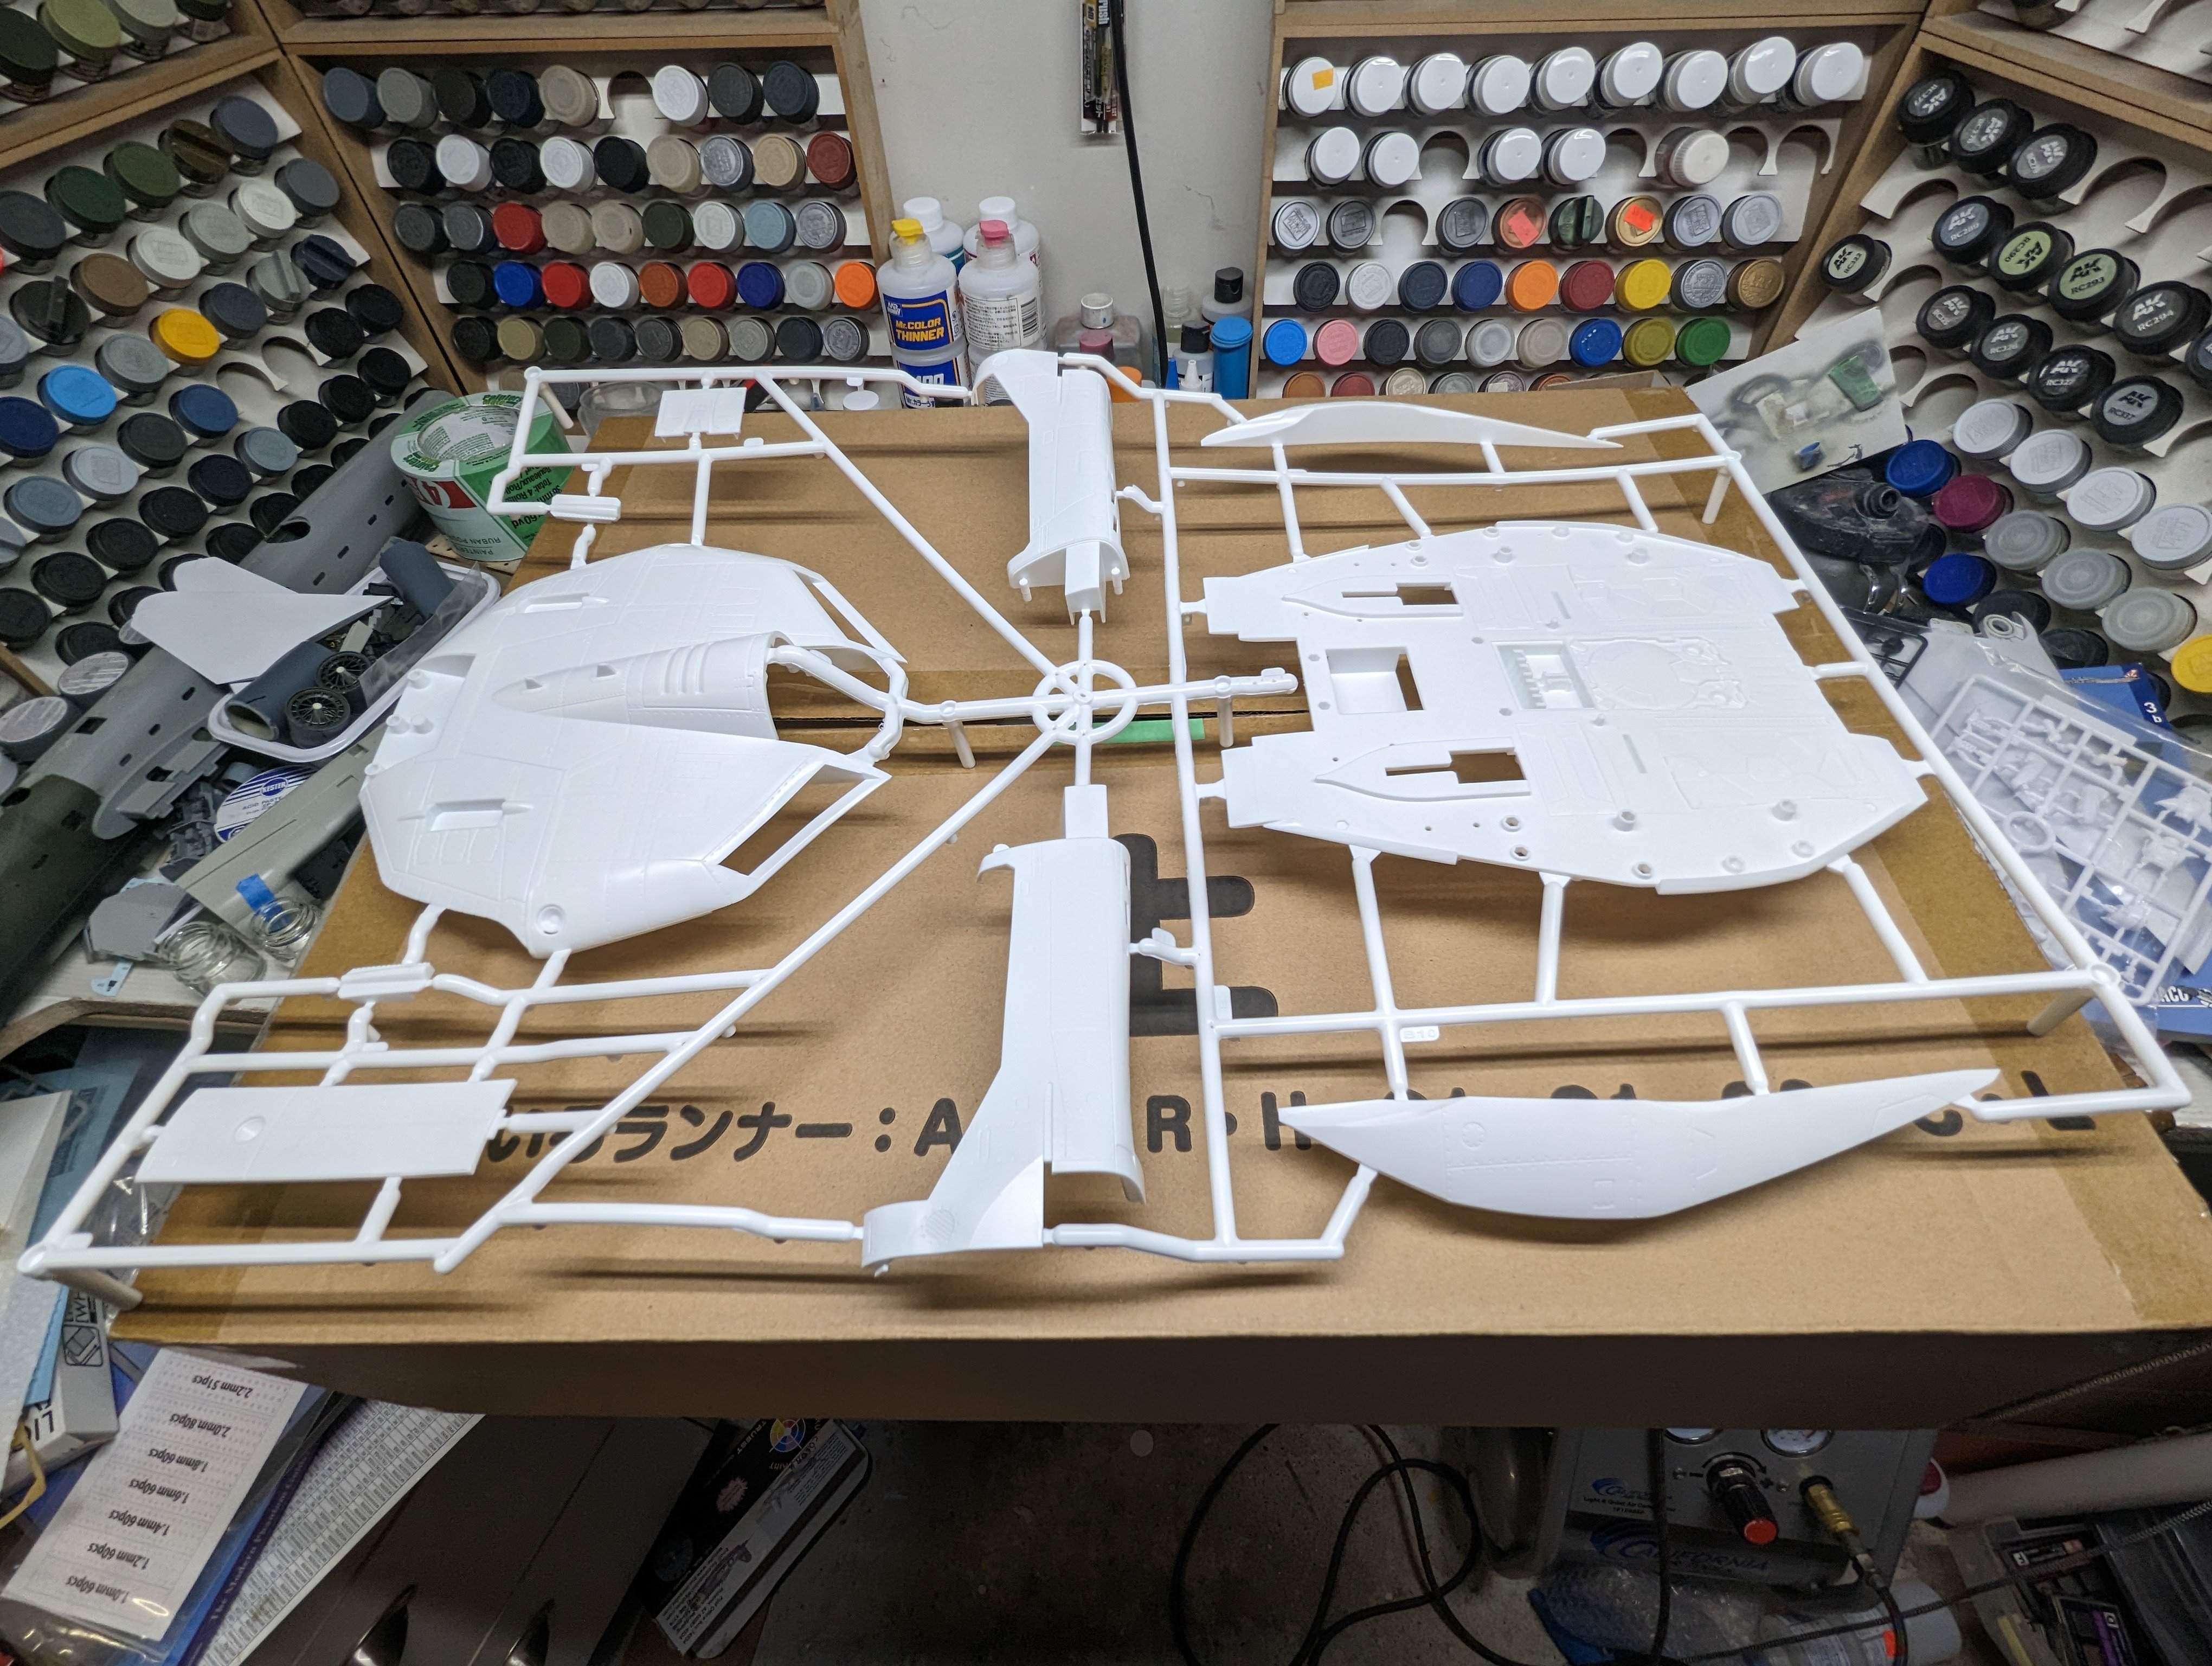
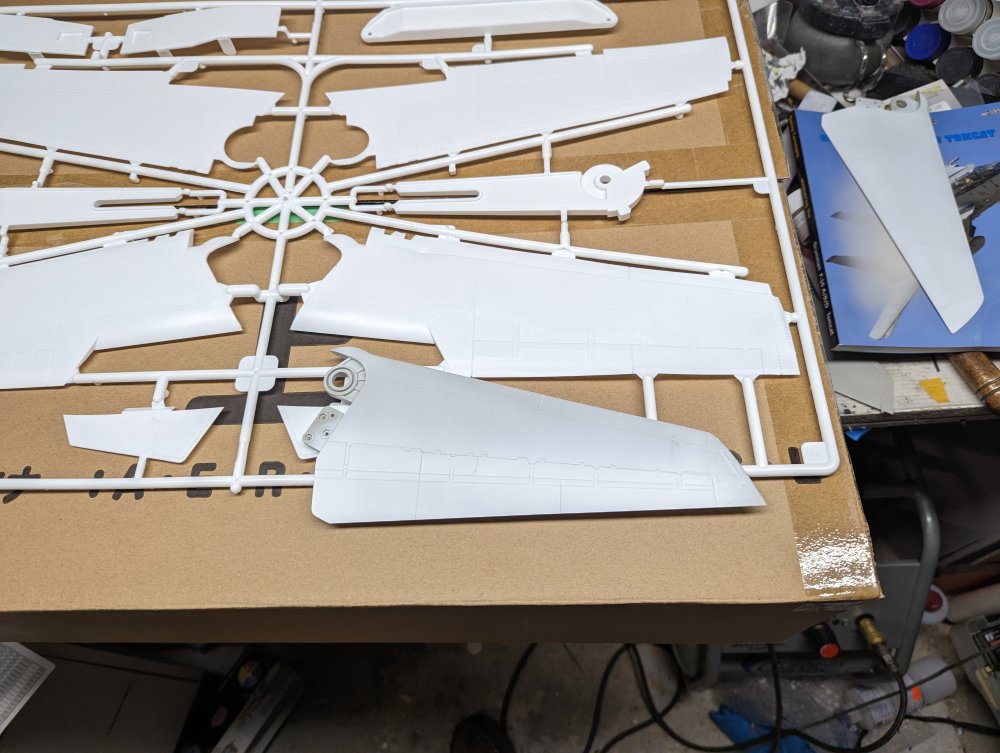
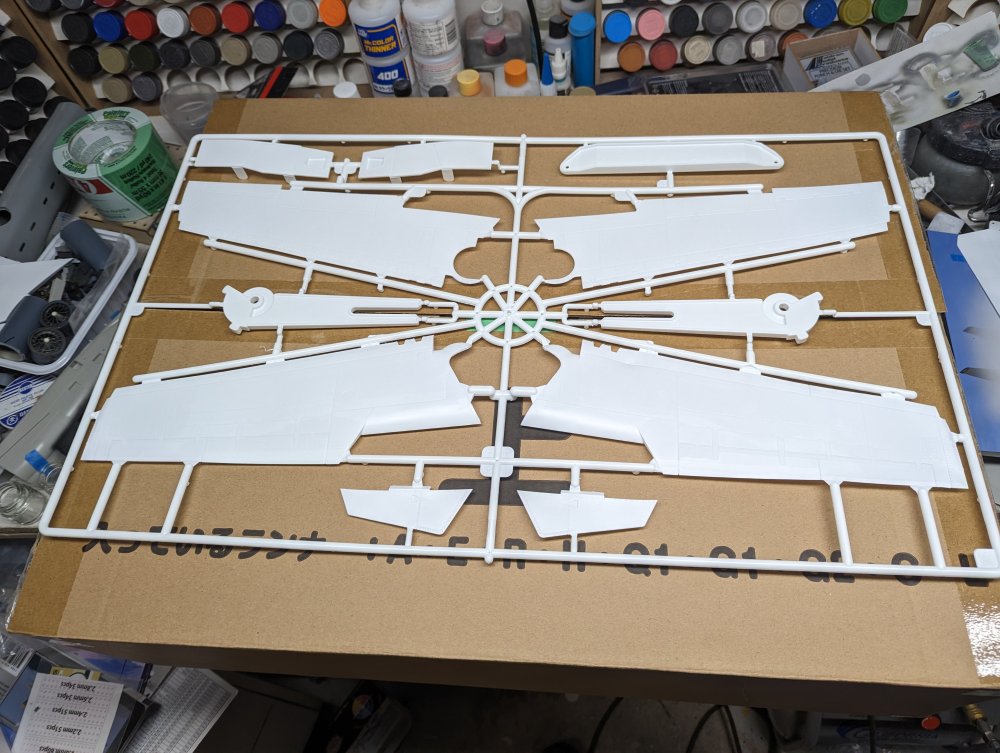
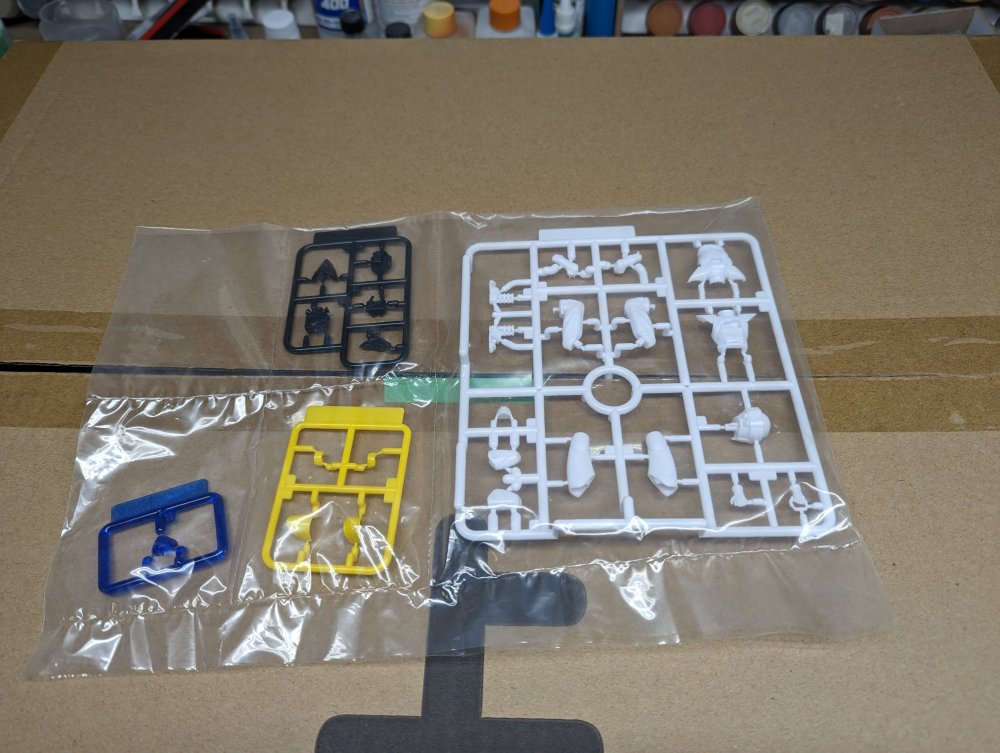
Okay, so for those of us who didn't grow up in the early '80s, Macross was a Japanese anime series that had humans flying in transforming fighter planes fight off an alien invasion. Throw in a love triangle, a catchy song and some fantastic animation and you have a classic. It was popular enough that they made a feature film out of it called Macross- Do you Remember Love? Many of the Japanese model companies made various kits of the robots or mecha featured in the series but most were in smaller scales, like 1/72 or 1/100. There were a couple kits in 1/48 but not many. Then Hasegawa came out with a series of kits starting with 1/72 and branching out into 1/48. These are some of the best kits from a detail and fit standpoint. I thought that they would be the biggest I'd see of my favourite mecha subject. Here's my 1/48 build. Then a couple years ago, a company called Max Factory announced they were going to do one in 1/20(!) scale. This became a grail kit/must have instantly. I managed to preorder it from Japan and accepted that shipping was going to what it was. Needless to say, it's a big box. It even have warnings on the corners. Inside, the outer box is the kit box itself. The contents are spilt into two boxes labelled creatively upper and lower.
-
Thanks for pointing out the step in the rudder. I would've cut straight across. The wing tips are a straight cut at least.
-
1/16 scale Tiger VI Ausf E early build
BlrwestSiR replied to CrankyCrafstman's topic in LSM 1/35 and Larger Work In Progress
Some amazing scratch building there Ron. -
I feel you pain there Scott. I'm trying to get the primer down on my Tomcat so it's at least opaque. At least yours looks like a Tomcat.
-
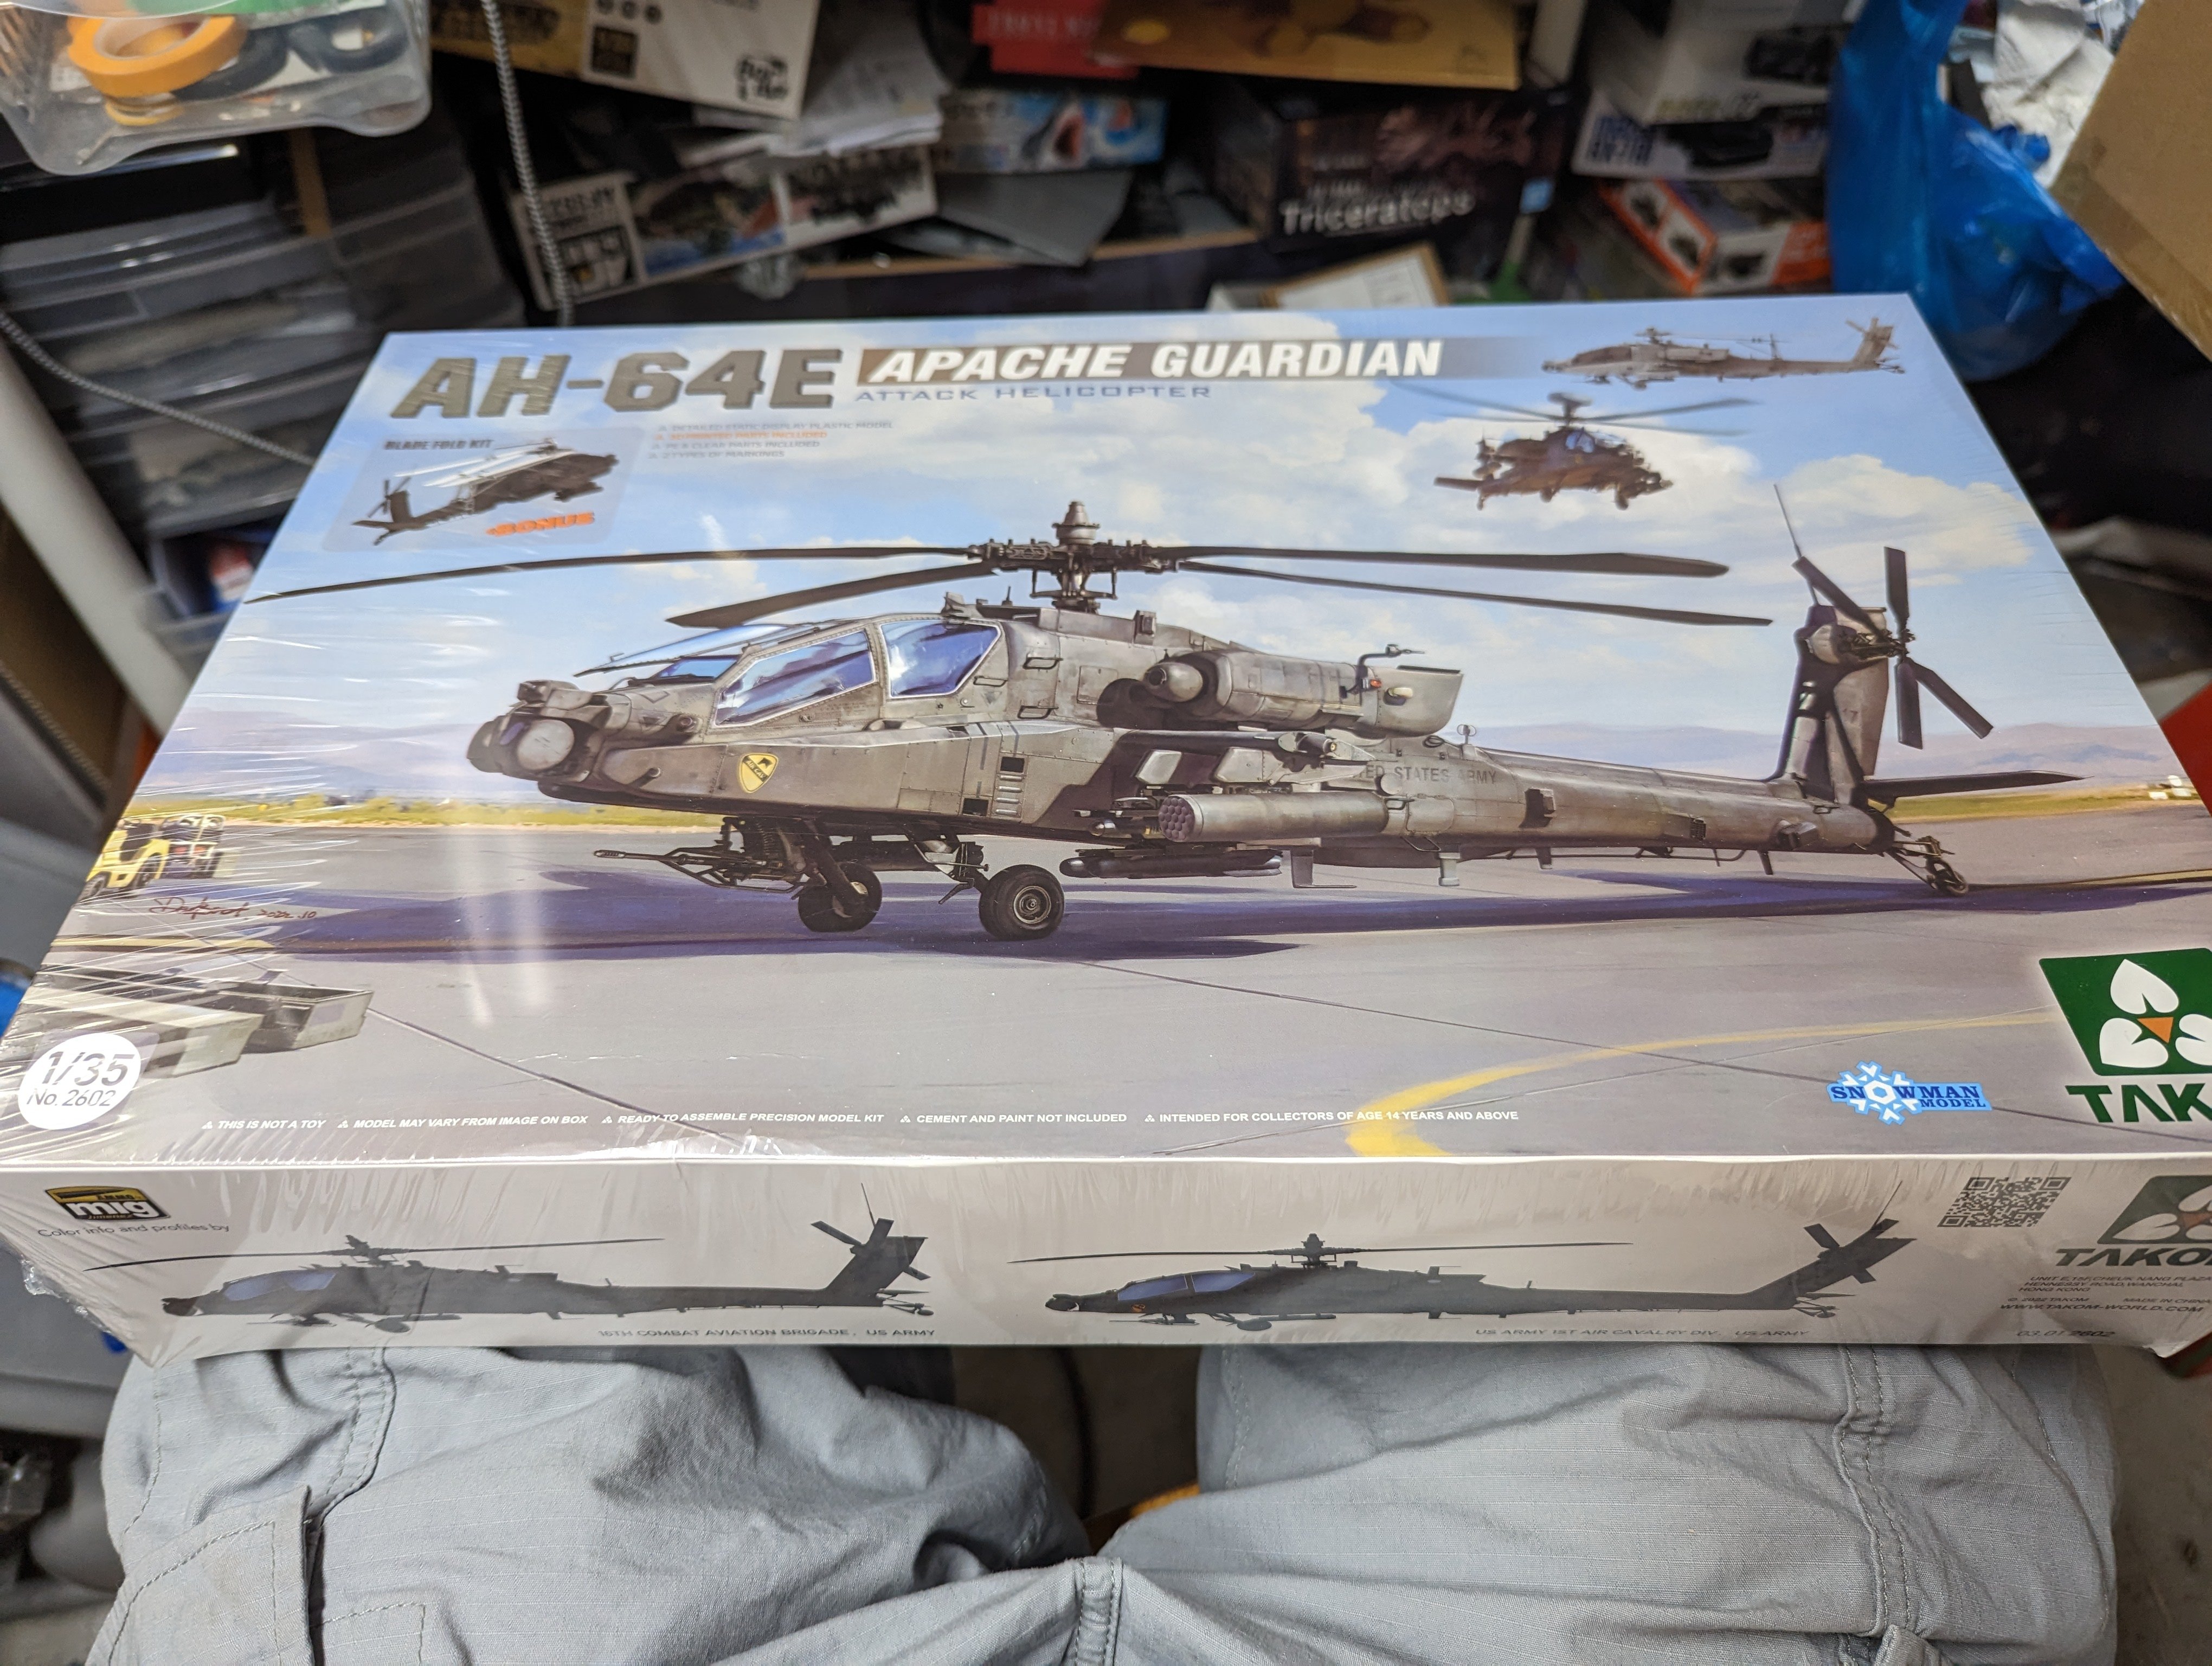
I just received the Apache courtesy of @Peterpools. It's a big kit, rotor span notwithstanding. A quick look inside shows some very nice detail including lots of raised rivets.

-
Definitely...unique looking. Being a CSM kit, it'll go together just fine though.
-
F4U-1D Corsair - Tamiya
BlrwestSiR replied to denders's topic in LSM 1/35 and Larger Work In Progress
Great progress on the Corsair. Will you be leaving the engine covers off? -
The light grey looks great. I think a straight white would have looked too stark.
-
1/16 scale Tiger VI Ausf E early build
BlrwestSiR replied to CrankyCrafstman's topic in LSM 1/35 and Larger Work In Progress
Ron, I'm looking forward to an update especially with the new bits that you've received. Carl -
The ZM wood grain stencils were made by RB Models. I've used one for a few years. You have to be careful it's doesn't snag on anything. If ZM doesn't have instructions for it, the RB ones recommend soaking it in thinner rather than scrubbing it to remove excess paint buildup. The biggest problem is it doesn't always fit where you want it to.
-
Arado 234 Nachtigall on Speed
BlrwestSiR replied to DocRob's topic in LSM 1/35 and Larger Work In Progress
Rob, thanks for sharing the 1ManArmy pic. I keep looking at them but like yourself, could never tell what's included. I wish they'd include a simple line diagram of what's in each set. Might get them some more sales. Carl -
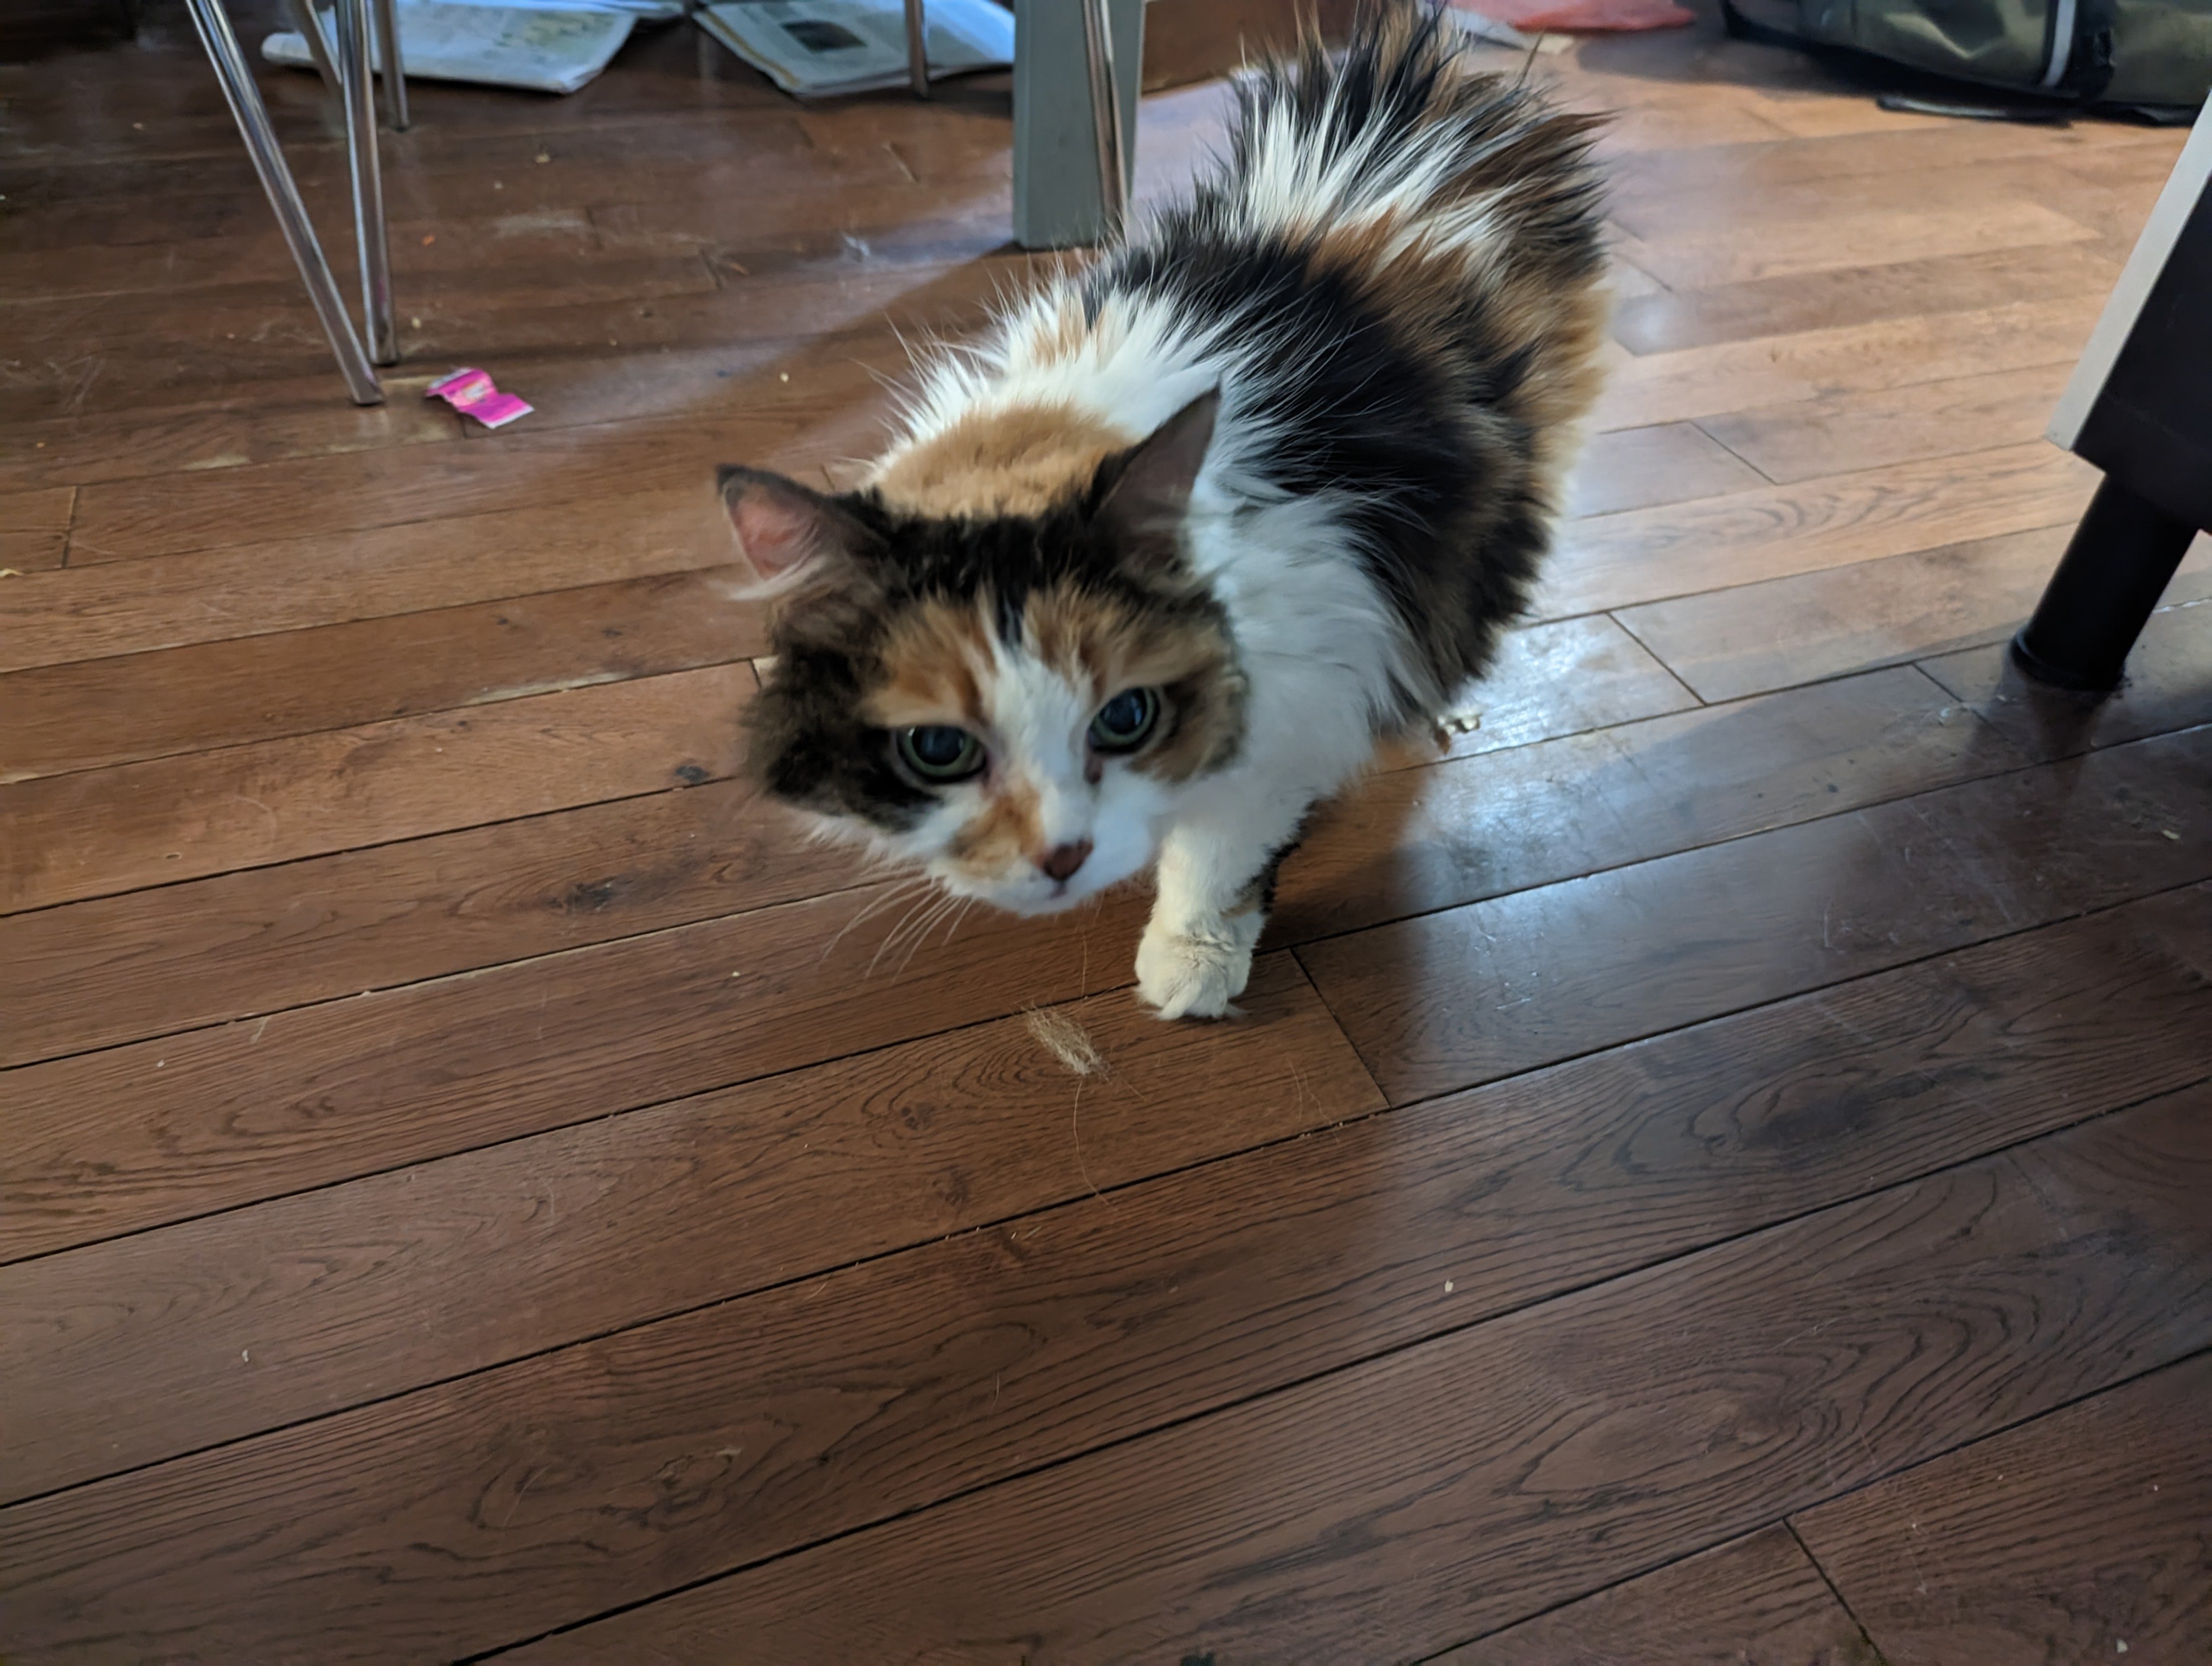
We nearly lost our carpet monster over the weekend. Fursnake on Saturday snuck out the back door when our son was trying to get our other cat in. I was at my bench in the afternoon and found it odd that I didn't have my furry parts catcher. Our initial search didn't turn her up and Sue thought she was maybe hiding in the house. Turns out she had crossed the street and made sad faces at our neighbours. They brought her to their vet who couldn't find a microchip so she was brought to the local animal shelter. The neighbours then posted a thread to the neighbourhood Facebook group where someone we knew saw the posting and told us. After getting in touch with our neighbours, we found out what shelter they'd brought her to and picked her up Sunday morning. So Fur is home safe again and ready to shed on my bench and keep me company.