BlrwestSiR
-
Posts
9,075 -
Joined
-
Last visited
Content Type
Profiles
Forums
Events
Gallery
Everything posted by BlrwestSiR
-
That too!!!
-
I blame the spell check.
-
Just got home from The Offspring concert here in Toronto. They did a tribute set to Ozzy and had the guitarist from Sum41 join them in it. An amazing show altogether.
-
Horton, not hot dog.😆
-

Tamiya 1/35 Kit Tiger (Production)
BlrwestSiR replied to RalphSarc's topic in LSM 1/35 and Larger Work In Progress
You're off to a nice start. Are you planning any AM with go with the build? -
Another early birthday gift, this time from a good friend.
-
At least it still fits in a closet.
-
Neat looking paper Panzer there Ralph. The turret sure looks tall on that chassis. Carl
-
1/32 Westland Whirlwind
BlrwestSiR replied to JeroenPeters's topic in LSM 1/35 and Larger Work In Progress
Talk about getting into your work. That's pretty awesome there Jeroen. -
What is on your bench right now ? Share a picture :)
BlrwestSiR replied to Martinnfb's topic in Modelling Discussion
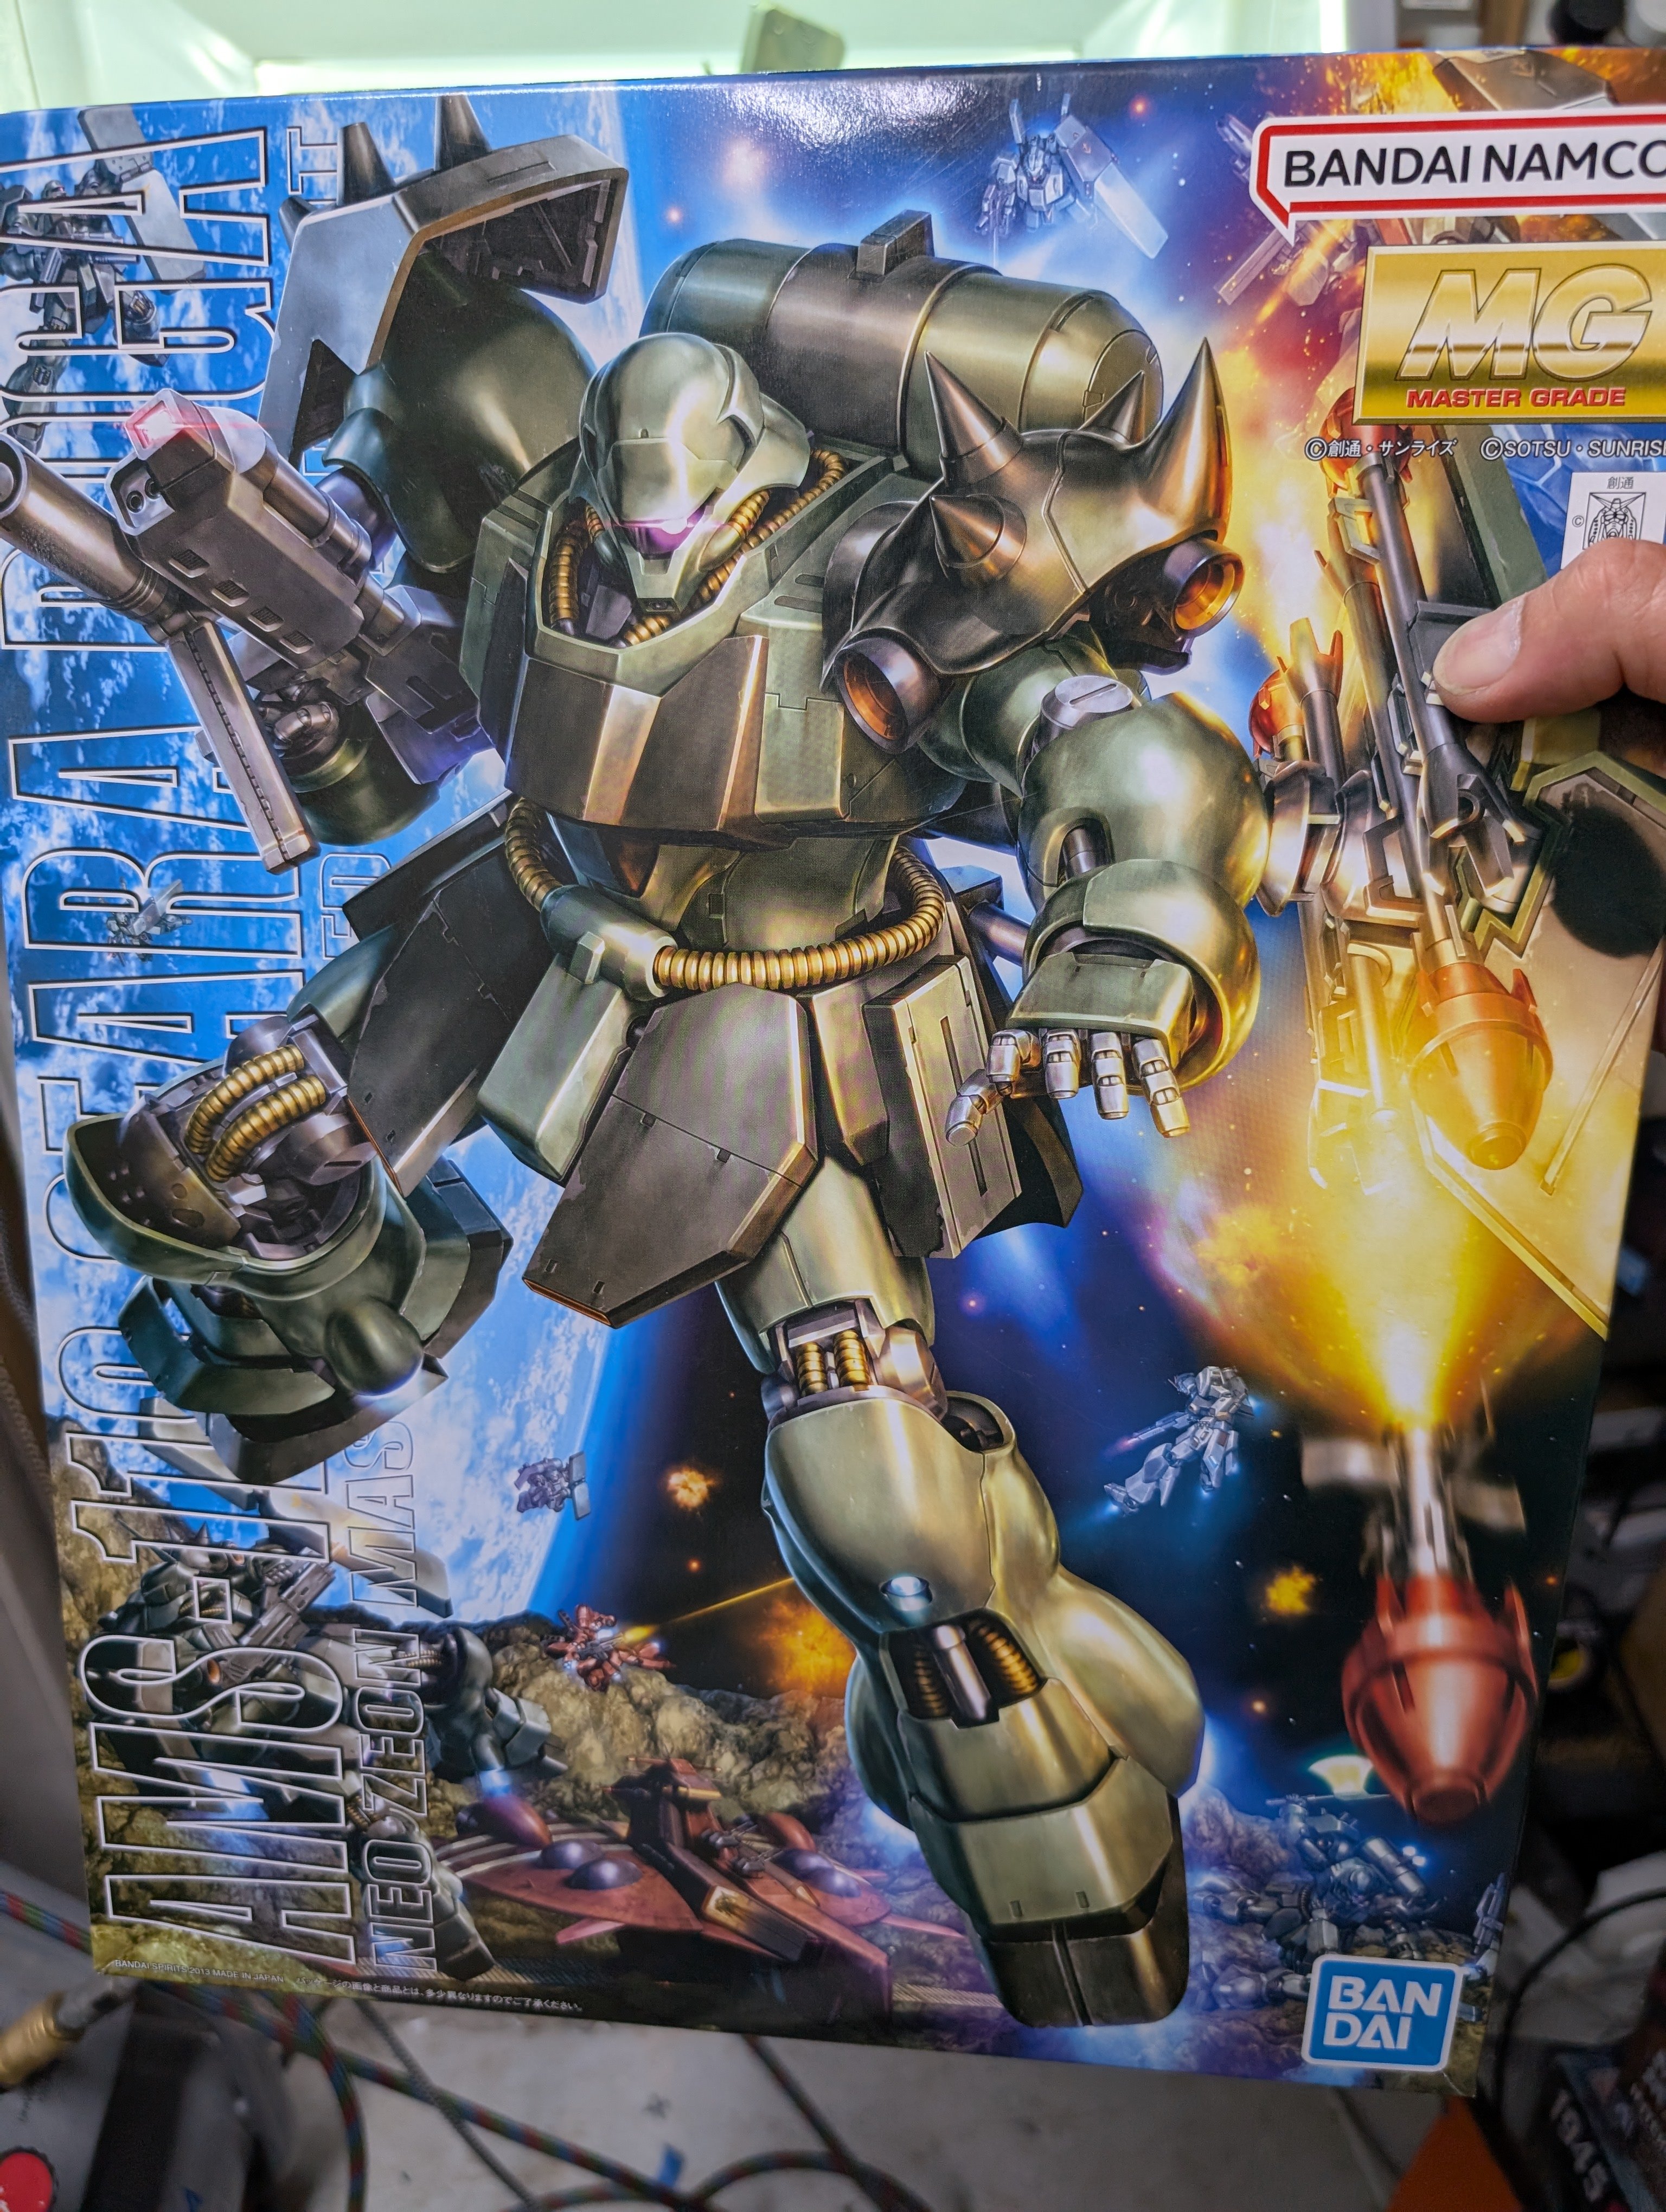
We've had Sunny for almost 5 years now so more of a new bench companion. He hasn't stuck around my bench in the past. Mostly just walked over stuff and then climbed onto the shelves. This is new behaviour for him so we'll see. In actual bench news, I've started tinkering with the ZM 109 I started a while back. Around when it came out.
-
What is on your bench right now ? Share a picture :)
BlrwestSiR replied to Martinnfb's topic in Modelling Discussion
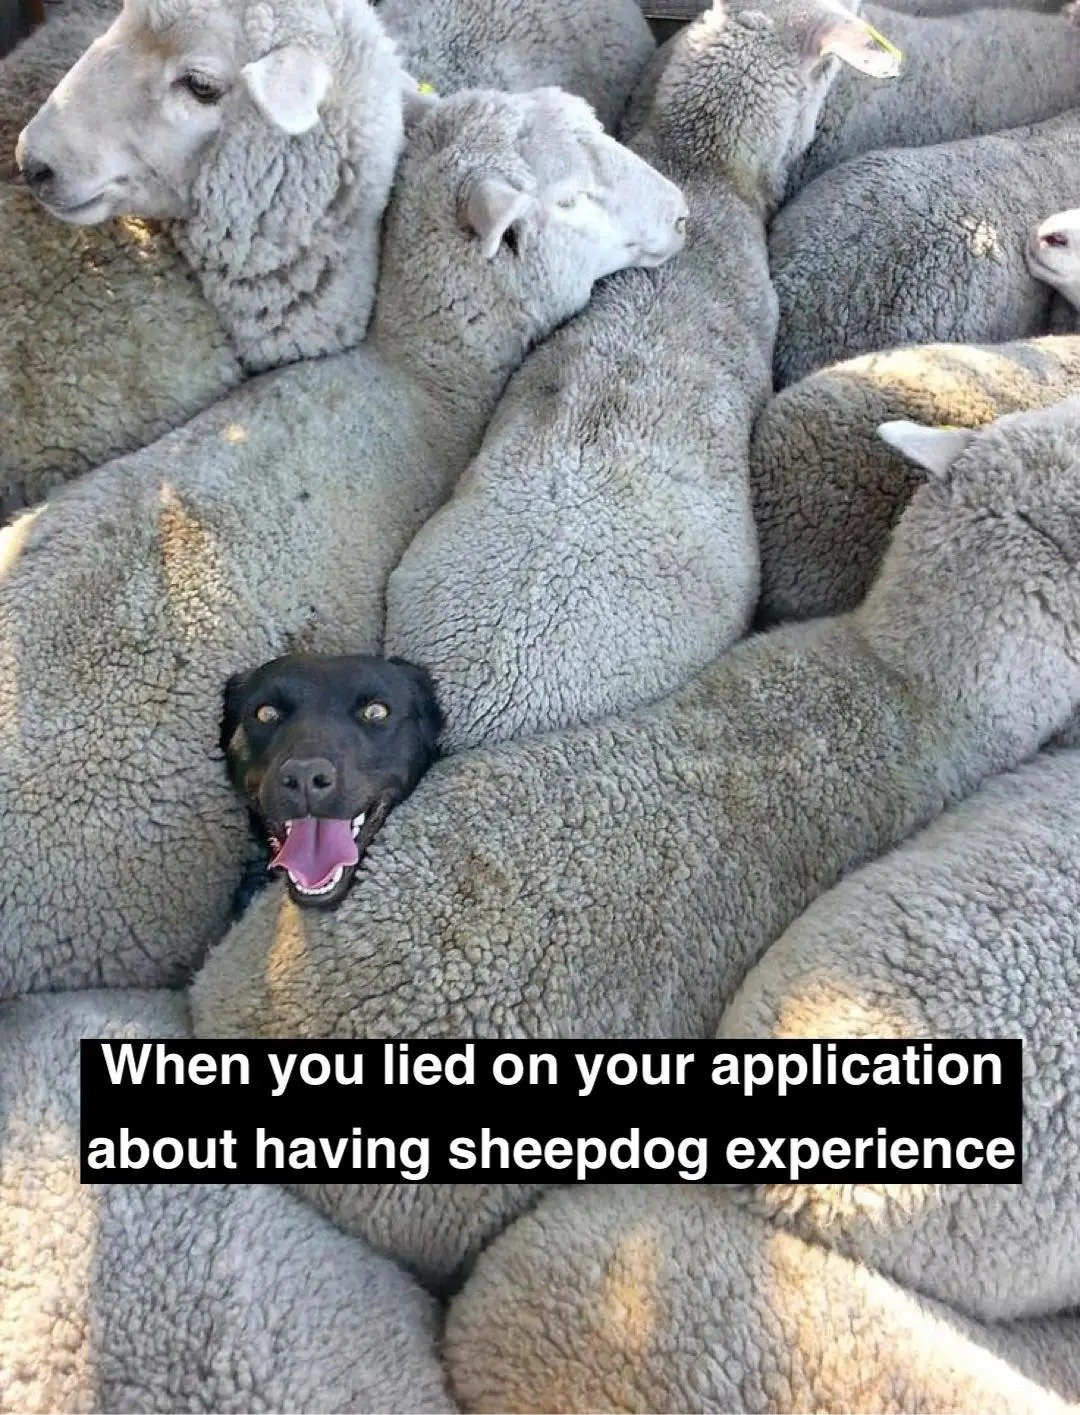
Started a new project in 1:1 scale. Not being good at painting eyes, I'm thinking of this pose instead.

-
Thanks guys! It's actually August 4th so a few more days to go.
-
An early birthday gift to myself. This just came out last week so I ordered at our local book shop. I do like the big guy for some reason.

-
If it's anything like their Sherman V Firefly then it certainly is. Nice choice Dave, smushed box and all. Oddly, for all the Sherman's I've built (about a half dozen) I've yet to do an American one.
-
Das Werk 1/16 Leopard 2 A7V
BlrwestSiR replied to Merad's topic in LSM 1/35 and Larger Work In Progress
Some nice progress there. For the tracks, Tamiya suggests XF-84 Dark Iron which looks closer to the colour in the pics that @DocRob linked to. Certainly a lot better than Rust. -
Nice assortment there Paul. The egg girl with the Cromwell looks great too.
-
Kotare 1/32 Spitfire Mk Ia mid
BlrwestSiR replied to Merad's topic in LSM 1/35 and Larger Work In Progress
Lovely work there. -
Brabham BT45 - Model Factory Hiro - 1/12
BlrwestSiR replied to DocRob's topic in LSM 1/35 and Larger Work In Progress
Those rads look absolutely fragile on the front there. I'd be afraid to handle it after attaching the pair of them. -
Looks fantastic. A bit more work than an OOB build but definitely looks worth the effort. Carl
-
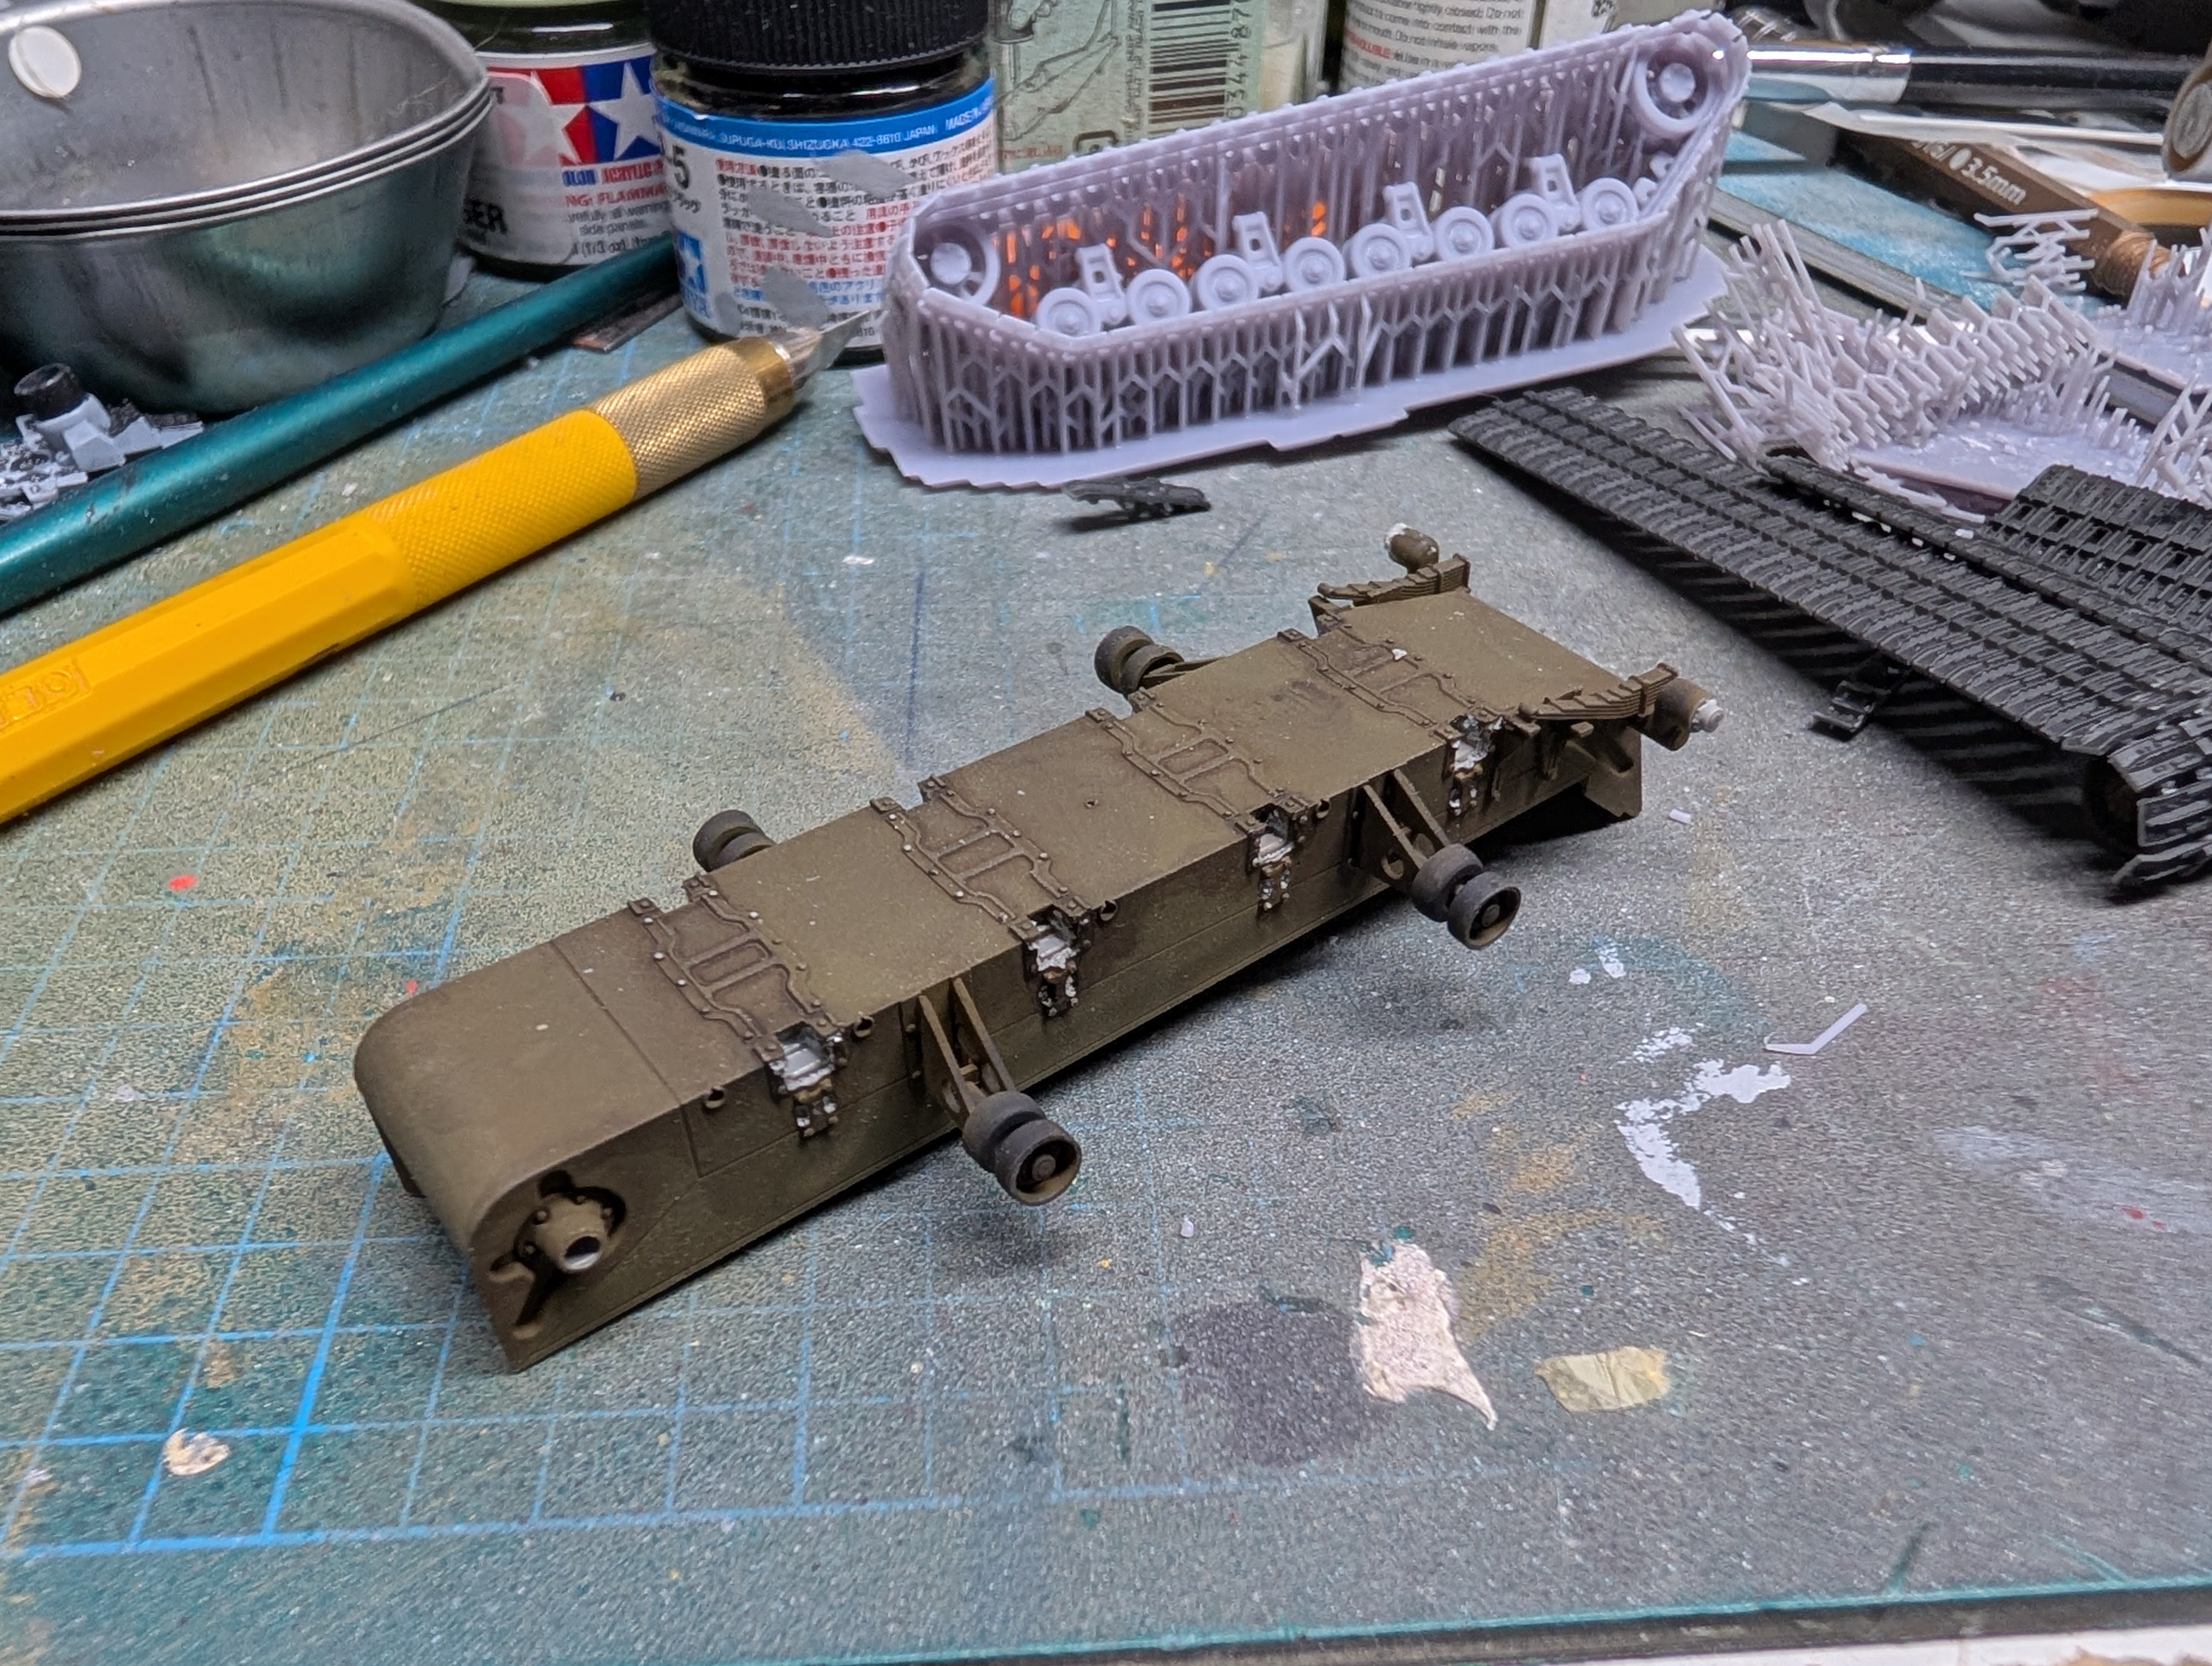
What is on your bench right now ? Share a picture :)
BlrwestSiR replied to Martinnfb's topic in Modelling Discussion
I started the Takom M29C Weasel kit shortly after it came out. The tracks and running Gear were a complete mess. The parts were too small and the alignment pins were too shallow to get things lined up properly. Then the link and length tracks weren't a great fit either. Then FC Modeltrends came out with a one piece track and running gear 3D printed set. I carefully ripped off the kit stuff and after removing the FDM parts from the print supports, I glued those on. Much better. Now I might have enough encouragement to finish the build.


-
IBG PZL 11c Poland 1939
BlrwestSiR replied to denders's topic in LSM 1/35 and Larger Work In Progress
Hopefully they sort you out with a replacement. -
Brabham BT45 - Model Factory Hiro - 1/12
BlrwestSiR replied to DocRob's topic in LSM 1/35 and Larger Work In Progress
Some fantastic progress Rob. Great solution for the exhaust springs. I might have to look into the MFH belts as well for some of my other kits. Carl -
IBG PZL 11c Poland 1939
BlrwestSiR replied to denders's topic in LSM 1/35 and Larger Work In Progress
This looks to be a nice kit. A great assortment of AM for it too. Carl -
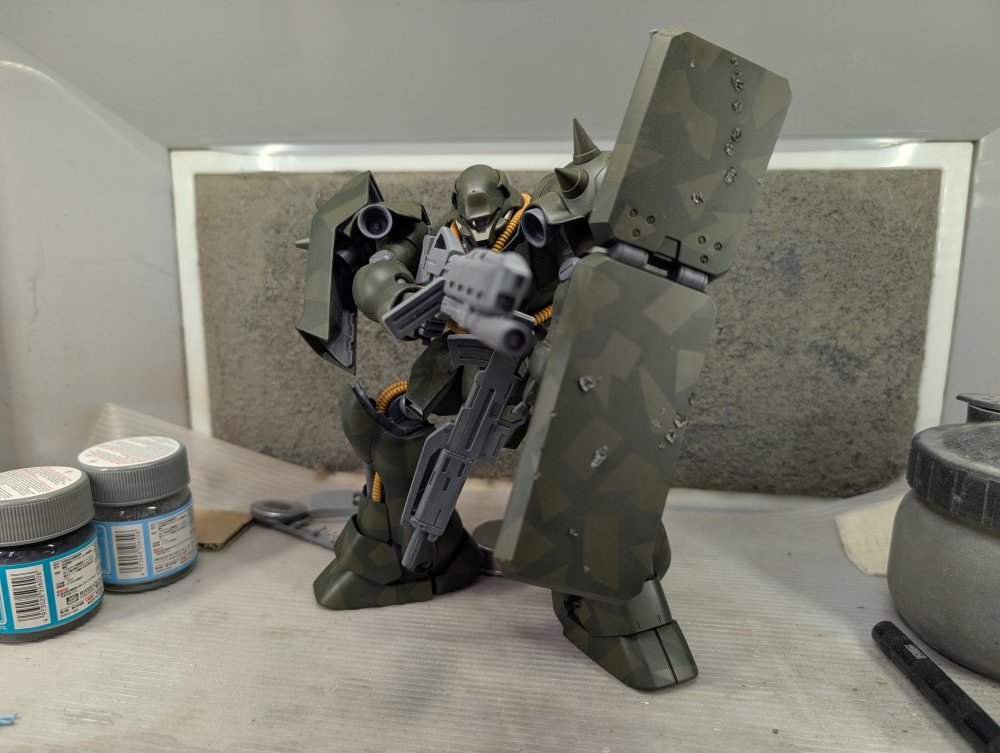
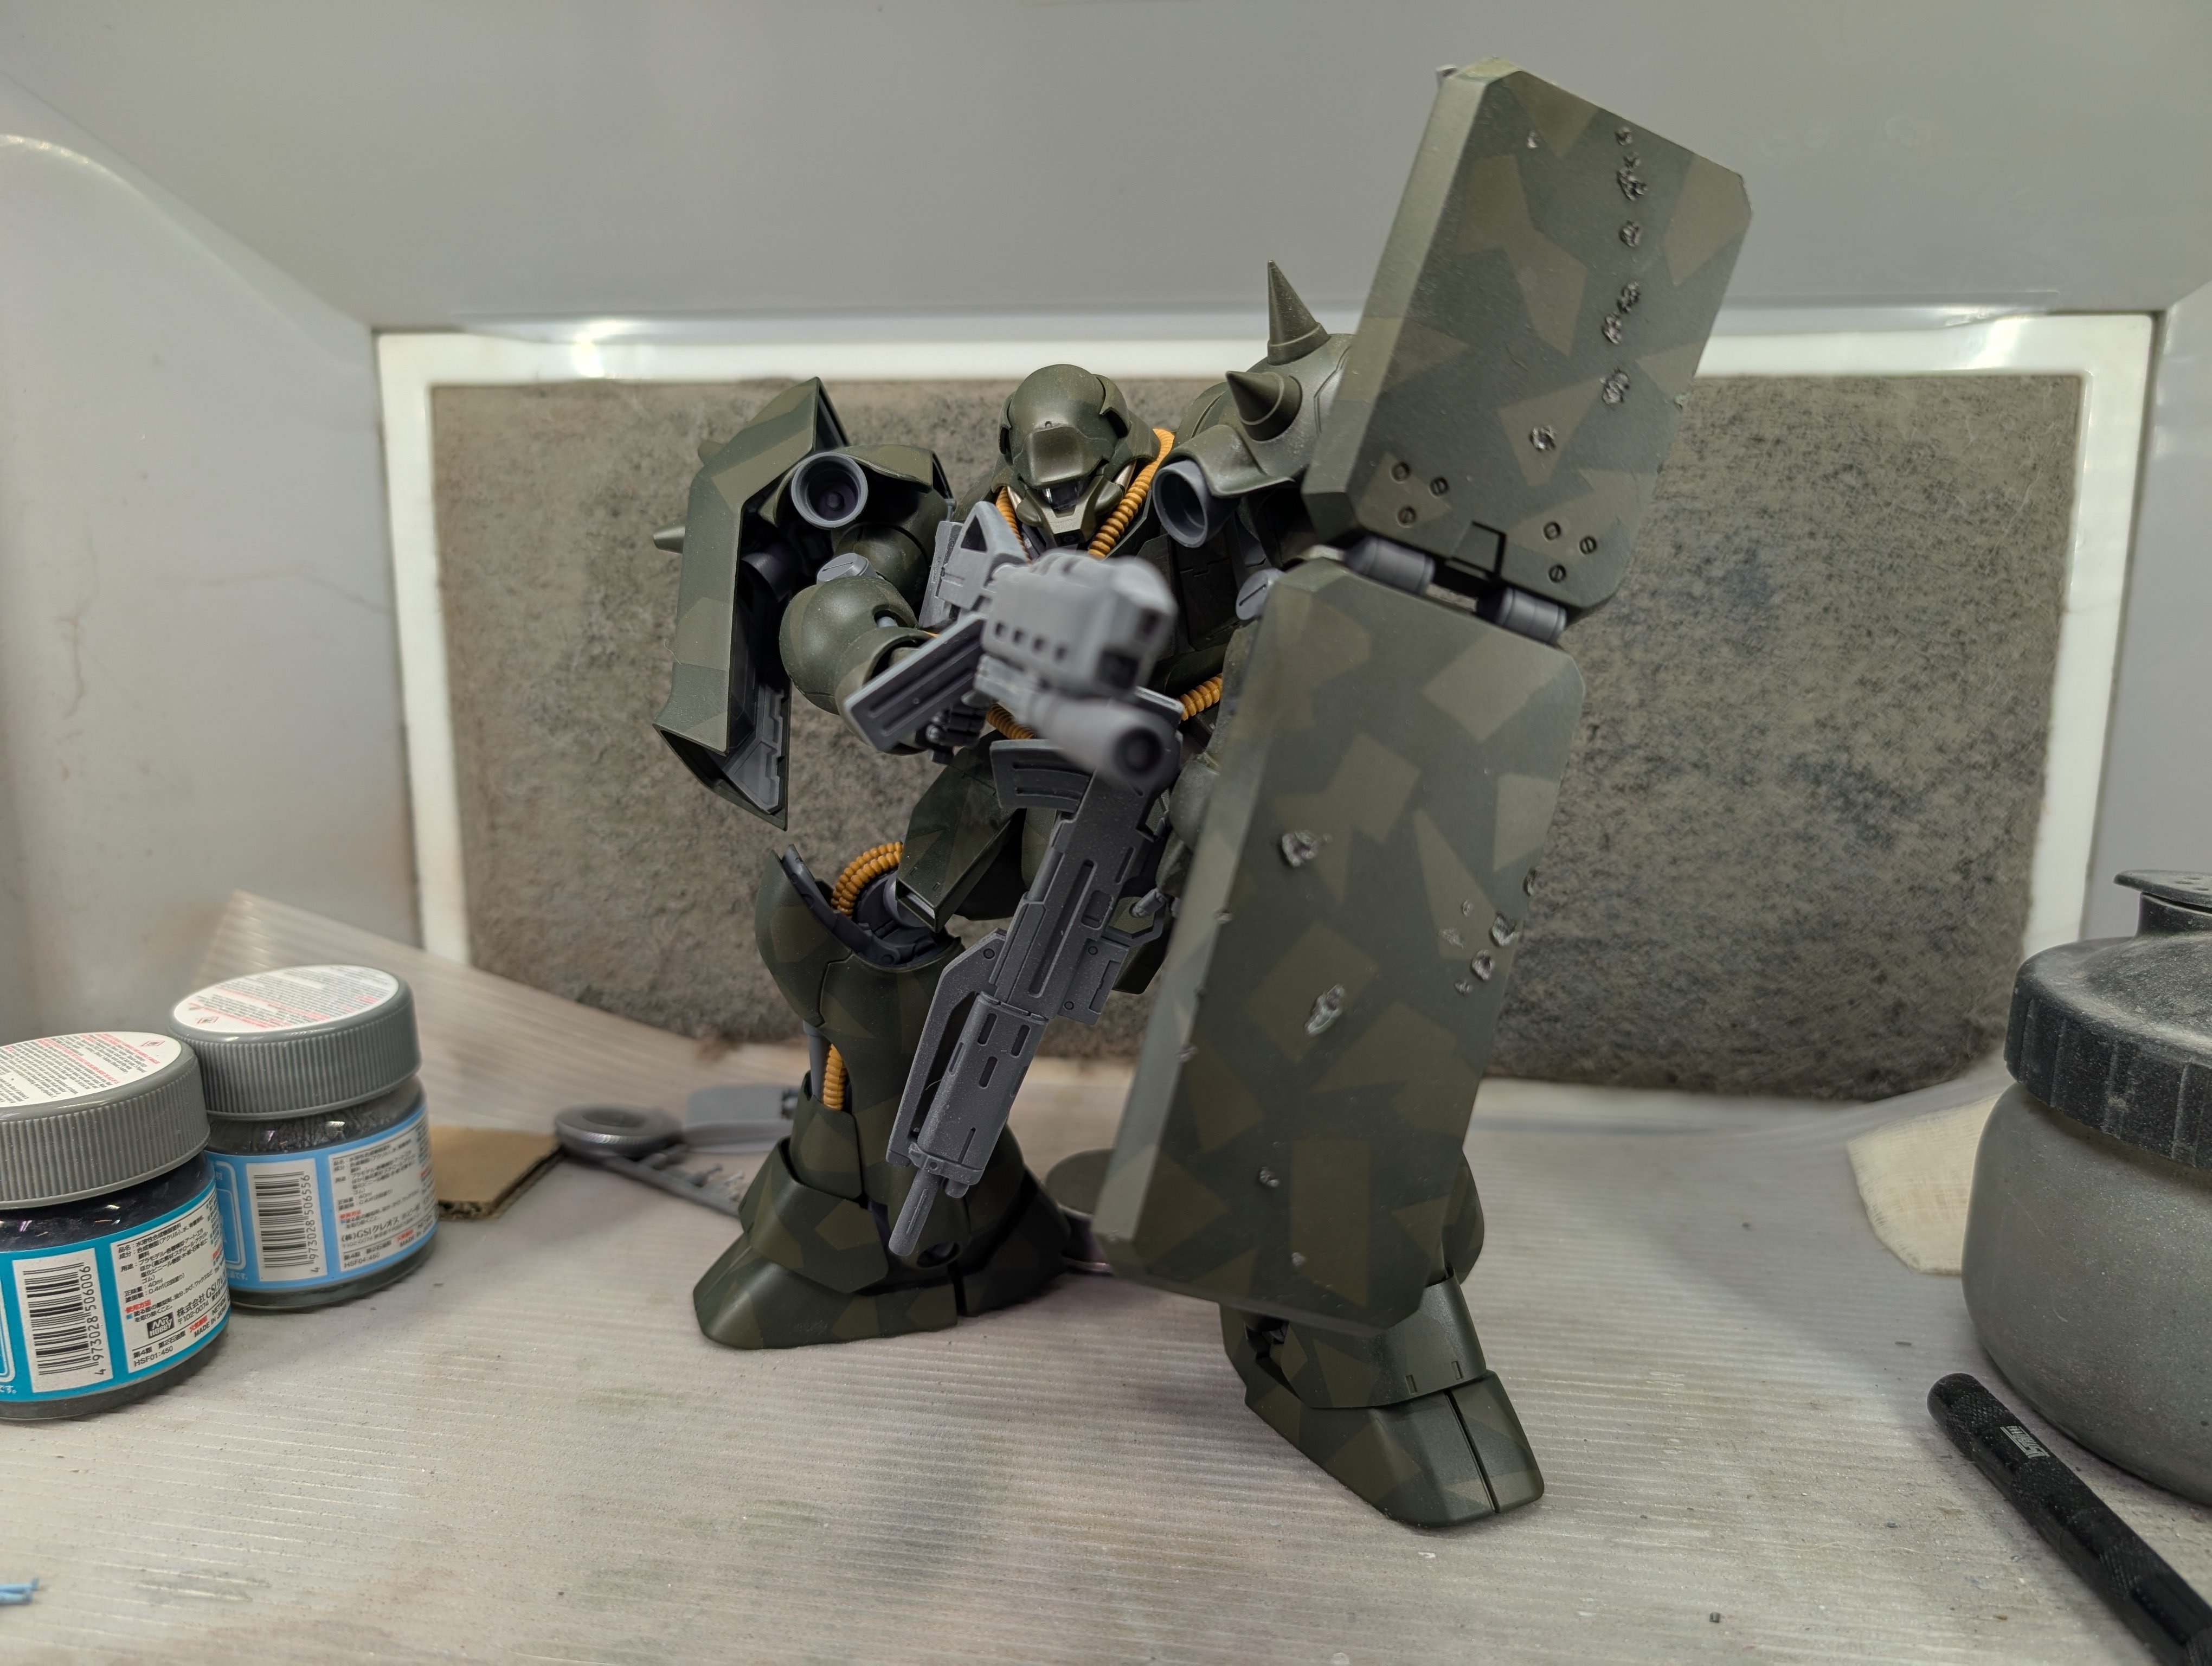
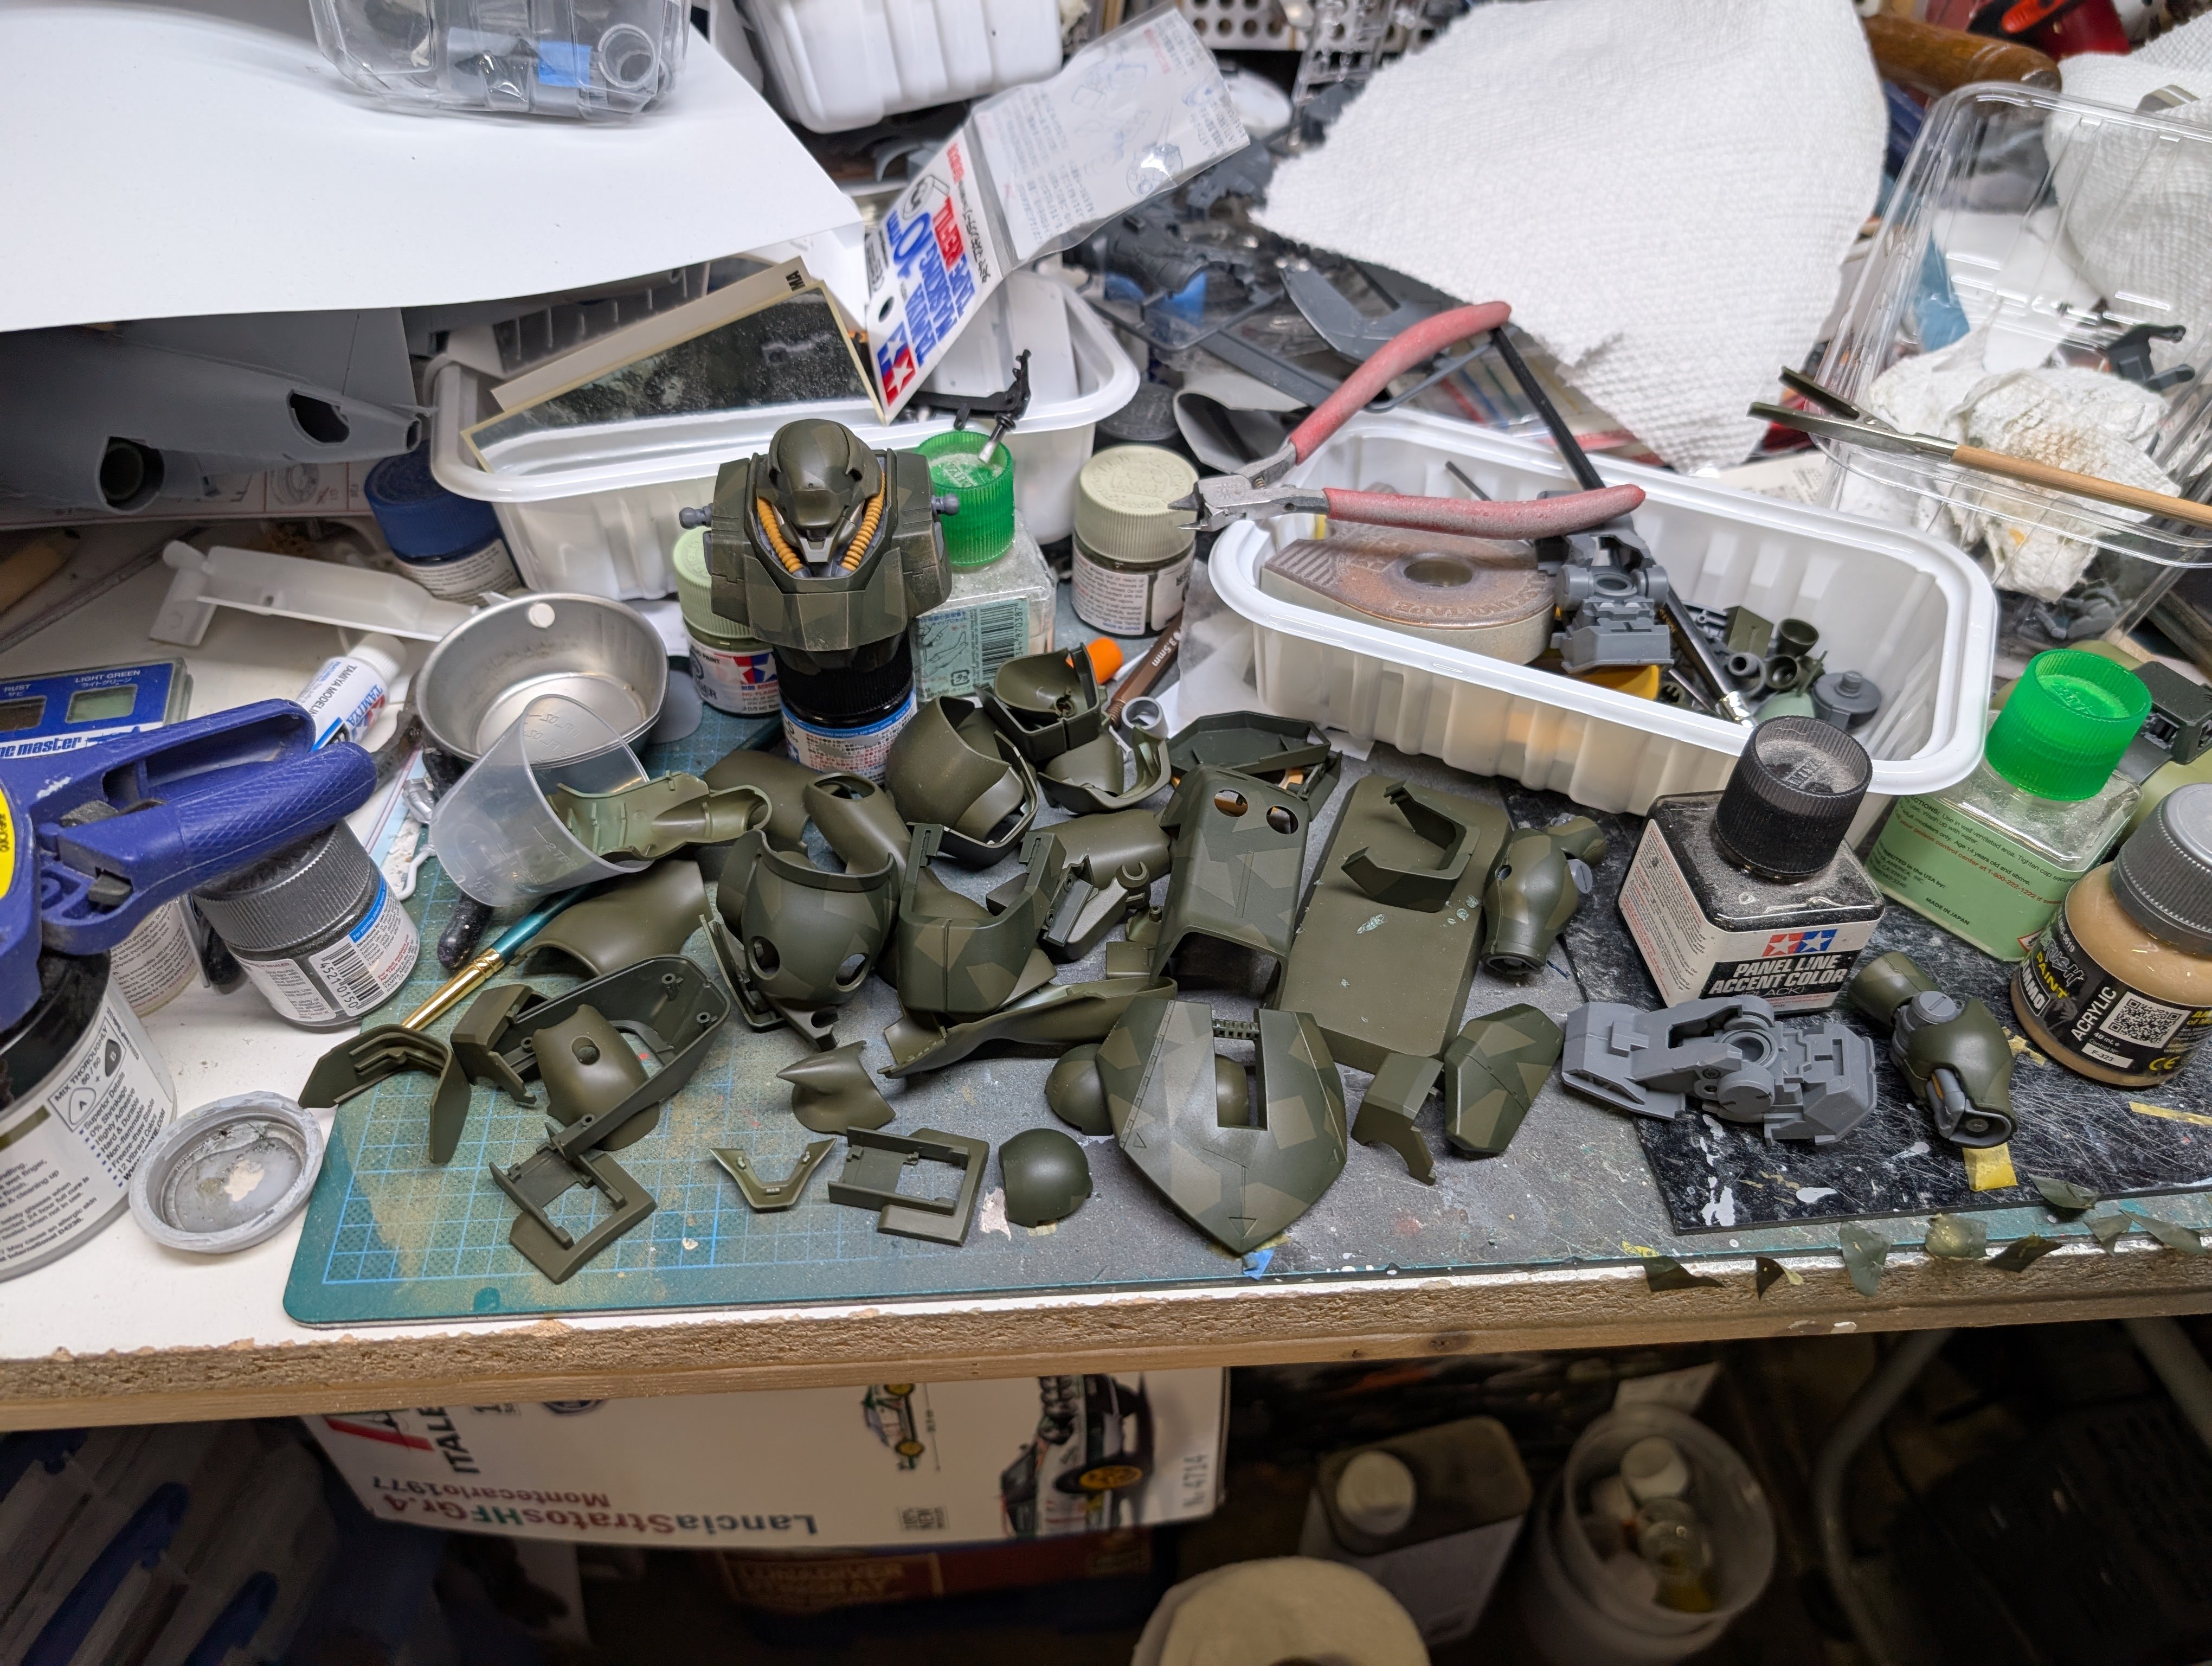
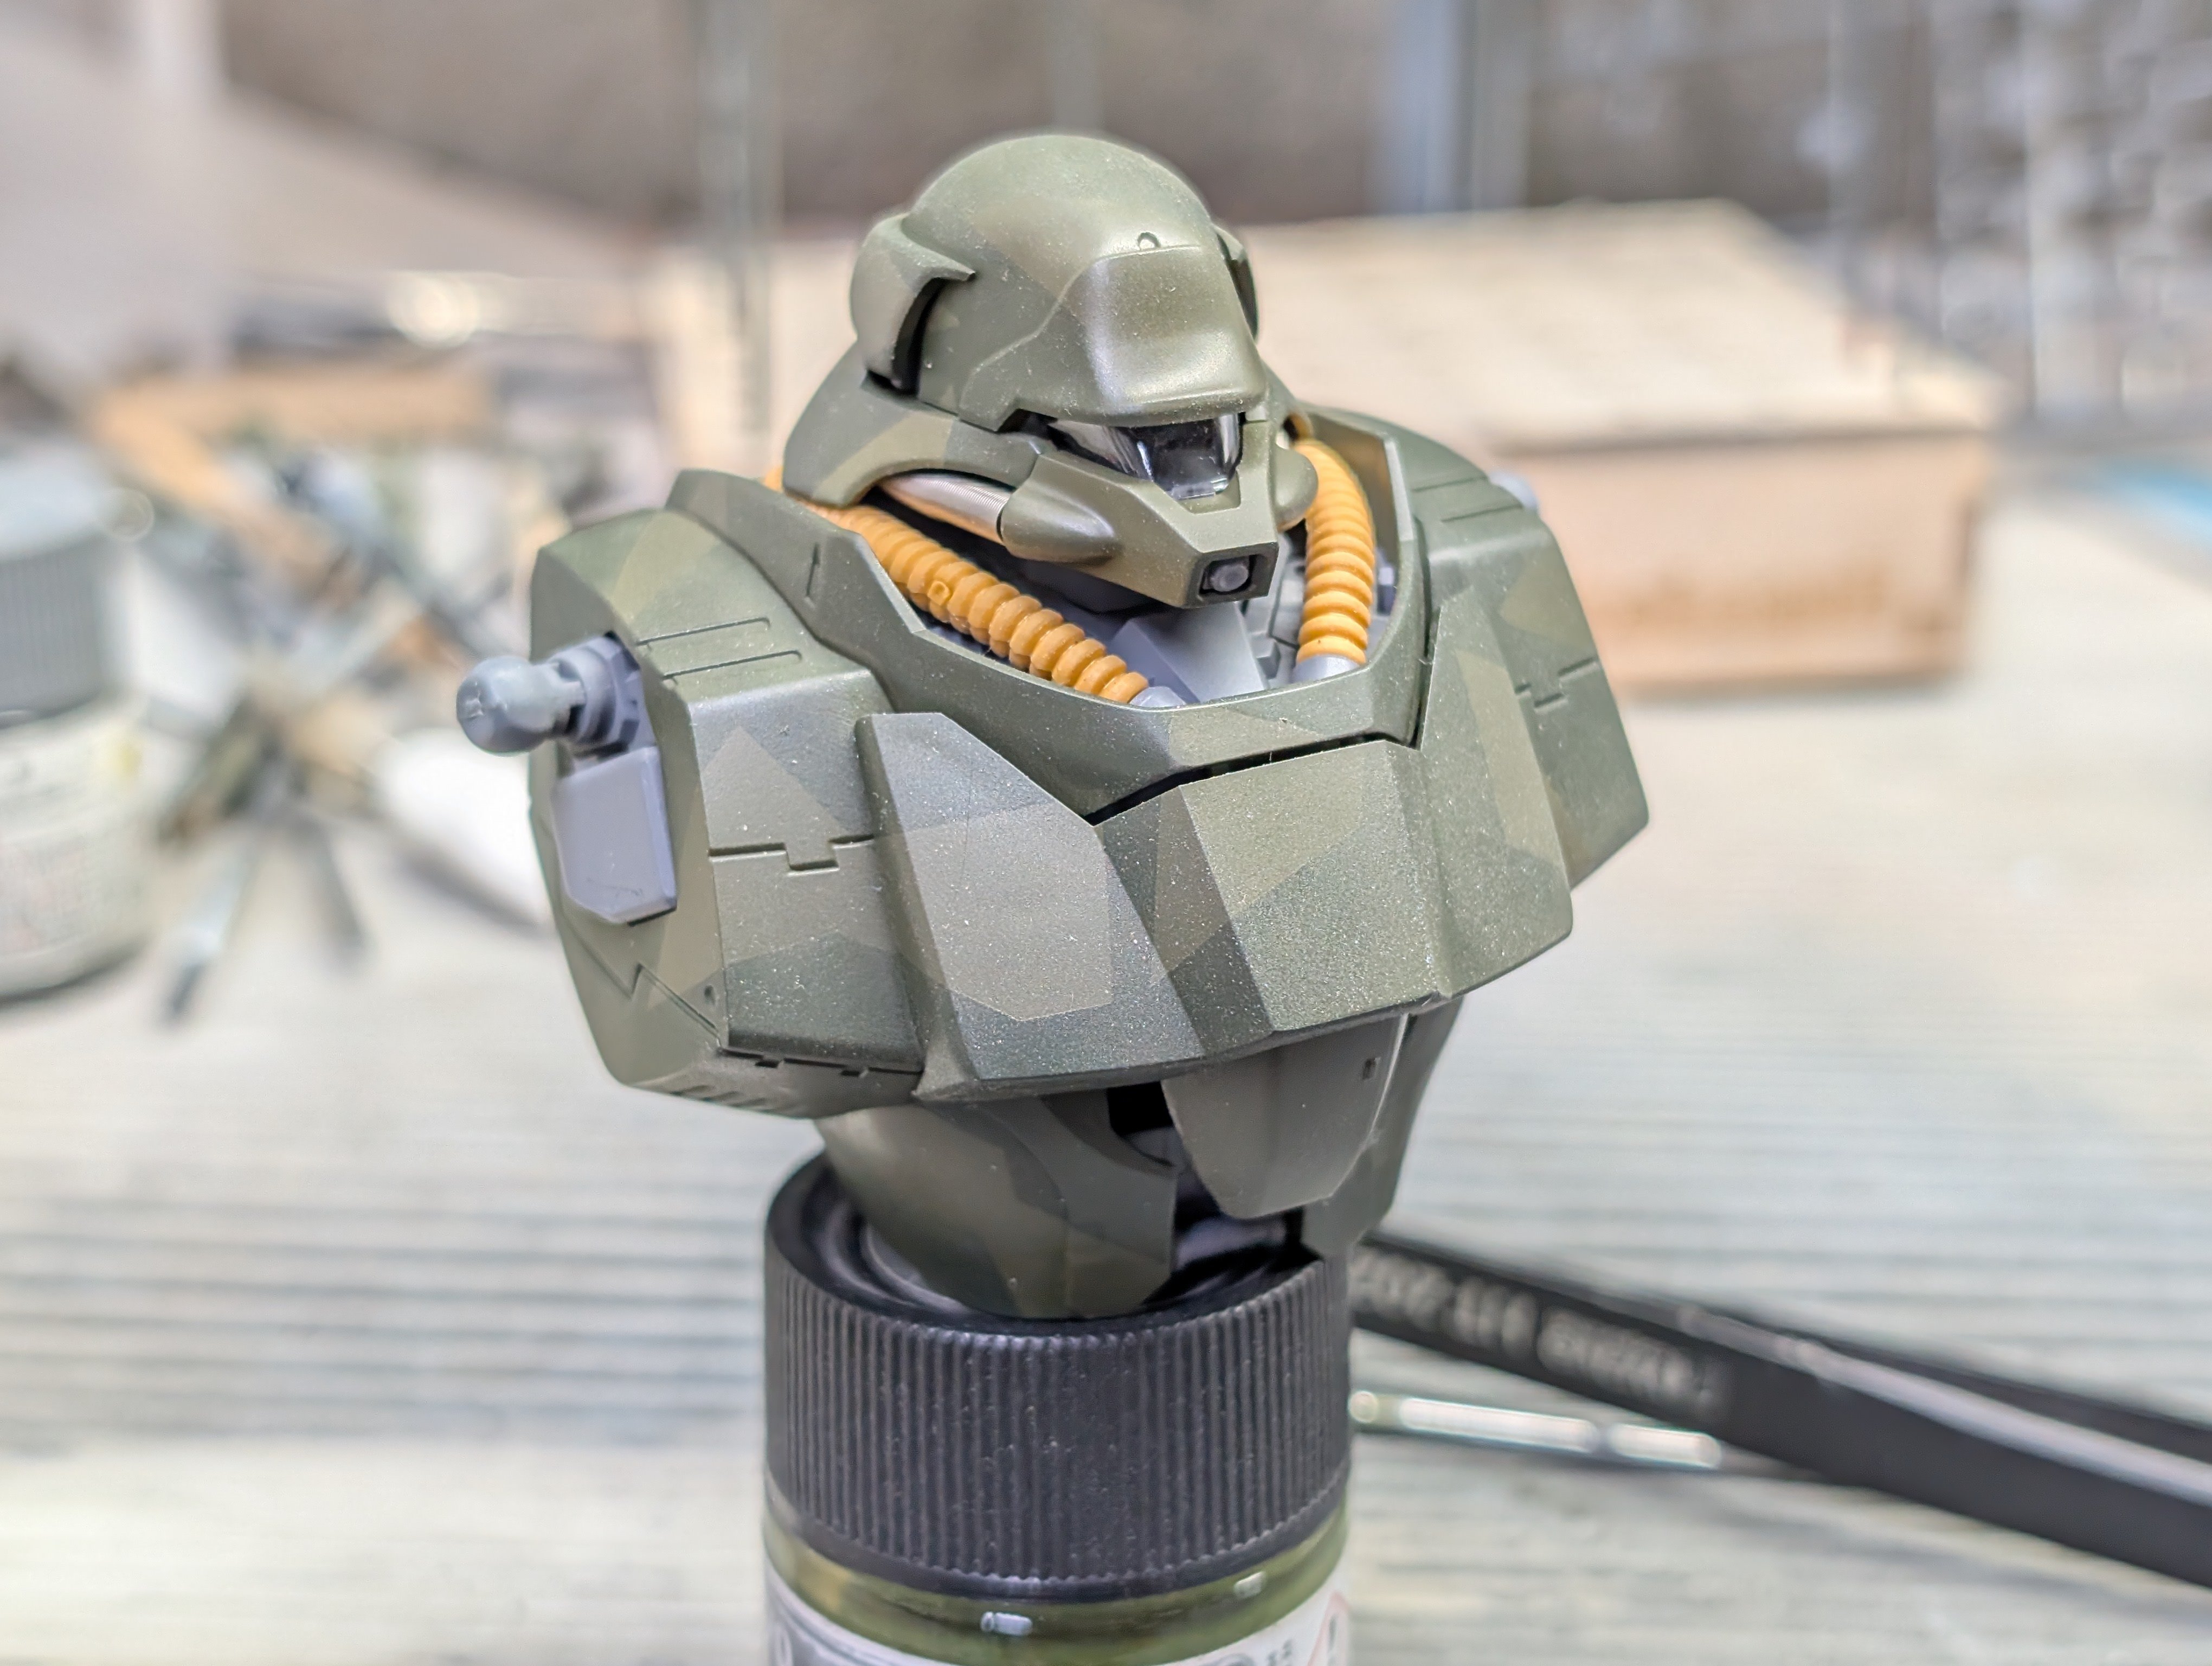
What is on your bench right now ? Share a picture :)
BlrwestSiR replied to Martinnfb's topic in Modelling Discussion
I've been working on this over the last couple of days. The original paint scheme in the various greens have me the idea to do it in a splinter scheme. I'm going to weather this a bit more. @Martinnfb suggested adding a winter wash to it. So that might happen next. Probably with a bit more battle damage too.