BlrwestSiR
-
Posts
9,183 -
Joined
-
Last visited
Content Type
Profiles
Forums
Events
Gallery
Everything posted by BlrwestSiR
-
Definitely some great photos there. I wonder if any of those Hornets are headed our way. Carl
-

Das Kamel - Hansa Brandenburg W.12
BlrwestSiR replied to DocRob's topic in LSM 1/35 and Larger Work In Progress
Rob, those figures look really good. Carl -
What is on your bench right now ? Share a picture :)
BlrwestSiR replied to Martinnfb's topic in Modelling Discussion
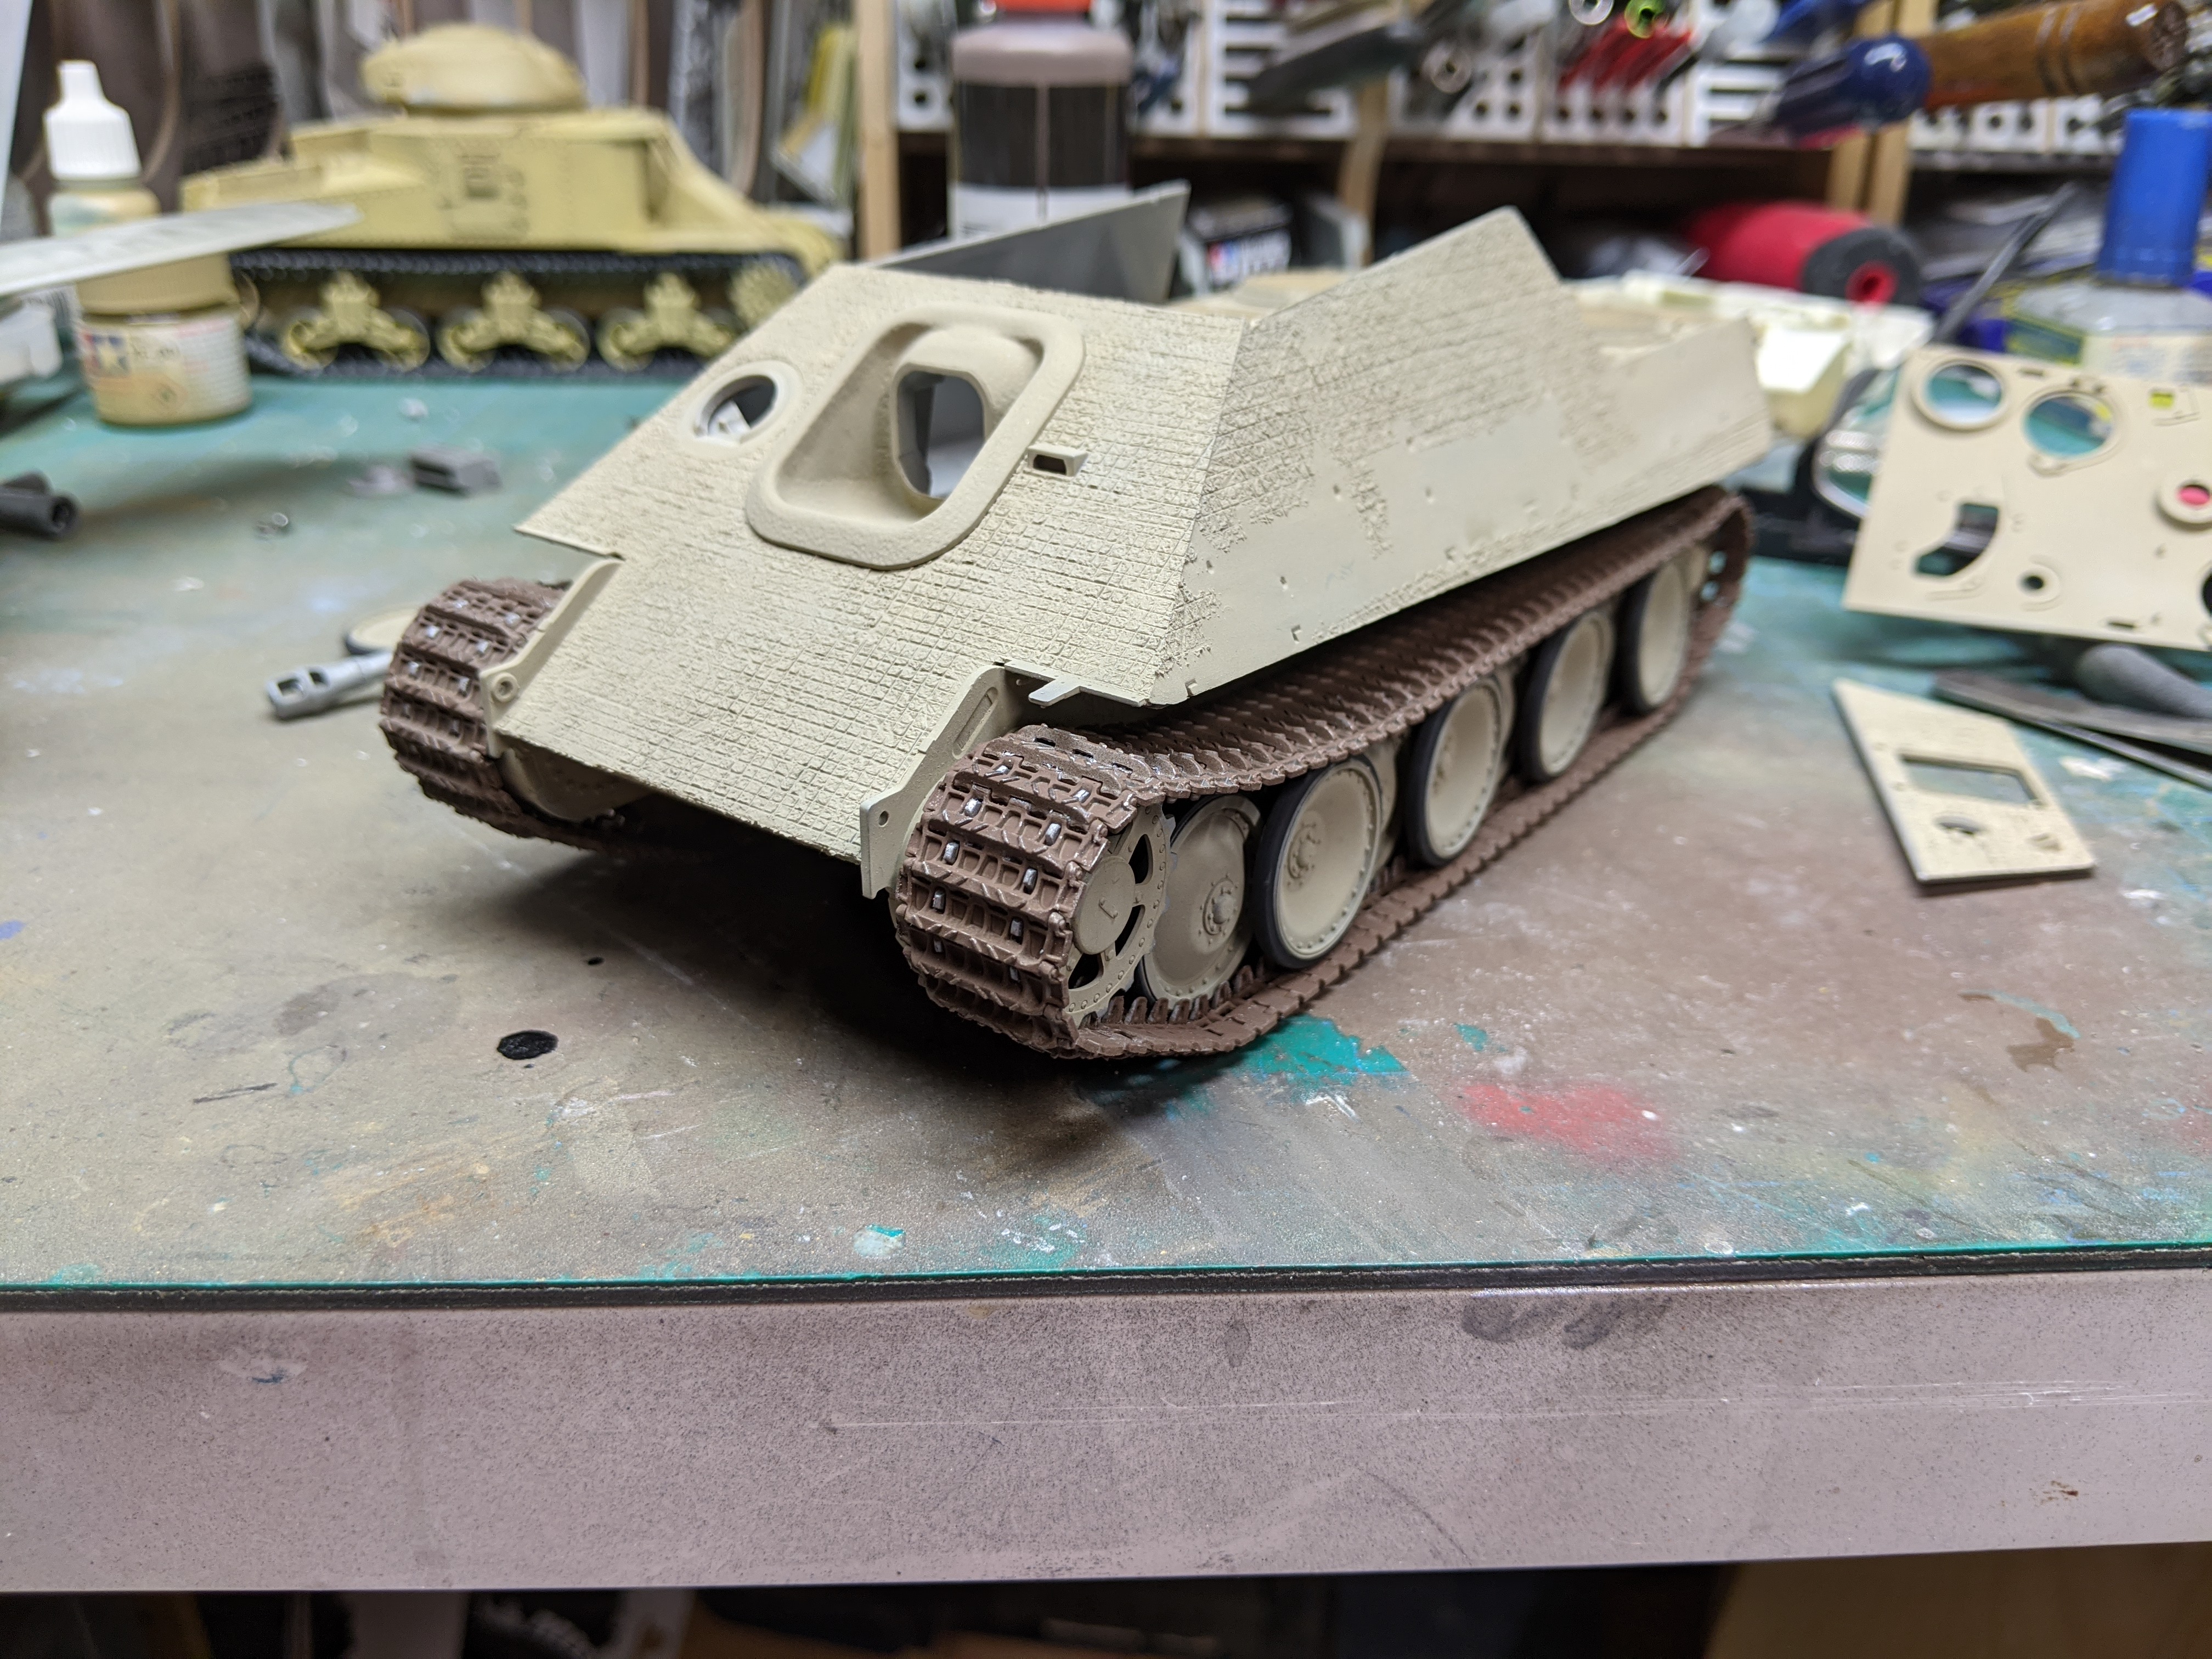
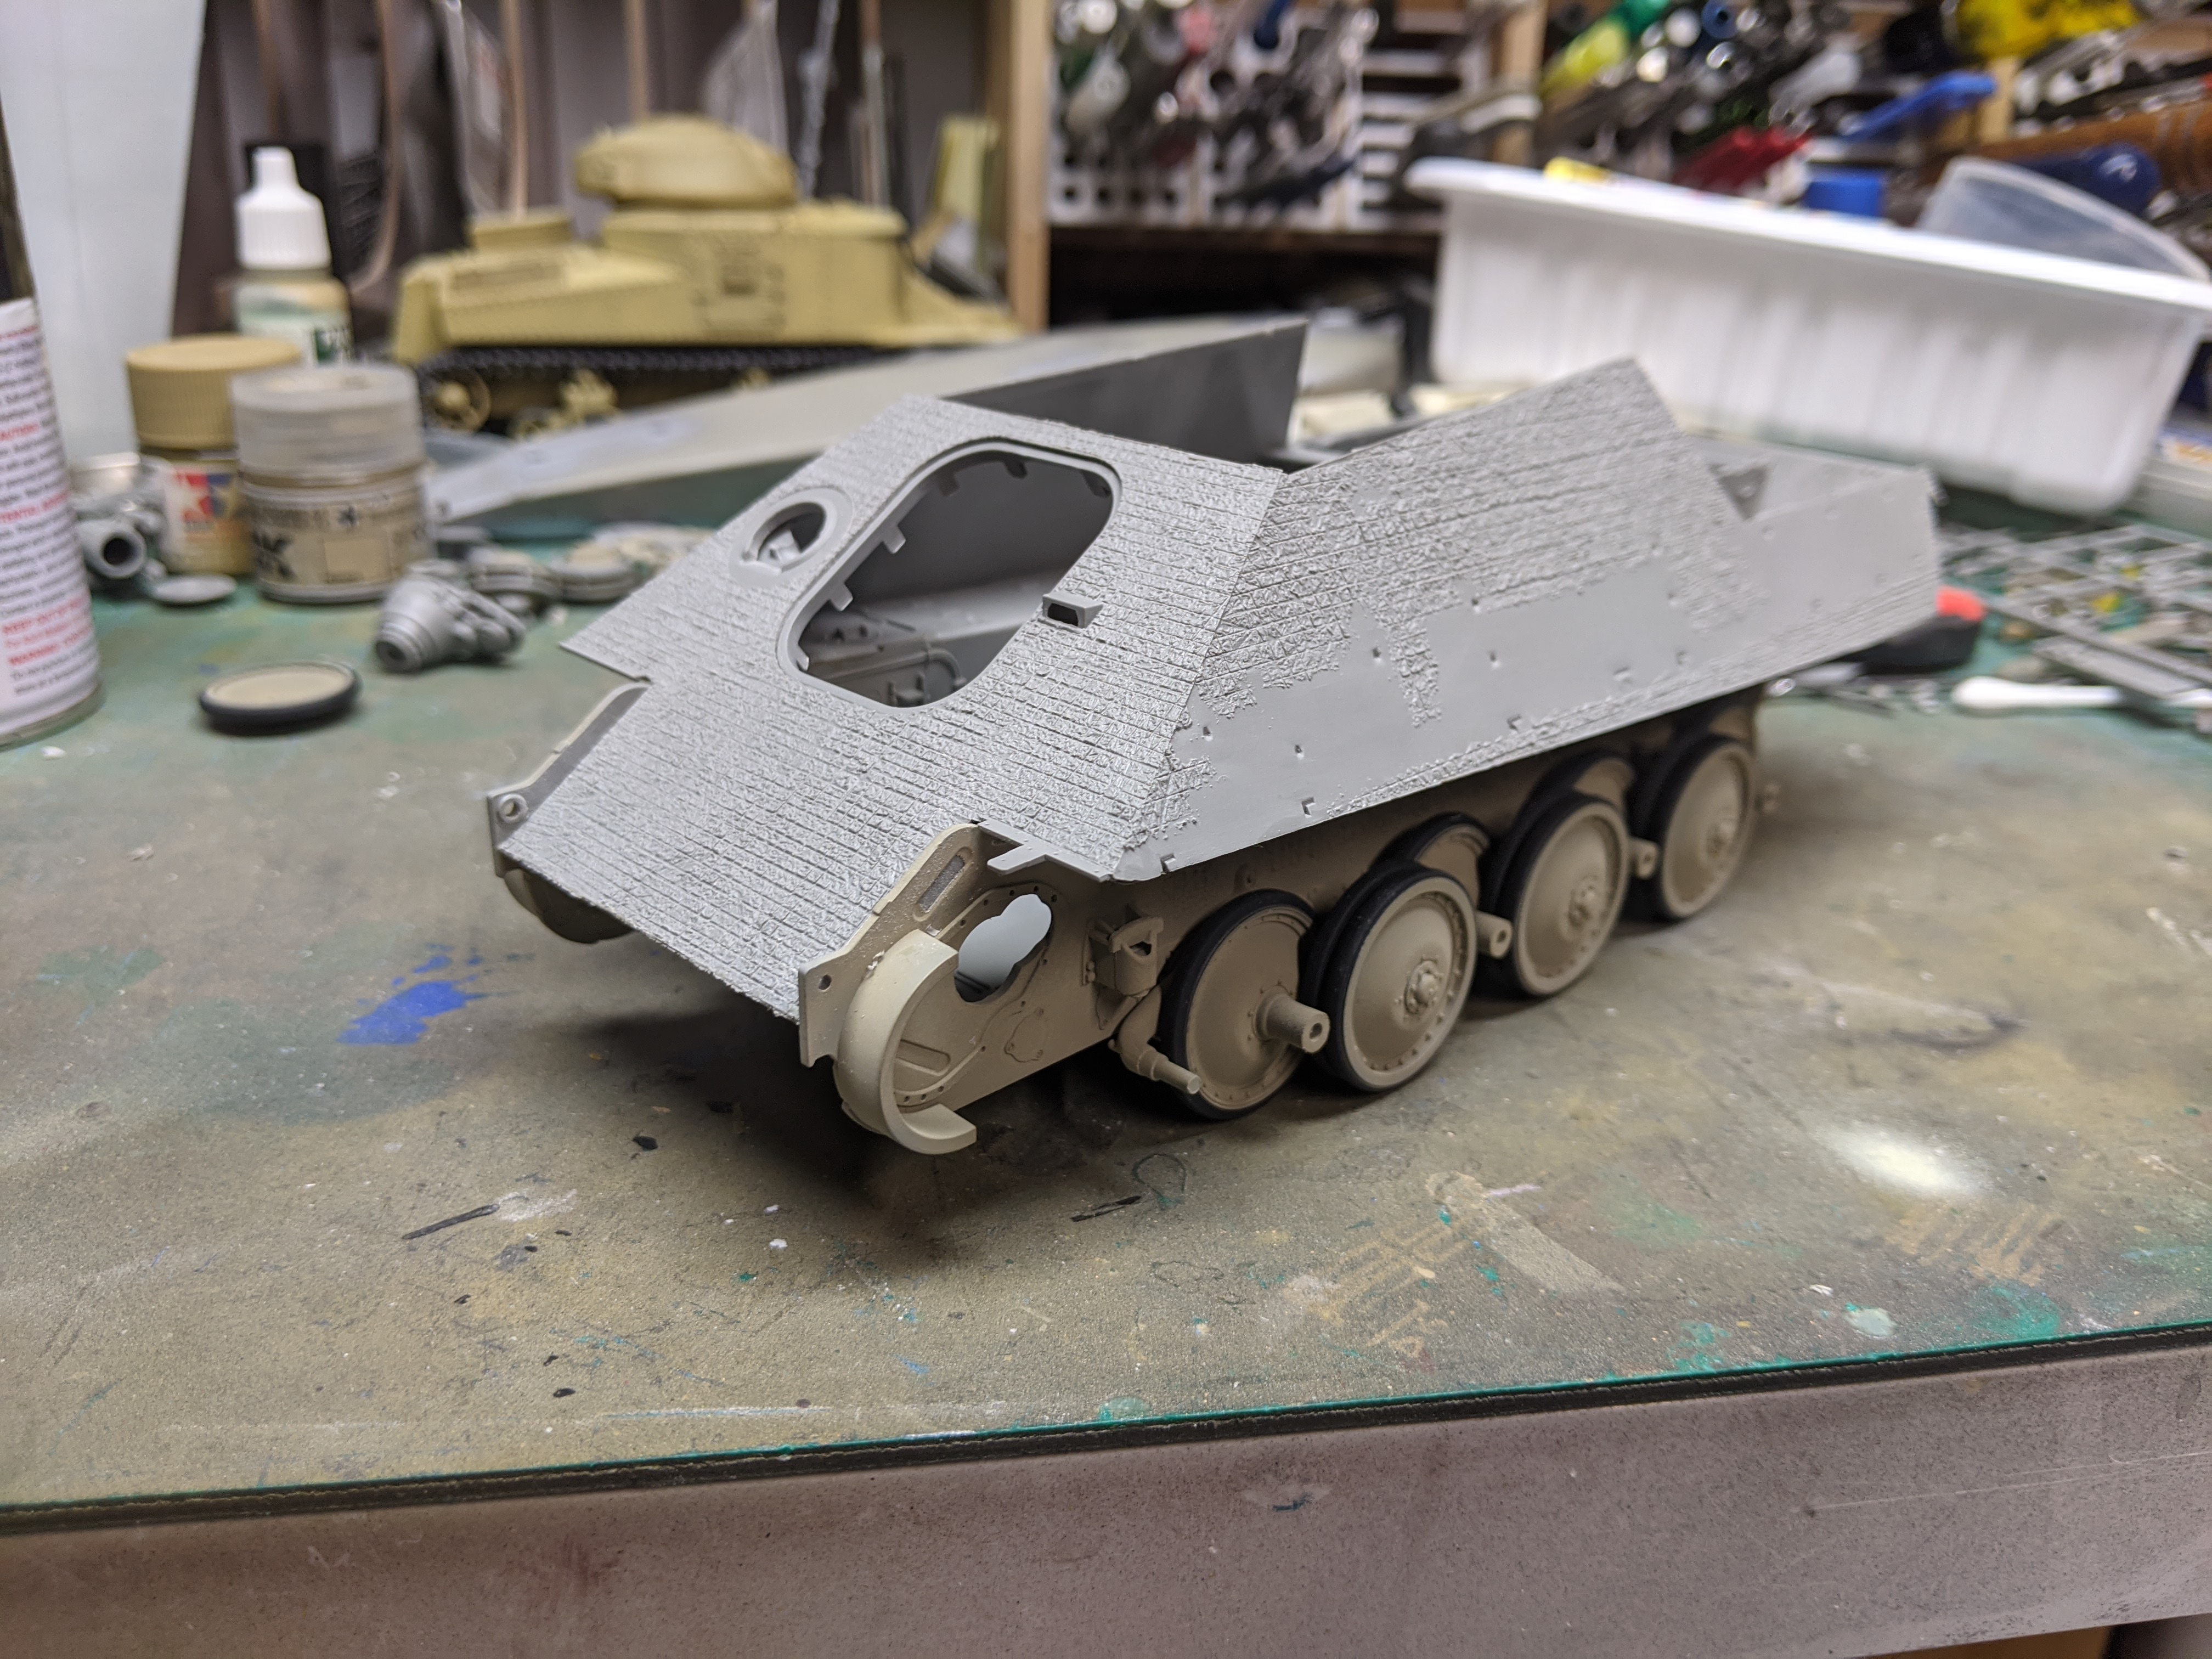
A bit of progress on the Jagdpanther.
-
Silver Wings Hawker Hart
BlrwestSiR replied to BlrwestSiR's topic in LSM 1/35 and Larger Work In Progress
Thanks Hubert! The right wing does dip a bit. I'll have to make some adjustments to it and the struts.- 39 replies
-
- 1
-

-
- silver wings
- hawker
- (and 1 more)
-
Silver Wings Hawker Hart
BlrwestSiR replied to BlrwestSiR's topic in LSM 1/35 and Larger Work In Progress
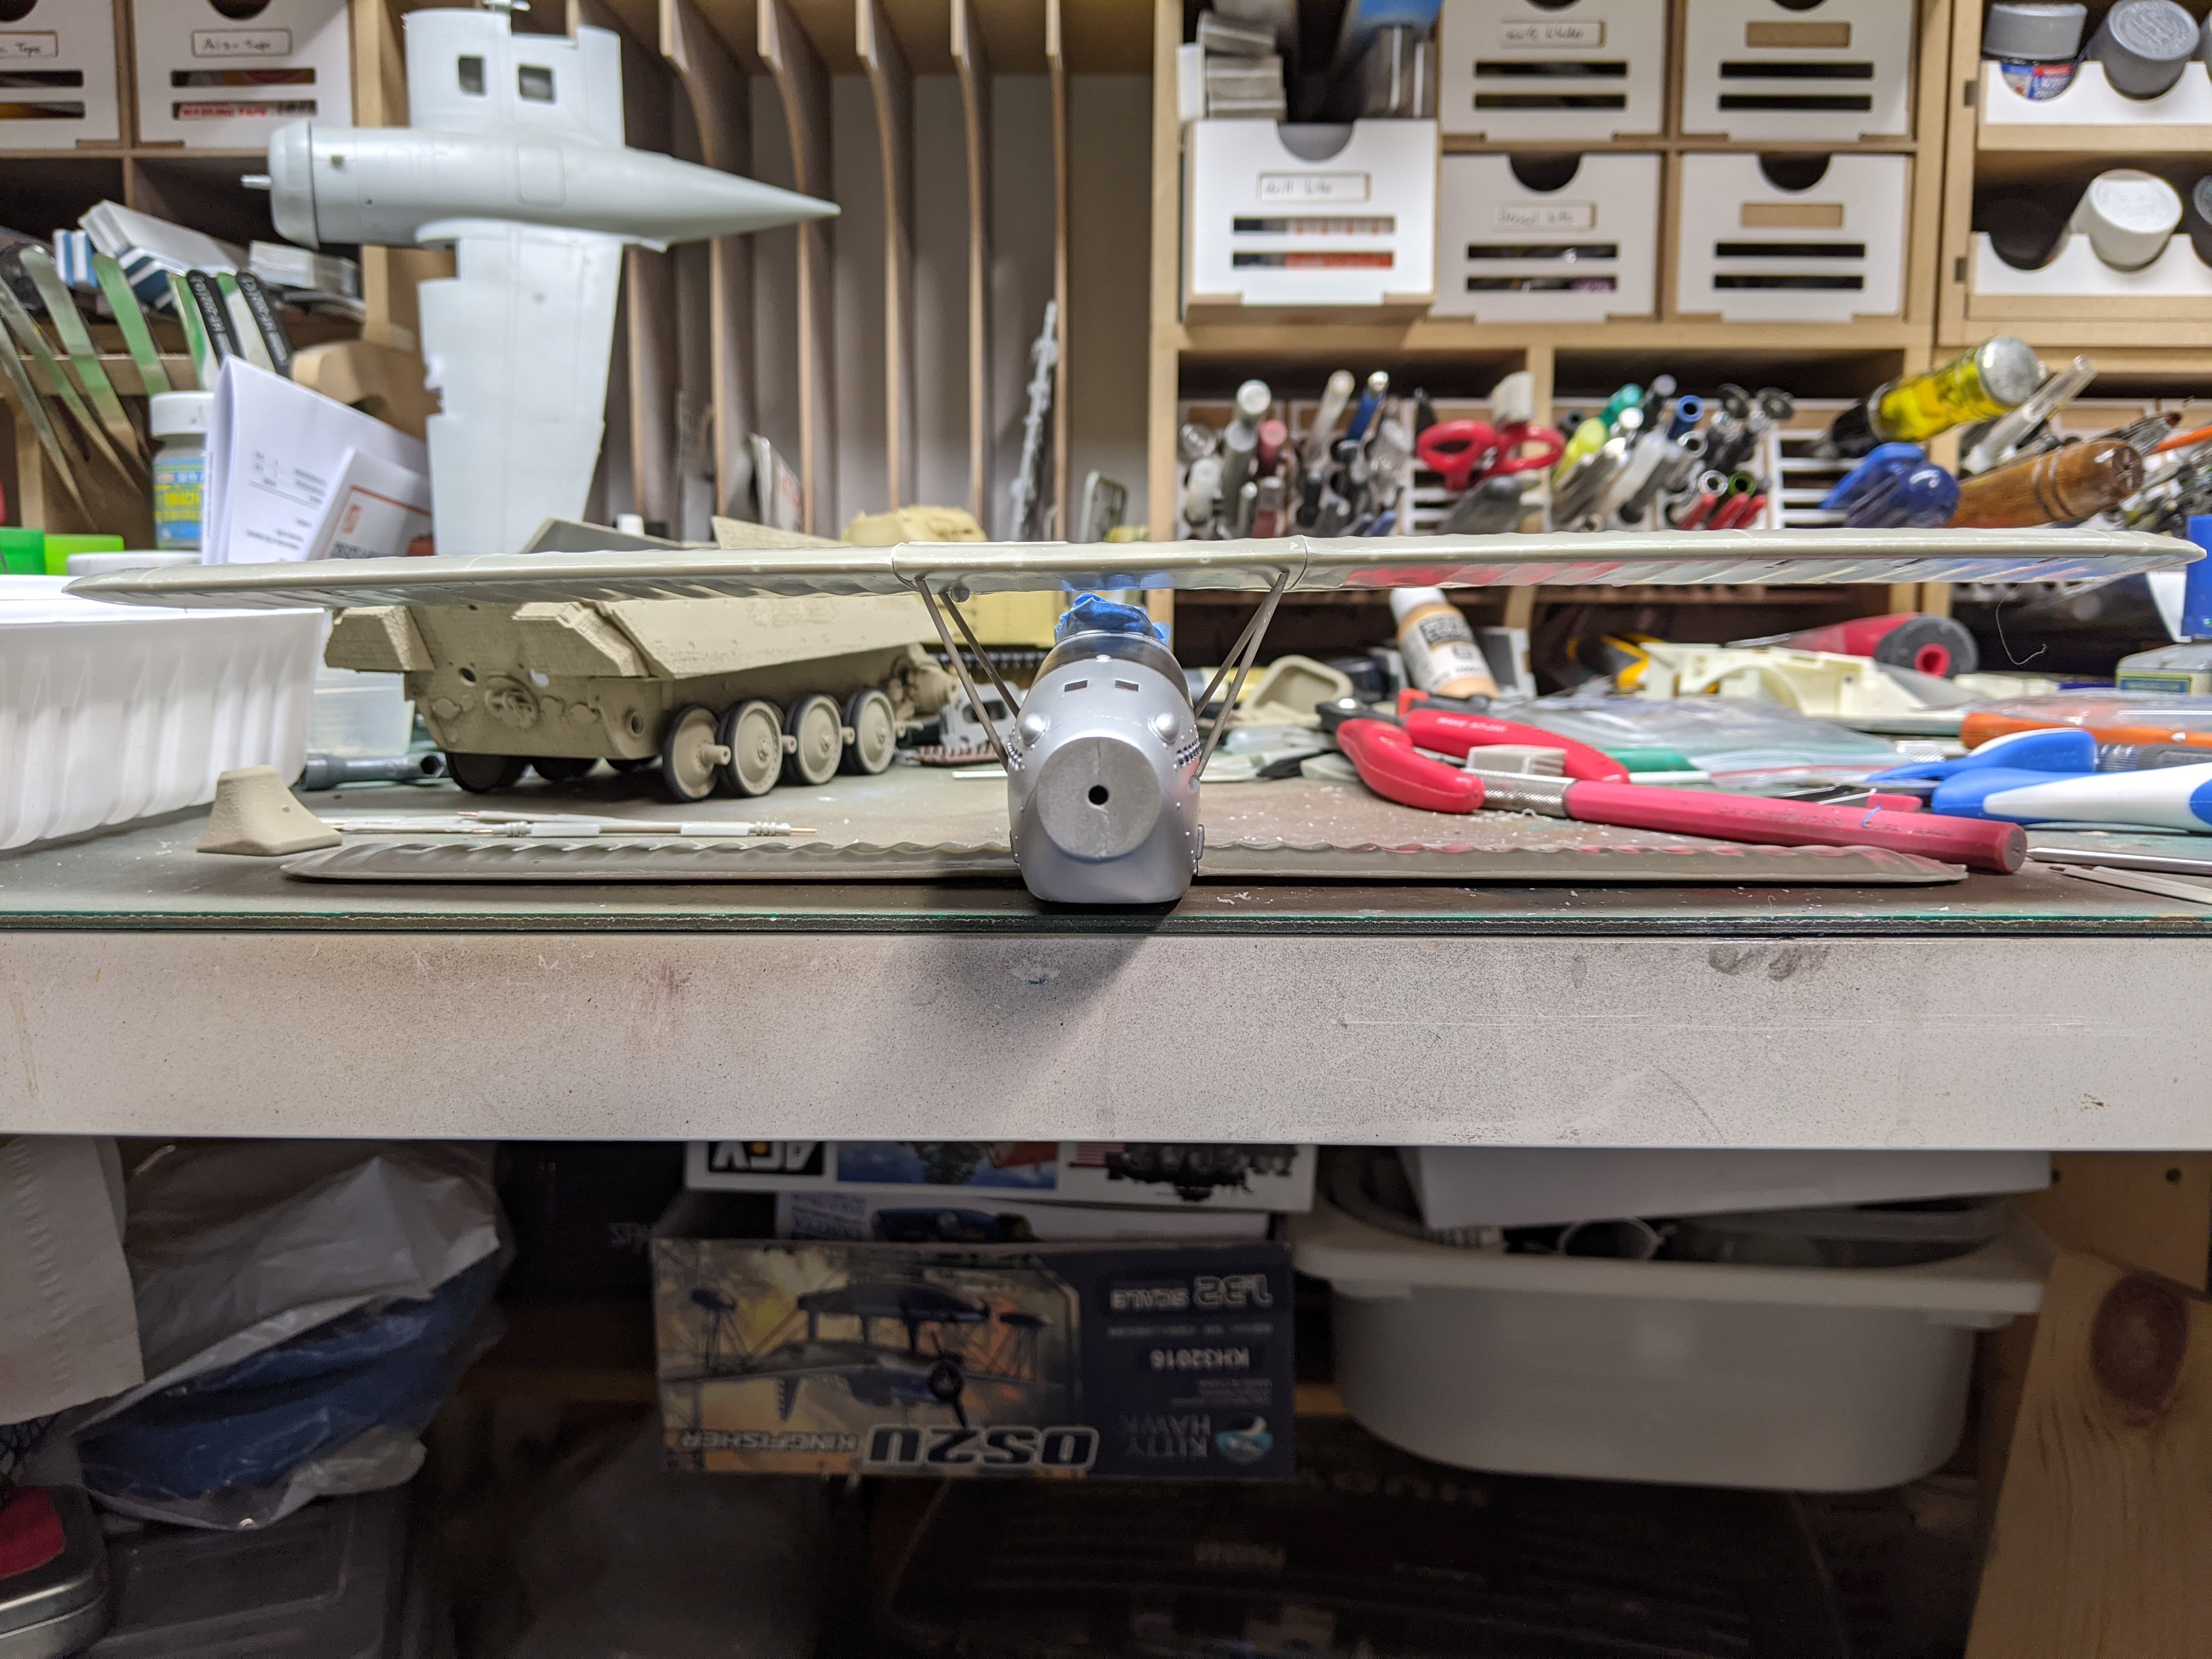
Thanks everyone! I did a quick mockup as I'm going to have figure out the wing struts next How does this look? Do the wings seem to be level? After I did that mockup, I realized the lower wing needs to have its dihedral added to make things sit correctly. So I'm going to have to try again.
- 39 replies
-
- 2
-
-
- silver wings
- hawker
- (and 1 more)
-
Biplane Rigging........Help........
BlrwestSiR replied to Bomber_County's topic in Modelling Discussion
So true. At least if we have to pay for the truck, we should get to keep it. -
Biplane Rigging........Help........
BlrwestSiR replied to Bomber_County's topic in Modelling Discussion
I'm going to have to look around as all I can find near me is 4 lb and up. I suspect that will too thick to use. Amazon shipping to Canada is a bit nuts at the moment. -
Silver Wings Hawker Hart
BlrwestSiR replied to BlrwestSiR's topic in LSM 1/35 and Larger Work In Progress
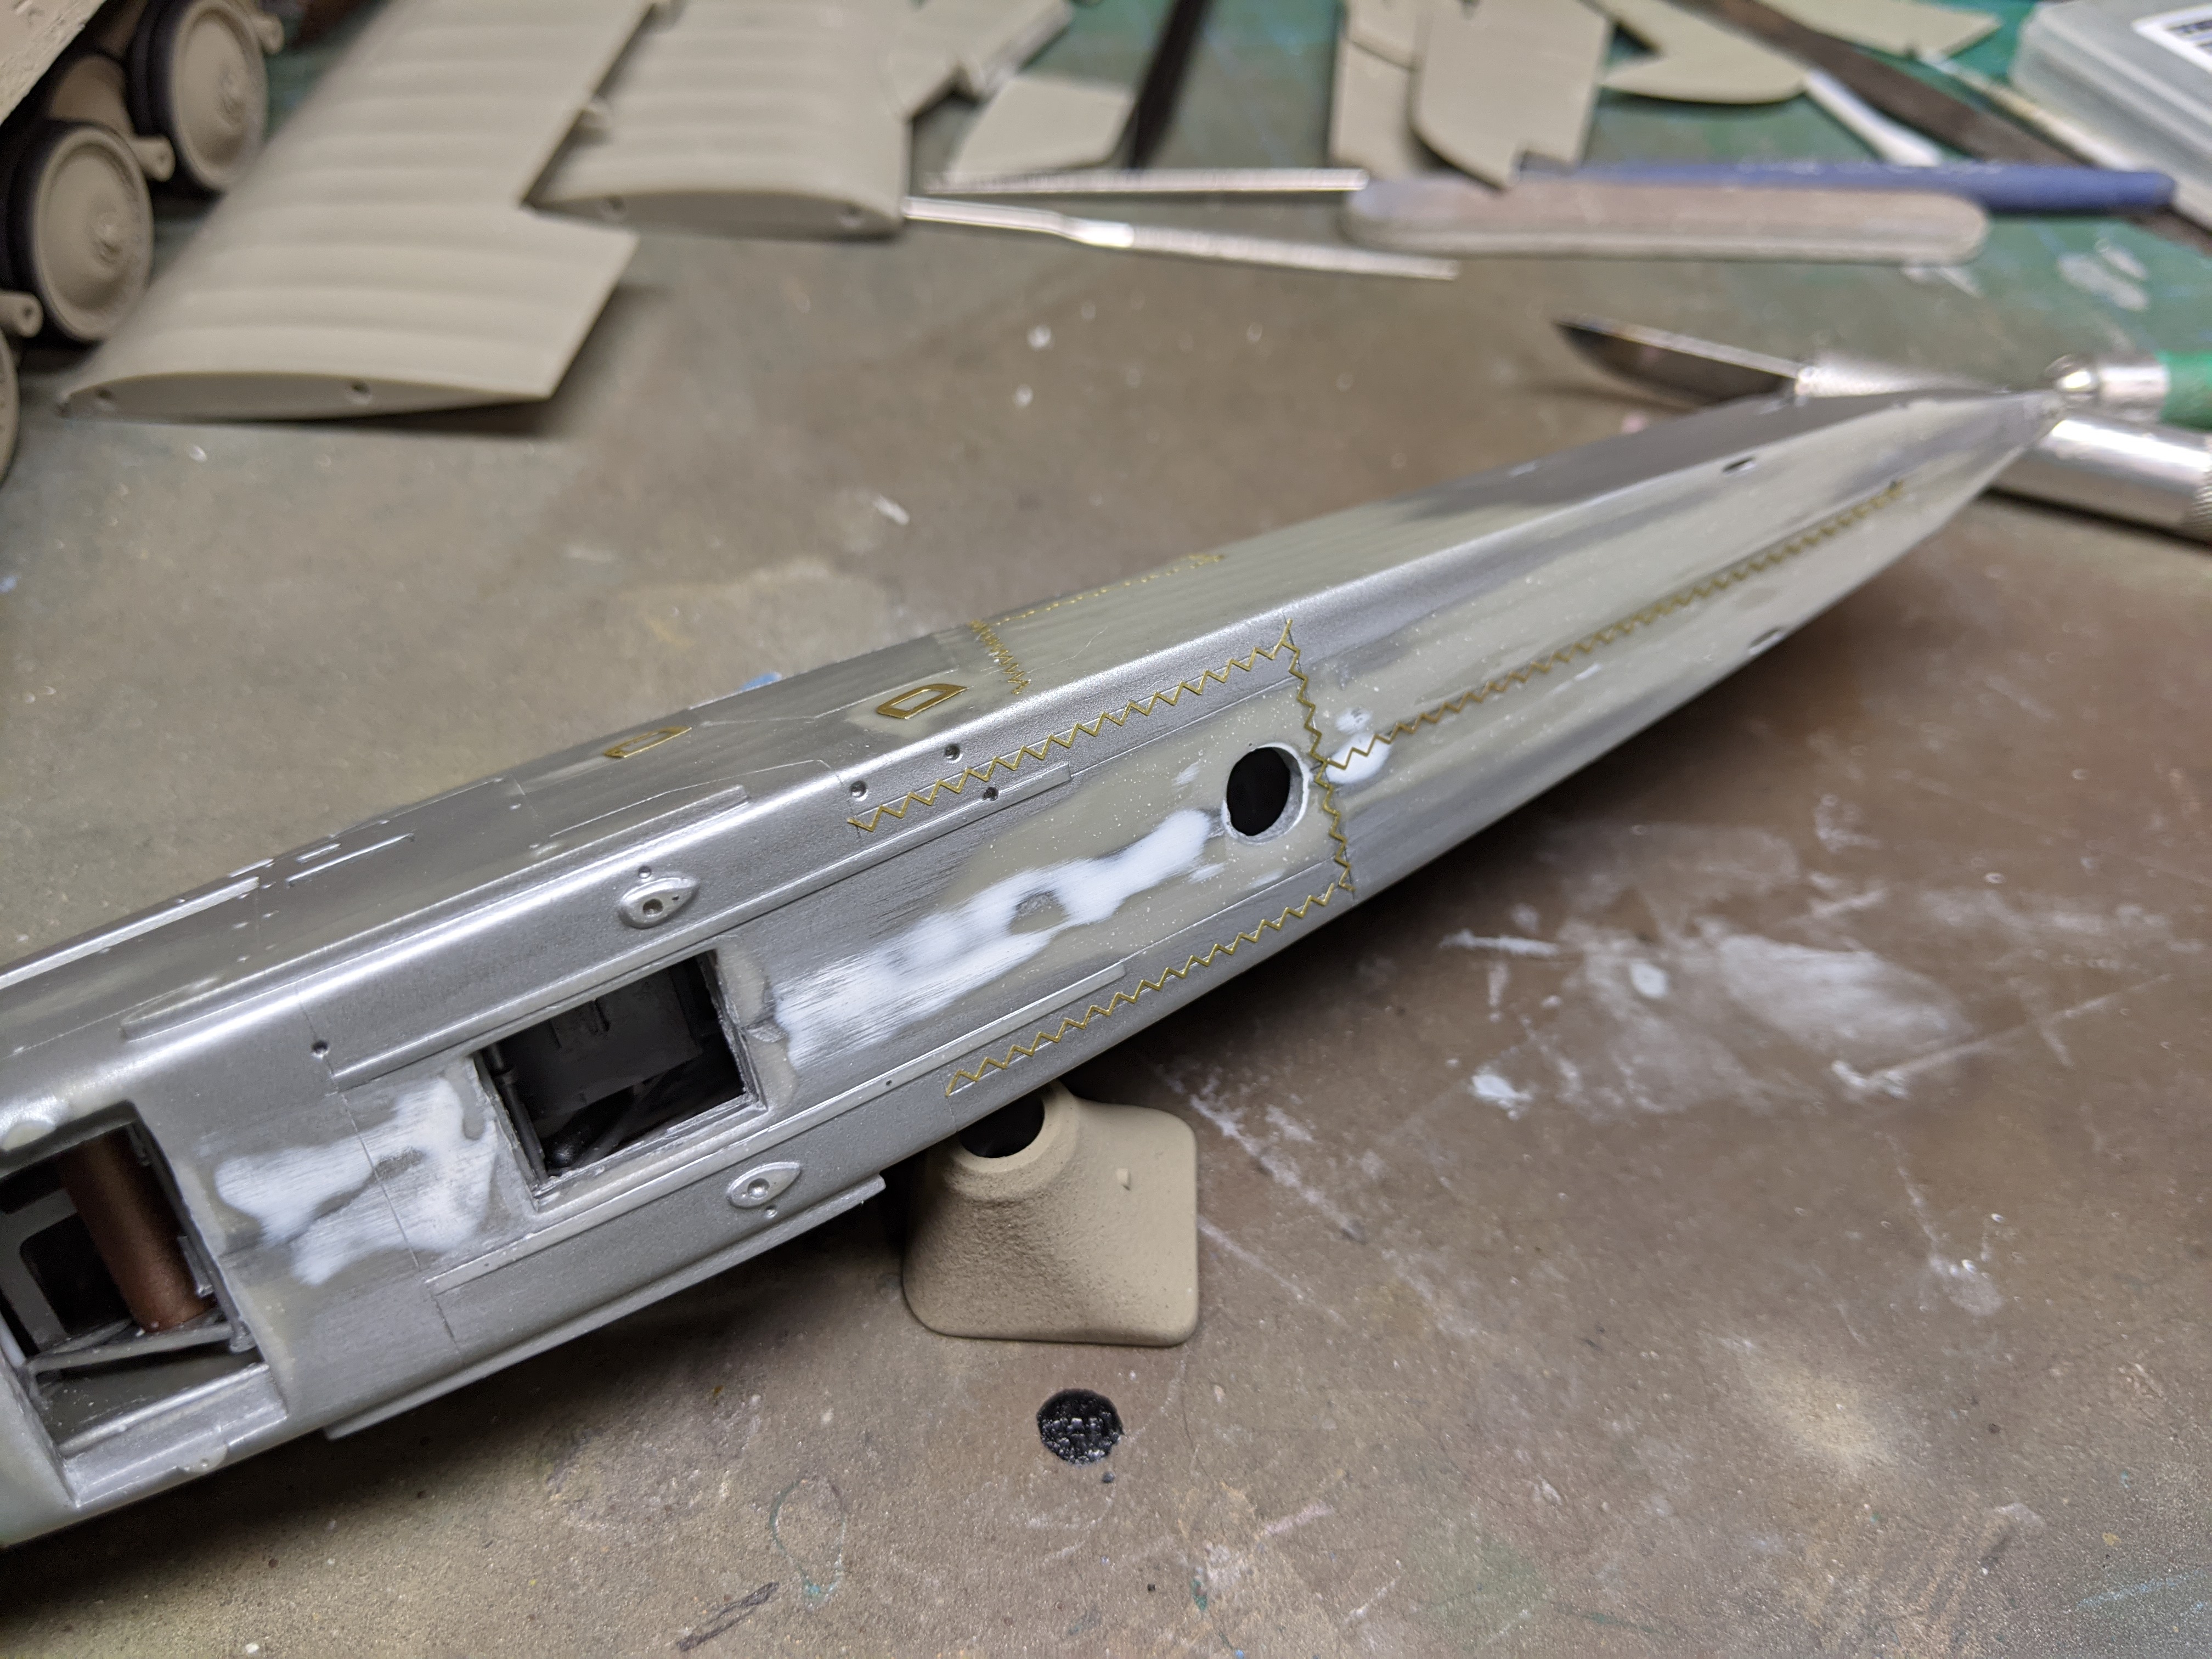
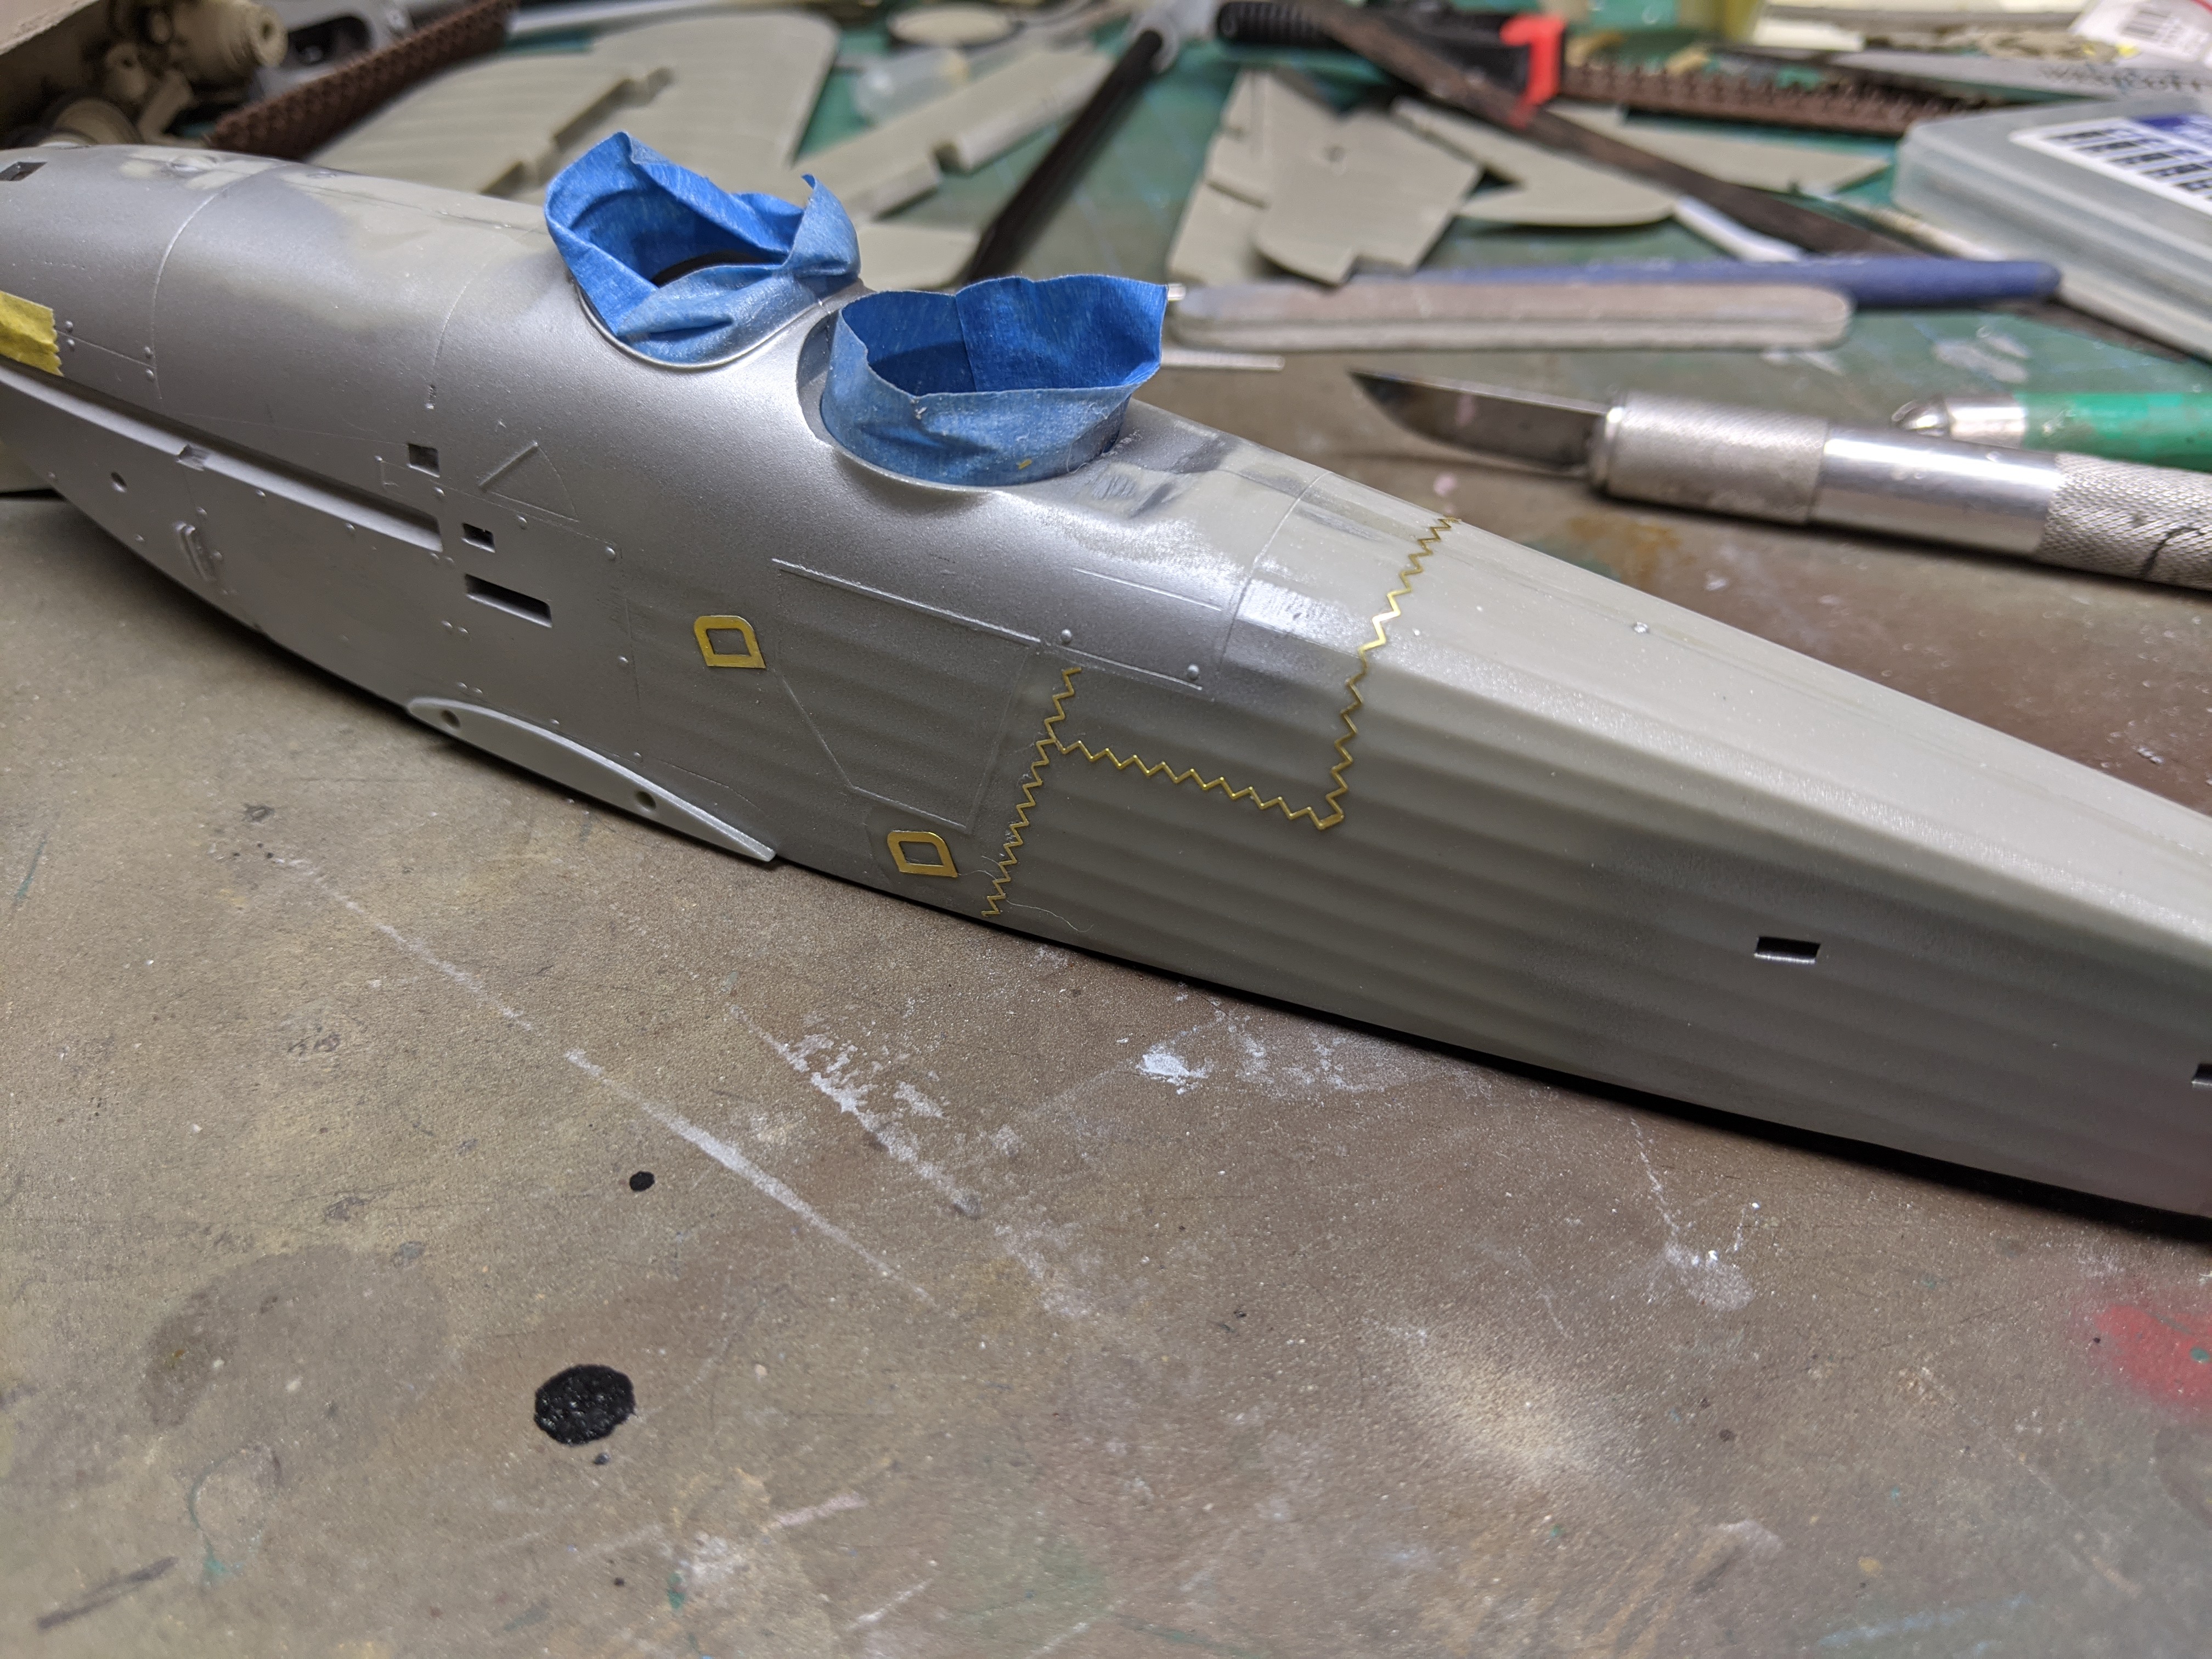
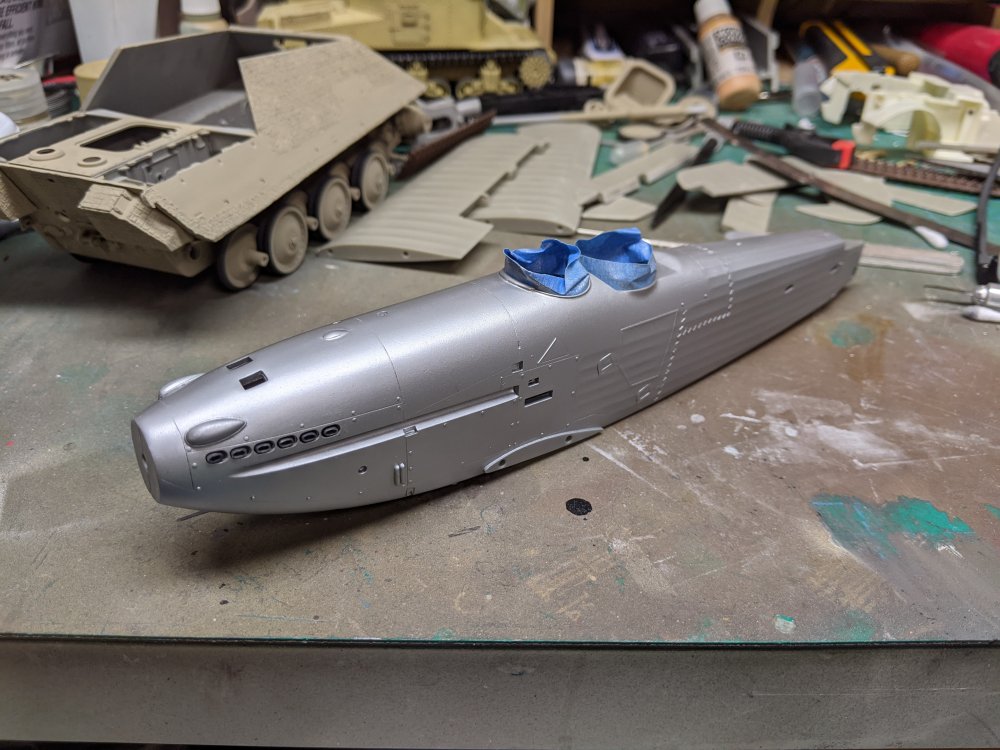
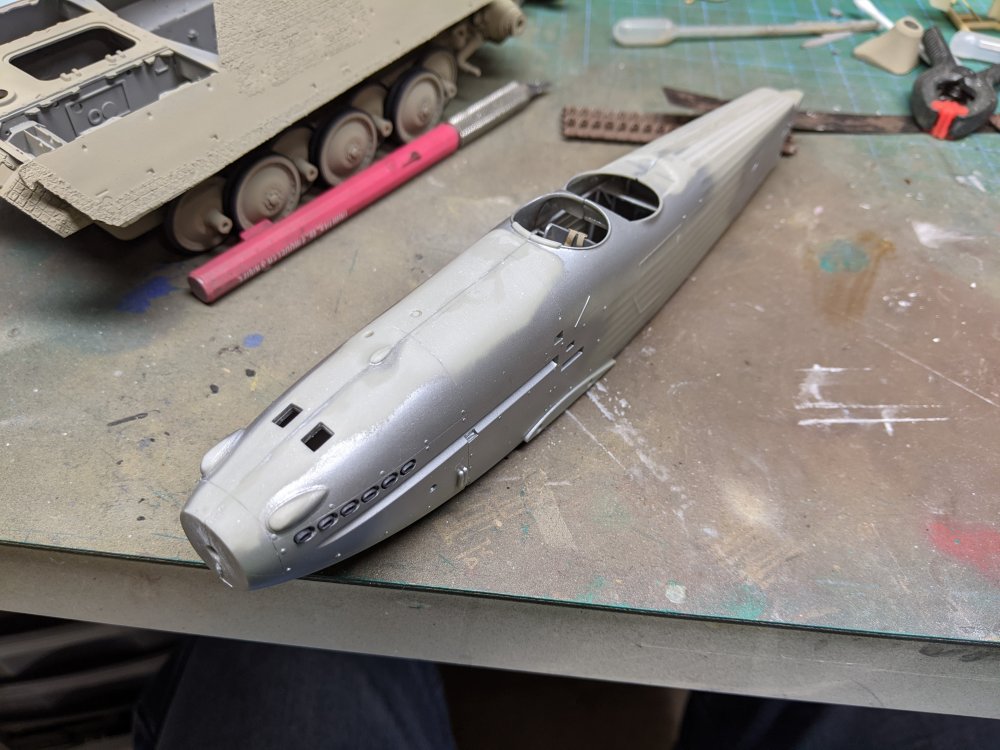
Got a bit more done today. After checking the seams were ok, I added the PE stitching. I then put a coat of paint on. For the silver, I'm using Tamiya silver lacquer. Seems to have enough of a full appearance to look like silver dope rather than metal My eldest saw the fuselage and said: "Cool, I didn't know you're building a submarine."

- 39 replies
-
- 8
-
-
- silver wings
- hawker
- (and 1 more)
-
Silver Wings Hawker Hart
BlrwestSiR replied to BlrwestSiR's topic in LSM 1/35 and Larger Work In Progress
Thanks Anthony! It's definitely not a shake and bake kit but I'm still enjoying the build.- 39 replies
-
- 3
-
-
- silver wings
- hawker
- (and 1 more)
-
HK Models Do-335 A-12
BlrwestSiR replied to JeroenPeters's topic in LSM 1/35 and Larger Work In Progress
One word: Big! -
Silver Wings Hawker Hart
BlrwestSiR replied to BlrwestSiR's topic in LSM 1/35 and Larger Work In Progress
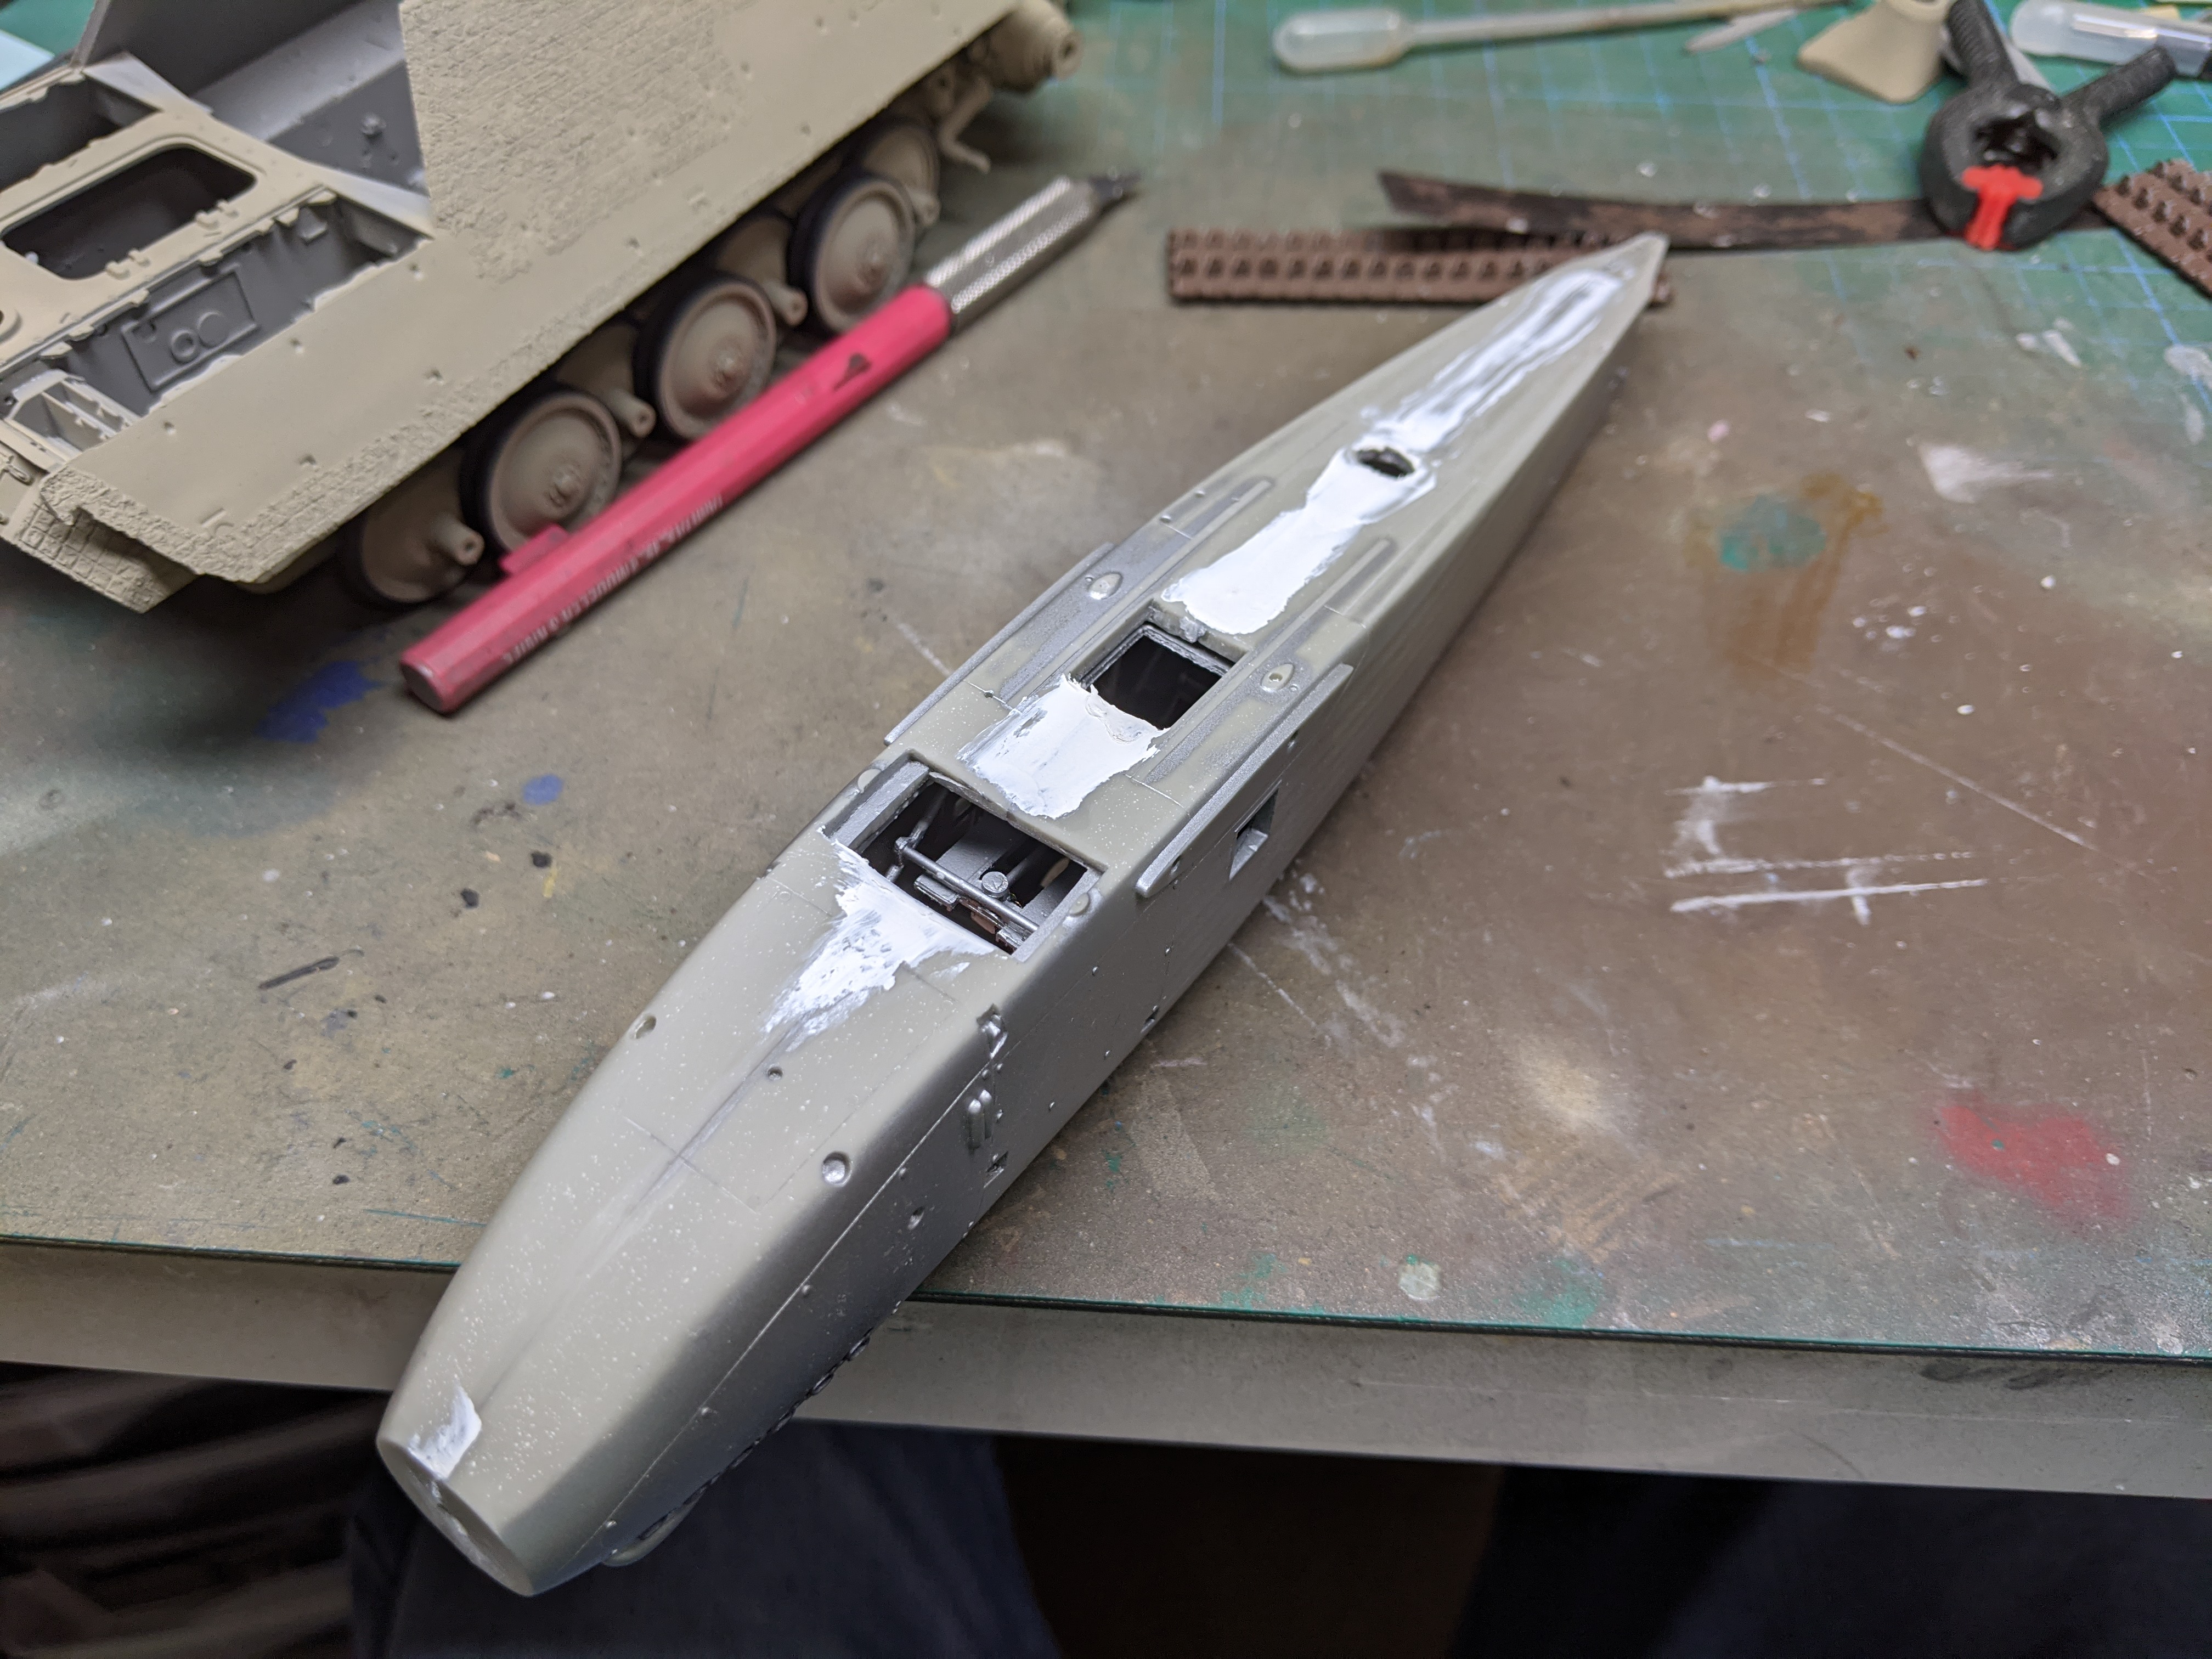
I've been working on the fuselage seam. The upper one had been fairly straightforward to fill and clean up. In fact, it barely needed anything. The lower side has been more work though. The halves joined in a concave manner so I've needed a bunch of filler to level things. I was primarily using CA for this but I've had to use some Tamiya putty in the end. Hopefully it'll sand out nicely.
- 39 replies
-
- 8
-
-
- silver wings
- hawker
- (and 1 more)
-
Silver Wings Hawker Hart
BlrwestSiR replied to BlrwestSiR's topic in LSM 1/35 and Larger Work In Progress
Thanks Gaz! If there's any weathering, it'll be light as I don't tend to go too heavy with it.- 39 replies
-
- 3
-
-
- silver wings
- hawker
- (and 1 more)
-
WnW Sopwith 2F.1 ShIps Camel.
BlrwestSiR replied to Bomber_County's topic in LSM 1/35 and Larger Work In Progress
Looks like you're off to a good start on the rigging. I've only built 1 more WNW kit than you Phil so I'd say you're doing just fine. Carl -
Silver Wings Hawker Hart
BlrwestSiR replied to BlrwestSiR's topic in LSM 1/35 and Larger Work In Progress
Thanks Harv!- 39 replies
-
- 3
-
-
- silver wings
- hawker
- (and 1 more)
-
Silver Wings Hawker Hart
BlrwestSiR replied to BlrwestSiR's topic in LSM 1/35 and Larger Work In Progress
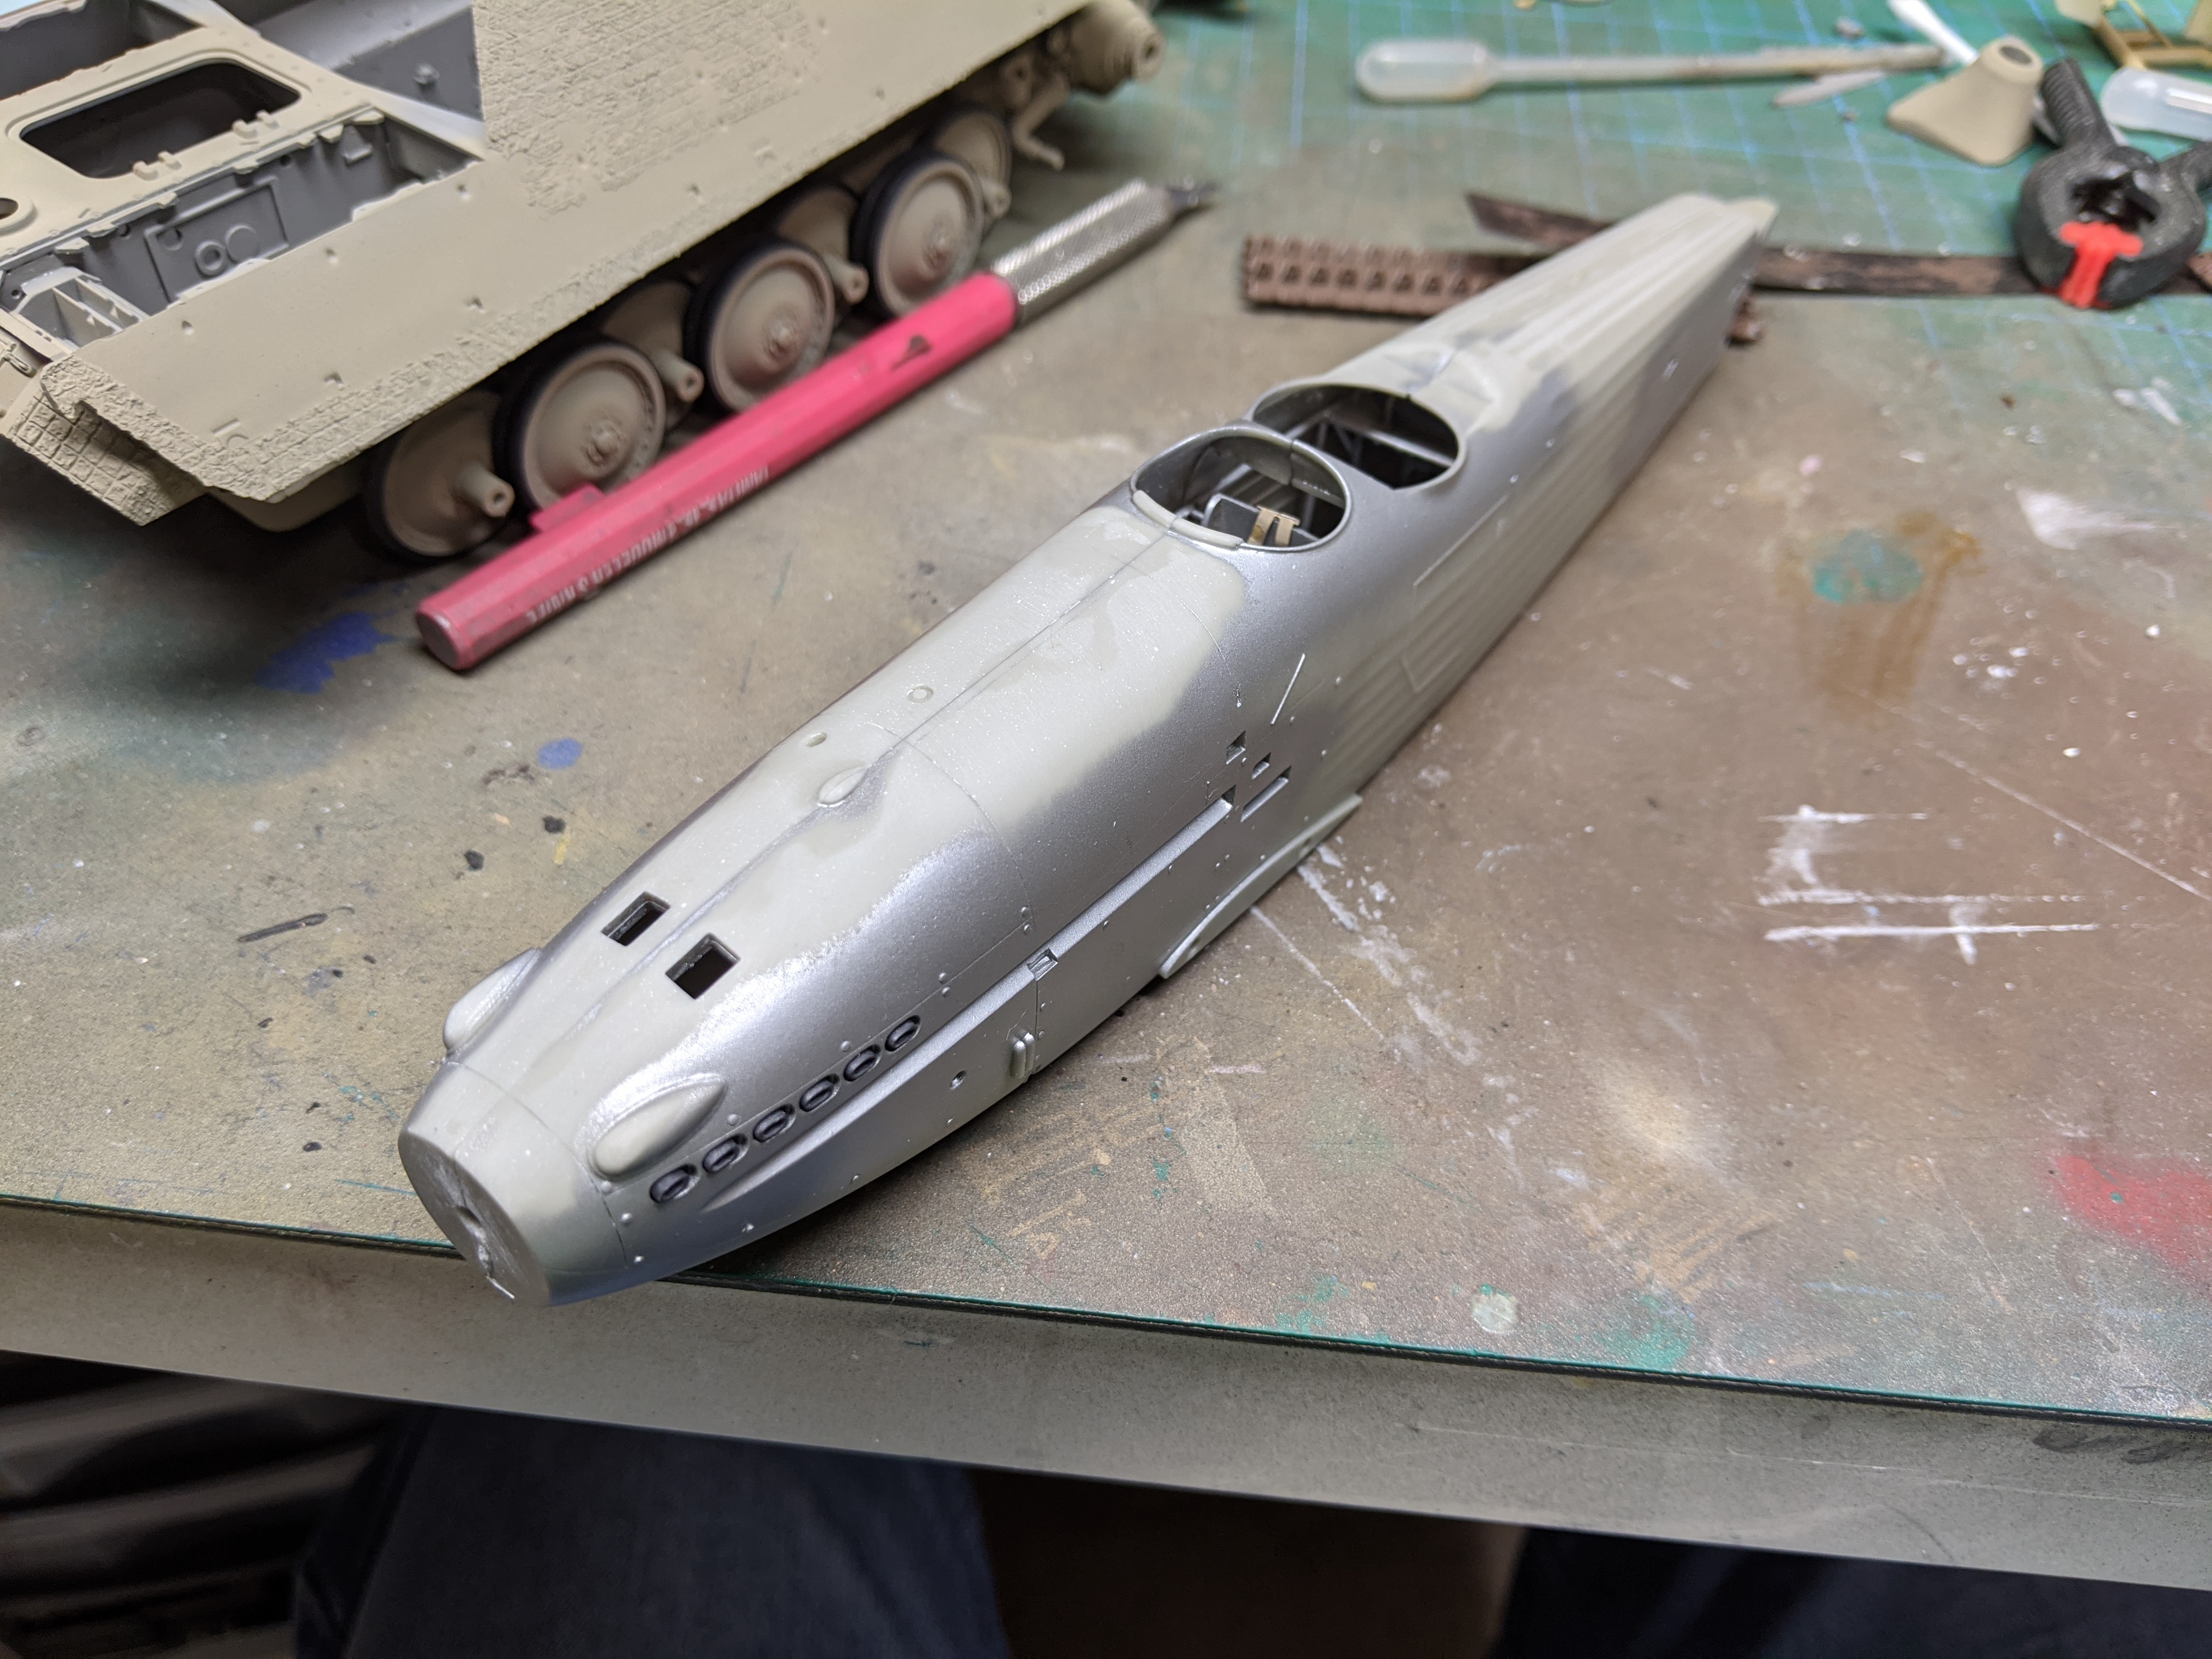
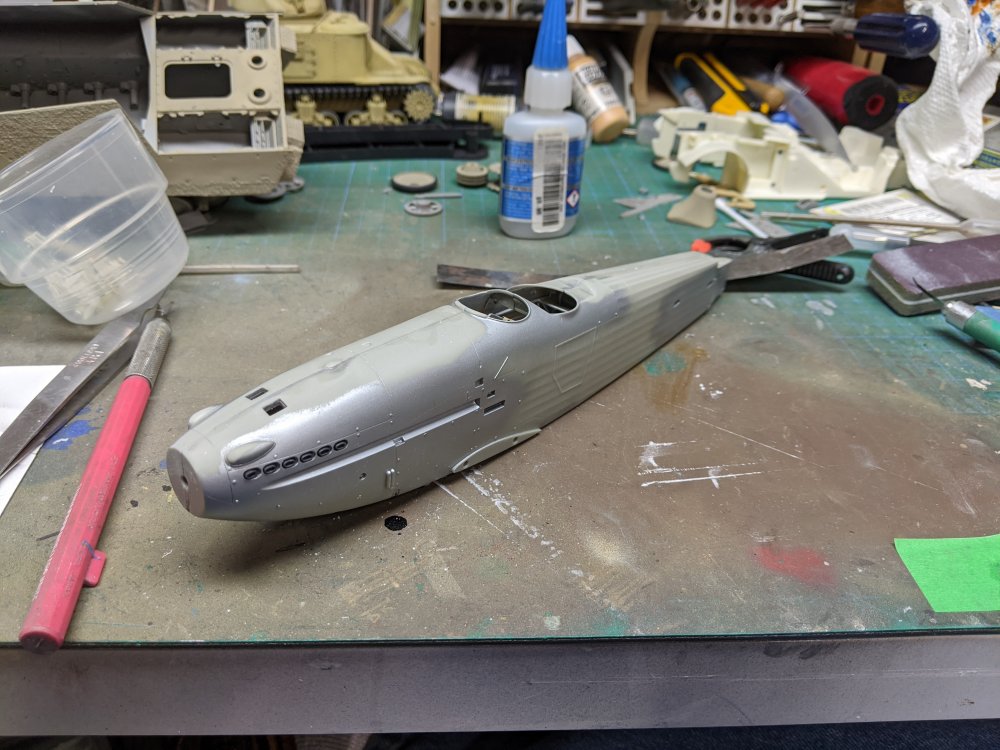
Got some work on the Hart done. The cockpit was finished off which meant I could finally close up the fuselage. One nice thing about using CA, is I can start on the seam filling right away. The upper fuselage seam was fairly clean but the lover fuselage has an odd trough where the halves meet. Ive been filling it in with thin coats of CA and it's working well enough.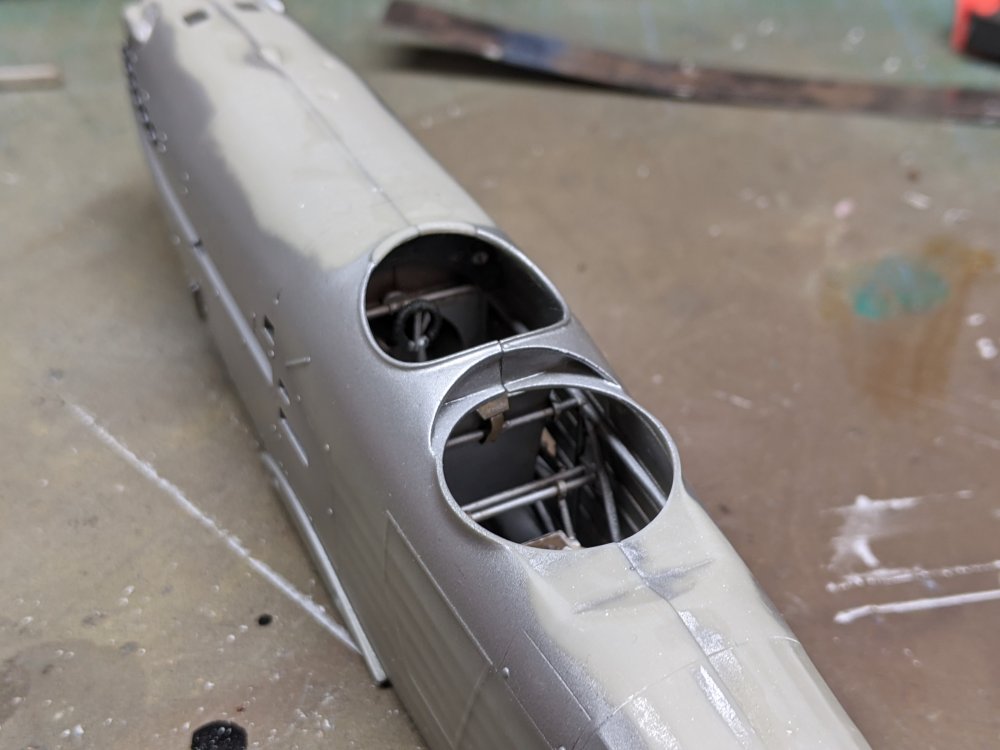

- 39 replies
-
- 5
-
-
- silver wings
- hawker
- (and 1 more)
-
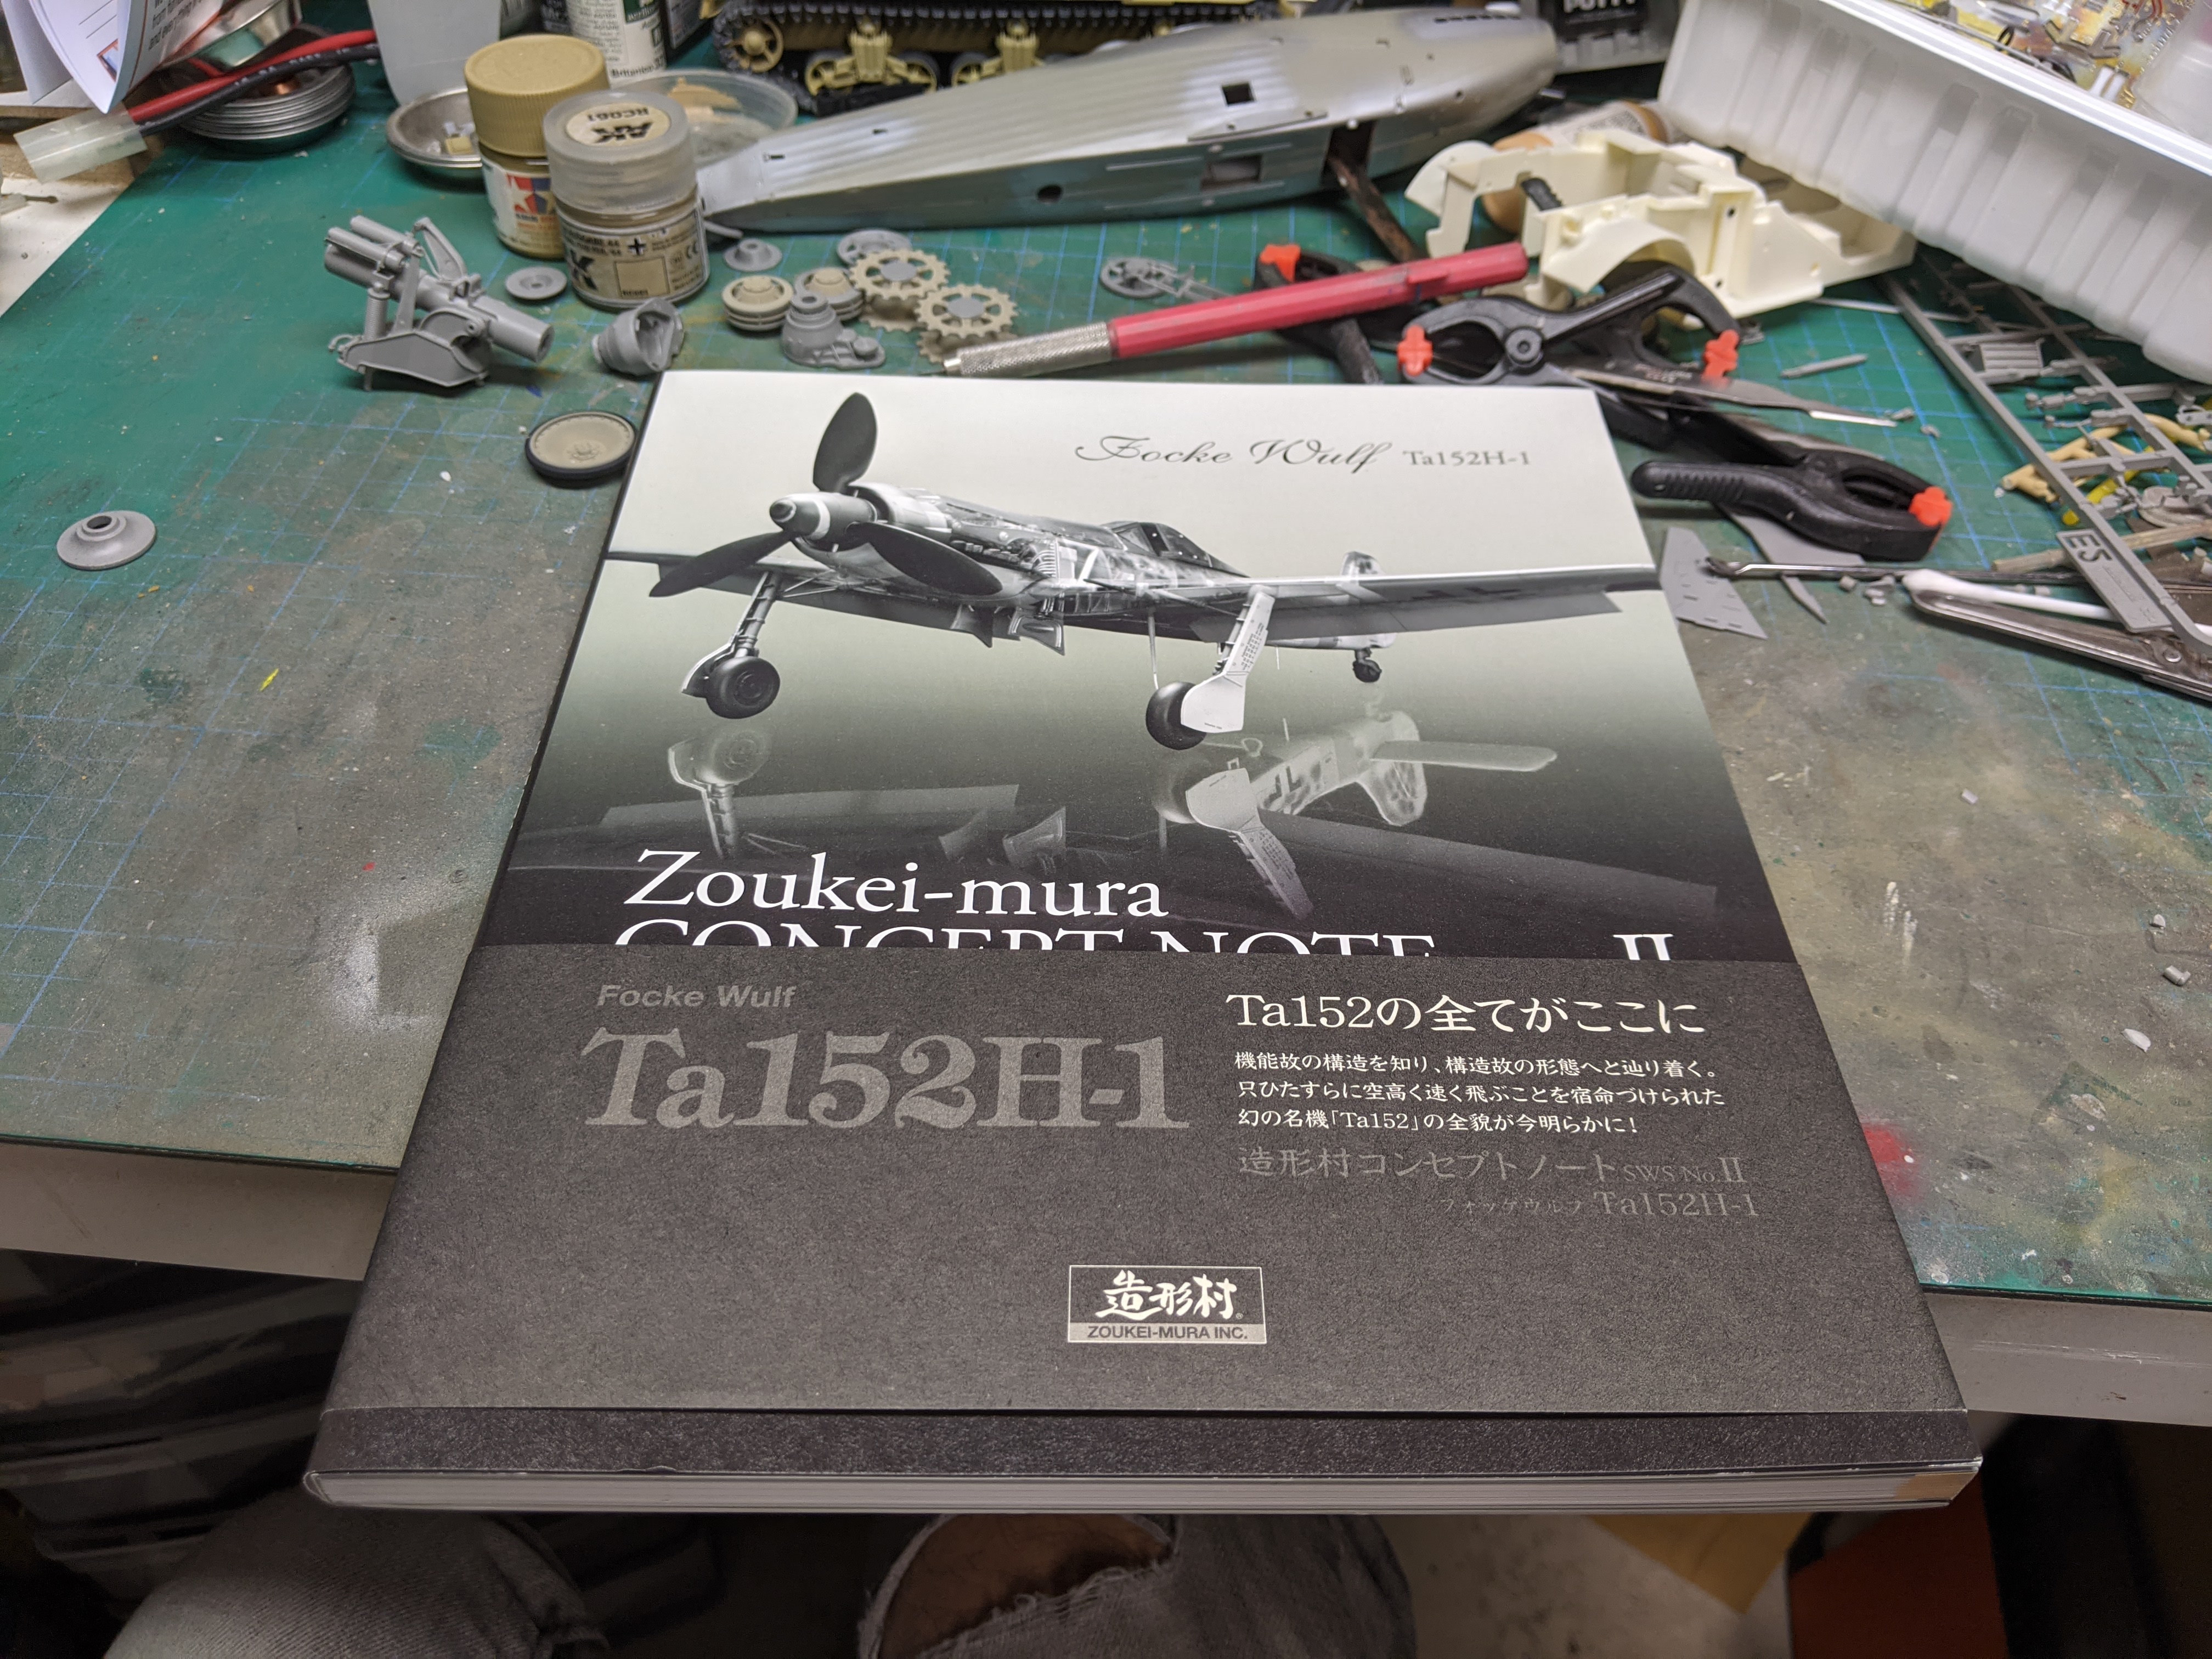
He probably should have. But it was still a cool looking plane. I've got a couple of the Concept Note books. The earlier ones were more substantial and included more info in them. They definitely can be a help during the build. Carl
-
Harv, I think Phil is right. See what it looks like in the fuselage. If some of the bezels aren't completely filled, you can add a bit more UV gel to them. The few times I've done it, I've used a toothpick to apply it. Hope that helps. Carl
-
Harv, how well does the canopy glue work? Carl
-
Gorgeous build there Rob. The finish is fabulous and I'm looking forward to the diorama. Carl
-
The interesting bit is since I select store pickup, I never fill in my address. So how did they know where to send it???
-
I had a package arrive from my LHS. I found it odd as I usually just pick up any online orders in person. It got more interesting when I opened it and found a Tamiya Challenger II kit, something that I hadn't ordered. I gave them a call and sure enough, they sent me someone else's order. So now I have an excuse to swing by the store on the weekend so I can return it to them. I wonder if that was their plan all along... Carl
-
What is on your bench right now ? Share a picture :)
BlrwestSiR replied to Martinnfb's topic in Modelling Discussion
I can't credit for the zimmerit. It's the Takom kit with the moulded on zimmerit. -
What is on your bench right now ? Share a picture :)
BlrwestSiR replied to Martinnfb's topic in Modelling Discussion
Same here. I have a couple of his kits and conversions in the stash. -
What is on your bench right now ? Share a picture :)
BlrwestSiR replied to Martinnfb's topic in Modelling Discussion
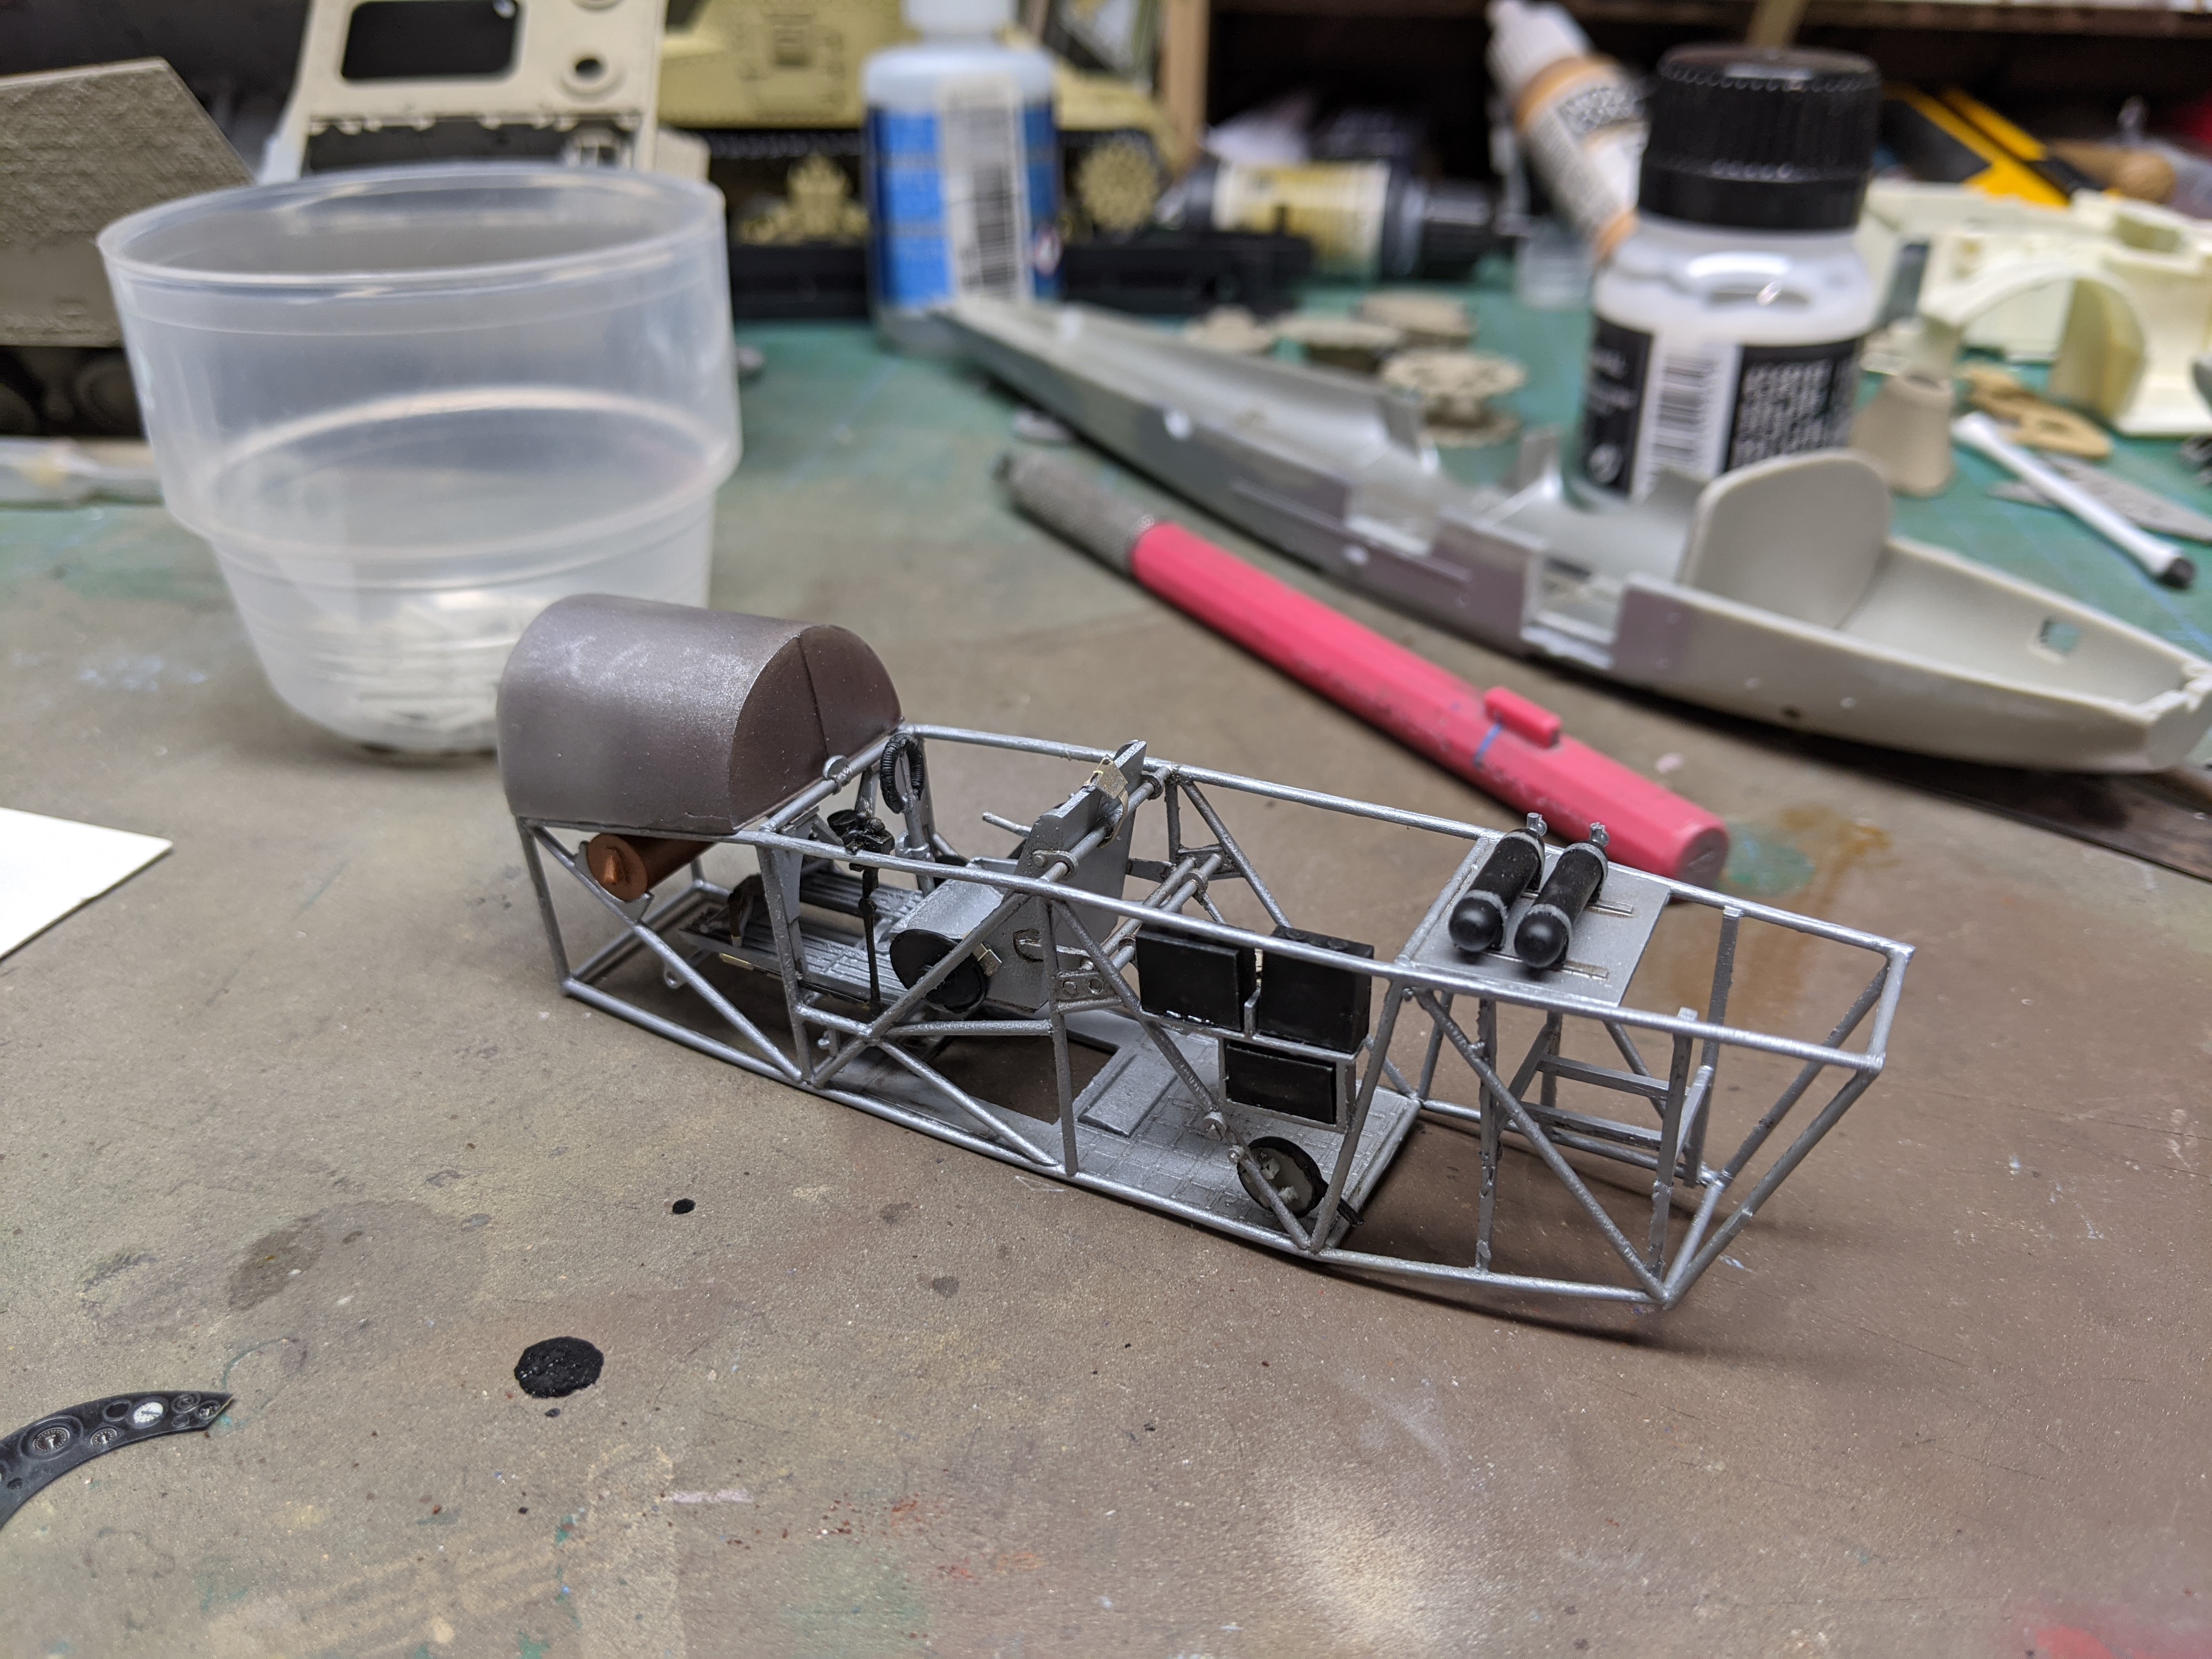
I had a bunch of road wheels on my bench so I put them to use.
-
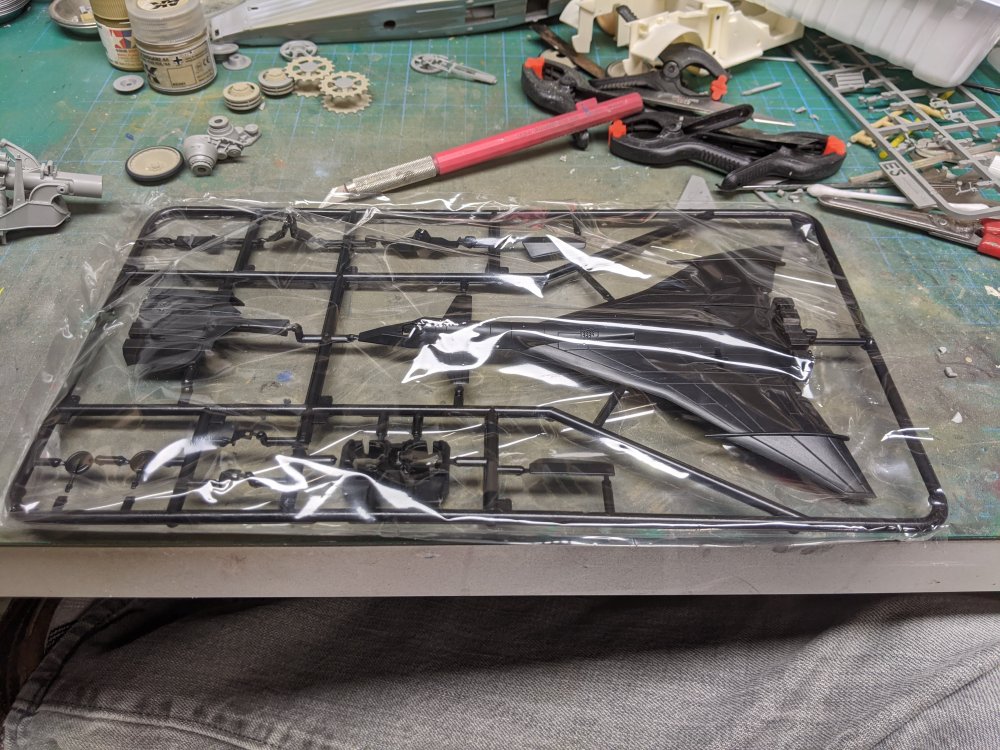
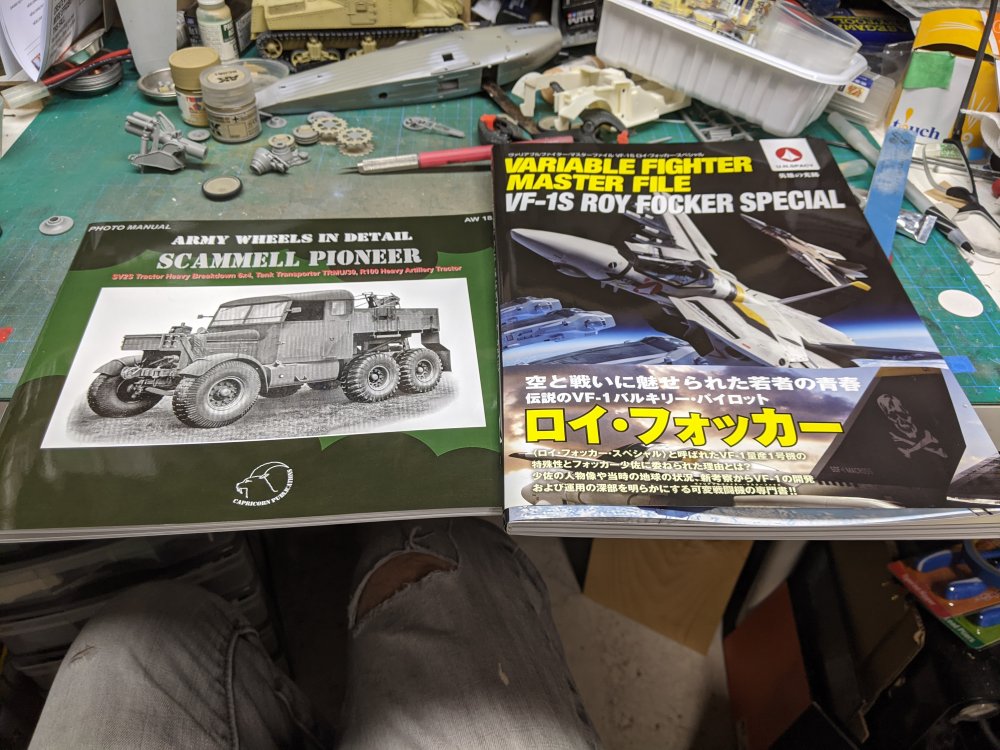
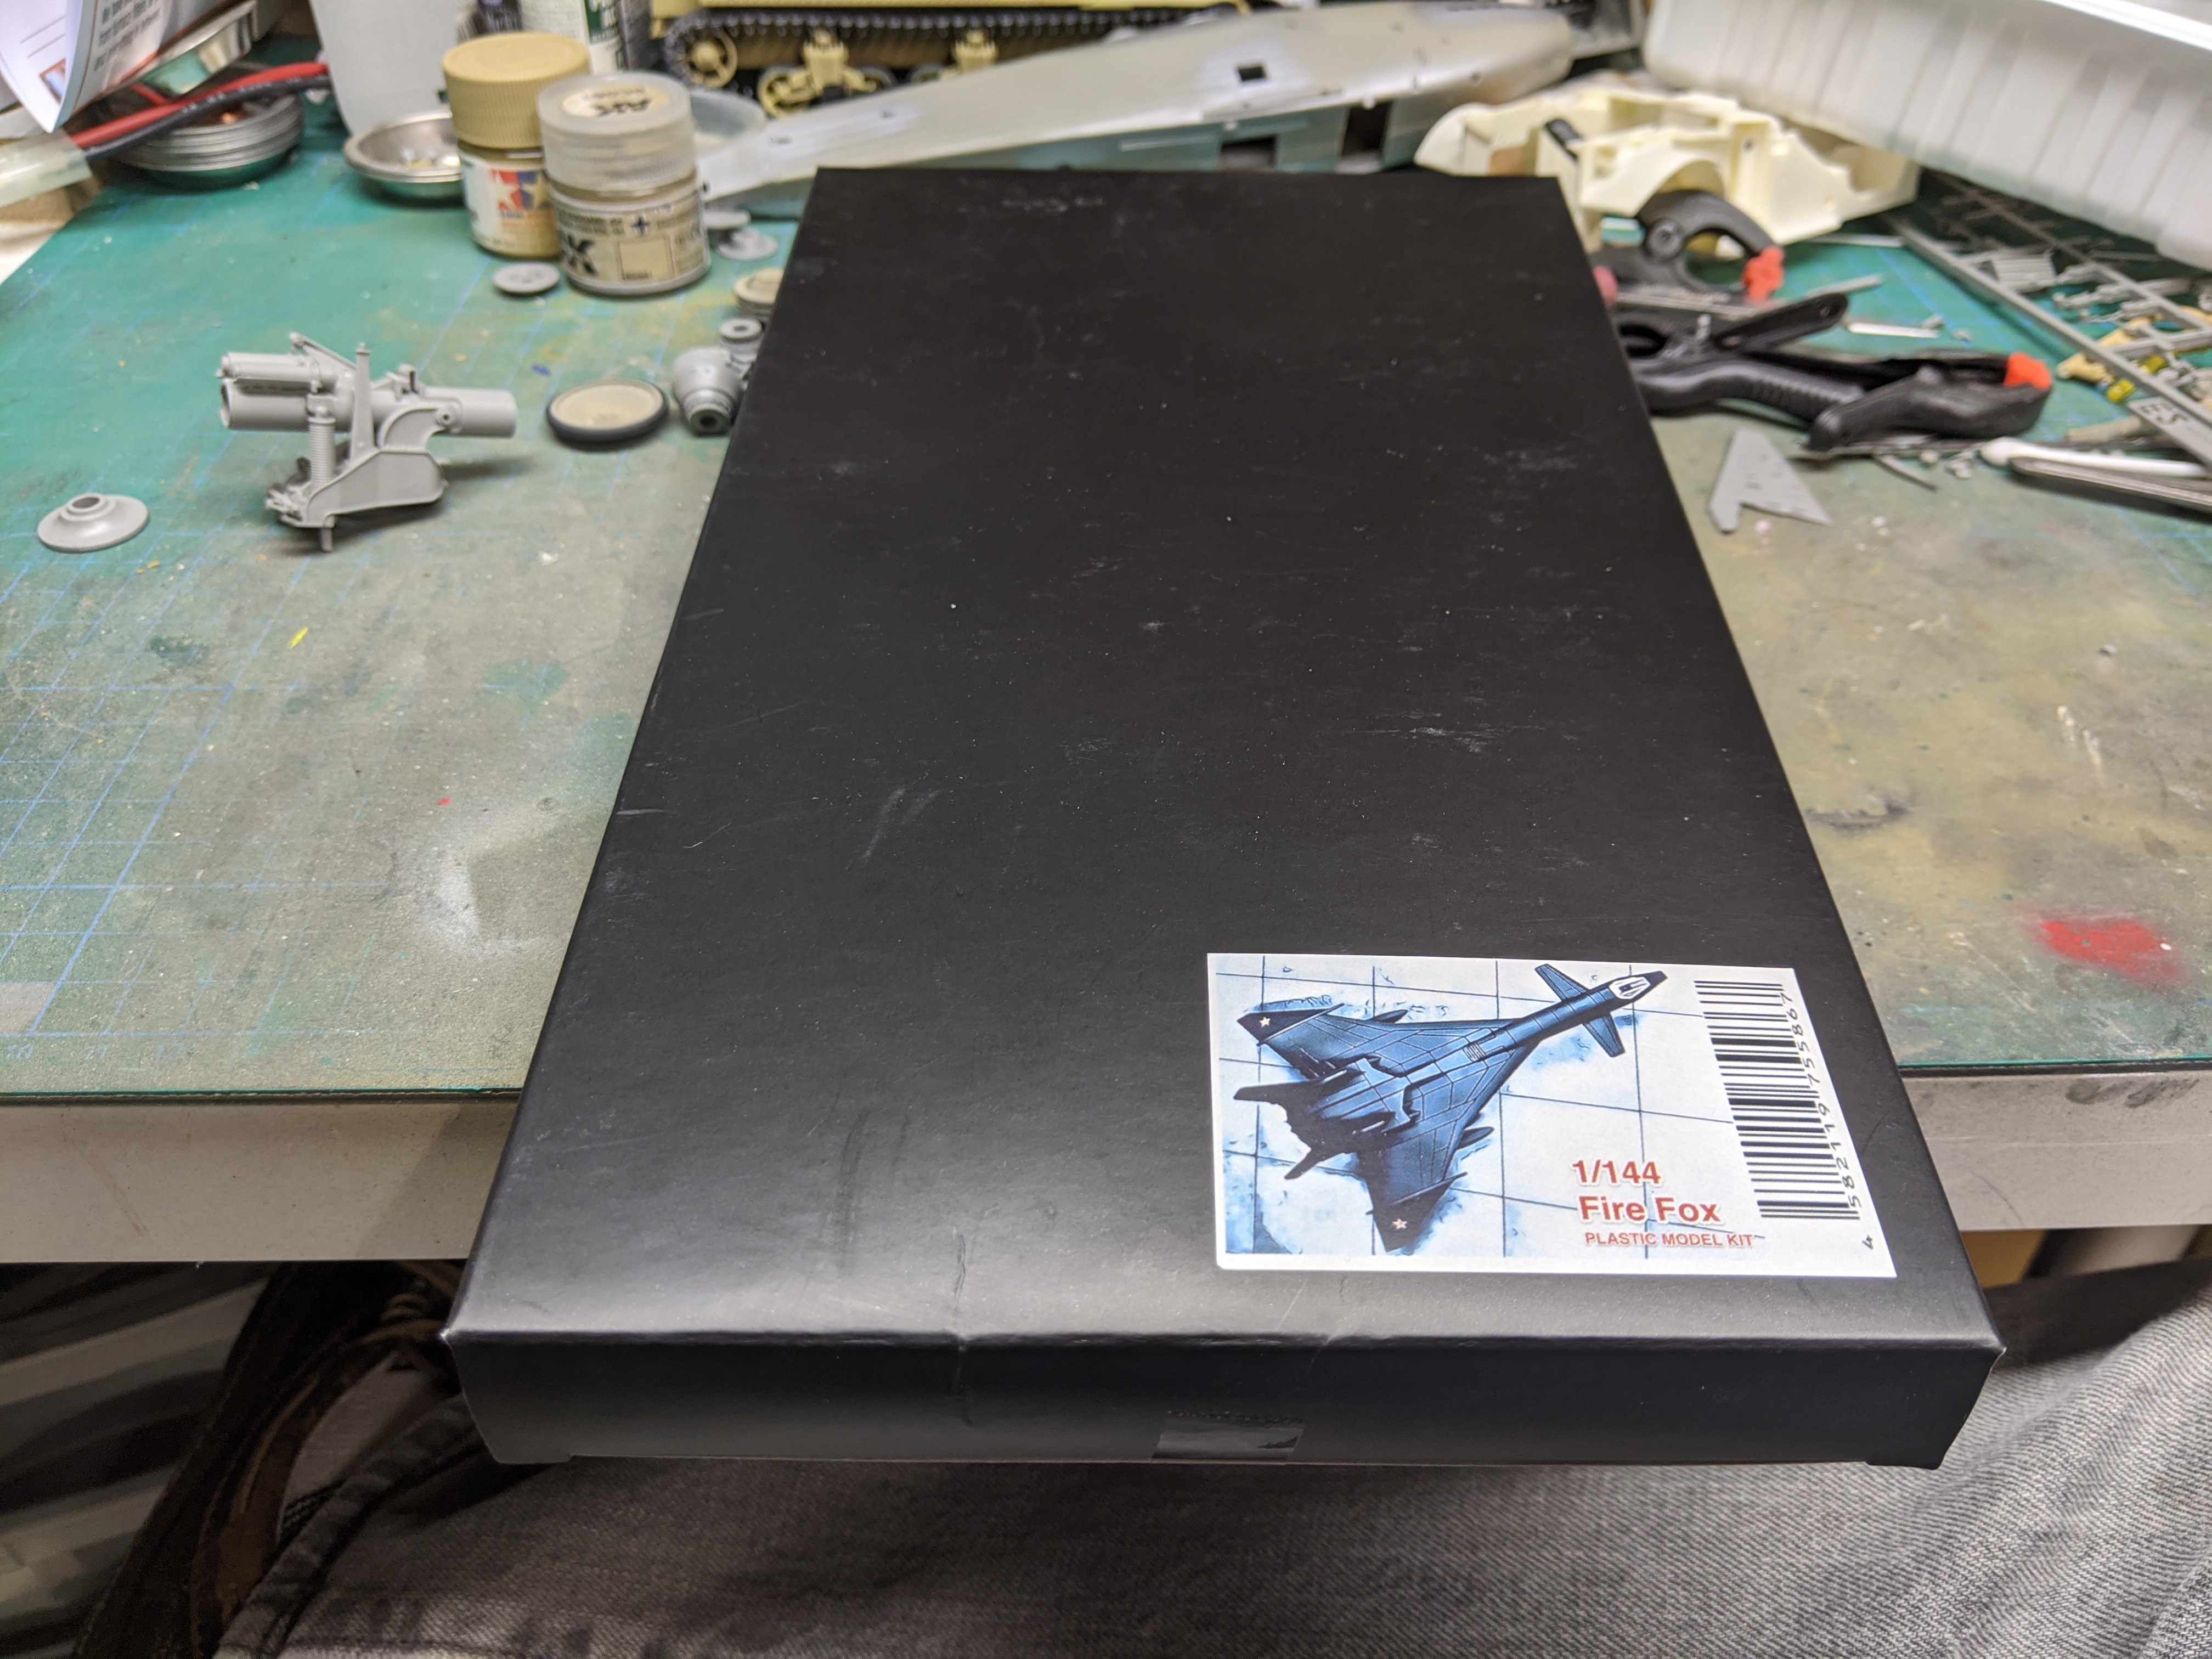
"You must think in Russian"... A bit on the tiny side but it's the only readily available kit I know of the Mig-31. I also picked up some reference materials. The SoftBank book is I think the 3rd or 4th volume on the VF-1. Which is kind of impressive when you consider it's a fictional plane. The Scammell book should come in handy while I continue on my build. Hard to find here in the west but $20 from HLJ. Go figure. Carl