BlrwestSiR
-
Posts
9,183 -
Joined
-
Last visited
Content Type
Profiles
Forums
Events
Gallery
Everything posted by BlrwestSiR
-

What is on your bench right now ? Share a picture :)
BlrwestSiR replied to Martinnfb's topic in Modelling Discussion
Very nice bench and setup Hubert. Carl -
1929 Fokker Super Universal
BlrwestSiR replied to Clunkmeister's topic in LSM 1/35 and Larger Work In Progress
Ernie, you're off to a great start. Thanks for the info on how the printed materials react. That's something I haven't tried yet. Carl- 67 replies
-
- 2
-

-
- fokker
- super universal
- (and 5 more)
-
1929 Fokker Super Universal
BlrwestSiR replied to Clunkmeister's topic in LSM 1/35 and Larger Work In Progress
Nice to see you back at it Ernie. So is this going to be a dual build with the CF-100 too?- 67 replies
-
- 3
-
-
- fokker
- super universal
- (and 5 more)
-
Silver Wings Hawker Hart
BlrwestSiR replied to BlrwestSiR's topic in LSM 1/35 and Larger Work In Progress
Thanks Ernie. I'm going to keep plugging away at it.- 39 replies
-
- 4
-
-
- silver wings
- hawker
- (and 1 more)
-
Silver Wings Hawker Hart
BlrwestSiR replied to BlrwestSiR's topic in LSM 1/35 and Larger Work In Progress
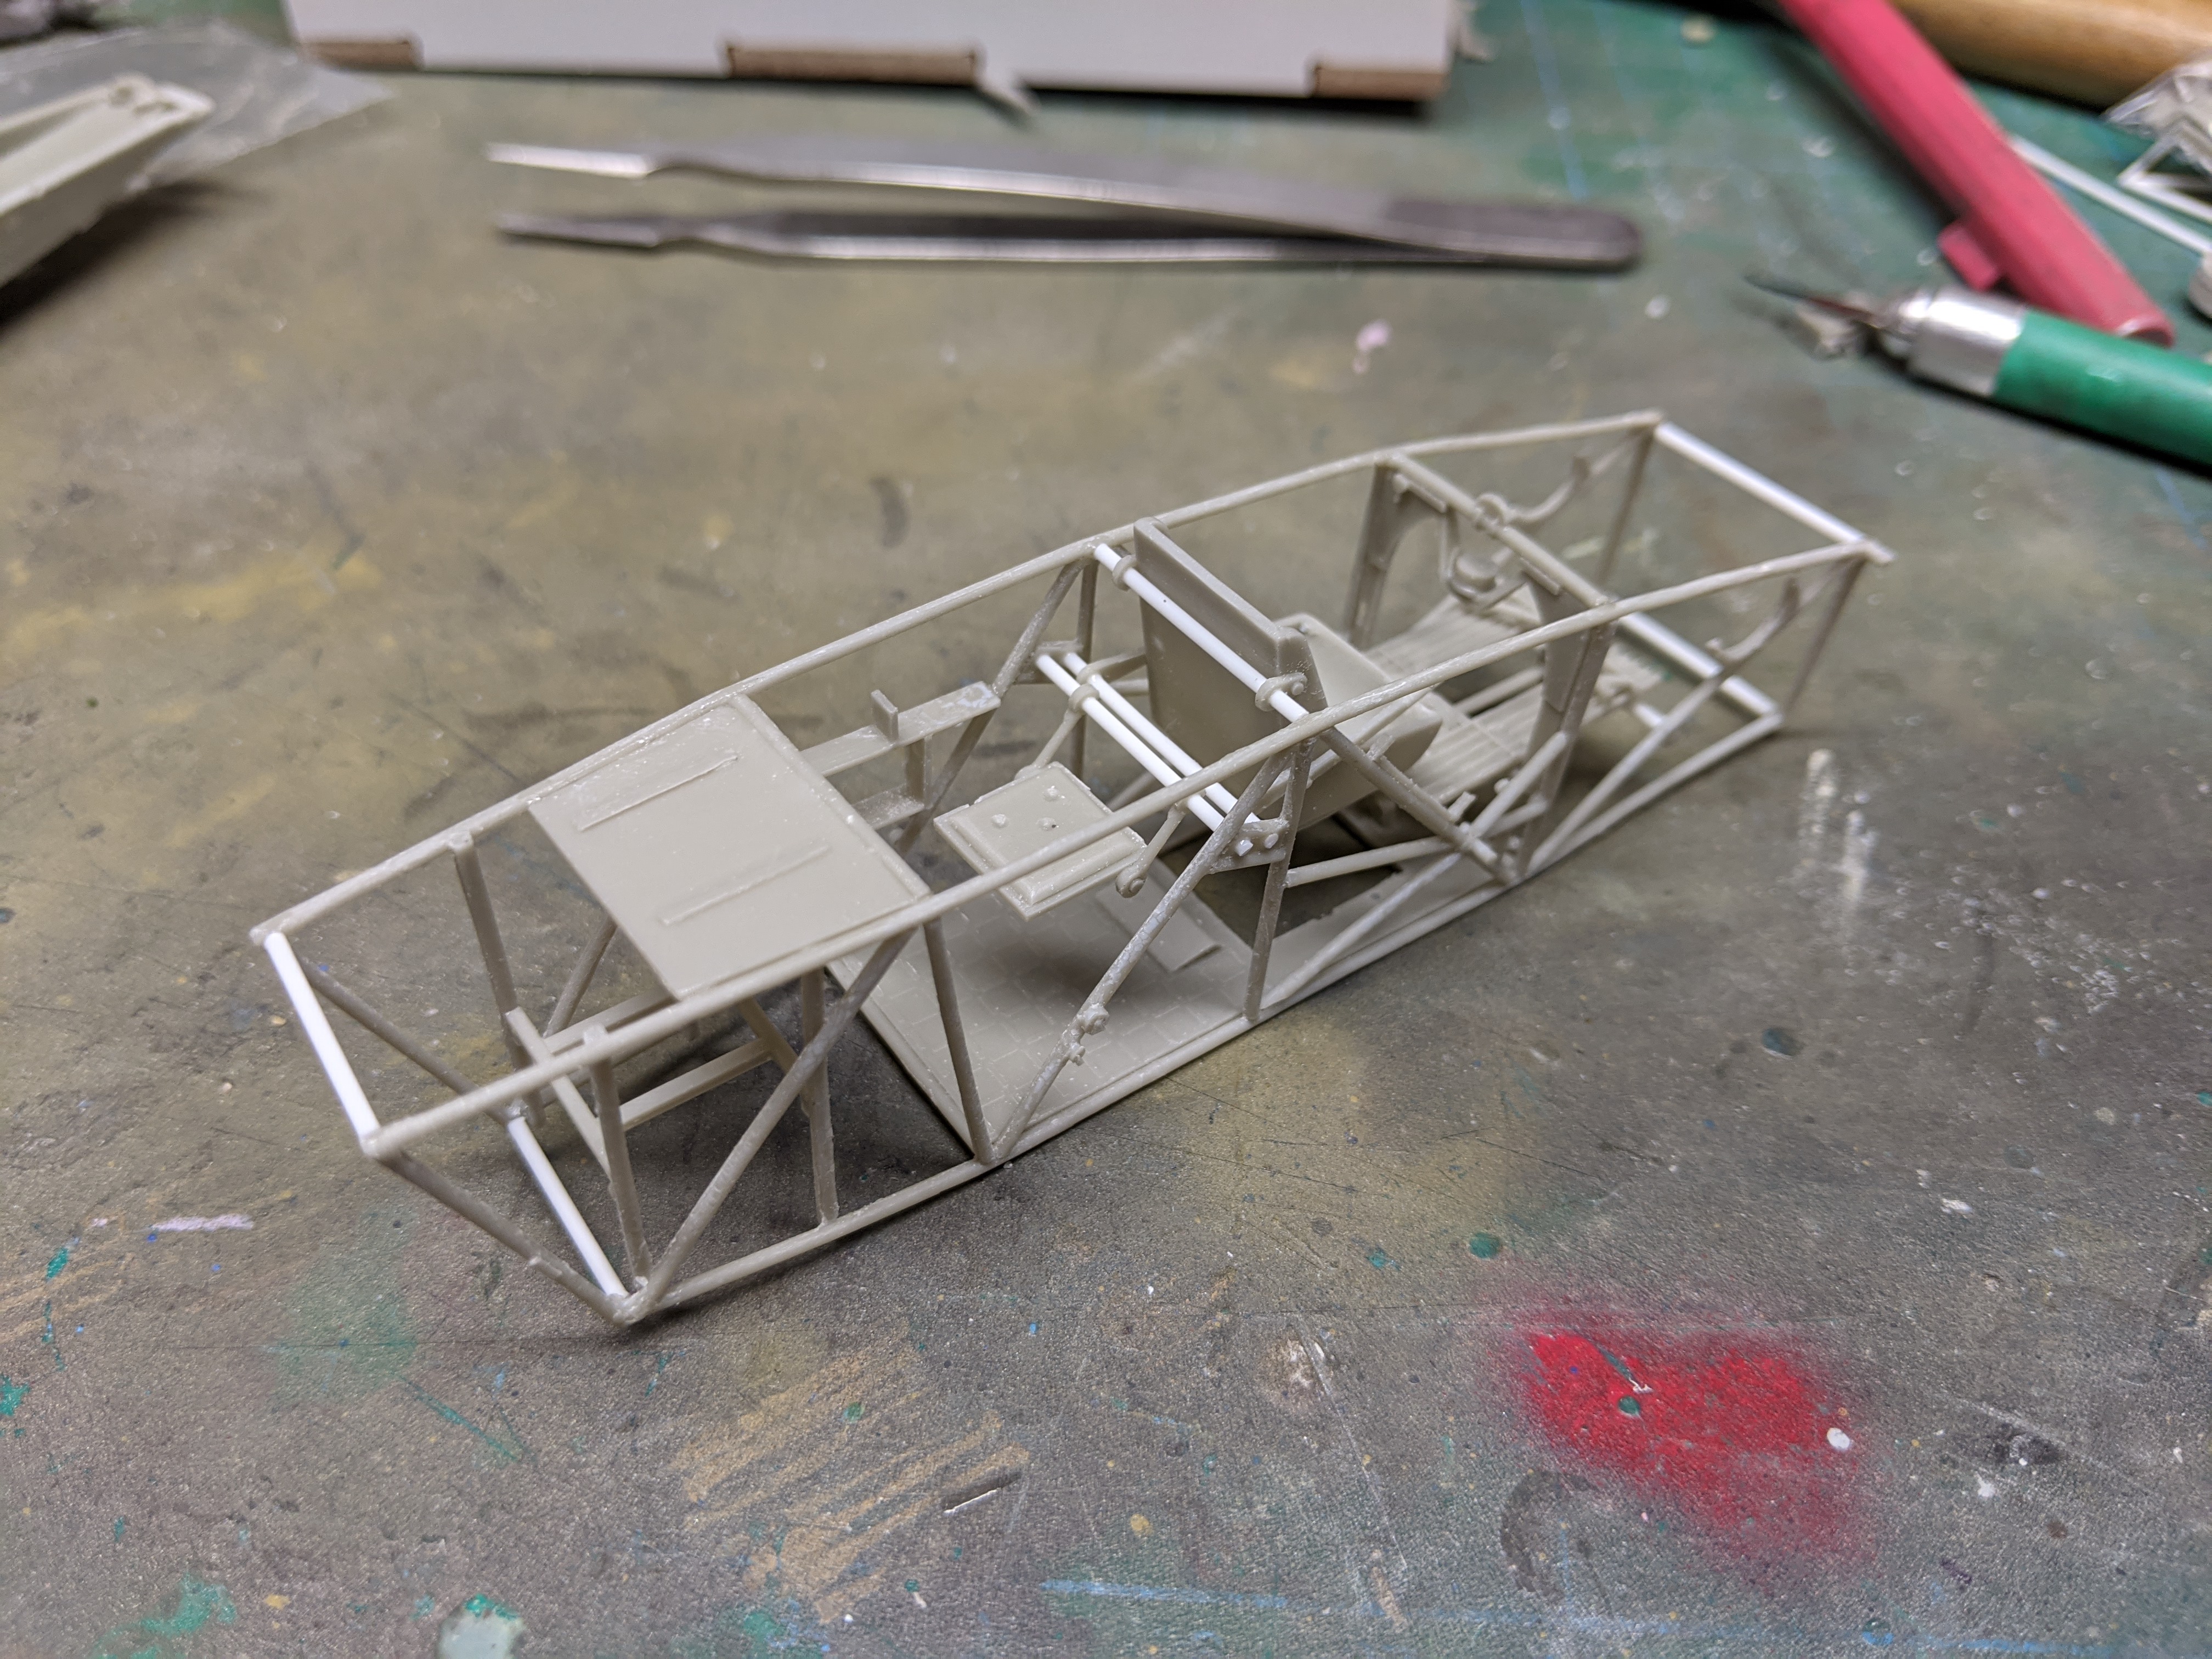
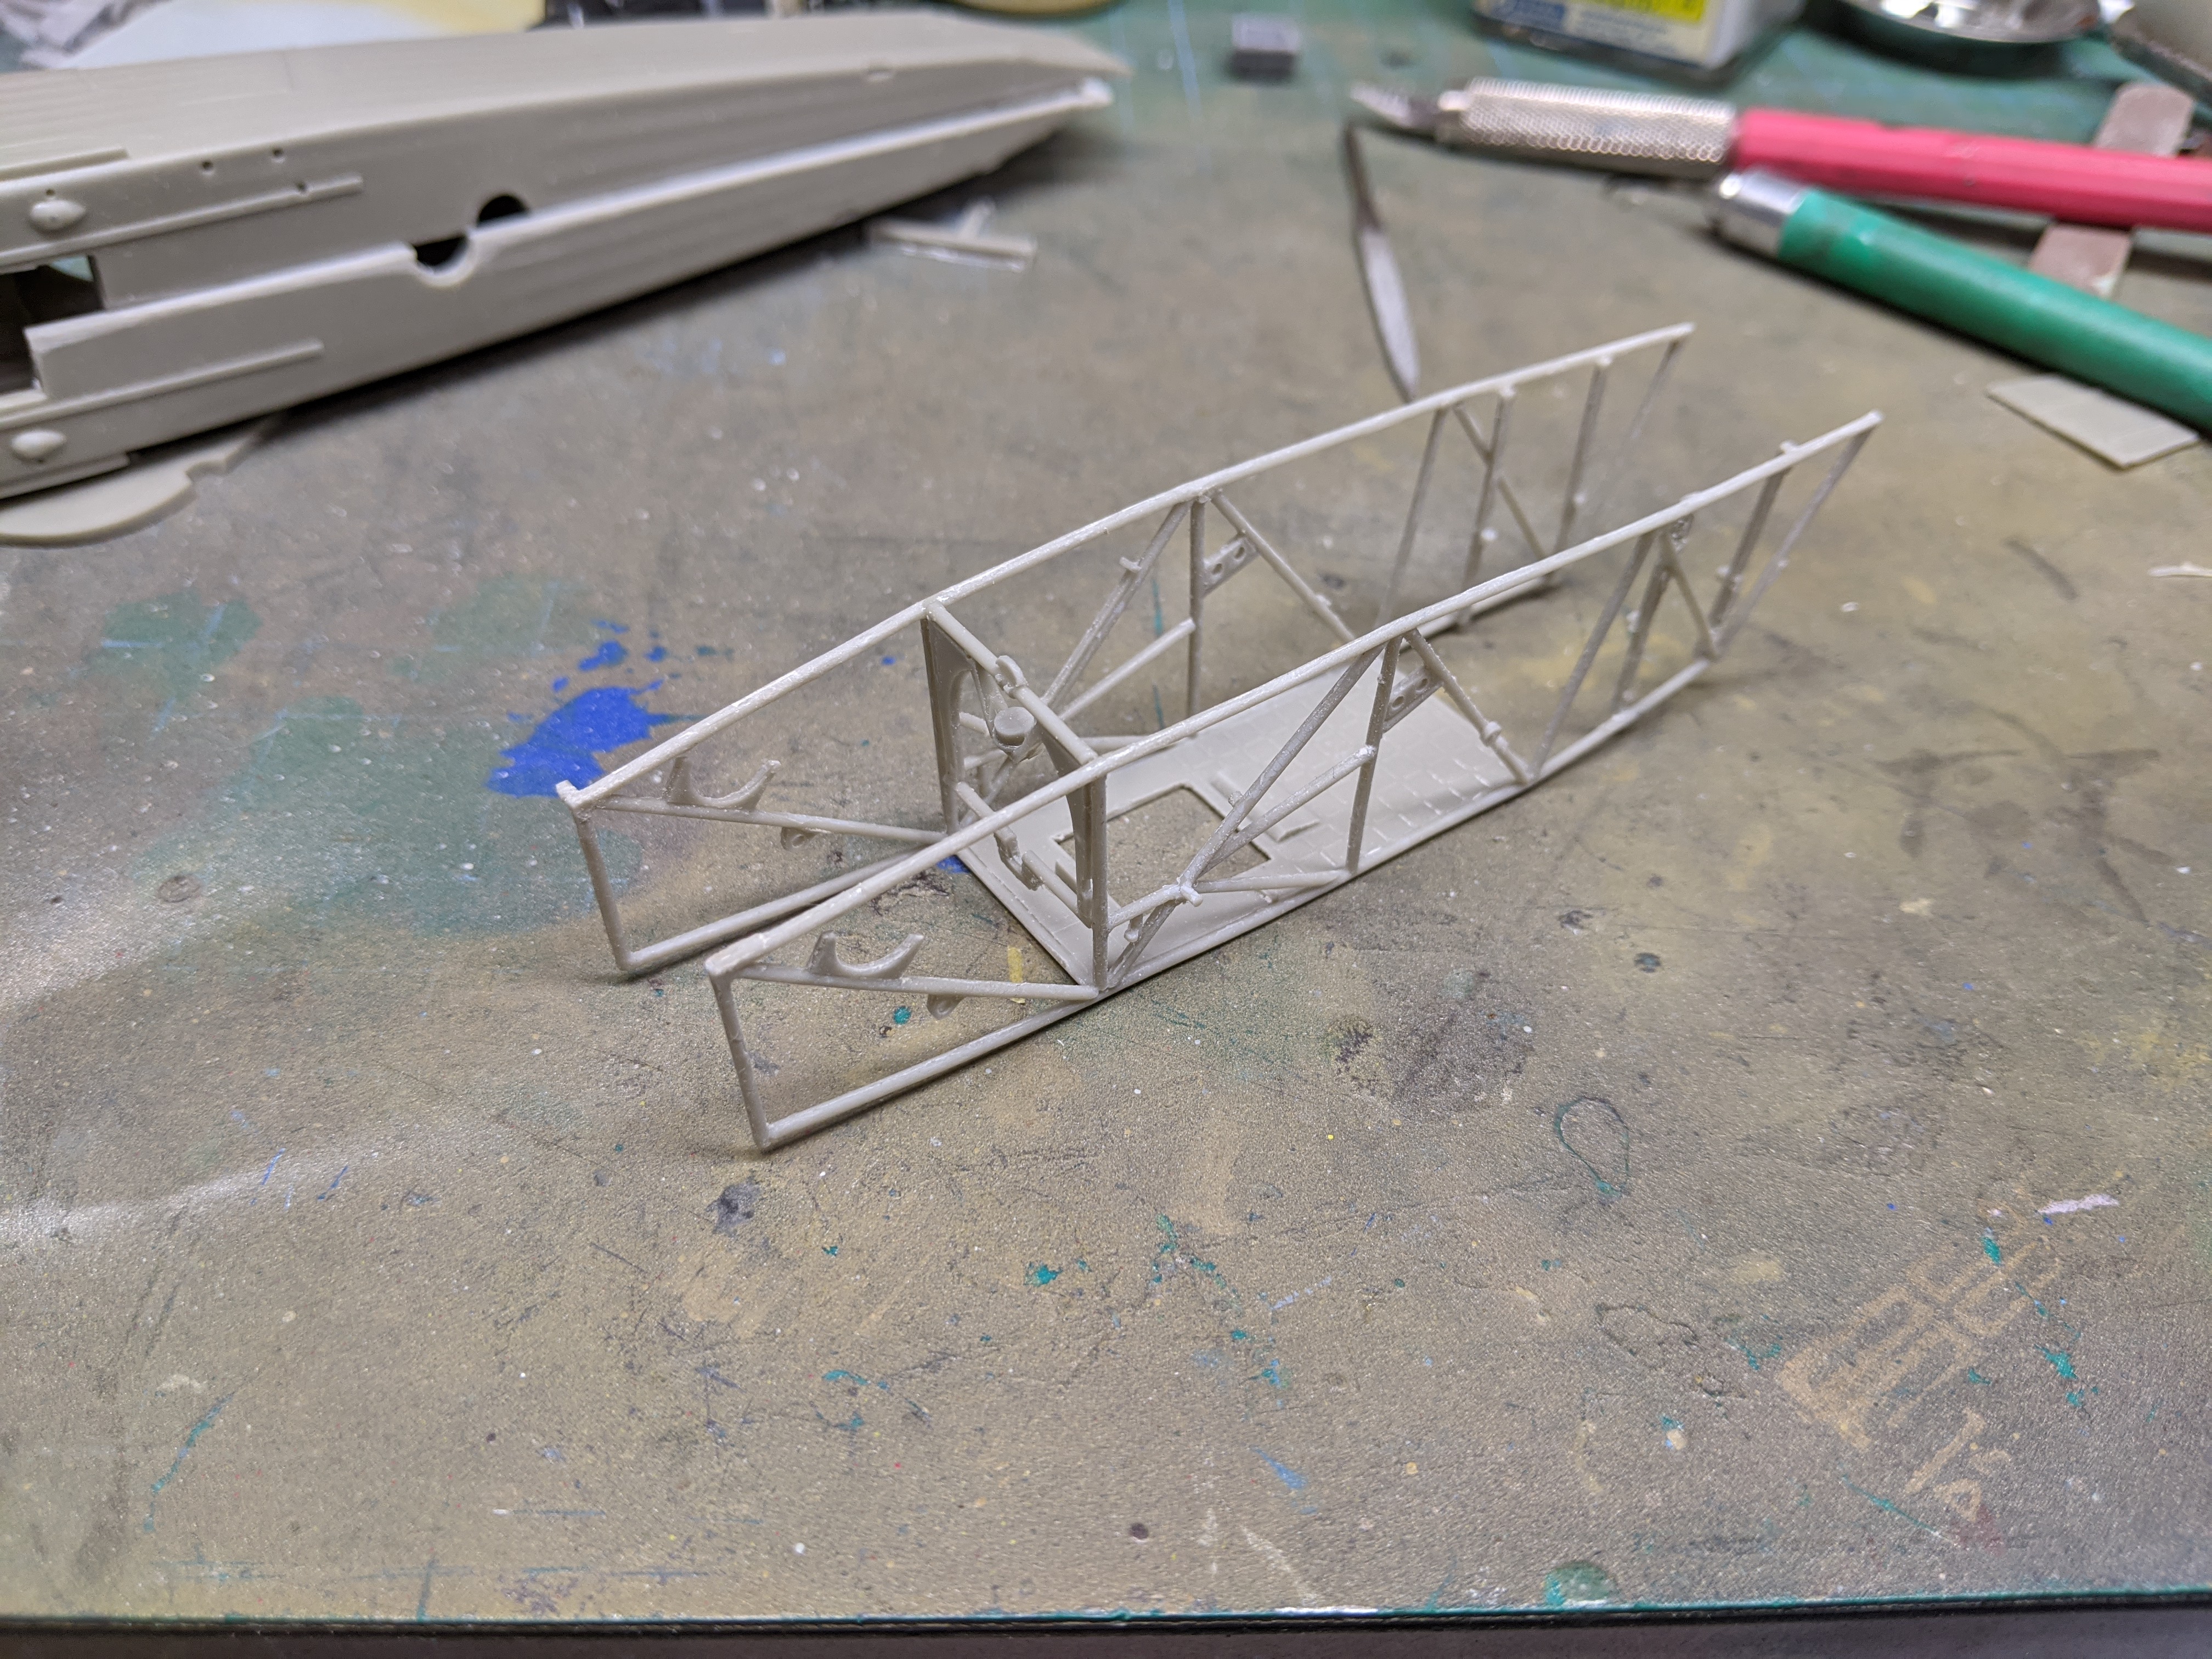
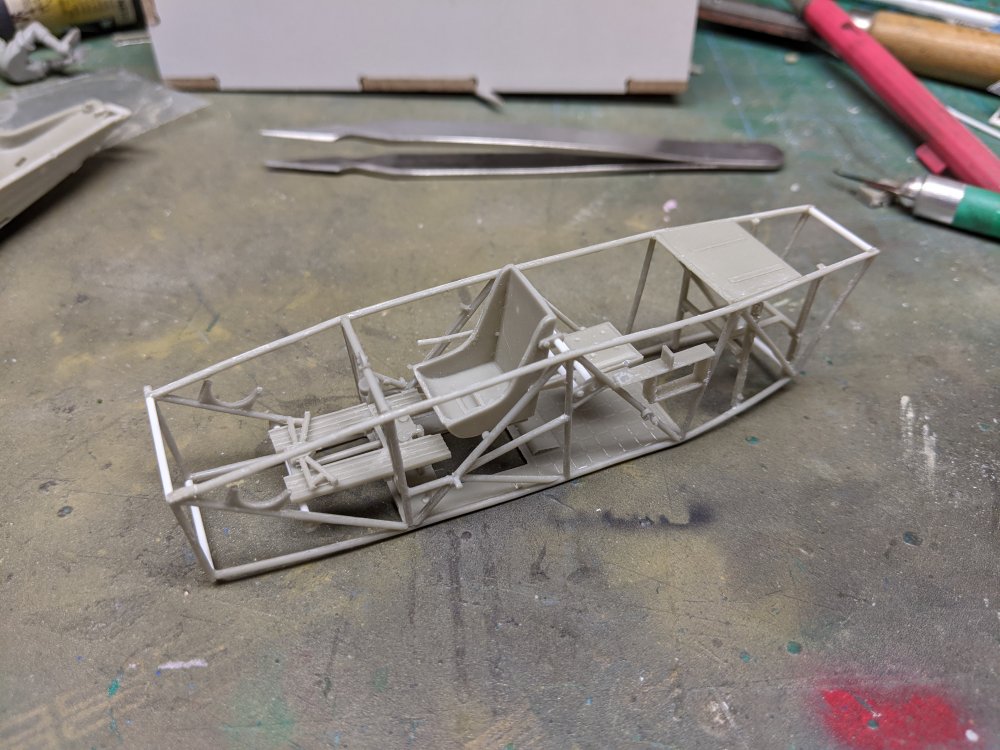
Well, having been on a hiatus from plane kits this is what I dragged out. Sort of like jumping out of the frying pan into the deep end filled with burning napalm while carrying a 500lb bomb. I took a look at the framing I'd started in plastic and decided to see if the resin kit one was usable. After using CA to glue the breaks, I cut them loose from the pour stubs and they held together. So next up was some assembly. I still have to use the plastic rod for the cross braces though. Just felt it would be a bit sturdier that way. One thing led to another and here's where I am as of tonight. I figure the cockpit for the scariest part of this build so I may just continue on with it. So much for an easy build to ease back in.

- 39 replies
-
- 11
-
-
- silver wings
- hawker
- (and 1 more)
-
What is on your bench right now ? Share a picture :)
BlrwestSiR replied to Martinnfb's topic in Modelling Discussion
Bill, the frames were broken in a couple places and there was a lot of weird lumps and flash along most of them. I decided to chance it and glued the breaks and clean things up before removing the pour stubs and it worked out. -
Dragon Pz IIIM Neo Kursk
BlrwestSiR replied to GazzaS's topic in LSM 1/35 and Larger Work In Progress
Looks good Gaz. The extra track on the front looks fine too. So many crews added extra tracks as armour it won't be out of place. -
What is on your bench right now ? Share a picture :)
BlrwestSiR replied to Martinnfb's topic in Modelling Discussion
What is with Hawker and their tubular frame cockpits? Didn't they realize just how hard they were making it for us modelers?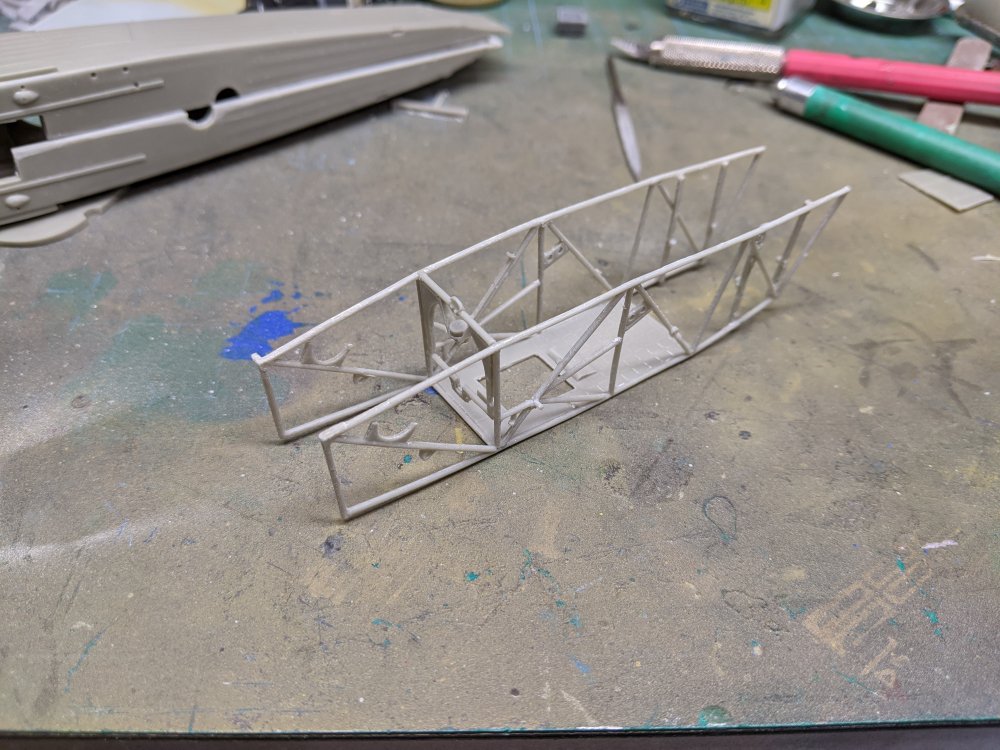
-
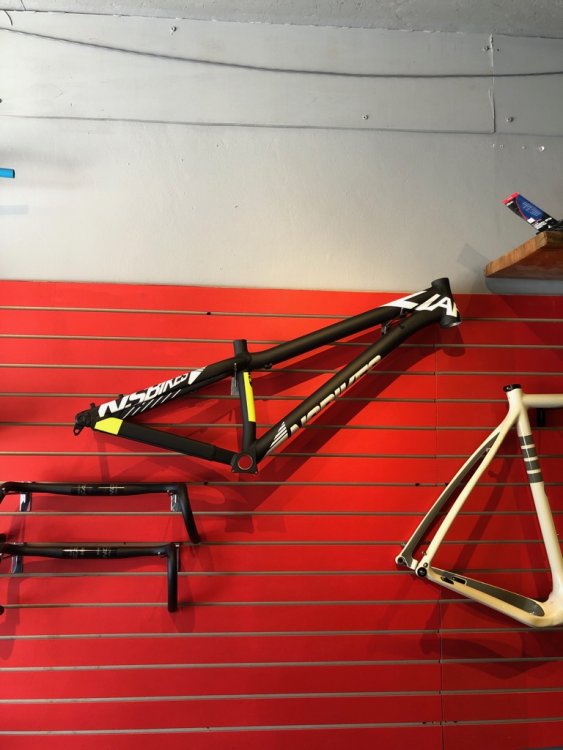
Actually, it'll be for my oldest son. It's a 12inch frame so a bit small for me. I usually ride a 17inch frame size. But it's overbuilt so I could take it to the bike park and huck it off the big jumps if I was crazy enough. Which I'm not.
-
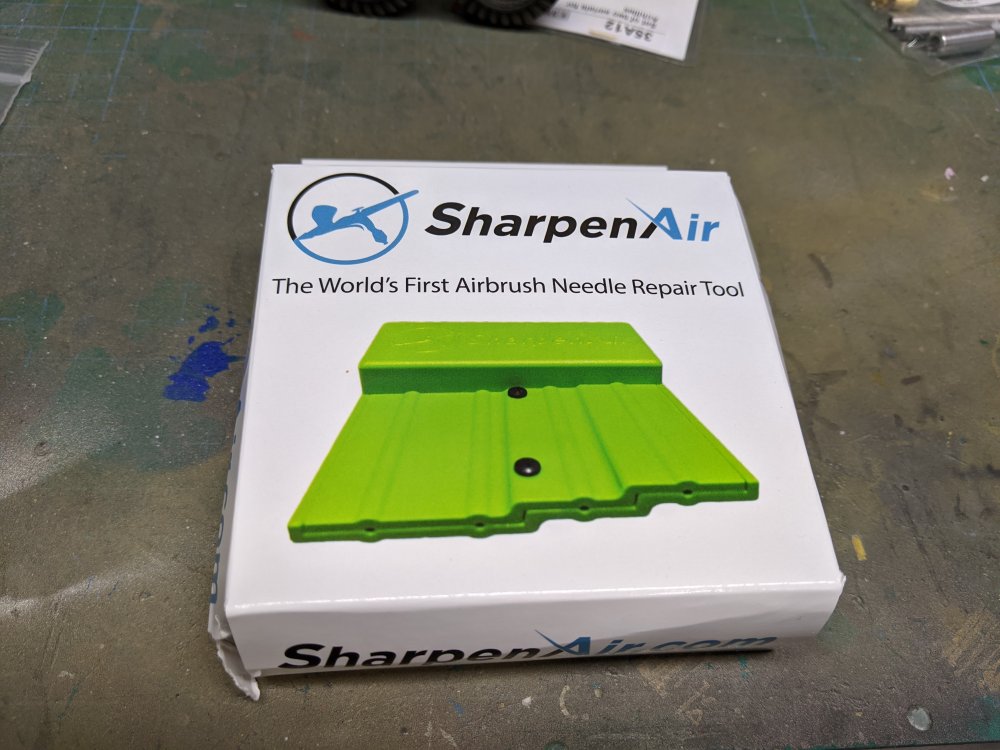
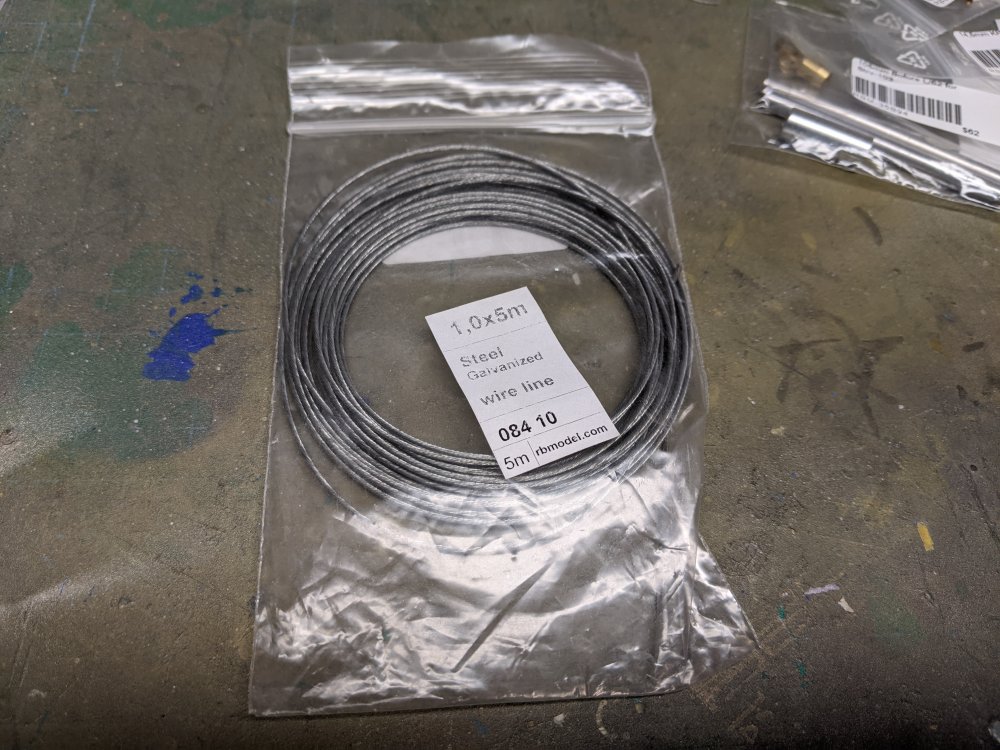
I use them for a couple things One pack I bought has been impervious to lacquer thinner so I've been able to just use them to clean my airbrush. I've also used them for cleaning up excess CA glue with debonder and for applying panel wash.
-
Scammell tractor/trailer with M3 Grant
BlrwestSiR replied to BlrwestSiR's topic in LSM 1/35 and Larger Work In Progress
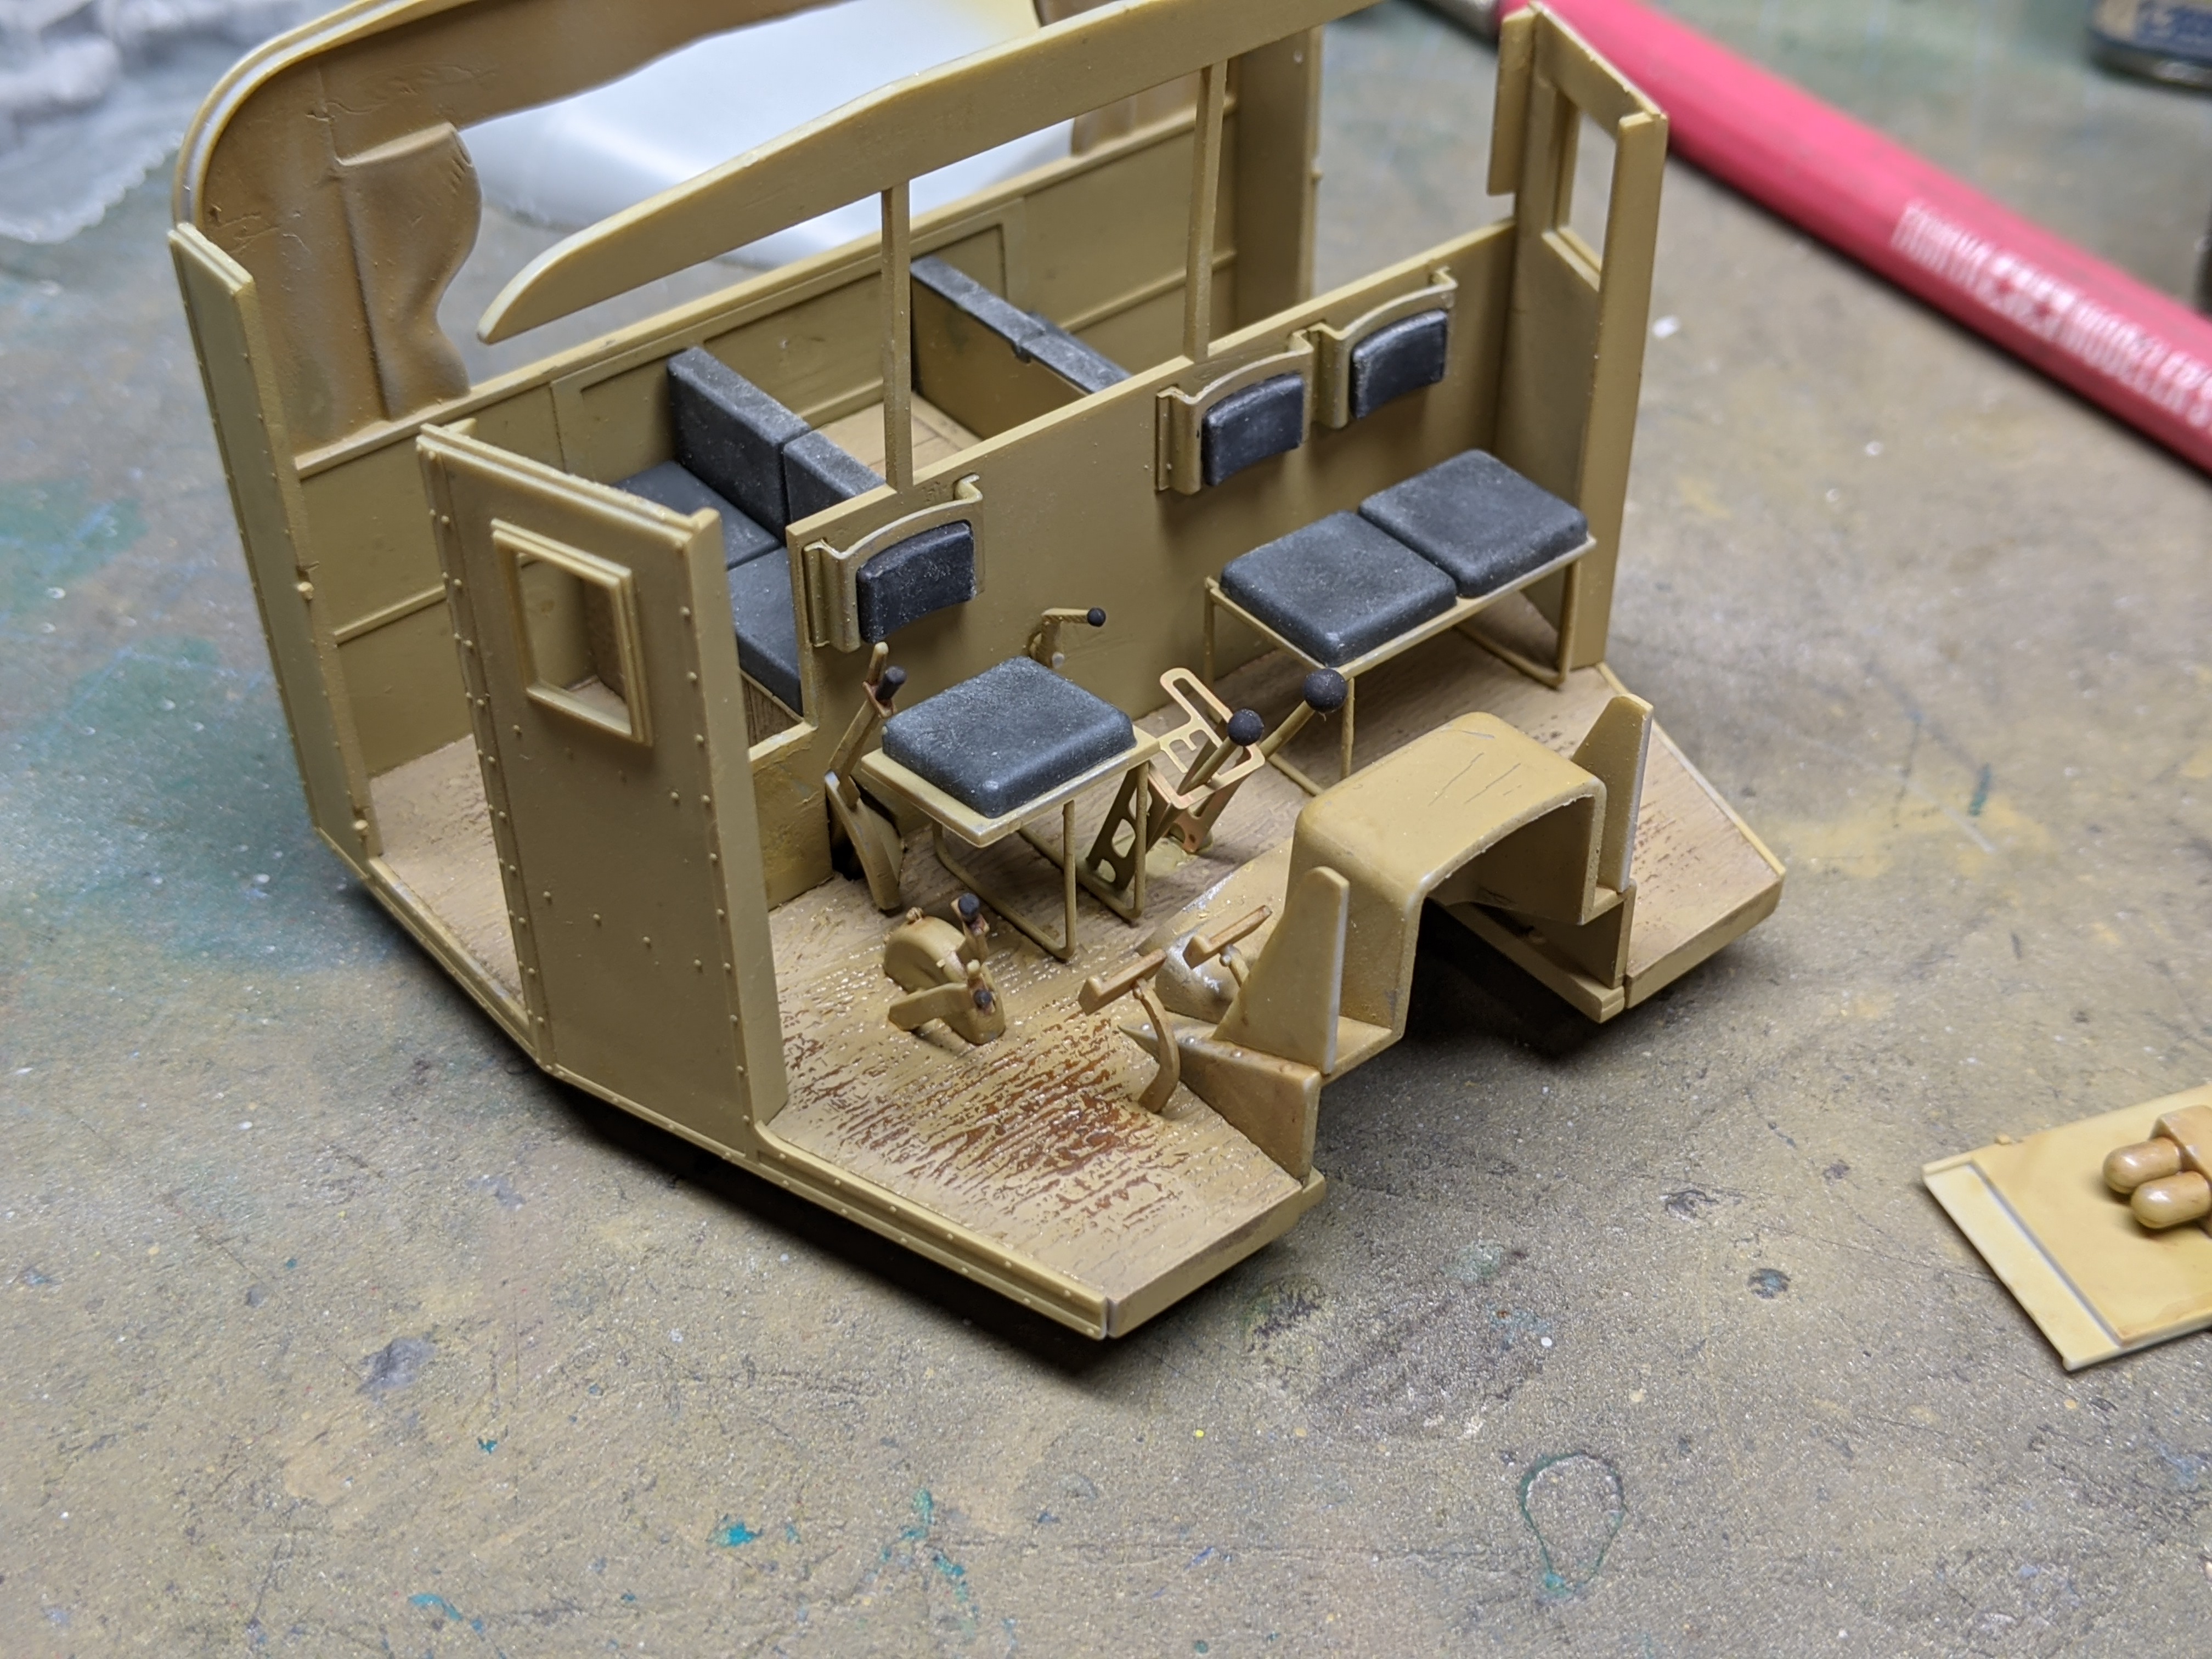
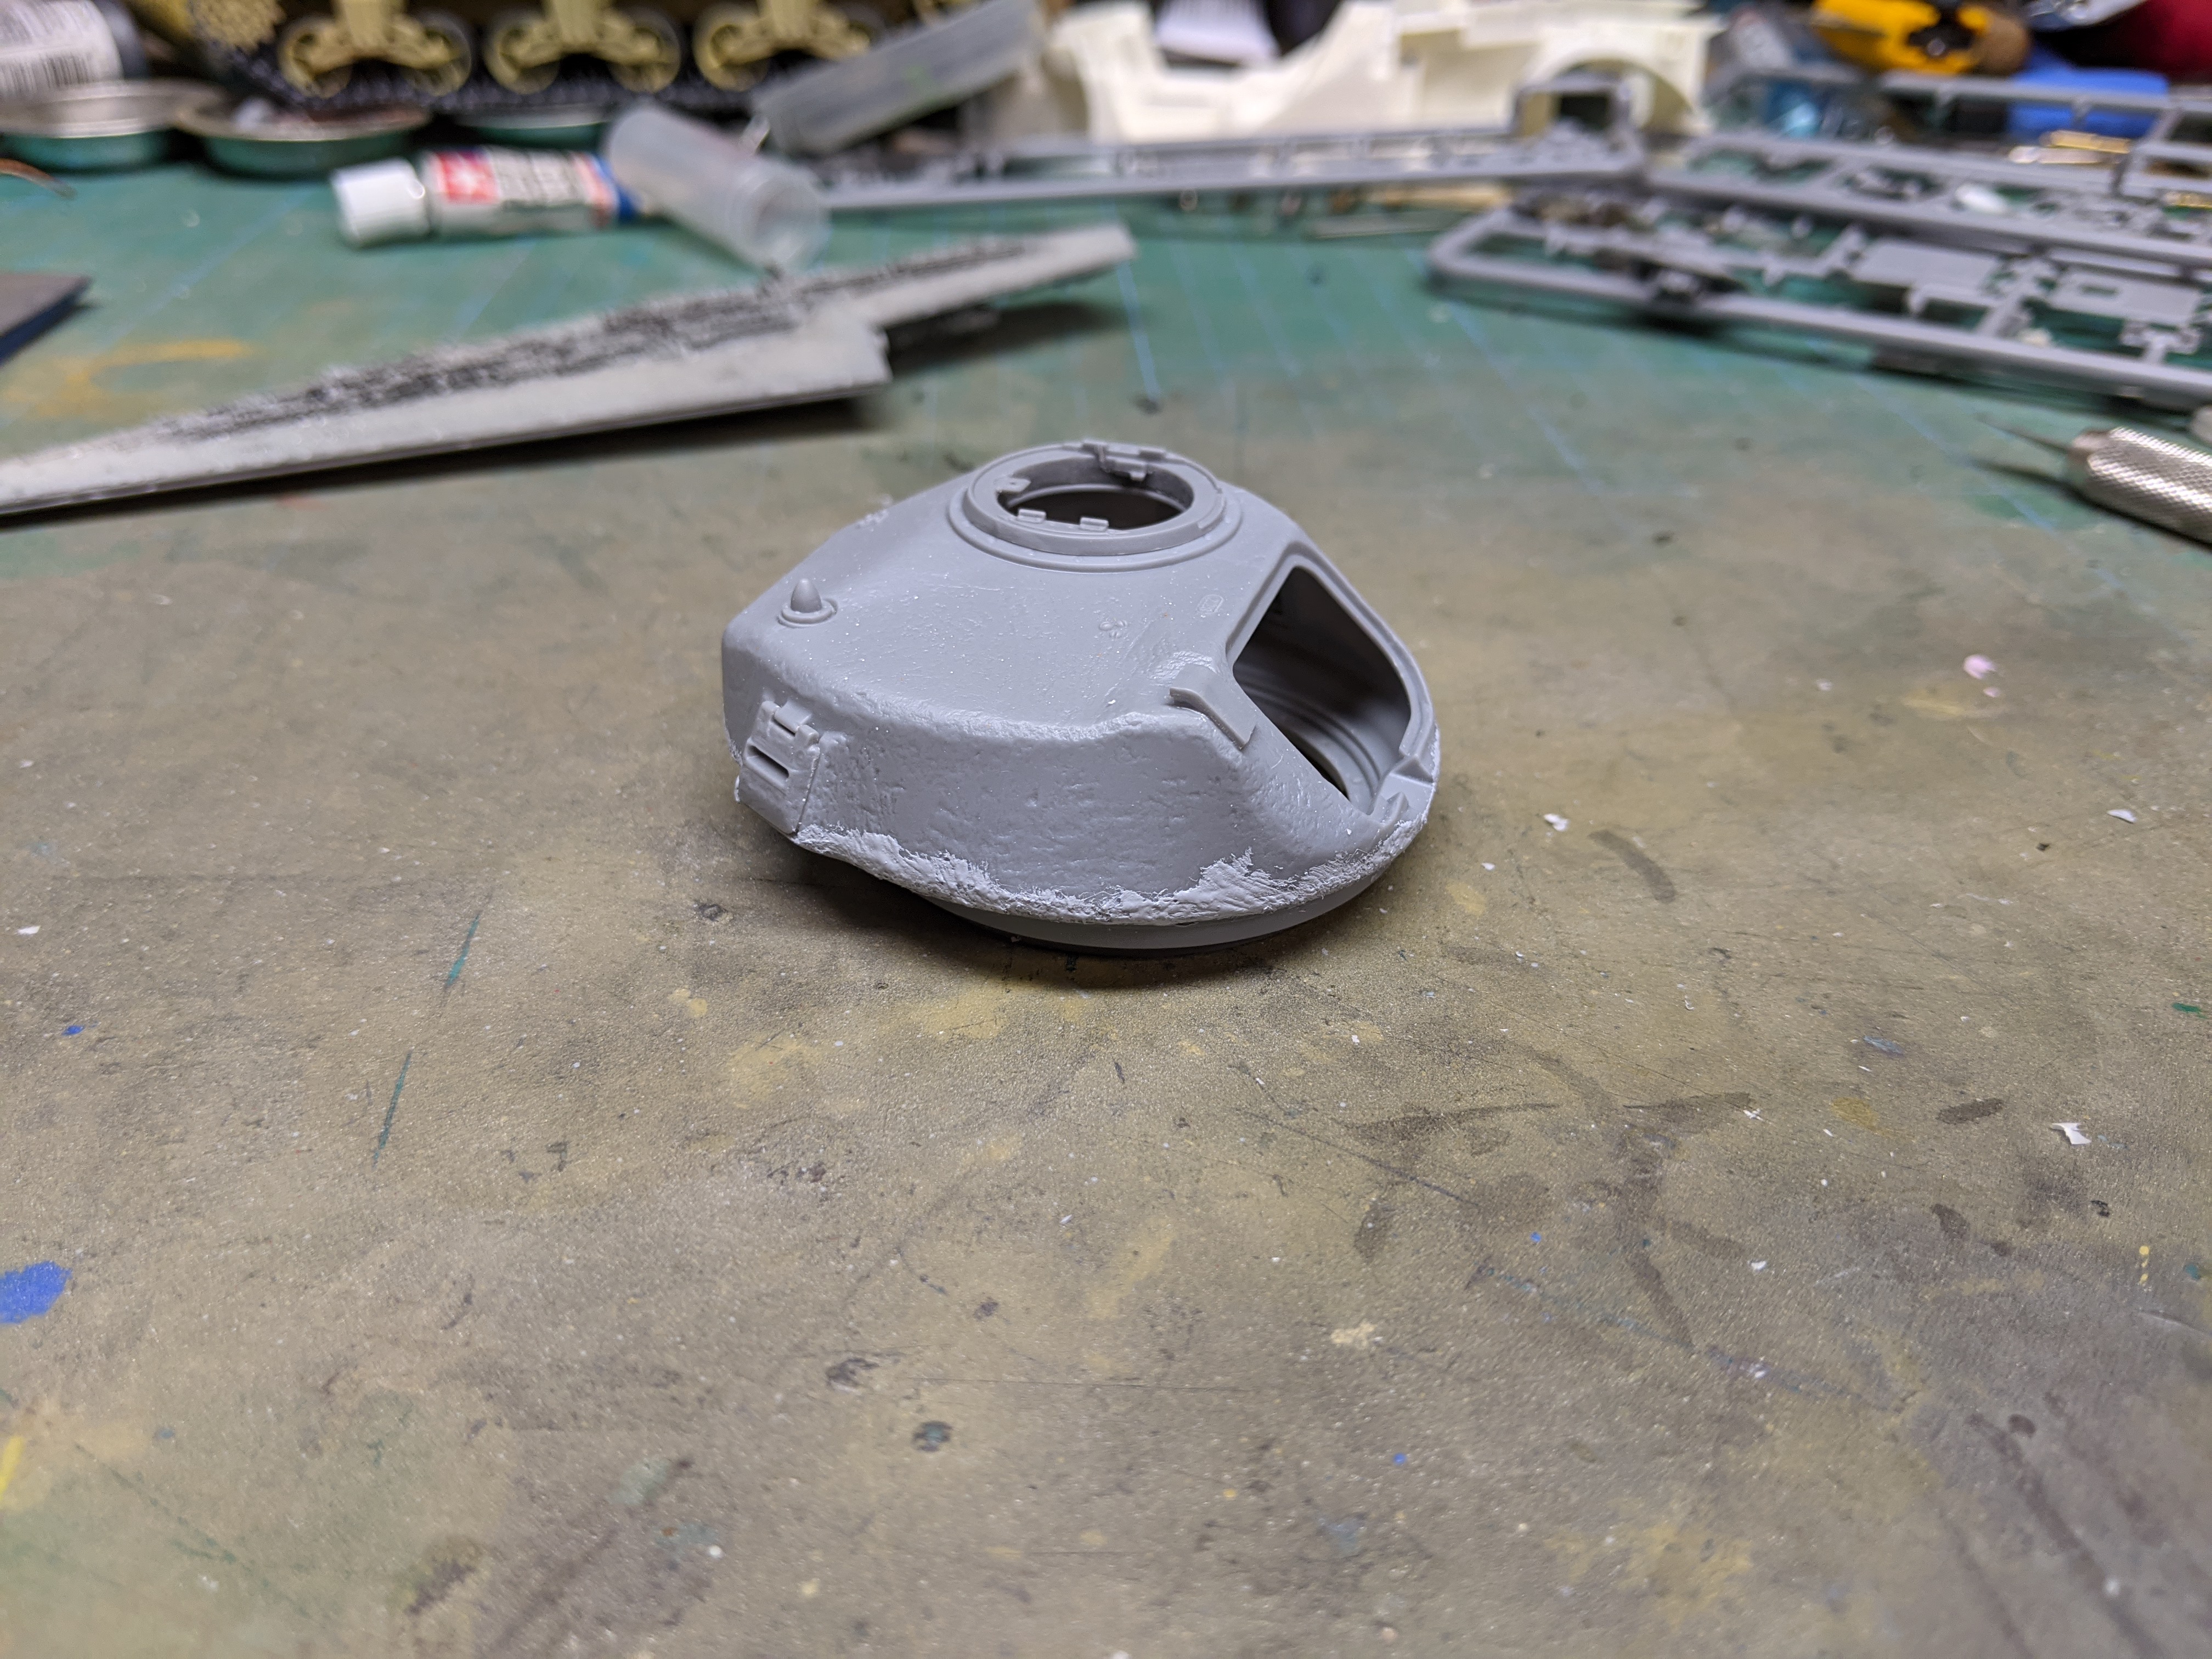
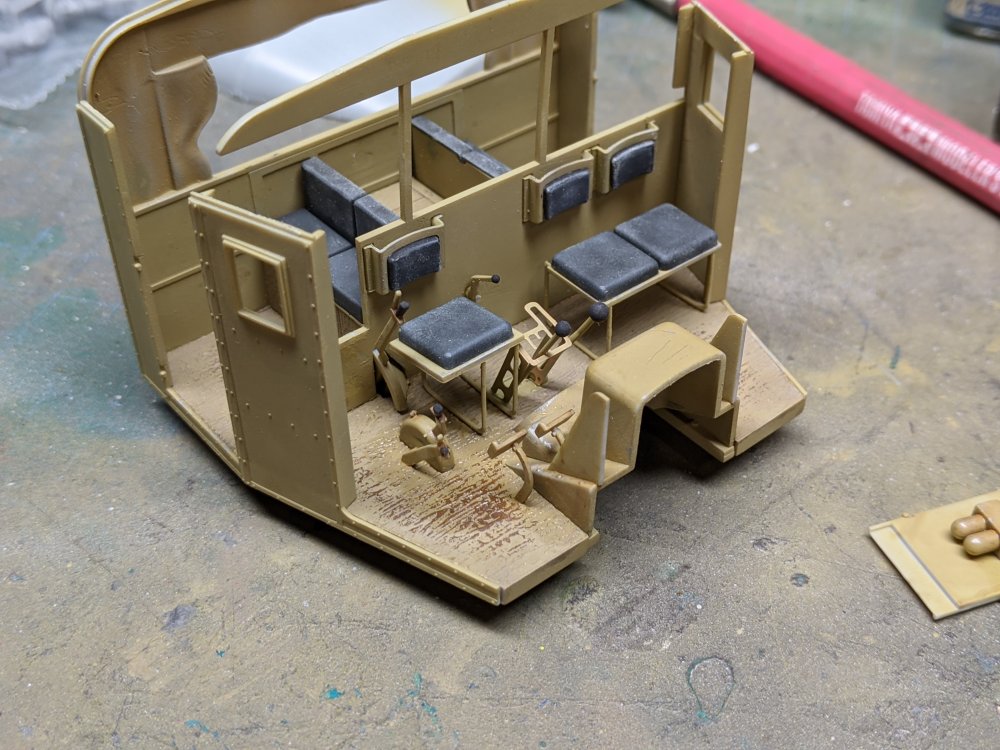
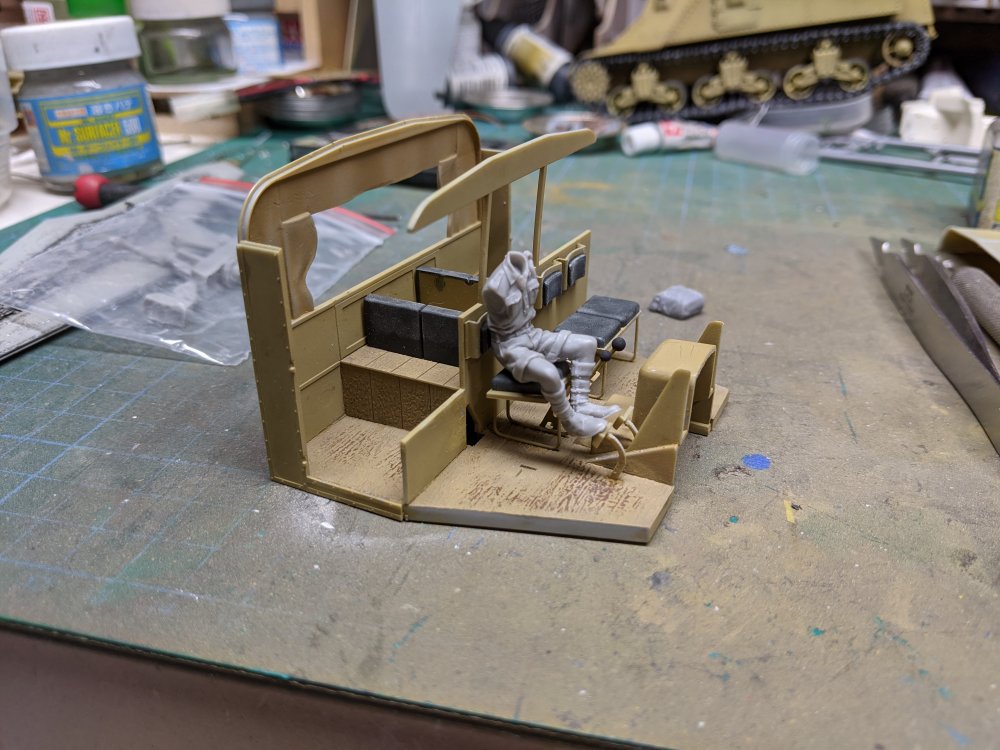
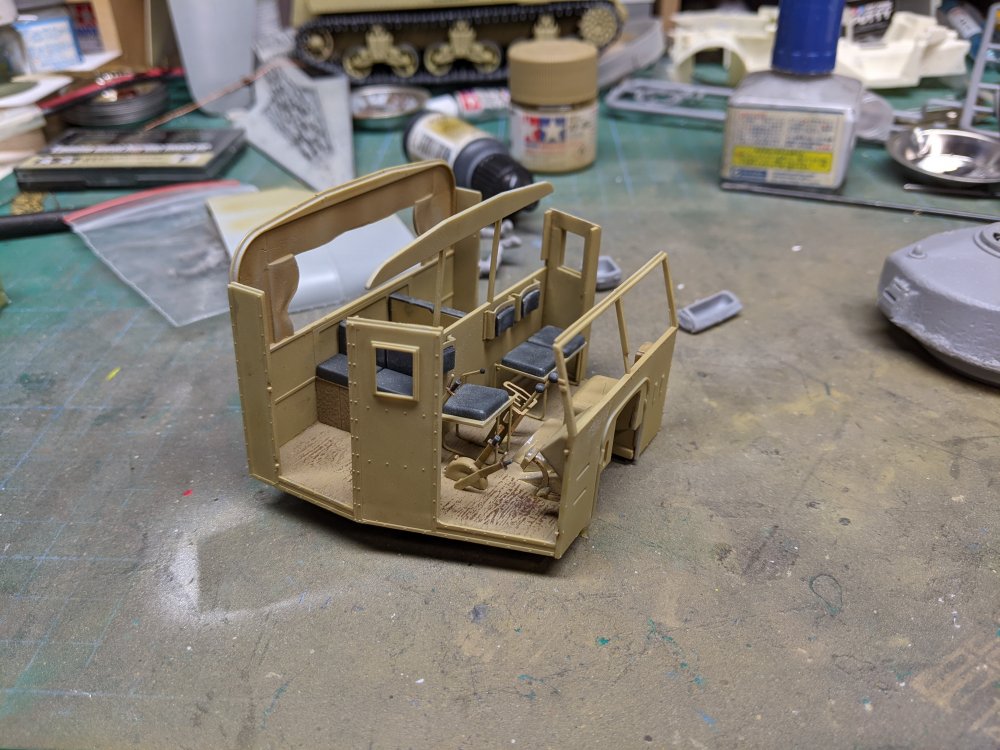
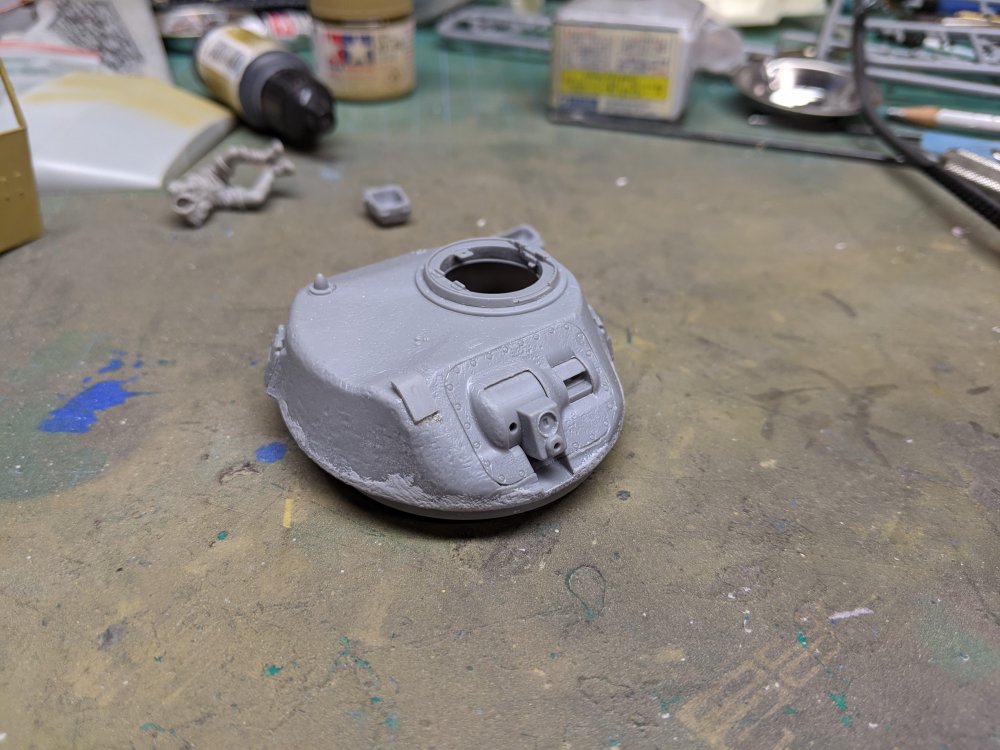
Small bit of progress on both the Scammell and the Grant. I did a test fit of the Jeep driver I bought in the Scammell's driver's seat. He's not a bad fit, even reaches the pedals. I then added the controls. Man there are a lot of levers. The throttle is attached to the firewall along with several other boxes. Finally, with the firewall attached to the cab. I glued the upper and lower turret halves together on the Grant. I then filled the seam with Mr Surfacer 500. I then added the mantlet to the turret.

-
What is on your bench right now ? Share a picture :)
BlrwestSiR replied to Martinnfb's topic in Modelling Discussion
Happy Canadian Thanksgiving folks! As a result, no bench time today as I was working on this: Carl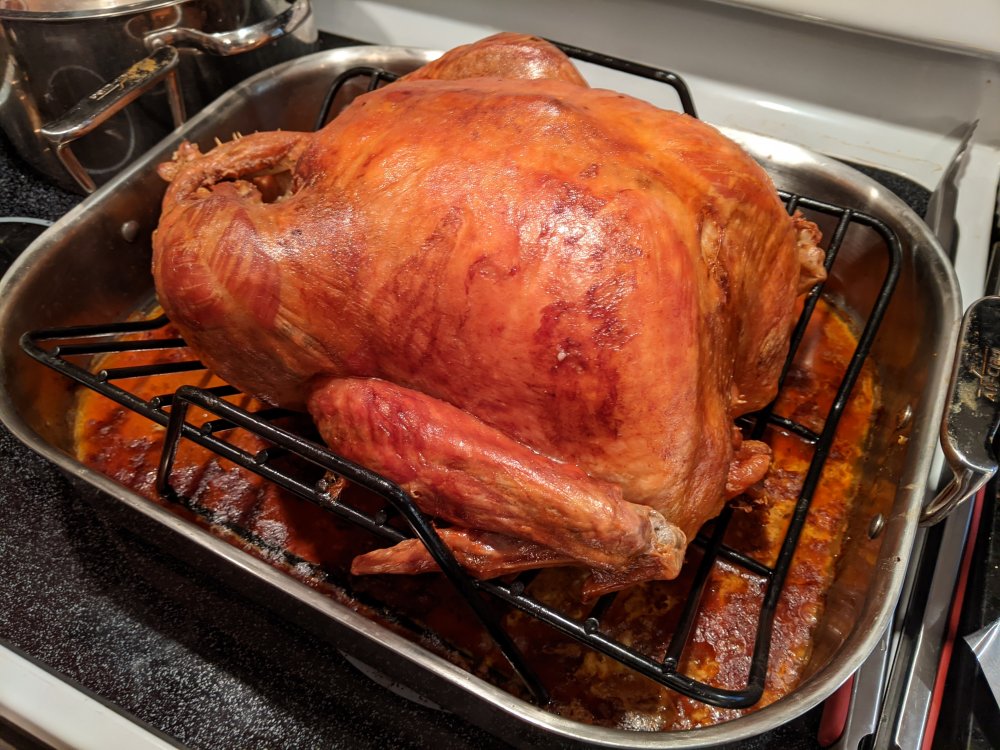
-
Not a bad idea...
-
Das Kamel - Hansa Brandenburg W.12
BlrwestSiR replied to DocRob's topic in LSM 1/35 and Larger Work In Progress
Truly superlative work Rob. Even with the clay wash glitch. I wouldn't have known if you hadn't mentioned it. Carl -
RR Spey powered RAF Phantom conversion
BlrwestSiR replied to Wingco57's topic in LSM 1/35 and Larger Work In Progress
Looks great Cees. Never would have thought of trying what you've done with the wings. Carl- 414 replies
-
- 2
-
-
- conversion
- phantom
- (and 1 more)
-
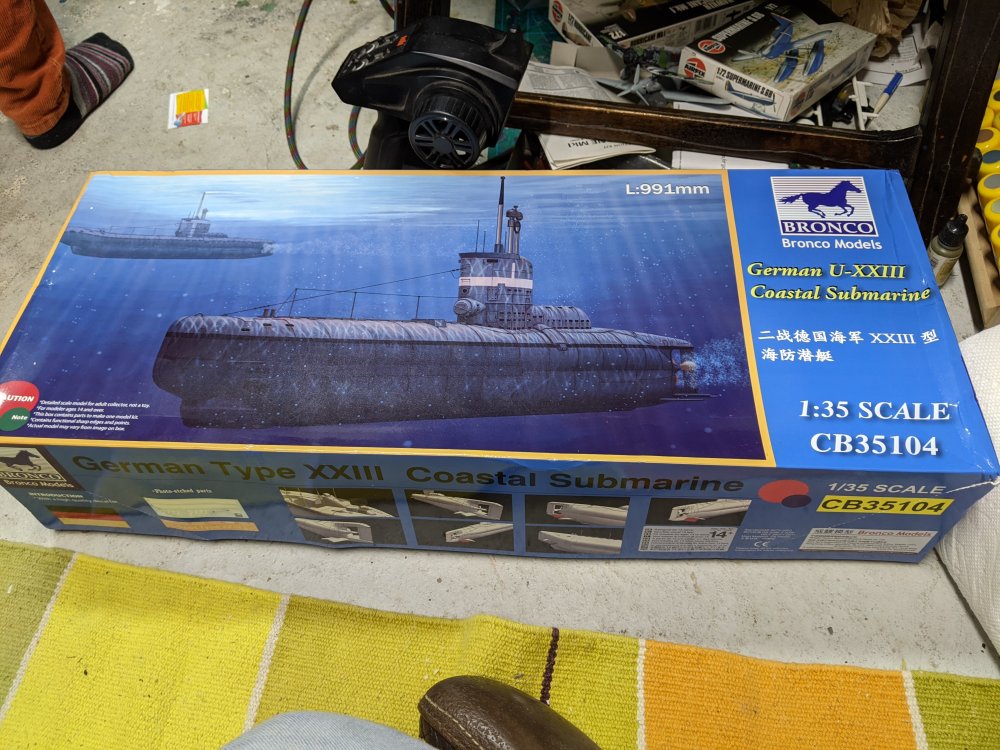
It uh, followed me home. Honest! I blame my wallet. I mean, if my wallet didn't have money in it this wouldn't have happened.
-
Well, a quick follow-up. Since there was now a bike shaped space in the garage, I decided it needed filling. After some conversations with a friend who owns a bike shop, I decided to order a frame and use up some of my leftover bike parts. So it came in earlier this week and he sent me a pic. I'm going to start building it up tomorrow over beers and BBQ.
-
Thanks Steve for the reply. I think you're right about starting small and going from there. My first goldfish was kept in a (empty) peanut butter jar. It looked funny as the jar was bear shaped. Carl
-
That's great to hear Harv. No lifting or bending eh? That must get you out of a few chores. Carl
-
What is on your bench right now ? Share a picture :)
BlrwestSiR replied to Martinnfb's topic in Modelling Discussion
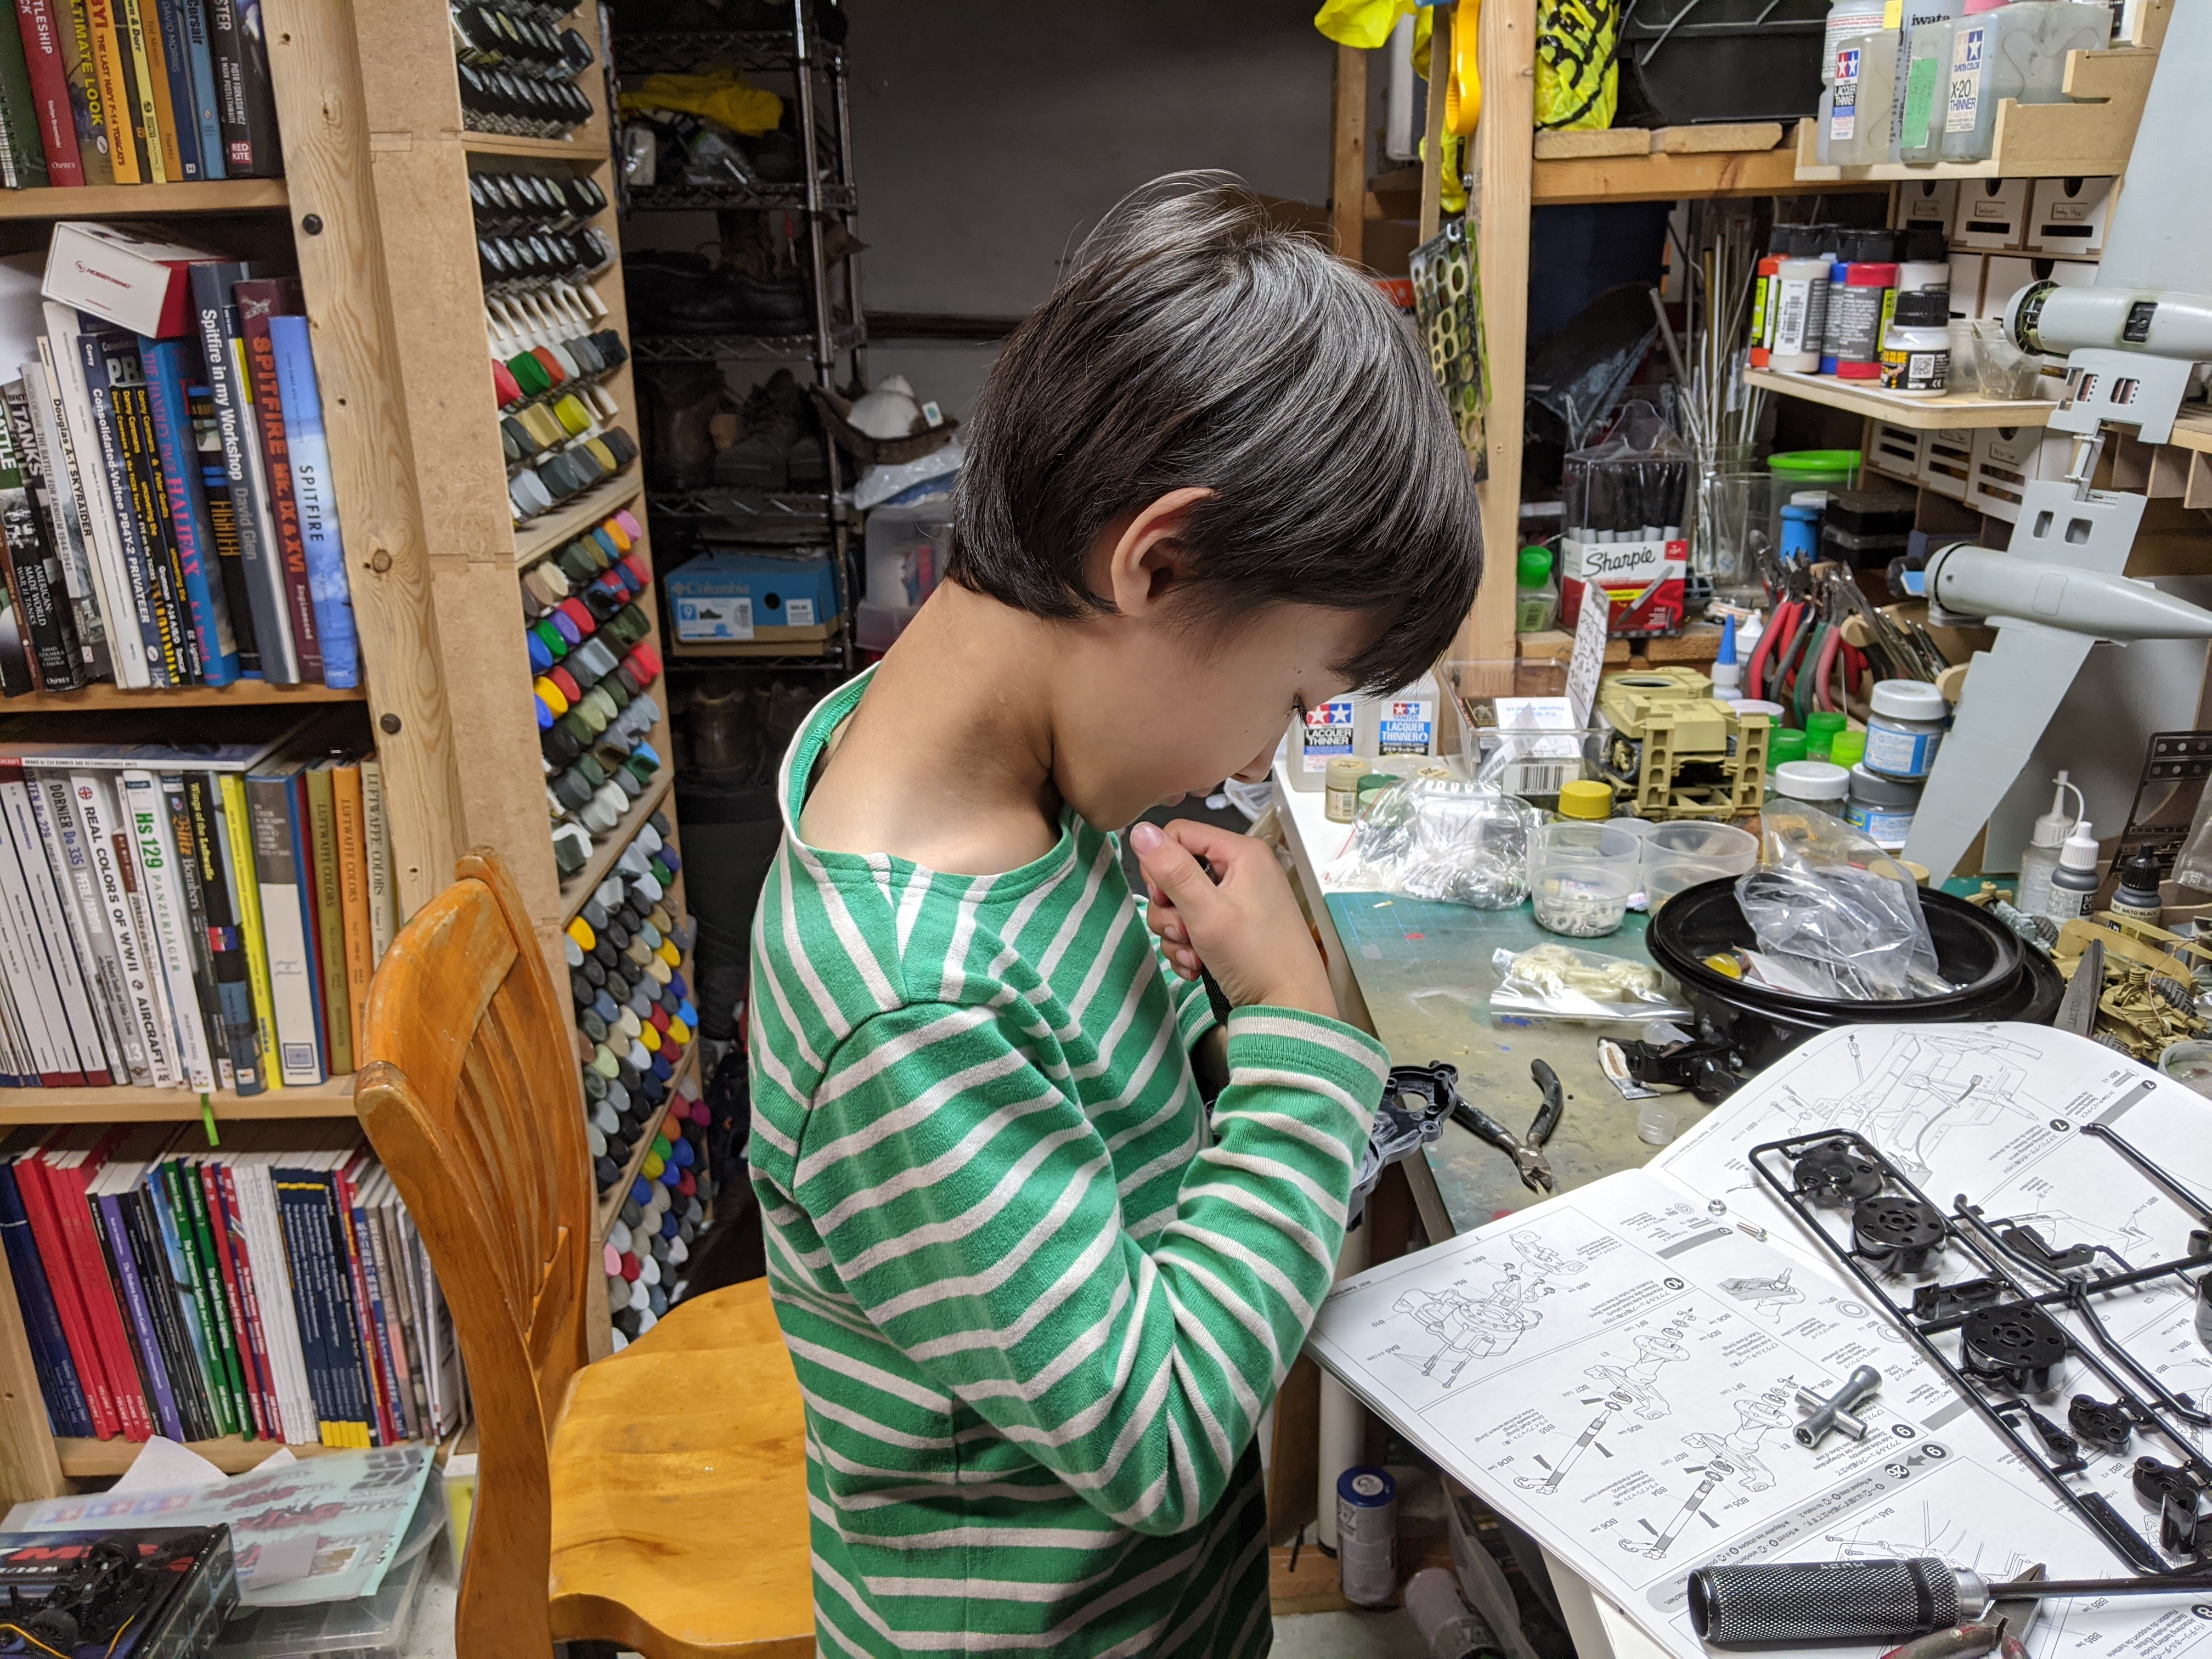
Possibly. He's fairly capable with tools considering he's only 7. He's not bad in the kitchen either. Just needs a bit more patience. -
What is on your bench right now ? Share a picture :)
BlrwestSiR replied to Martinnfb's topic in Modelling Discussion
Edward helping me out with the Coldbuster.
-
Harv, I got it from Maple Airbrush https://www.mapleairbrushsupplies.com/ First time I've ordered from them.
-
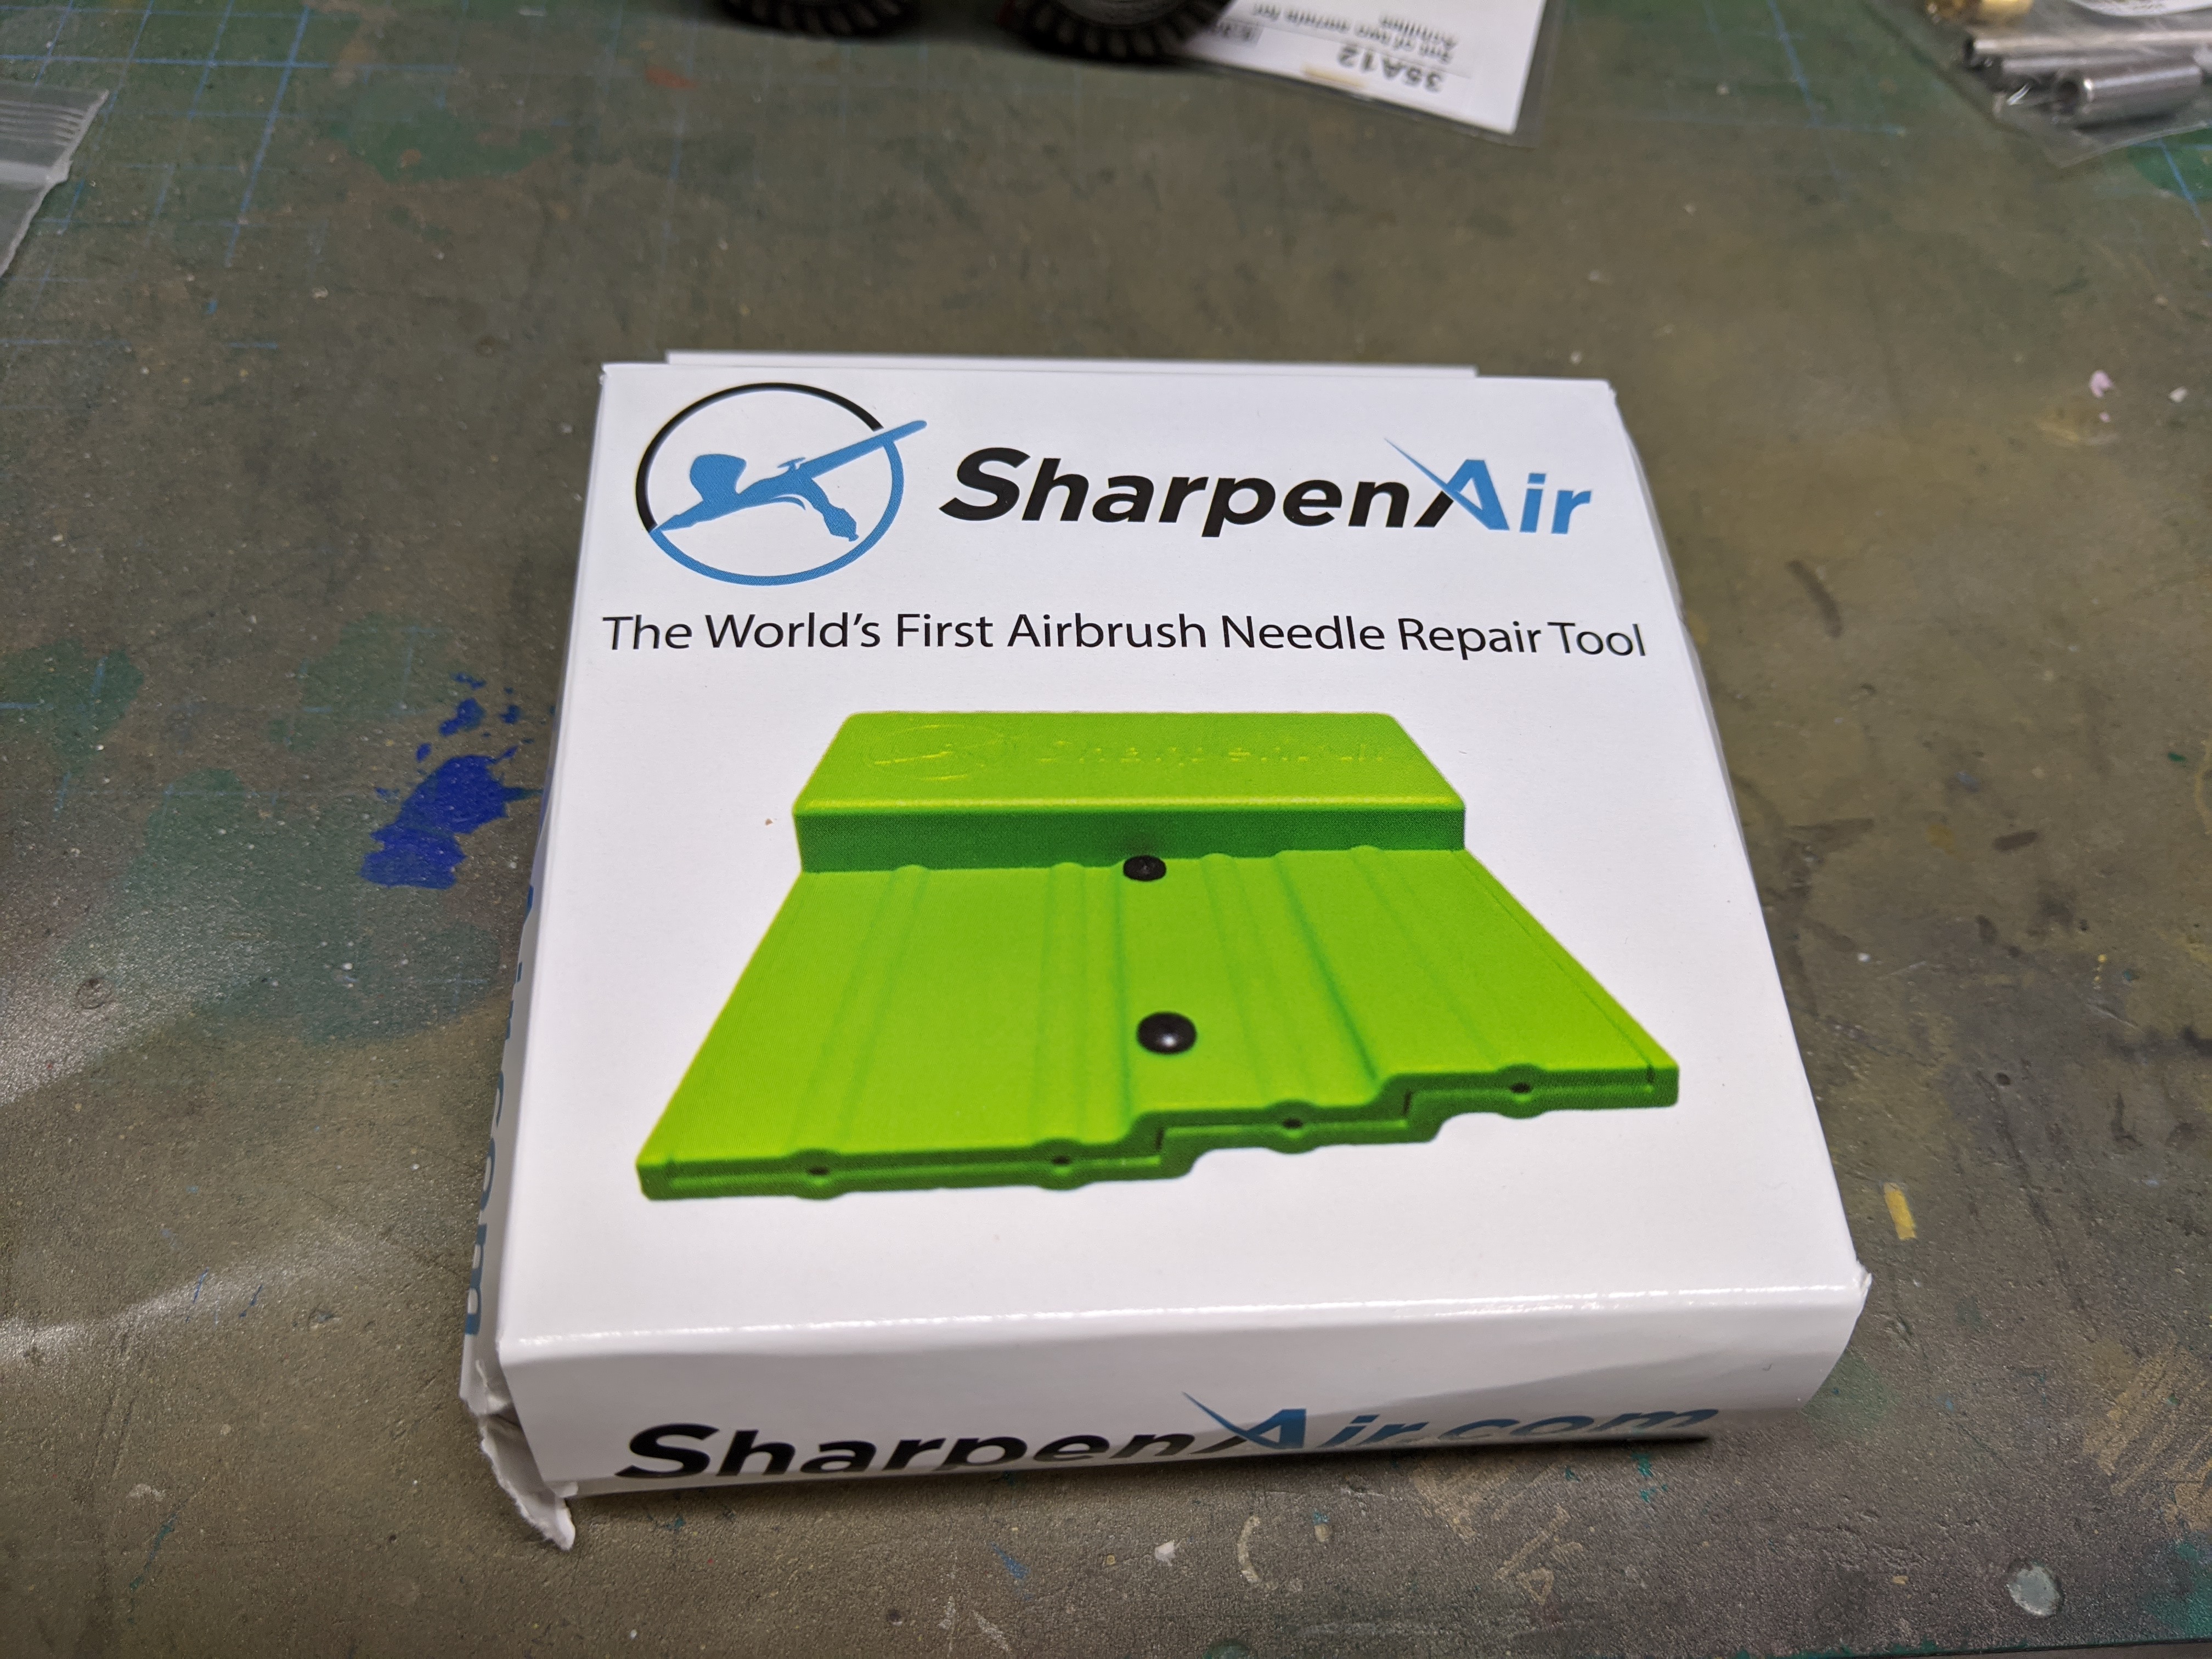
So far Ive used it to straighten my Procon boy needle. The needle had a slight bend near the tip. You merely slip the needle into the slot and with gentle pressure to hold it in place, rotate the needle a few times. It's definitely taken the bend out. I haven't tried painting with the fixed needle yet. Probably tonight so I'll post how that goes.
-
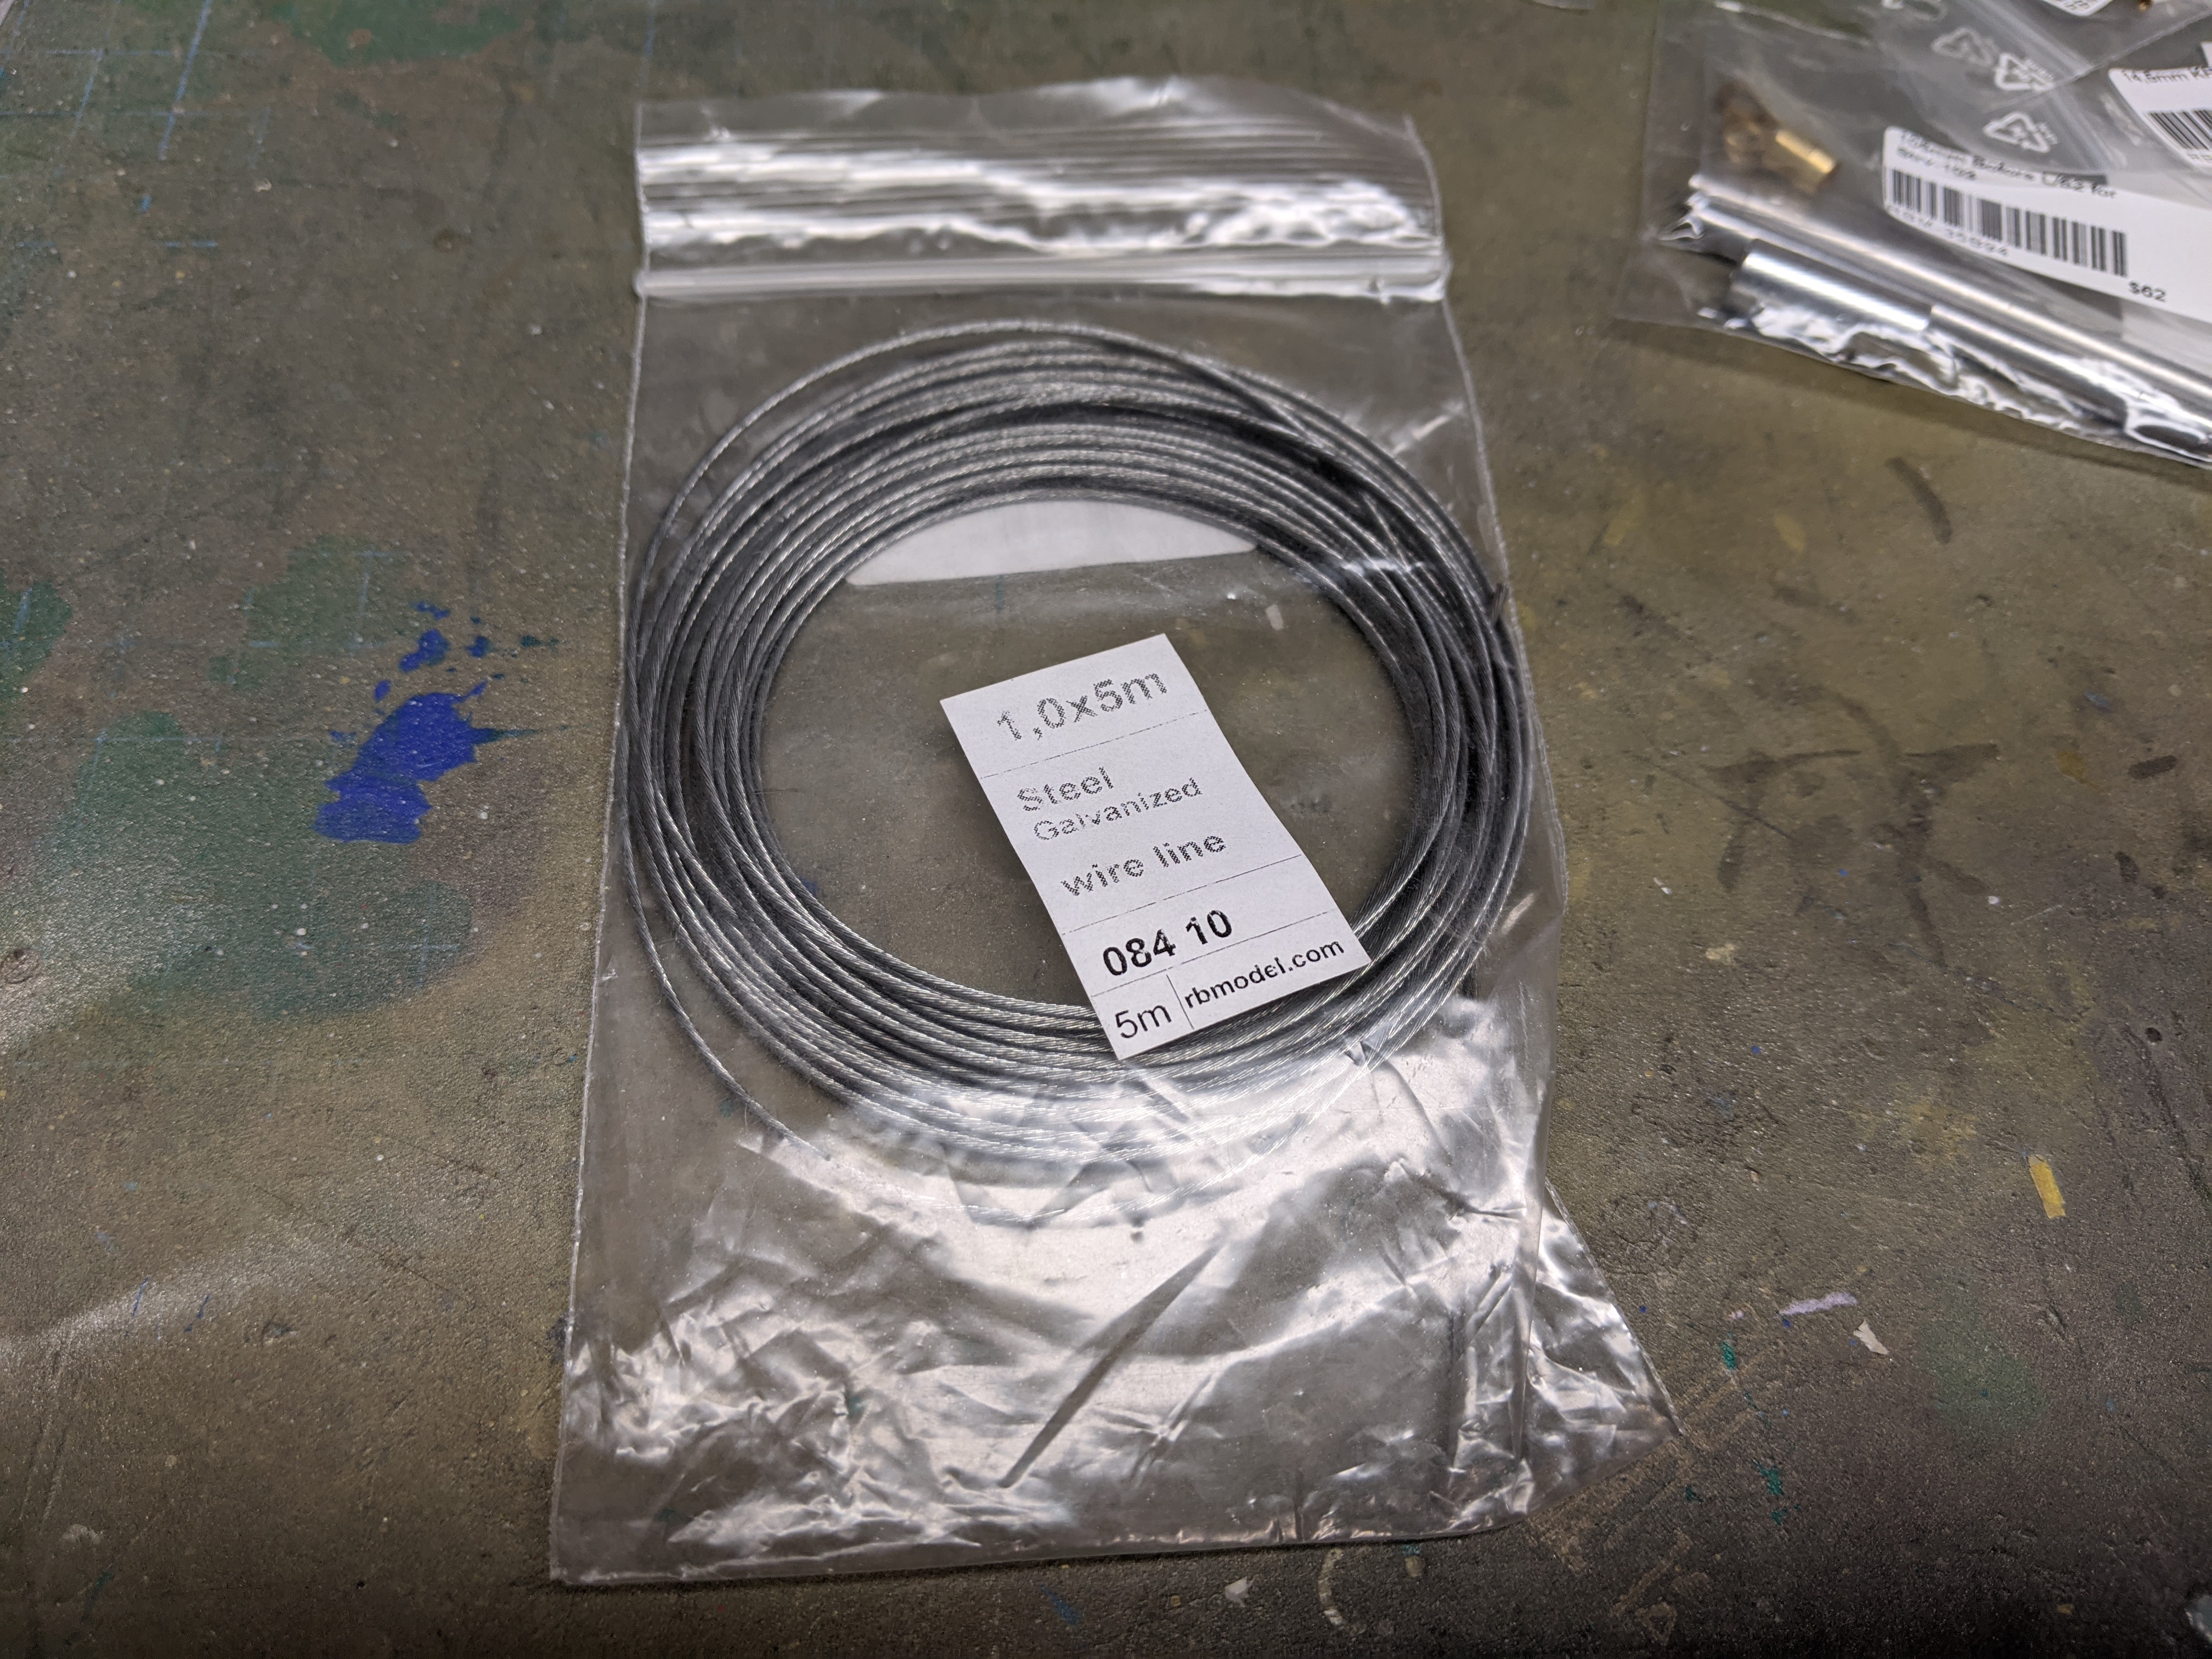
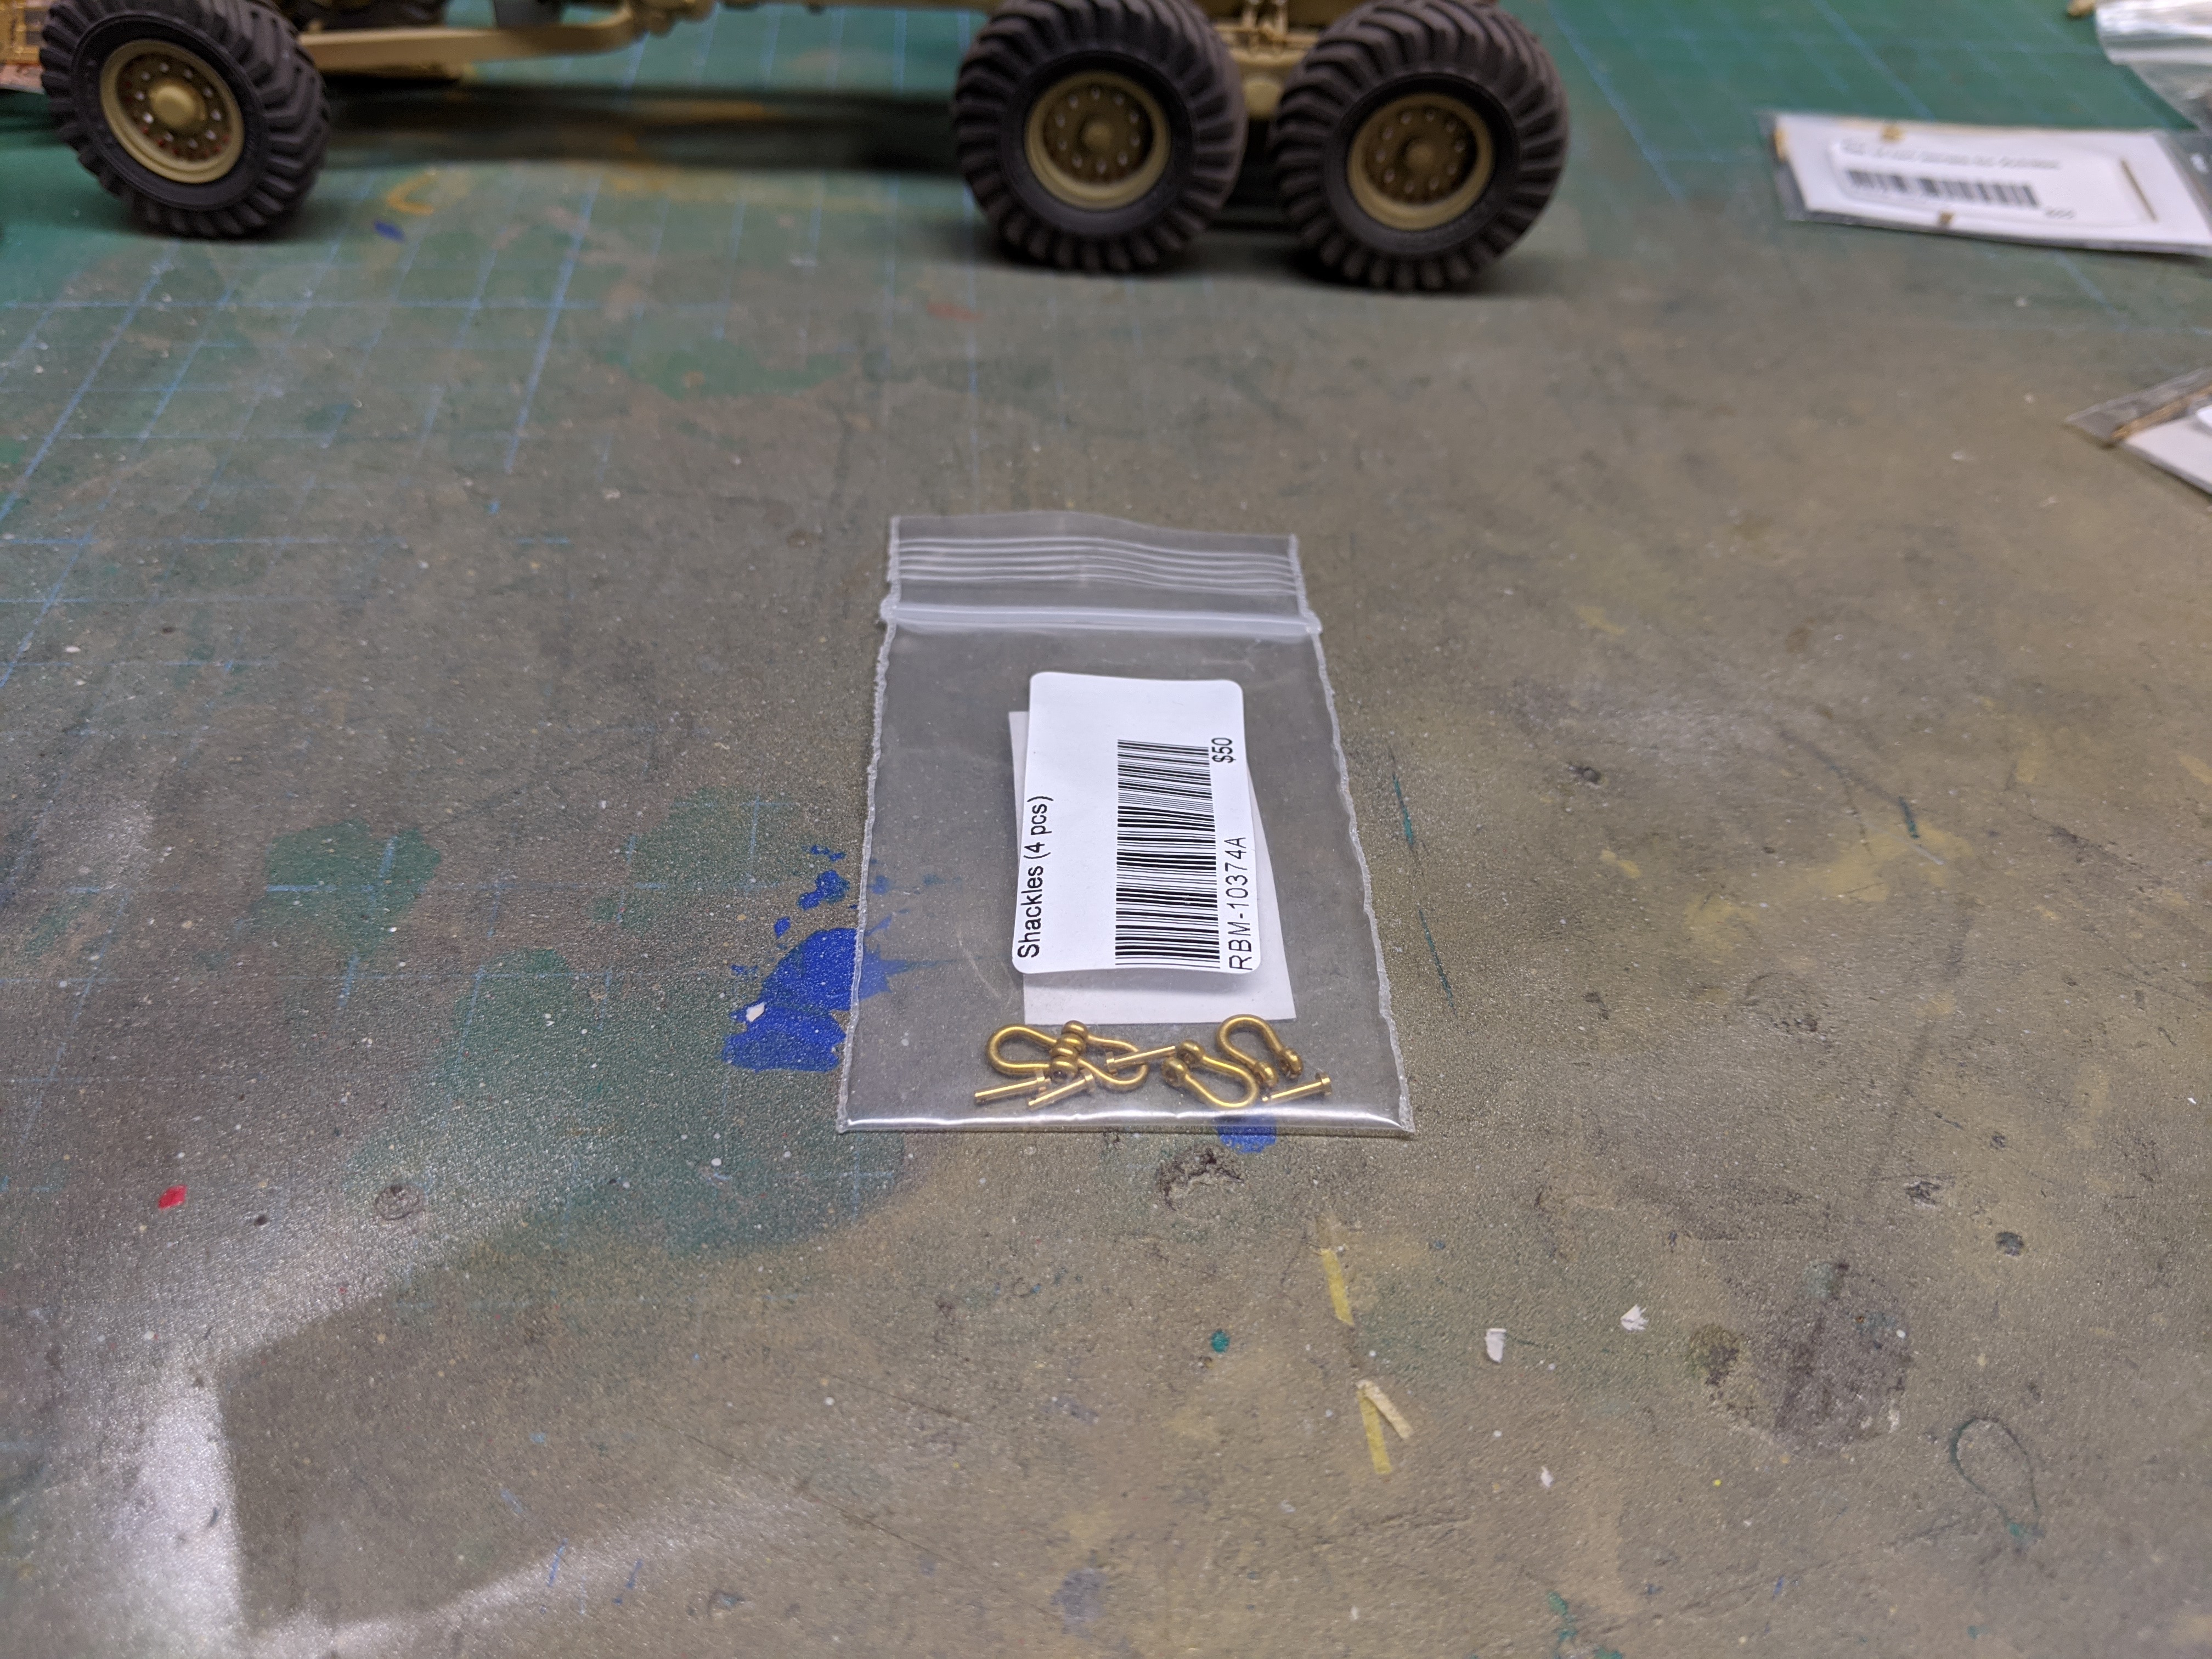
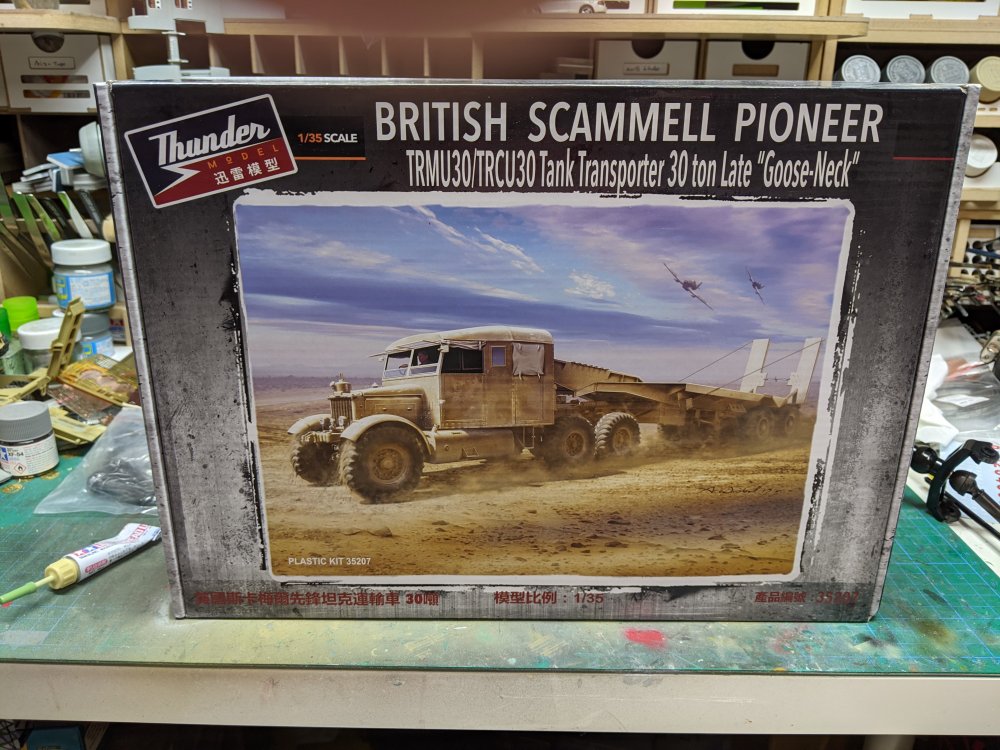
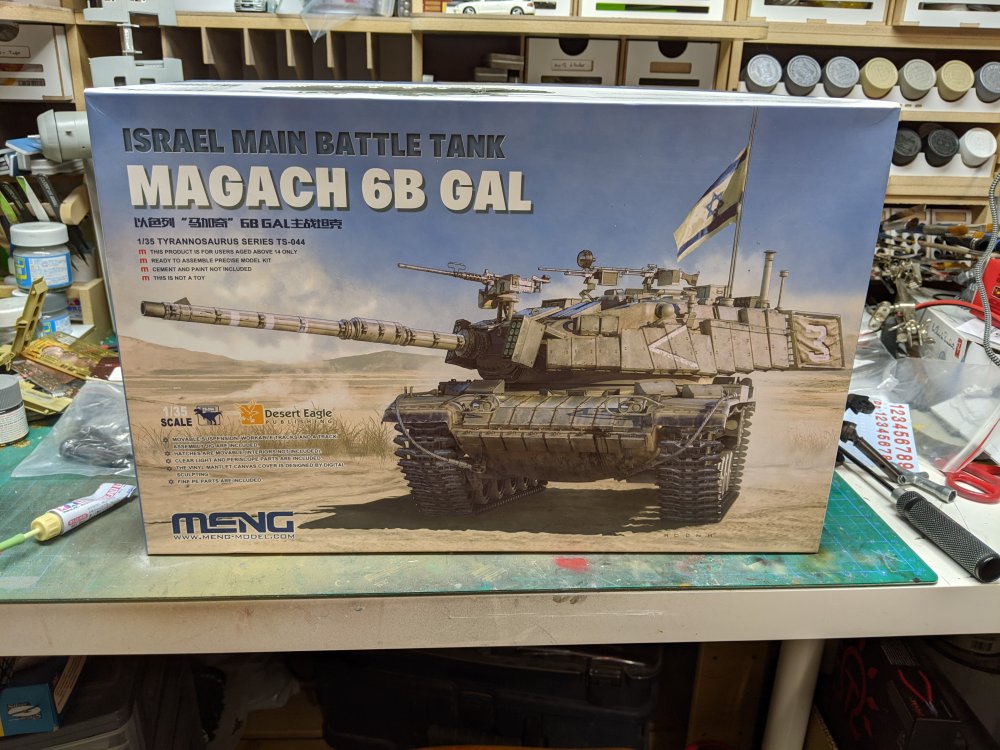
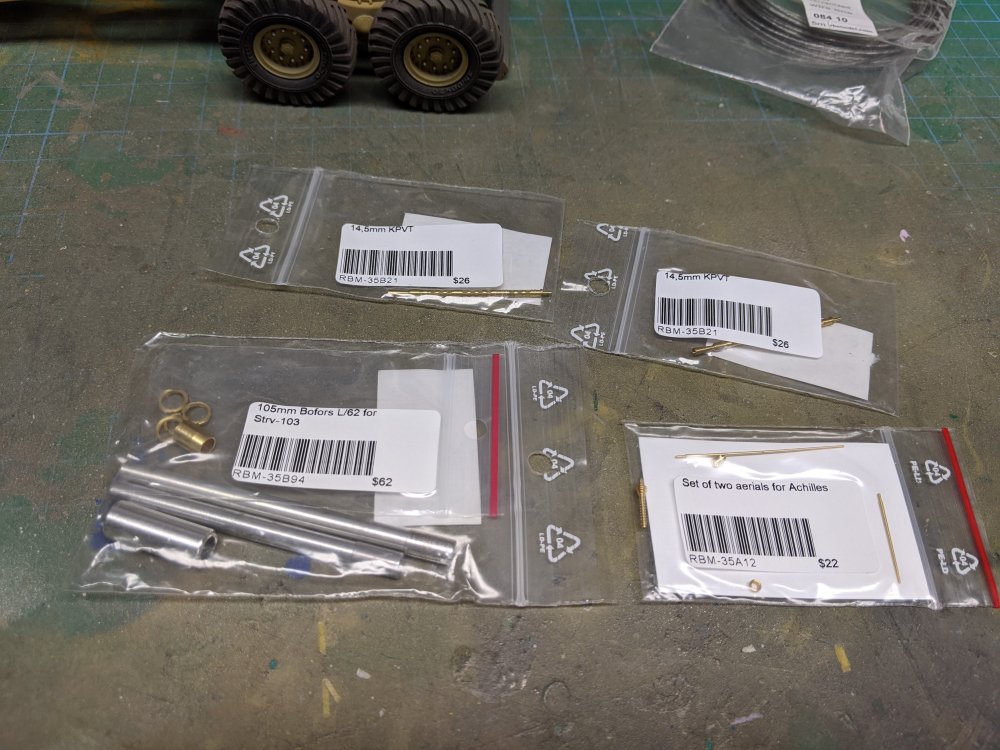
Got a few items in the mail today. First up is a tool I've been looking at for a couple years now. Finally took the plunge. Some armour accessories. Finally a couple kits. There's a couple goofs in my current Scammell build so I'm planning to take a second crack at it down the road. They seem to be hard to find and some folks have wondered if they have closed up. My LHS had one so I grabbed it.

-
Good luck Harv! Here's to better vision. Carl