BlrwestSiR
-
Posts
9,183 -
Joined
-
Last visited
Content Type
Profiles
Forums
Events
Gallery
Everything posted by BlrwestSiR
-
I think they just need better packaging. The parts were all just loose in a box with no real padding to keep them from banging into each other. Maybe they've done that. I'll have to find out and get something new from them.
-
I ordered some of their rocket pods for my Mi-24 build. When I got them they were beautifully done with very thin rocket tubes. Unfortunately almost all the tubes were broken because they were so thin.
-
So not the Meng GT40 but for $75 I couldn't pass up the Trumpeter one. Should arrive later this week.
-

Zoukei-Mura P51D Mustang SWS No 4.
BlrwestSiR replied to Bomber_County's topic in LSM 1/35 and Larger Work In Progress
Nice start there Phil. The PE doesn't looks as pixilated as it sometimes can. Carl -
I'm in Ernie. I've got an Eduard BF-109E something to throw in as a prize. Carl
-
That's cool Bill. Definitely not a kit you see often. Carl
-
RR Spey powered RAF Phantom conversion
BlrwestSiR replied to Wingco57's topic in LSM 1/35 and Larger Work In Progress
The camo looks great to me.- 414 replies
-
- 3
-

-
- conversion
- phantom
- (and 1 more)
-
Zoukei-Mura P51D Mustang SWS No 4.
BlrwestSiR replied to Bomber_County's topic in LSM 1/35 and Larger Work In Progress
Phil, I've got the Tamiya D/K kit and the Revell D. And I was wrong, I've actually built one P-51 in 1/32. I did the Dragon kit a few years ago as a Whiffer. As for a mini GB, unfortunately I'm in the same spot as Rob with too many kits on the go for another. Carl -
Bill, shipping within Canada isn't too bad. I do it almost every day as part of my job. Sending a package about the size of a Tamiya kit is around $25 to Vancouver from Toronto. St Catharines would probably be in the $10 range as it's less than an hour from here driving.
-
RR Spey powered RAF Phantom conversion
BlrwestSiR replied to Wingco57's topic in LSM 1/35 and Larger Work In Progress
Looks Purdy. In a menacing, rhino kind of way. Carl- 414 replies
-
- 2
-
-
- conversion
- phantom
- (and 1 more)
-
Zoukei-Mura P51D Mustang SWS No 4.
BlrwestSiR replied to Bomber_County's topic in LSM 1/35 and Larger Work In Progress
Certainly won't be coming from me. I've yet to build a Mustang in 1/32. I do have a couple though. Carl -
Share how COVID-19 Quarantine has affected you.
BlrwestSiR replied to 1to1scale's topic in General Discussion
Thanks Jeff. I'm doing ok. My mom was a mix of angry, stressed and concerned last night. Called them this morning and dad is still sleeping. Probably a good thing to let him rest today. Yea, this is almost certainly the tipping point. He said he was trying to change lanes and obviously got so focused on that bit that he lost track of what traffic in front of him was doing. Which is not a good thing. As for the car, it's leased so I suggested to my mom after seeing it that maybe they should take the insurance settlement to pay out the lease and not replace the car. My sister and her husband live with them so they can do the errands. Plus we're a 10 minute walk to them. -
Share how COVID-19 Quarantine has affected you.
BlrwestSiR replied to 1to1scale's topic in General Discussion
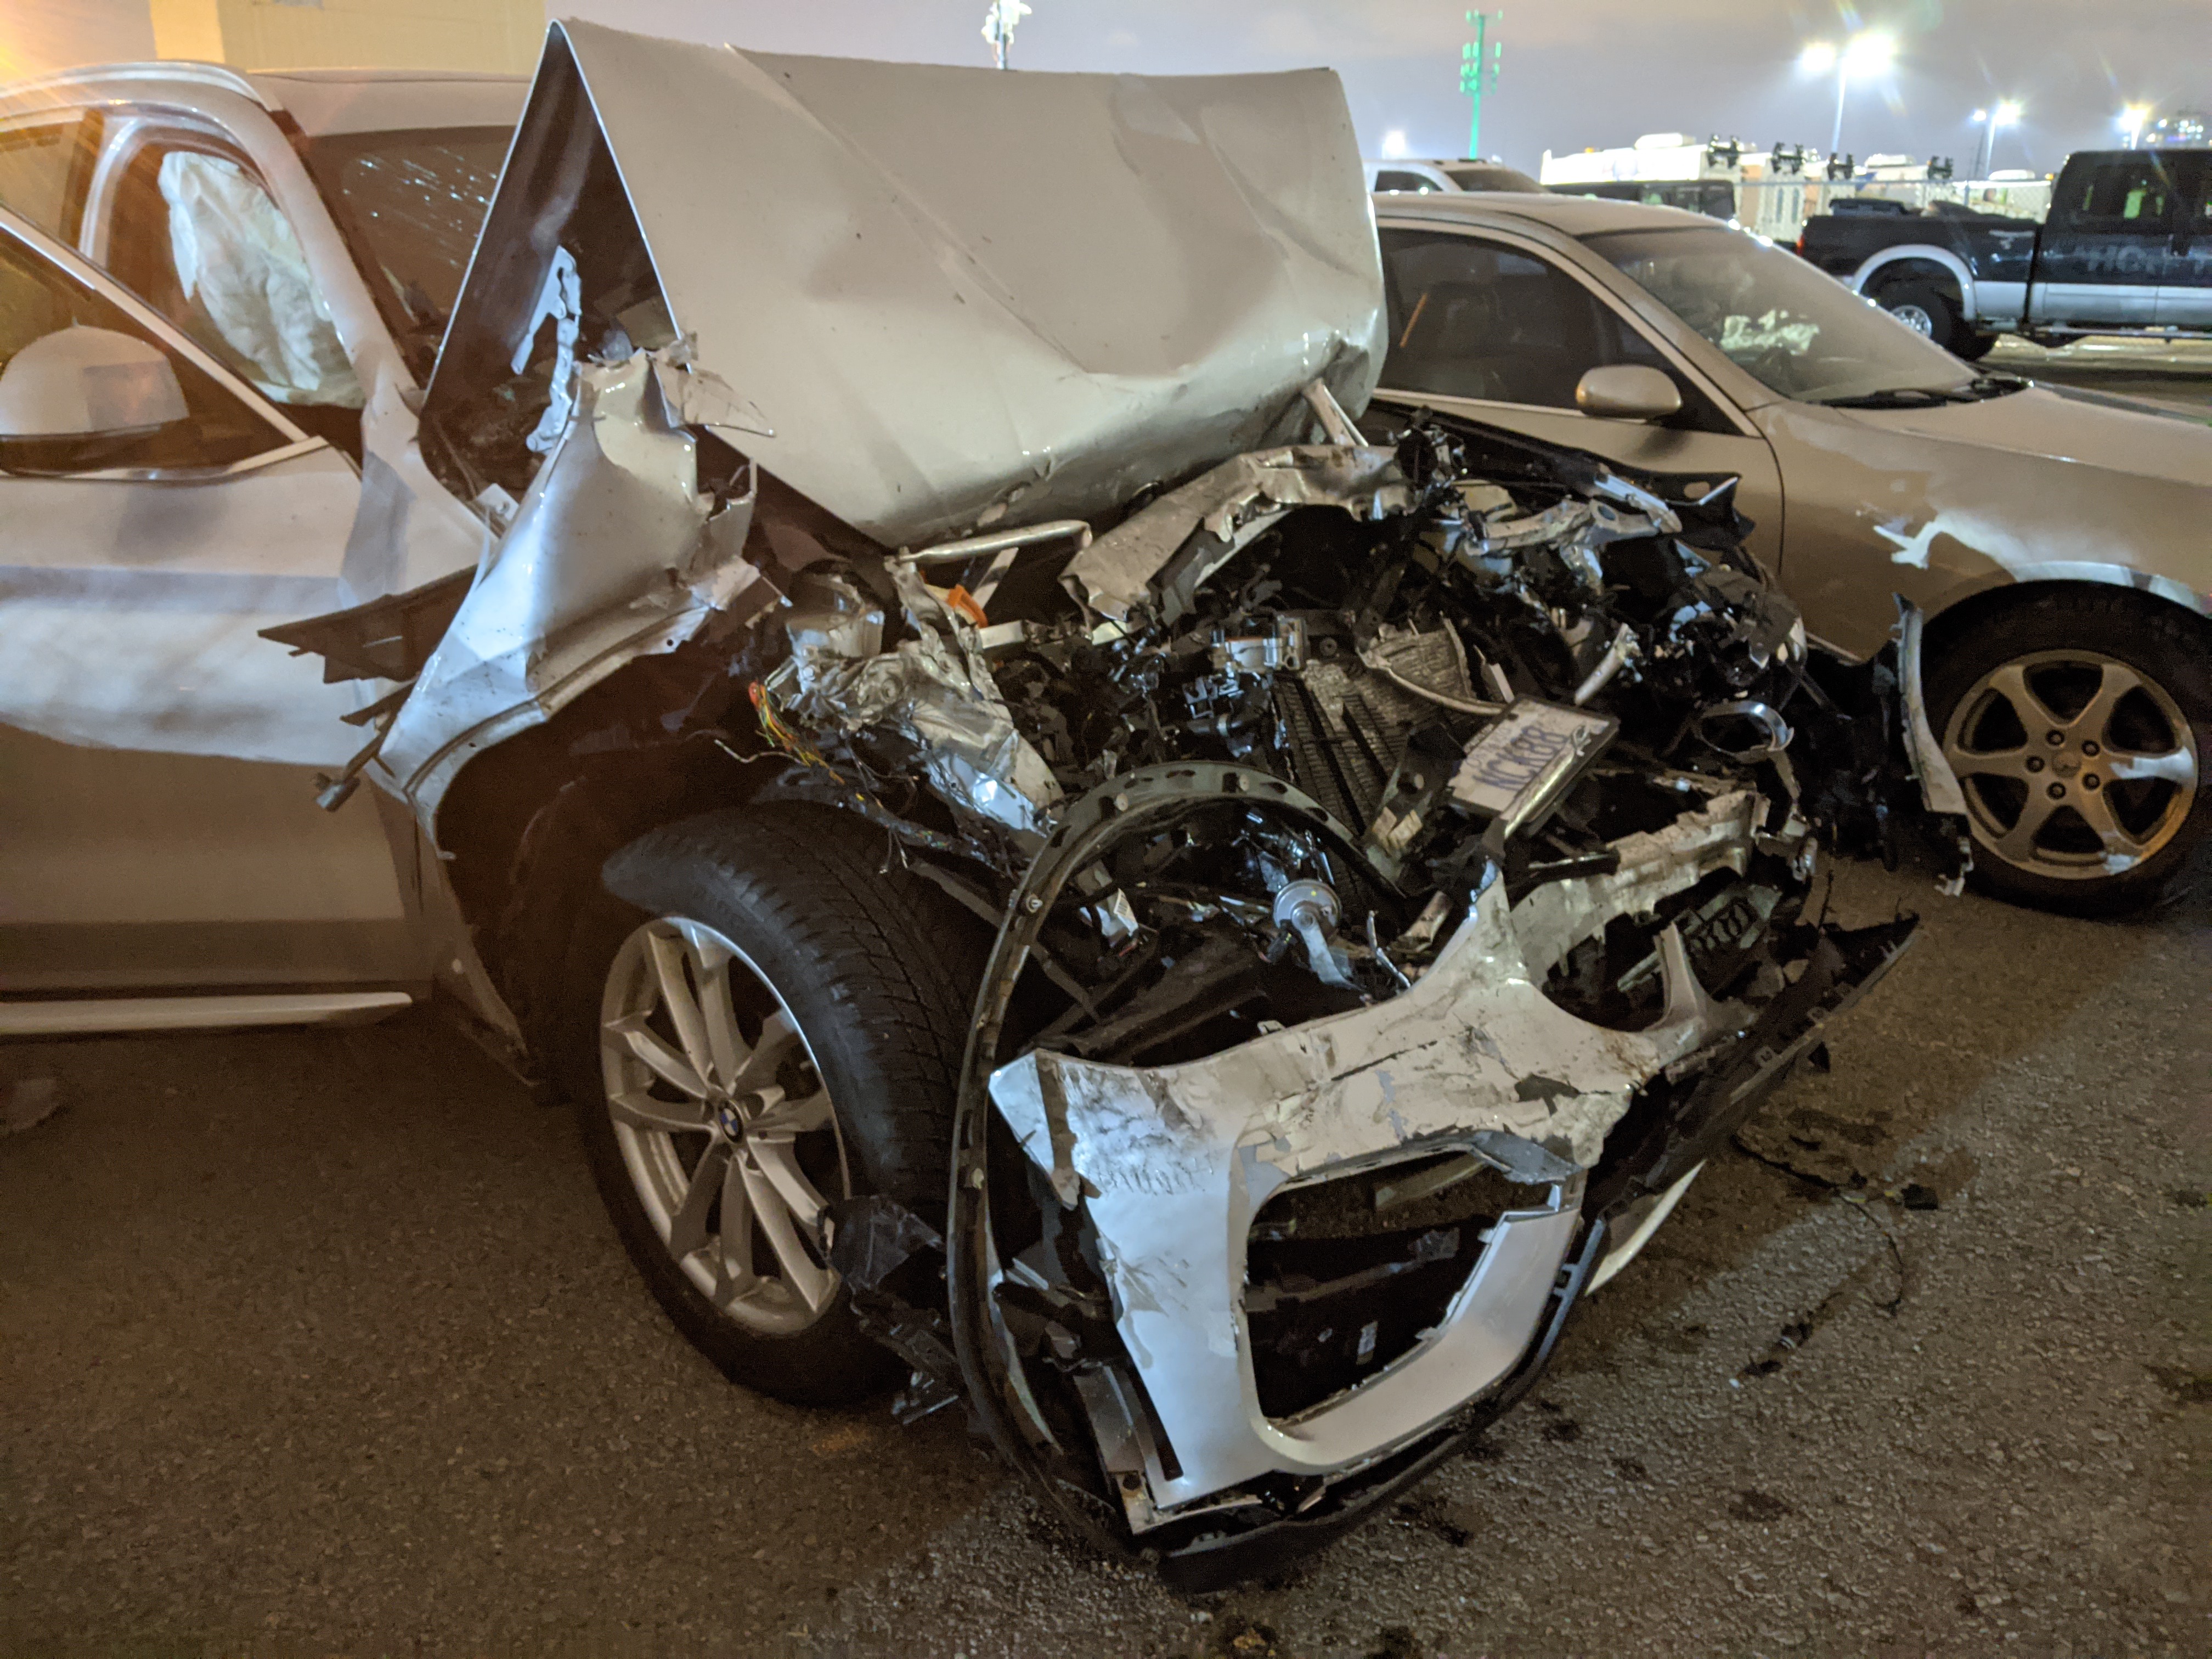
Phil, that's so true. My mom has brought it up in the past but he's been very resistant to the idea. In Ontario when you turn 80, you have to be retested. So the original plan was to wait until then. But it looks like that's getting moved up a bit. We still don't know if the other driver was hurt or not. When my mom told me about the crash and where it happened,I tried to find out what I could before picking her up. One of the local news channels had a video of the aftermath posted and from that I could see that he'd rear ended a pickup. Here's my dad's car after we finally found it in a private towing yard instead of at the collision reporting centre. We're all glad he wasn't hurt worse after we saw the car.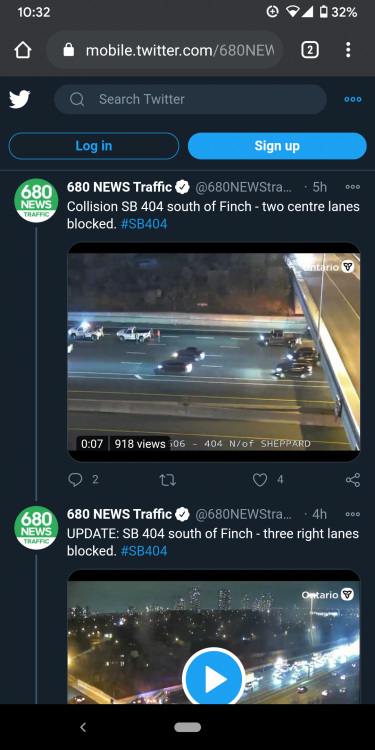

-
Share how COVID-19 Quarantine has affected you.
BlrwestSiR replied to 1to1scale's topic in General Discussion
Phil, that's some good news. Not quite COVID related but my dad was in a car crash last night. They took him to the nearest hospital and he got a full look over. I took my mom there but because of COVID rules, only one of us was allowed in. So I got to sit in the car for 4 hours while they did tests and observations. They released him and he's home resting. Lots of aches and some bruises from all the airbags and seatbelt but thankfully nothing more serious. Once he's better, I think it's time we talk seriously about him no longer driving. He'll be 80 in Feb. Carl -
Well, I've wanted to get a Hetzer since they released it but it's not always been top of mind.
-
Looks really nice there Phil. I hear you on the figure painting bit. Carl
-
So it seems that the owner of the Niva must be in my neighbourhood as I've seen him driving around a few times this week. Nice job so far on getting the body together. Carl
-
Guess you're right Jeff. I found a Tamiya Hetzer on sale so I bought that. And a Revell Corsair for a crazy kit bash idea I have.
-
Thanks Steve. So vapourware at the moment. Carl
-
The biggest challenge is shipping to Canada these days is not cheap. So stuff may be on sale but the shipping cost pretty much wipes out the savings and then some. For example the ZM Hs129 was $114 at Sprue Brothers but then $67 was the cheapest postage option. Then factor in a conversion rate of 1.3 and yeah, not such a great deal. At least the stash is full enough that I really don't need anything. Carl
-
I was on Great Hobbies website checking out their Black Friday speciald and came across this listing for a 1/32 FW-190 A5. https://www.greathobbies.com/productinfo/?prod_id=KTY32025 The boxset looks to be similar to other kits from Kitty Hawk but haven't heard anything about this release. Any ideas or is this like their F-11F that Hannants- I think still has listed as coming soon? Carl
-
What is on your bench right now ? Share a picture :)
BlrwestSiR replied to Martinnfb's topic in Modelling Discussion
It's a Doyusha 1/12 Lancia Stratos. One of my favourite cars. -
What is on your bench right now ? Share a picture :)
BlrwestSiR replied to Martinnfb's topic in Modelling Discussion
Not one you see every day being built.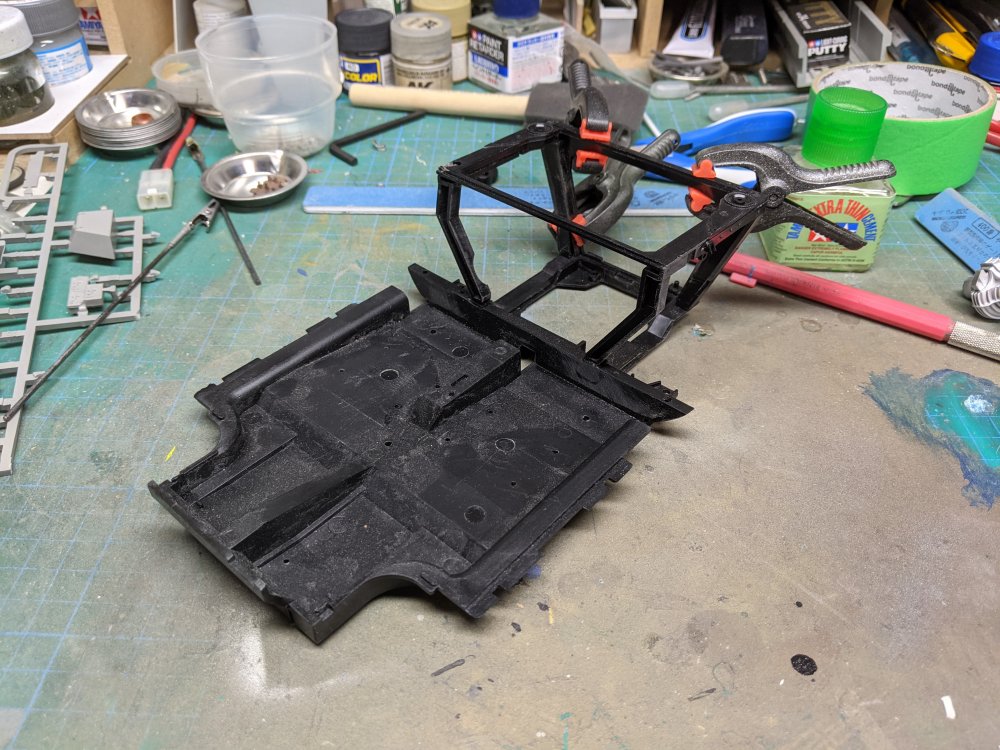
-
Nice! Immortalized in artwork.