BlrwestSiR
-
Posts
9,183 -
Joined
-
Last visited
Content Type
Profiles
Forums
Events
Gallery
Everything posted by BlrwestSiR
-

What is on your bench right now ? Share a picture :)
BlrwestSiR replied to Martinnfb's topic in Modelling Discussion
Some very nice planes there Hubert. Glad they survived the move with minimal damage. Carl -
Silver Wings Hawker Hart
BlrwestSiR replied to BlrwestSiR's topic in LSM 1/35 and Larger Work In Progress
Almost as much fun as individual track links.- 39 replies
-
- 6
-

-

-
- silver wings
- hawker
- (and 1 more)
-
Here's my WIP on it.
-
Silver Wings Hawker Hart
BlrwestSiR replied to BlrwestSiR's topic in LSM 1/35 and Larger Work In Progress
Well, the cockpit is almost finished. Just need to do the IP and I can think about closing up the fuselage soon.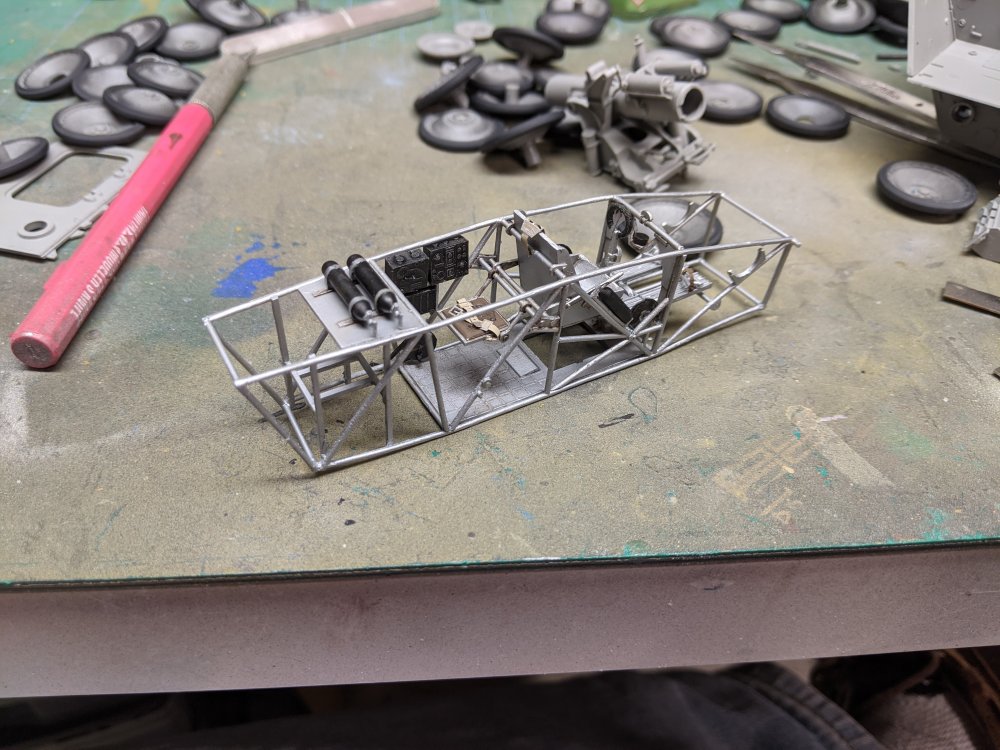
- 39 replies
-
- 8
-
-

-
- silver wings
- hawker
- (and 1 more)
-
I've got most of the fuselage together, both engines, and part of the main wing. Sort of looks like the one at the Udvar Hazy centre. No paint though.
-
Truly awesome build. Mine is languishing on my bench.
-
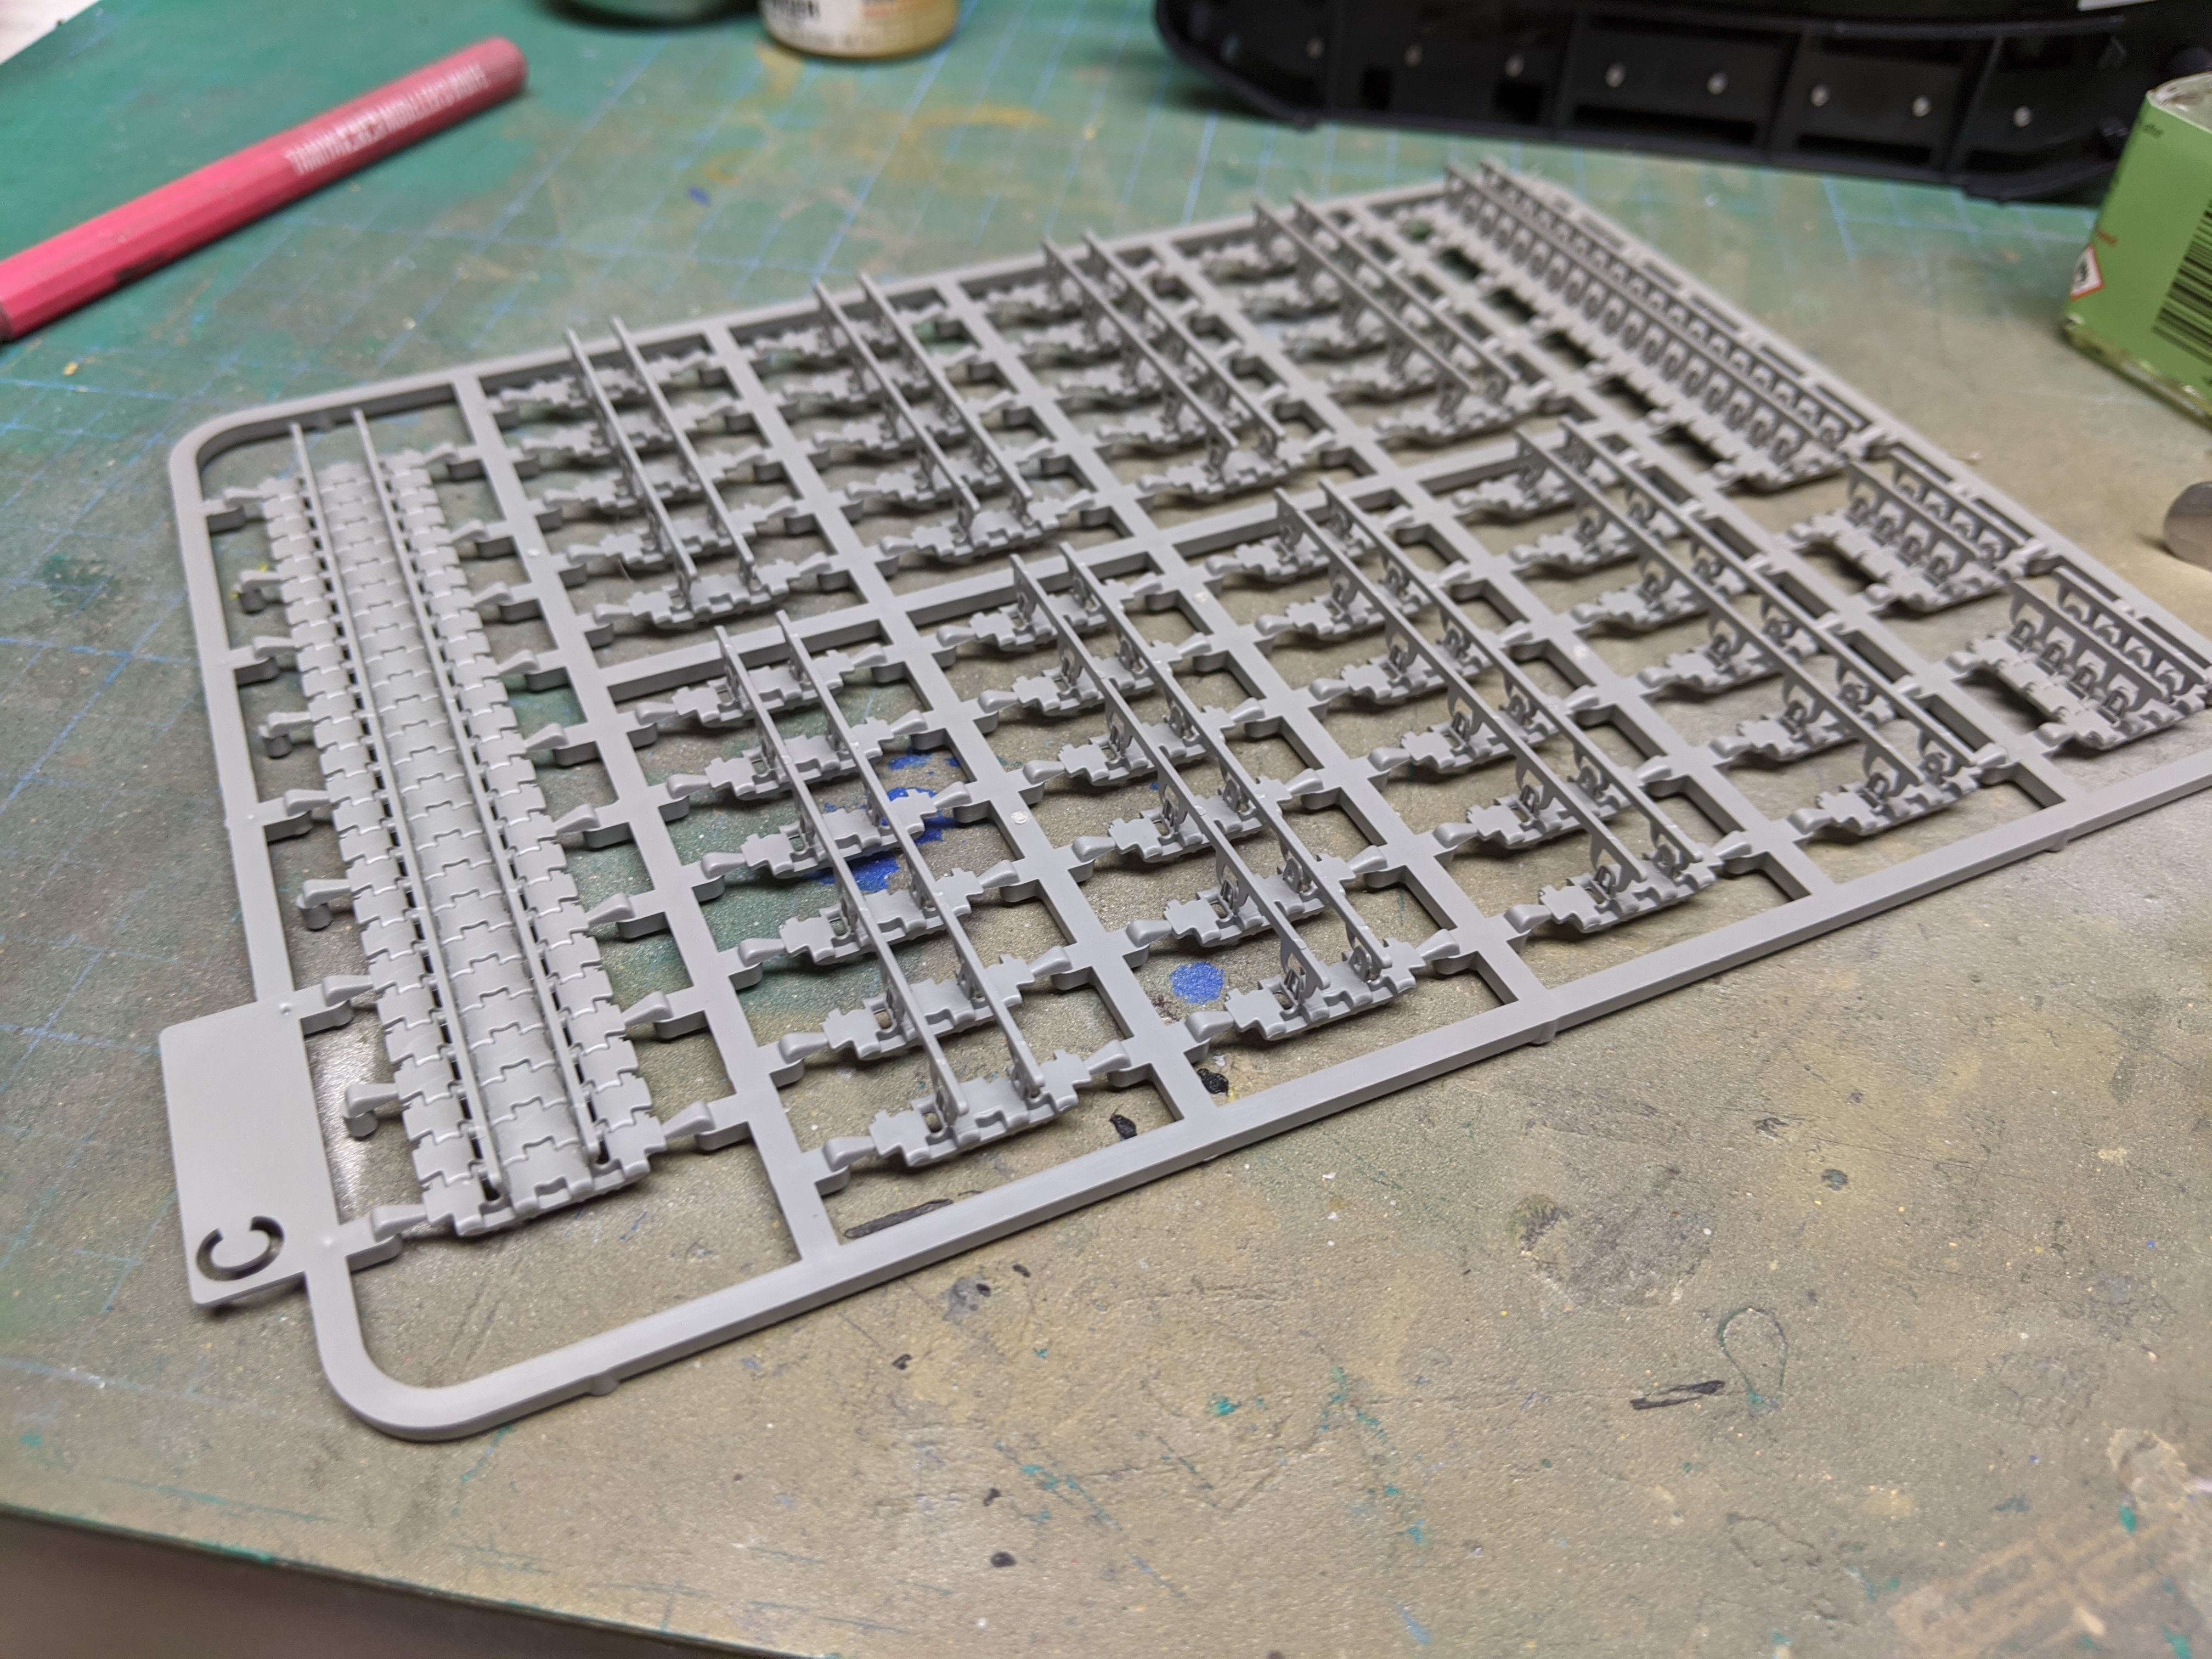
Why are separate track link sets so expensive?
BlrwestSiR replied to BradG's topic in Modelling Discussion
Dragon kits here for some reason have gotten crazy expensive. Most are close to $100 a pop and that doesn't necessarily mean they'll have Magic tracks in them. Many of the newer Chinese brands are considerably cheaper. I just ordered the Amusing Model E-100 which comes with individual link tracks for $55 CAD. I don't mind link and length tracks either. I find they can be a decent compromise between individual link tracks and rubber bands. In fact these are on my bench at the moment.
-
RR Spey powered RAF Phantom conversion
BlrwestSiR replied to Wingco57's topic in LSM 1/35 and Larger Work In Progress
Amazing work on this conversion. Love the problem solving. Carl- 414 replies
-
- 1
-
-
- conversion
- phantom
- (and 1 more)
-
What is on your bench right now ? Share a picture :)
BlrwestSiR replied to Martinnfb's topic in Modelling Discussion
Any sanding I do in a bucket of water. The shavings and bigger bits I clean up tight away. I'm always worried one of the pets will take a liking to them. -
What is on your bench right now ? Share a picture :)
BlrwestSiR replied to Martinnfb's topic in Modelling Discussion
Yup, ever since the Covid lockdown she follows me everywhere in the house. Zoe is 13 on Monday. Can't believe I've had her since she was a pup. -
Scammell tractor/trailer with M3 Grant
BlrwestSiR replied to BlrwestSiR's topic in LSM 1/35 and Larger Work In Progress
Thanks Rob. There won't be any other vehicles, just some figures. It's wide enough that I'll be able to give it a slight turn at the trailer and have the whole thing slightly angled. Carl -
HK Models 1/32 Lancaster Hints, Tweaks and Tips,
BlrwestSiR replied to NigelR32's topic in Modelling Discussion
Someone working on a Lancastrian? -
Scammell tractor/trailer with M3 Grant
BlrwestSiR replied to BlrwestSiR's topic in LSM 1/35 and Larger Work In Progress
Quick question folks. I'm planning to put this on a base as moving it otherwise when it's done will be too awkward. Does this look ok size wise? Is the base too long? It's not something I usually do so just wanting some input.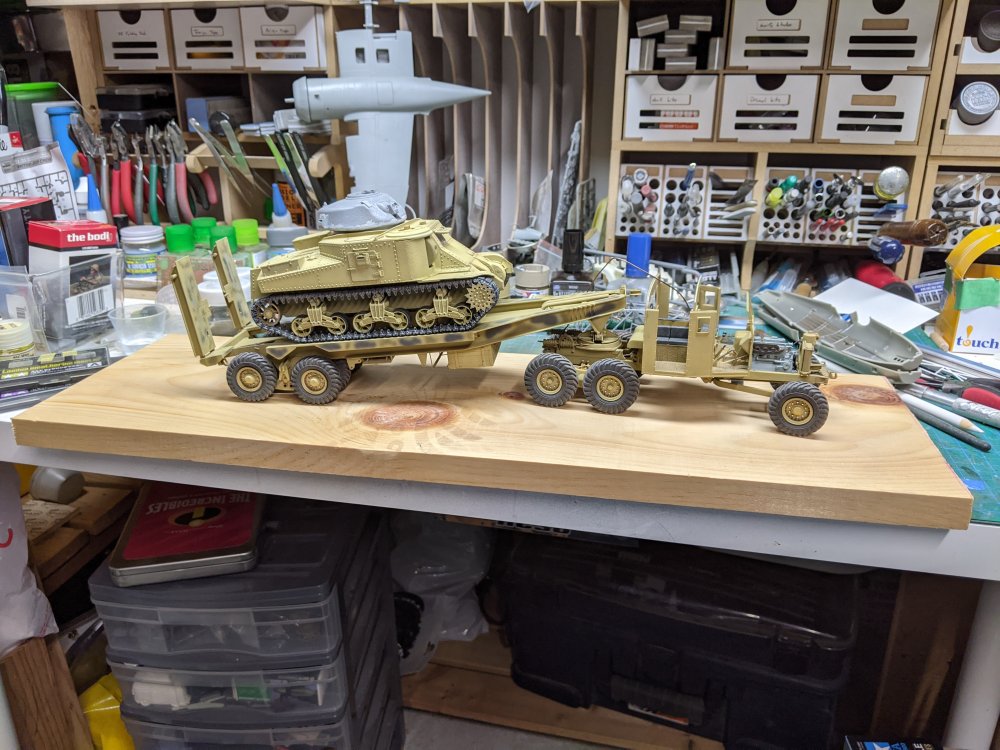
-
Scammell tractor/trailer with M3 Grant
BlrwestSiR replied to BlrwestSiR's topic in LSM 1/35 and Larger Work In Progress
Either of those is a capital offence. -
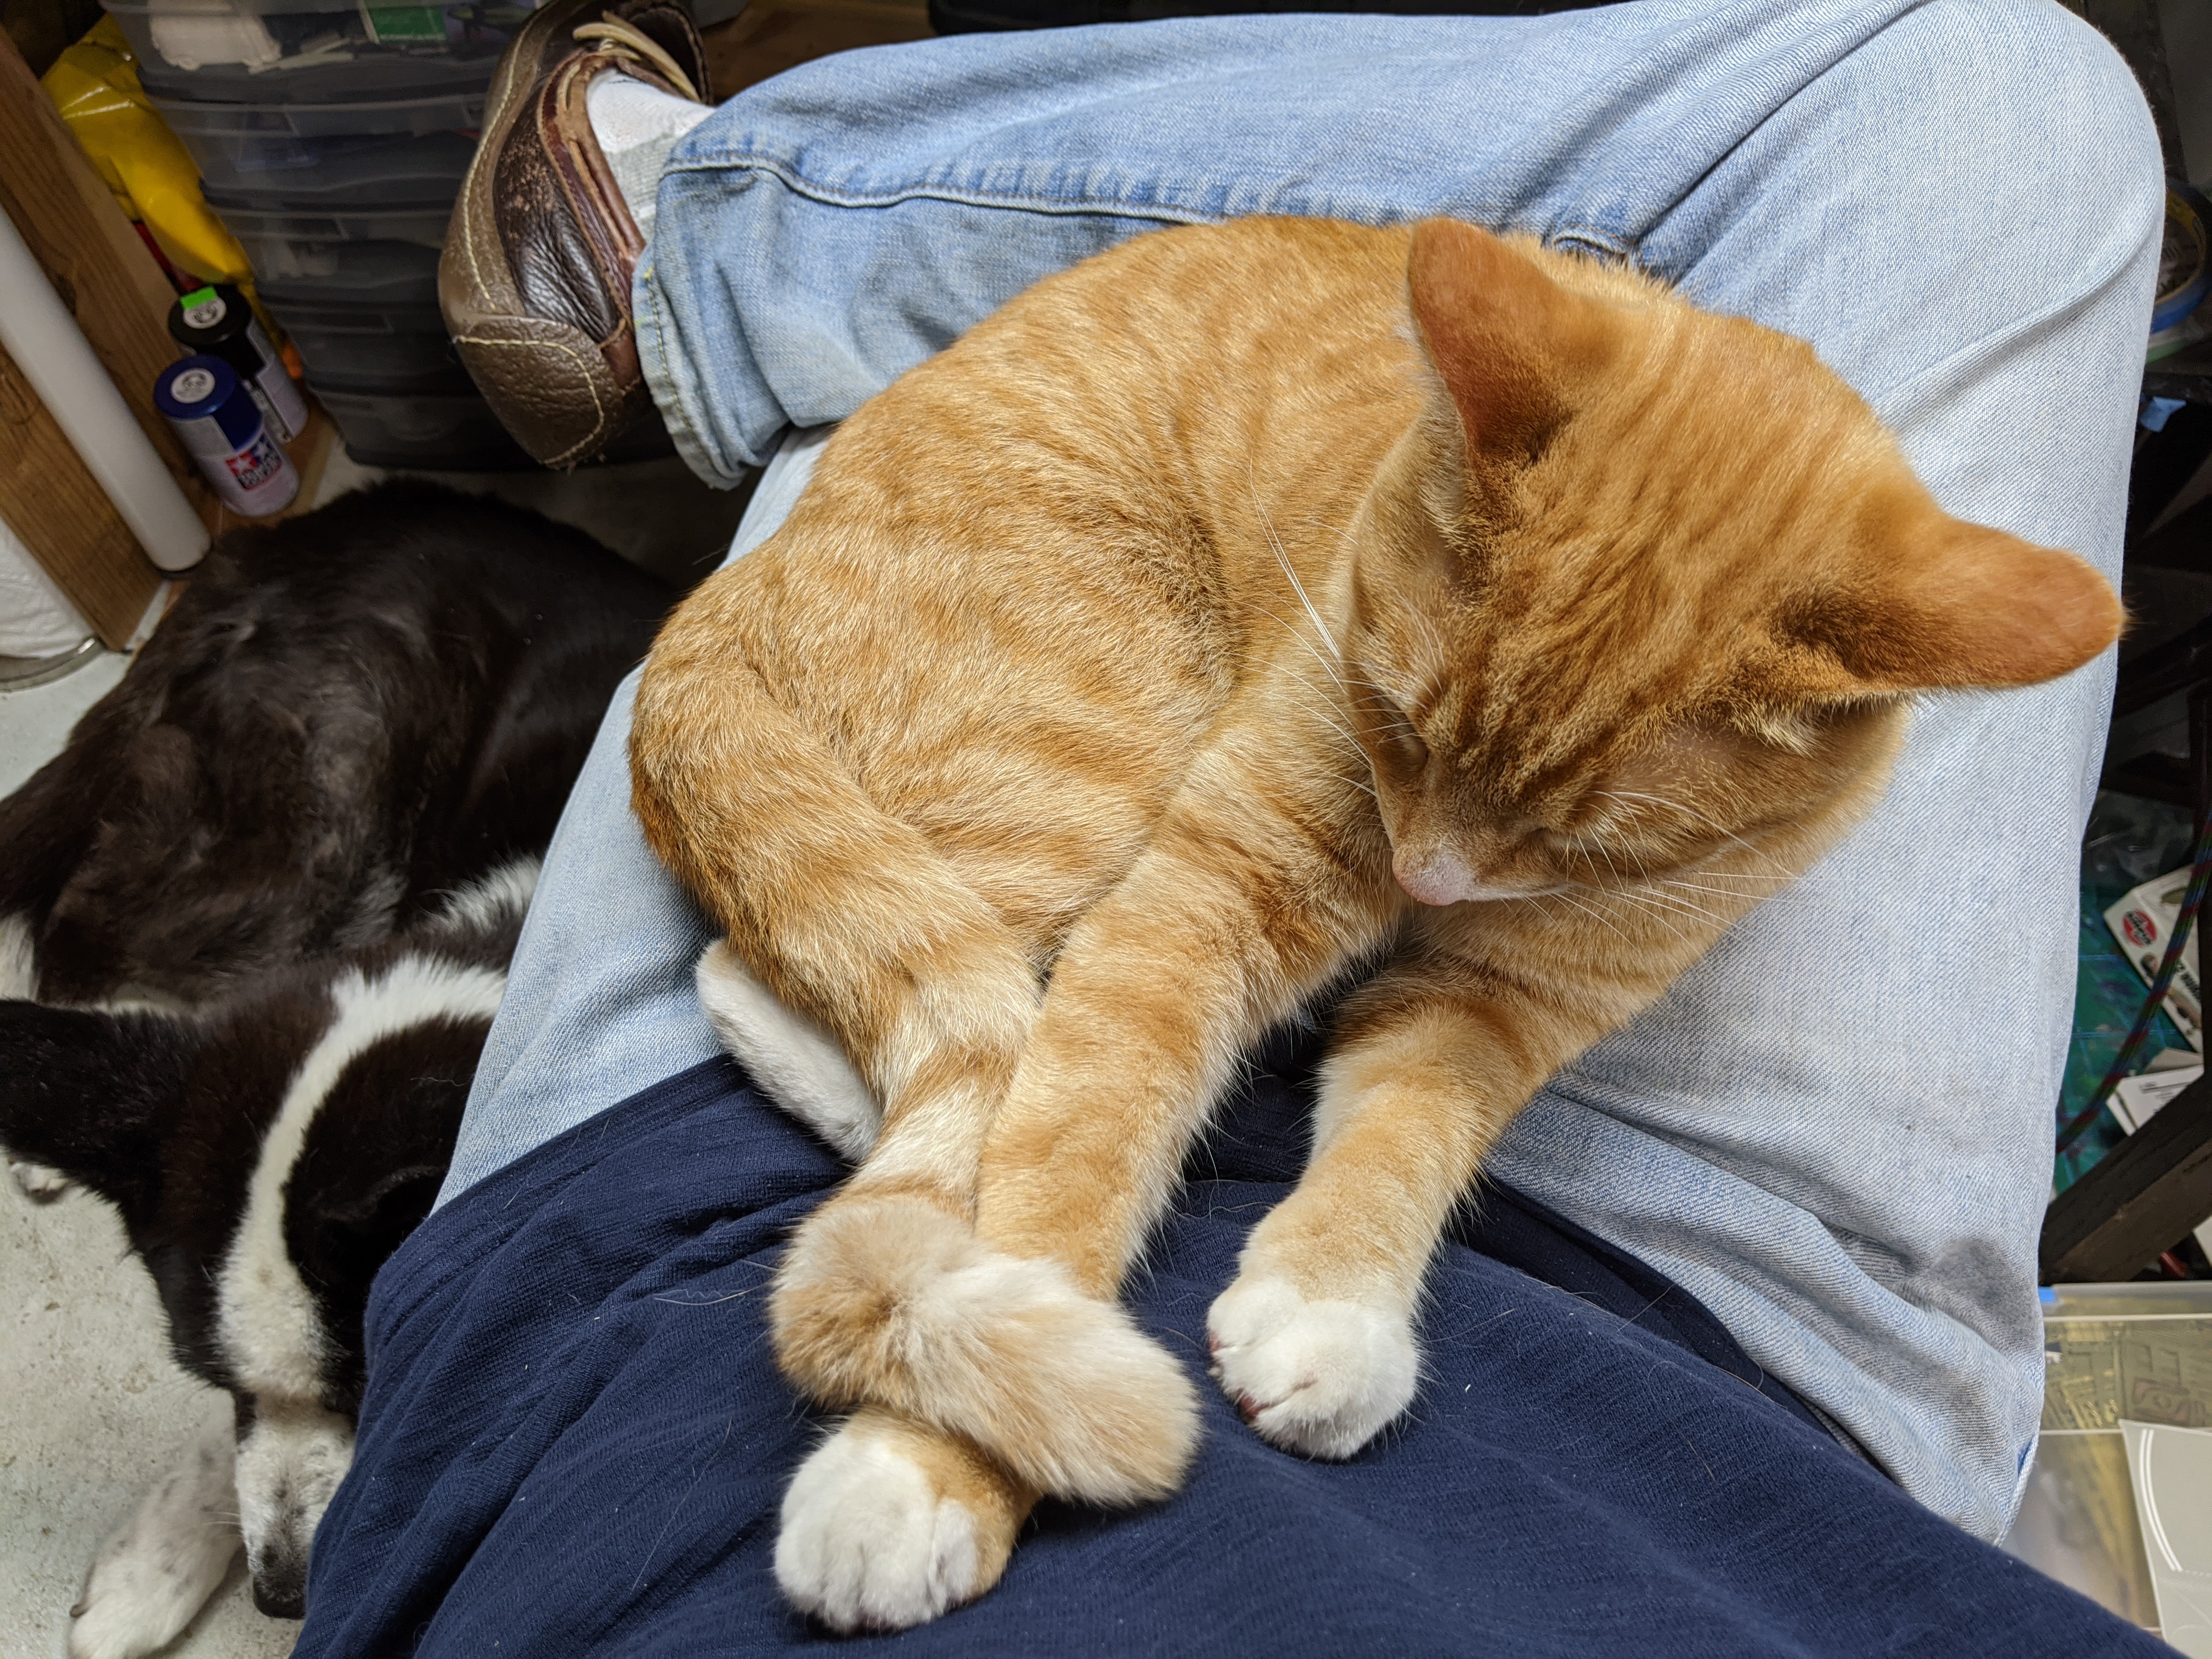
What is on your bench right now ? Share a picture :)
BlrwestSiR replied to Martinnfb's topic in Modelling Discussion
I'm at my bench but there's this tiny obstacle in the way of me actually reaching my bench. He jumped in my lap right pretty much right after I sat down. I can see this is going to be a productive session...
-
1/32 Tamiya F-16 Thunderbird kit.....sold on eBay for $450
BlrwestSiR replied to ScottsGT's topic in Modelling Discussion
Yeesh. I bought my first one for less than $100. The LHS couldn't sell it so gave me a deal when I said I wanted it. -
Spitfires!
BlrwestSiR replied to BlrwestSiR's topic in LSM 1/32 and Larger Aircraft Ready for Inspection
Here's some more from the display cabinet. My VII conversion. Making the deeper fixed canopy was the biggest challenge. Next is my MkVIII, the only one in flight and with a pilot. Gotta have a pink one. -
Spitfires!
BlrwestSiR replied to BlrwestSiR's topic in LSM 1/32 and Larger Aircraft Ready for Inspection
Believe it or not, the F4U is my favourite prop plane. It wasn't until the Tamiya kit came out that I really started liking the Spitfire as much as I do now. Carl -
What is on your bench right now ? Share a picture :)
BlrwestSiR replied to Martinnfb's topic in Modelling Discussion
I've mostly got resin shavings and flash. Not as much dust. -
What is on your bench right now ? Share a picture :)
BlrwestSiR replied to Martinnfb's topic in Modelling Discussion
That looks like my bench. -
Silver Wings Hawker Hart
BlrwestSiR replied to BlrwestSiR's topic in LSM 1/35 and Larger Work In Progress
Thanks Rob! This is my second full resin 1/32 build. The first was the XF5-U Flying Pancake. Except for the weak landing gear, that went together ok. The Hawk is a bit more complex...- 39 replies
-
- 4
-
-
-
- silver wings
- hawker
- (and 1 more)
-
Thanks Steve! Great pics showing what I need to watch out for.
-
Steve, how much of this is applicable to the D9 kit? I have one of those to do one day. Carl
-
Silver Wings Hawker Hart
BlrwestSiR replied to BlrwestSiR's topic in LSM 1/35 and Larger Work In Progress
Thanks guys for all the encouragement an interest. Bit of progress, I painted the frame and started on the smaller bits. Just taking my time with it. Colour wise, there isn't a guide in the instructions so I'm going by what the Hurricane interior was like. Hope it's more or less close. Carl
- 39 replies
-
- 8
-
-
- silver wings
- hawker
- (and 1 more)
-
Happy birthday Harv! Have a great day with lots of bench time.