BlrwestSiR
-
Posts
9,151 -
Joined
-
Last visited
Content Type
Profiles
Forums
Events
Gallery
Everything posted by BlrwestSiR
-
 Definitely just rolling along with this build.
 -
Borgfeldt has been the Canadian importer for Tamiya since at least the late '70s. They've got such a great relationship with Tamiya that we've often gotten new releases here before Japan even has. Case in point, one of the staff at my LHS has been building the new 1/72 F-14D kit which he showed me. The fit and detail is incredible for something so tiny.
-
You're making some great progress there Martin.
-
Interesting how the front ERA is mounted almost vertically on the front of the hull. I never noticed that before.
-
Actually Rob, that's not too far off the truth. In the crash at the end of the clip I linked to, they used a RATO pack to launch the Holden into the truck.
-
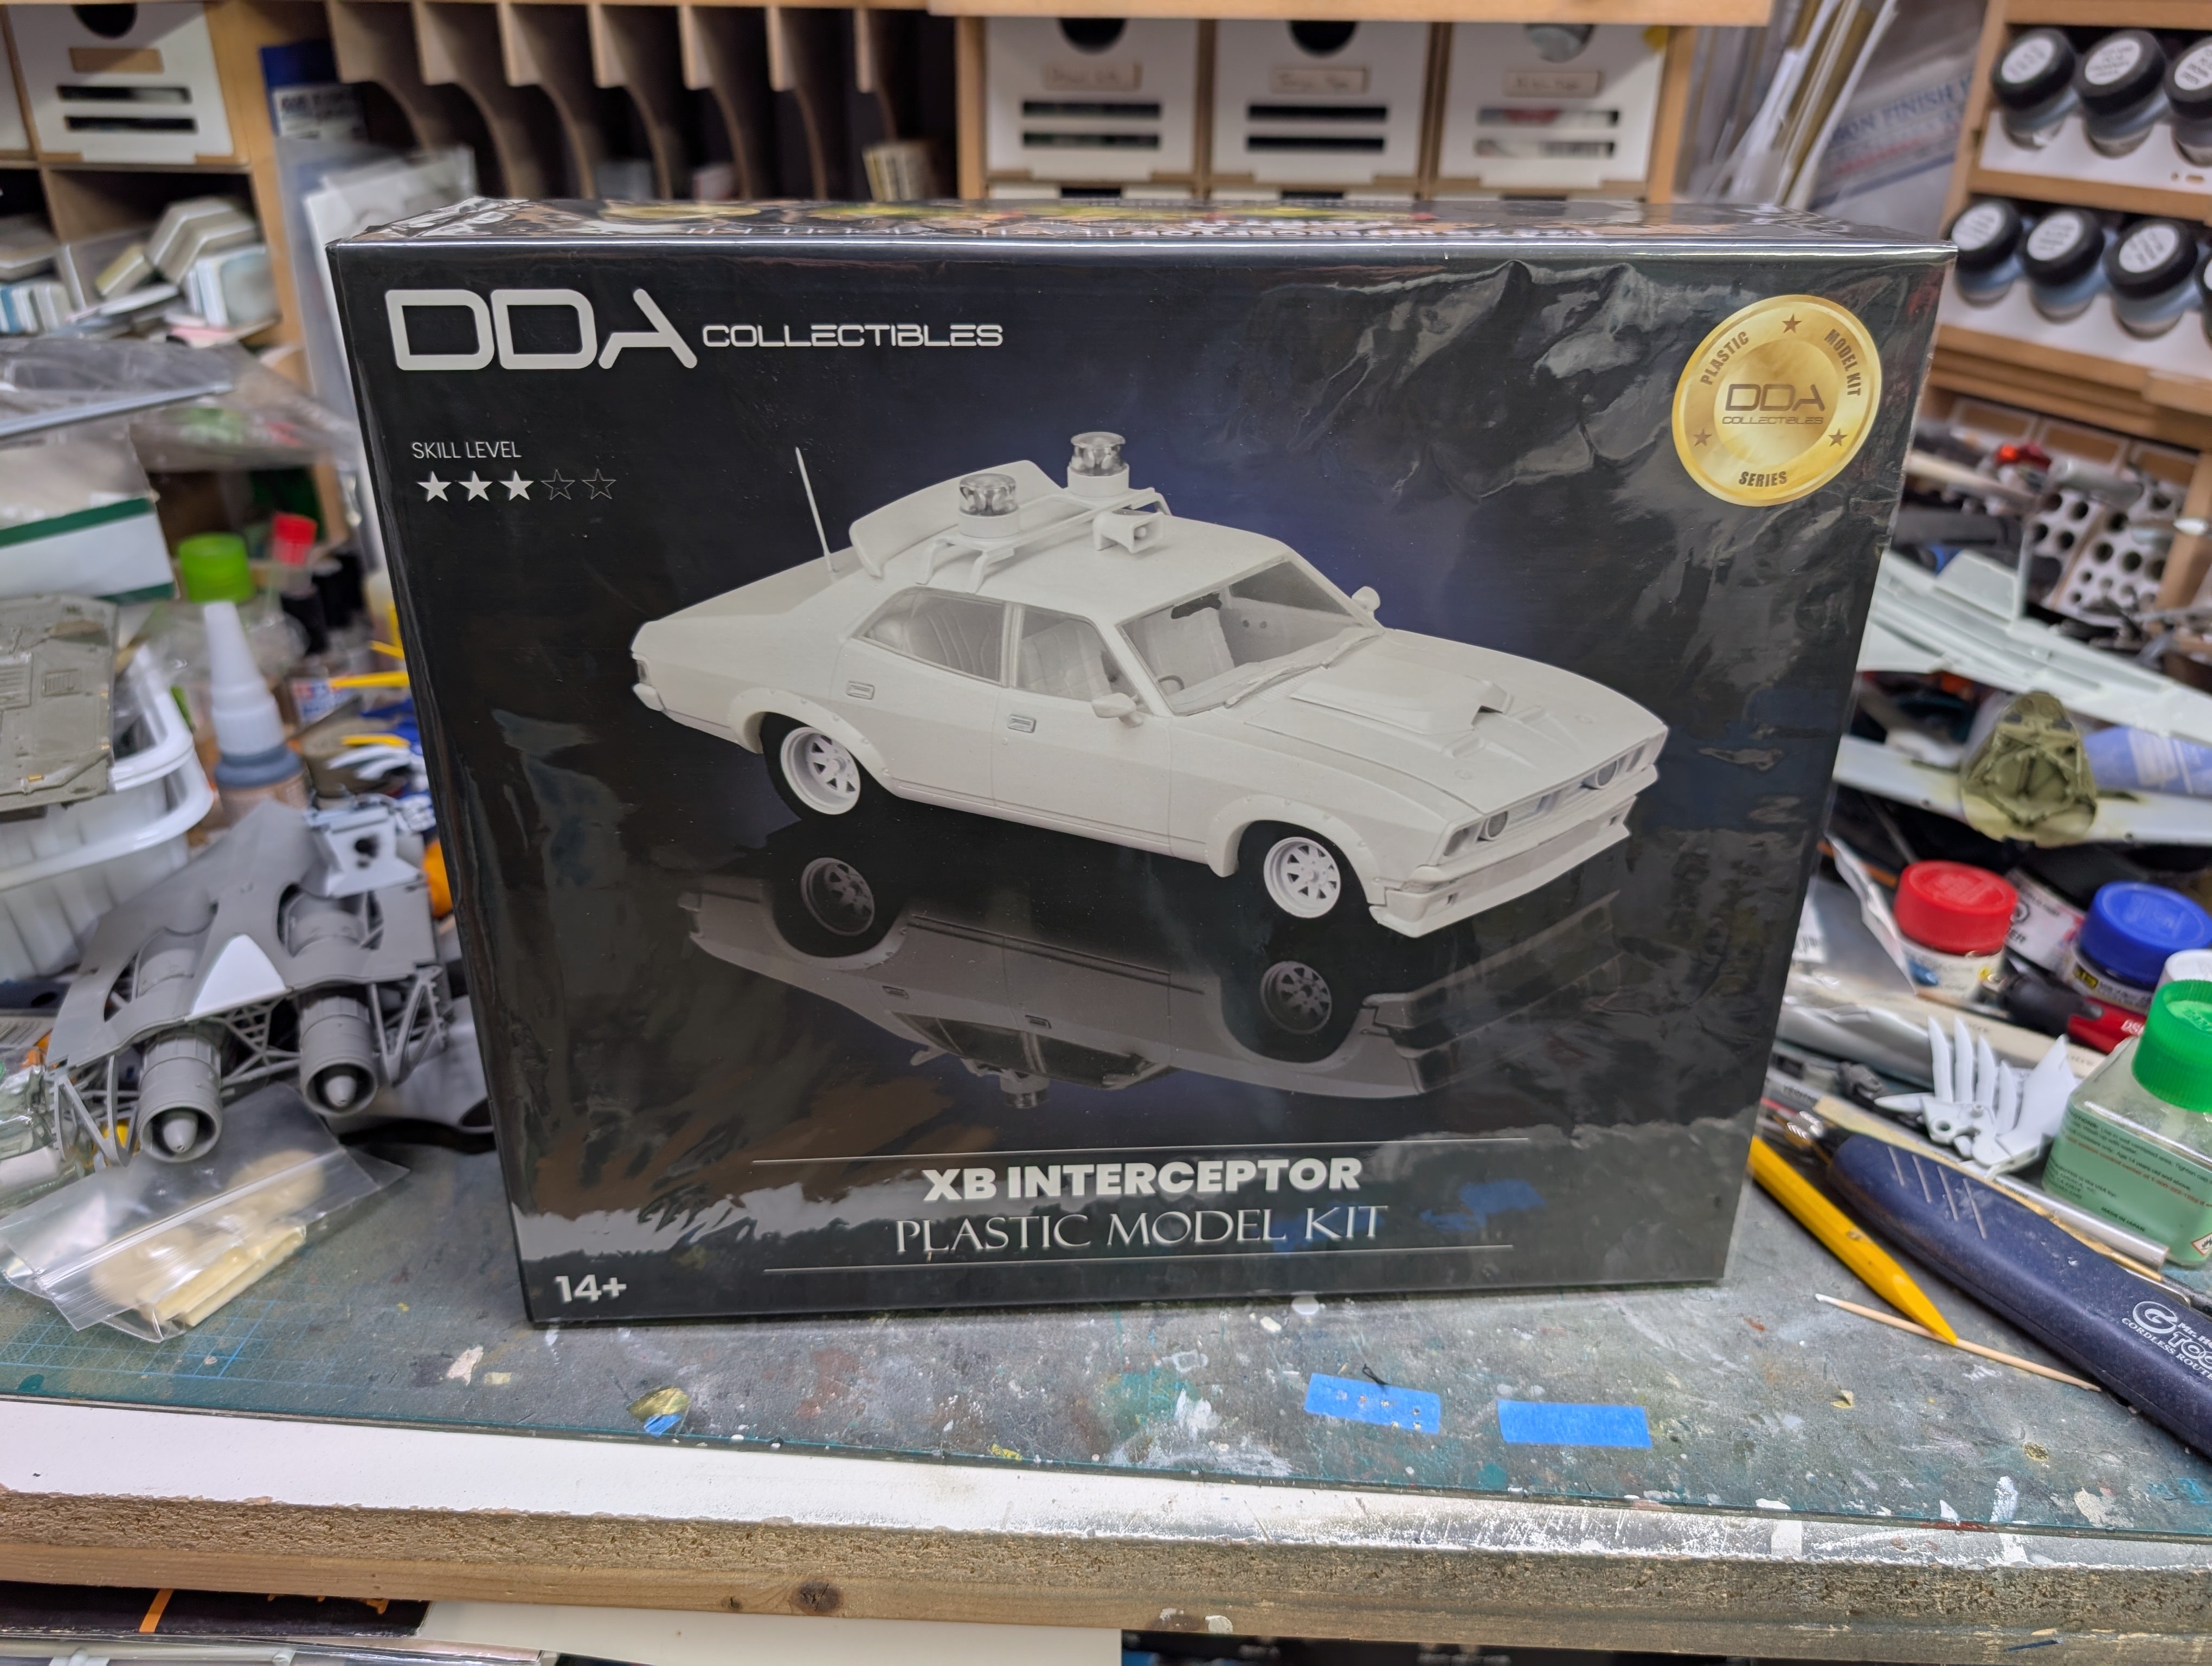
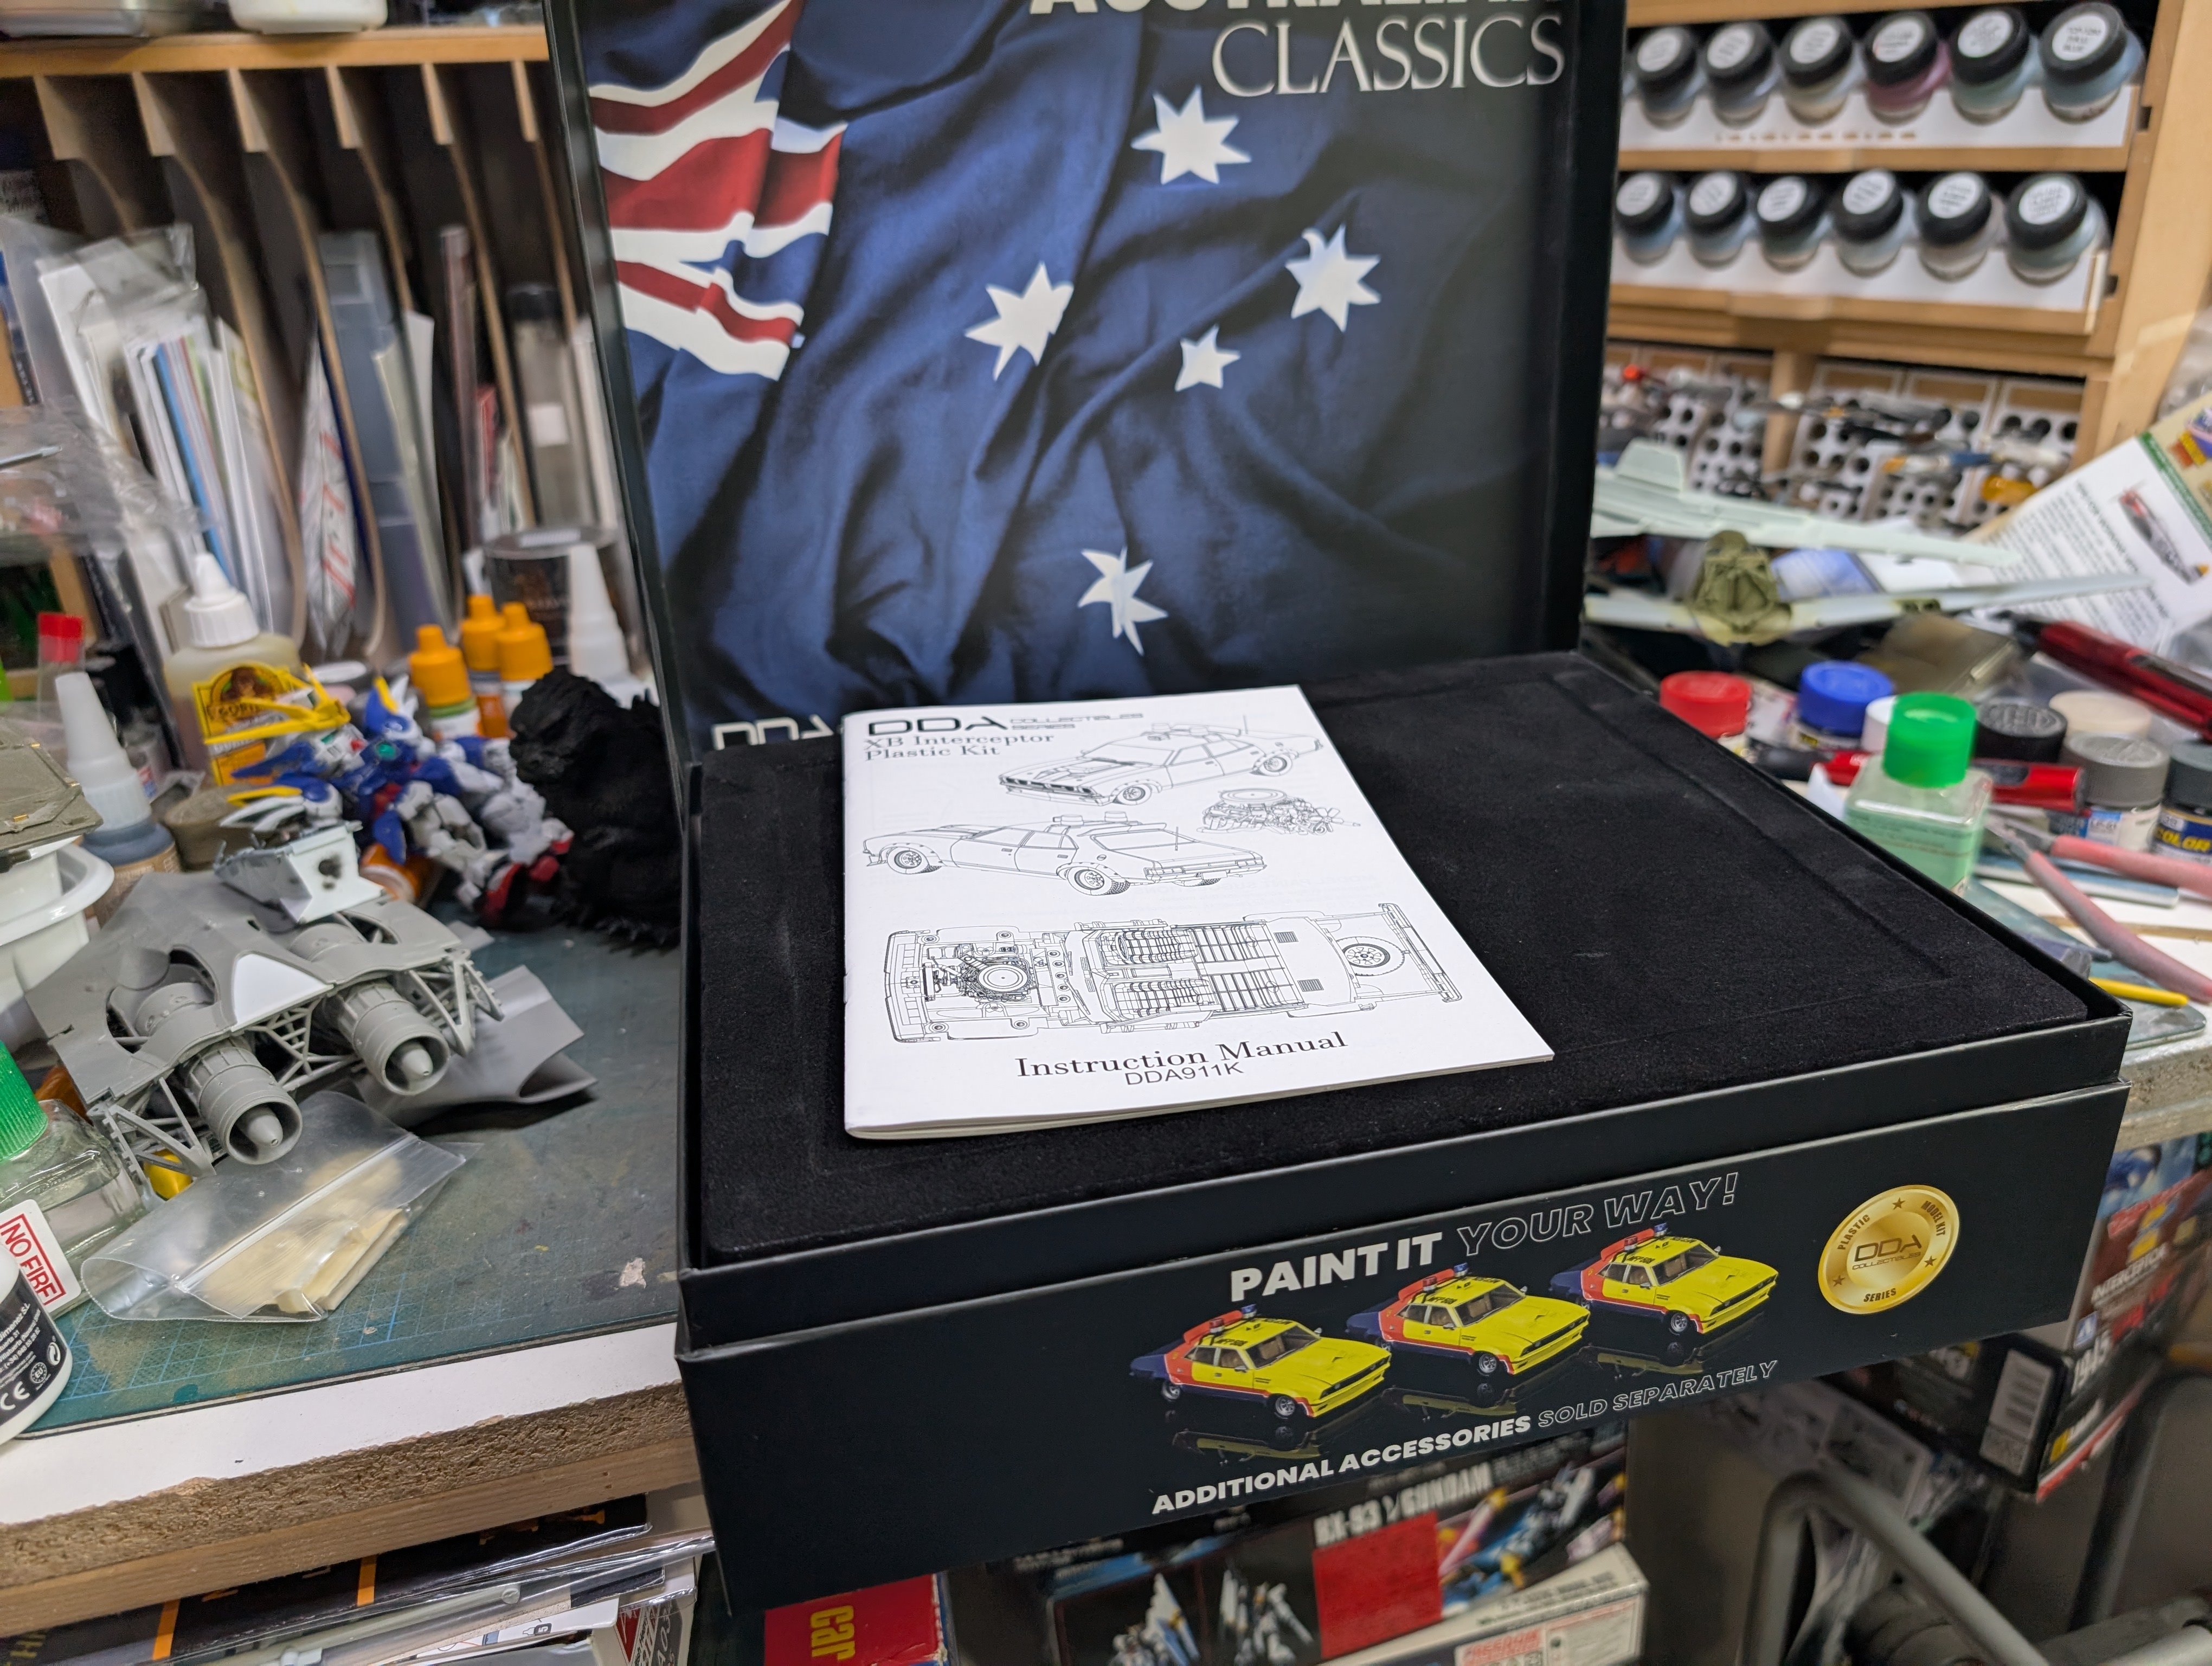
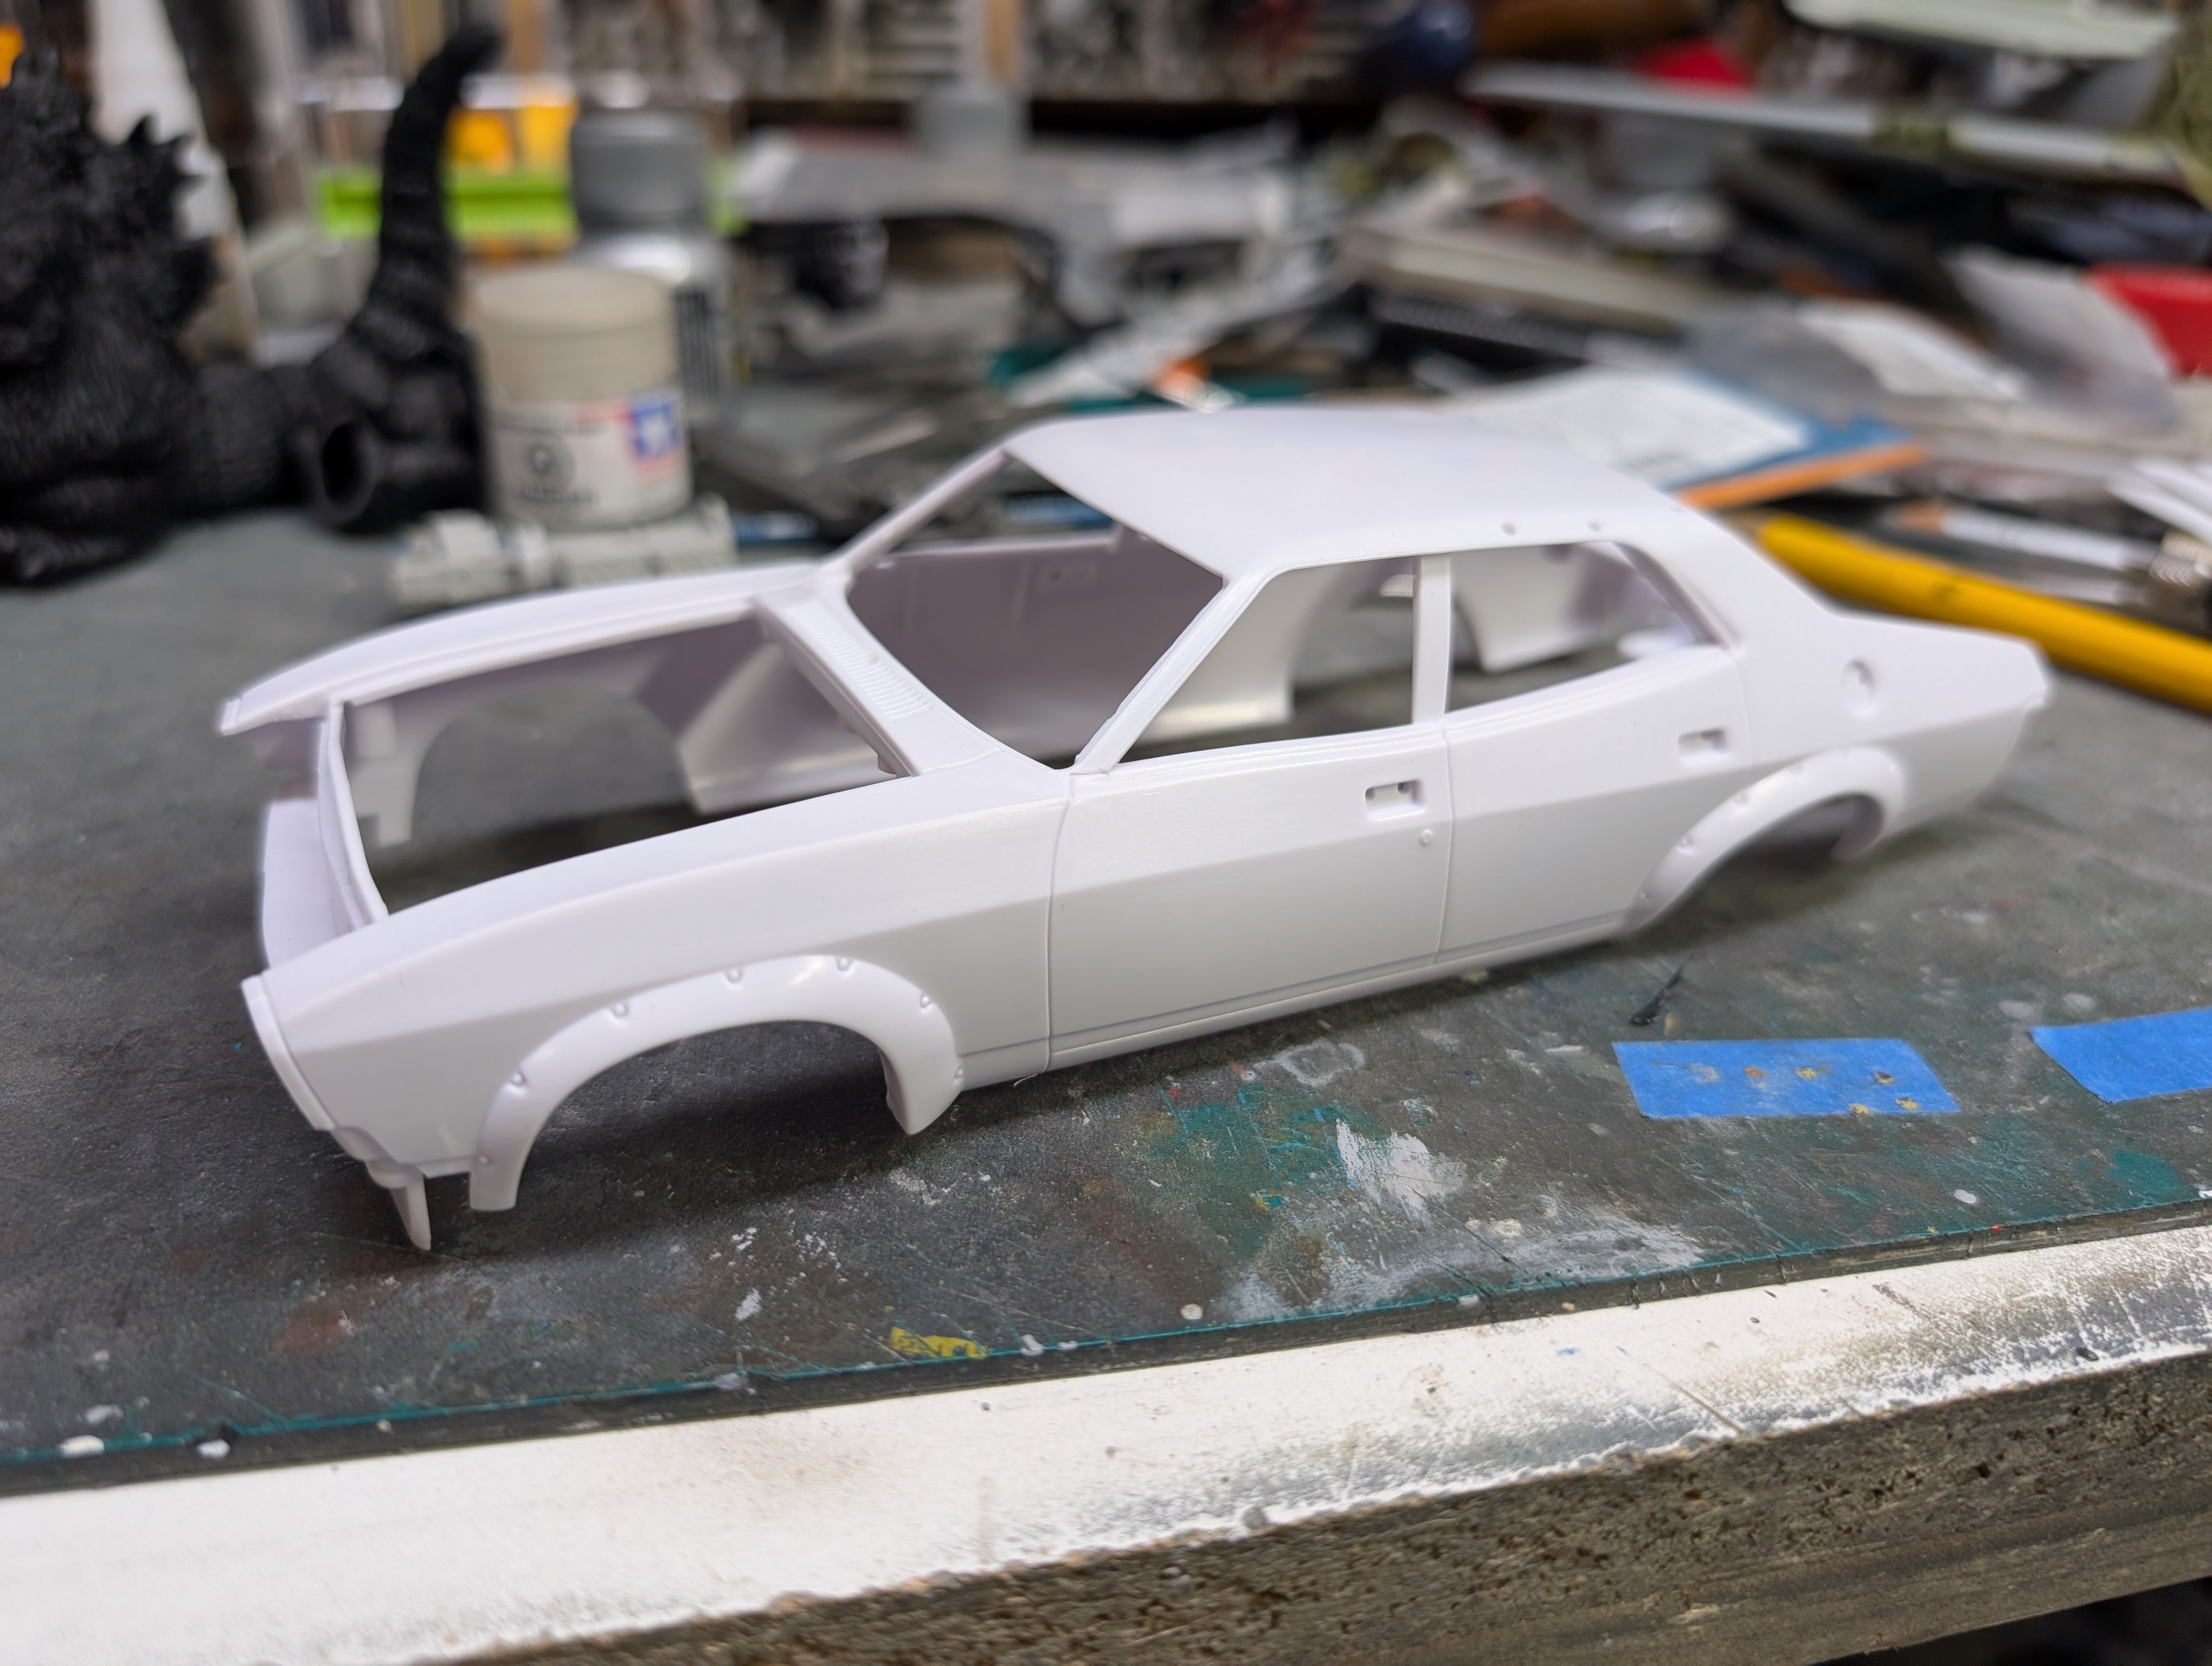
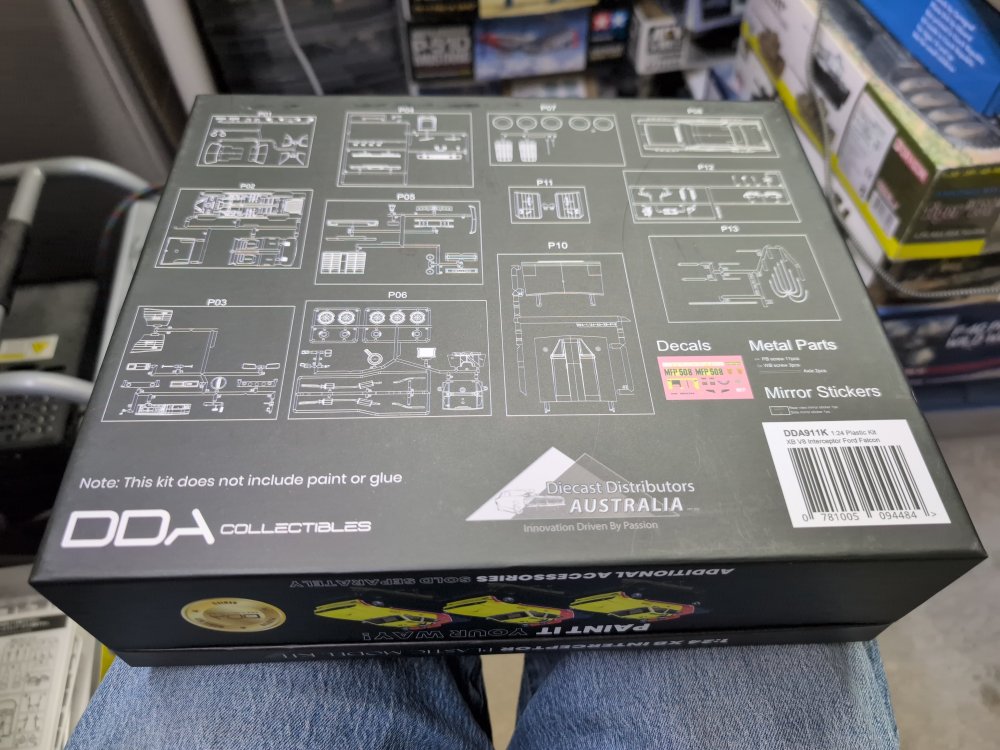
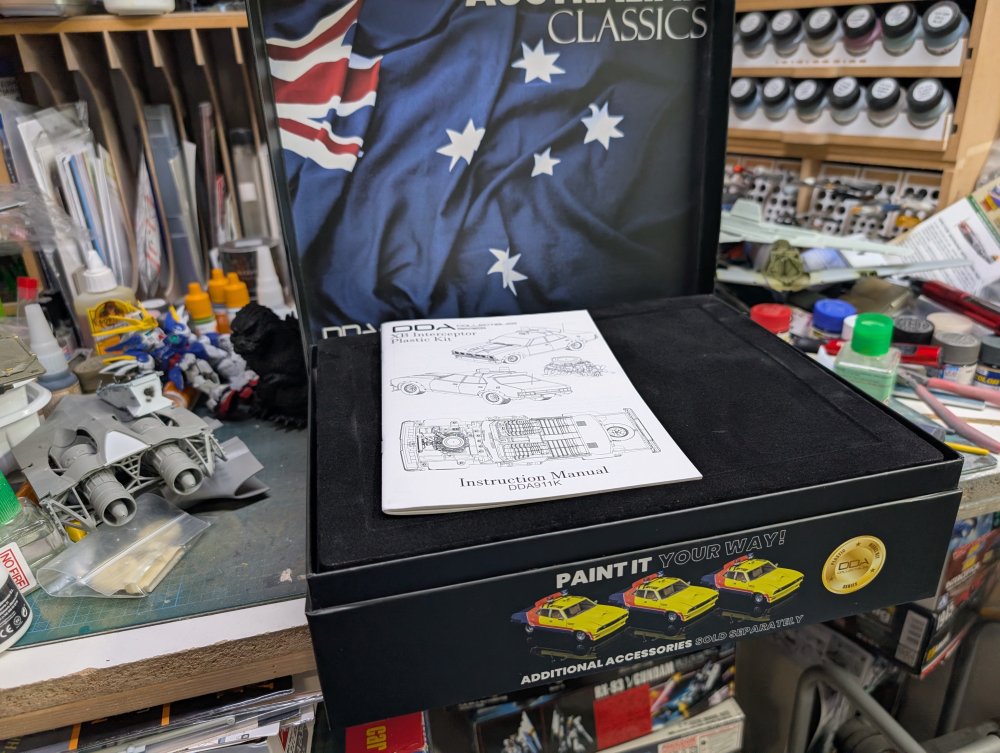
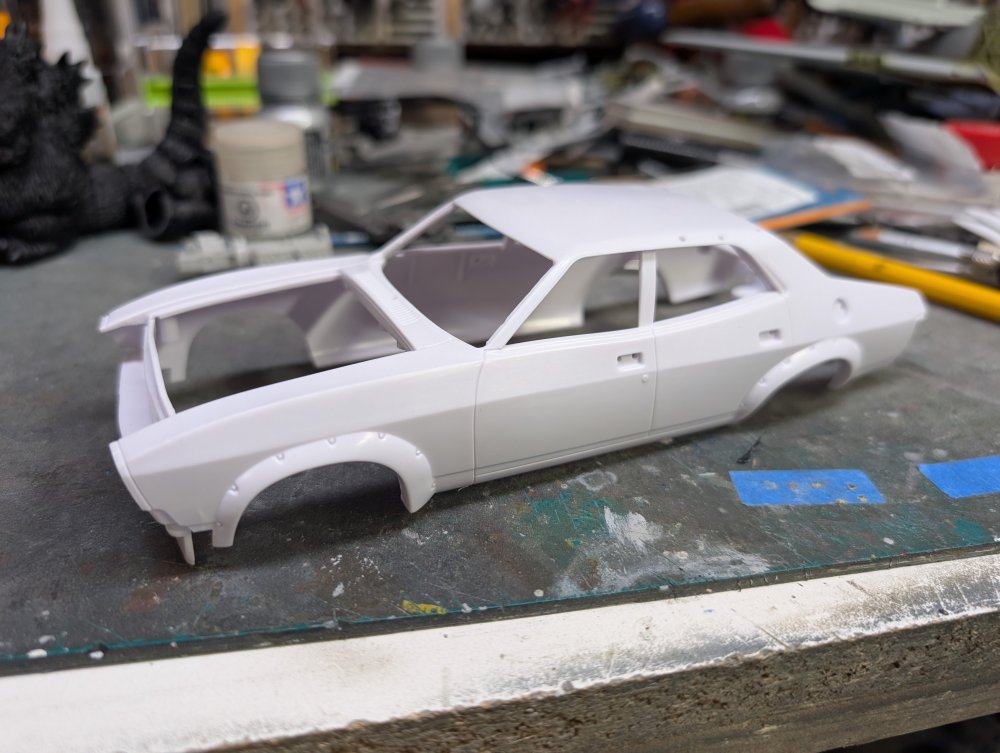
Finally!!! An IM mainstream kit of the Ford Falcon XB Interceptor. Lovely box presentation too. Underneath the inner cover/display base. I've got two different resin kits, plus an expensive (and rare) resin conversion for the also expensive (and slightly less rare) Aoshima Mad Max V8 Interceptor kit. This is much better quality and detail- wise.


-
I know they say everything is bigger in Texas but that is just insane what you've gone through. Hope things get back on track for you without any more surprises (or baseball sized hail). We missed you buddy and I'm glad you're back. Carl
-
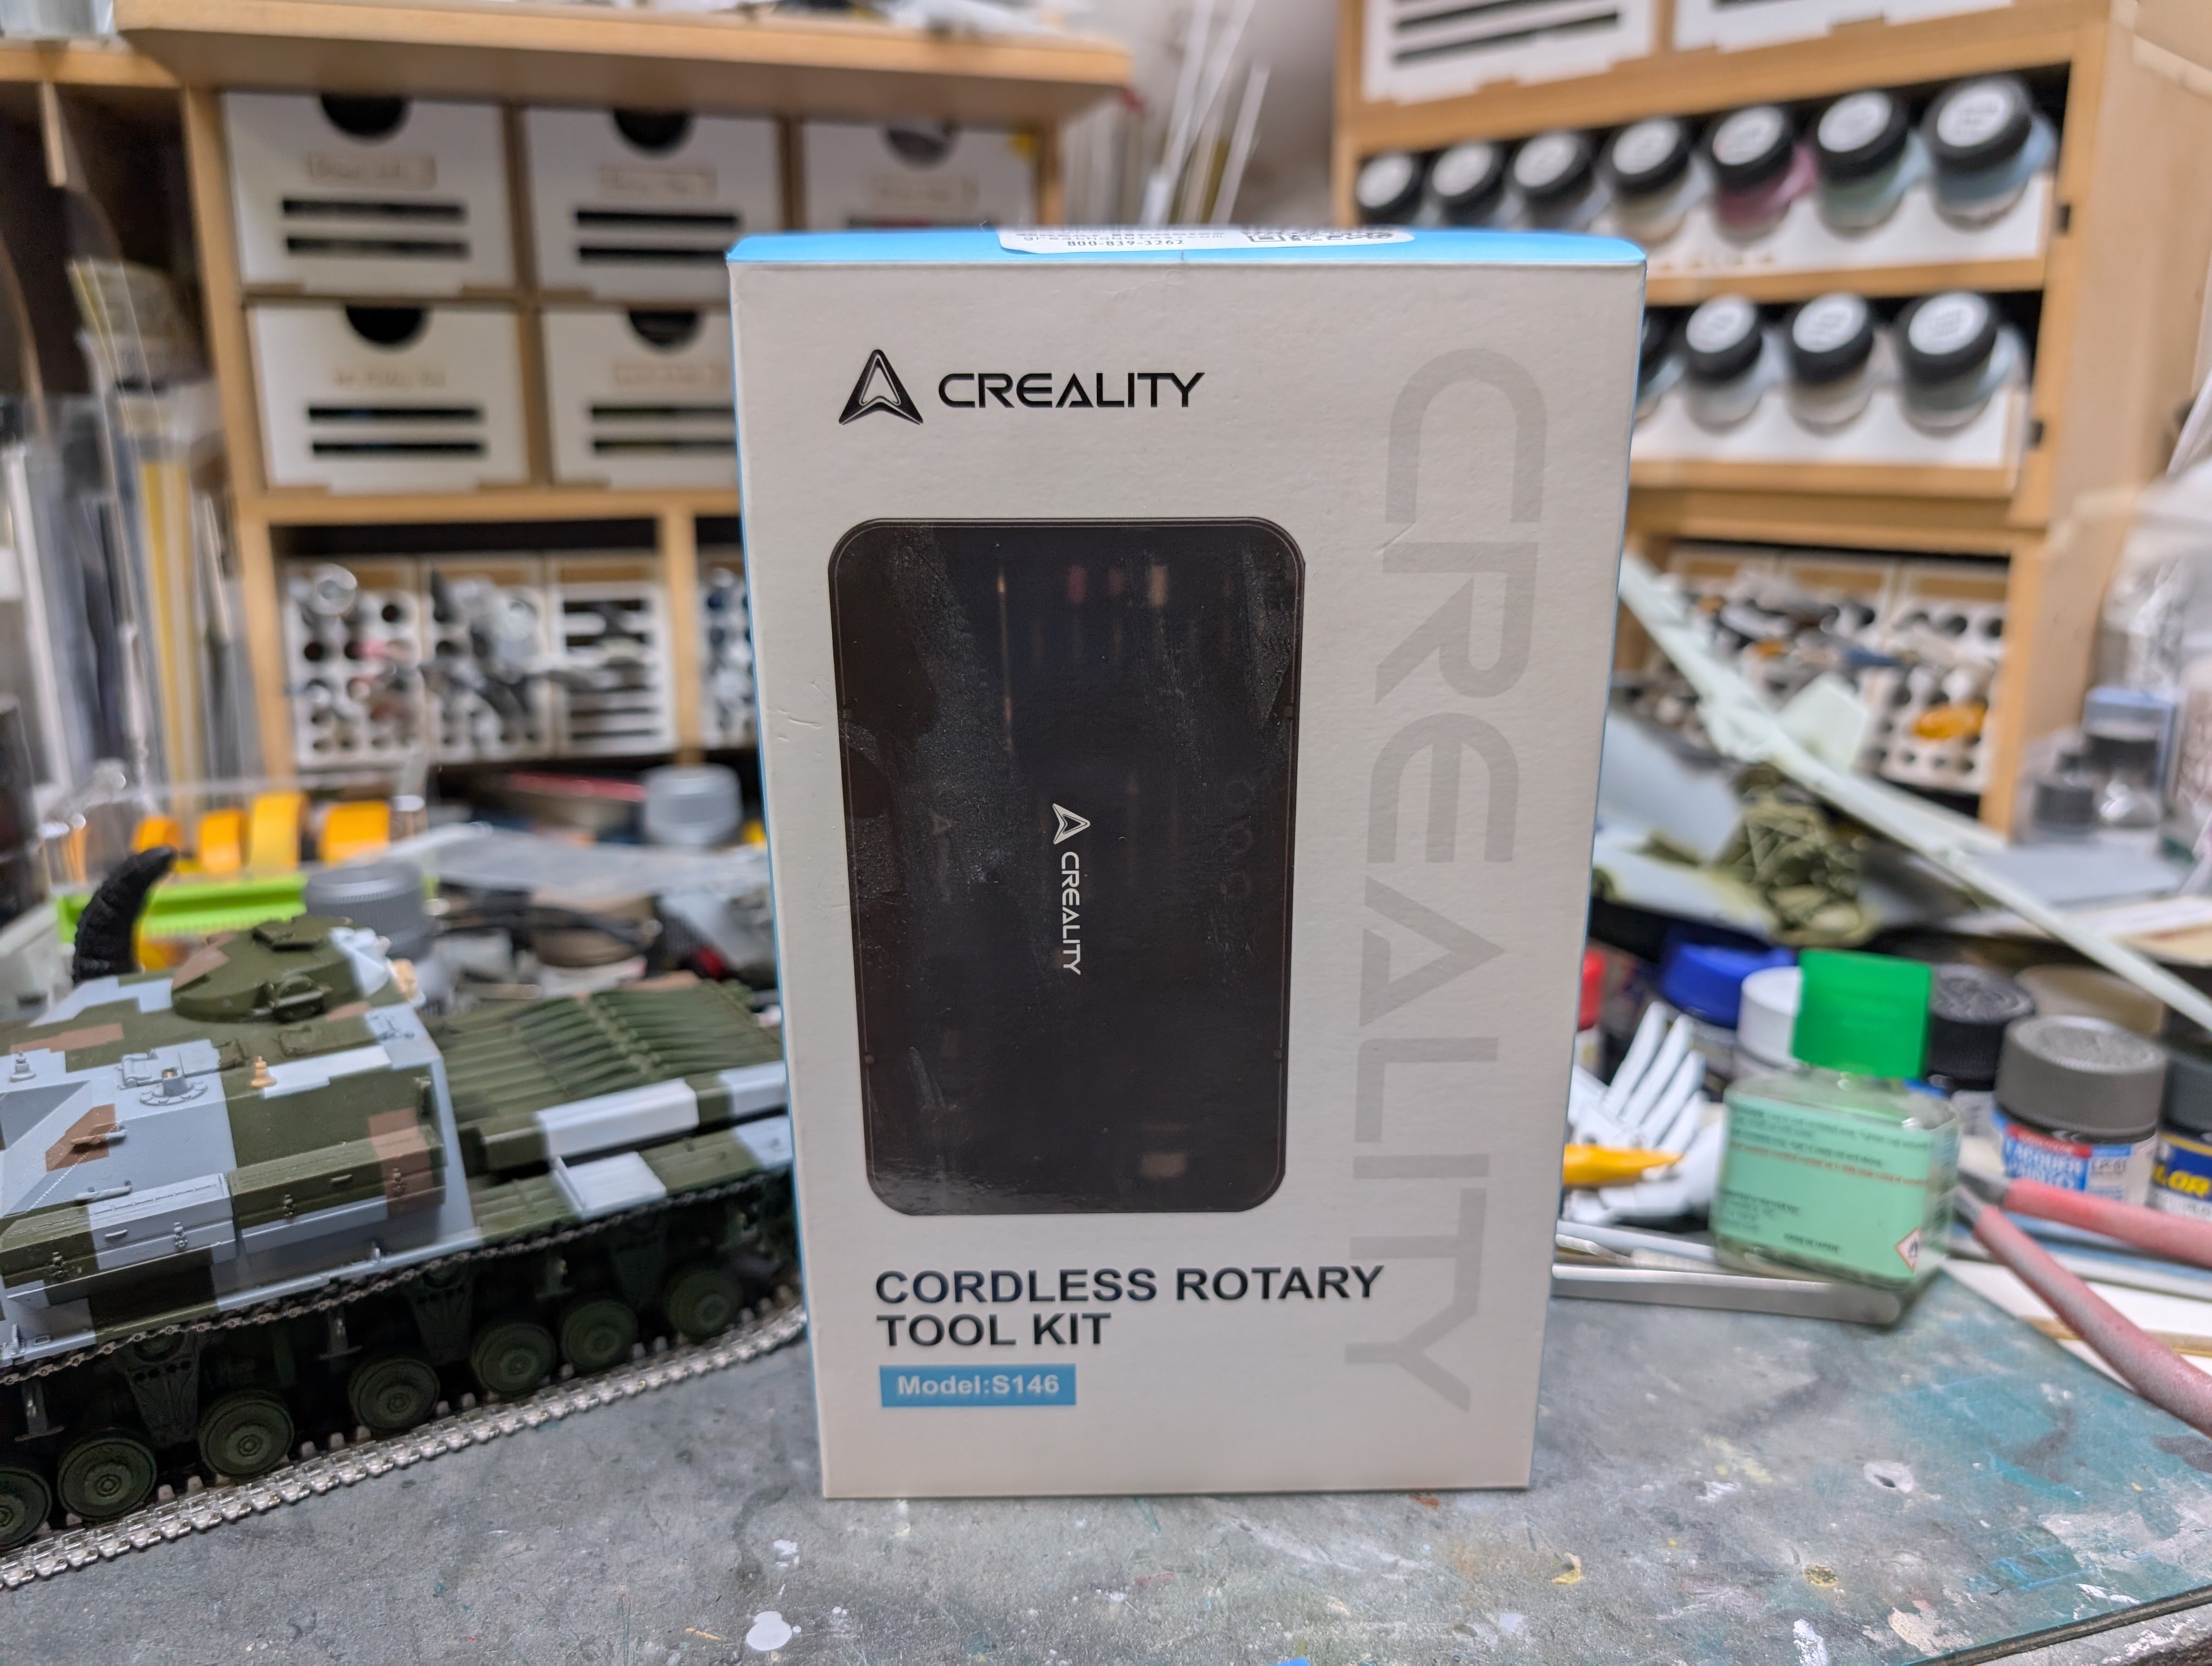
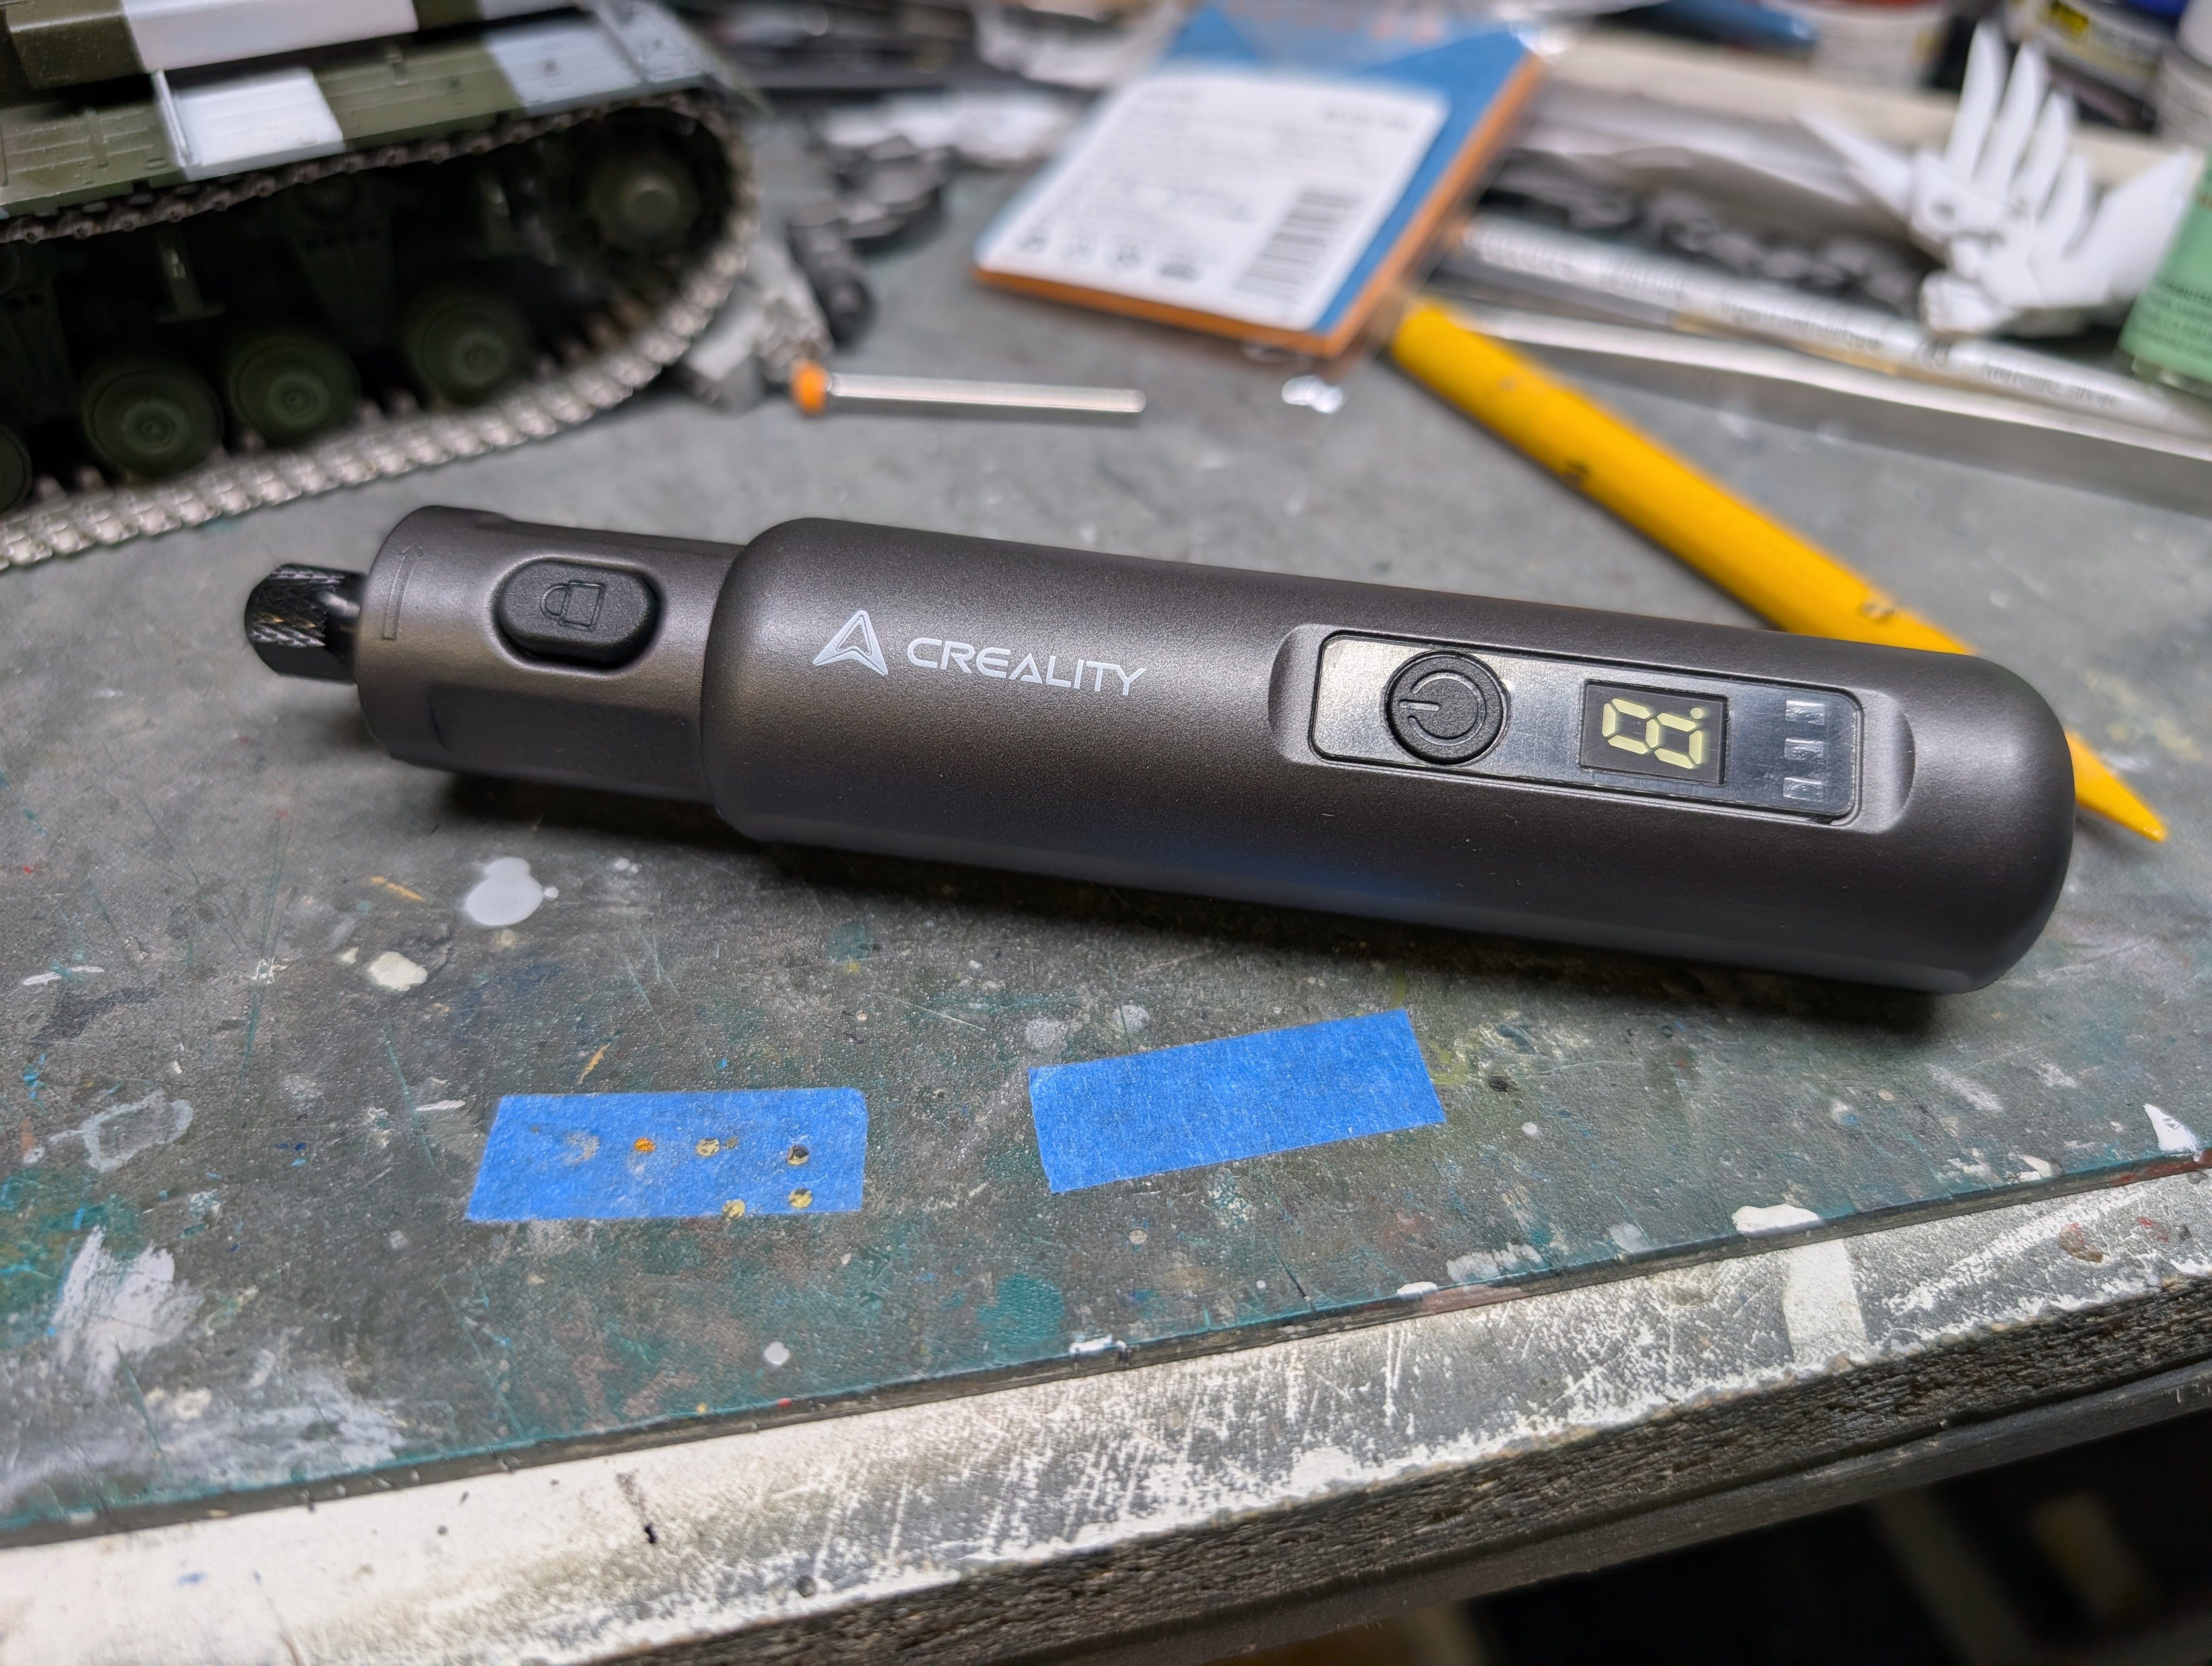
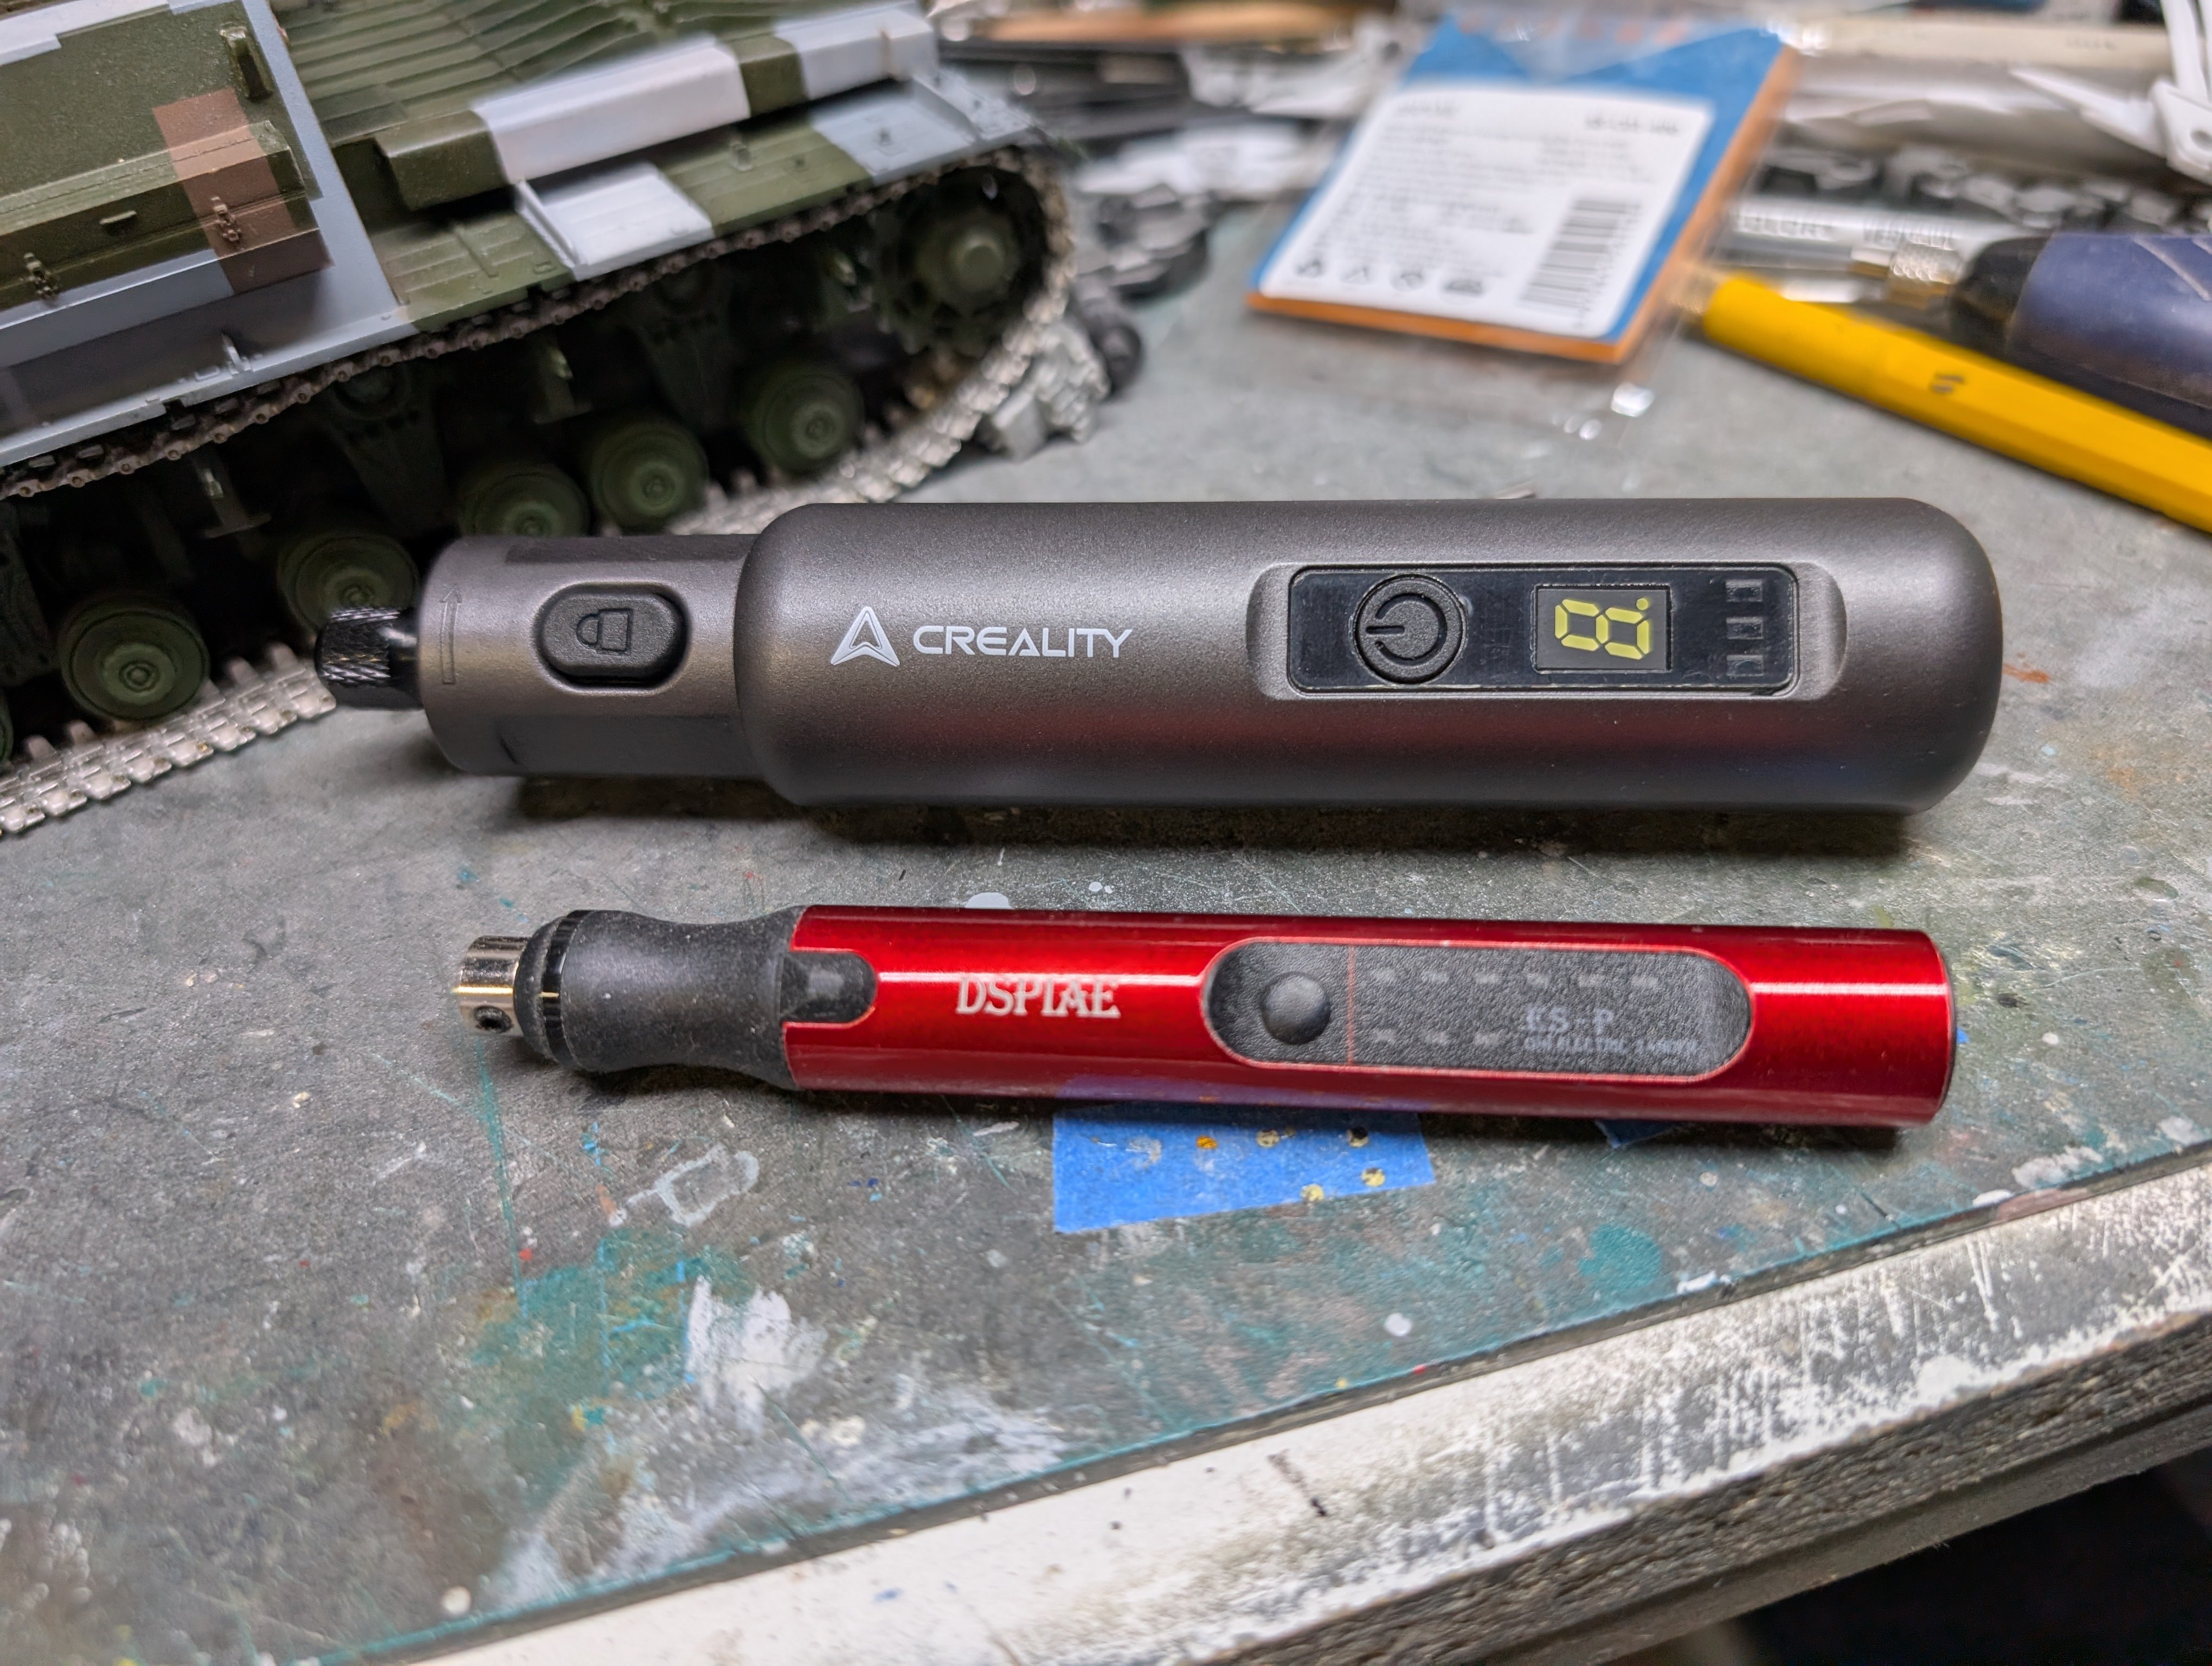
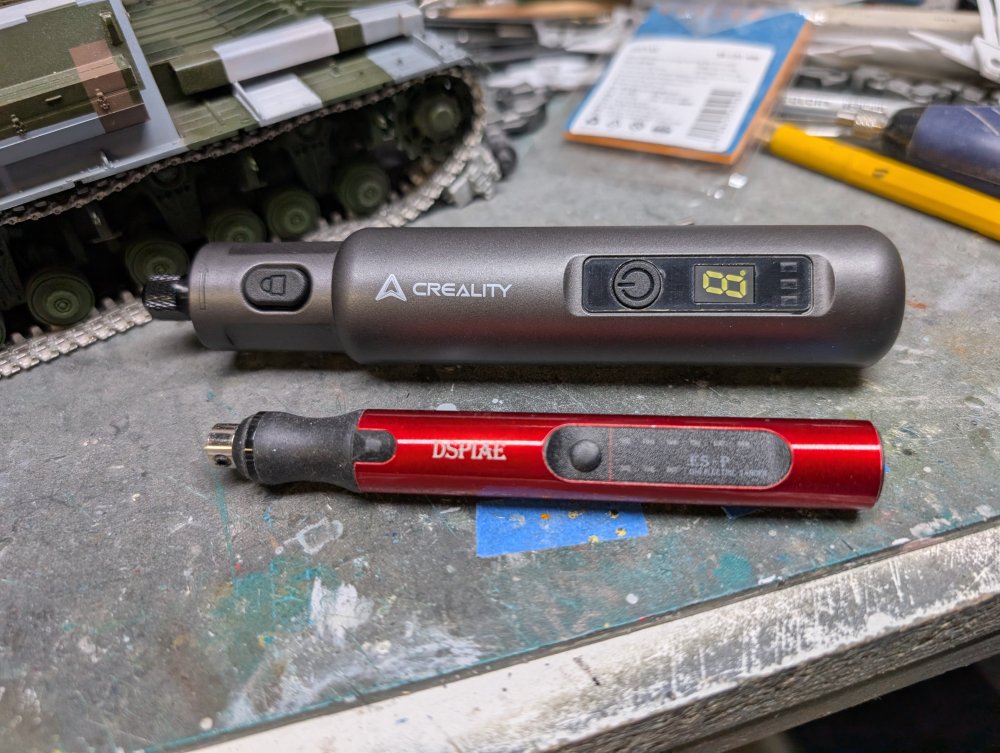
I decided to replace my recently departed Dspiae rotary tool with one from Creality. It's a fair bit bigger than the Dspiae one. That was one of the things I liked most about the Dspiae was its compact size.


-
Some nice progress on taming this beast Chris.
-
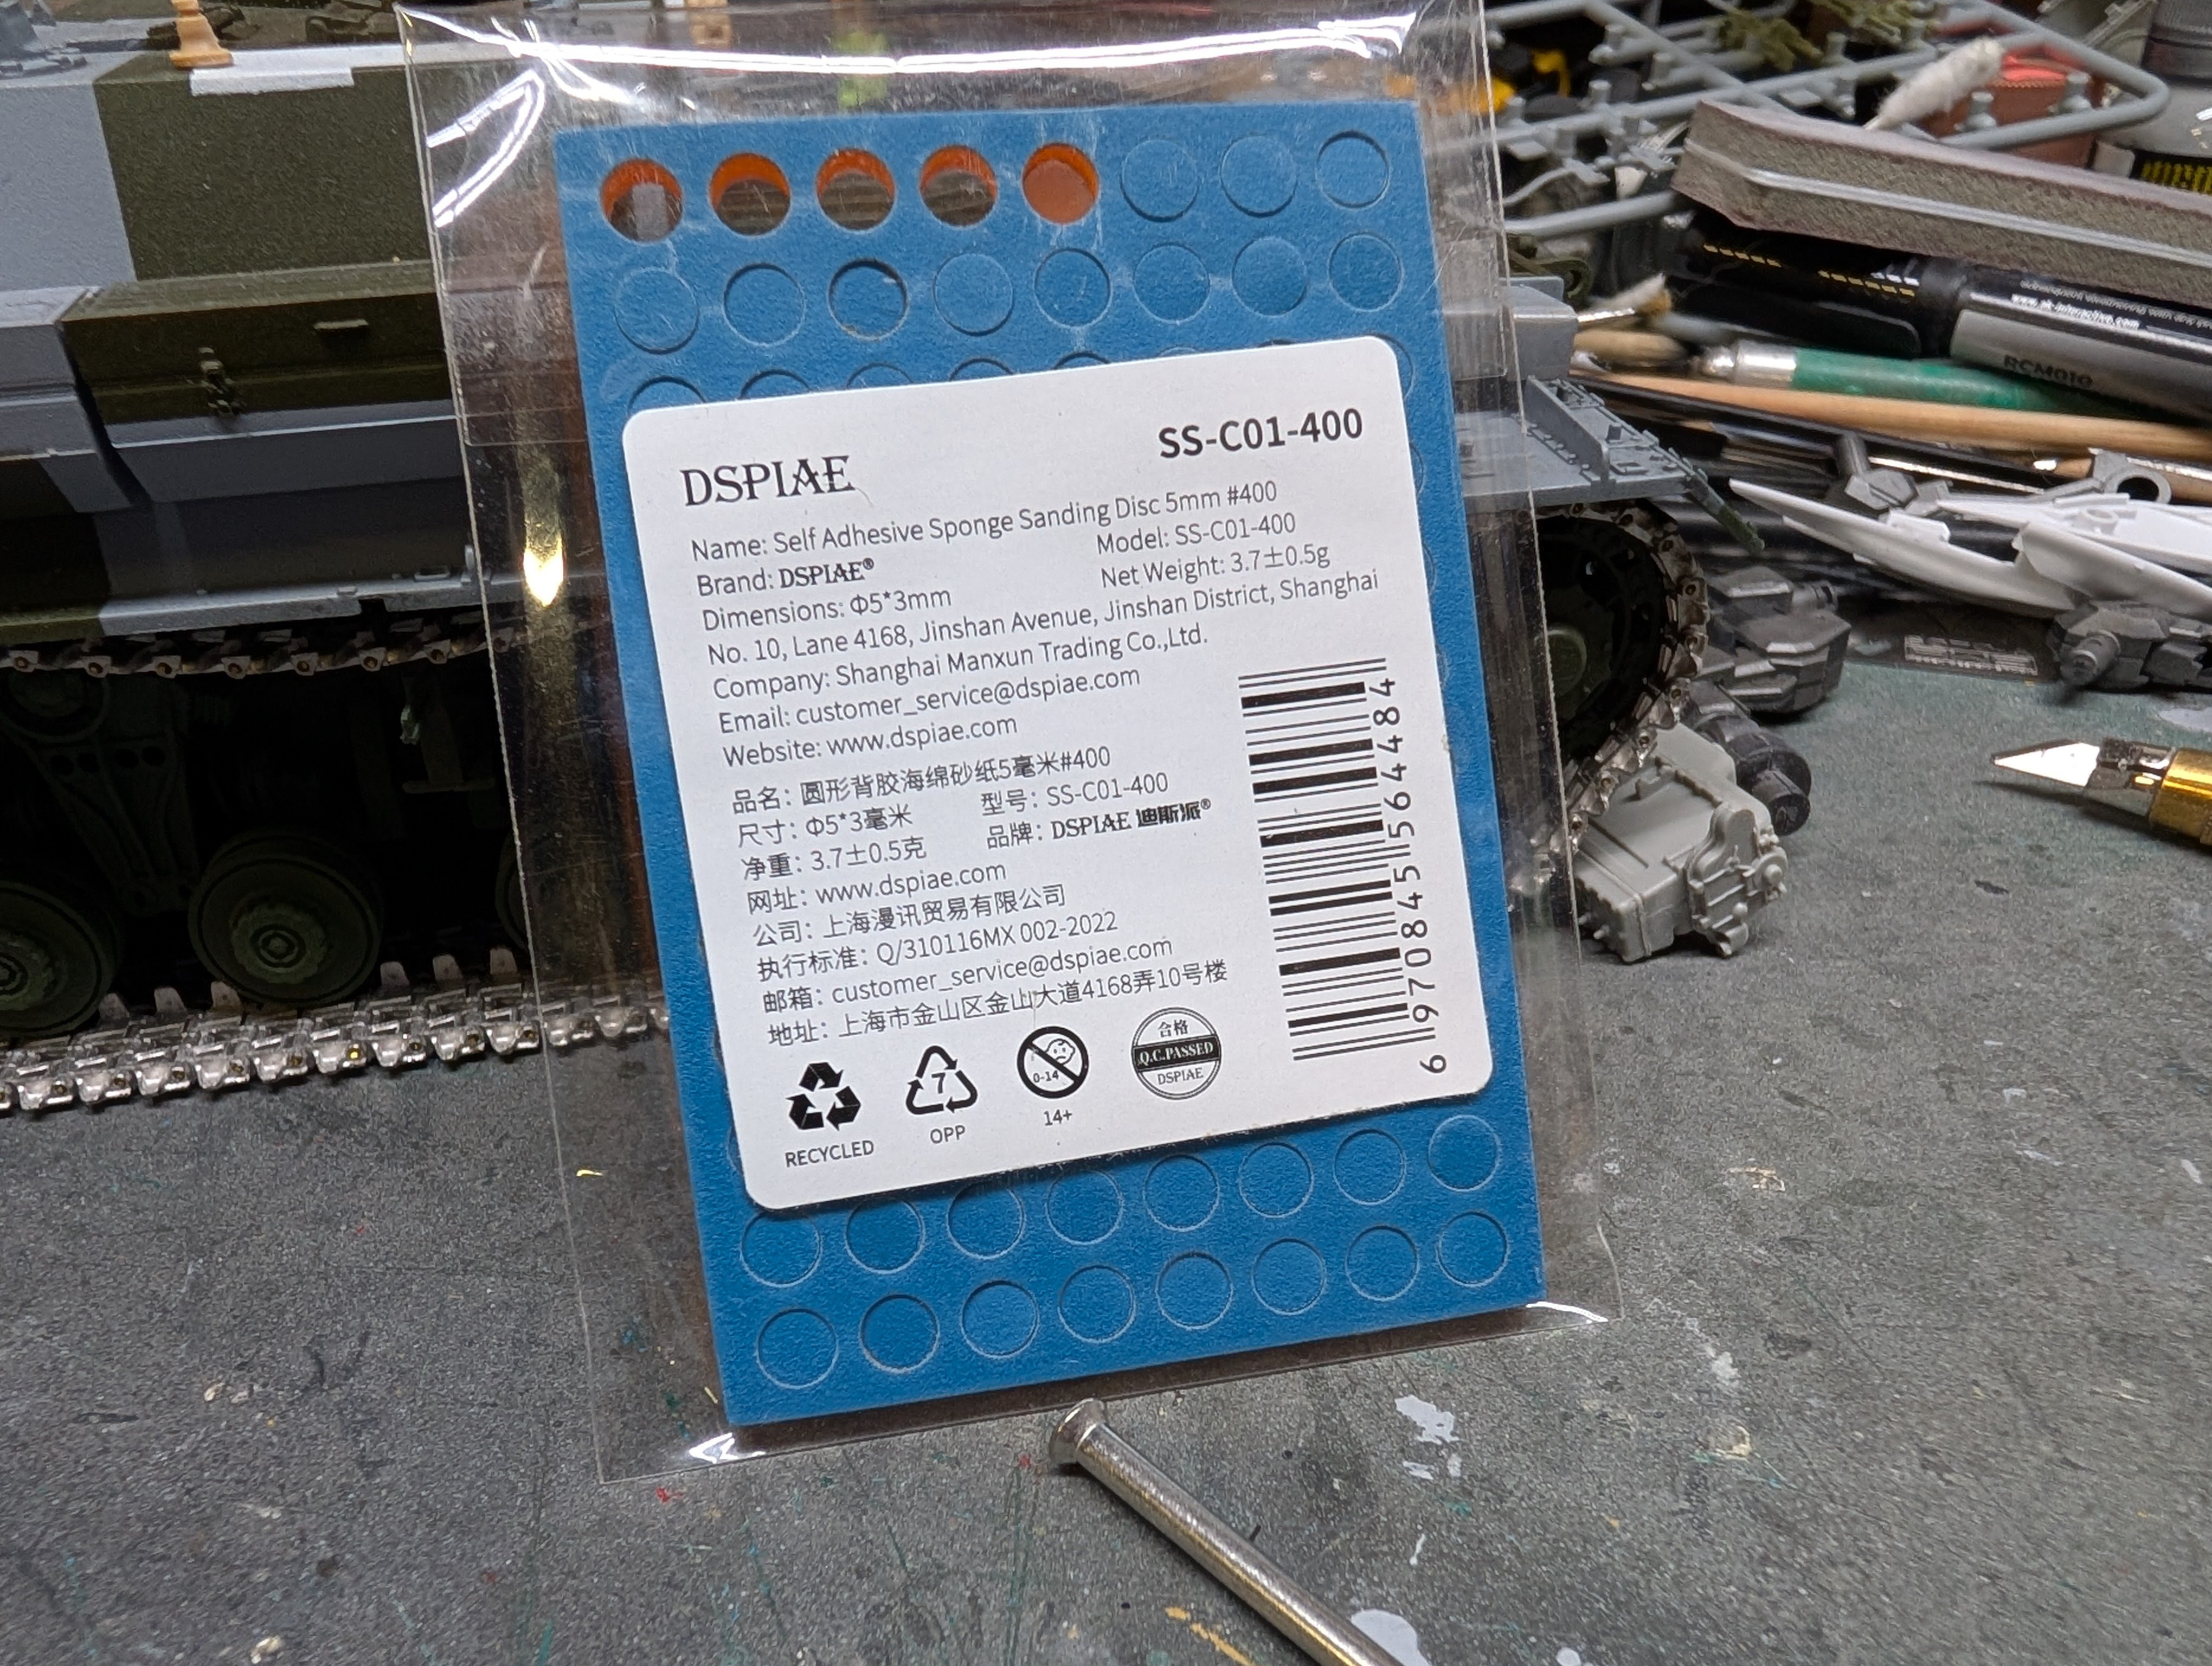
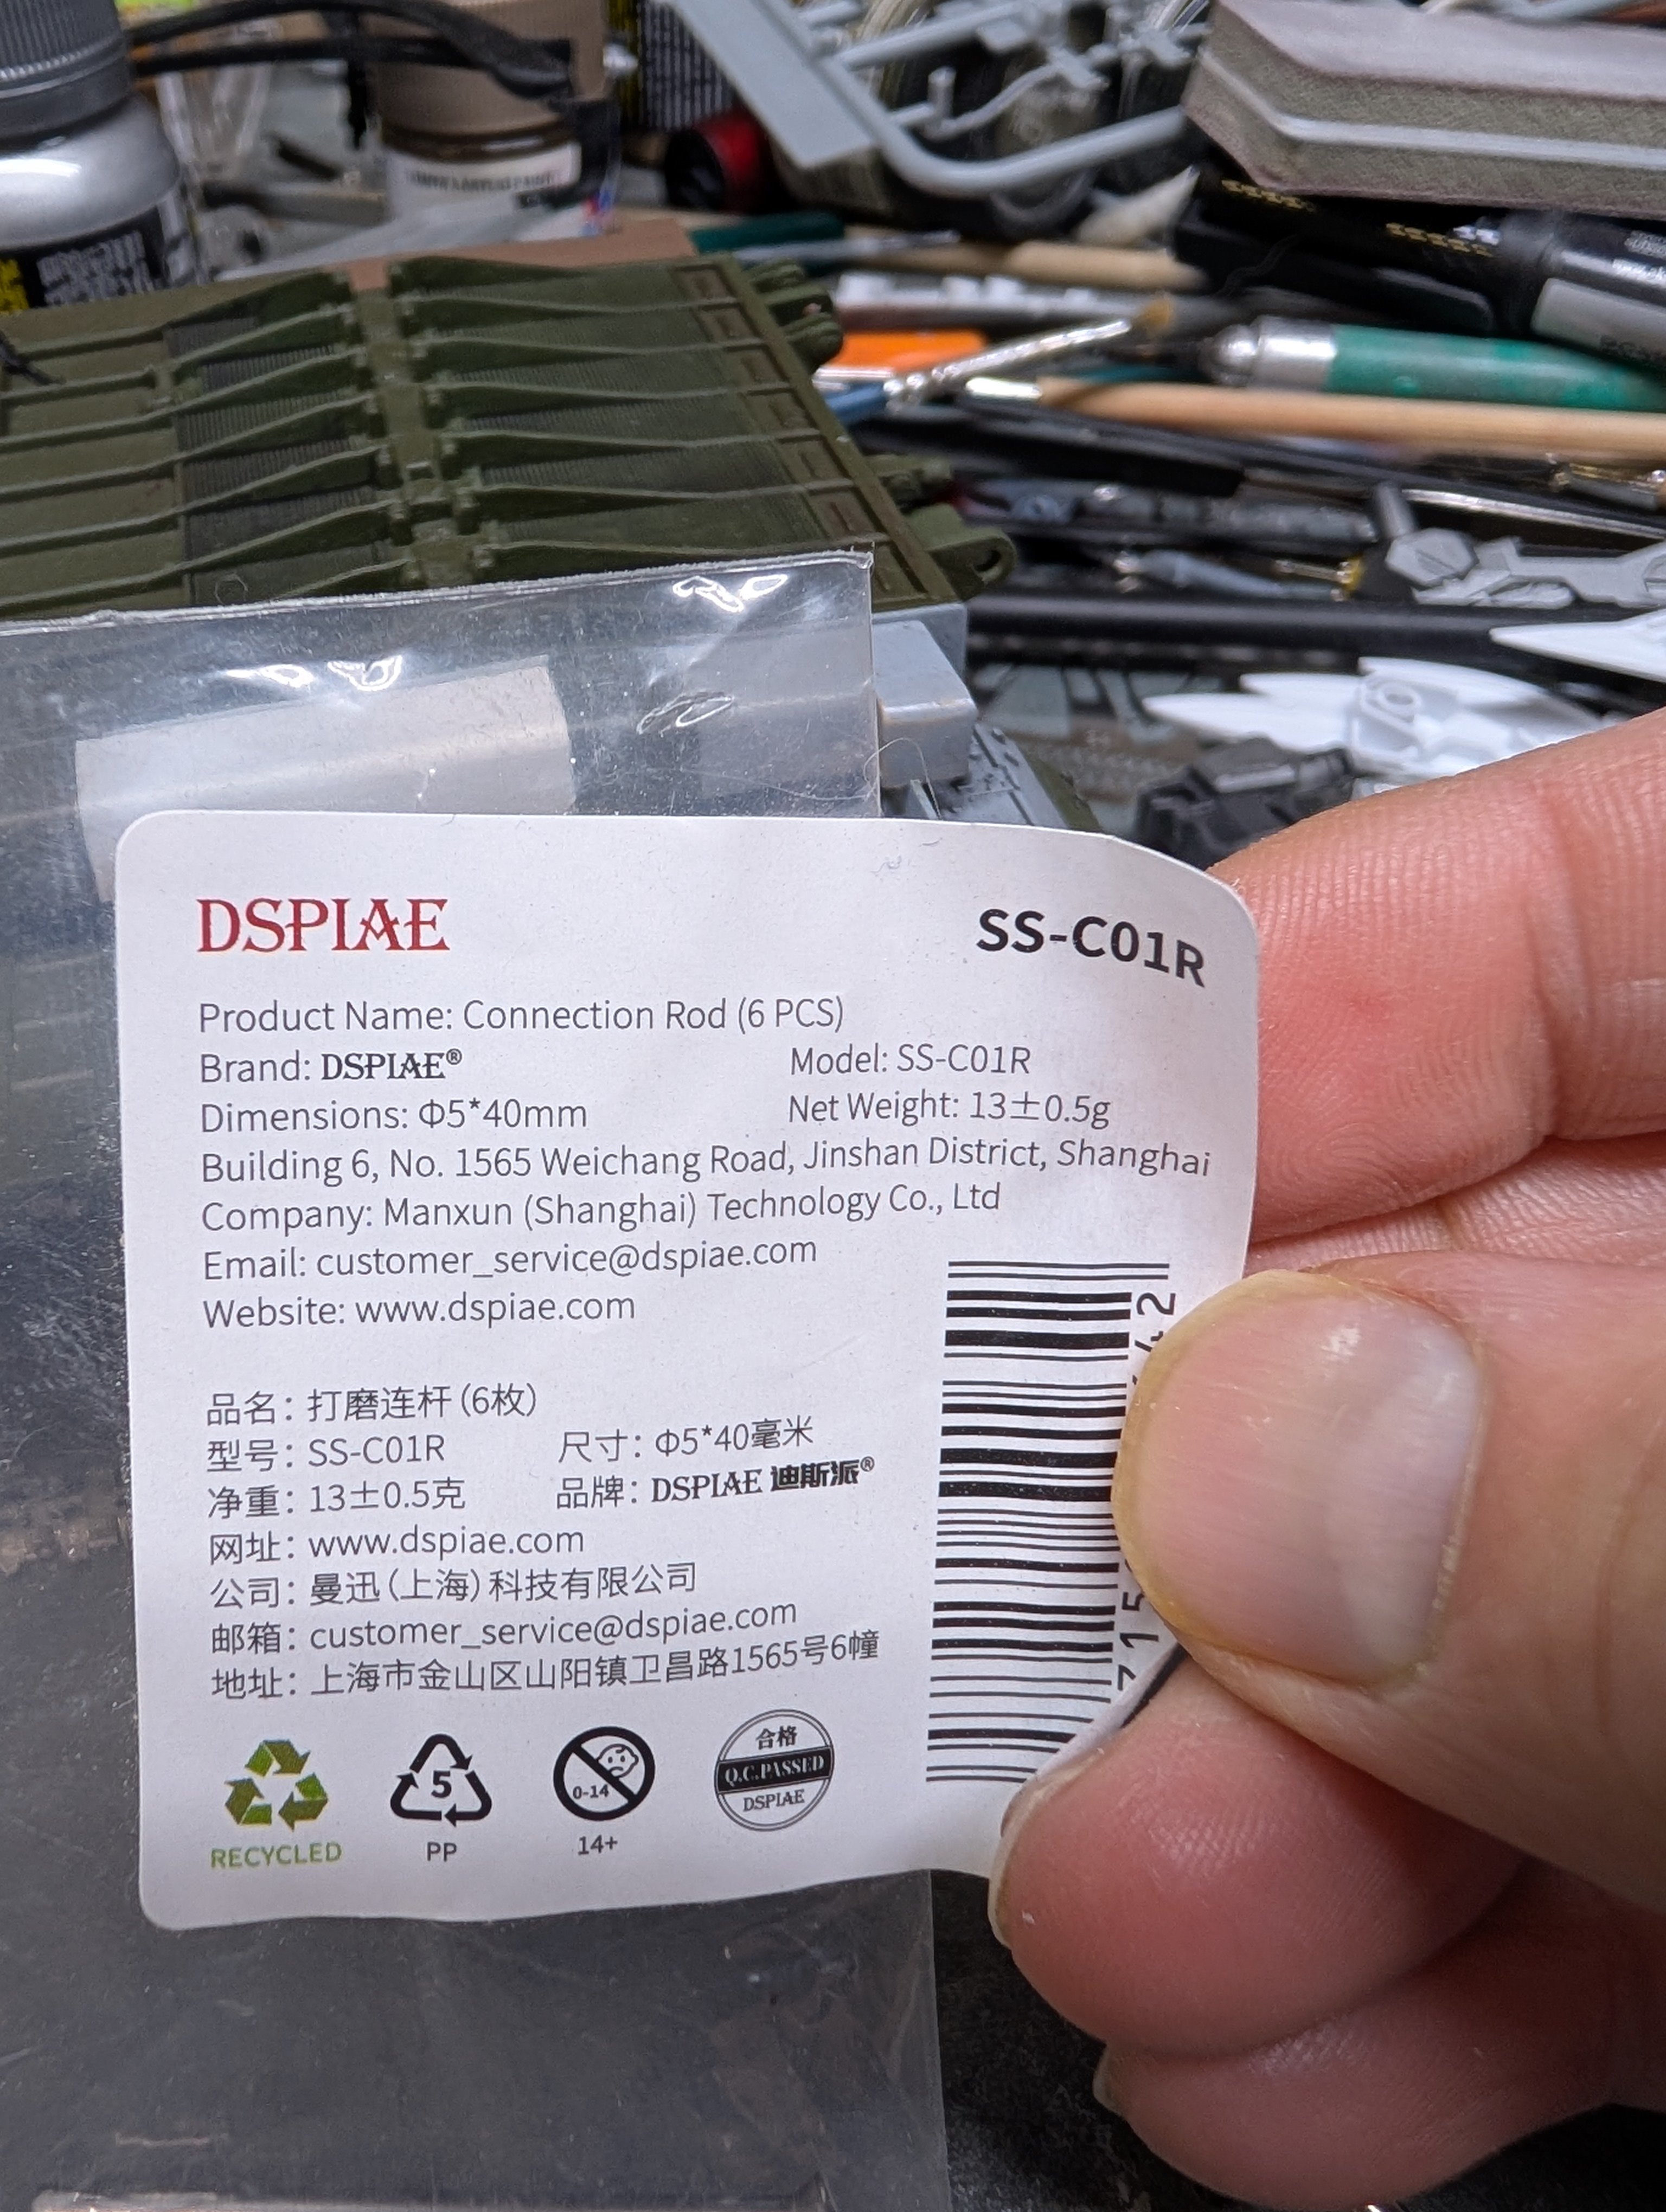
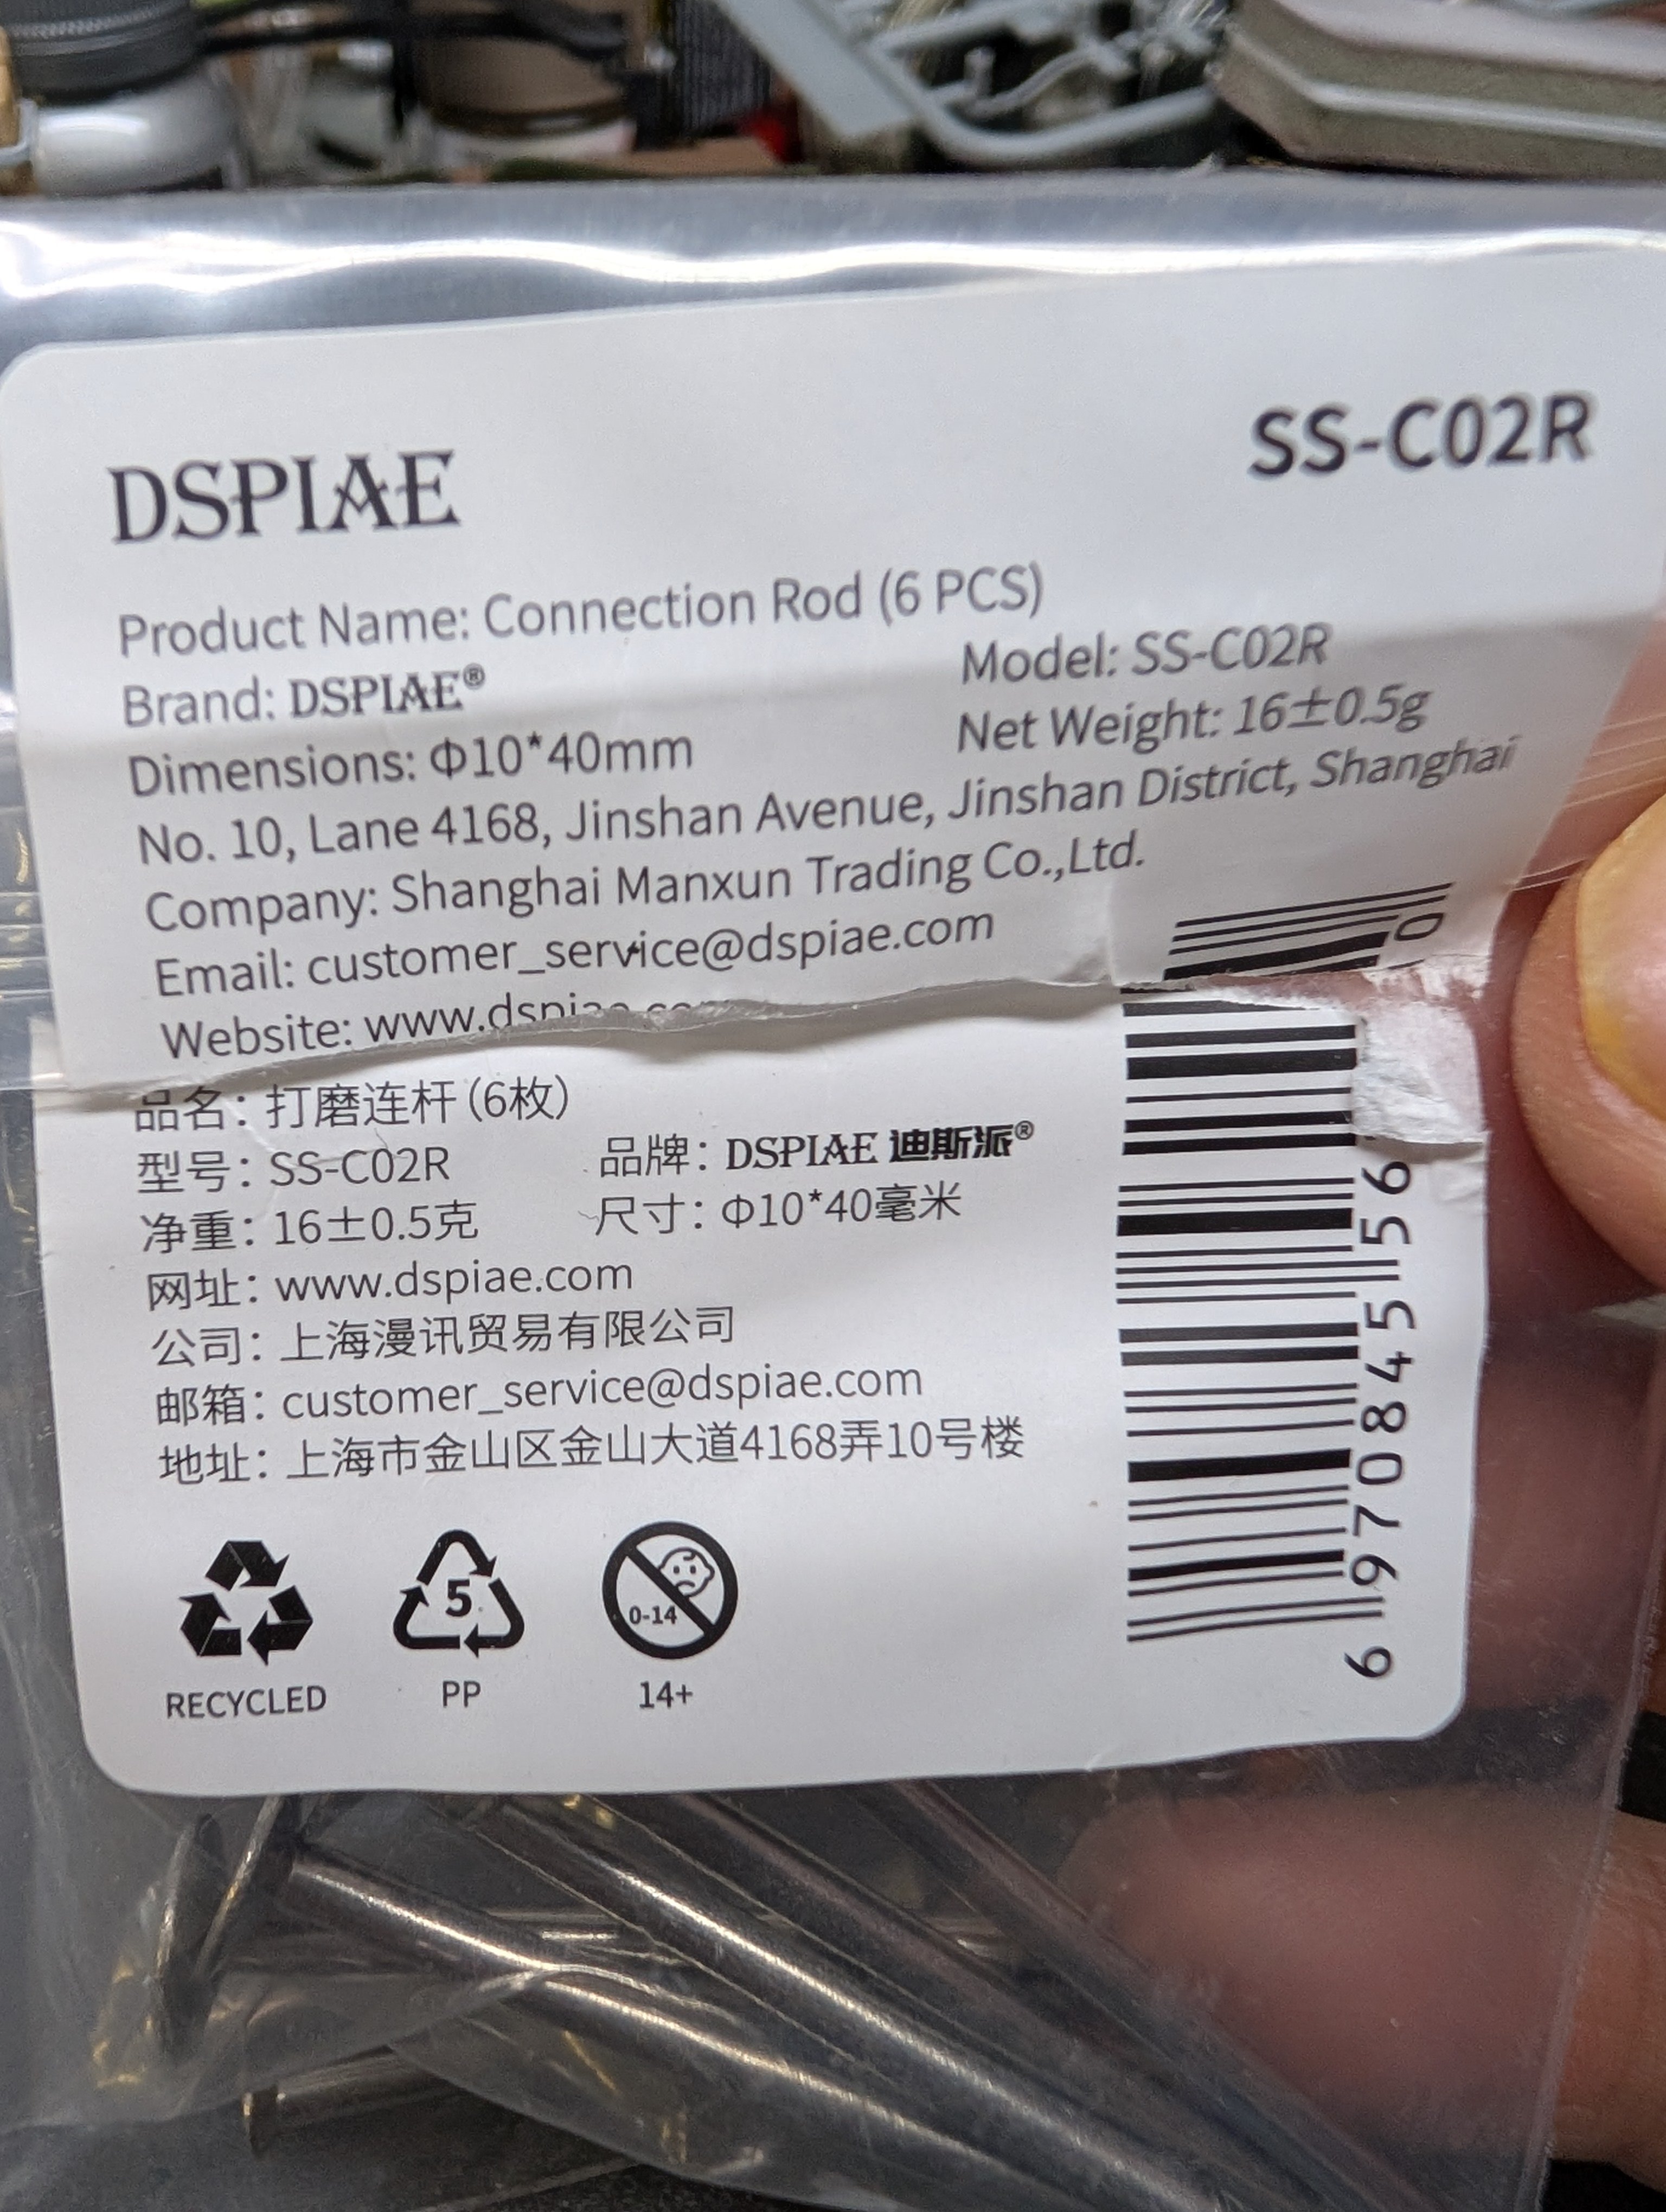
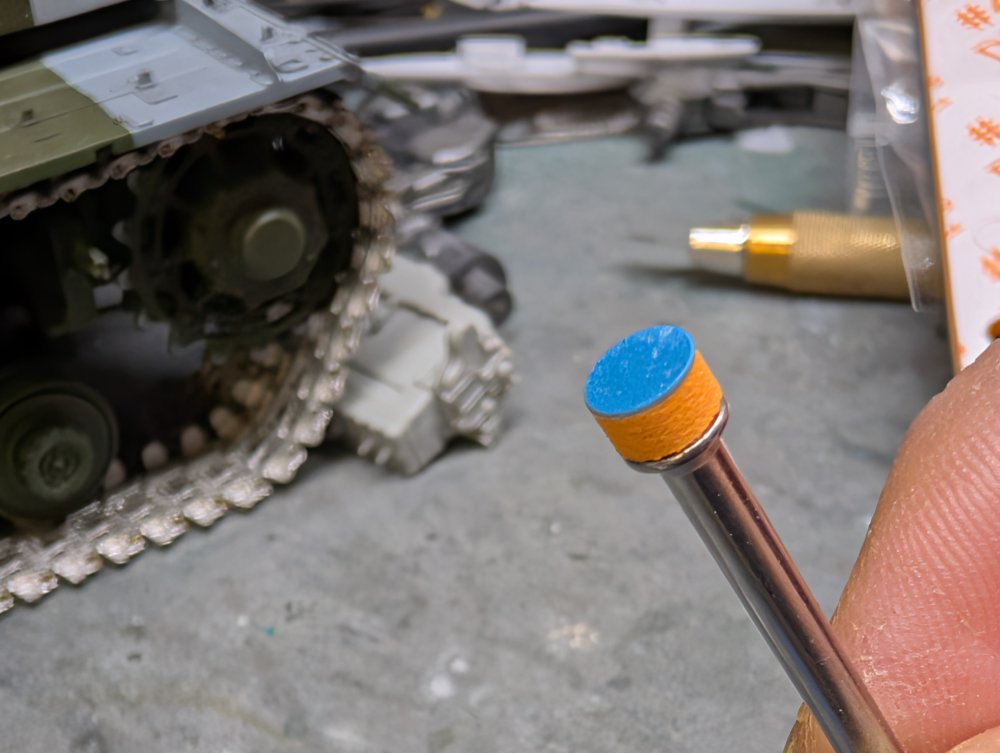
Martin, I've got the perfect tool to get rid of that seam. It's a circular sanding pad that goes in a rotary tool. You can get different grit sanding pads for them. They're made by Dspiae and come in two sizes. They're fairly inexpensive too.


-
Sorry to hear the news about your son Hubert. I hope that things work out for your family. Carl
- 15 replies
-
- 3
-

-

-
- grumman duck
- j2f-3
- (and 4 more)
-
I find it interesting that your Despiae one died as mine has as well. I did use mine a bit more than you did. The last time I used it I plugged it in to charge and after charging it wouldn't turn on. Hopefully your new one is more durable.
-
I had a surprise package show up. Back in June 2024 during one of their summer sales, I ordered several items from Lucky Model. All were listed as in-stock at the time. I took their flat rate surface mail shipping offer as I'd done so in the past and gotten my orders usually within a couple months of ordering. For some reason, this time the order got broken up. I'd get a couple items at a time. Every time I'd ask about the outstanding items on the order I'd get the same answer: there wasn't enough room in their shipping container for it and once they have the space they'd sent it out. Got a bit annoyed at that. Well, they finally got around to making the space and I received the last item from that order.
-
Nice B-25s there John. The contrasting camo/NMF is great too.
-
You could use a faster drying putty. Just saying ...
-

-
Nice detail. I was wondering about the placards as well. They really add an extra level of detail.
-
Whoa...bigger than my convertible.
-
Nice progress. Just catching up with your build.
-
That's a big RC engine. How big is the plane for it?
-
HK 1/32 B-25J strafer done
BlrwestSiR replied to JohnB's topic in LSM 1/32 and Larger Aircraft Ready for Inspection
Lovely looking build John. Not the usually markings you see on a strafer too. -
What is on your bench right now ? Share a picture :)
BlrwestSiR replied to Martinnfb's topic in Modelling Discussion
And I found it! Looking for a Mad Max conversion kit somewhere in the stash, I found the Amusing Hobby FV217 Badger I'd started last year. I wanted to finish it earlier this fall when I came across the box with the few remaining parts in it but no tank. Wasn't on my bench so I had no idea where it had gone. Seems it got put in a storage container so now I'm good to get it done
-
Looks pretty there with that fresh coat of snow.
-
HK 1/32 B-25J Strafer next
BlrwestSiR replied to JohnB's topic in LSM 1/35 and Larger Work In Progress
Looks very nice and clean. -
Well, since it's "unbuildable' now, might as well pack it back up and send it to me. 😆