BlrwestSiR
-
Posts
8,733 -
Joined
-
Last visited
Content Type
Profiles
Forums
Events
Gallery
Everything posted by BlrwestSiR
-

What is on your bench right now ? Share a picture :)
BlrwestSiR replied to Martinnfb's topic in Modelling Discussion
Looks awesome! -
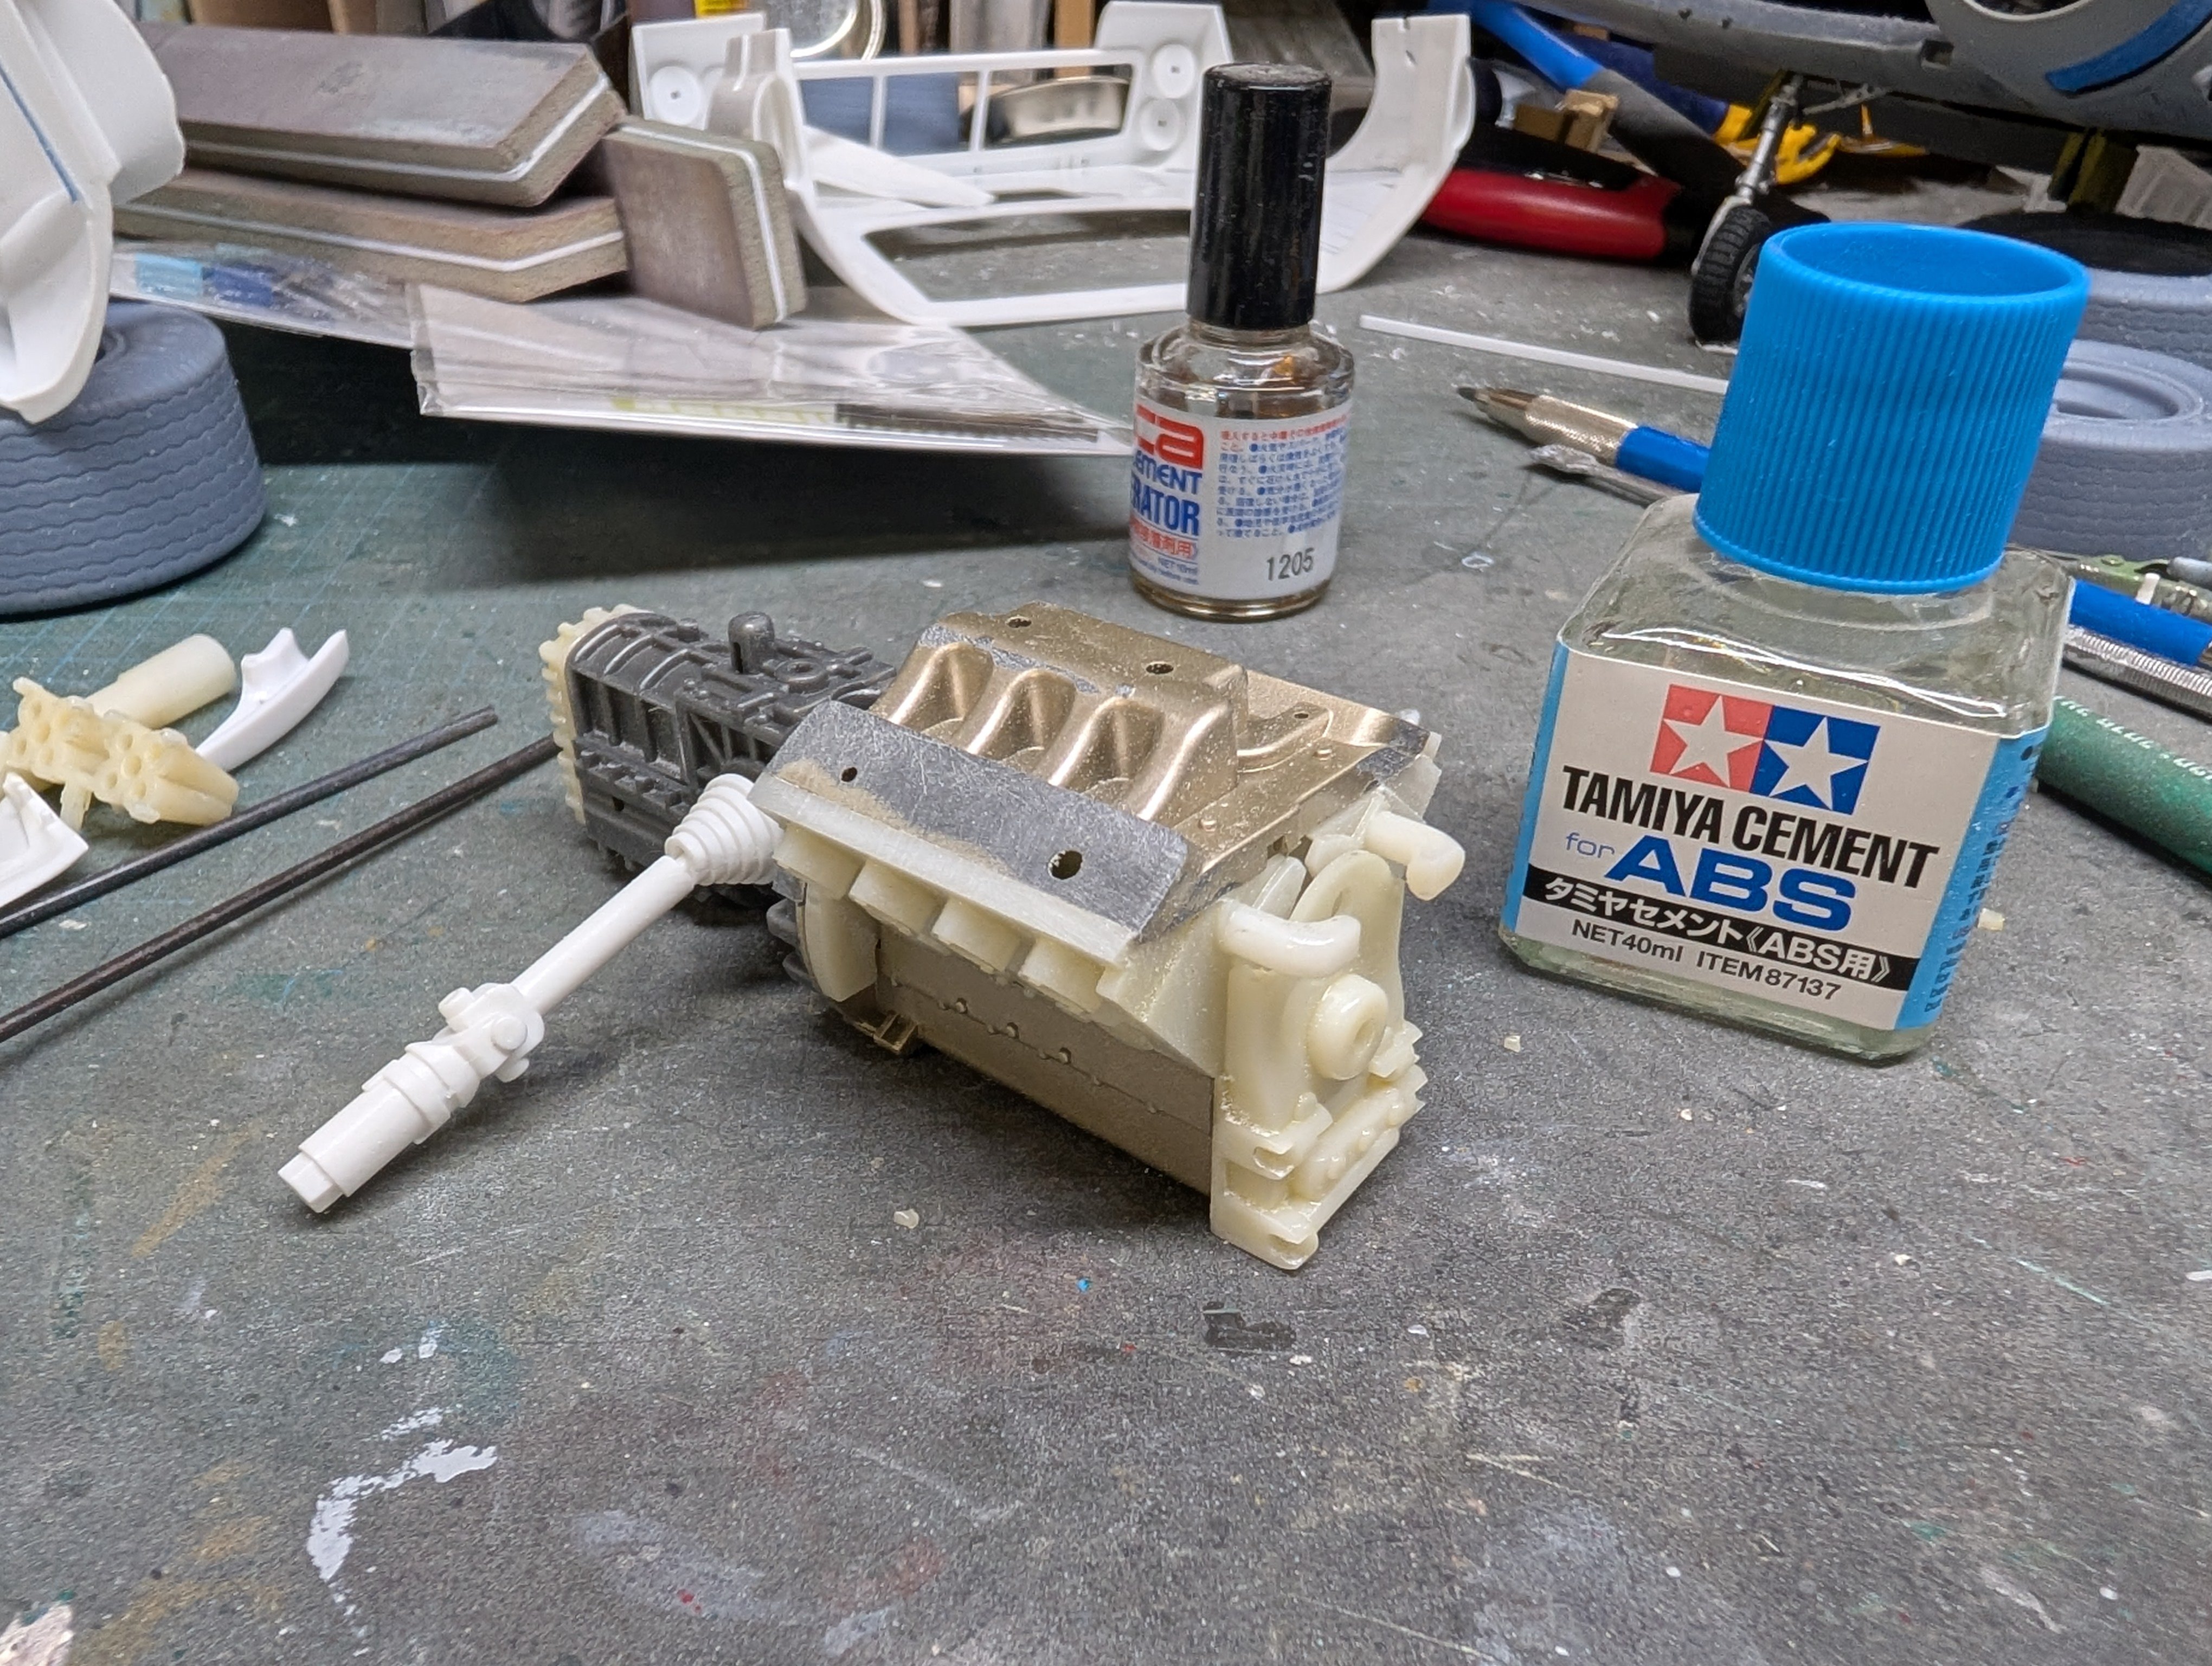
Rob, I think companies use ABS as it's stronger than regular polystyrene. So for the small linkages, hose and stuff it makes sense. Tamiya definitely use it for that reason. On their 1/32 Spitfires, the engine cowl framing is ABS for that reason and I believe they even point it out in the instructions. Of course it does make it a bit harder to glue. Tamiya Extra Thin can work with ABS but you need a clean mating surface and it takes longer to dry.
-
Honda RC166 - Tamiya - 1/12
BlrwestSiR replied to DocRob's topic in LSM 1/35 and Larger Work In Progress
Rob, that engine looks stunning. Nice to see a motorcycle on here. -
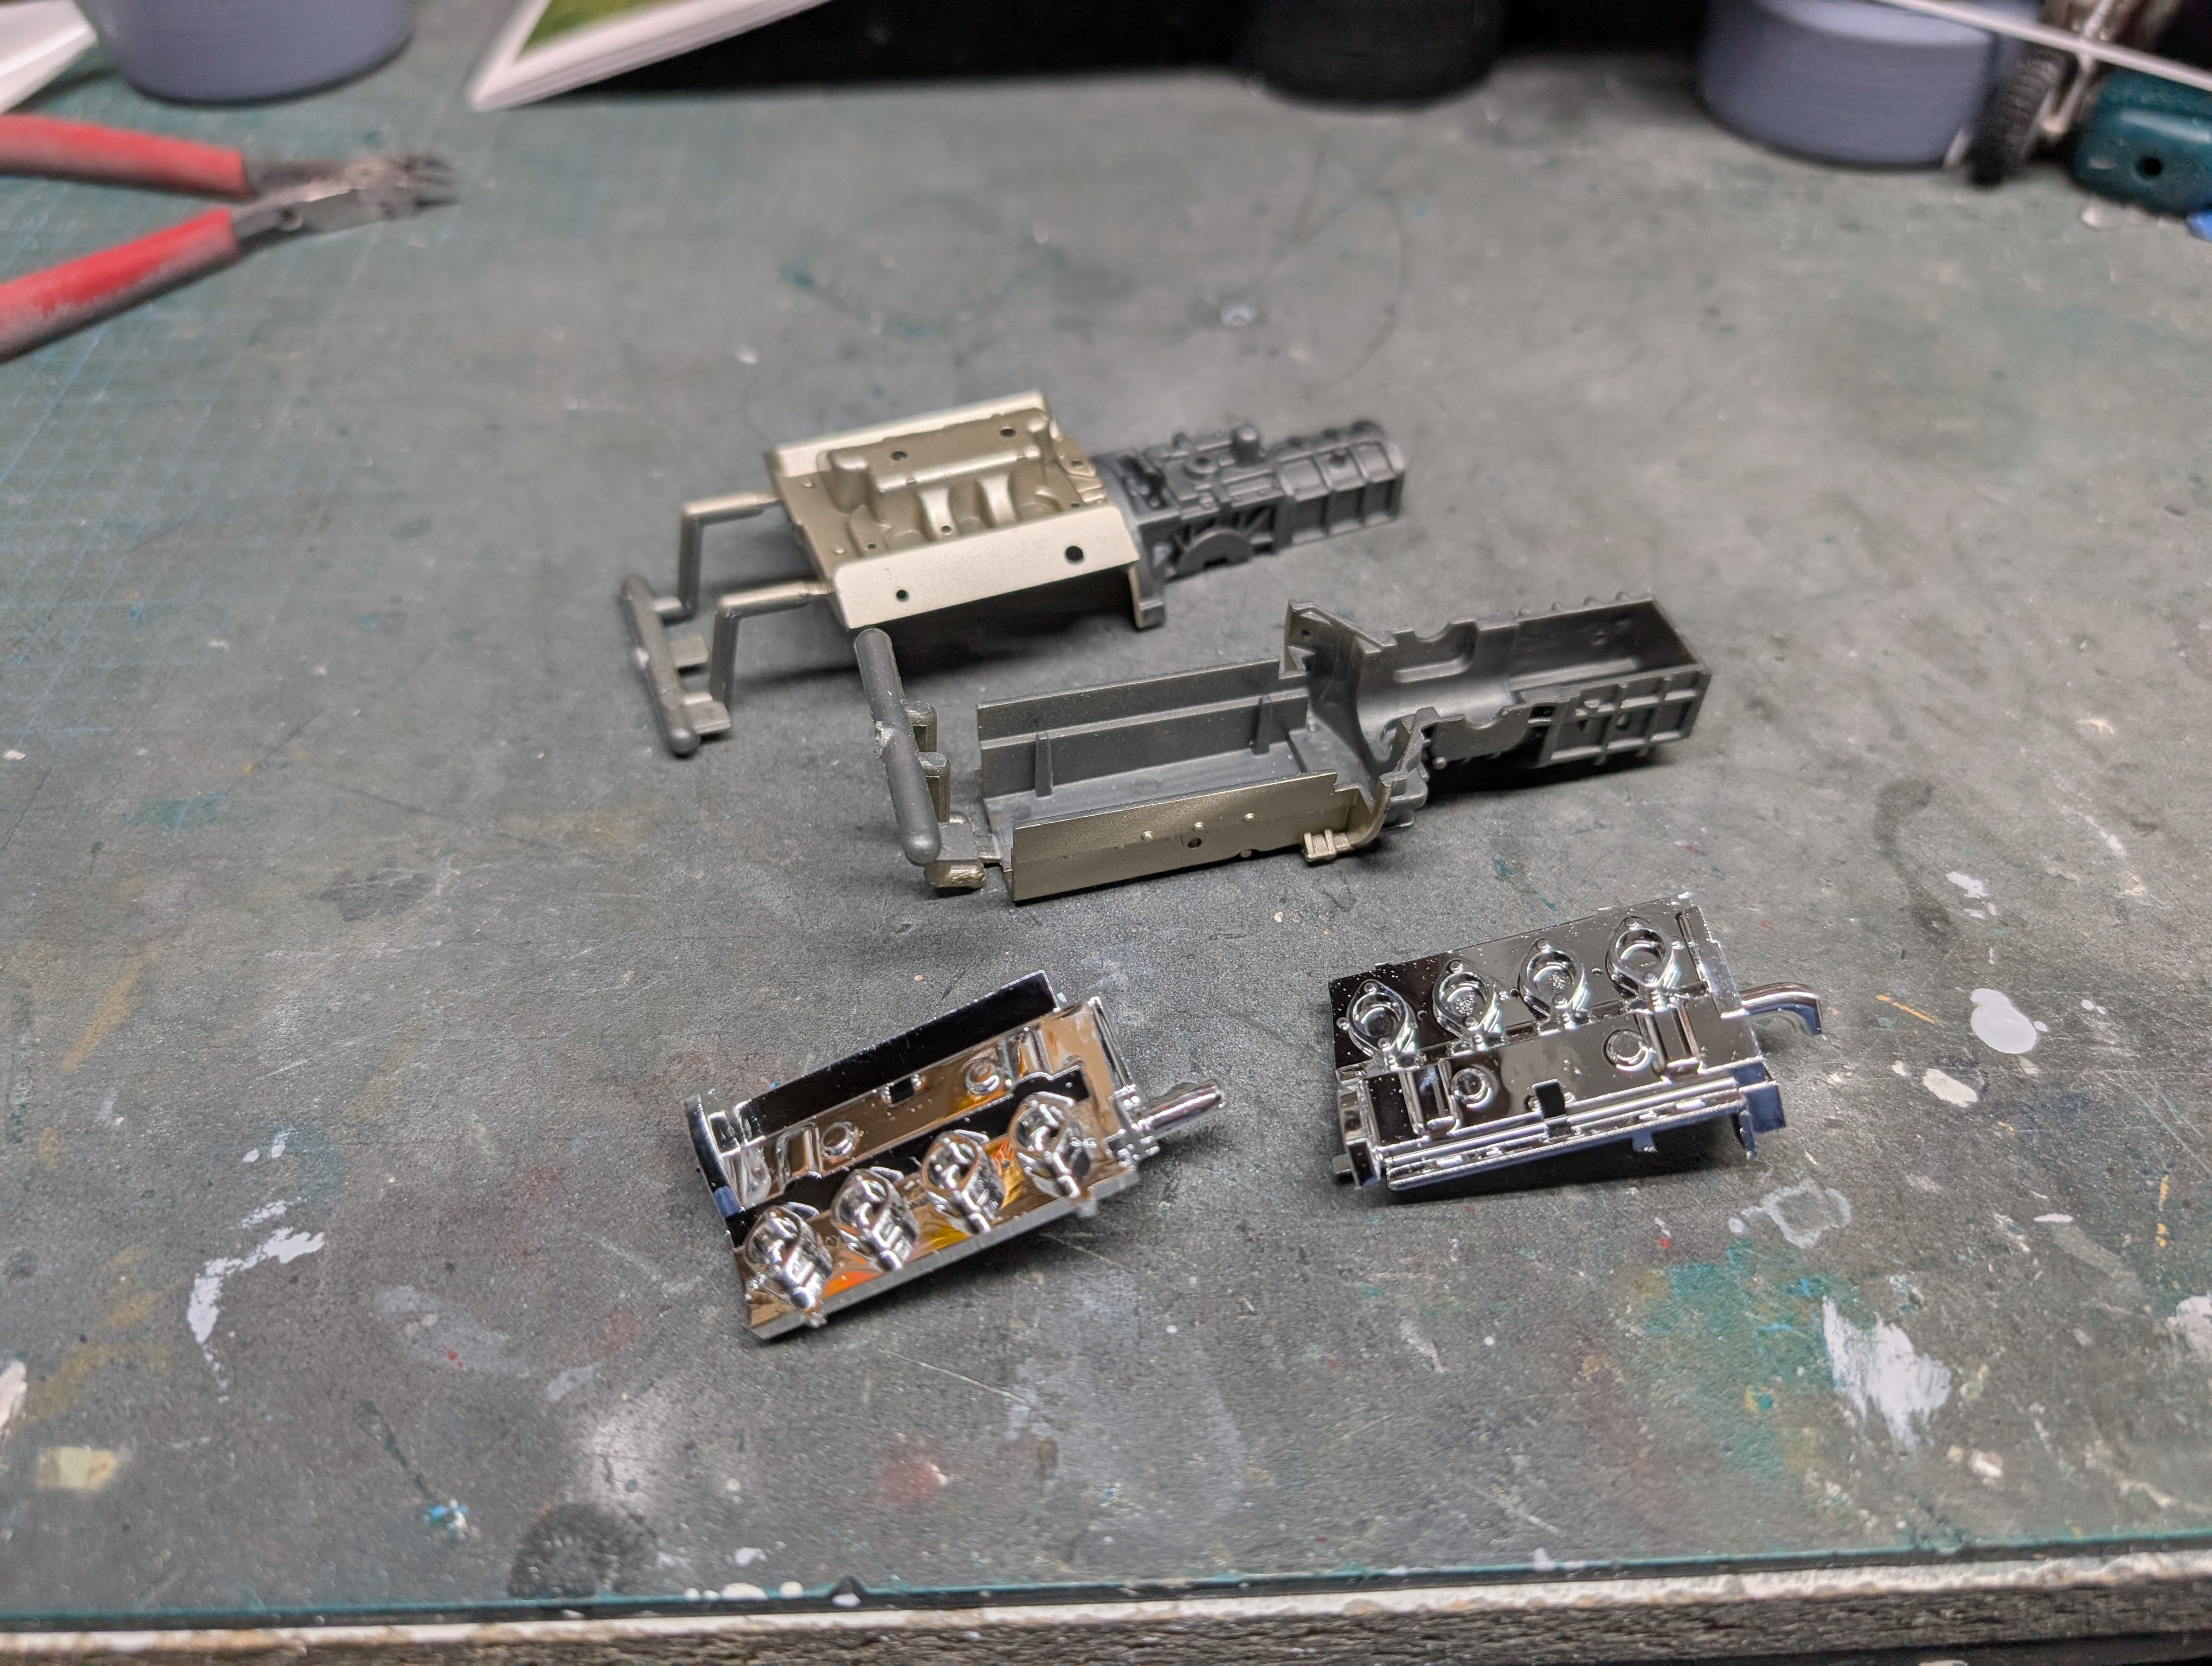
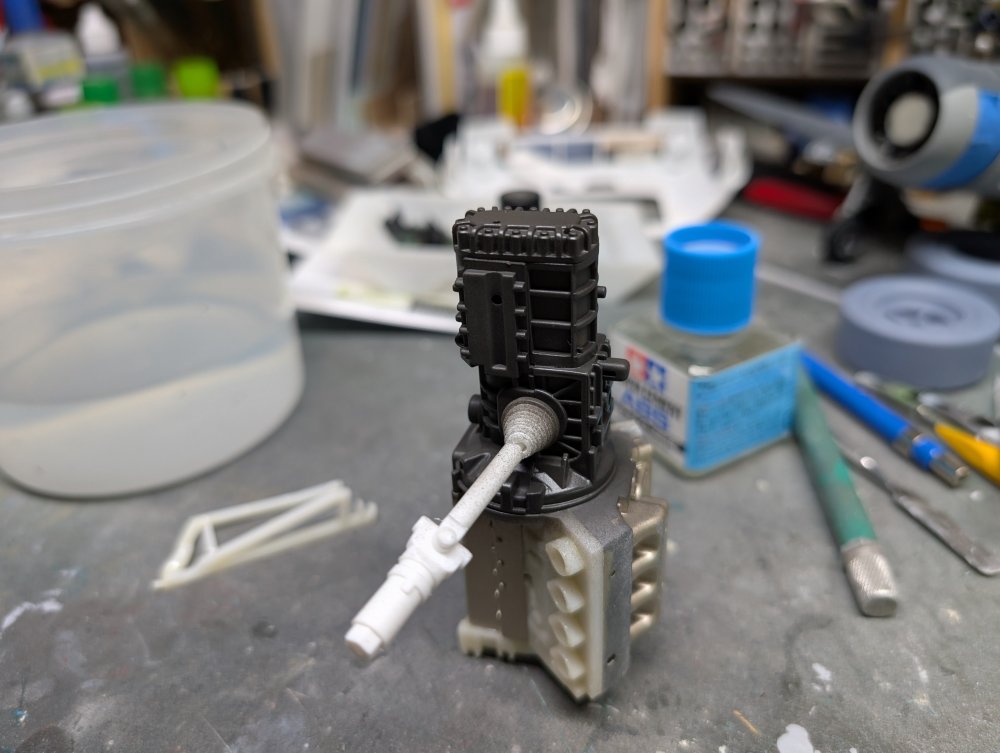
Finally started with the paint. First up is the transaxle with Dark Iron.
-
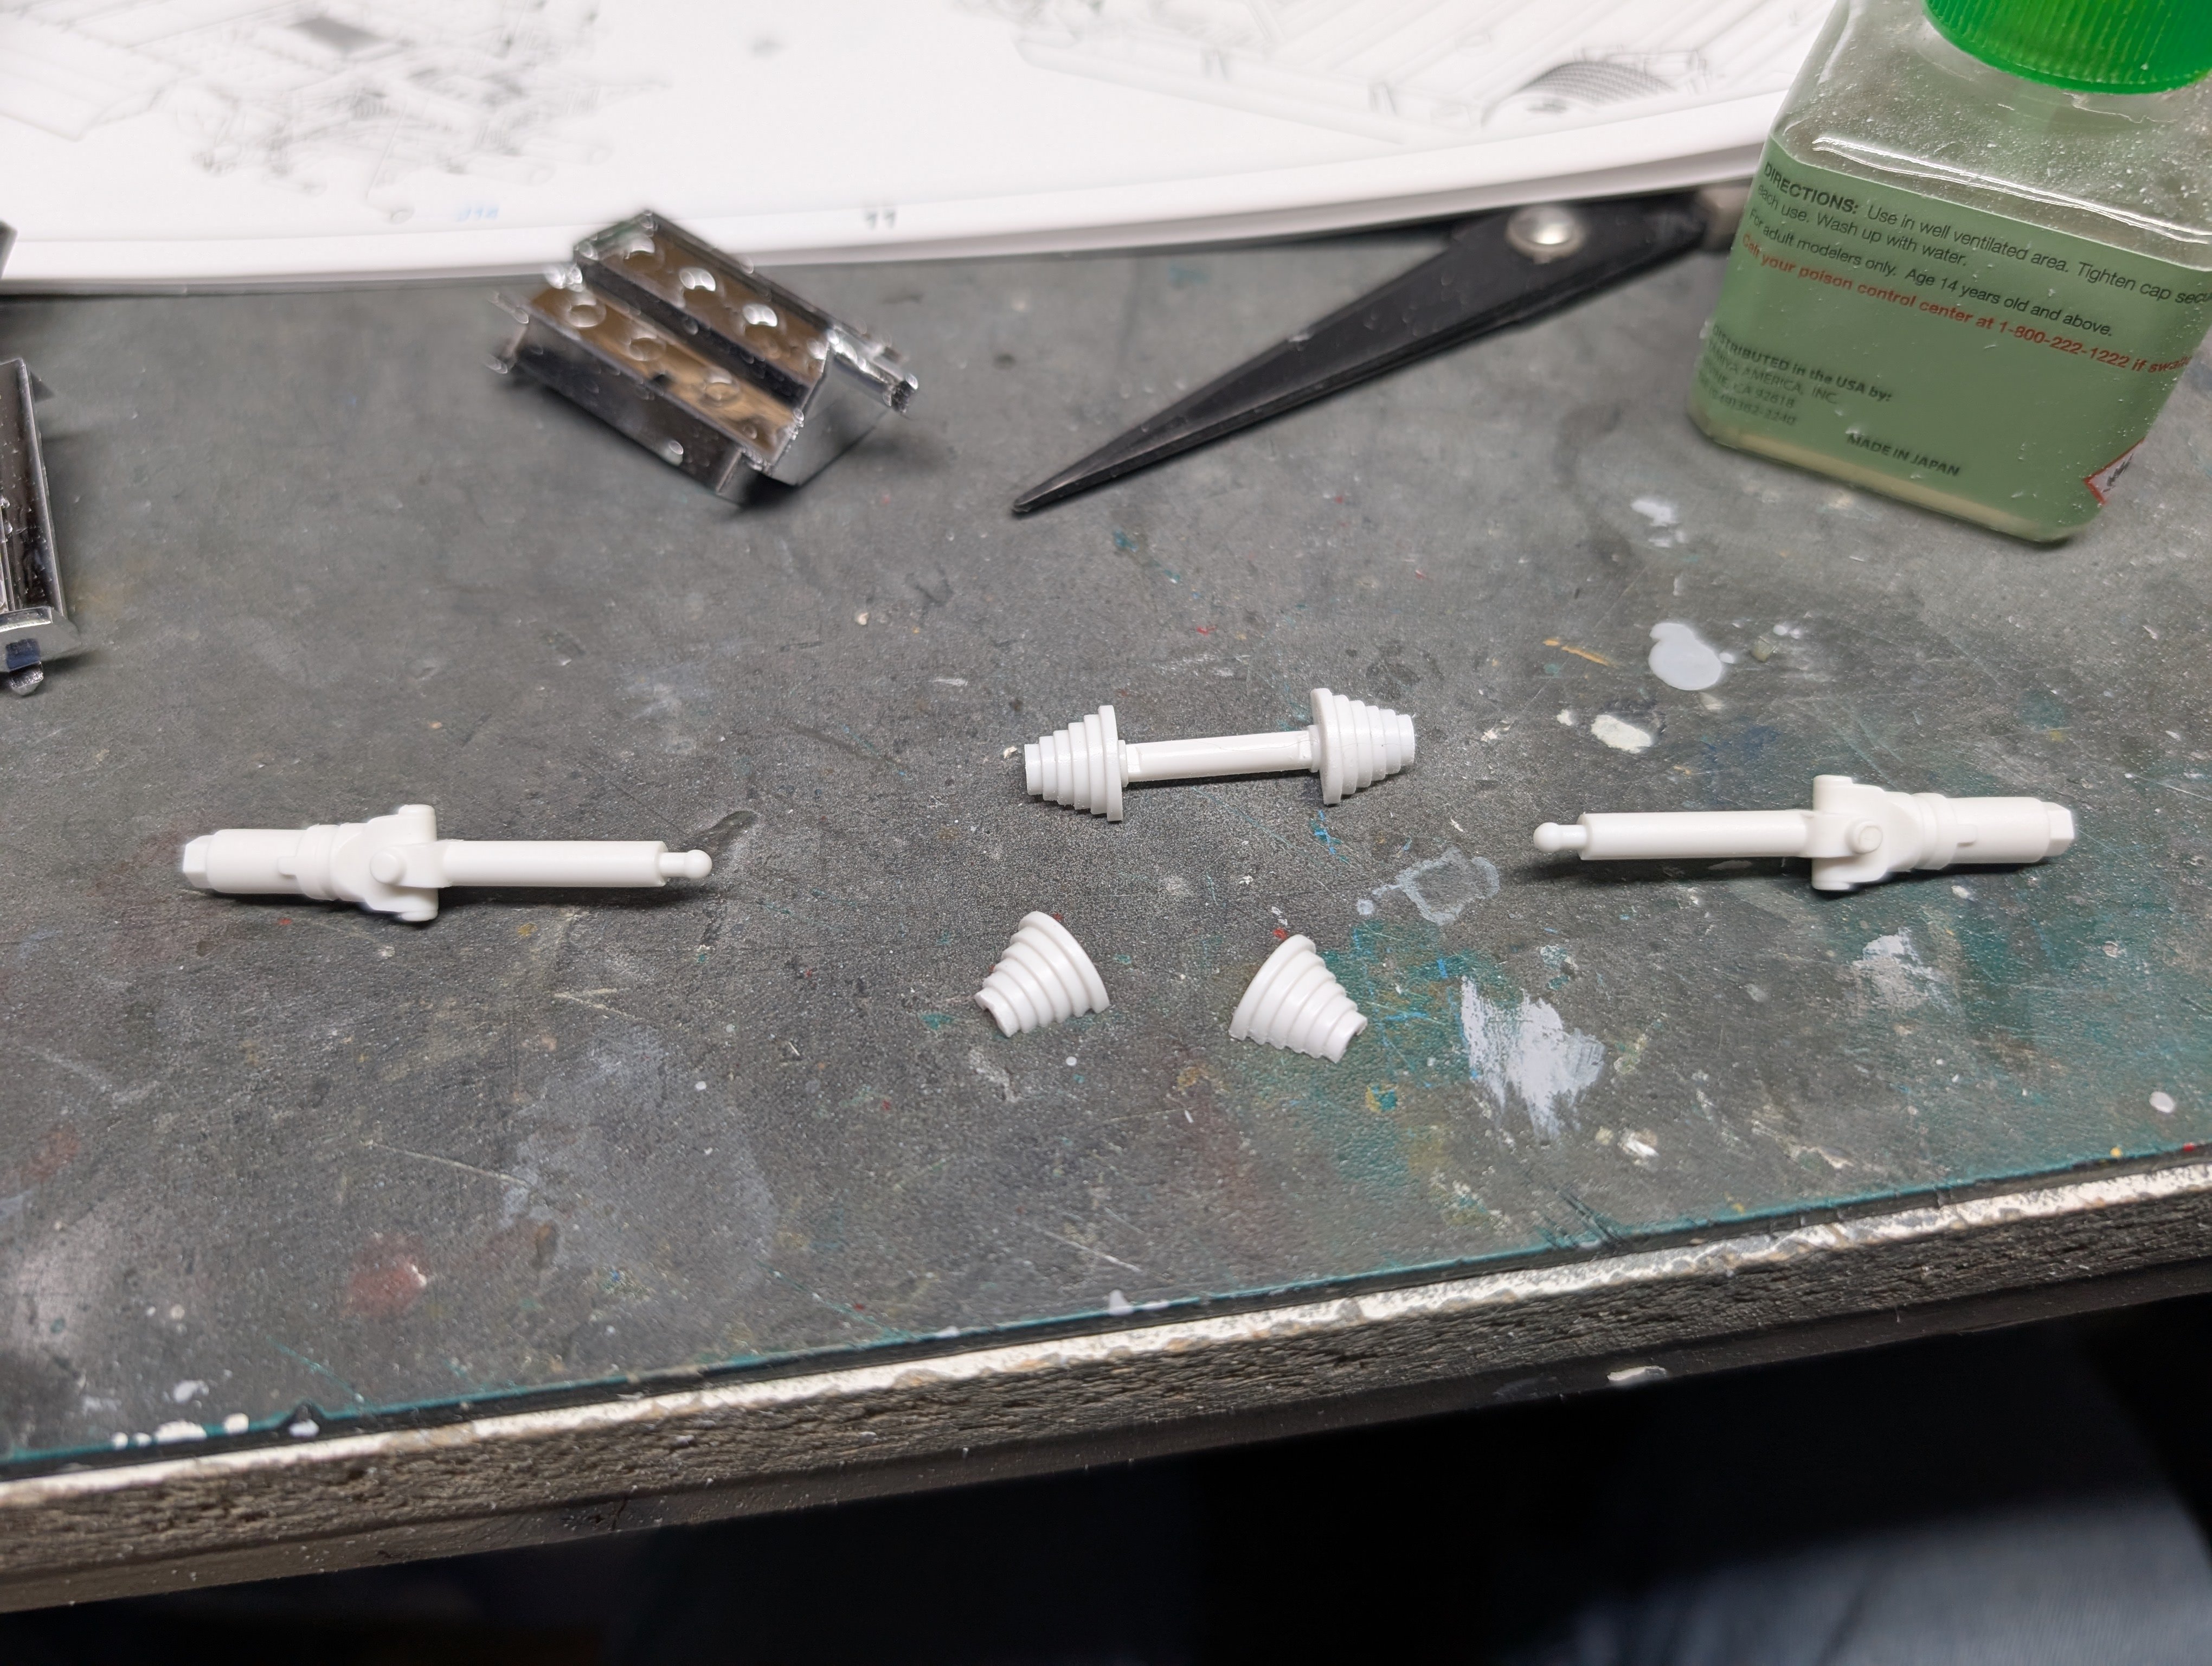
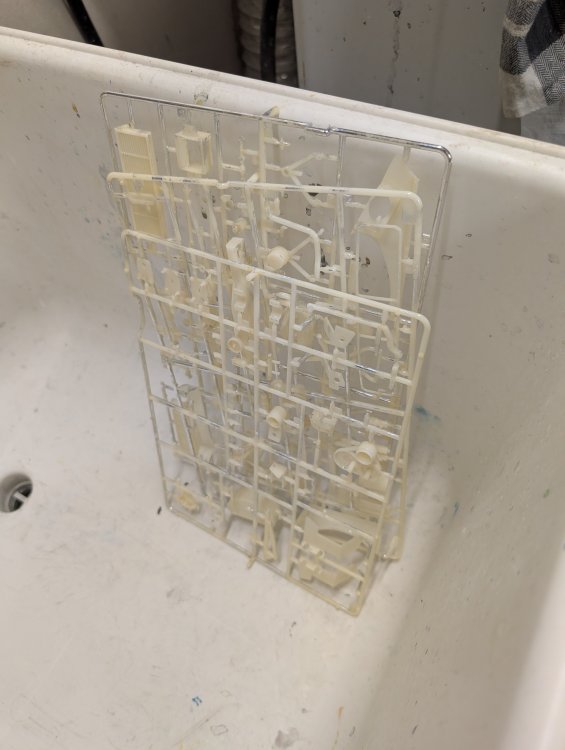
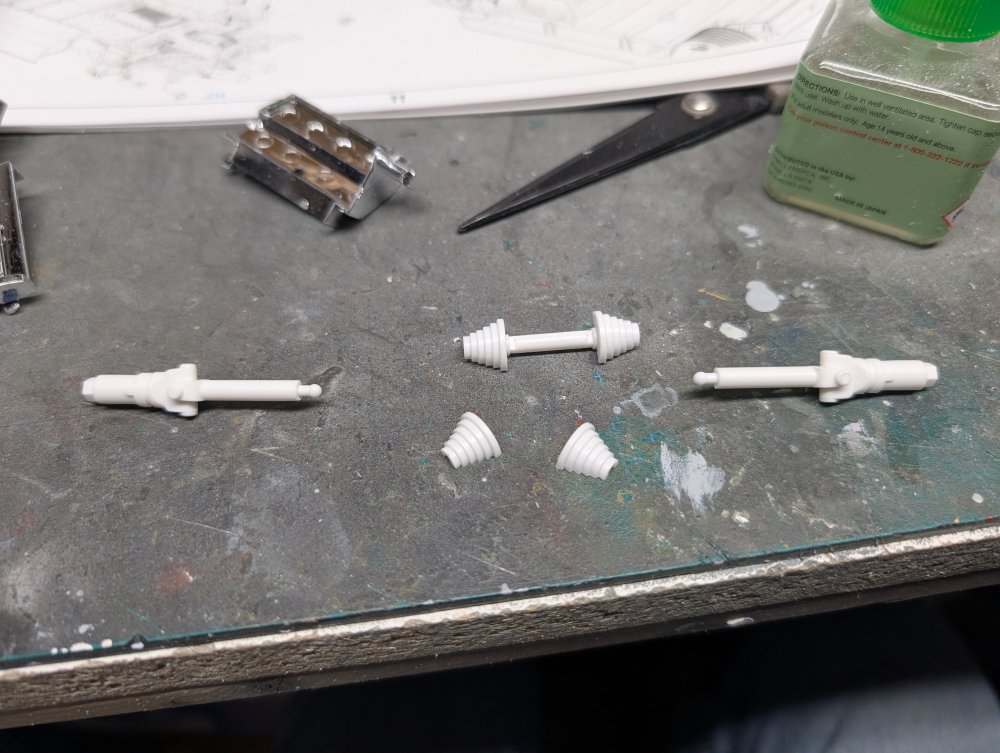
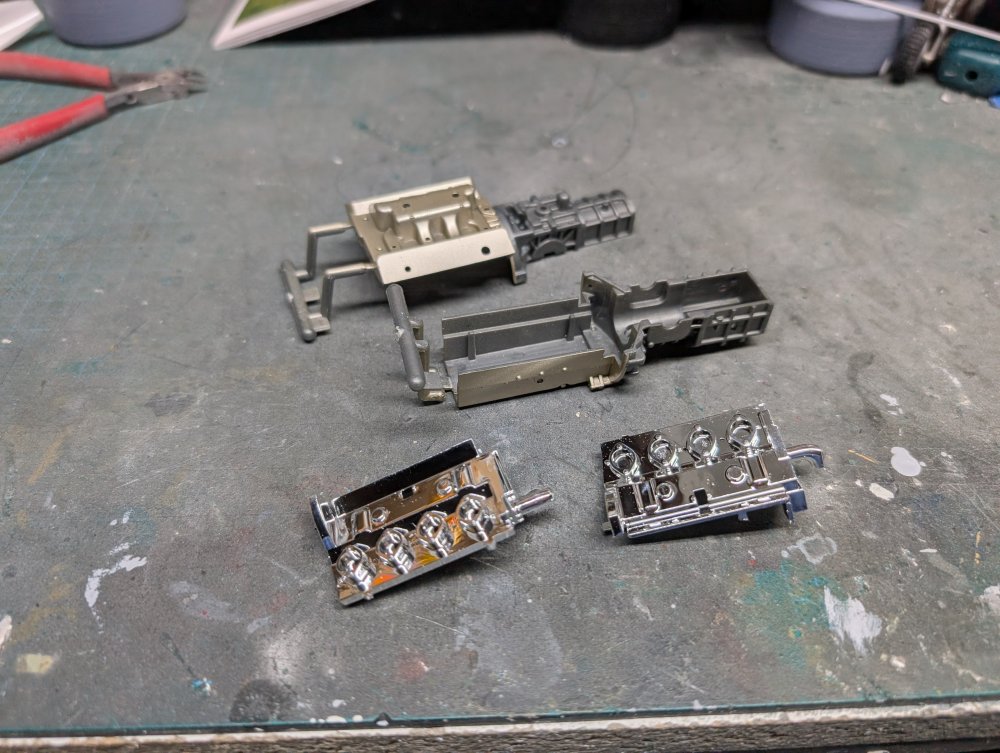
I started working on the engine while the rear clamshell dries. For whatever reason, Trumpeter decided to chrome a number of the sprues. No real rhyme or reason to the ones they picked. It's also that bright chrome and it's thick and heavy so it'll have to go. I used Castrol Super Clean to strip it off. Some kit parts are pre-printed as well. Again, no real order to it. One set are the engine block/transmission assembly. Except they're gold which is so wrong. Nevermind the chrome. The halfshafts also have to be assembled now and get trapped between the transmission case halves. So after some clean-up, chrome stripping and glue, I'm here: Oh did I mention that some parts are ABS? Looks like the (previously) chrome bits are actually ABS and not styrene. I'm glad I have the ABS cement.

-
Definitely a scratch build. Computer mouse on a Hetzer chassis?
-
Had to put down the dog... and another relocation
BlrwestSiR replied to Winnie's topic in General Discussion
Truly sorry to hear about your dog. I still miss my last dog Zoe. She was 14 1/2 when we had to say goodbye. Never easy and it doesn't get easier. Carl -
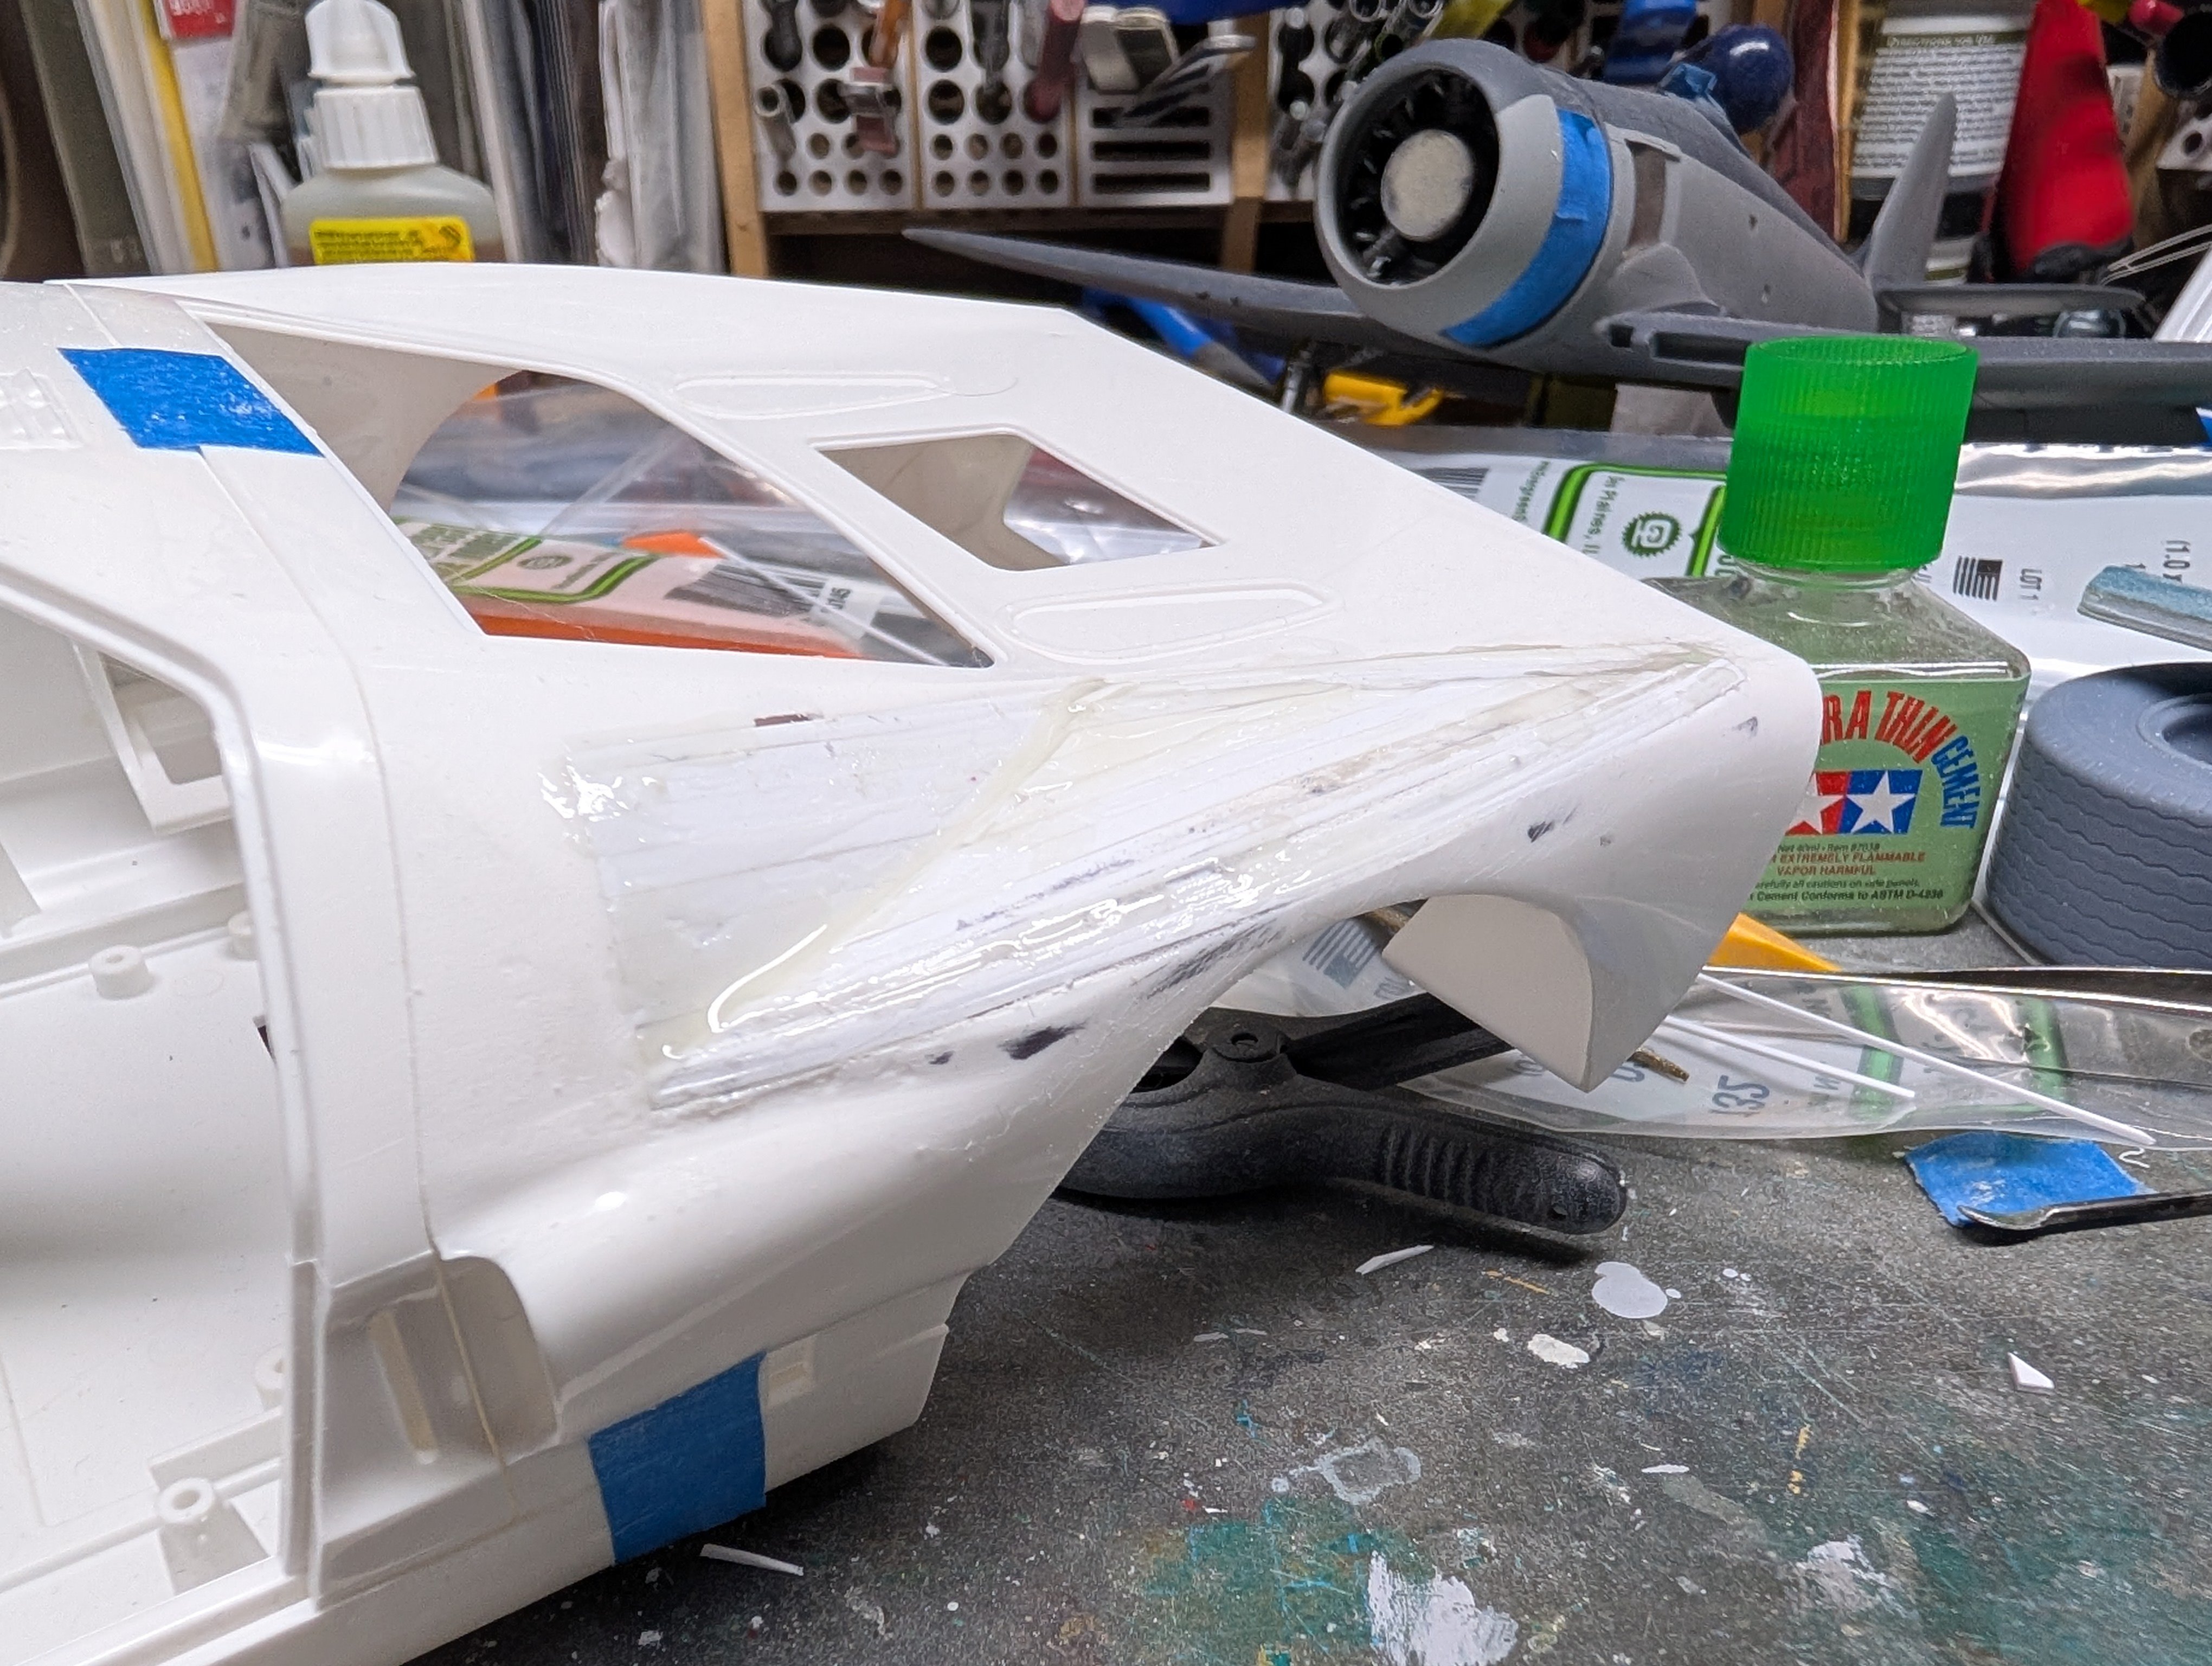
I finished the cut and shut on the right side. So while that dries, I'm going to start on the chassis.

-
@ScottsGT,Ohhh, that would be a fun place to visit.
-
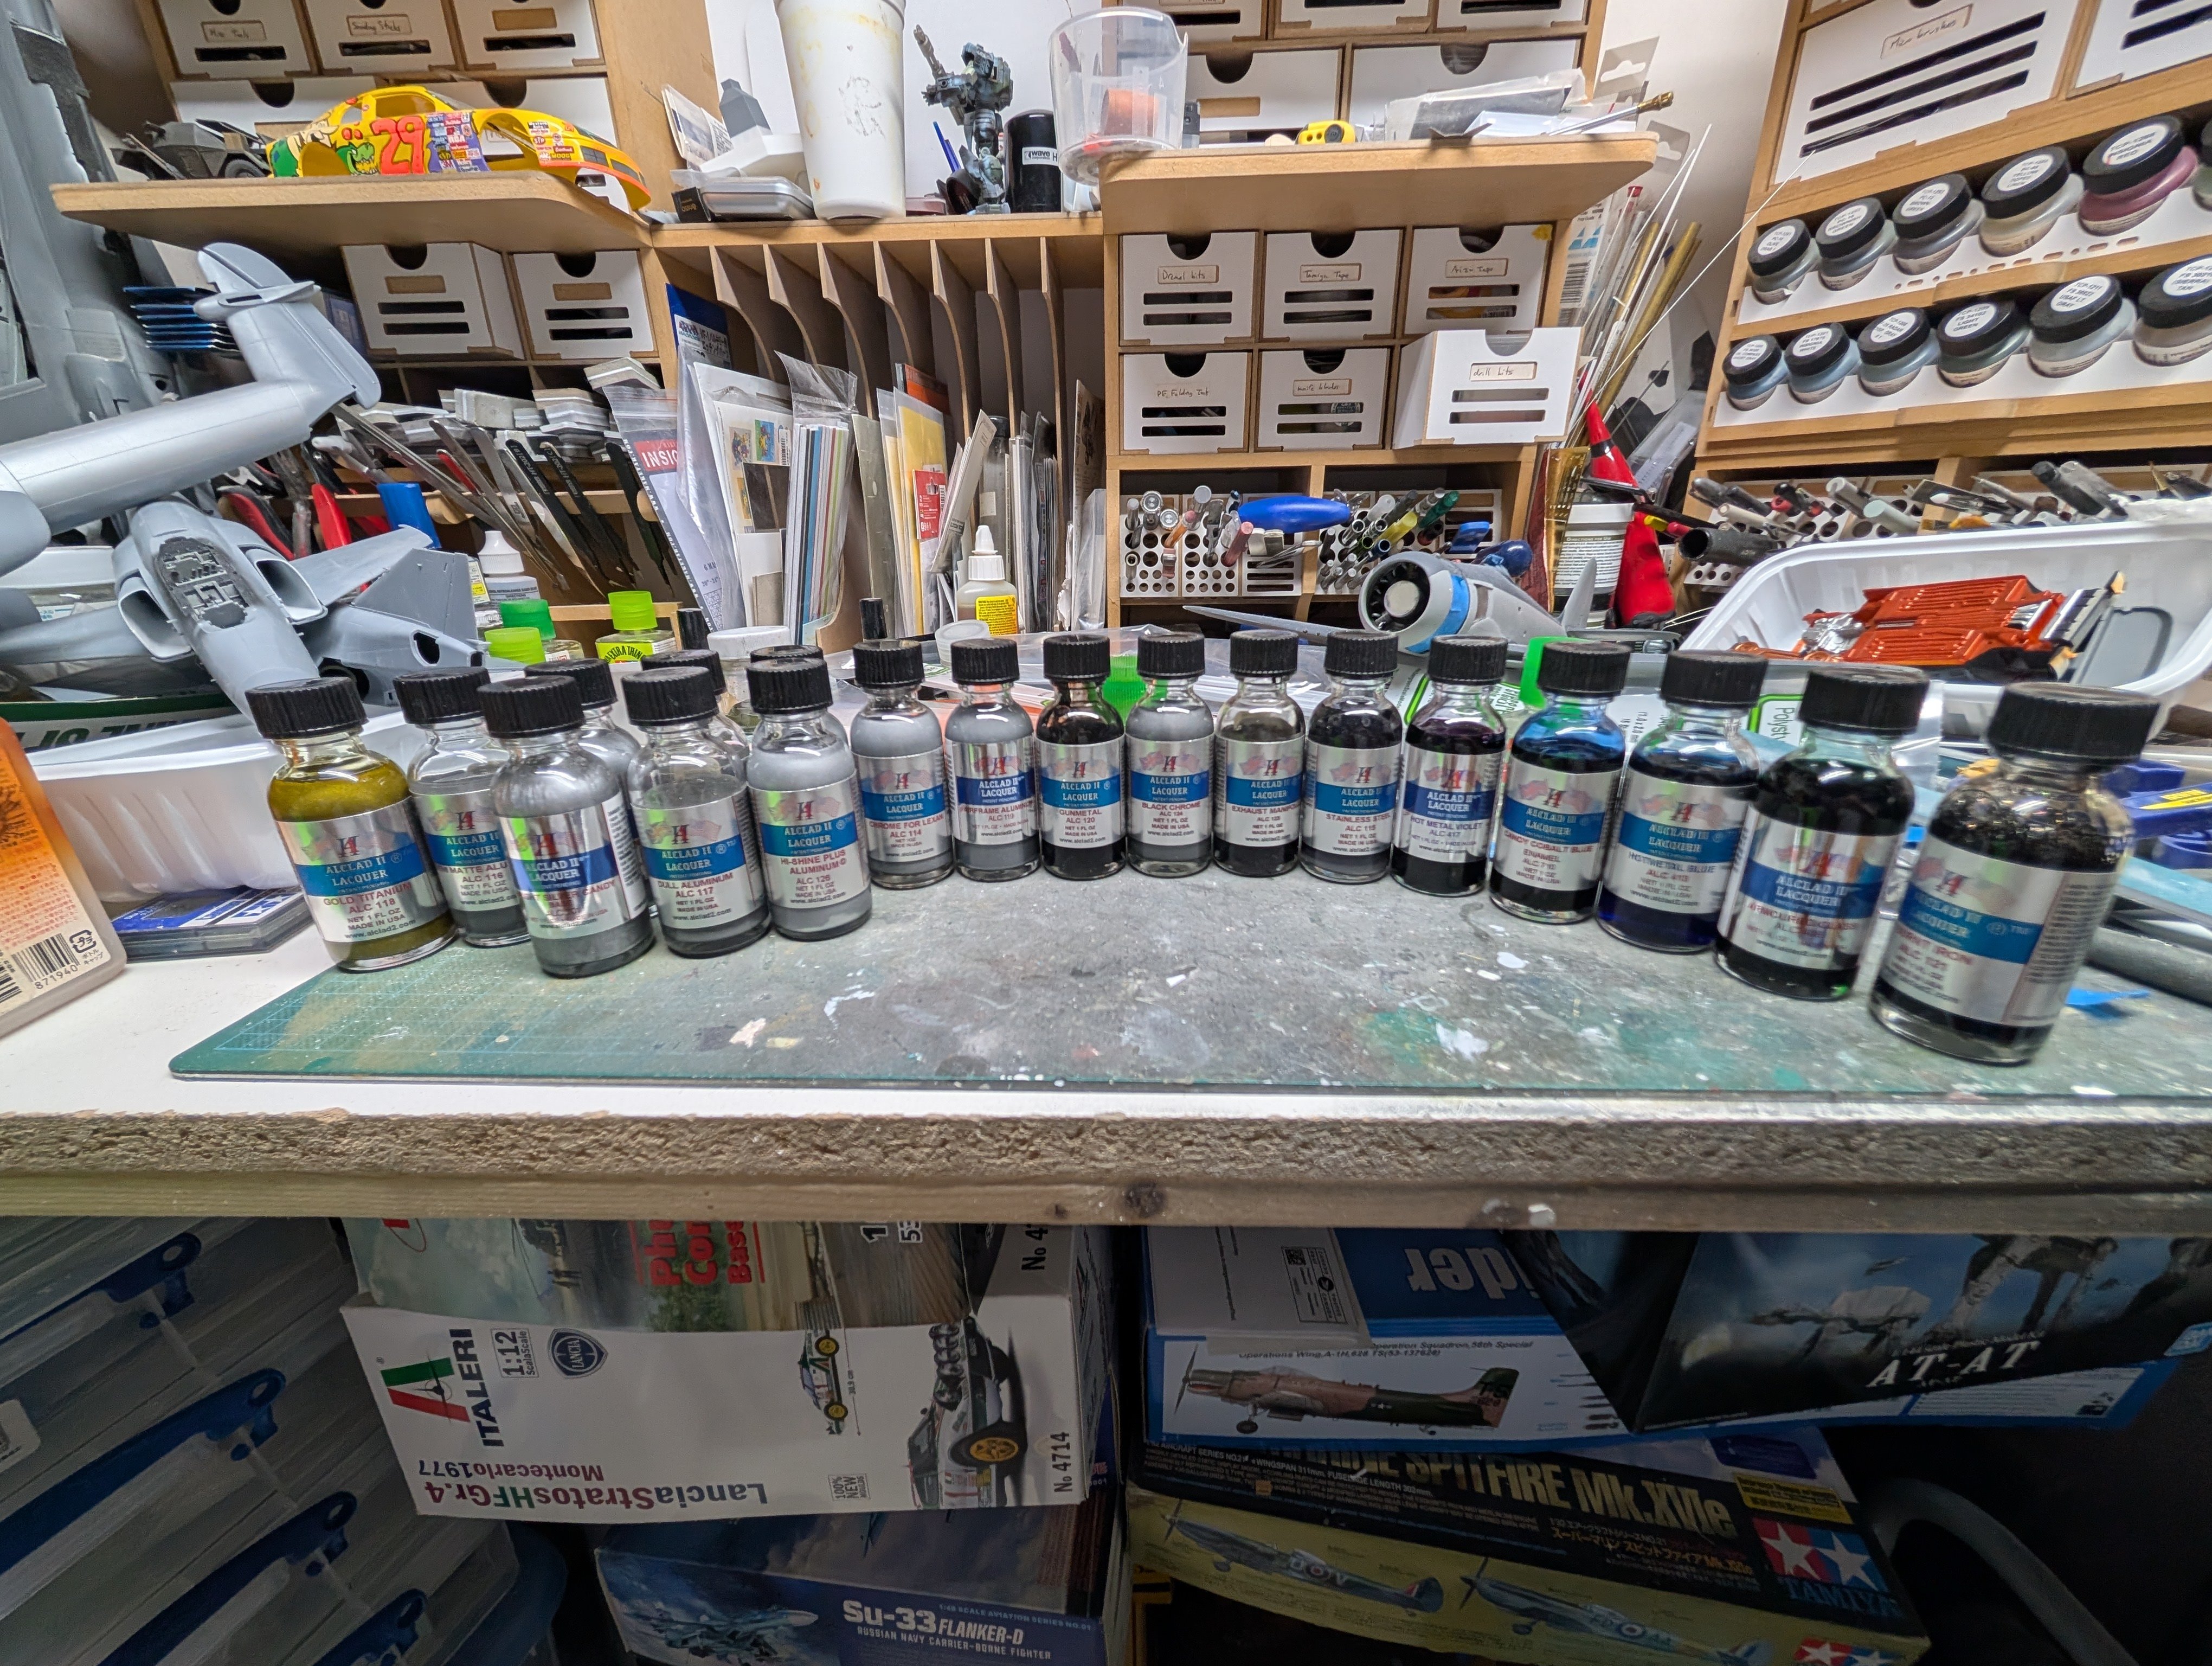
The shop said the Alclad wasn't moving for them any more so they decided to just clear it out. A lot of the bottles were various clears and Candy's which would more applicable to cars rather than planes. I did manage to find some NMF paints in the pile so got those and decided to try some of the candy colours since I have cars in the stash. I'm really fortunate to have them in the city. They've been great to deal with over the years. The owner knows that he may not always be able to compete with online prices but does what he can. Truth is, these days with the cost of shipping to Canada the store prices are not far off what they are online. The fun is browsing their pre-owned stuff. They buy lots of collections and you can often find stuff for great prices.
-
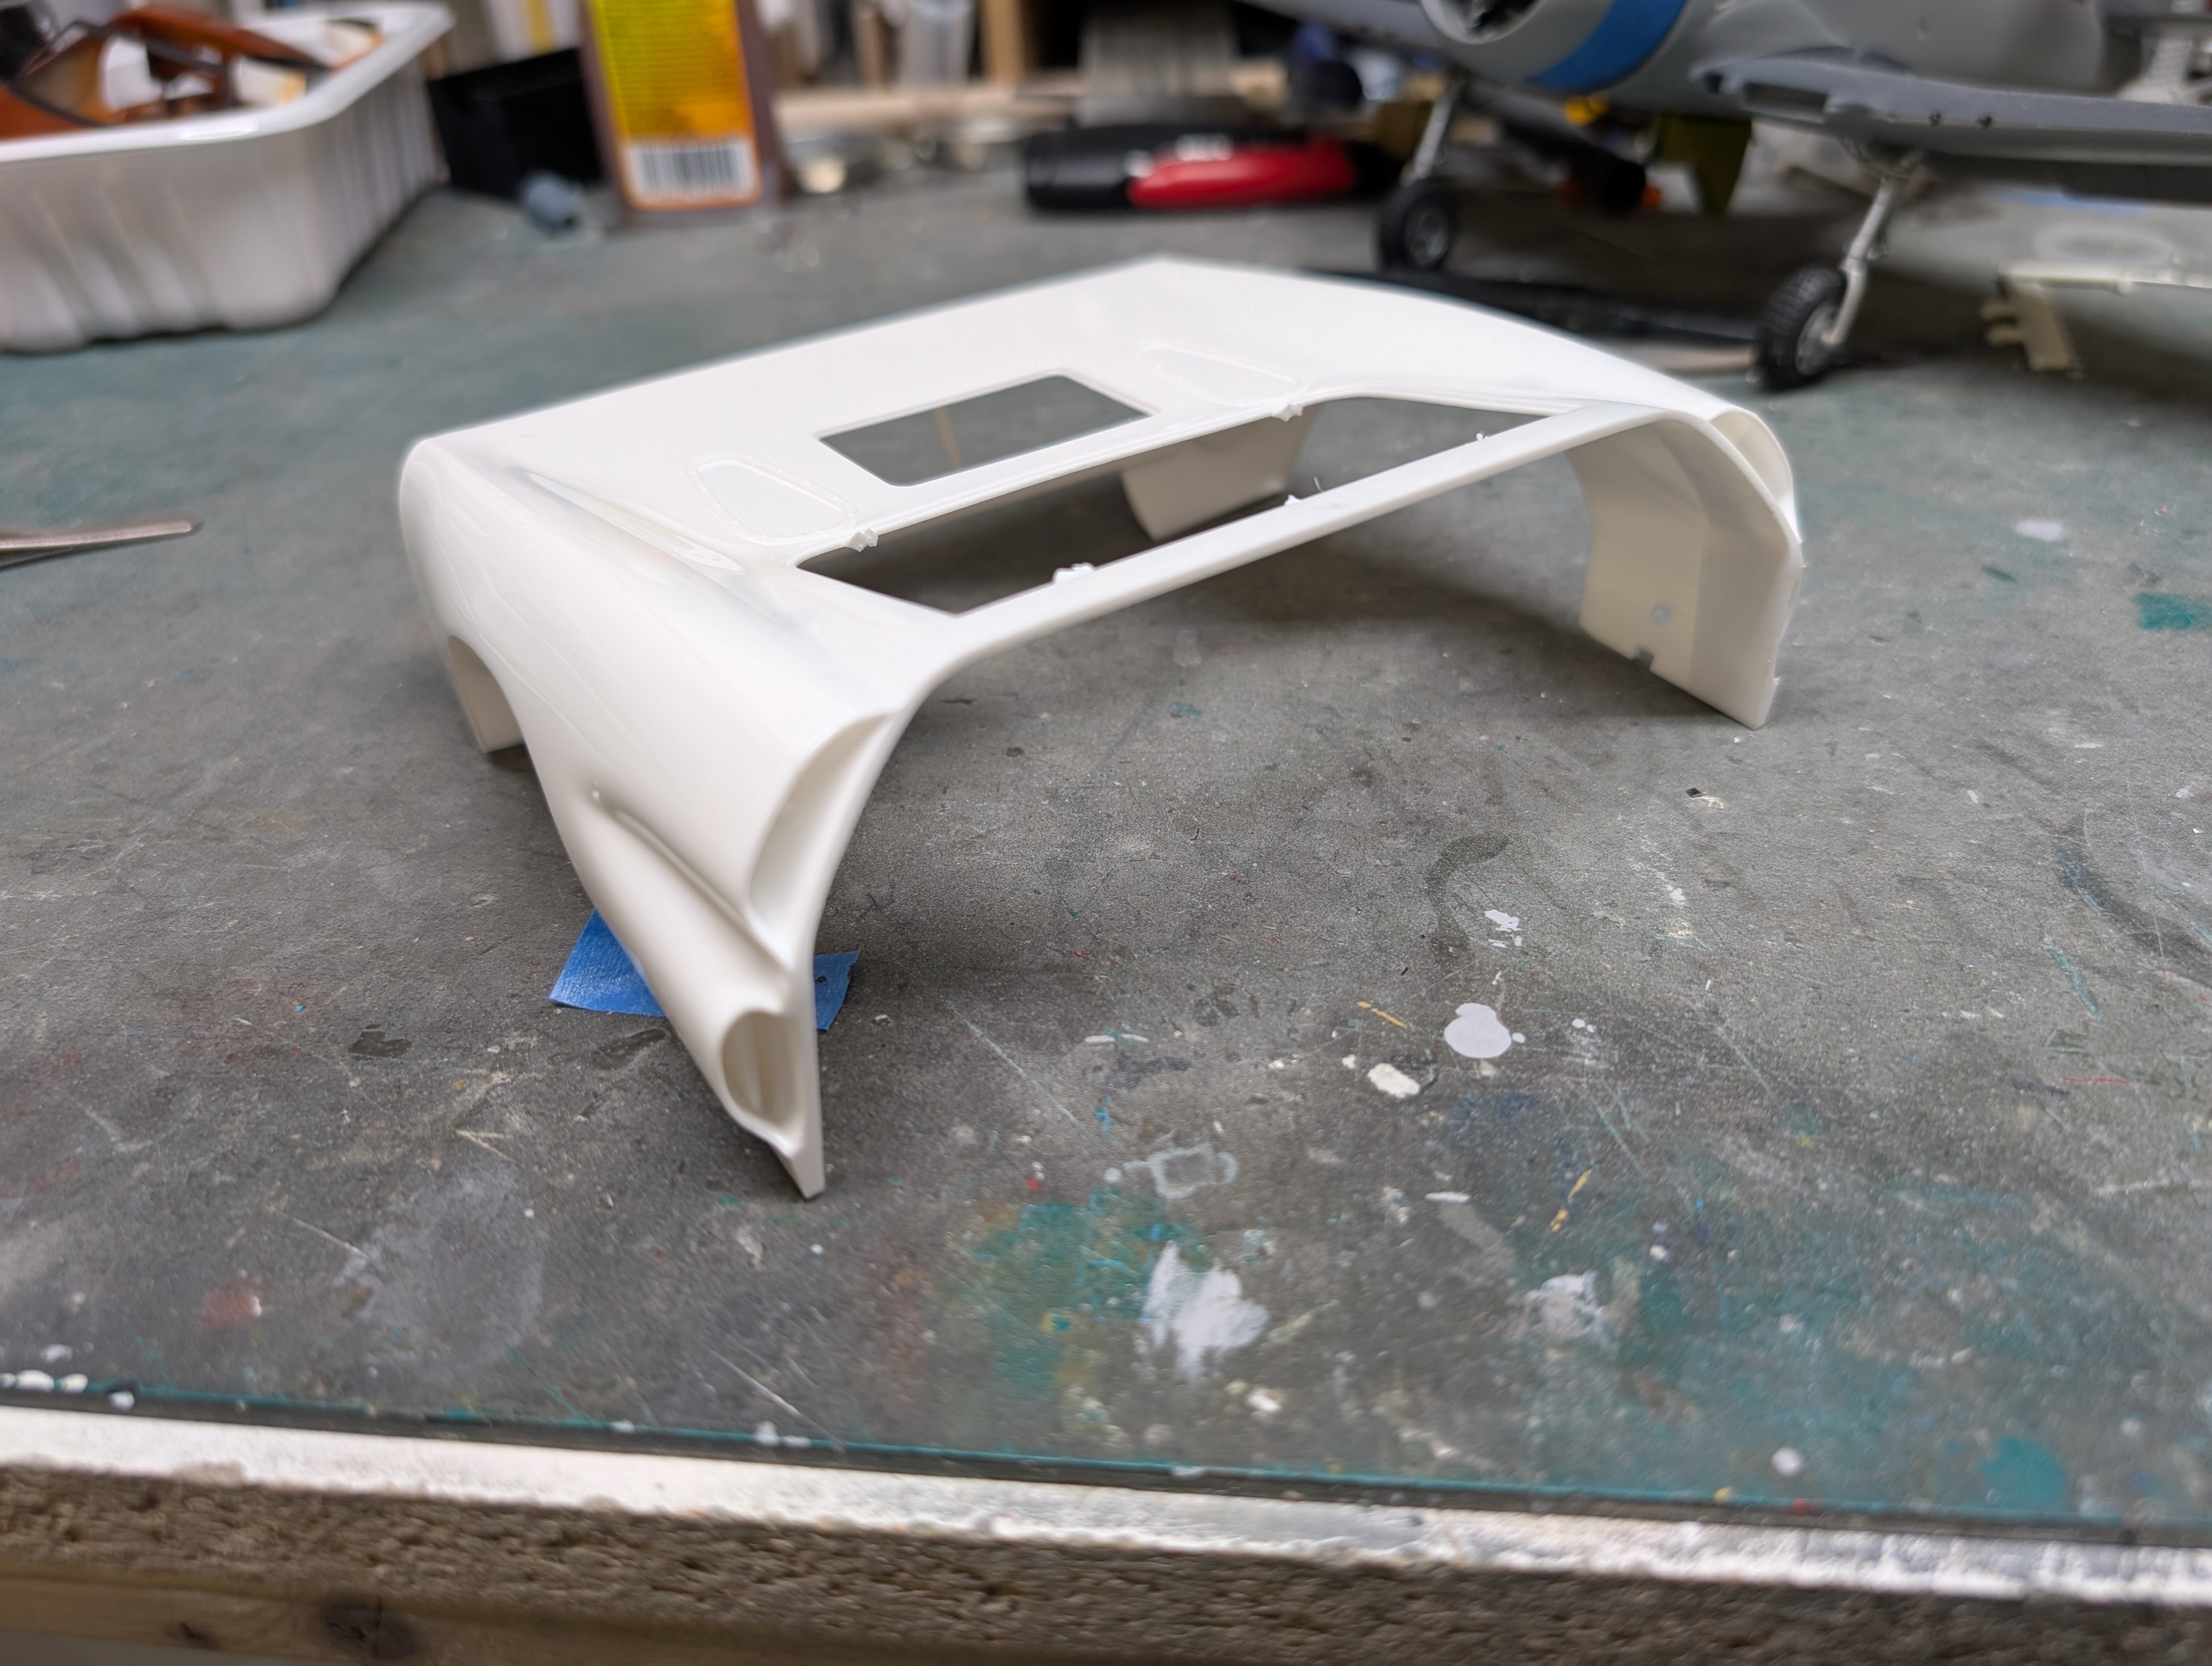
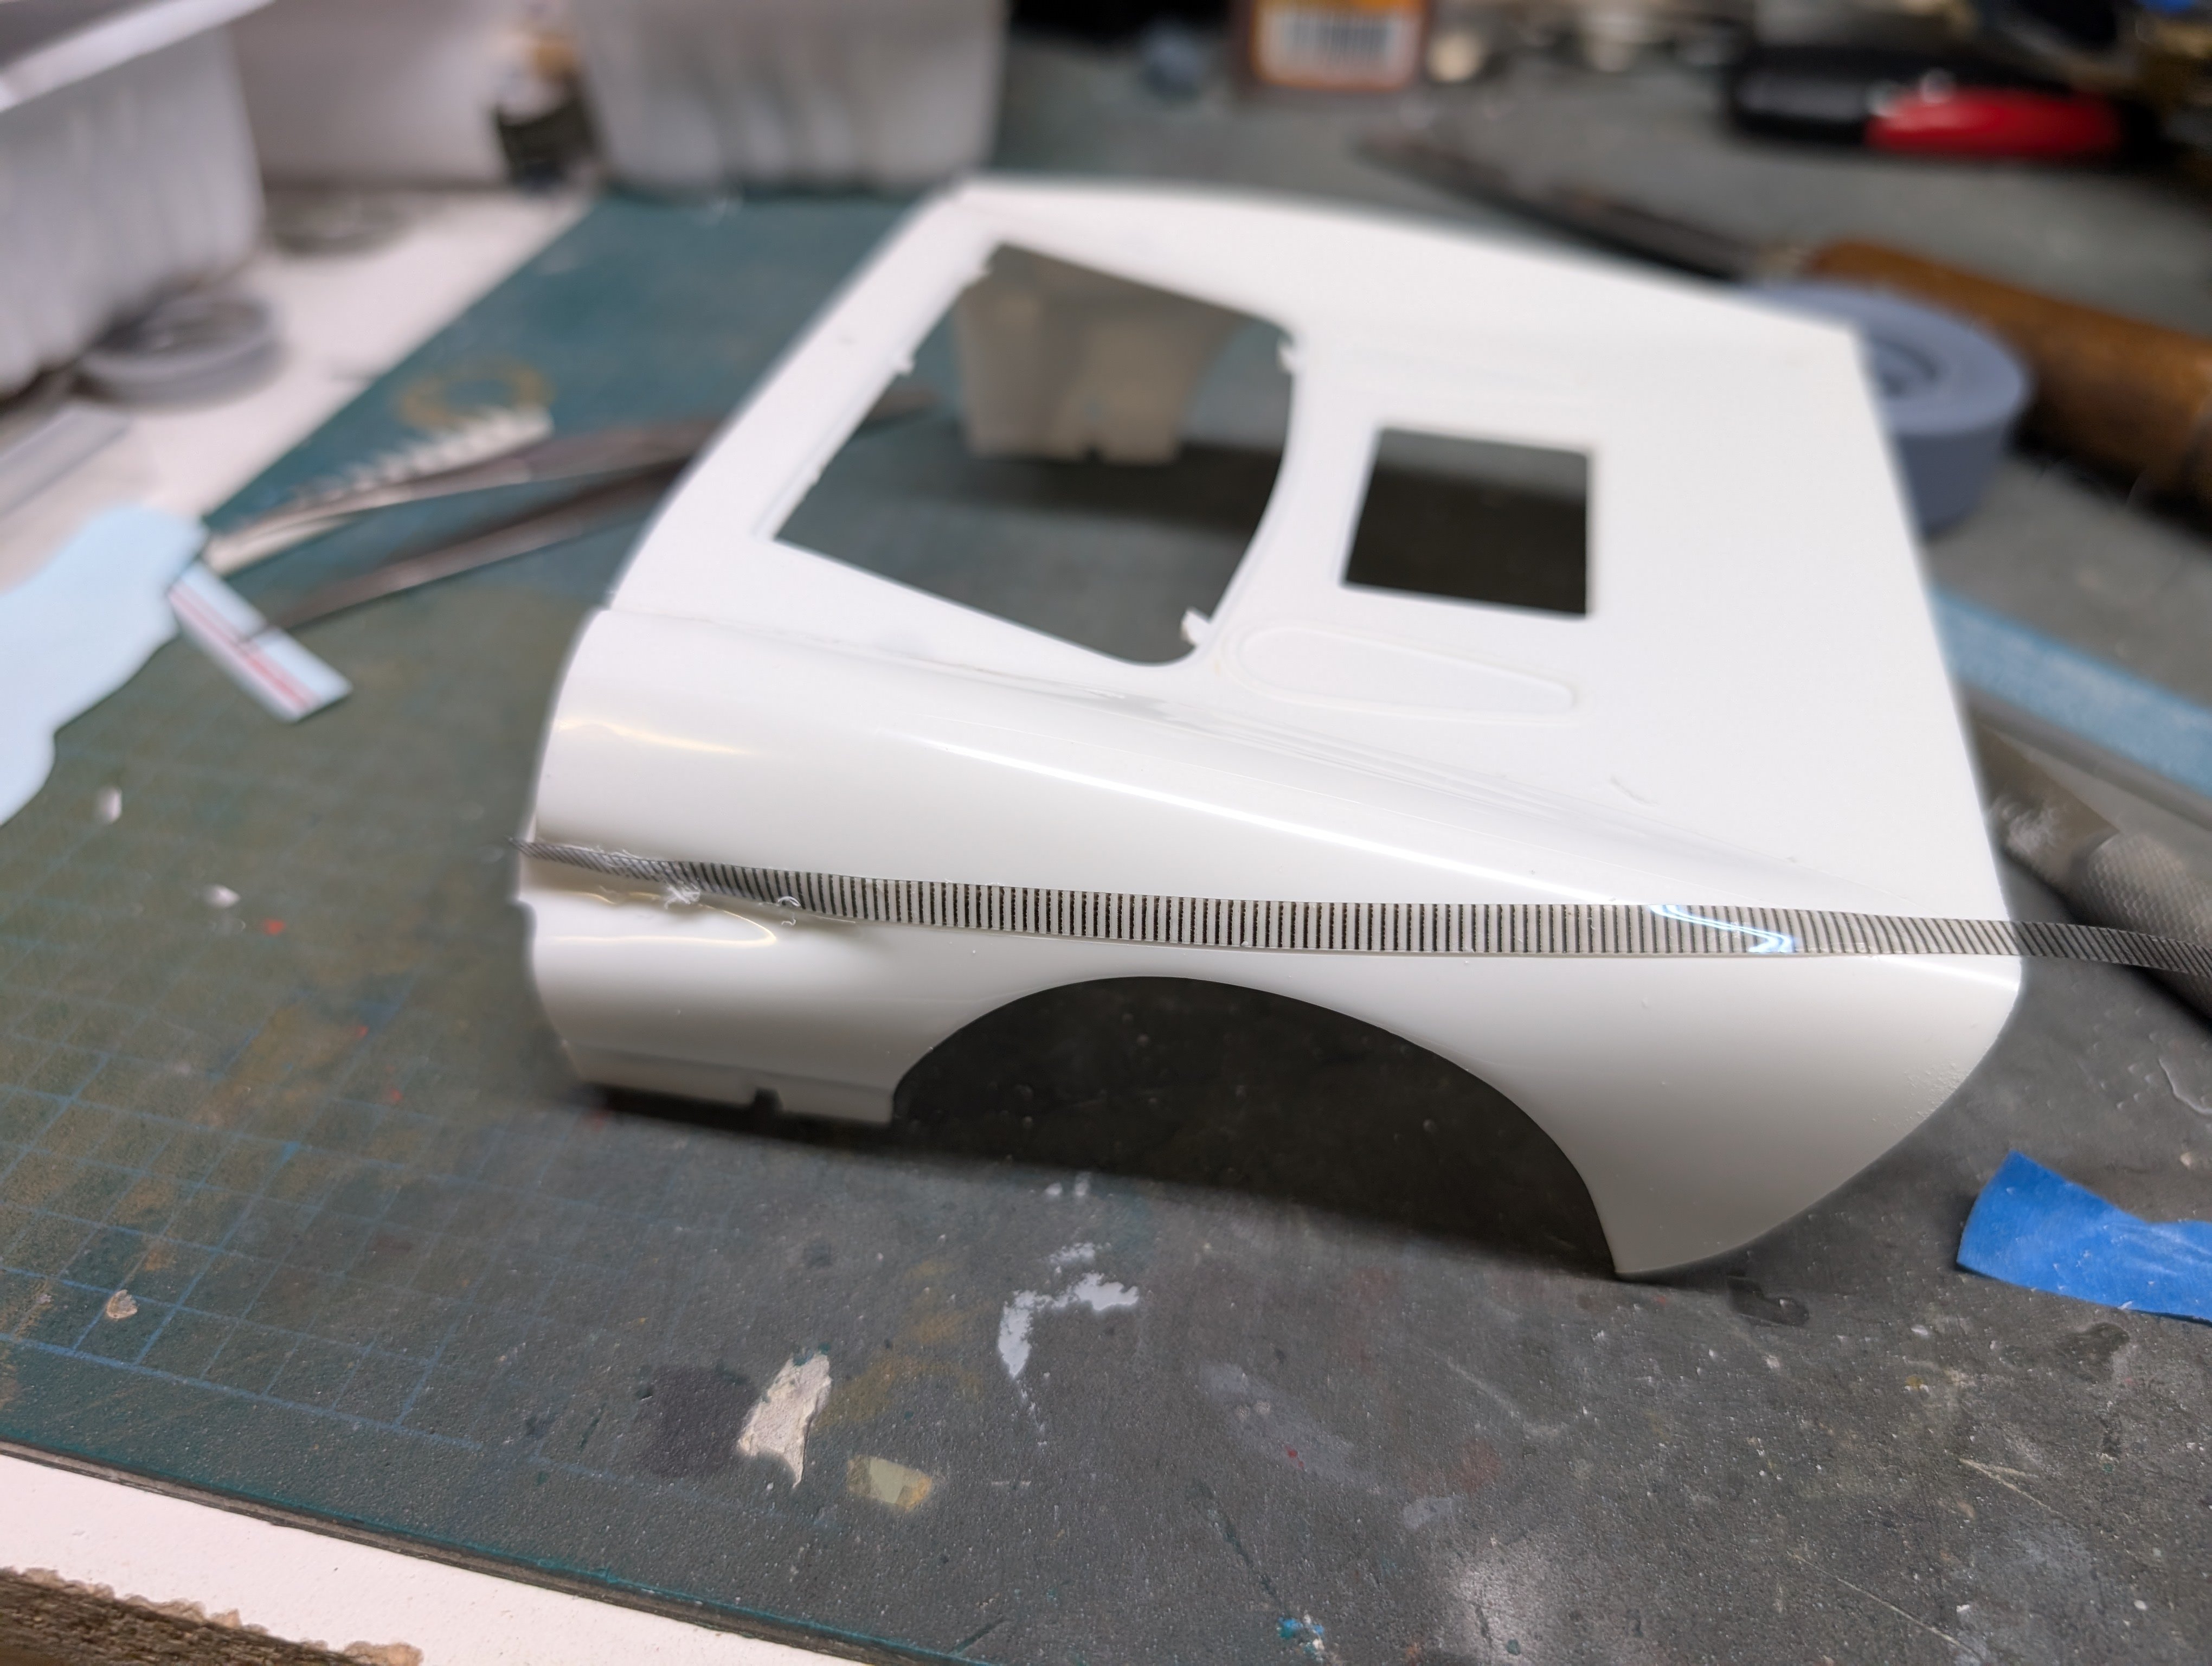
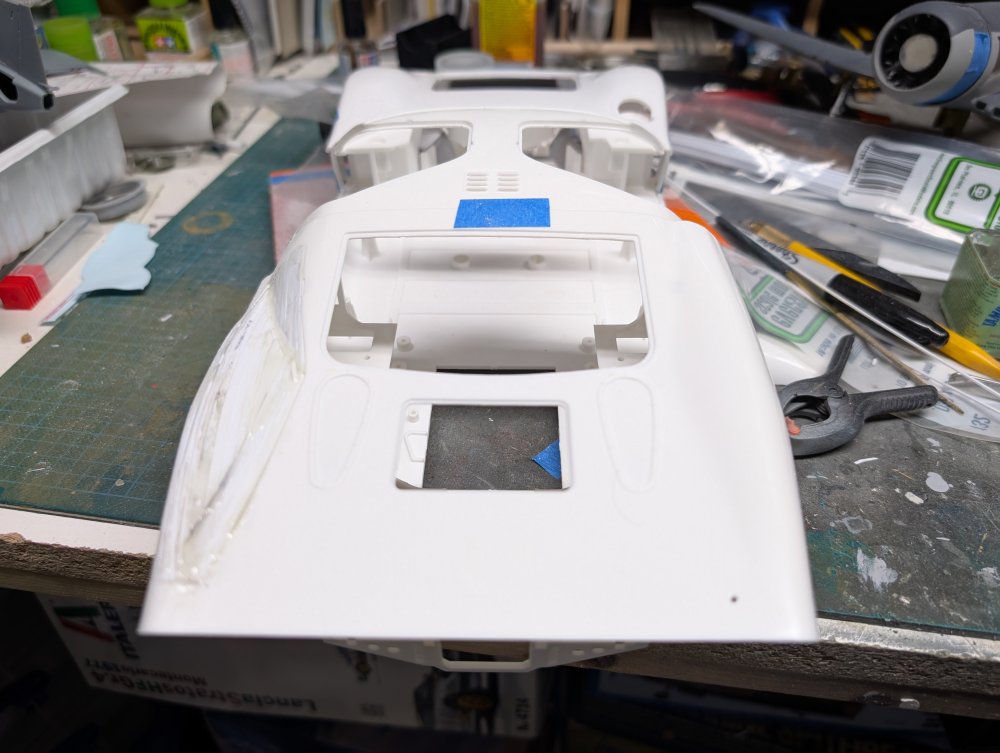
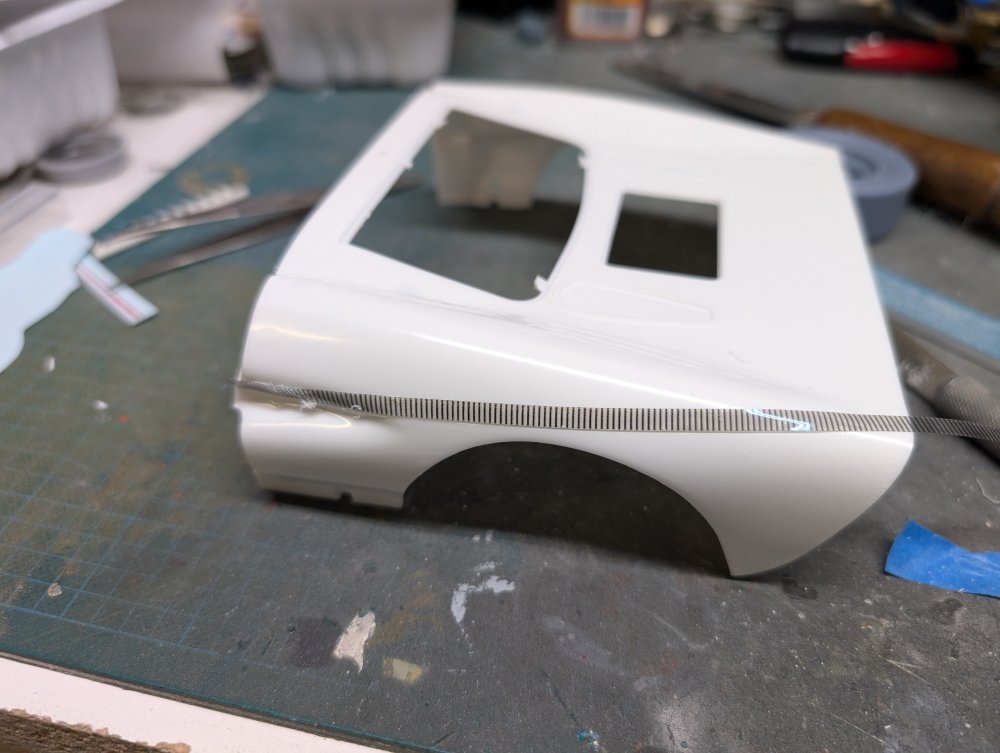
Here's a better view of the changes to the rear deck. I think it better illustrates the reduction in the bulk of the shoulders. Once the left side sets up a bit more, I'll start on the right side.
-
American Beauty Part II B-17G
BlrwestSiR replied to Rod Bettencourt's topic in LSM 1/48 Aircraft Ready for Inspection
Great looking model and fantastic pics too. Thanks for sharing them. Carl -
Of course they should have put an LS in it since that's always the answer
-
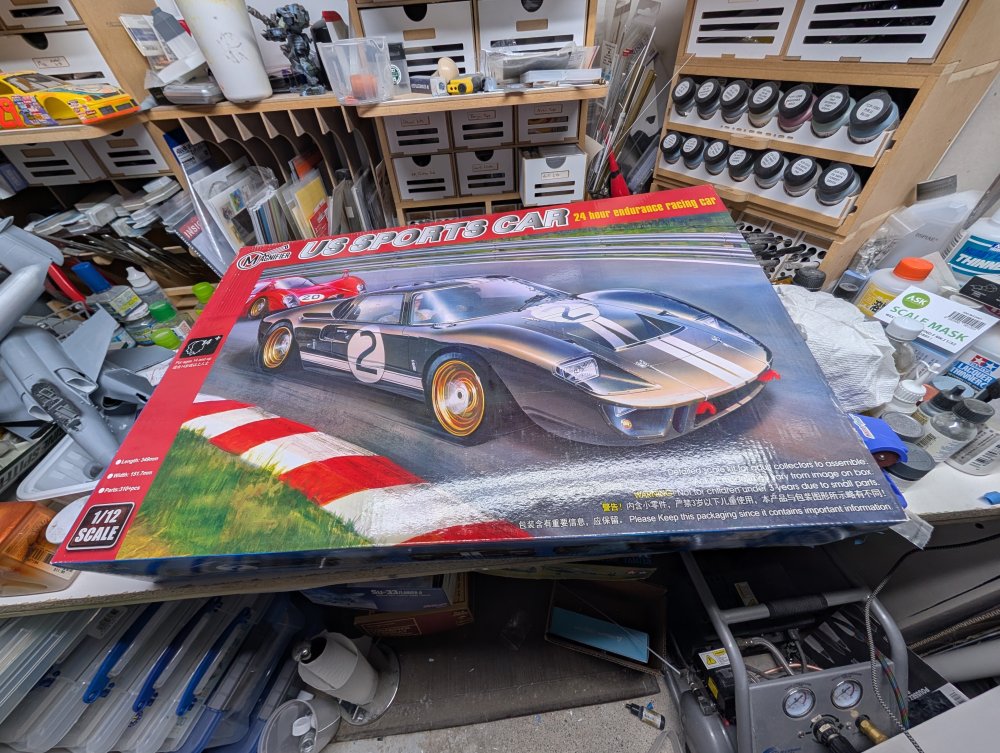
Sorry, that's in Canadian Pesos. And for some reason Meng kits here go for more than they do elsewhere. Conversely the Trumpy one works out closer to $60 US.
-
Sorry, should have been 302. The 1965 MkI used a 289 but they went to the 302 for '68 as the 427 got banned.
-
I haven't been to the LHS since Boxing Day so popped by this afternoon. Picked up a couple books I'd bought for Martin and then saw they had Alclad on sale. Any bottle, $1 each. So I picked up a couple... I also picked up strip styrene for my GT40.

-
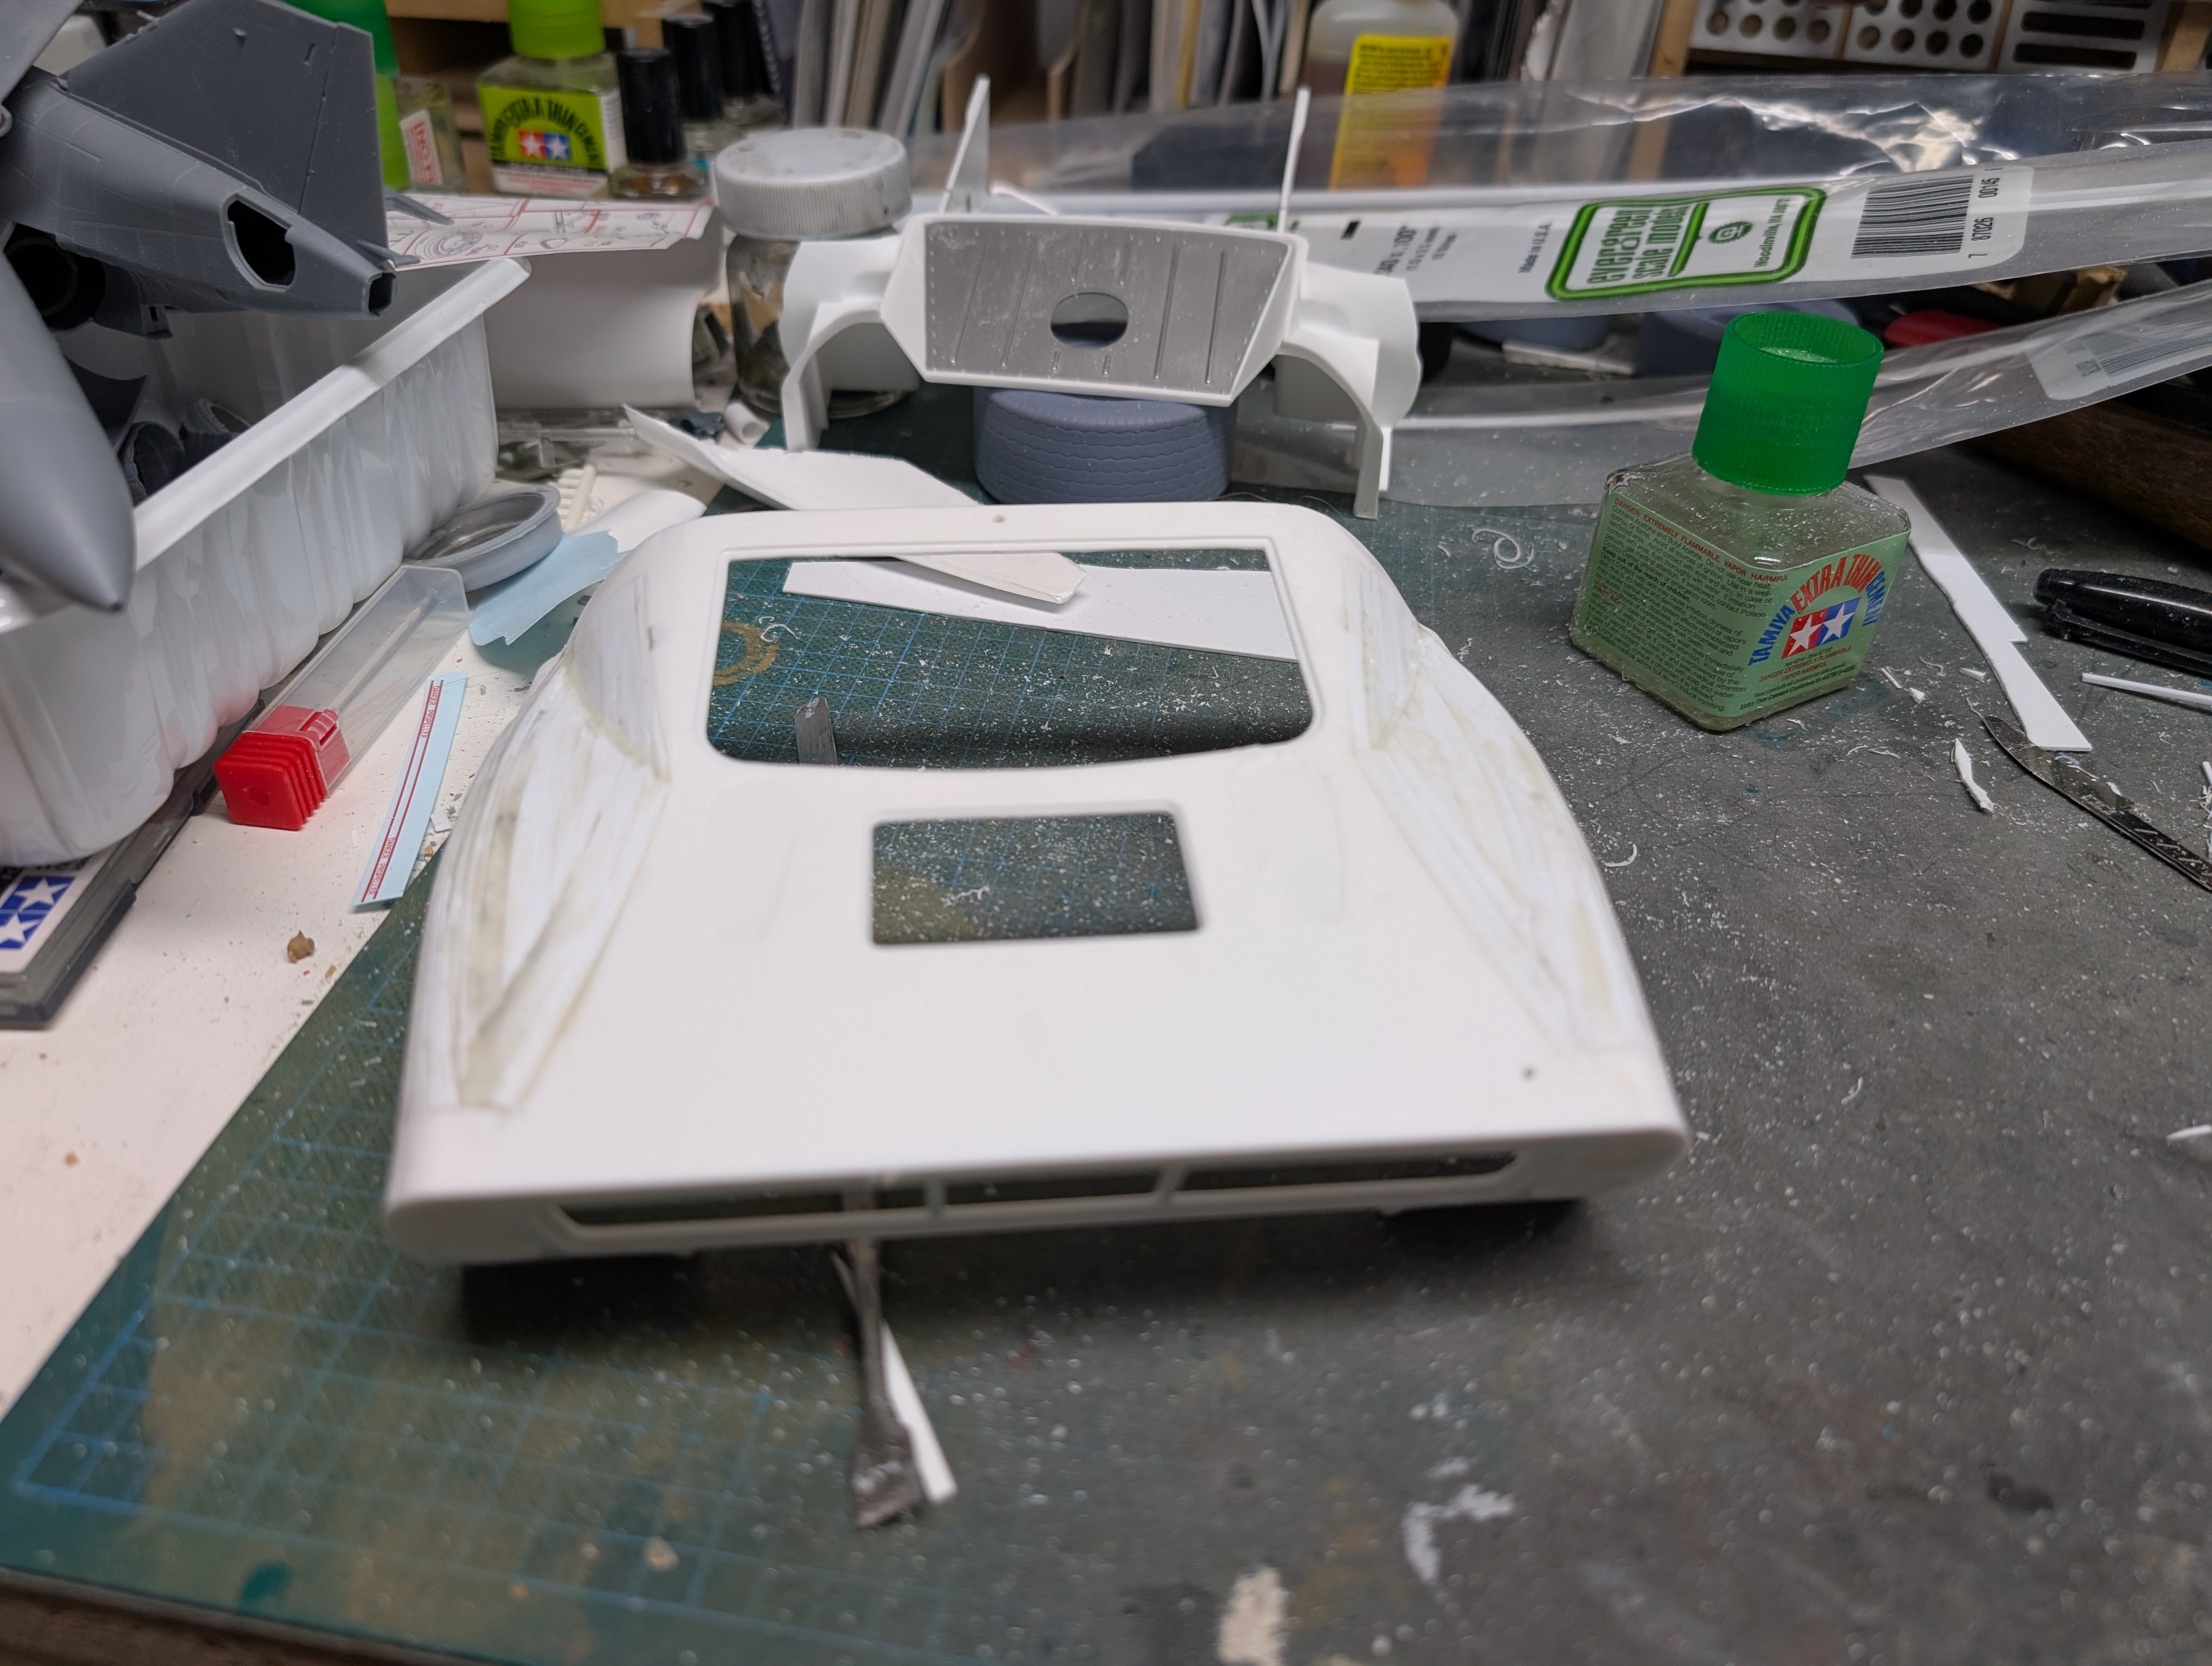
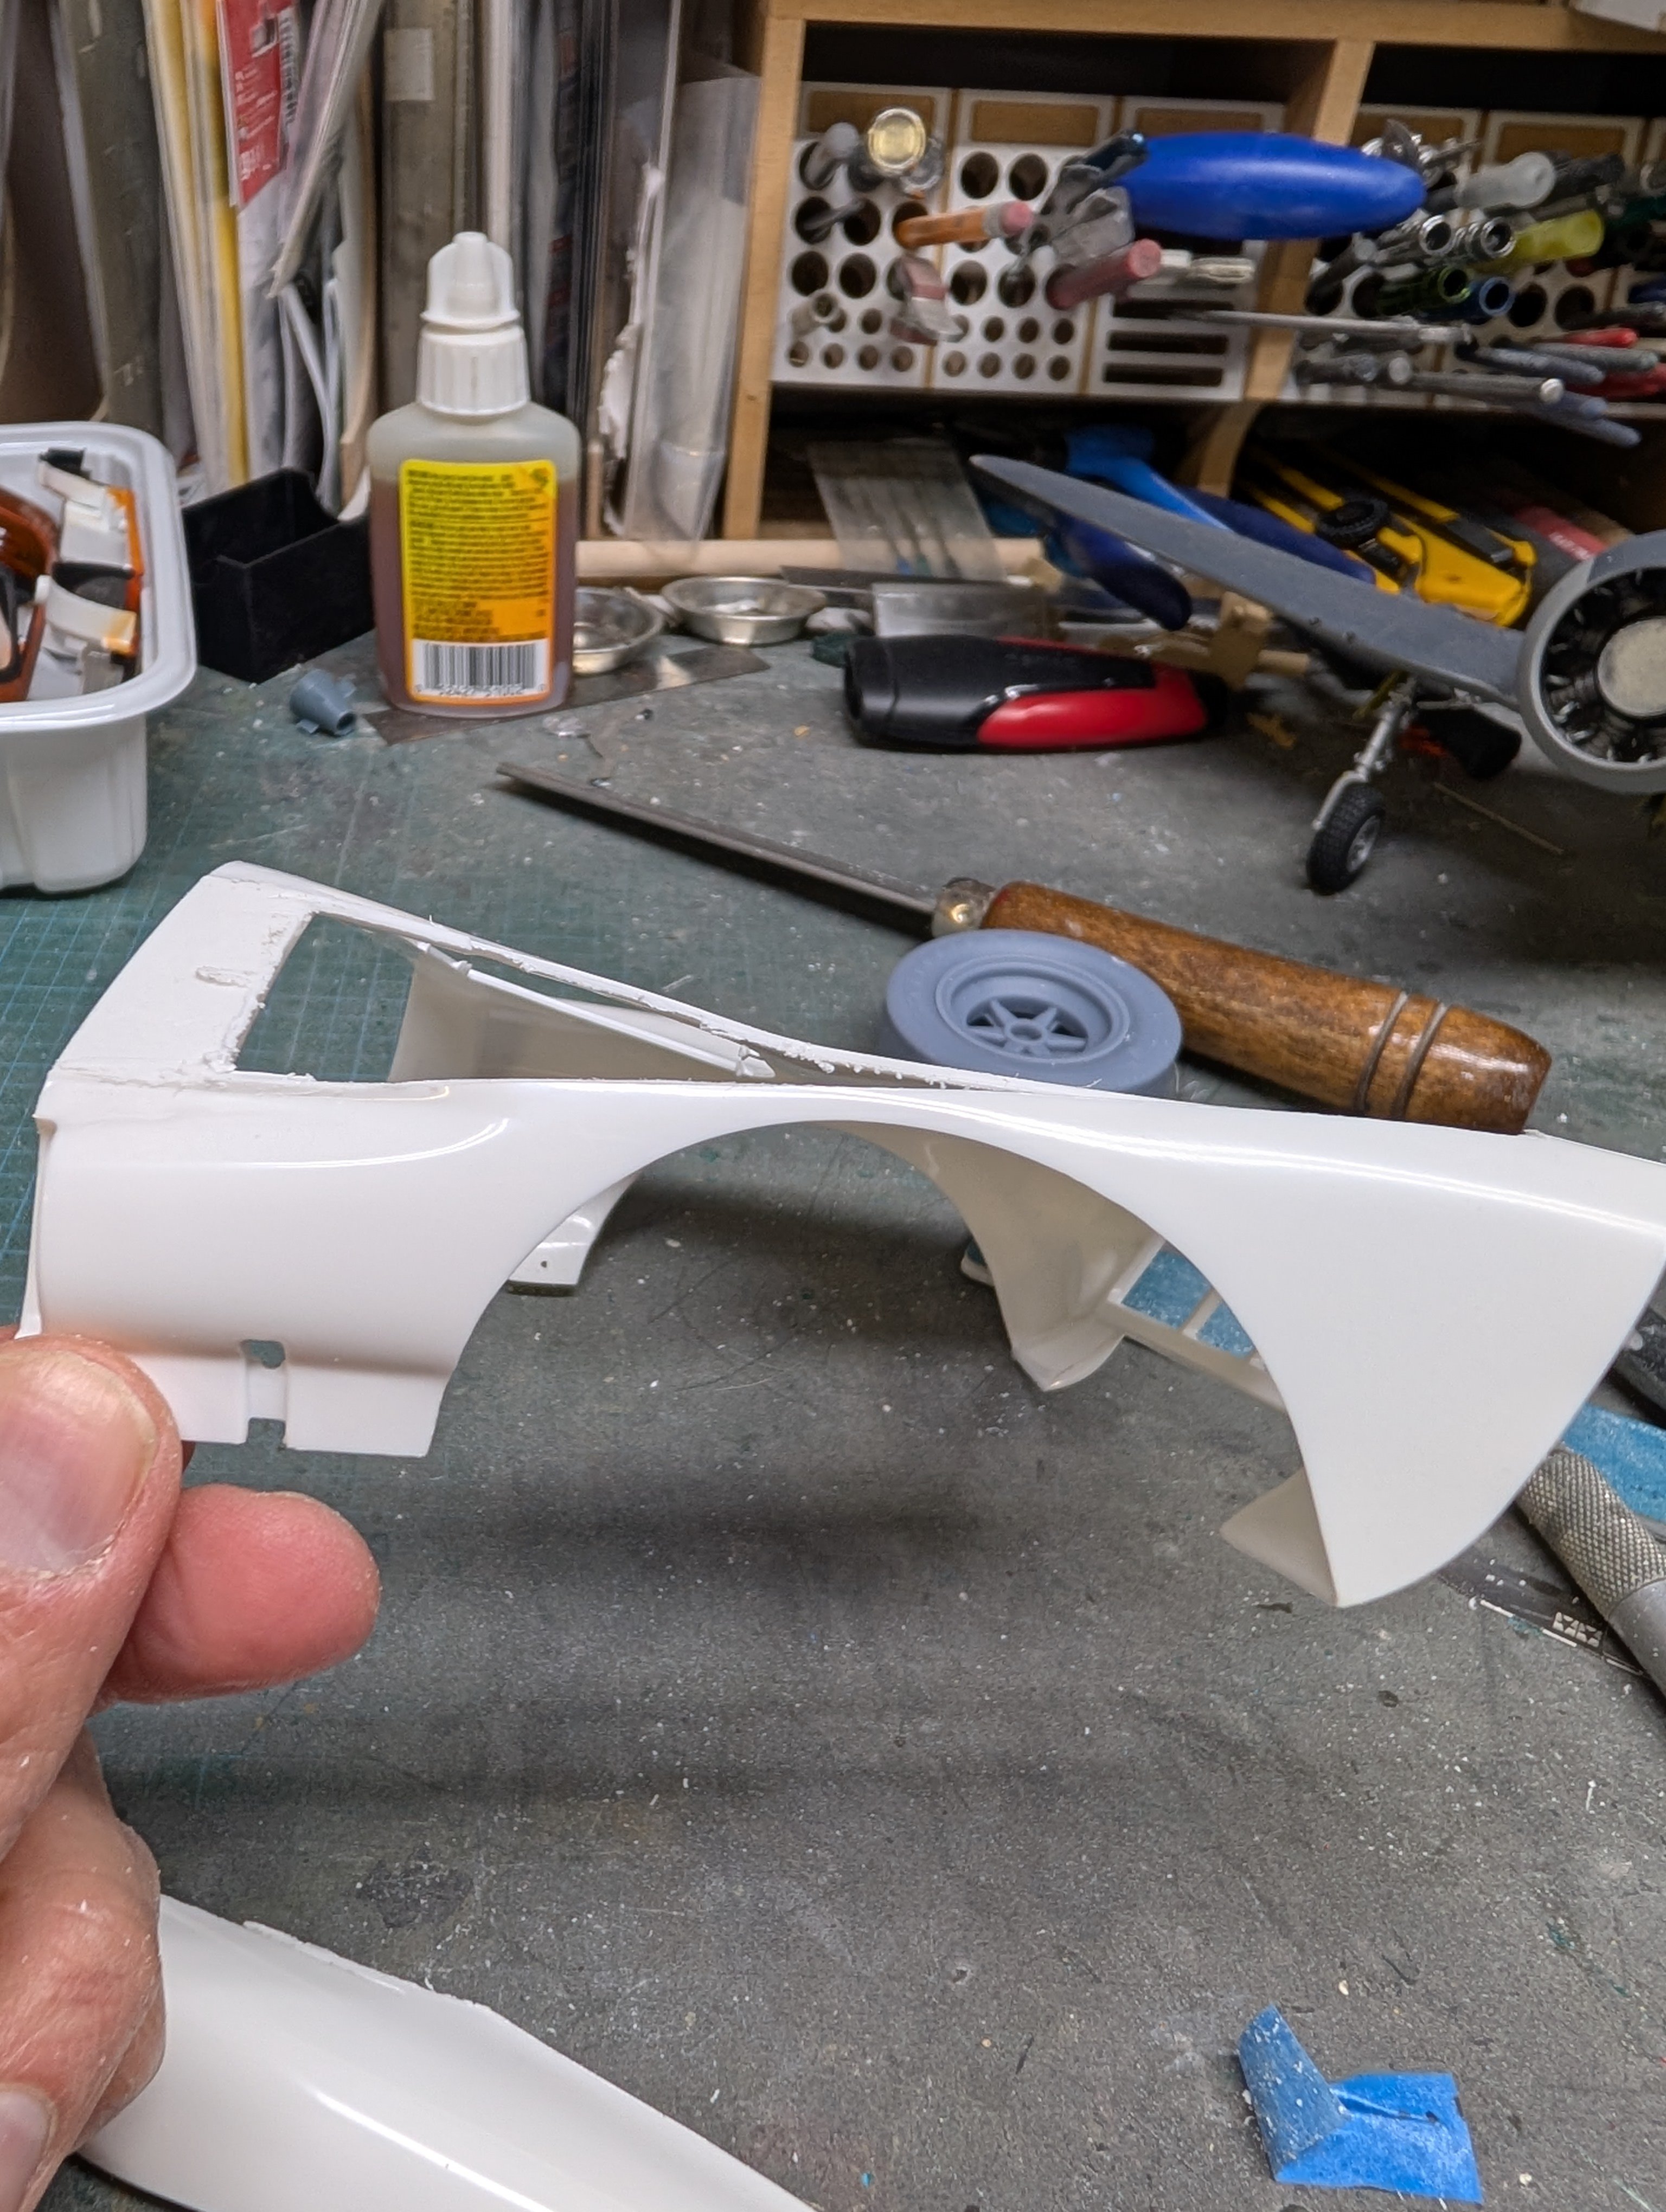
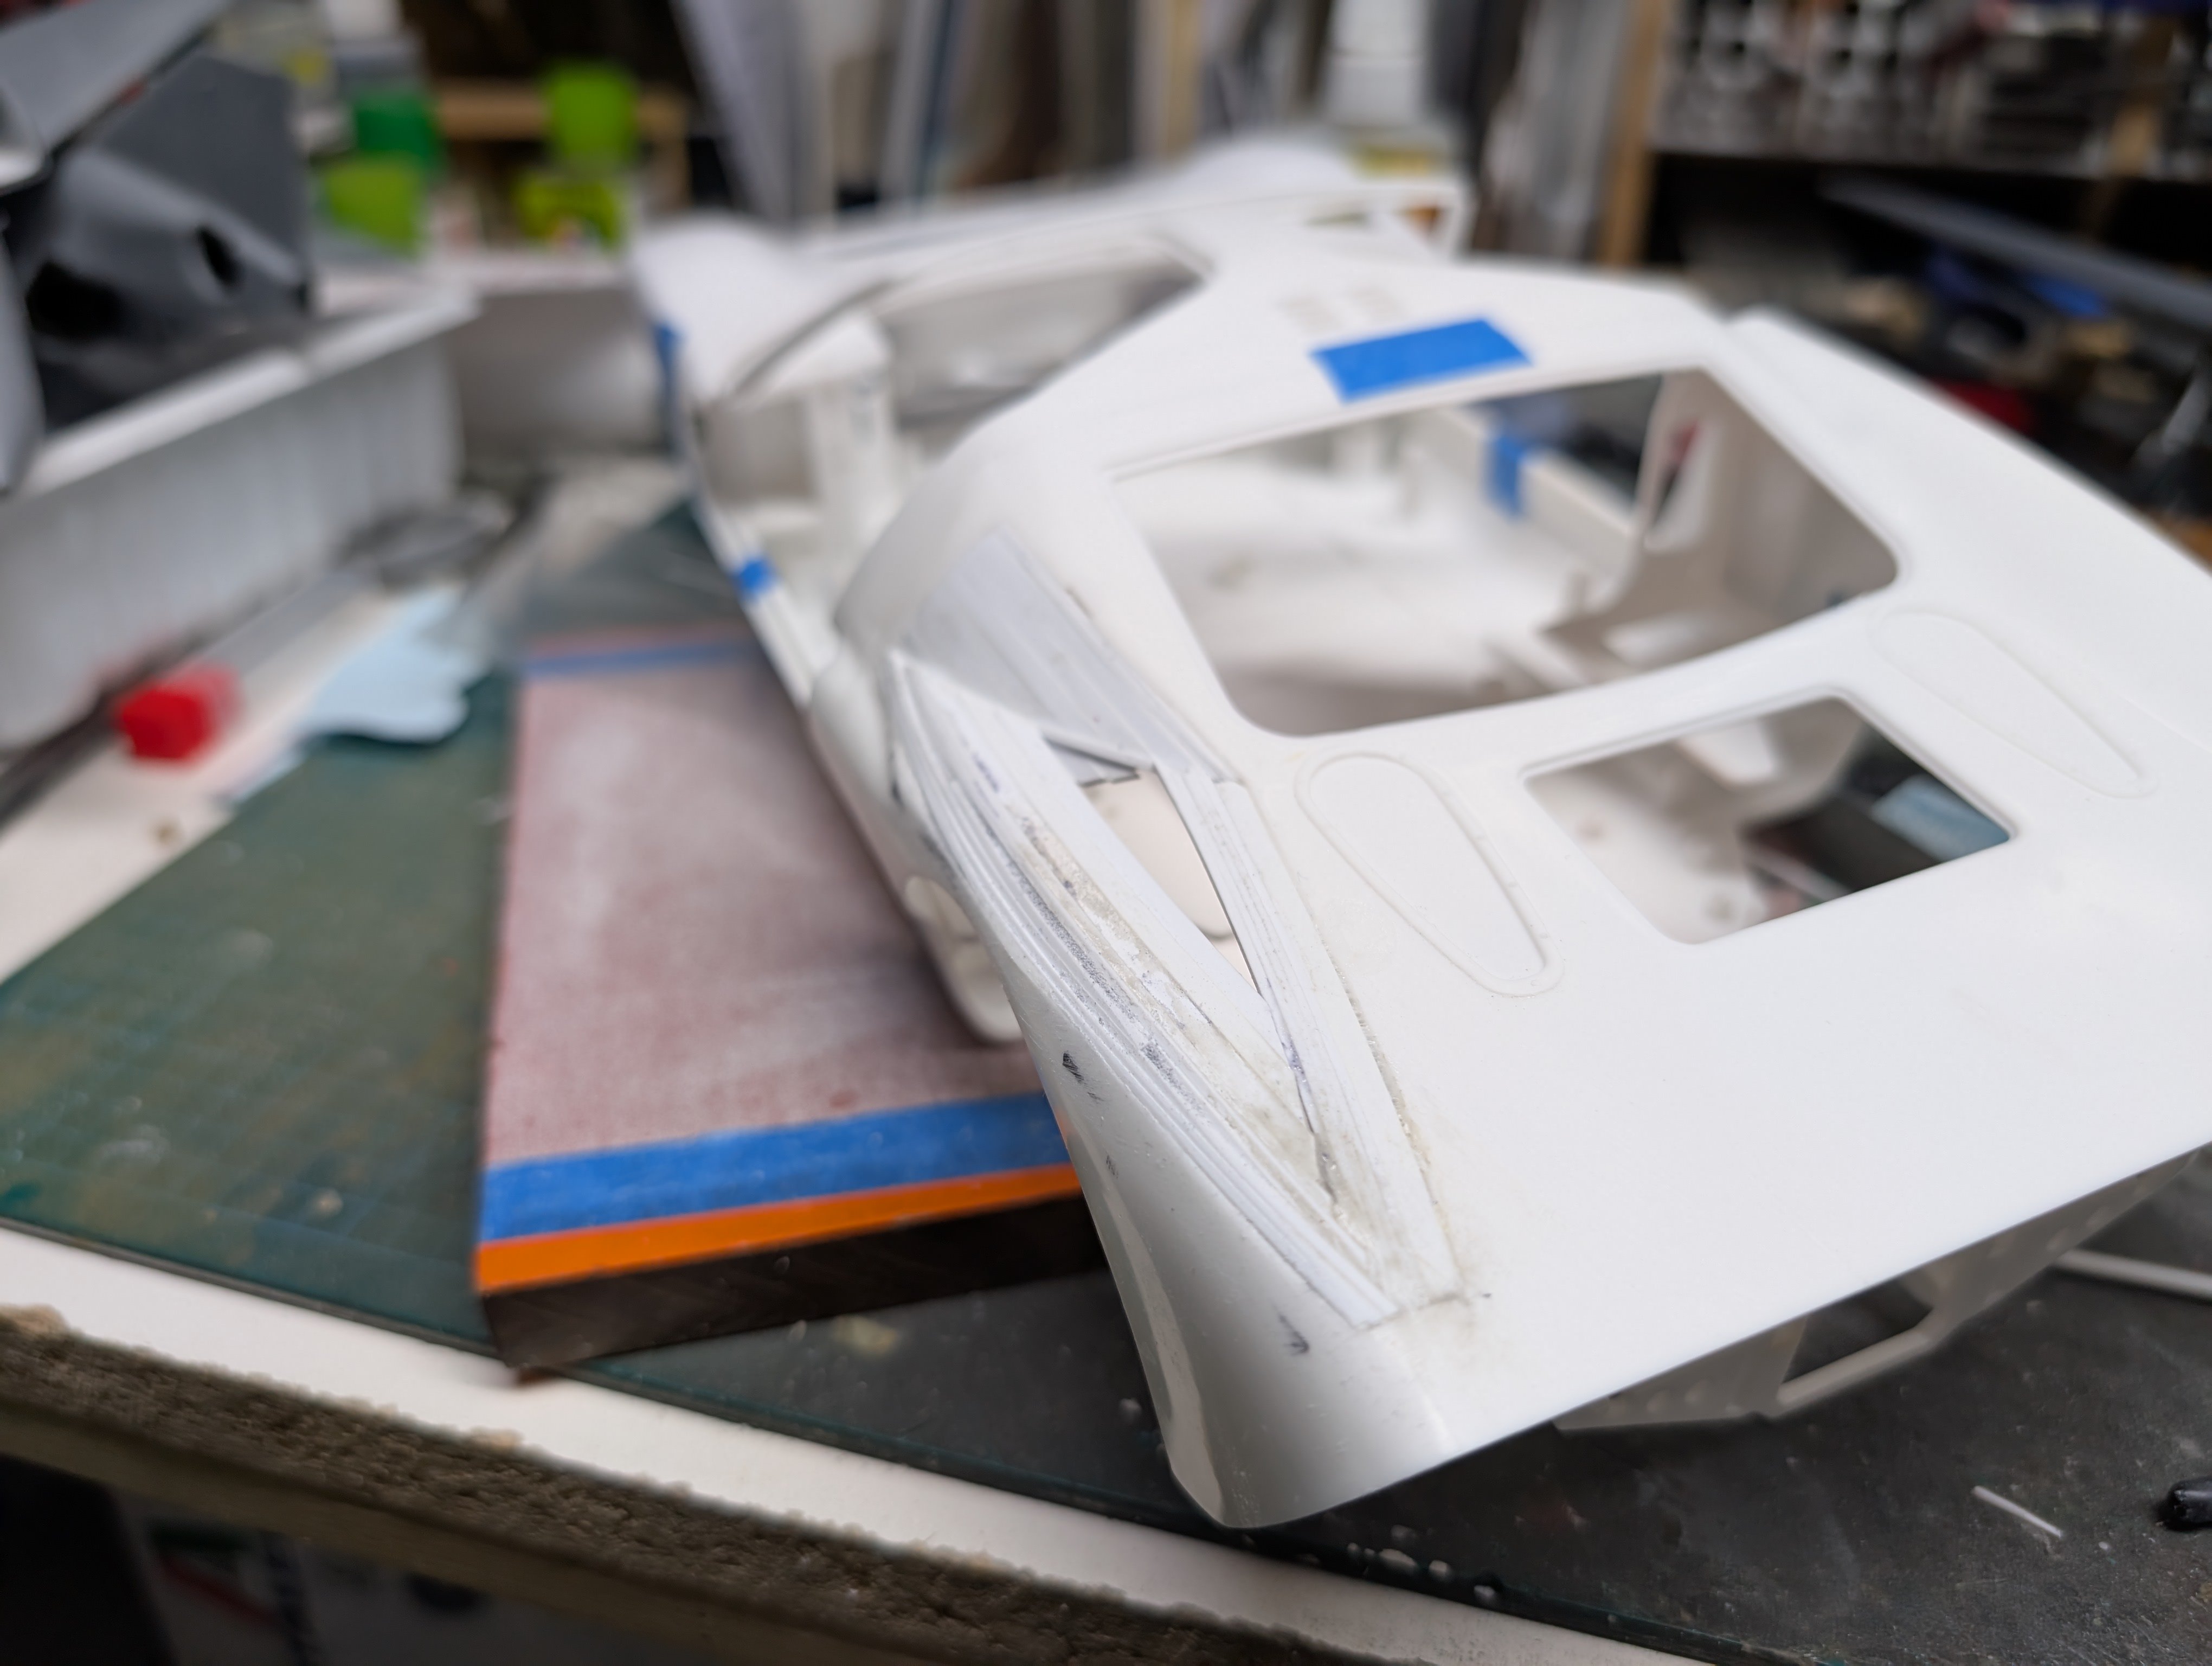
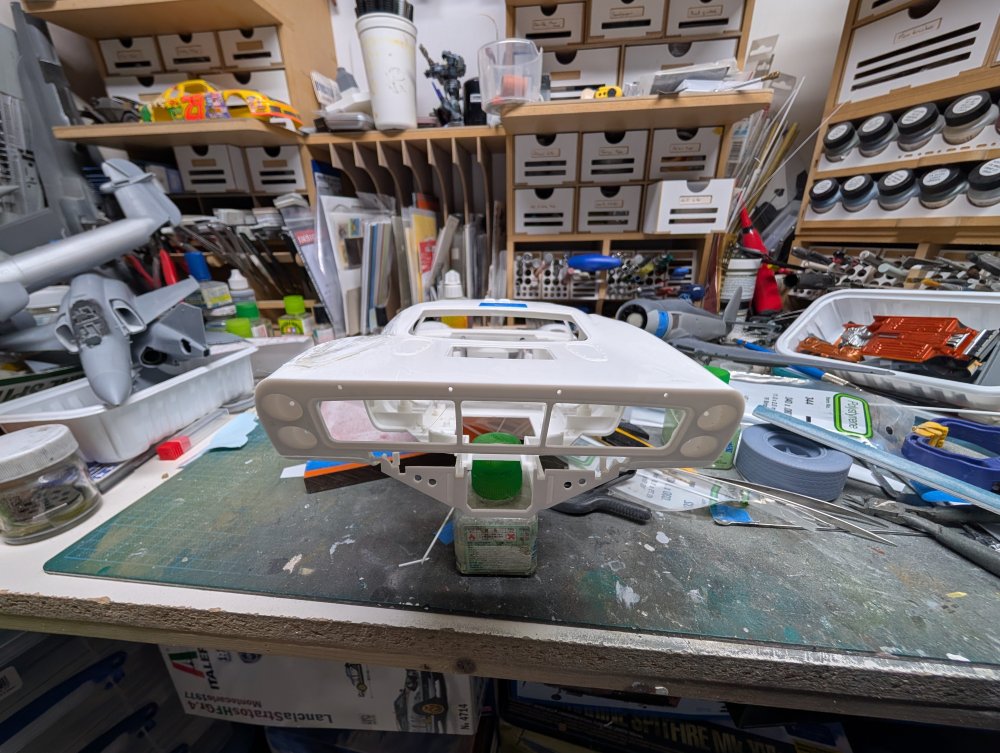
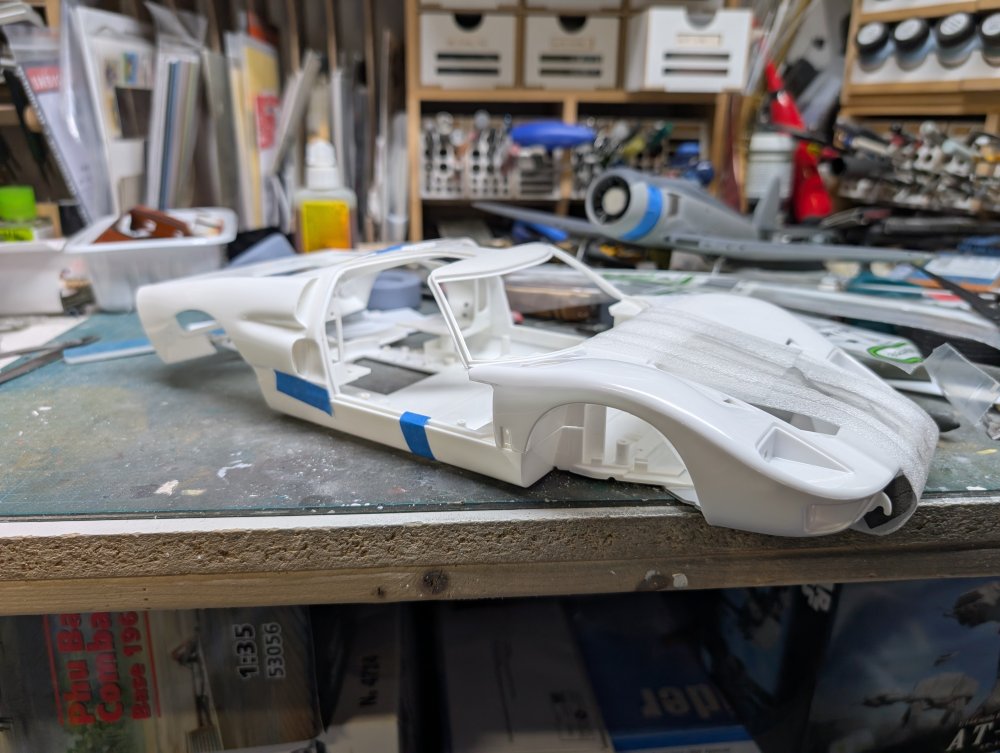
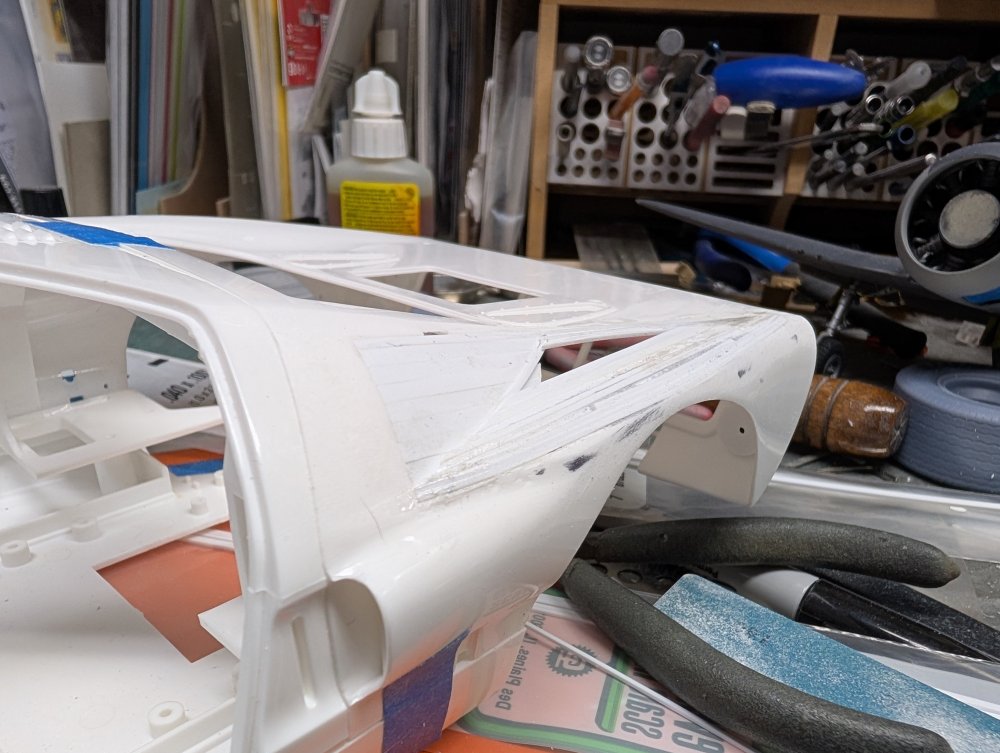
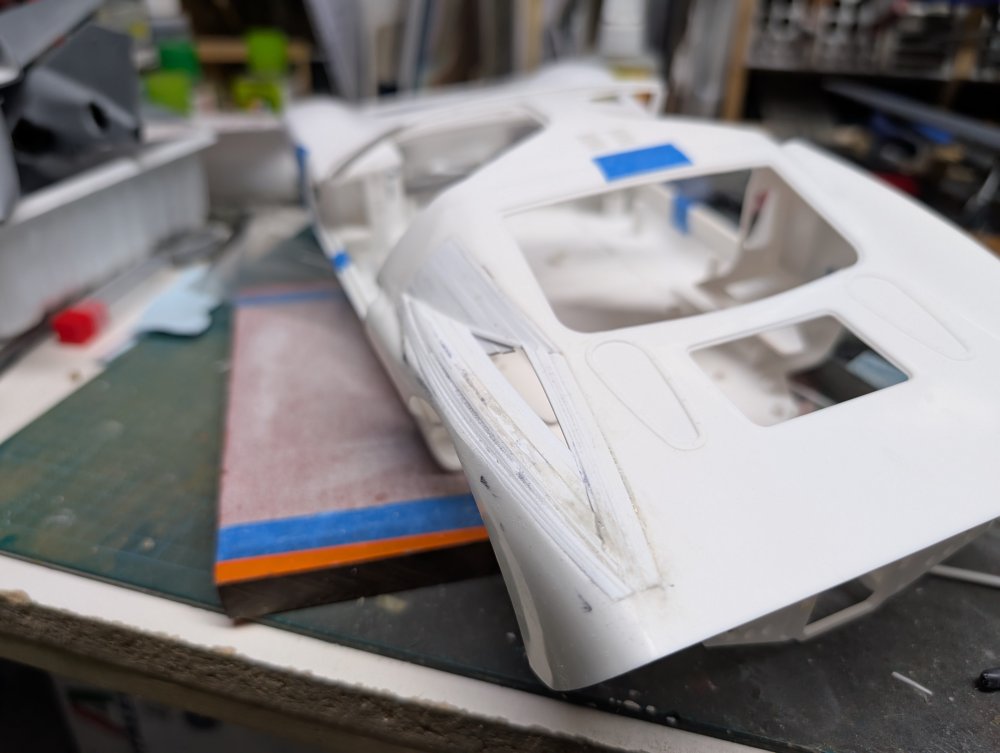
The kit overall doesn't look bad. There are some issues with the engine around the carb apparently and the spare tire is missing. But it was $90 when I got it so for that money, it's hard to complain. The Meng is around $400 for comparison. The fit looks to be good. One of the biggest changes between the MkI and the MkII is the rear clamshell. The MkII has a pair of scoops on each sides, while the MkI has a single one plus a smaller intake on the sail panel. The MkII has a chunkier appearance as a result. To get closer to a MkI, I used a razor saw to cut off the upper scoop. I then used strip styrene to fill the resultant hole. Compared to the unmodified right side, it easy to see the reduction in the bulk. This won't be a perfect copy of a MkI as there are too many things that would need changing. The engine would have to swapped from a big block 427 to a 305 small block, and there would be even more extensive body work to be done. I'm just happy to get closer to a MkI.


-
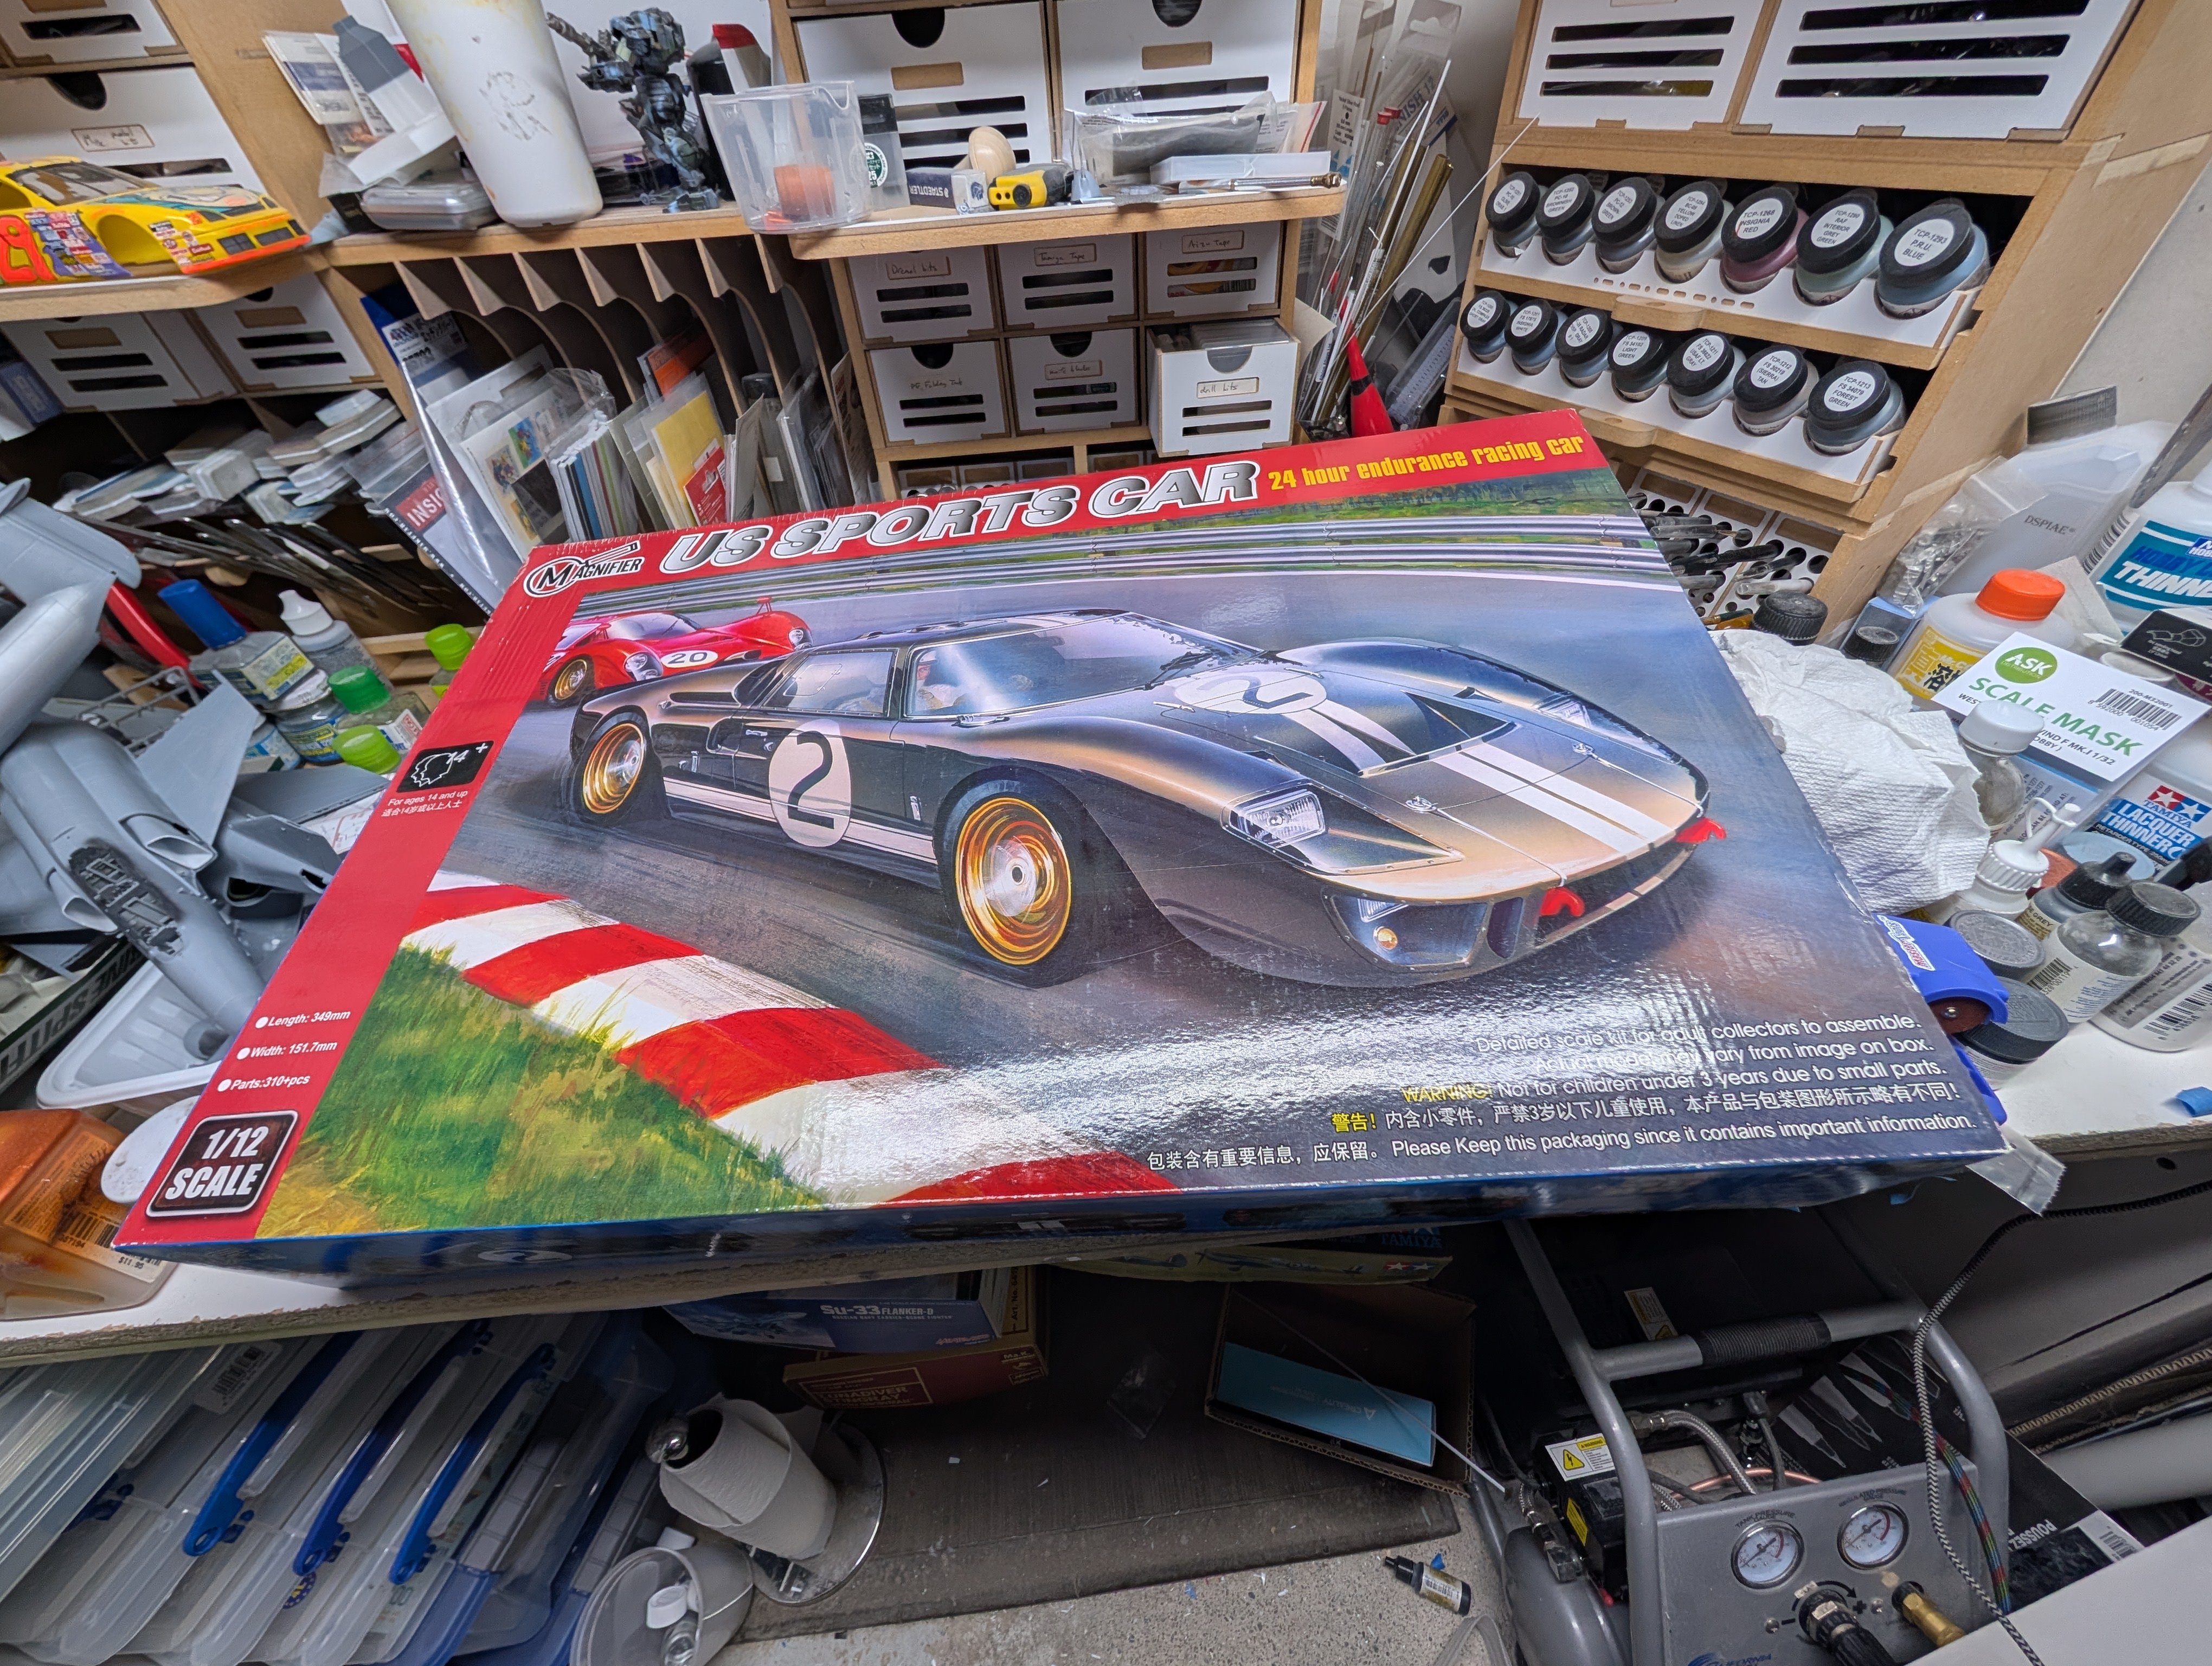
Trumpeter released a 1/12 GT40 a few years ago. This was more recently re-issued under the Magnifier brand which I guess is an offshoot of theirs. To get around playing licencing fees, they called it the US Sports Car. The kit represents the GT40 as raced at LeMans in 1966, when it won the race and also took 2nd and 3rd for good measure. This was the MkII version of the car. Meng has also released a kit of the Mk II GT40 in 1/12 and it's supposed to be fairly nice. No one has done a kit of the 1968 version of the car, a modified MkI that won LeMans in the famous/iconic Gulf Blue and Orange. Even in 1/24, the closest is the Fujimi MkII with an old and possibly rare Thunder Valley Miniatures conversion kit.
-
Westland Wyvern S.4 late- 1/48 Trumpeter
BlrwestSiR replied to BlrwestSiR's topic in The Sandbox Group Build.
I think they went a bit heavy on the exhaust staining. -
What is on your bench right now ? Share a picture :)
BlrwestSiR replied to Martinnfb's topic in Modelling Discussion
I started filling in the hole with strip styrene. It looks like this is going to work so I'll start a WiP shortly.
-
What is on your bench right now ? Share a picture :)
BlrwestSiR replied to Martinnfb's topic in Modelling Discussion
Trumpeter's US Sports Car kit. Of course it's a GT40. The kit is the 1966 version that won LeMans. I've never been the biggest fan of the quad intake setup on the car and much prefer the earlier Mk I single intake setup. This is the one that is most famously in the Gulf Blue and Orange paint scheme. It won't 100% accurate but I decided to at least make mine look closer to the Mark I. So I've cut the upper vent off. No turning back now.
-
And I see I've read it twice somehow. Guess I need to find a newer book to read.
-
Much lighter fiction fare, but I just finished Starter Villain by John Scalzi. A fun book that upends the usual super spy tropes. Carl
-
Cobra Coupe - Le Mans - Model Factory Hiro 1/12
BlrwestSiR replied to DocRob's topic in LSM 1/35 and Larger Work In Progress
Looks great Rob. Has a proper menace to it. Like a shark. -
Dragon Bf110E - Wolfgang Falck - Finished
BlrwestSiR replied to denders's topic in LSM 1/35 and Larger Work In Progress
It looks to be coming along nicely.