Landlubber Mike
-
Posts
1,277 -
Joined
-
Last visited
Content Type
Profiles
Forums
Events
Gallery
Everything posted by Landlubber Mike
-
Sikorsky JRS-1 with AM (Eduard) 1/72
Landlubber Mike replied to Landlubber Mike's topic in The Great Twins Broup Bluild
Here you go Kevin! 😘 It's been a lot of boring work cleaning up parts and separating the resin parts from the plugs. I did manage to finish the cockpit bulkhead and pilots seats. Used the CMK bulkhead which had a little better detail and the Eduard PE for the seats. Each seat had 8 parts but I think look a lot better than the kit seats. I always cringe when seeing pictures under extreme magnification, but these seats actually look quite nice.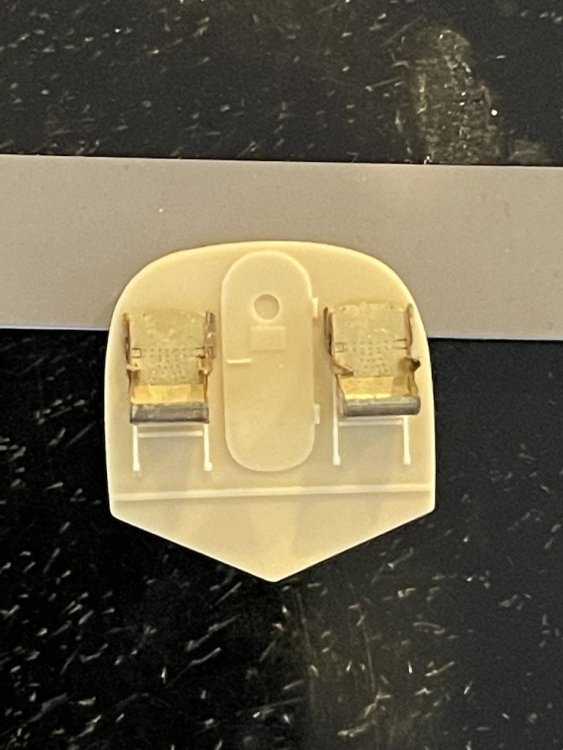

-
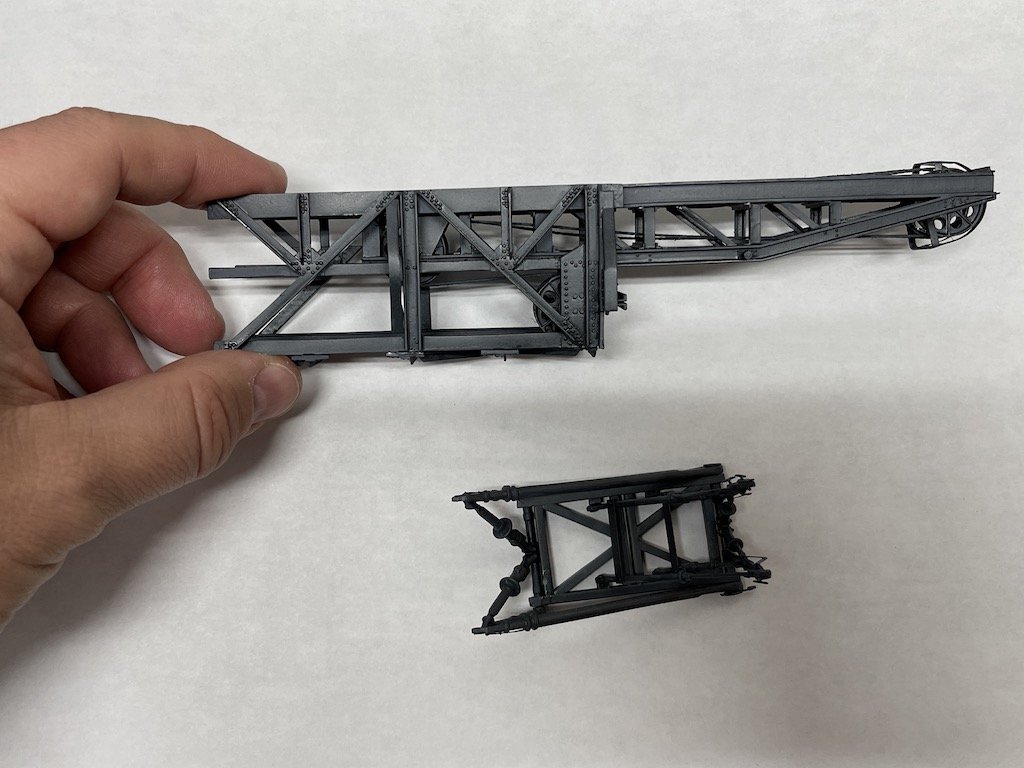
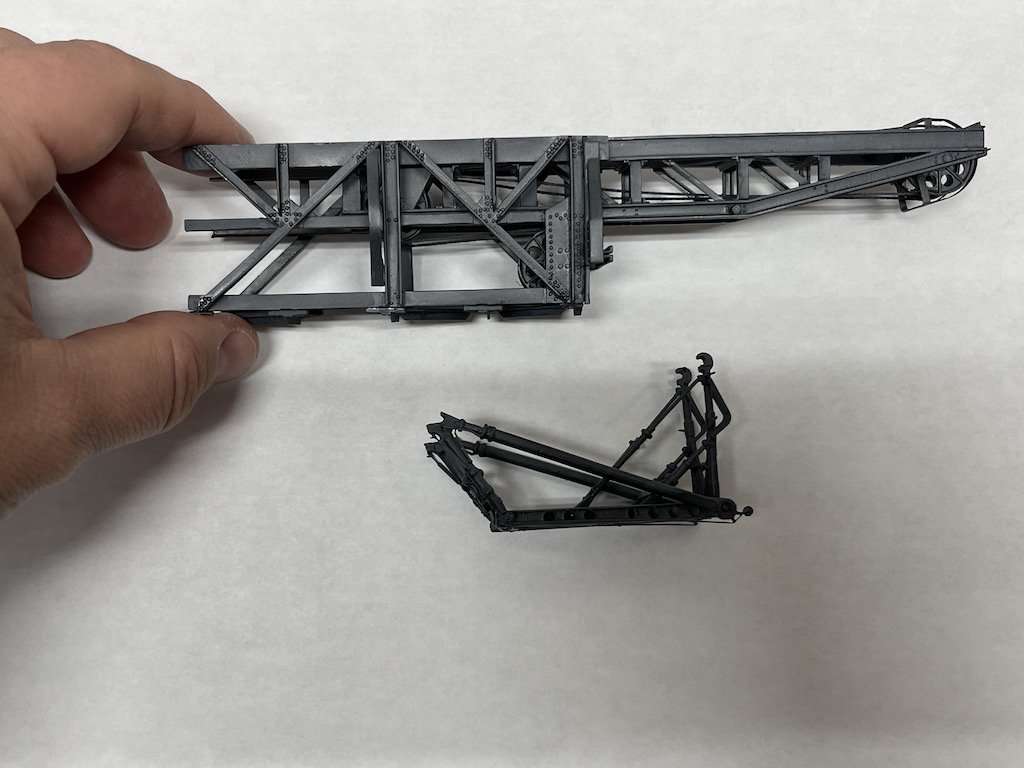
I still plan to complete the Walrus, but got stuck on how to approach the rigging. Albatross is just about done minus flags and rigging. Here's the catapult fully assembled, with a base coat and initial weathering and highlighting.

-
Sikorsky JRS-1 with AM (Eduard) 1/72
Landlubber Mike replied to Landlubber Mike's topic in The Great Twins Broup Bluild
Yeah, kinda does doesn't it? I wish Eduard would have started fresh with this rather than use the old Sword molds. It should work out ok though, just will take a little extra work. -
Bf-109K-4 White 16 finished
Landlubber Mike replied to JohnB's topic in LSM 1/32 and Larger Aircraft Ready for Inspection
Another beauty John, love it! -
Sikorsky JRS-1 with AM (Eduard) 1/72
Landlubber Mike replied to Landlubber Mike's topic in The Great Twins Broup Bluild
Thanks Jeff! I had bought the kit mostly because I like quirky planes, but after reading the story behind the cover subject, it made me excited to build this kit. I'm leaning more towards building the pre-war 1063 because of the history. I originally thought I would build 1193 as blue is a little easier to paint than red, but I think I'll suck it up and go with the 1063. Now I just need to figure out whether I want to build it on its legs or in a water diorama type of scene. I haven't found too many pictures of these guys in the water, mostly on land or in the air. I'll try to post a detailed log as people seem to be interested in the kit/subject. I haven't gotten too far yet, just cleaned up some pieces, and assembled the front cockpit bulkhead with seats. I'll post some pictures soon. -
Looking good Ernie! Great subject!
-
Nice projects PW - you certainly are prolific and at a high level!
-
Sikorsky JRS-1 with AM (Eduard) 1/72
Landlubber Mike replied to Landlubber Mike's topic in The Great Twins Broup Bluild
Thanks Rob for following along. For a 1/72 kit, it's actually a pretty decent size. Fuselage is about 210mm, and wingspan is about 350mm. I can tell already though this will have some of the charm that I found on the Special Hobby kits that I've built and am building where you don't have locator holes or locking parts, so you have to guess and test fit a million times and clamp the fuselage halves and hope for the best. Maybe a little bit of an exaggeration, but I can see why people say this kit takes a lot of work, even though the instructions at first glance appear to make it seem relatively straightforward. -
Sikorsky JRS-1 with AM (Eduard) 1/72
Landlubber Mike replied to Landlubber Mike's topic in The Great Twins Broup Bluild
Thanks Ernie. This is definitely a short run kit for sure. Some other fit issues as well as you need to open up other windows (and fill others). A lot of people just decide not to bother with the windows it seems. I'll post a detailed log so you can see if this kit is worth the trouble. -
I think the AEG is a big project, at least from what I've read. If you have the time, would love to see you build that one as I have the kit and would learn a lot following what would be a stellar build from you. If not the AEG, I'd say the Do-17. I also have that one in the stash and selfishly would benefit from seeing you work your magic on it
-
Sikorsky JRS-1 with AM (Eduard) 1/72
Landlubber Mike replied to Landlubber Mike's topic in The Great Twins Broup Bluild
Thanks Peter, glad to have you along my friend! -
Looking really good so far, nice job!
-
Nice work Martin! Moving along quickly and looking good!
-
Sikorsky JRS-1 with AM (Eduard) 1/72
Landlubber Mike replied to Landlubber Mike's topic in The Great Twins Broup Bluild
Thanks Martin! I don't think there are too many of these kits out there. Sword and Special Hobby are almost 20-year old kits. The Eduard was a limited release almost a decade ago. I managed to get the kit for a good price on eBay, but there have been times I've seen the Eduard kit go for quite a bit more. Part of the issue also might be that there are some issues with the kit - in particular, the canopy doesn't fit on the fuselage very well, and from pictures, it looks like there is a gap along the bottom of at least 3-5mm. 😳 Eduard I think took the same molds and just improved on the overall kit with resin and PE parts. -
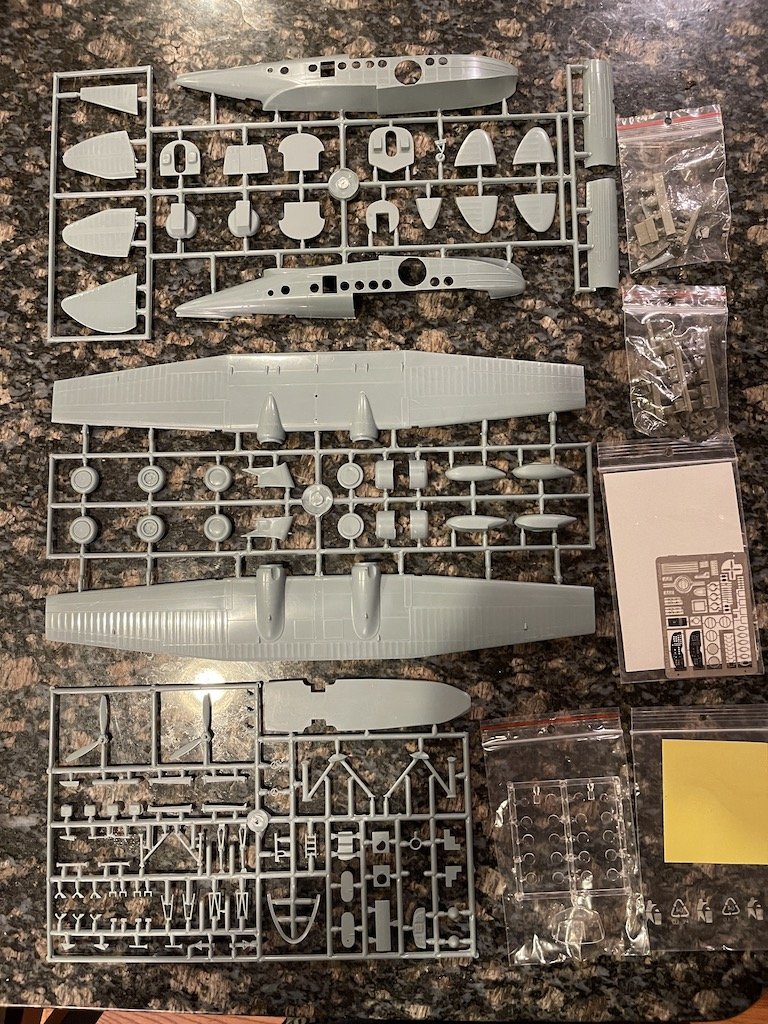
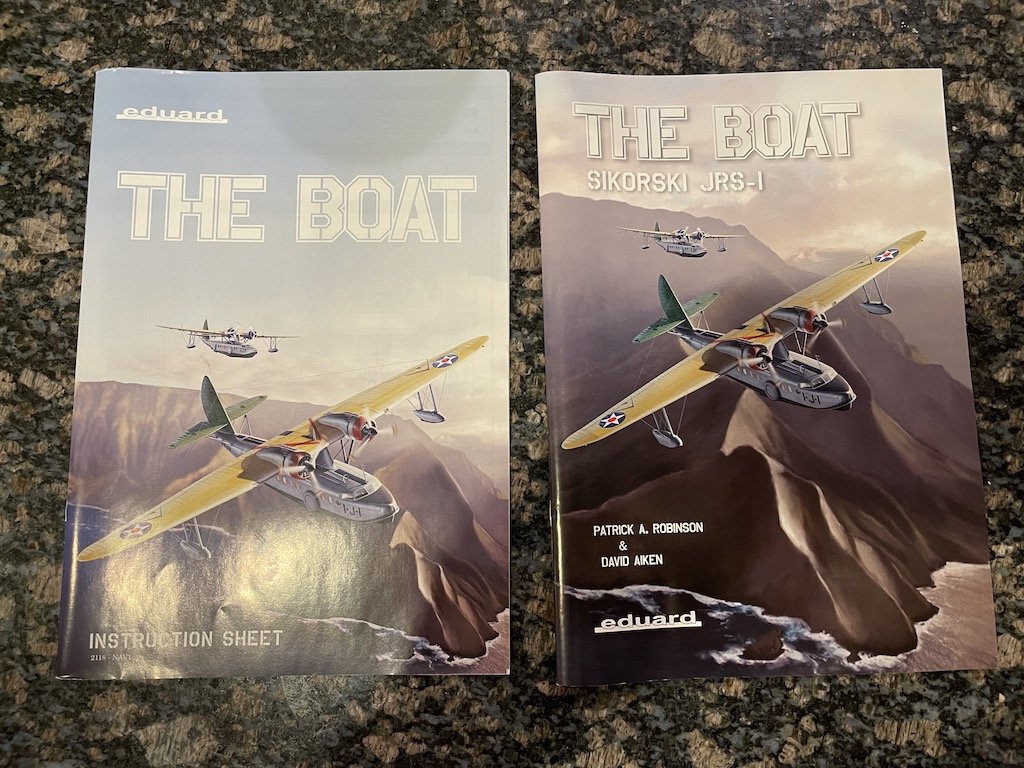
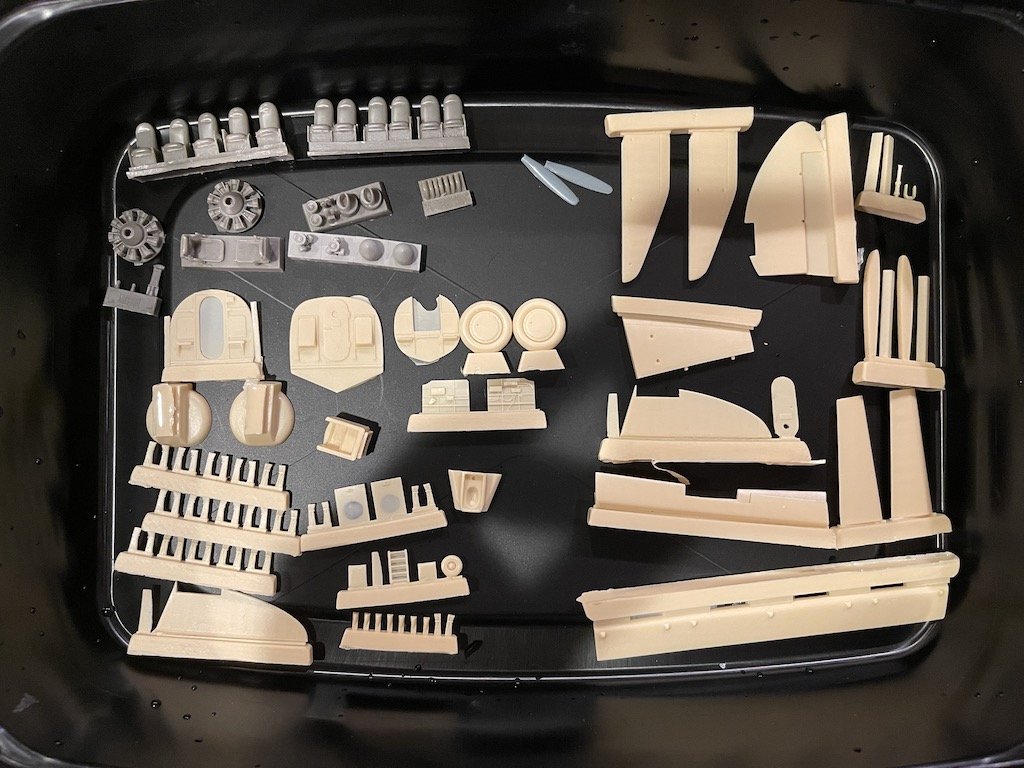
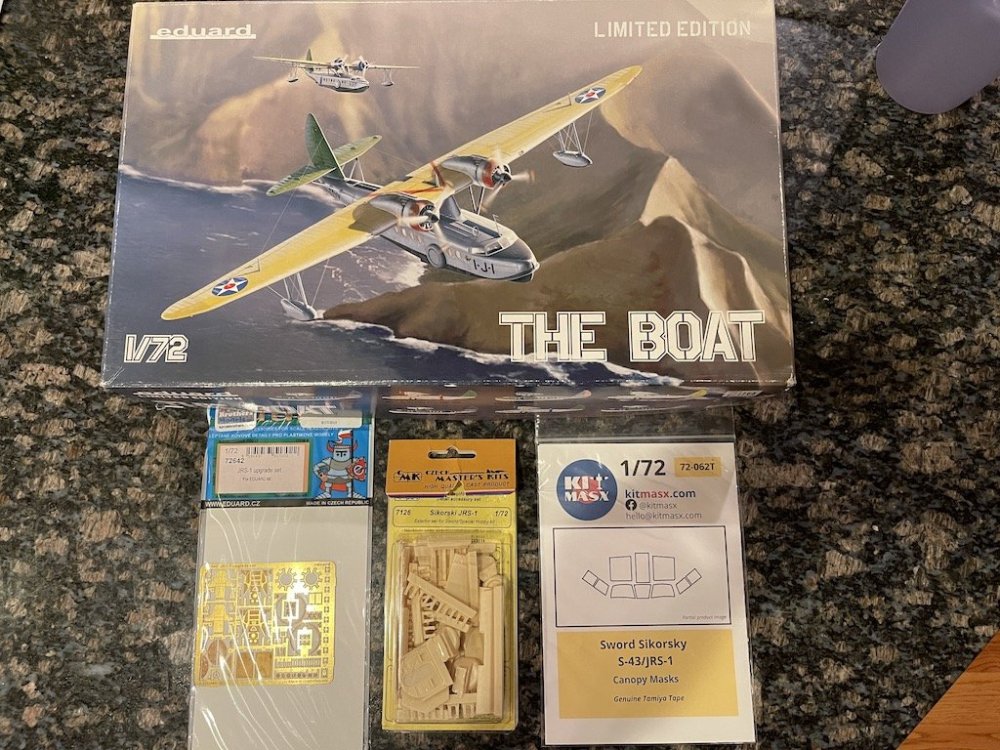
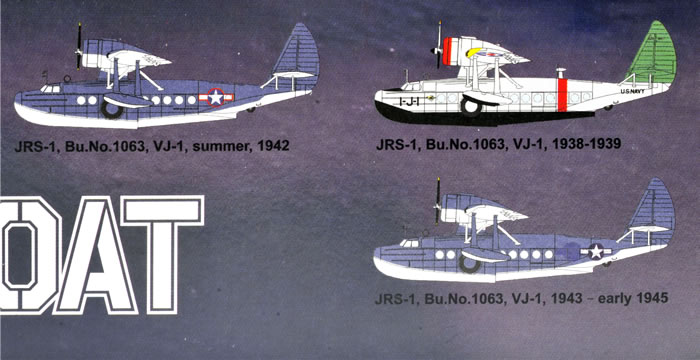
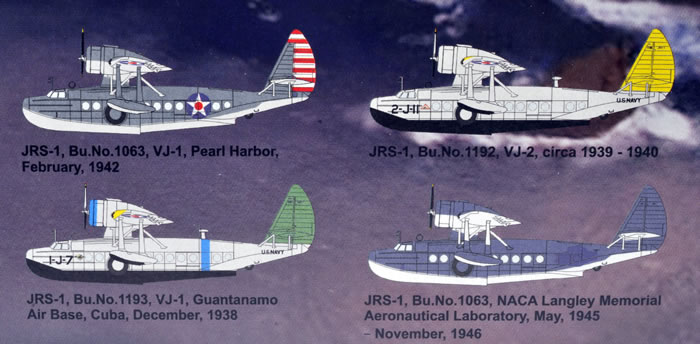
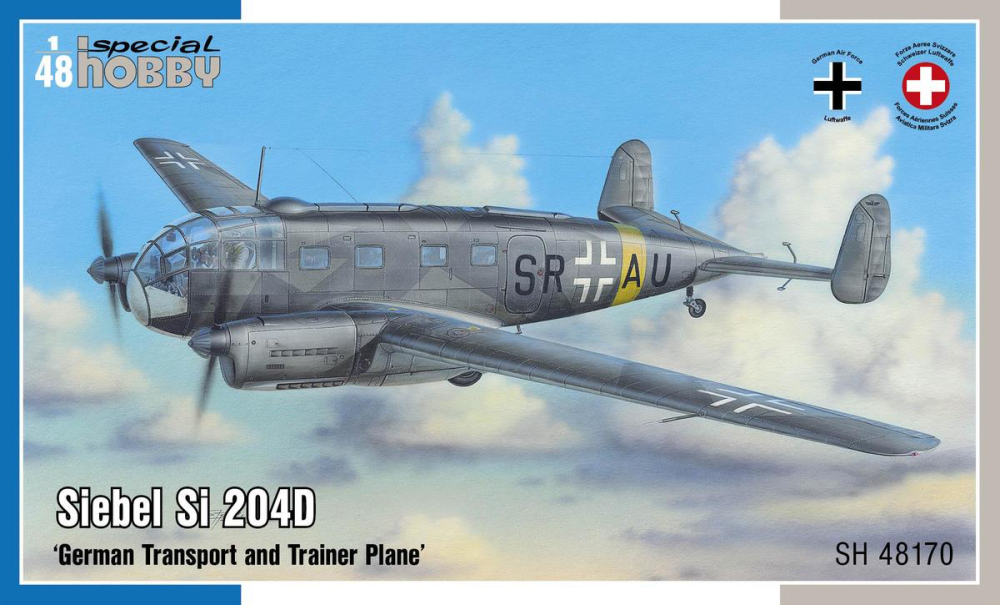
Thanks to @Peterpools for helping me pick what to build for the GB. Hopefully this shouldn't be too bad to complete on time. The Sikorsky S-43 or "Baby Clipper" was a smaller version of the S-42 Clipper and first flew in 1935. The US Navy began buying the plane beginning in 1937, and redesignated the military version as the JRS-1. I'm building the Eduard kit, which is a limited edition repop that came out in 2016 of an older Sword kit from 2003. Special Hobby had also re-released the same kit in 2005. Nice thing about the Eduard release is the addition of PE and resin improvements to the old kit. In addition, Eduard released a separate PE aftermarket set, and I luckily somehow managed to find the old discontinued CMK set which has a lot of helpful improvements like wheels, control surfaces, etc. Kit contents: The kit has a large color instruction manual, as well as a really nice color pamphlet with lots of info on and pictures of the JRS-1 to help build the model: Last night I gave the sprues and resin parts a bath. Here you can see all the resin parts between the kit (in gray) and the CMK set (in yellow). A blade from each prop was broken off, so I'll need to reattach them. Lots of color schemes are included in this kit. I'll probably do the kit as one of the multi-colored yellow wings. I'm leaning towards the blue-banded 1193, but the red-banded 1063 is probably the more famous plane as I believe it is at the Smithsonian Air and Space Museum (near me, I'll have to see if it's on exhibition).


-
MiniArt P-47D Thunderbolt: COMPLETED 2/13/24
Landlubber Mike replied to Peterpools's topic in LSM 1/48 Work in Progress
Great initial paint job Peter. Love the looks of this one. The invasion stripes are a cool touch. Can't wait to see it dressed up with the decals. I love the checkered noses on these planes. -
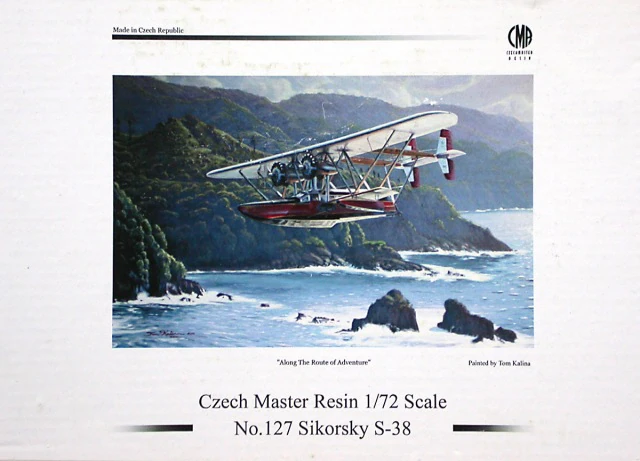
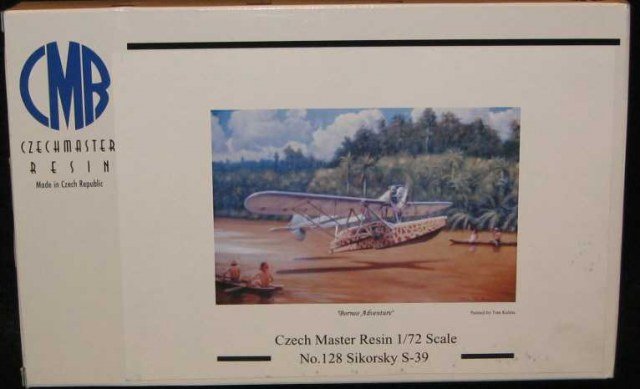
Hey Peter, thanks for making my decision for me. The Boat it is 👍 If you like the Sikorsky, I also have these two super cool Sikorsky kits in the stash. Only the S-38 has a twin engine - the S-39 has a single. Interestingly, you can do the S-38 as the Osa's Ark with zebra stripes, and the S-39 with giraffe spots. Maybe I'll tackle them after the JRS-1.
-
Just took a look at my stash. I think these are possibilities for me. I've got pretty much all the aftermarket for each of them. Any suggestions? Hopefully I'll actually complete it in time unlike the water GB!

-
HOW TO STAY ON THE ROAD :)
Landlubber Mike replied to Martinnfb's topic in The Great Twins Broup Bluild
Thanks guys! -
Nice paint job! Very crisp!
-
Cool subject! Looking forward to this one Peter!
-
HOW TO STAY ON THE ROAD :)
Landlubber Mike replied to Martinnfb's topic in The Great Twins Broup Bluild
Does scale matter? Does it have to be 1/32 or larger for planes? -
Cool subject, looking forward to seeing this one come along!
-
That's the way I usually work - from inside to outside. Railings are one of the later things to go on, but I agree, they are really a pain. Problem with ship models is that I'm always knocking things off or bending them too. Too many exposed details that seem to always be in the way of my clunky fingers. It's looking really good though. Maybe build another Corsair and turn back to it.
-
Back in the saddle. Finished re-installing my workbench
Landlubber Mike replied to HubertB's topic in General Discussion
Looks great Hubert! I have those same Hobby Zone modular items - they are really great.