
Kaireckstadt
-
Posts
1,705 -
Joined
-
Last visited
Content Type
Profiles
Forums
Events
Gallery
Everything posted by Kaireckstadt
-

617 Sqn Tornado Dambuster 70th
Kaireckstadt replied to Kaireckstadt's topic in LSM 1/35 and Larger Work In Progress
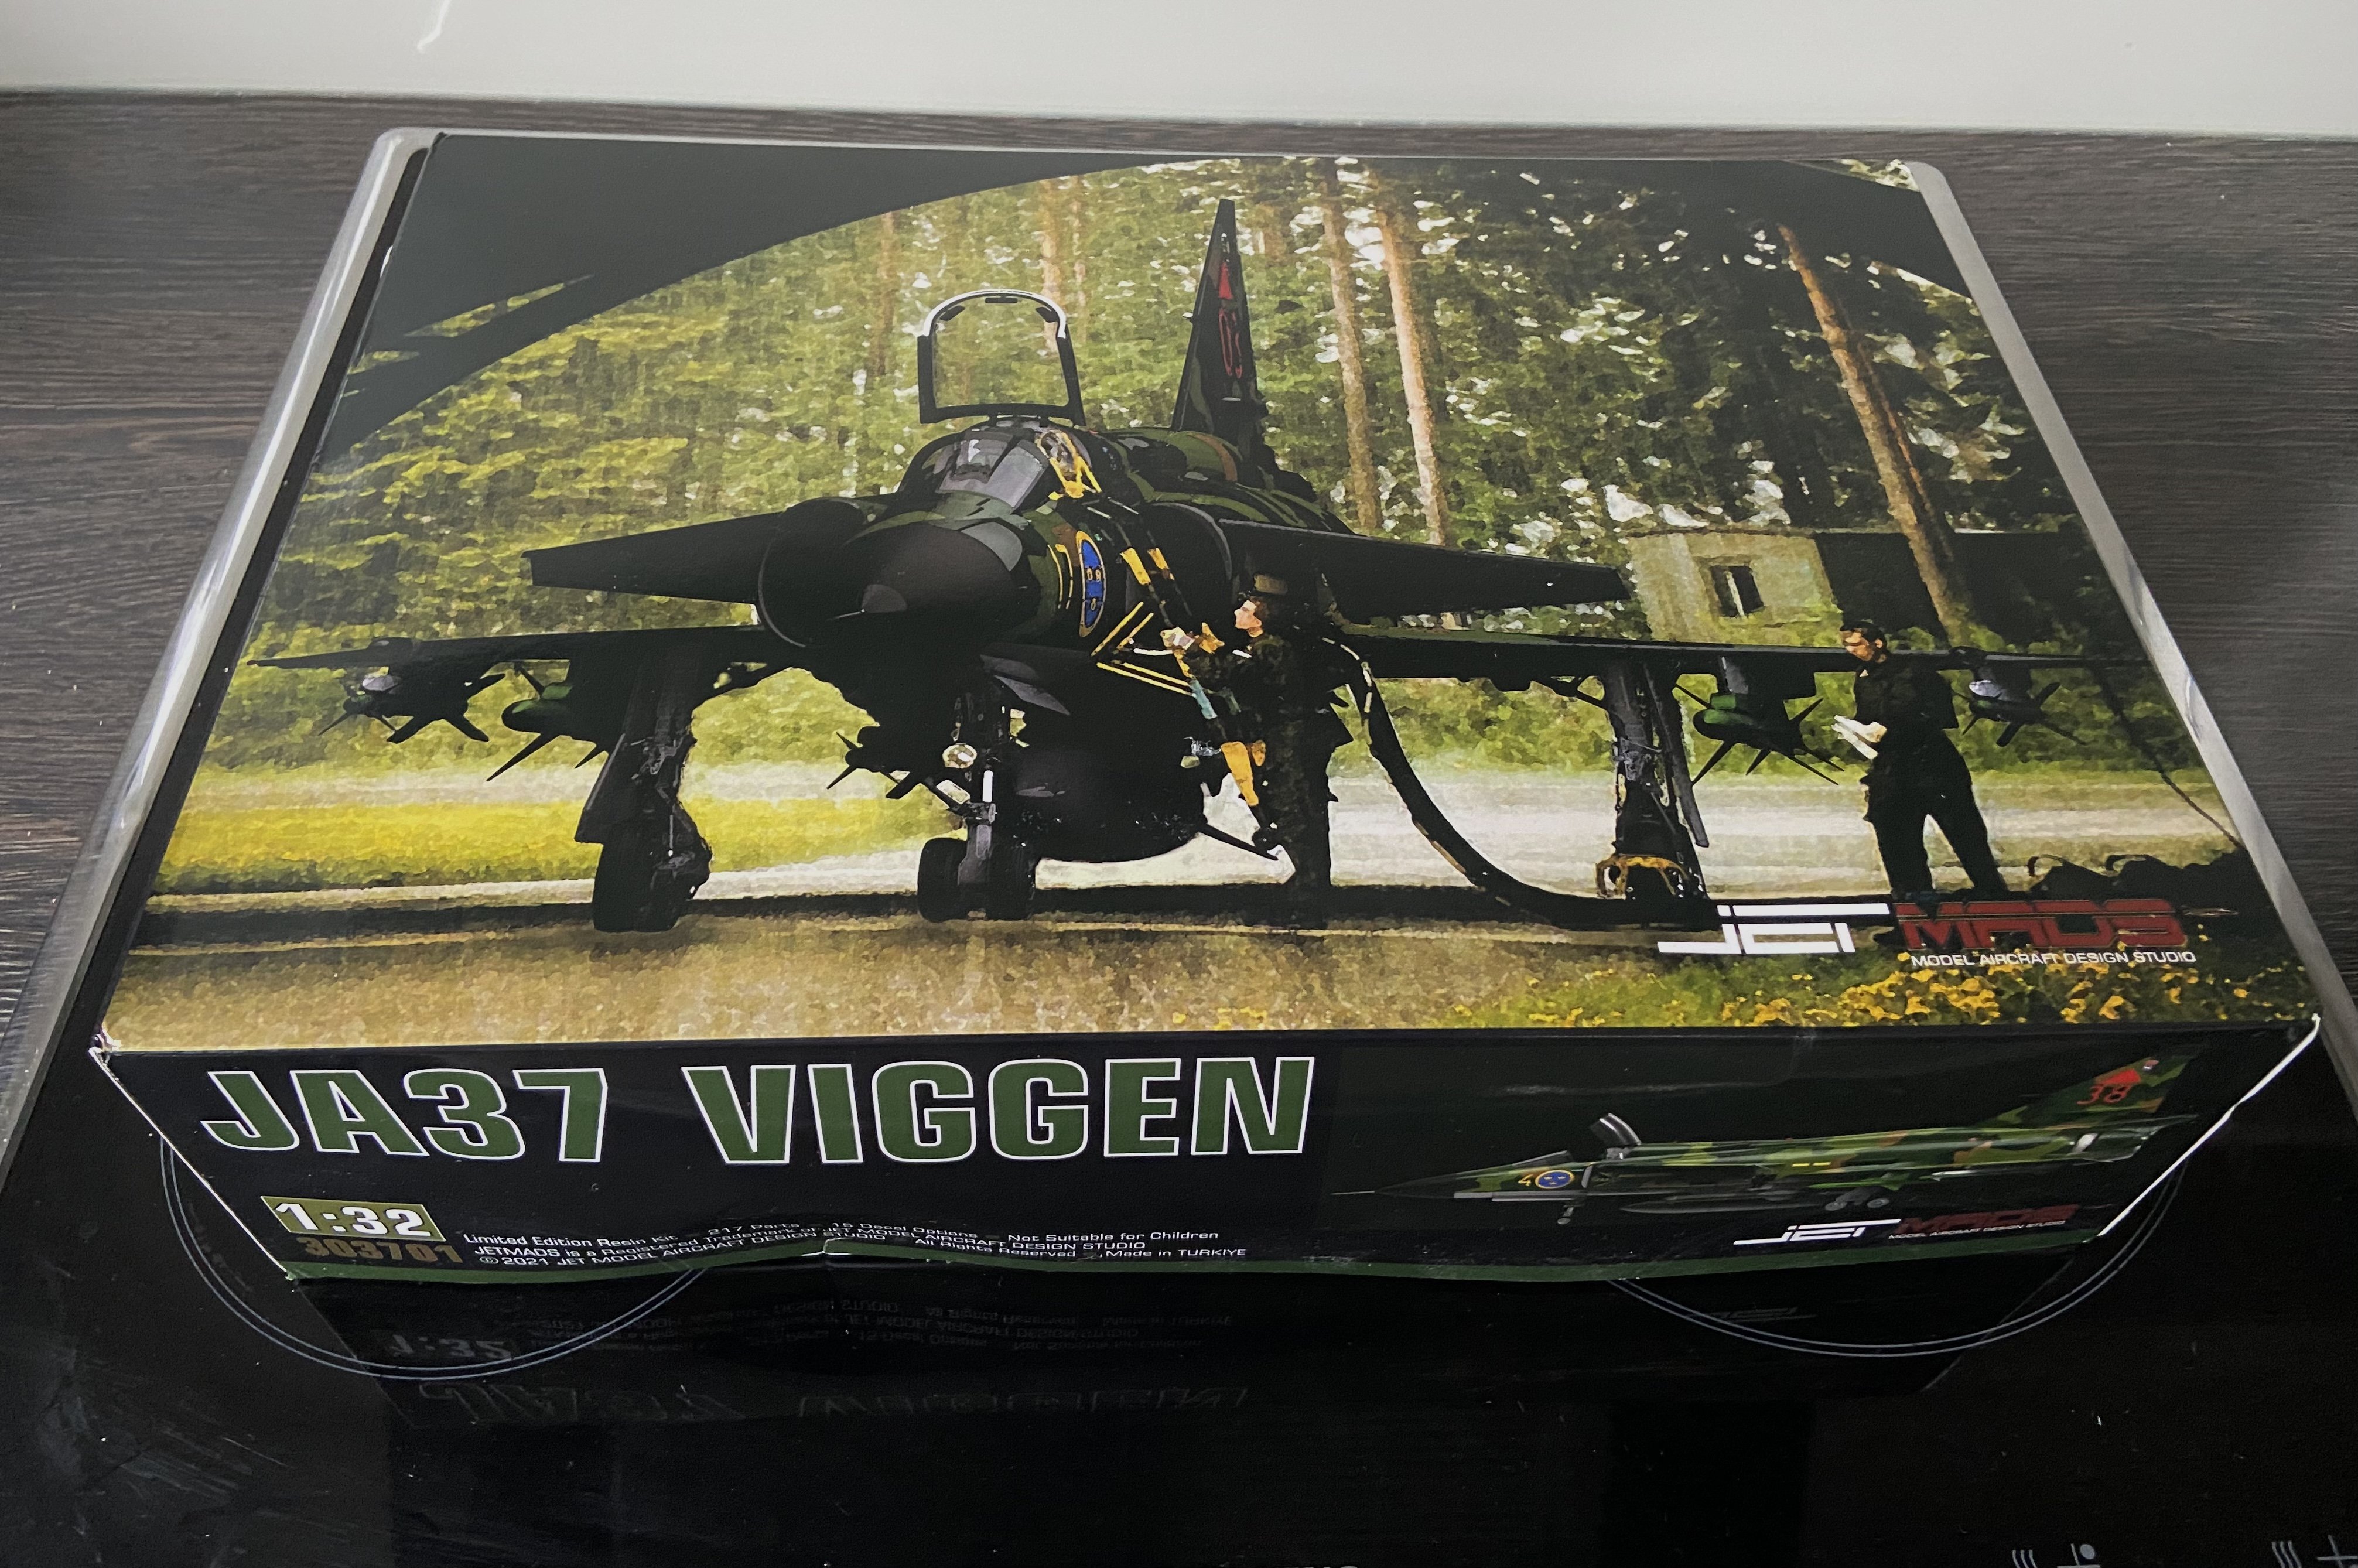
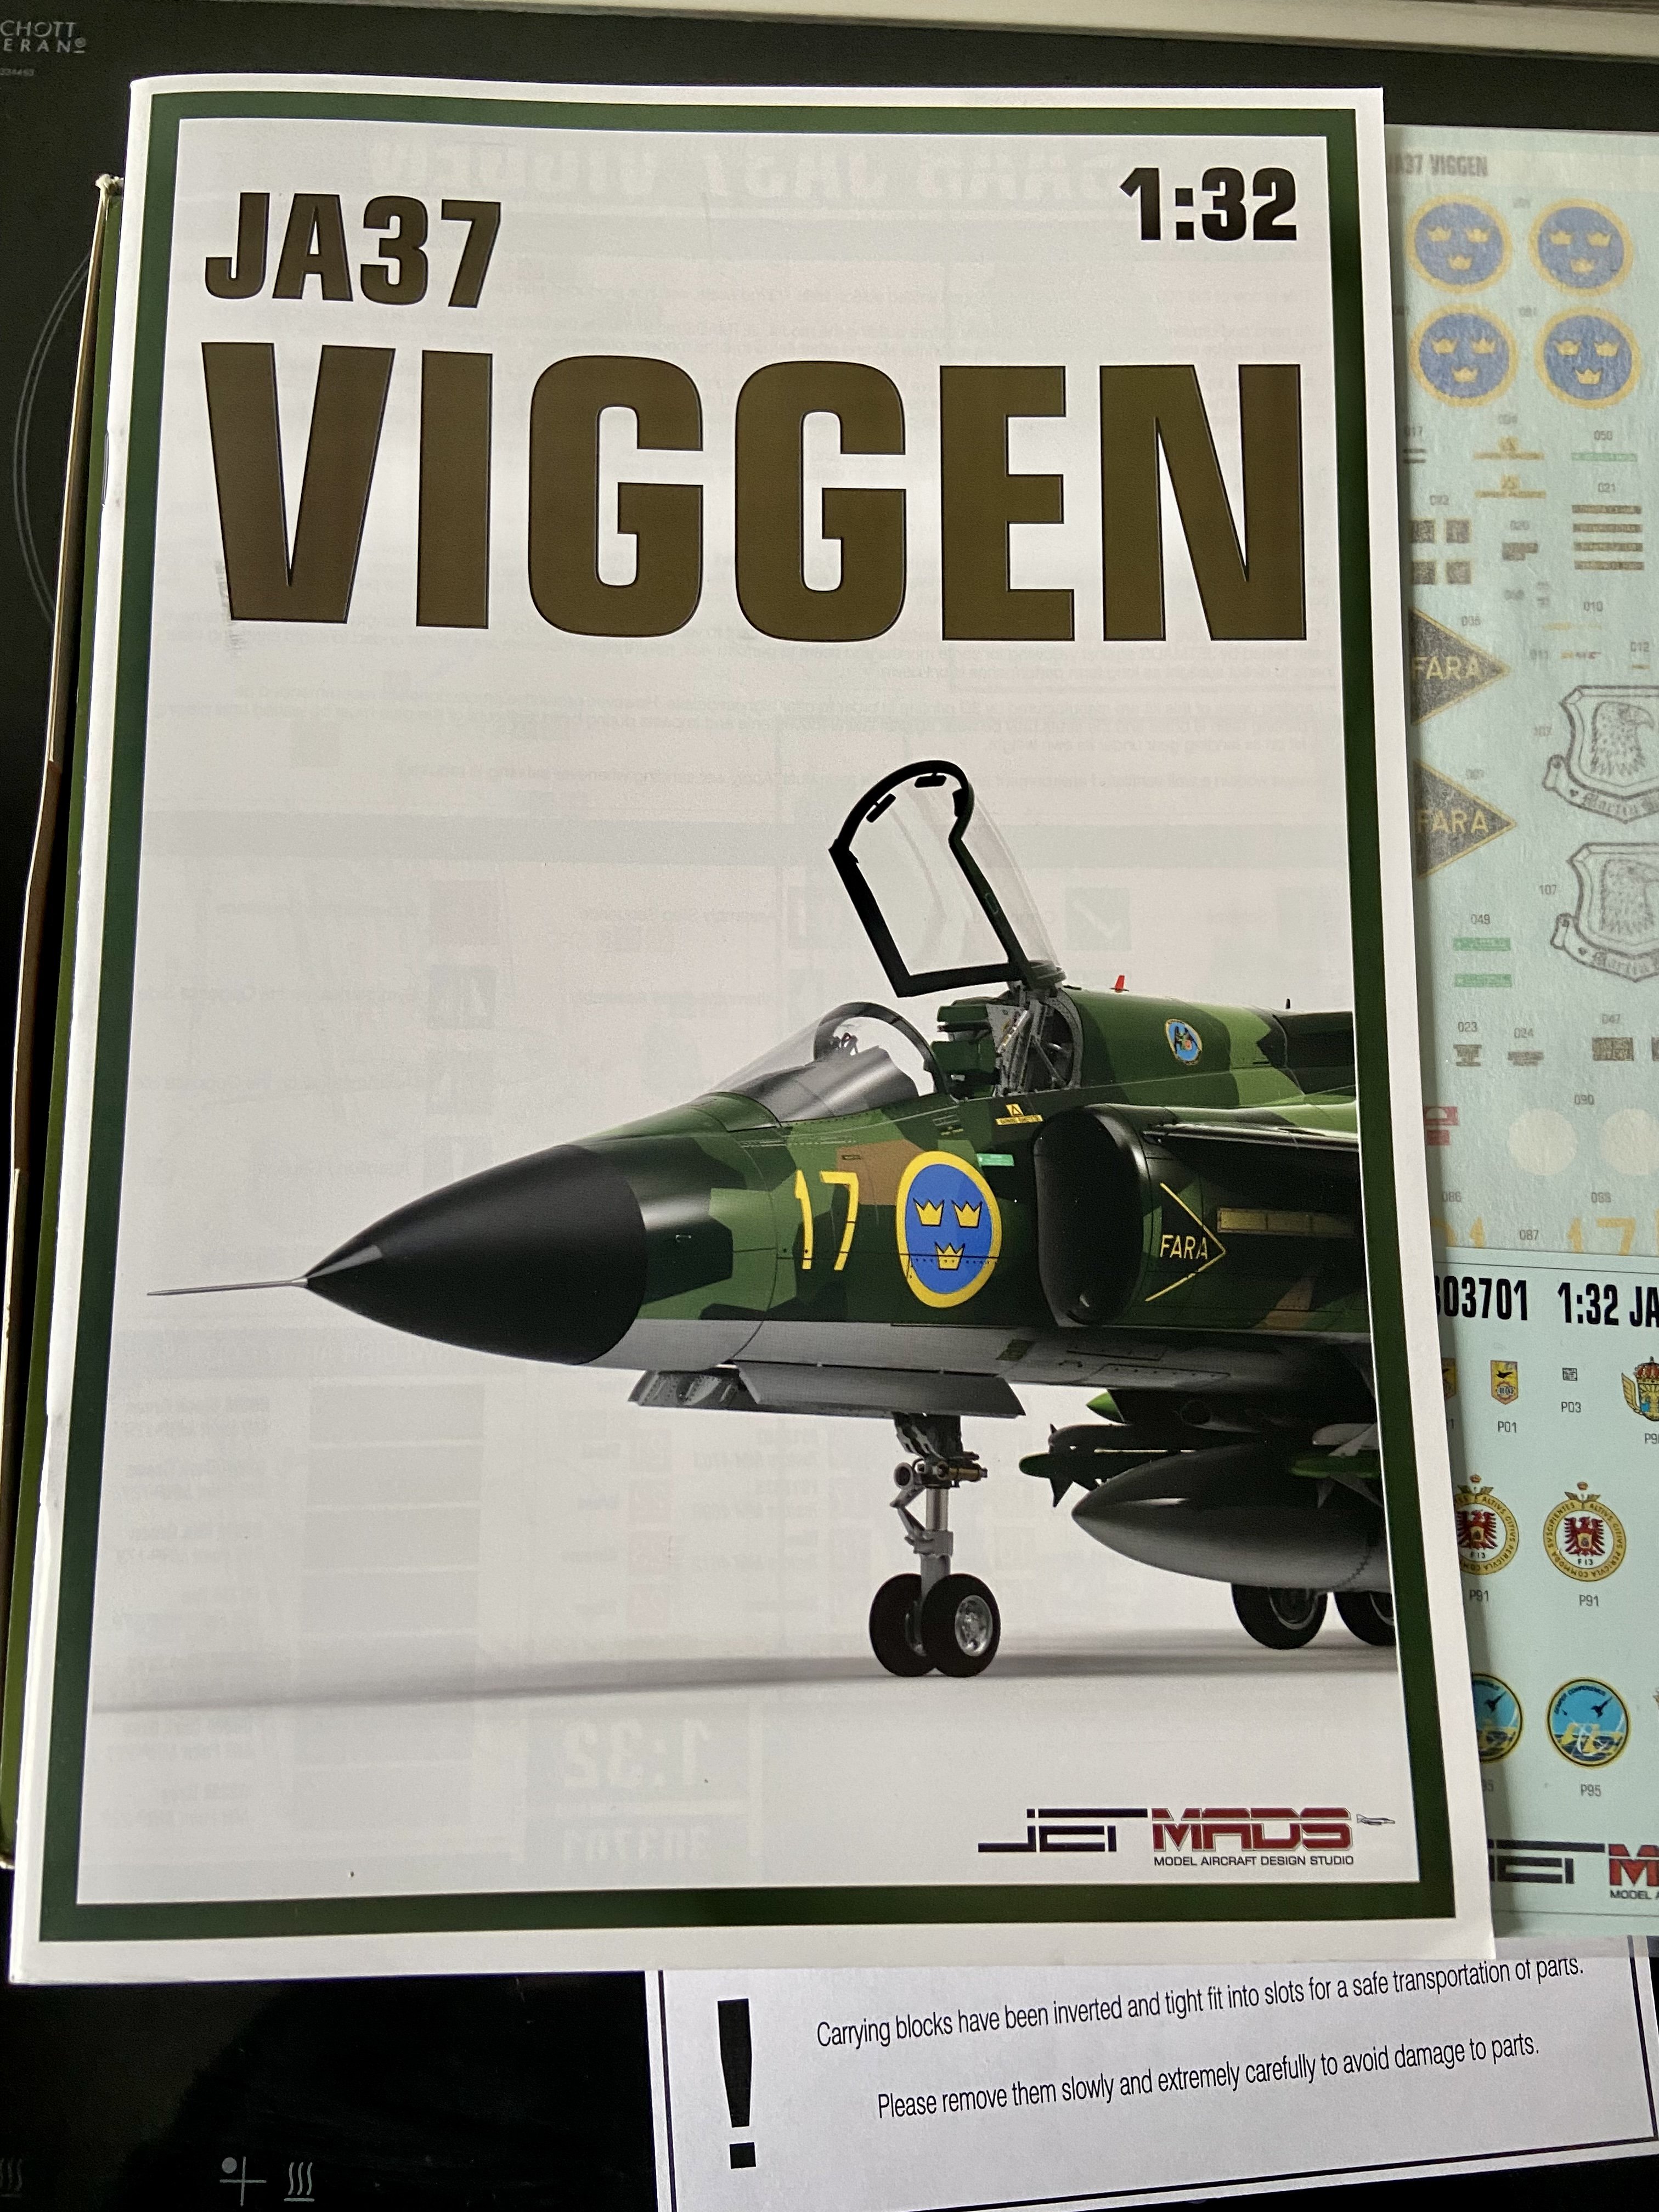
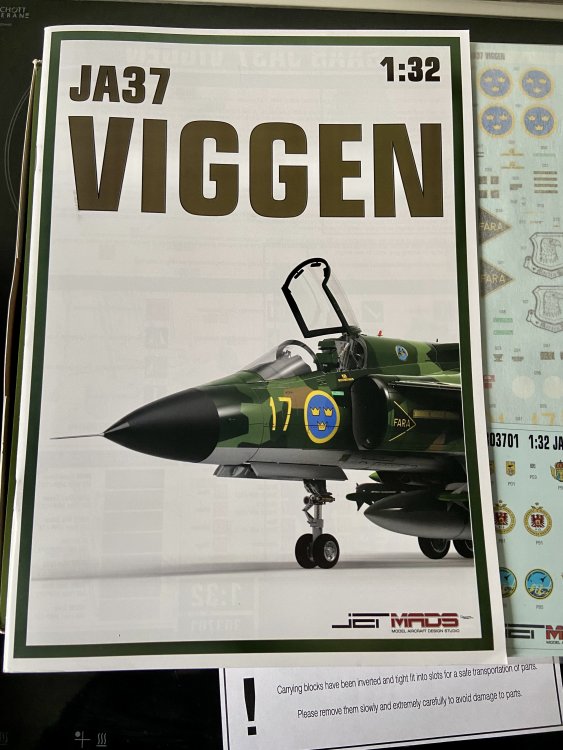
Thank you all for your feedback. Unfortunately the kit offers some of the same problems I had with the Mirage III kit. When I have finished it I will make a pause building Italeri kits. In the meanwhile my Viggen arrived and I’m really struggling with myself not to start it immediately…
-
Short Sunderland MkII
Kaireckstadt replied to ThomasProbert's topic in LSM 1/35 and Larger Work In Progress
Awesome paintjob Thomas. Stunning model 🤩 -
Dragon Panther A with Zimmerit
Kaireckstadt replied to GazzaS's topic in LSM 1/35 and Larger Work In Progress
These figures look great Gary. Have you ever thought of using Tamiya Tape for the straps and slings? Or is it too thick? Maybe it’s a suggestion to think about. -
Mono-Chrome 1/16th Scale Stug III ausf G
Kaireckstadt replied to Folkwulfe's topic in LSM 1/35 and Larger Work In Progress
The poses and uniforms look absolutely realistic! Stunning work! -
617 Sqn Tornado Dambuster 70th
Kaireckstadt replied to Kaireckstadt's topic in LSM 1/35 and Larger Work In Progress
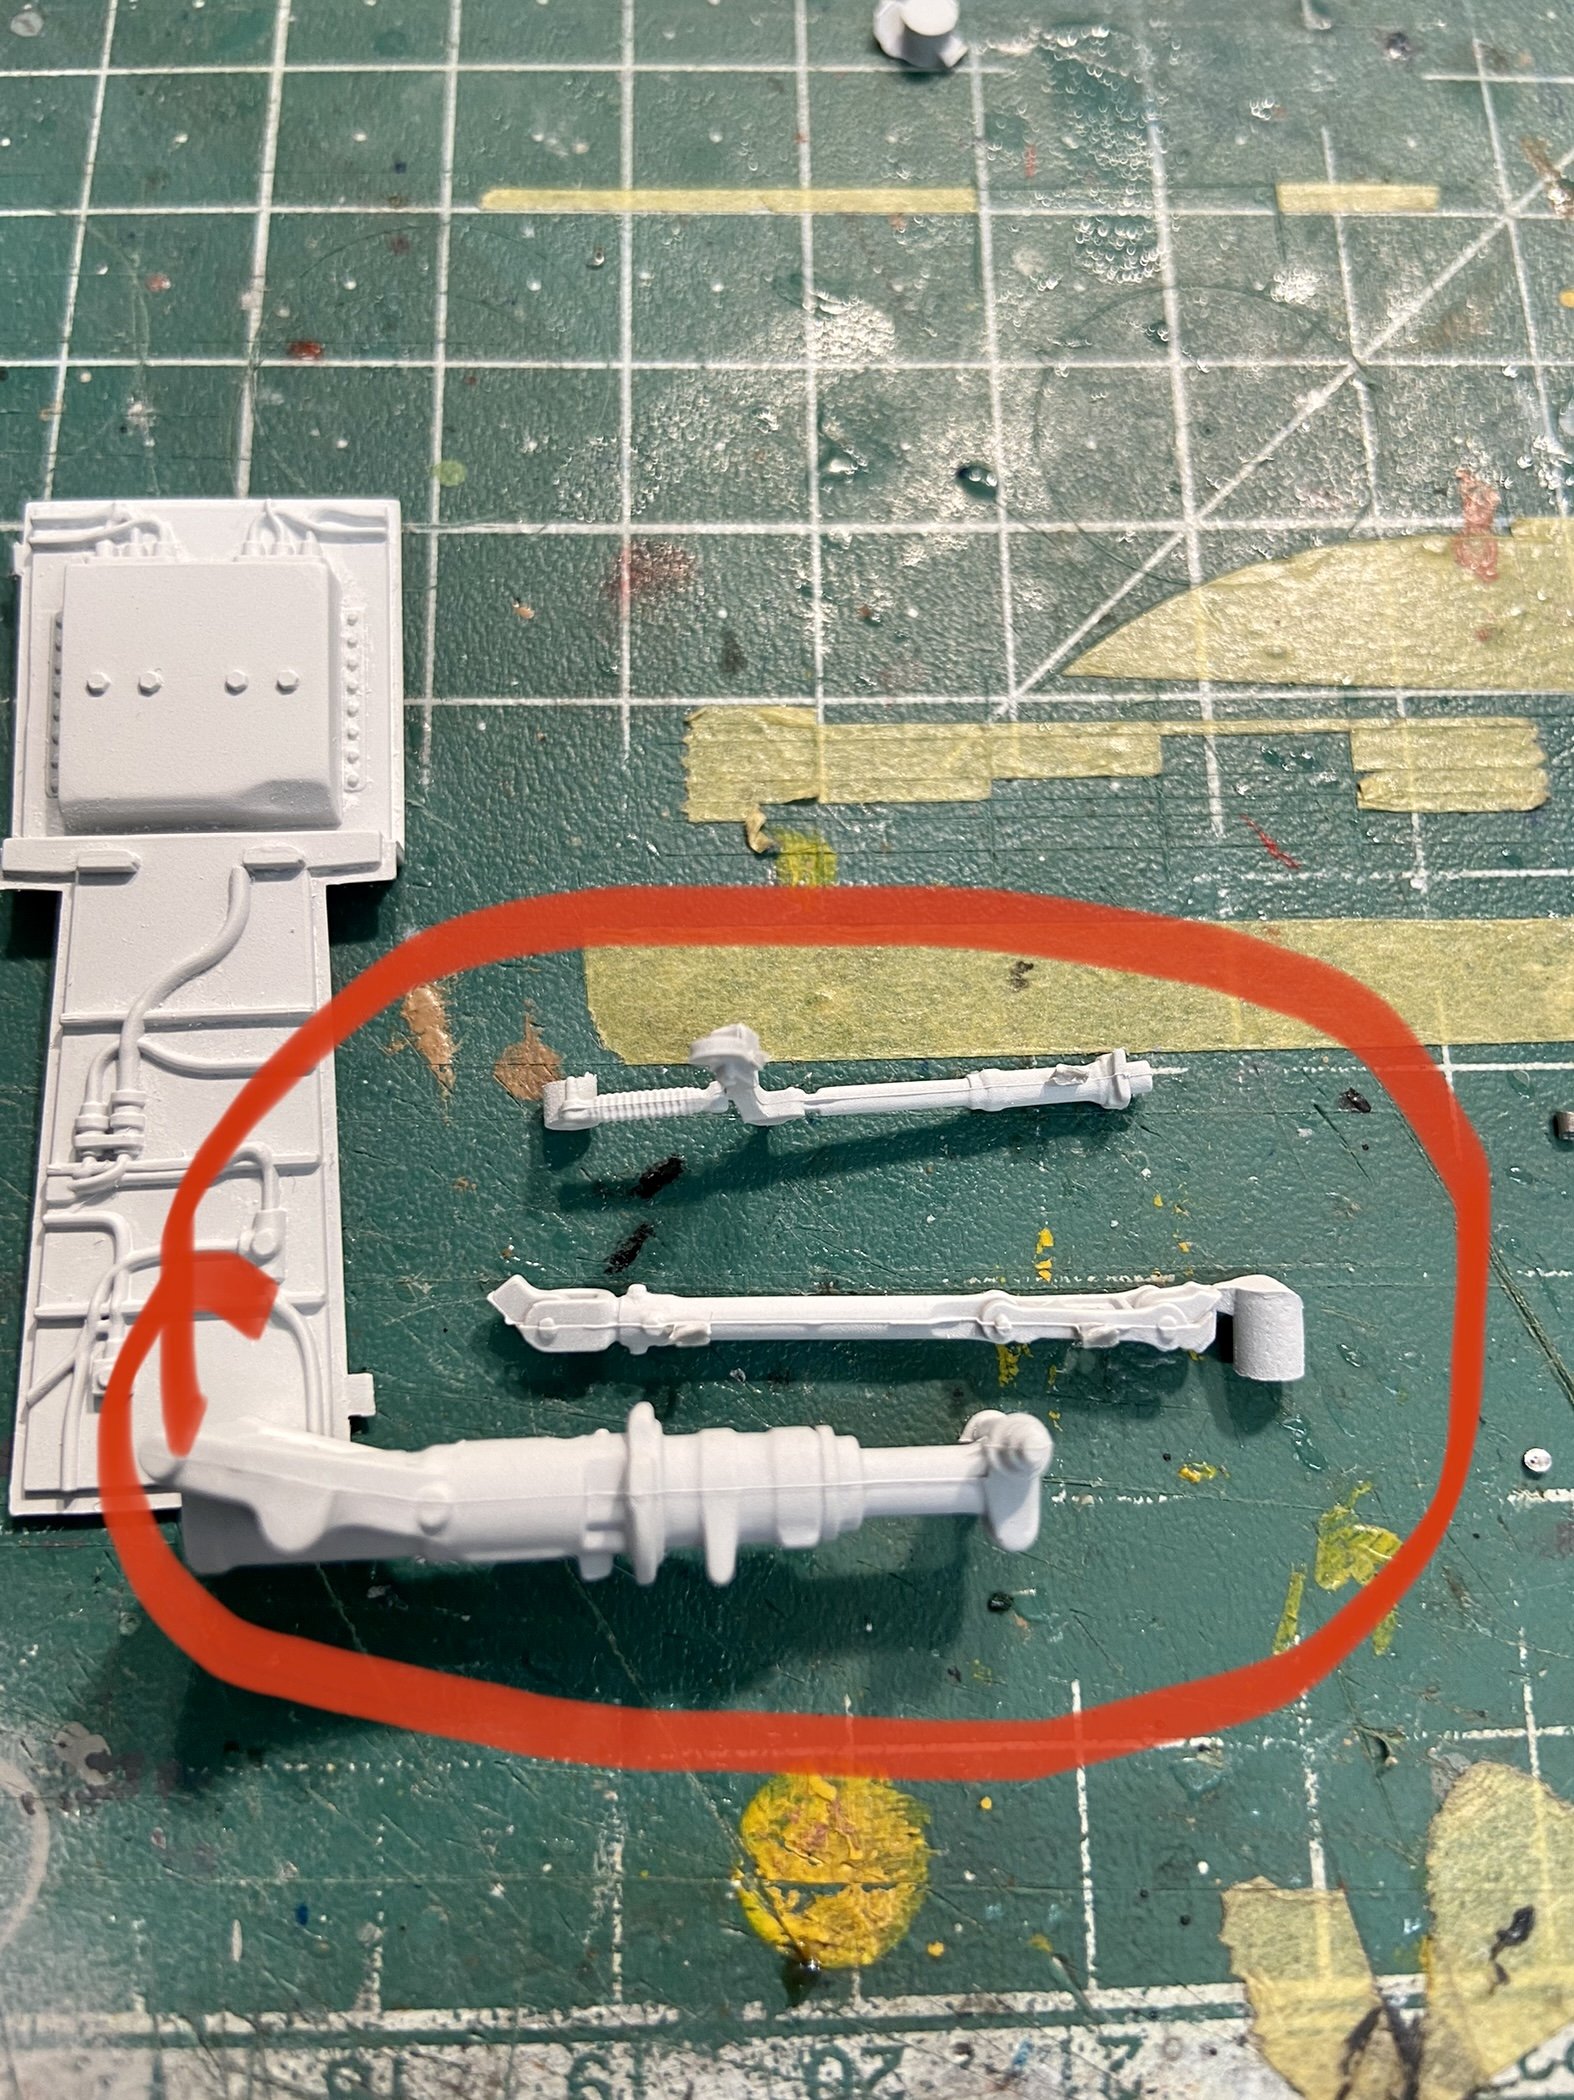
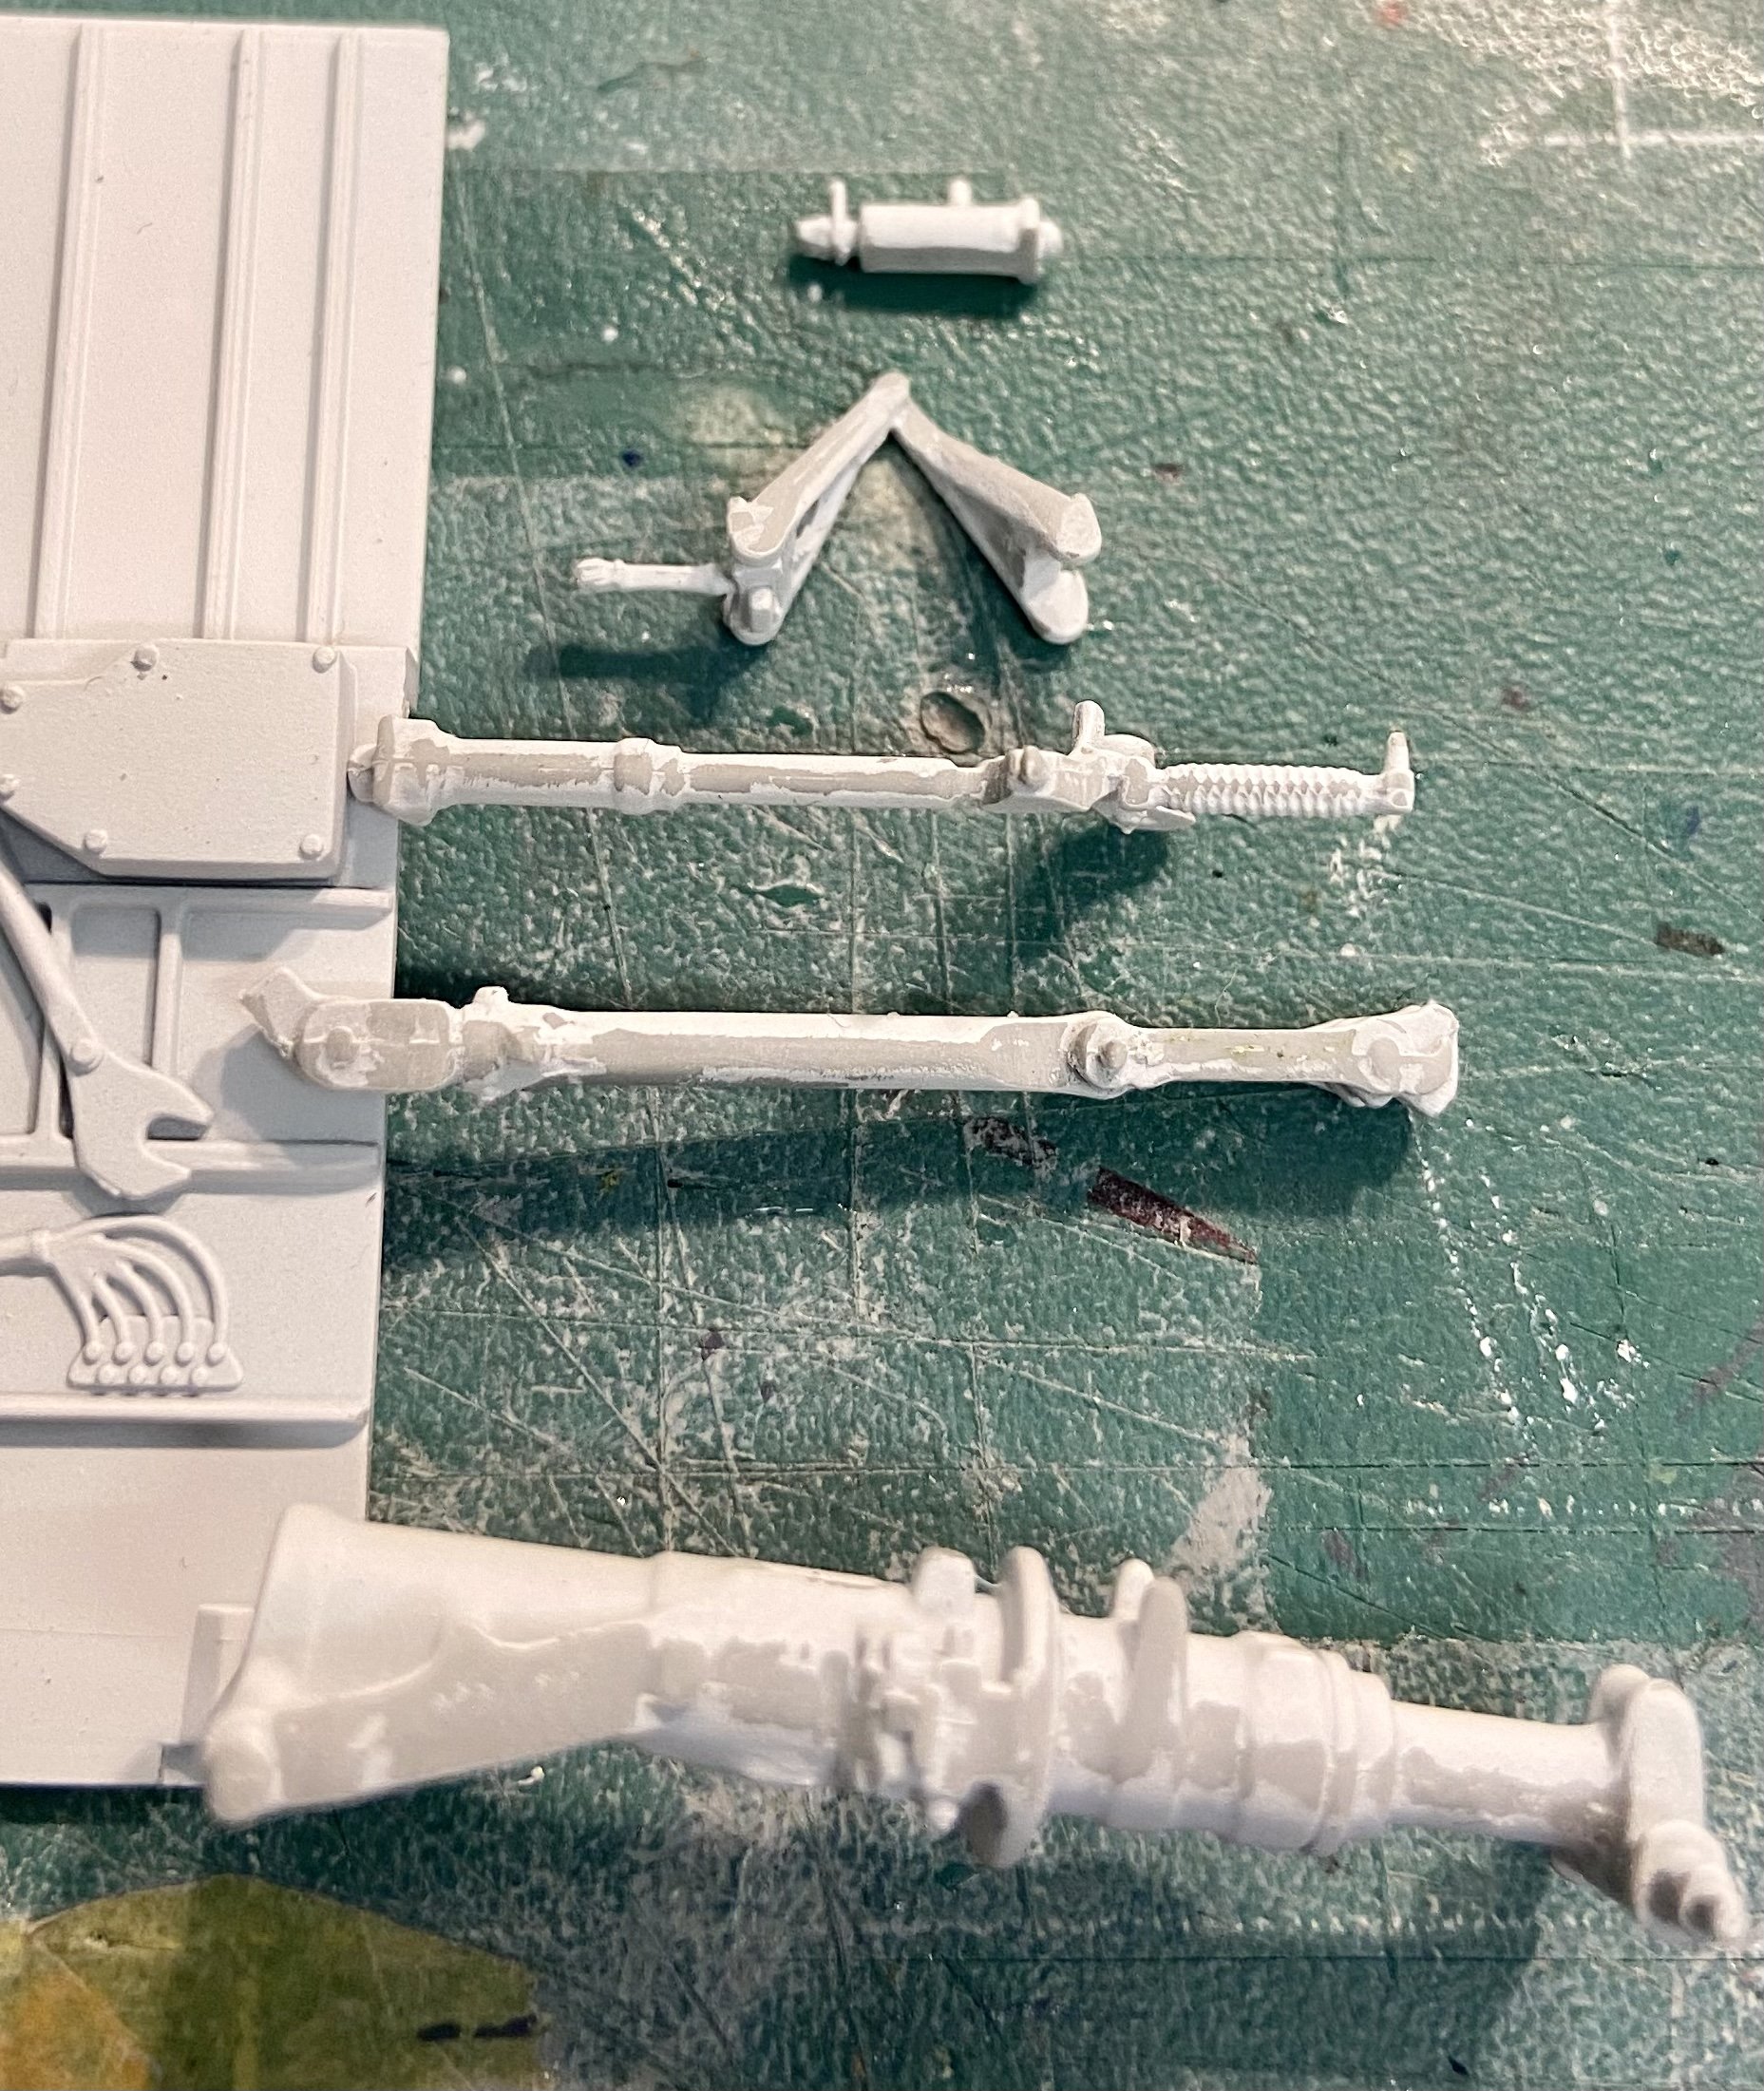
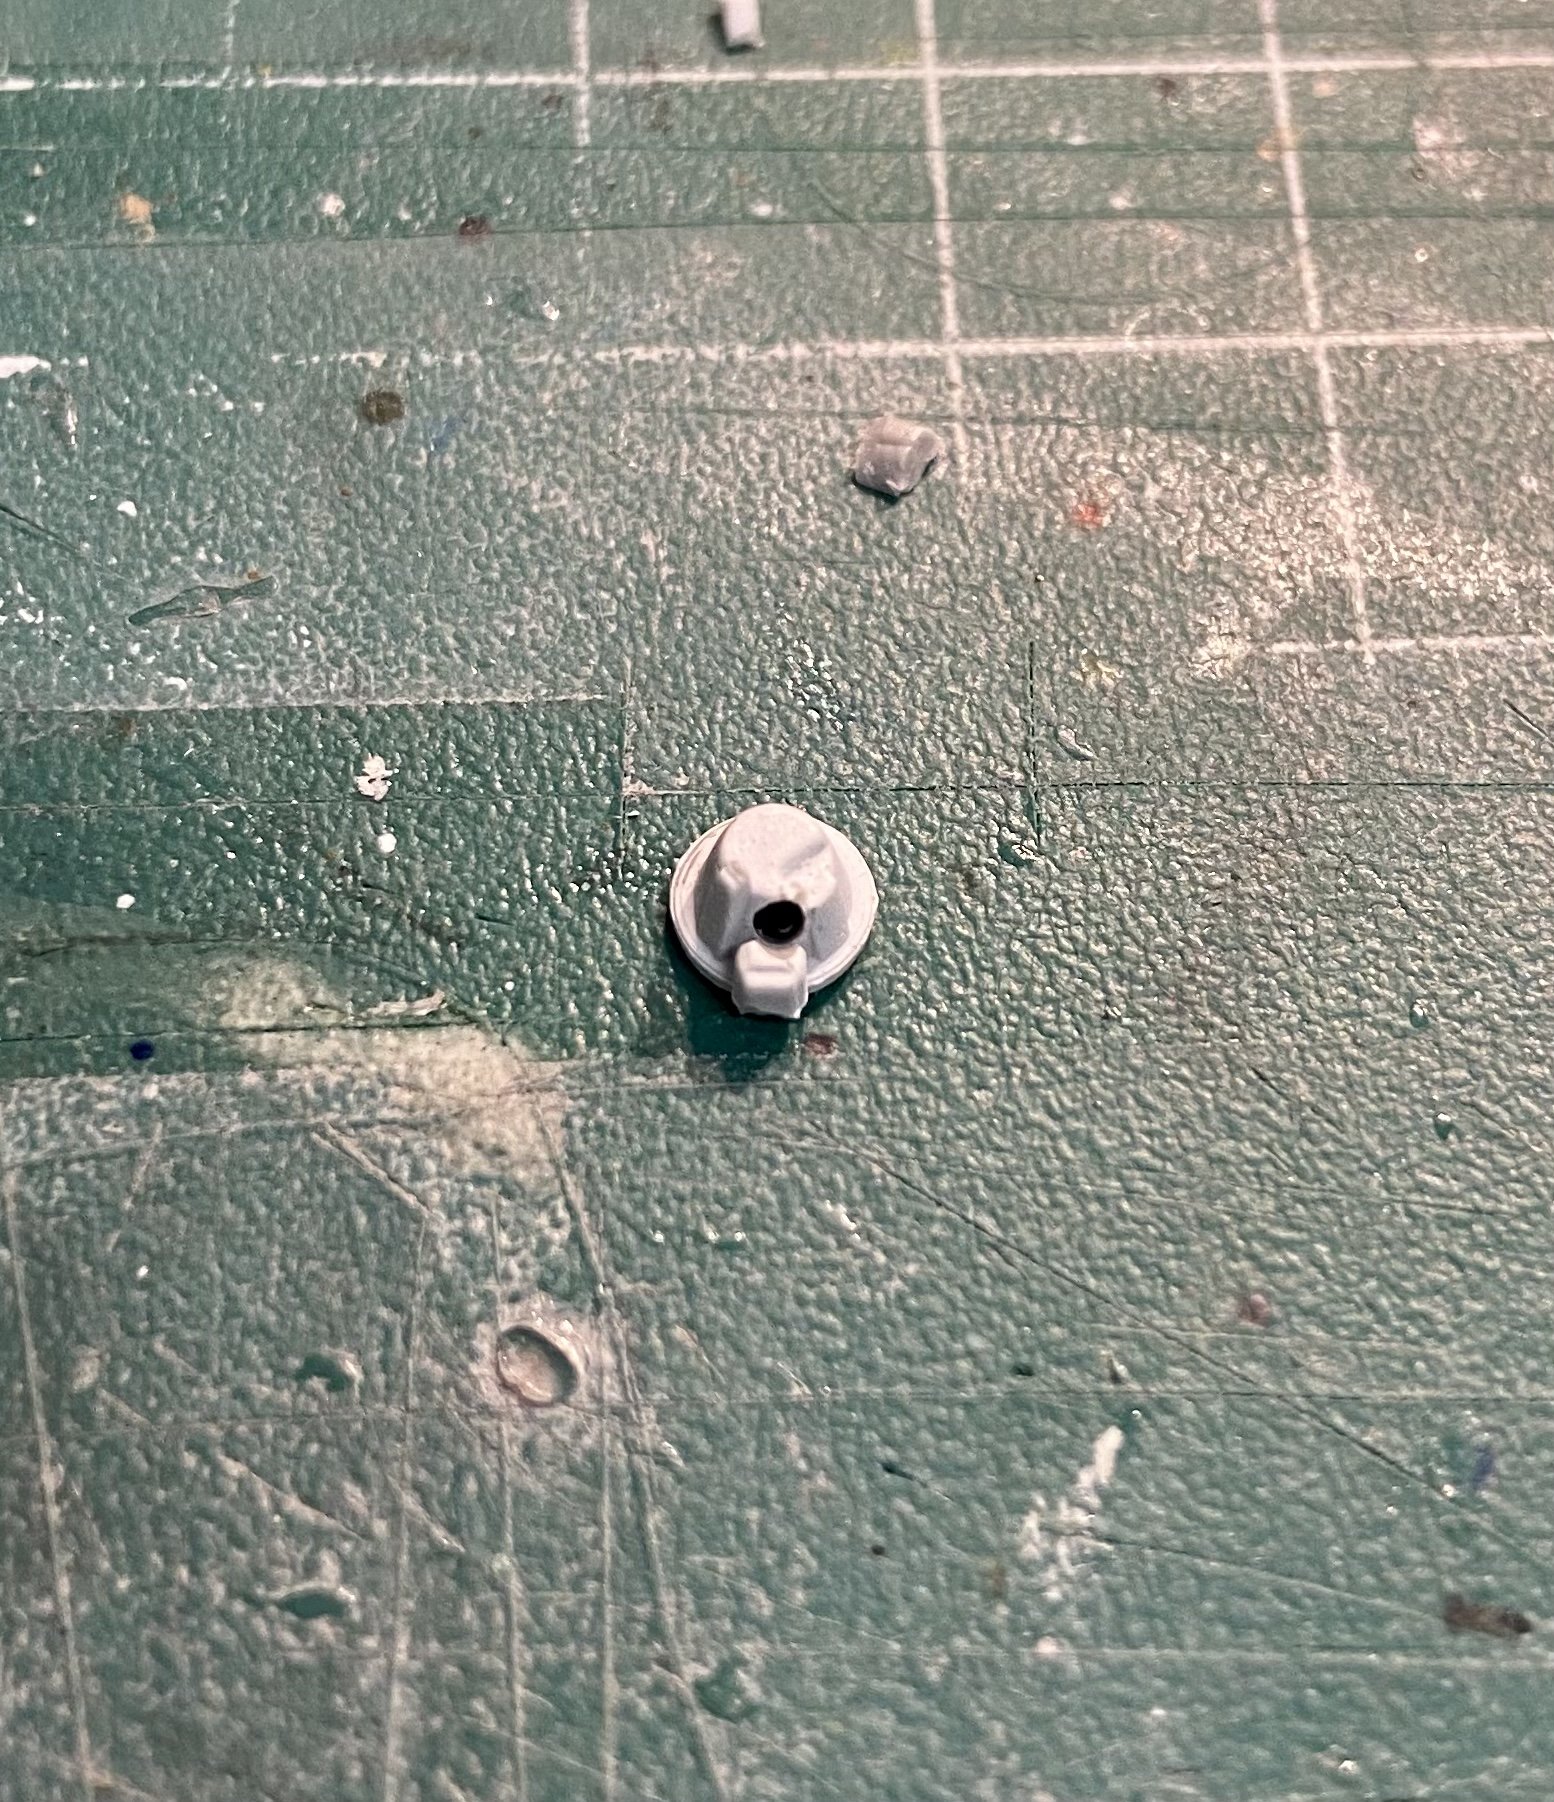
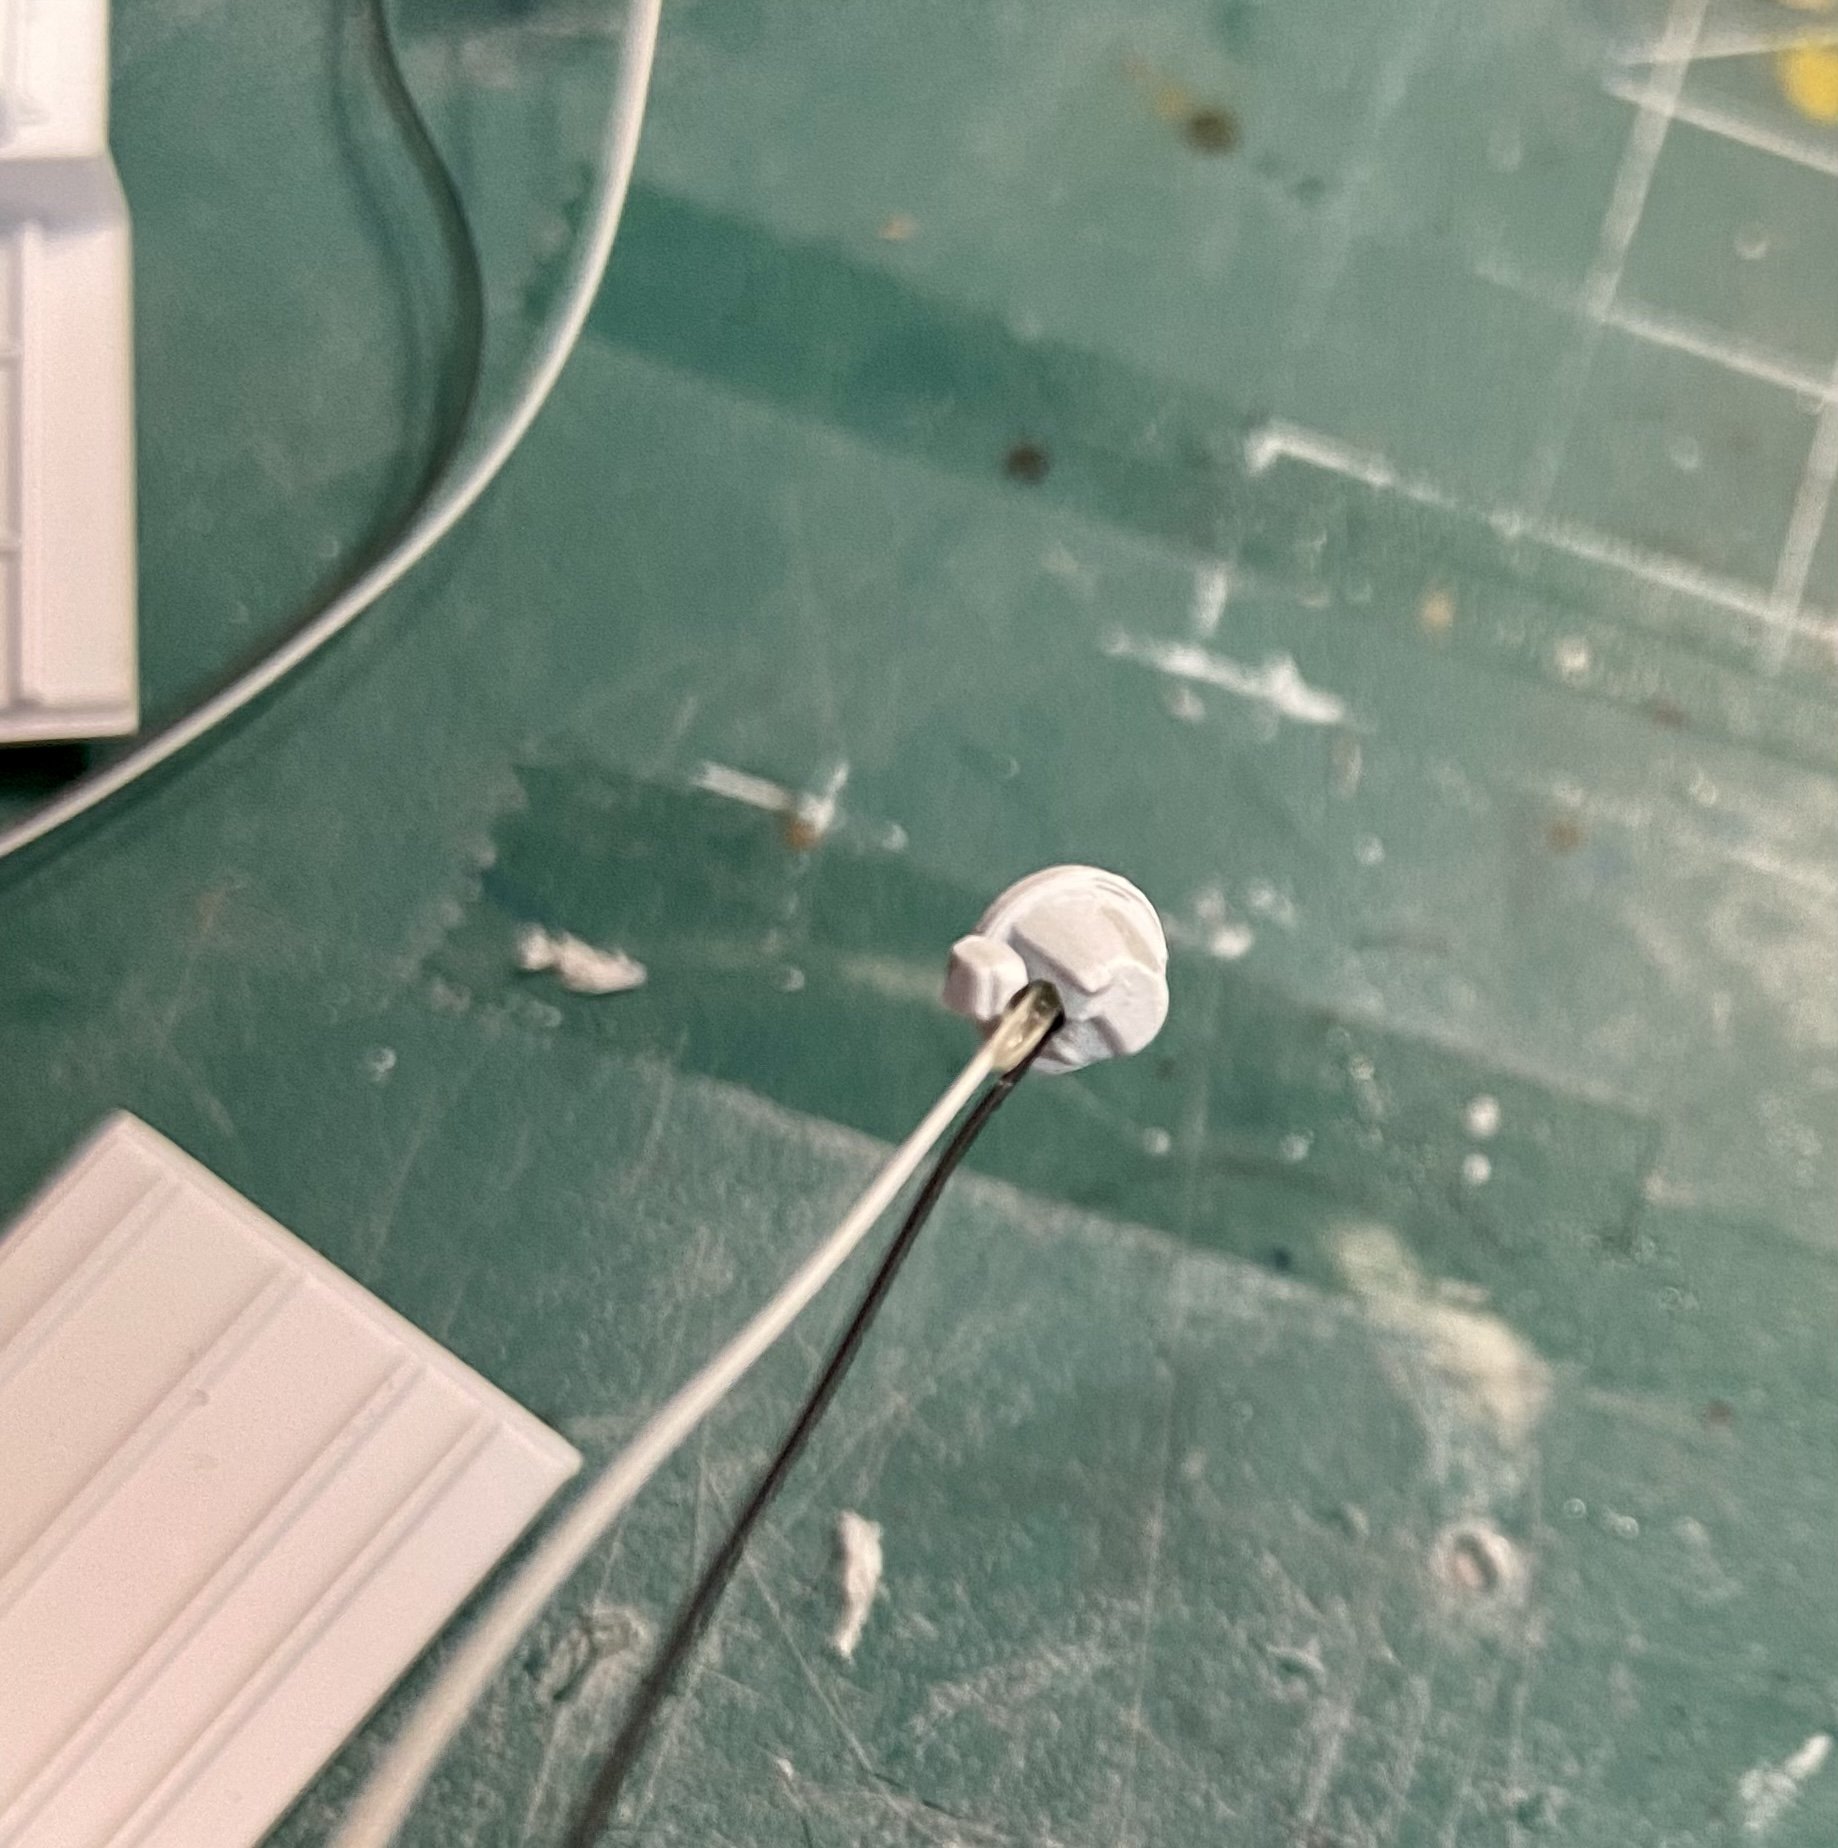
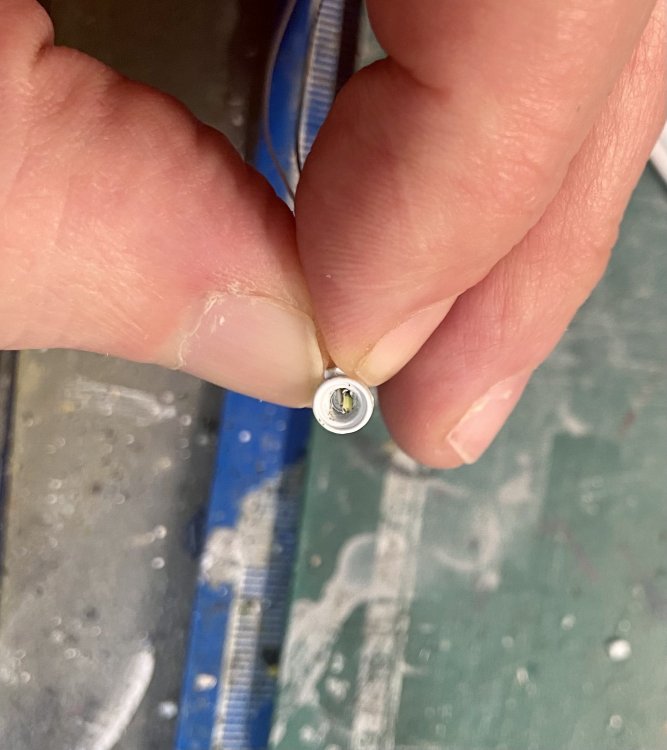
You are right Peter: You need a pocket-lamp to see the hidden details. I’m working on the front landing gear at the moment. Lots of seams to be removed on every part. I’m again disappointed from Italeri: After rework: Taxi-light prepared for LED: LED test-fitted: Next step is to paint all parts and add the necessary wiring to make it look more realistic and to hide the cable to the LED in the taxi-light.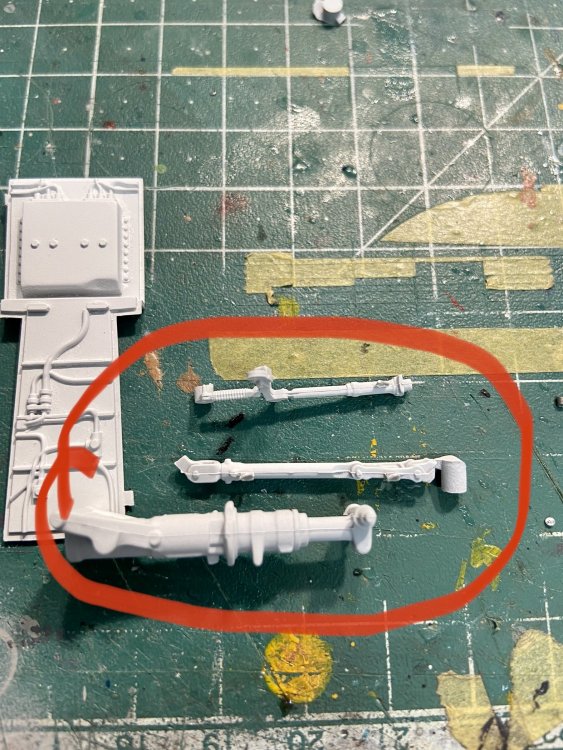


-
OMG NO!!! ANOTHER PHANTOM...
Kaireckstadt replied to k5ikl's topic in LSM 1/32 and Larger Aircraft Ready for Inspection
Very nice Rhino! Love the livery! -
Done - F-4EJ Kai Phantom - The Last of it's Kind ZM 1/48
Kaireckstadt replied to DocRob's topic in LSM 1/48 Work in Progress
Great decalwork Rob. This will be a stunning build with an eyecatching livery. -
Good luck with your renovation Peter! Hope that everything works as expected to have you back to the bench as soon as possible!
-
Dragon Panther A with Zimmerit
Kaireckstadt replied to GazzaS's topic in LSM 1/35 and Larger Work In Progress
Copy Rob: Looking awesome and I‘m curious how the figures will turn out Gary! -
Tamiya P-51 racer Bardahl Miss #49
Kaireckstadt replied to JohnB's topic in LSM 1/35 and Larger Work In Progress
Awesome work John! This will be a stunning eyecatcher in the end! Love it! -
617 Sqn Tornado Dambuster 70th
Kaireckstadt replied to Kaireckstadt's topic in LSM 1/35 and Larger Work In Progress
Thank you for your feedback and that you will accompany my build. -
617 Sqn Tornado Dambuster 70th
Kaireckstadt replied to Kaireckstadt's topic in LSM 1/35 and Larger Work In Progress
Thank you both for your feedback! Much appreciated! -
Dragon Panther A with Zimmerit
Kaireckstadt replied to GazzaS's topic in LSM 1/35 and Larger Work In Progress
Great progress Gary! Haven’t heard about the „Nahverteidigungswaffe“ so far and you did a nice rework on the turret to make it historically correct! Only one track-element left in the end ? That’s not very much! Carful work necessary then! -
617 Sqn Tornado Dambuster 70th
Kaireckstadt replied to Kaireckstadt's topic in LSM 1/35 and Larger Work In Progress
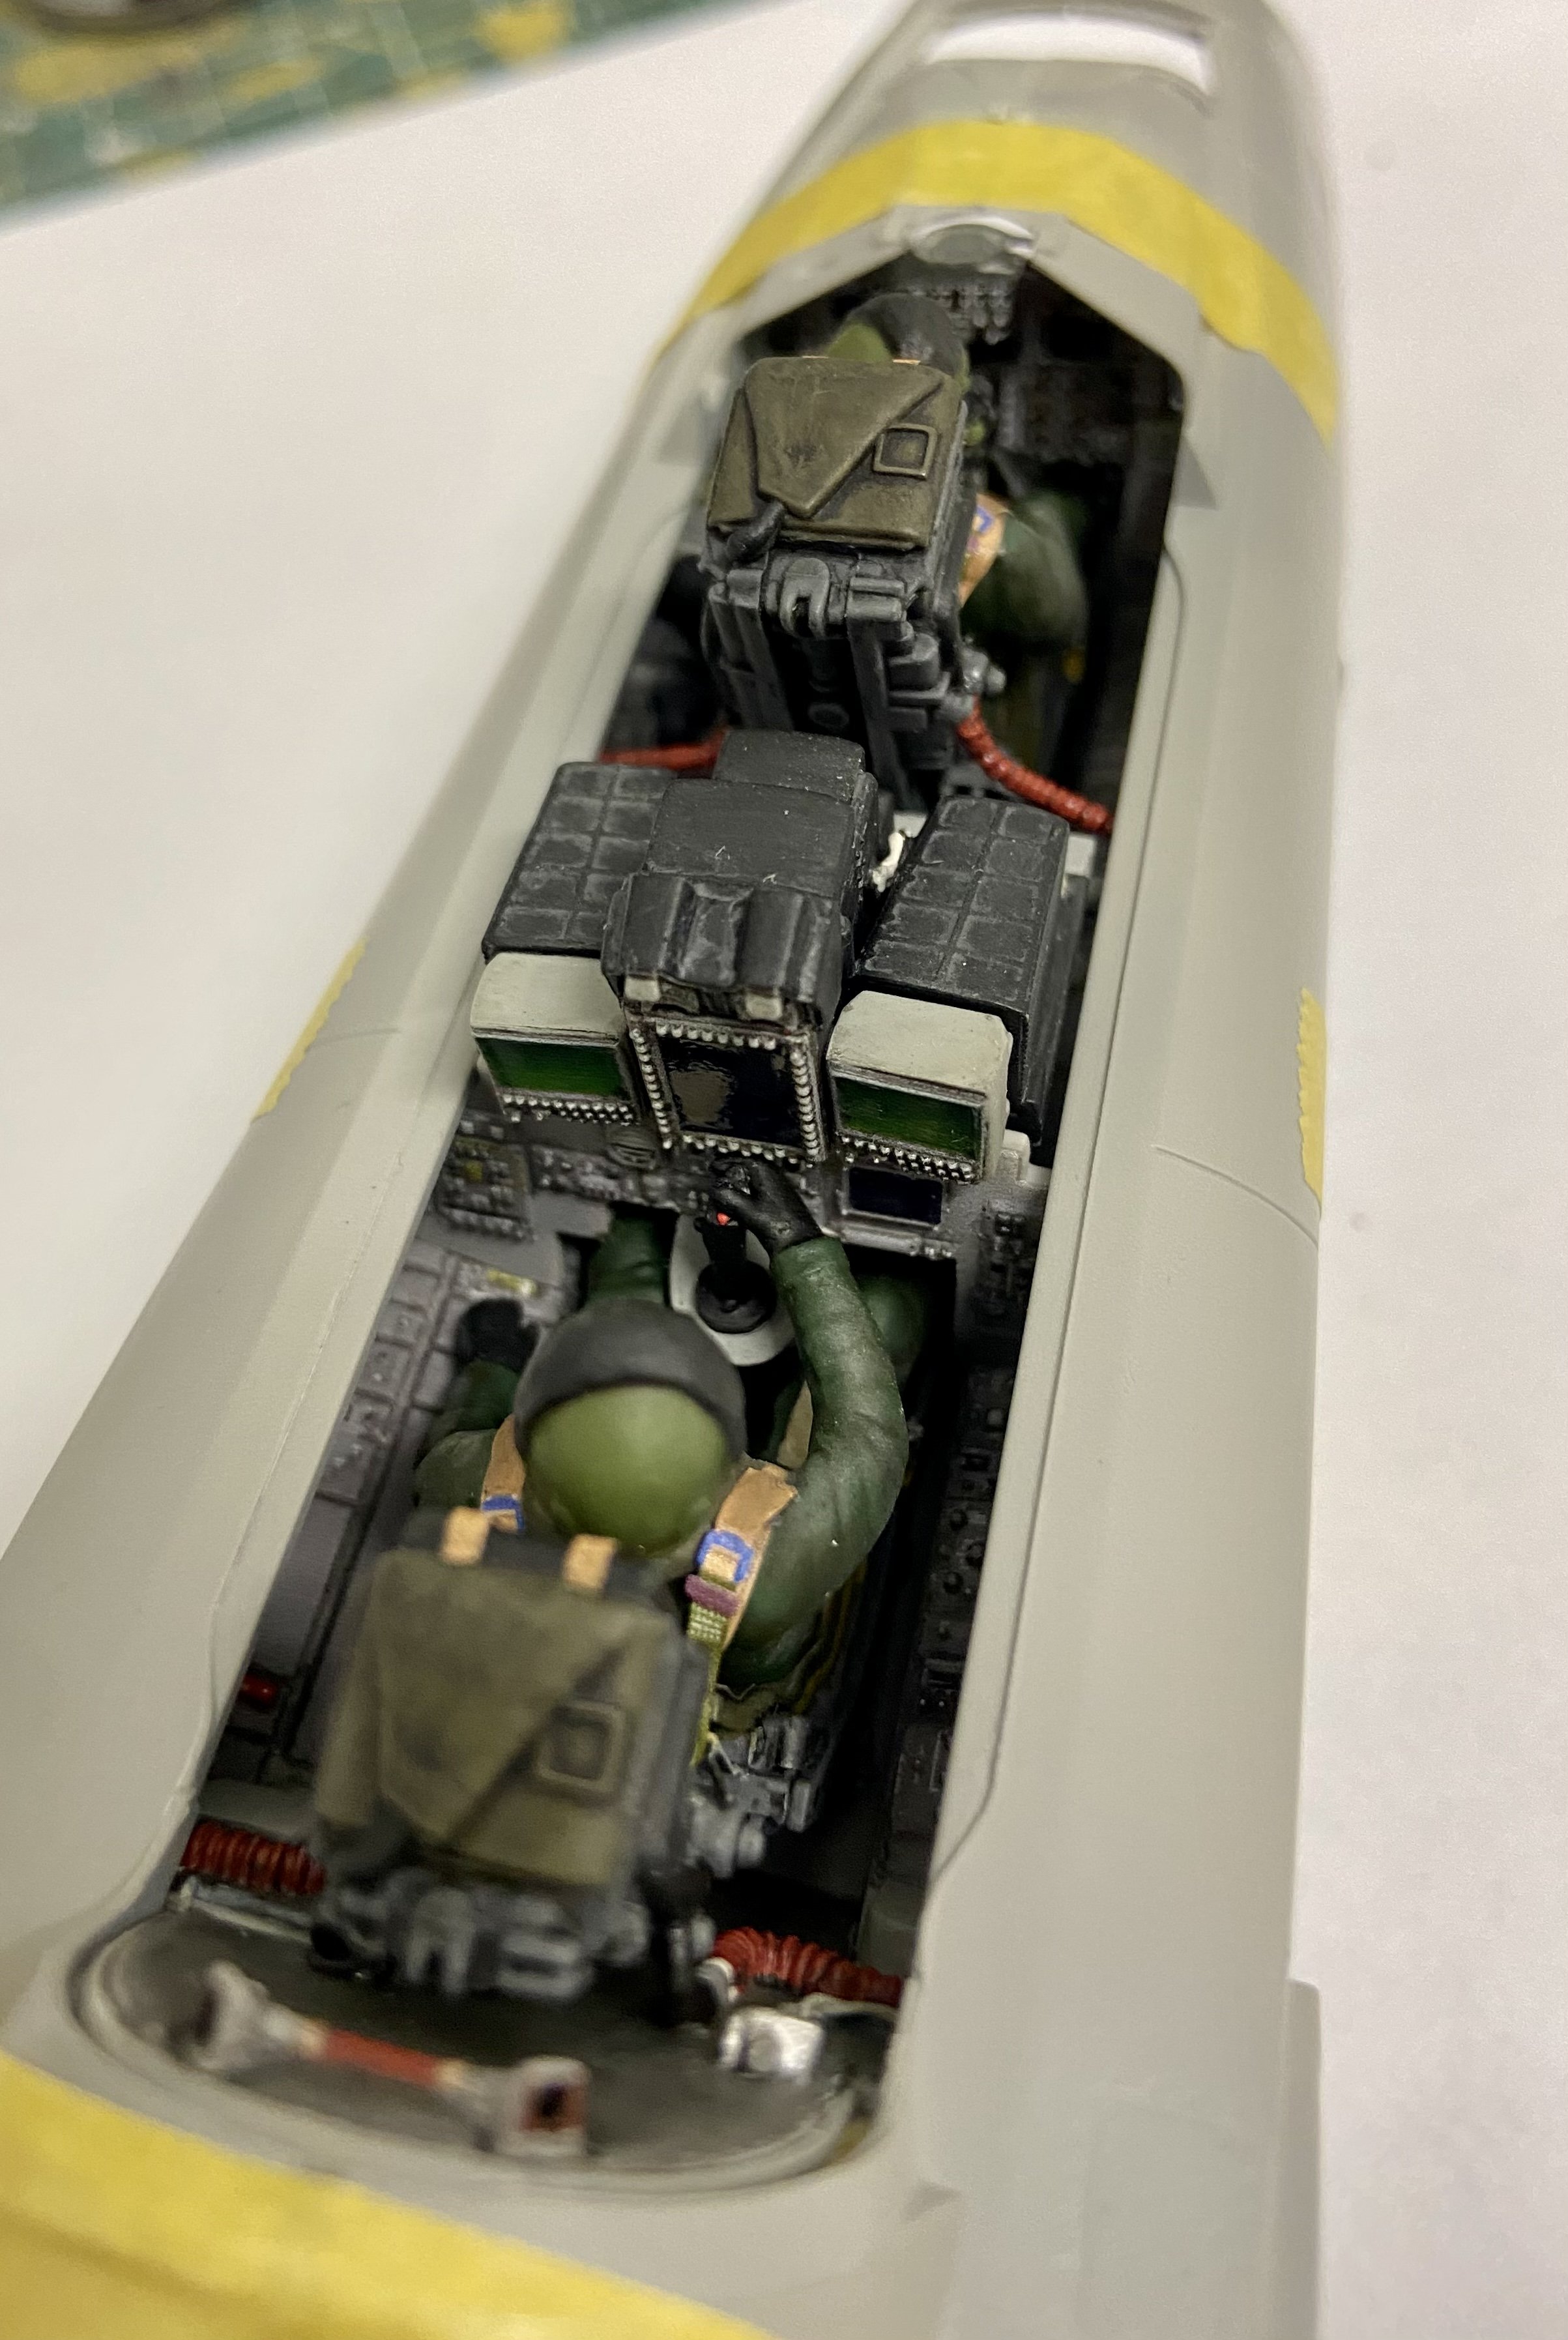
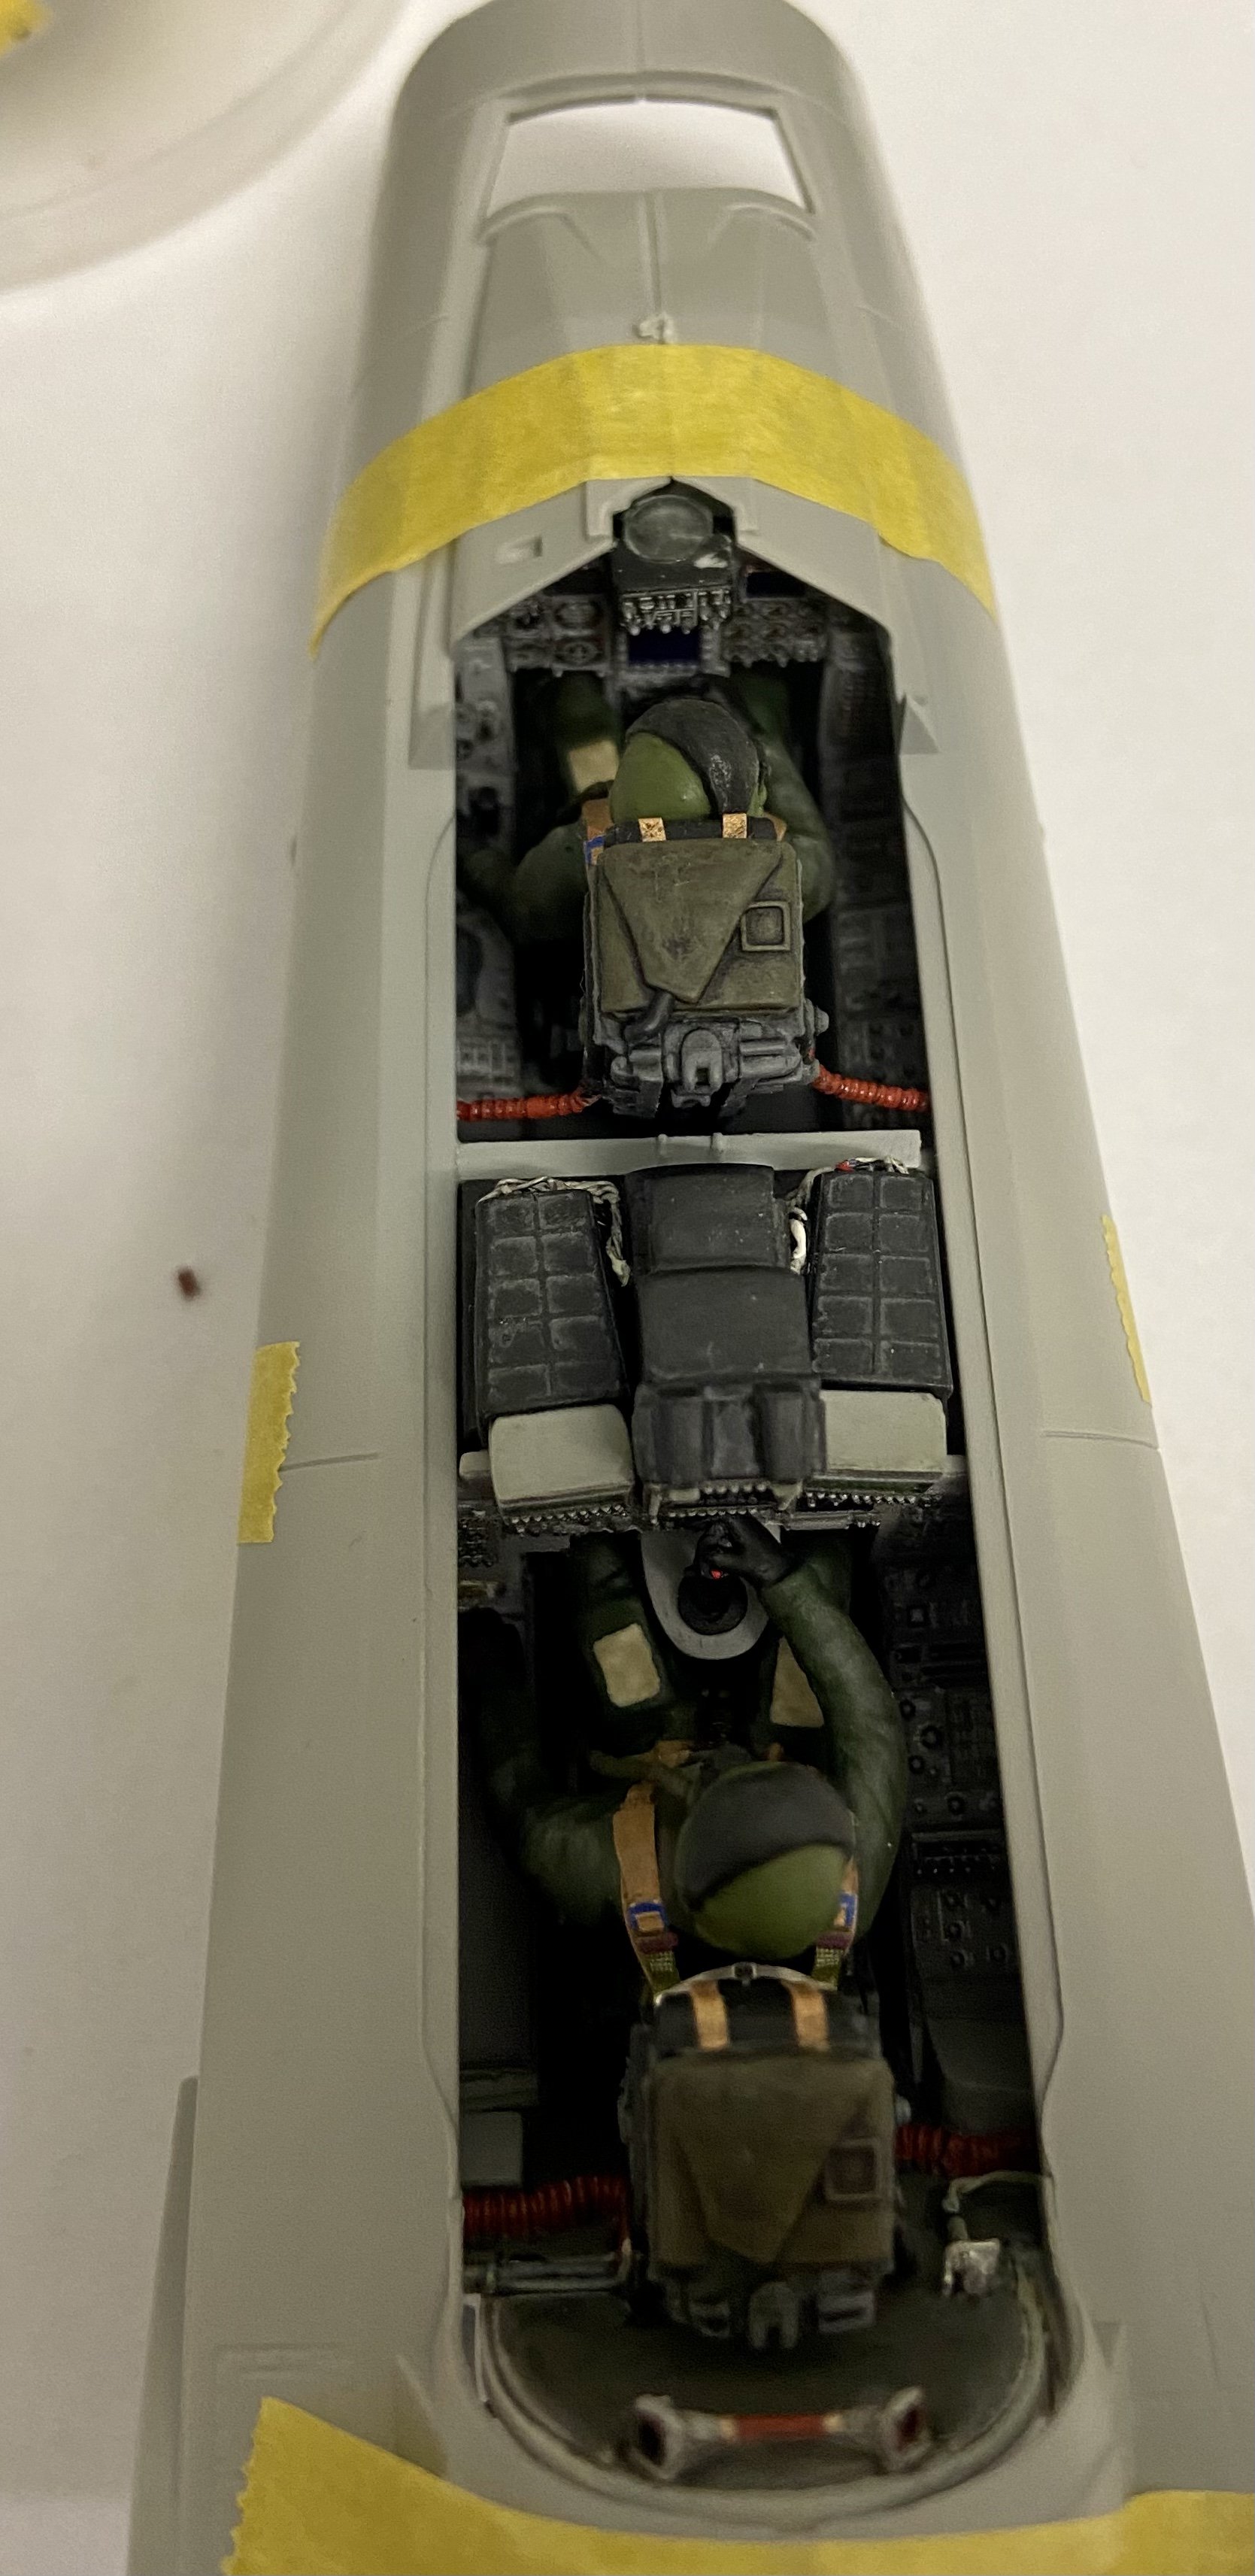
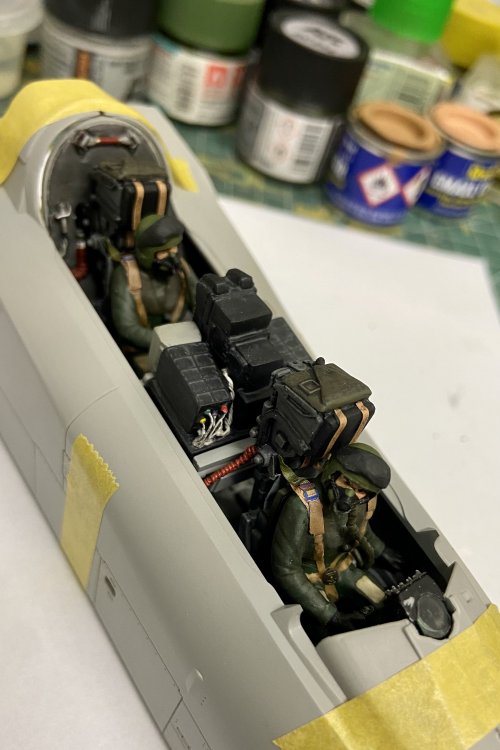
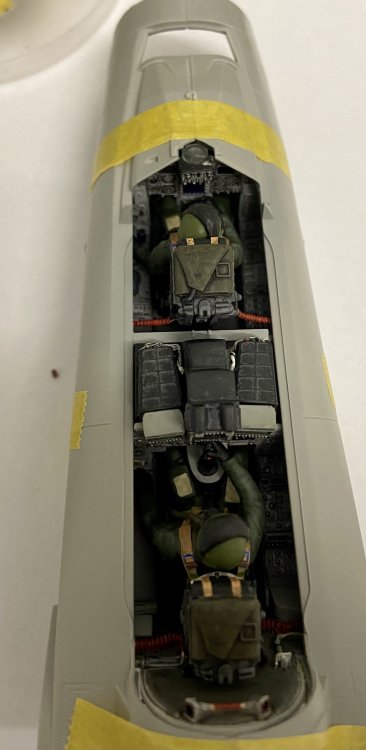
Last weekend I painted the fuselage front halves from the inside and test-fitted the cockpit. The test showed that some rework was necessary in the region of the HUD. I had to grind the surfaces at the inside thinner to make the glas-part fit perfectly. With this rework the fit of the cockpit is ok. What is noticeable too is that much of the details of the side-consoles is hidden deep inside the fuselage. Here are some pics showing the test-fit: Next step is the assembly of the front gearwheel bay and the nose gear with the next light of the Magic Scale Modeling Set used for the nose-wheel landing light.

-
Done - F-4EJ Kai Phantom - The Last of it's Kind ZM 1/48
Kaireckstadt replied to DocRob's topic in LSM 1/48 Work in Progress
Great work Rob! This will be a stunner in the end! -
Awesome work and diorama Gary! This is really an absolute showstopper. The scene is quite realistic! I love it!
-
Tamiya P-51 racer Bardahl Miss #49
Kaireckstadt replied to JohnB's topic in LSM 1/35 and Larger Work In Progress
Great job John! Looks absolutely convincing to me! -
Looking quite good and the details are amazing Harv !
-
Tamiya P-51 racer Bardahl Miss #49
Kaireckstadt replied to JohnB's topic in LSM 1/35 and Larger Work In Progress
Great start John. Do you have a production-line for Mustangs? Your building speed is incredible! -
617 Sqn Tornado Dambuster 70th
Kaireckstadt replied to Kaireckstadt's topic in LSM 1/35 and Larger Work In Progress
Thank you for your feedback Peter and Gary. Much appreciated! -
617 Sqn Tornado Dambuster 70th
Kaireckstadt replied to Kaireckstadt's topic in LSM 1/35 and Larger Work In Progress
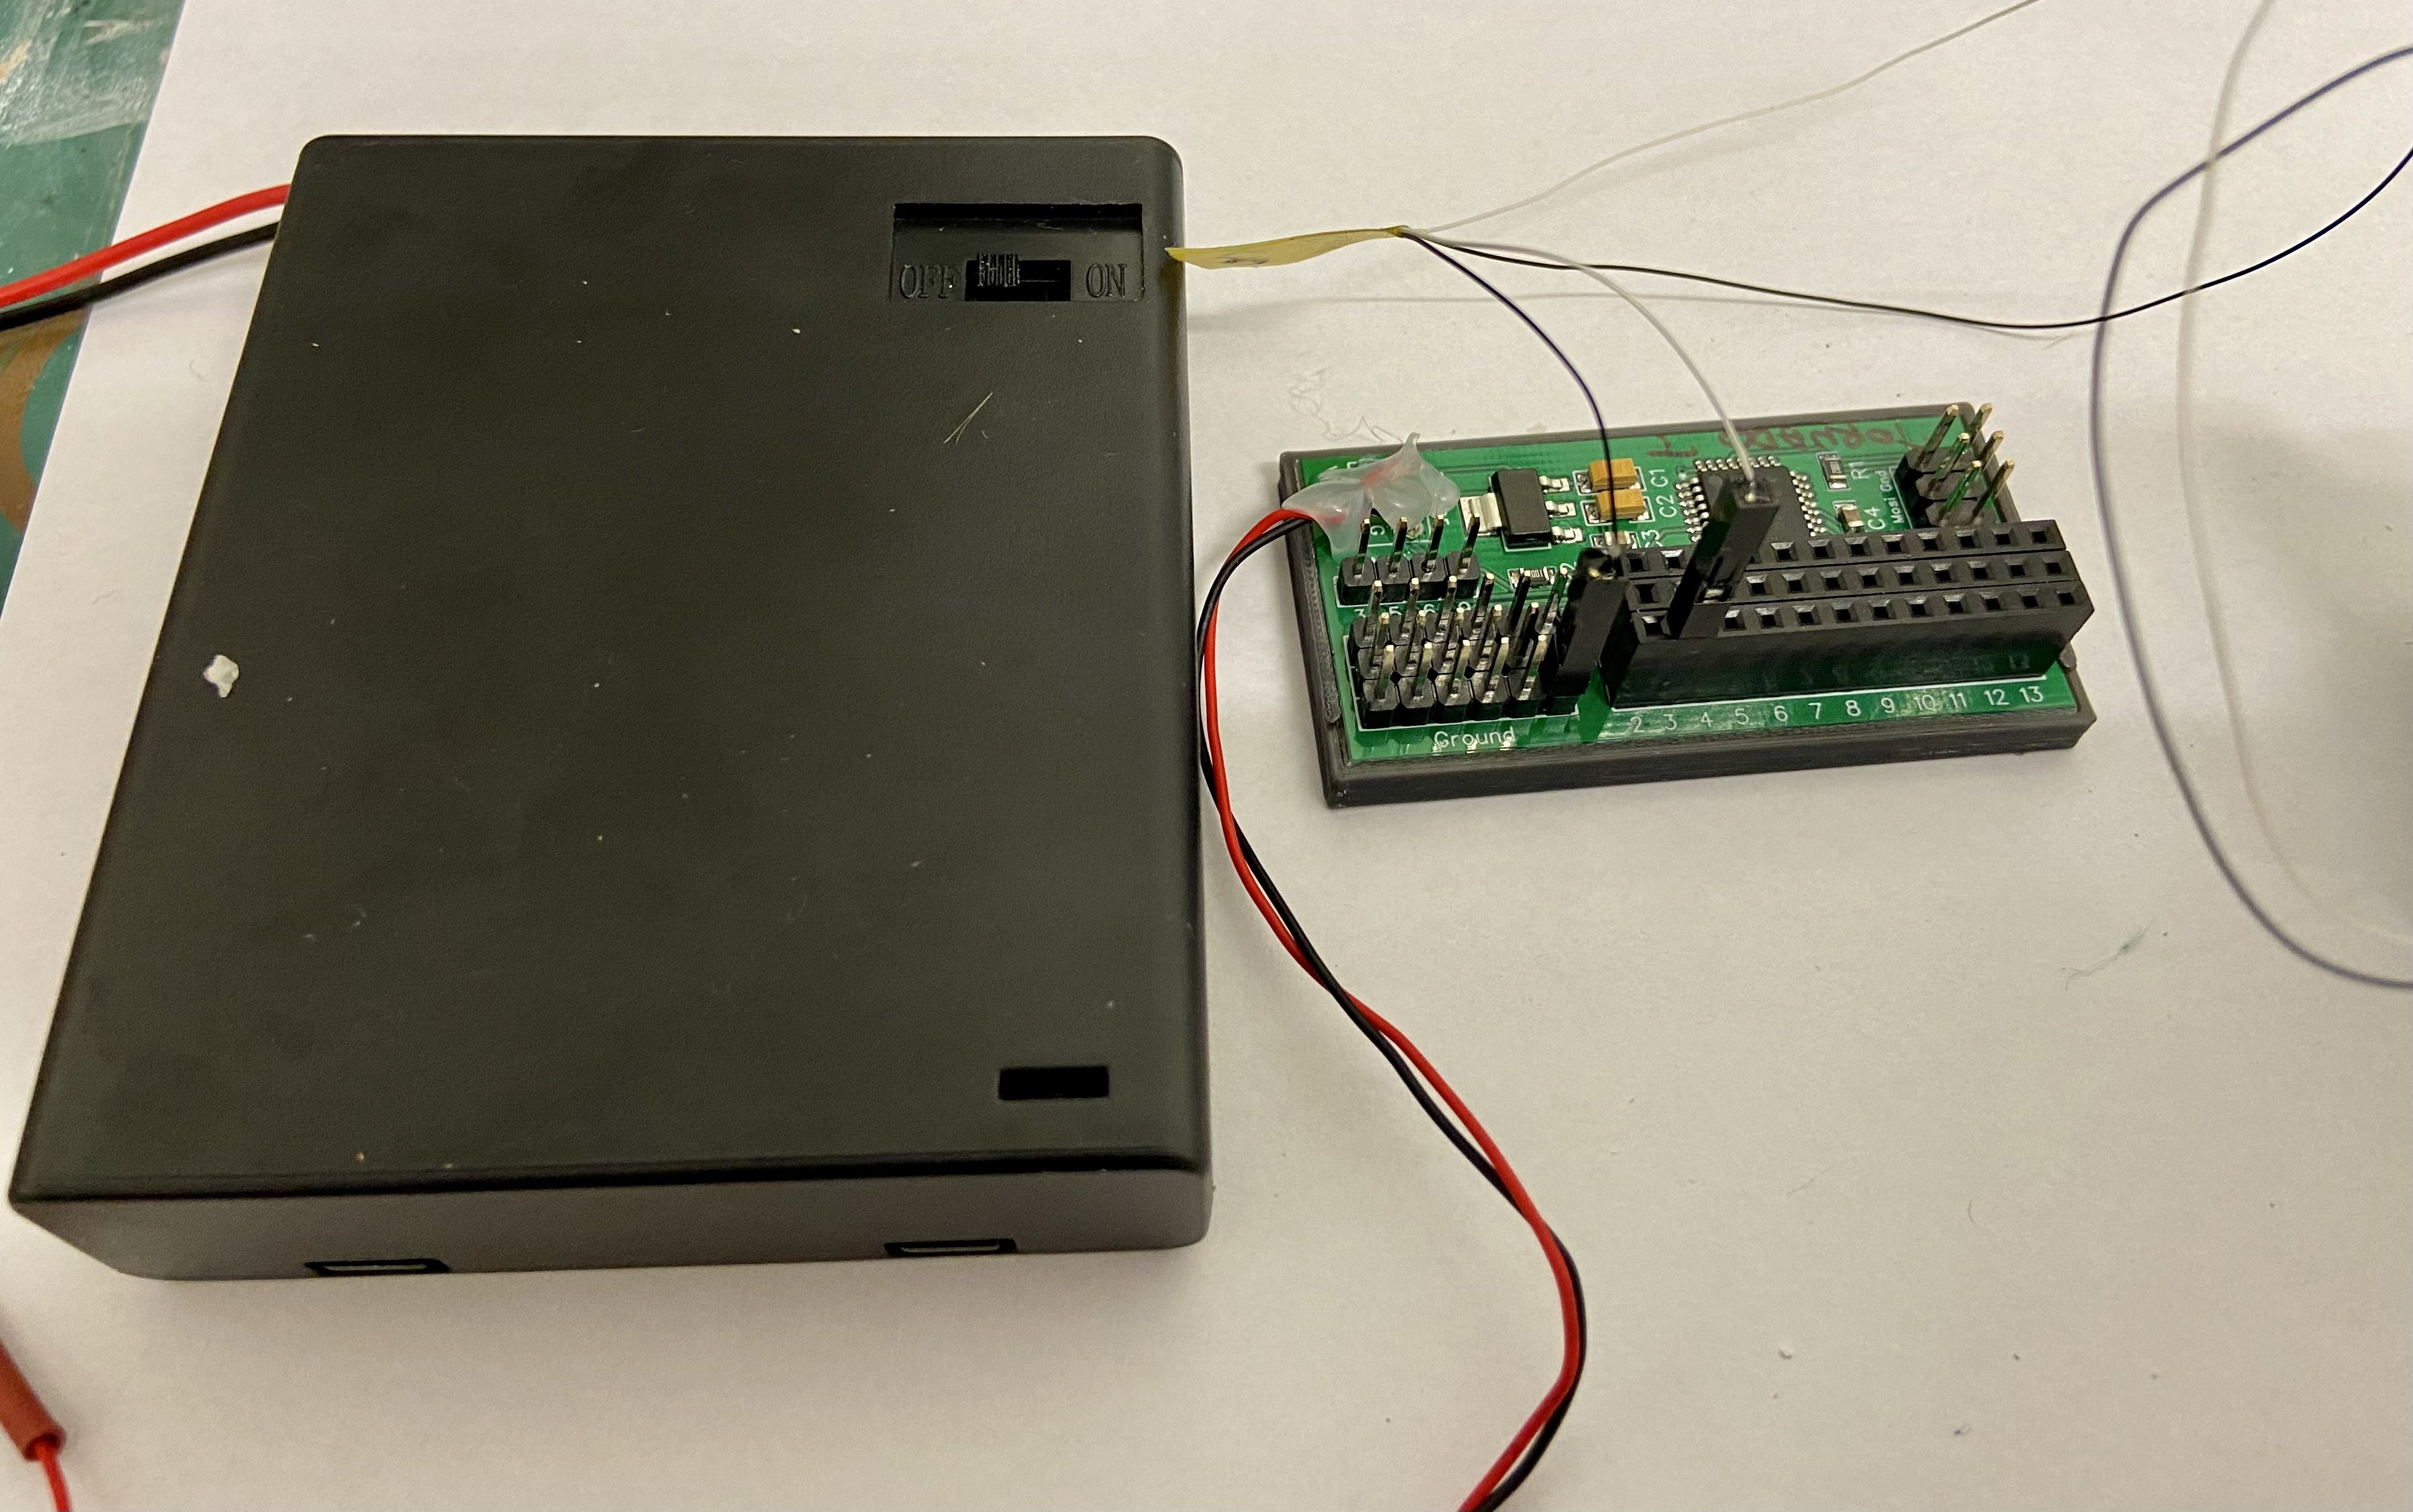
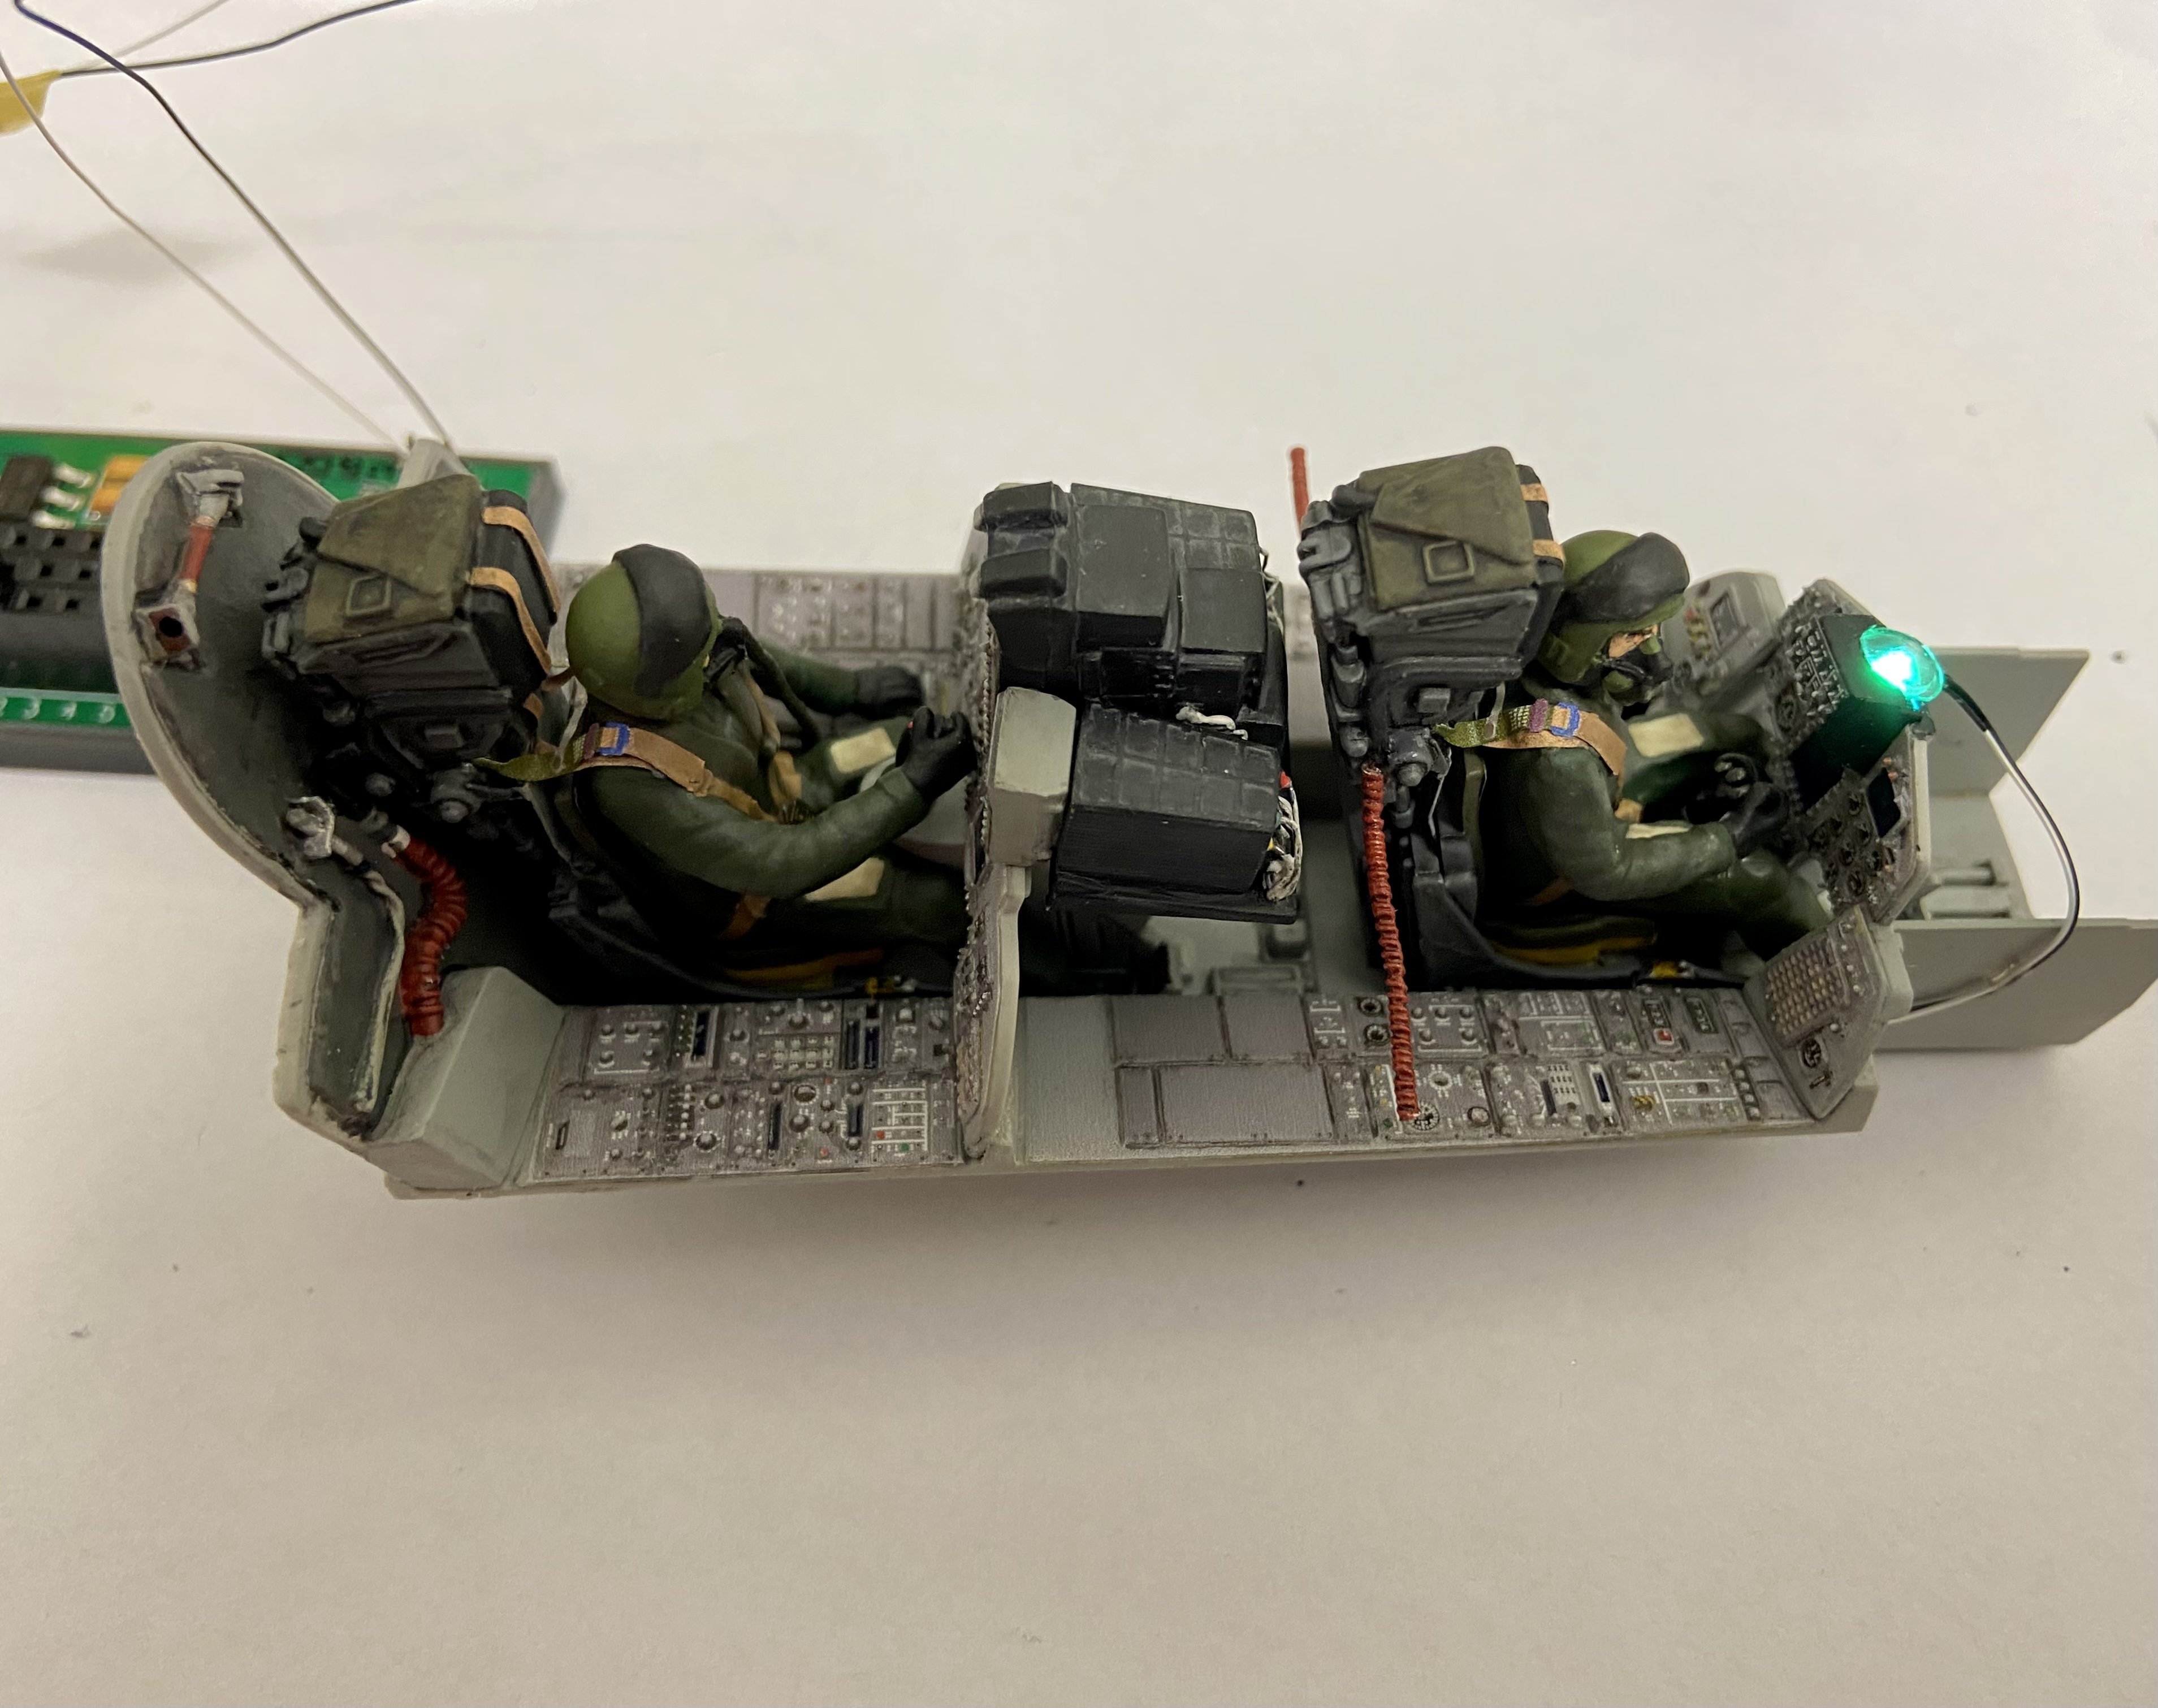
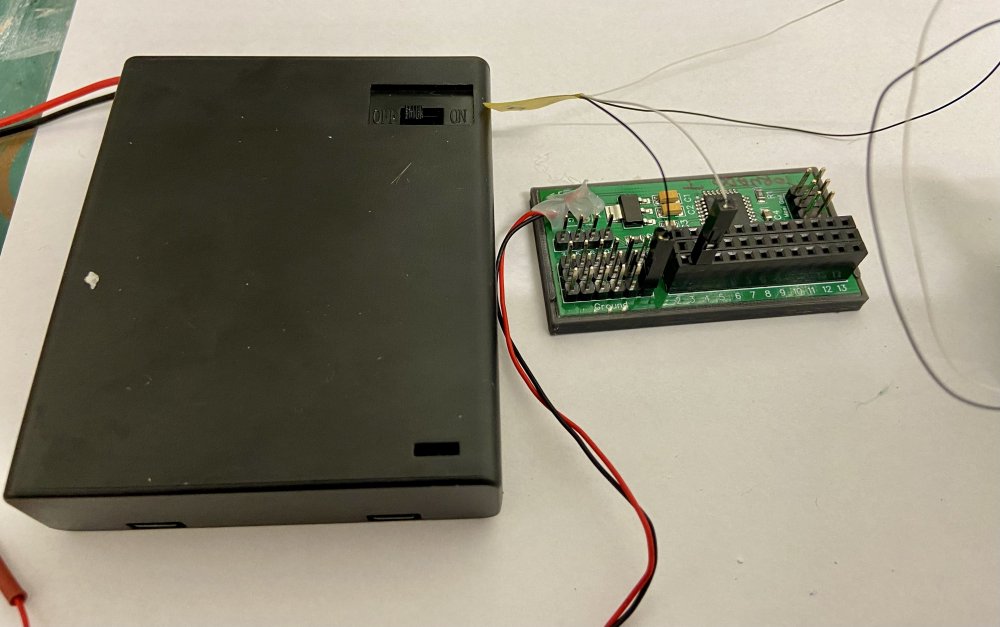
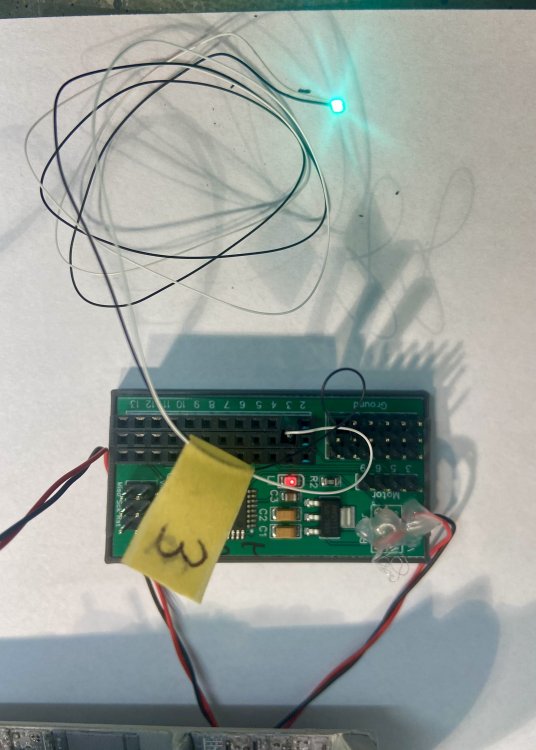
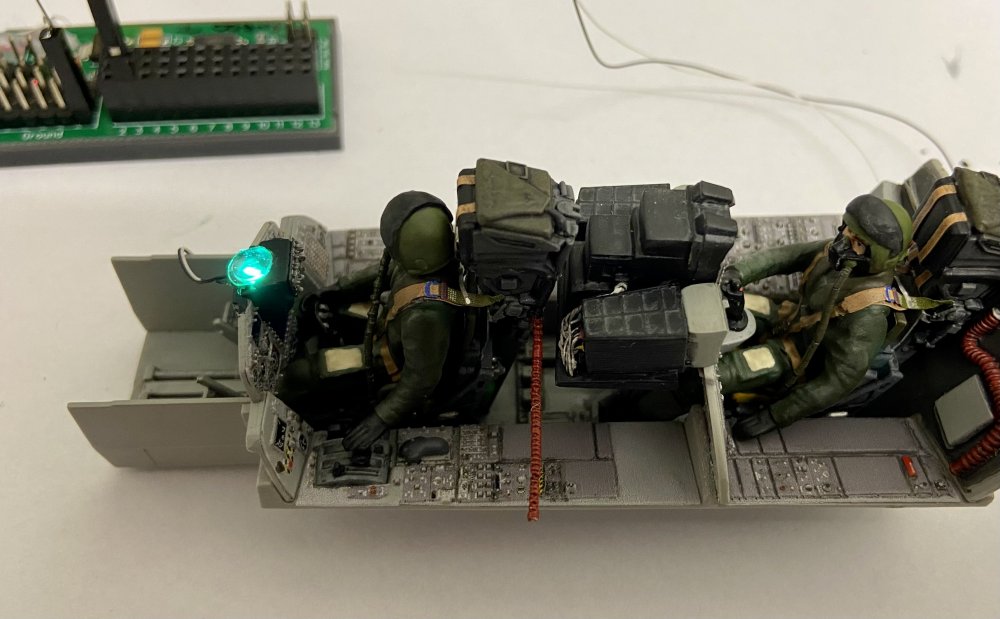
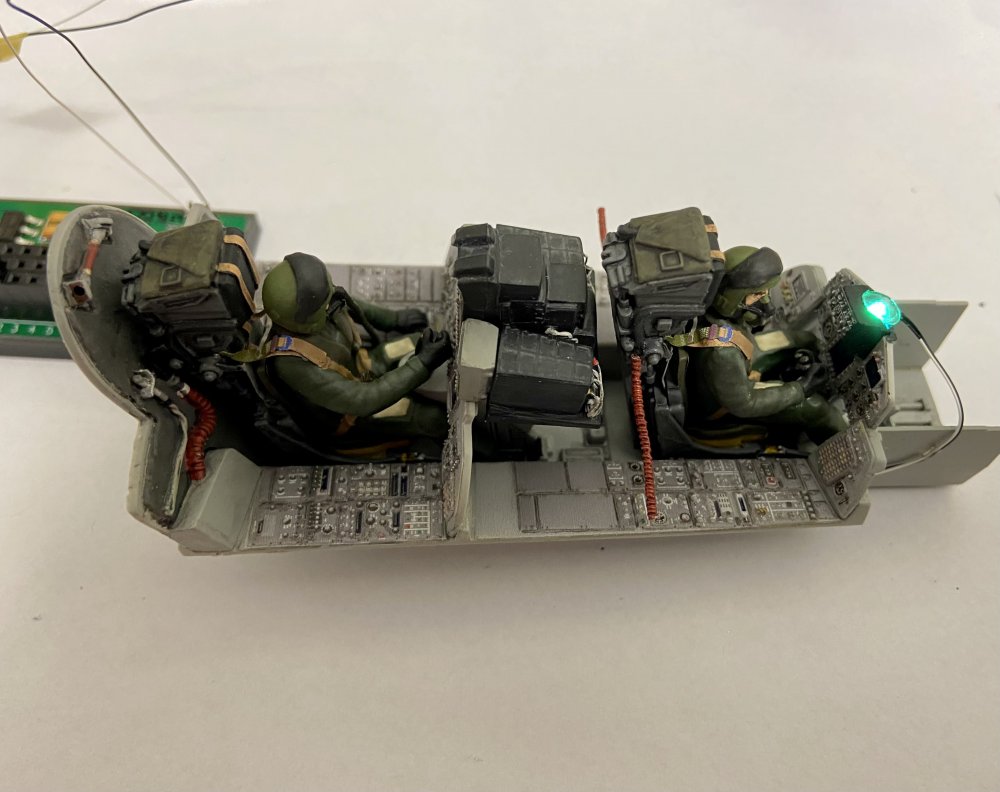
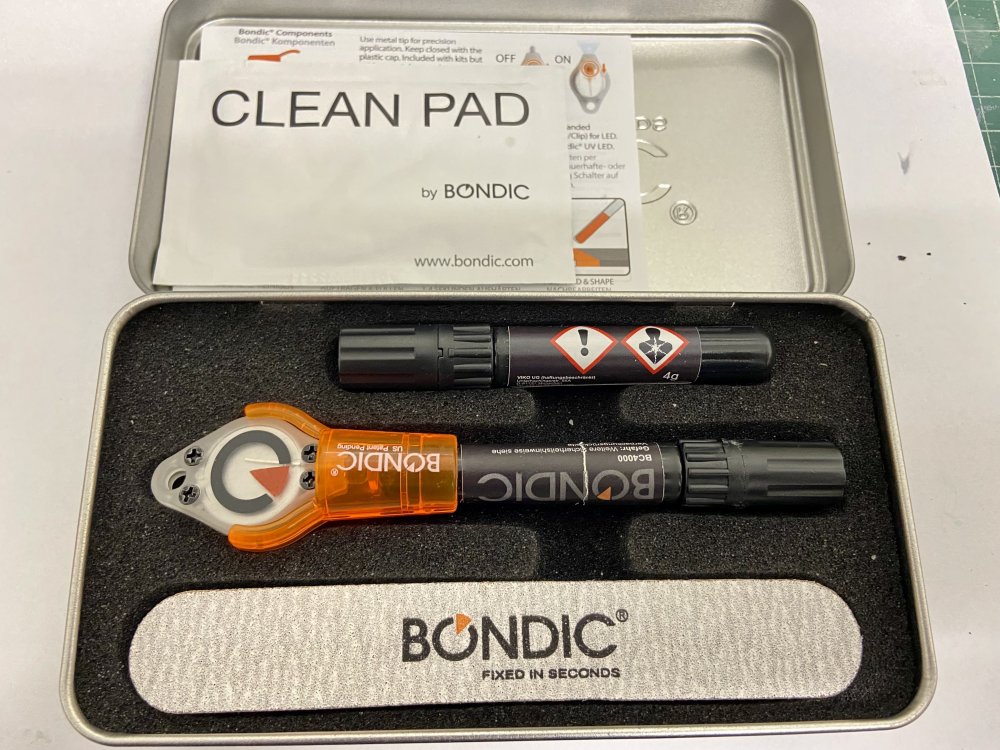
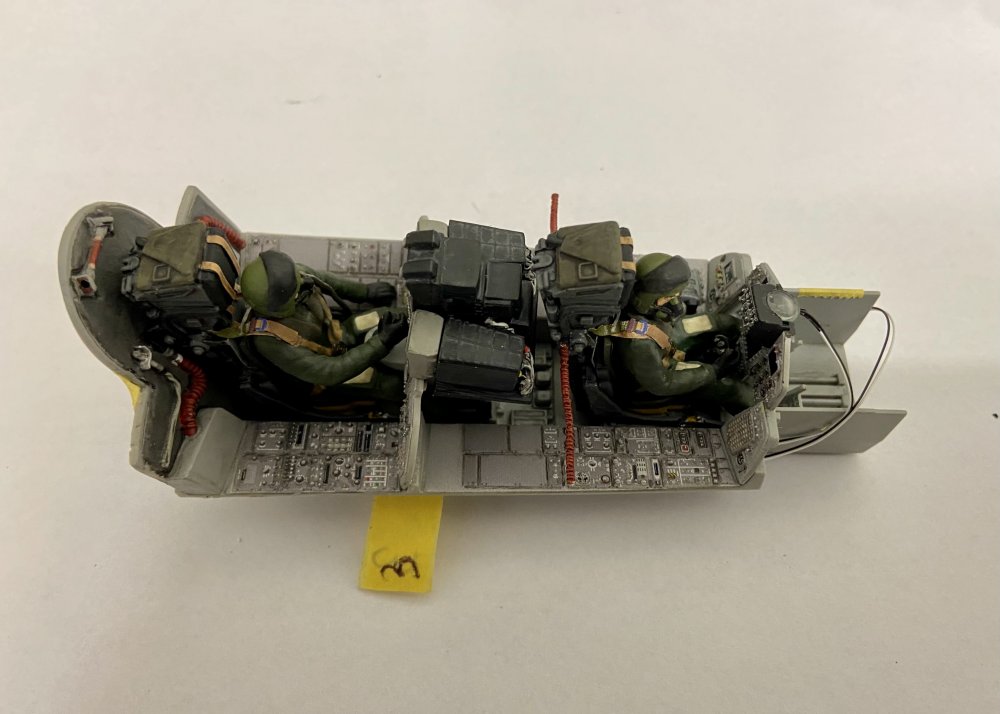
Today I managed to install the light for the HUD. It‘s one of the lights out the set from Magic Scale Modeling which I will use for the Model. The set consists of a motherboard and LEDs which have to be painted with transparent colors because they are very bright. They are glued in place with UV-glue which comes with the set. This one I bought extra for my Dambuster Lancaster because there were many more things to attach. Bondic UV-glue set: Test-run with painted light: Mother board and power supply: Light running: And switched off: Cabling alongside the cockpit tub: Everything stored for further assembly. The „3“ belongs to the pin on the motherboard to which the plug has to be connected in the end. It‘s really plug-n-play. You only have to think about where to place the motherboard in the model and how to do the cabling within the model. Now the cockpit is complete and I can start with the undercarriage.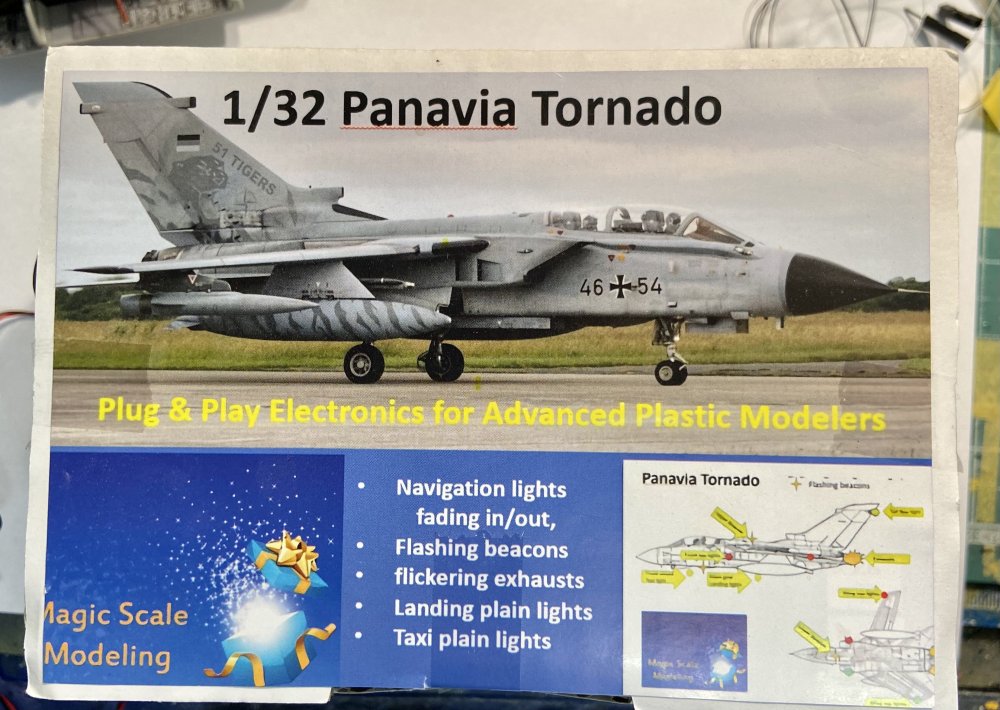


-
617 Sqn Tornado Dambuster 70th
Kaireckstadt replied to Kaireckstadt's topic in LSM 1/35 and Larger Work In Progress
Thank you for your feedback Gary! I try to do the lighting on the HUD this weekend and post some pictures here then. Thank you for your feedback Peter! Much appreciated! -
Done - F-4EJ Kai Phantom - The Last of it's Kind ZM 1/48
Kaireckstadt replied to DocRob's topic in LSM 1/48 Work in Progress
Great build and perfect recovery actions Rob! I especially like how all the metal surfaces turned out! -
Bardahl Special P-51 racer done
Kaireckstadt replied to JohnB's topic in LSM 1/32 and Larger Aircraft Ready for Inspection
Great build John and a real eyecatcher very seldom seen. You build large scale planes in an astounding speed. Where do you store all the finished models? -
617 Sqn Tornado Dambuster 70th
Kaireckstadt replied to Kaireckstadt's topic in LSM 1/35 and Larger Work In Progress
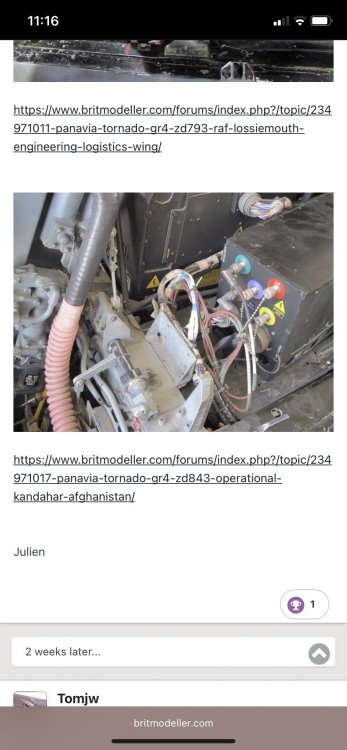
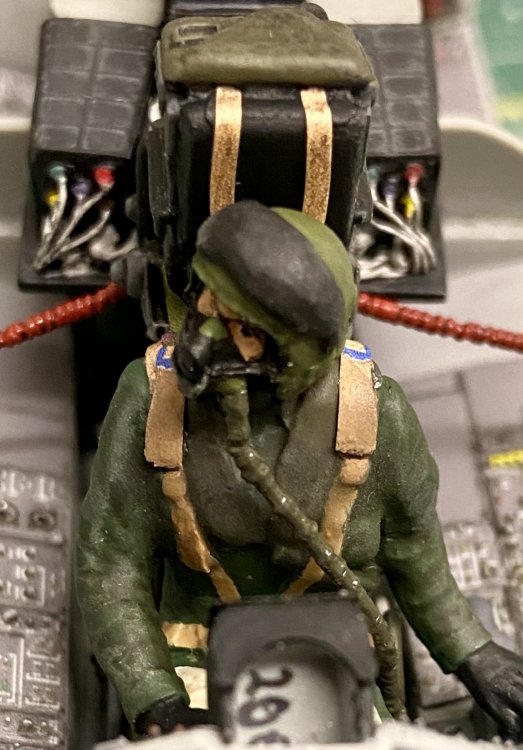
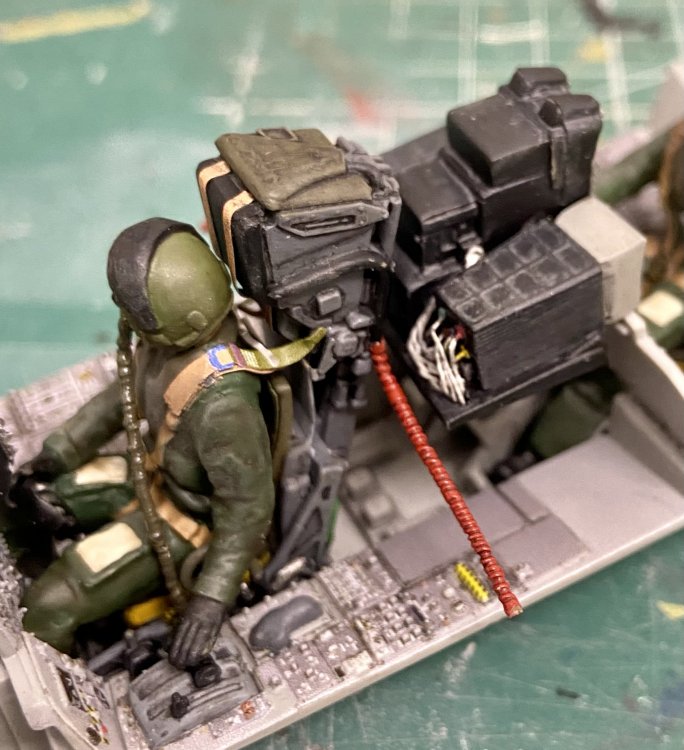
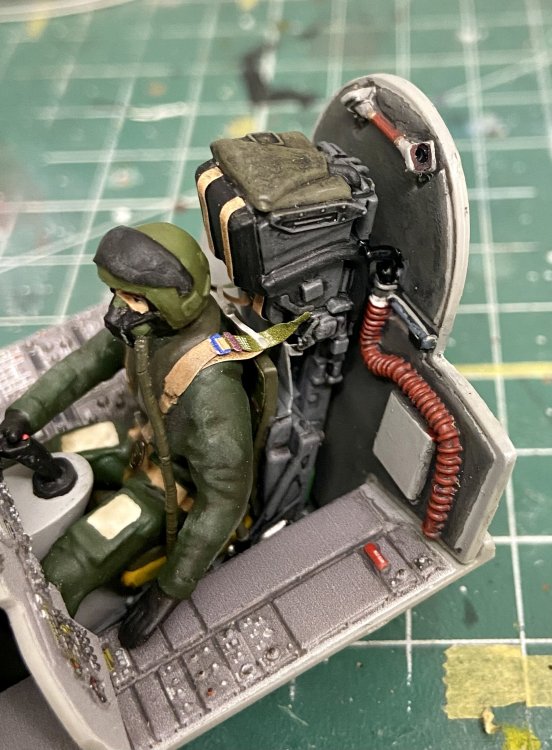
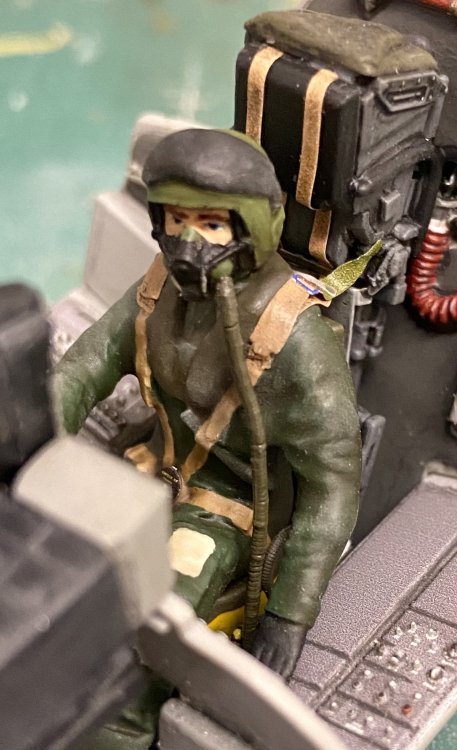
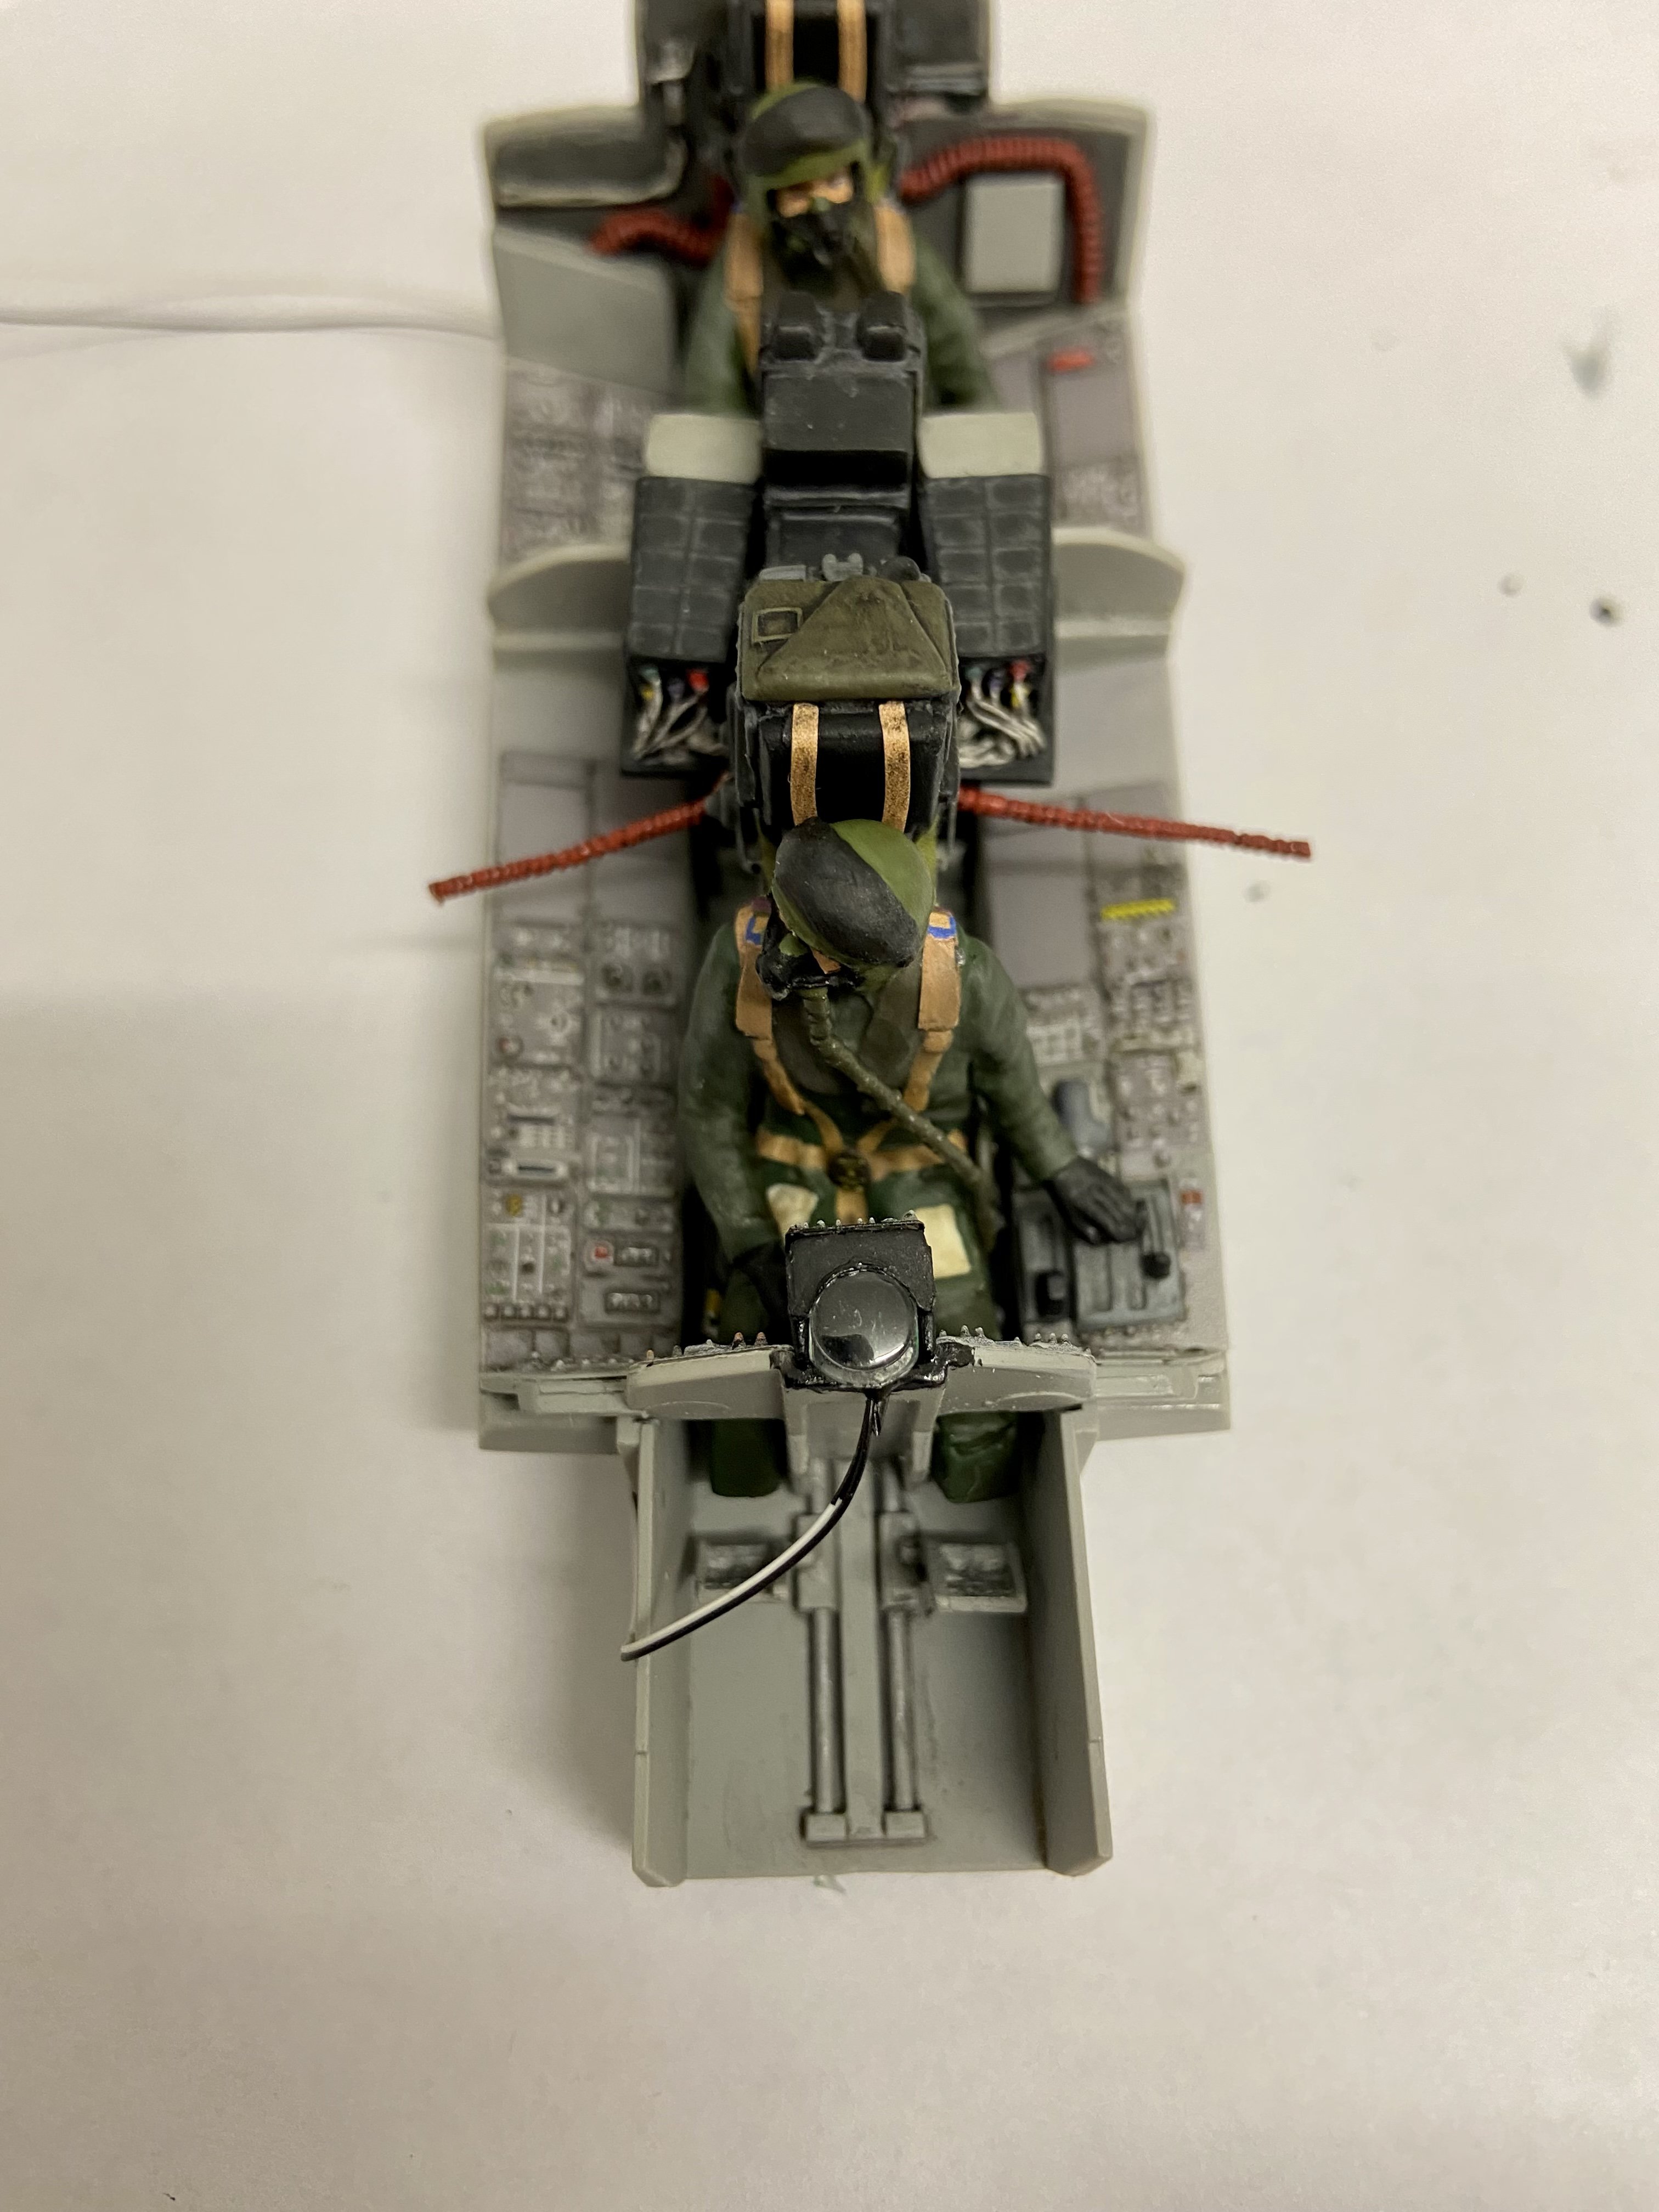
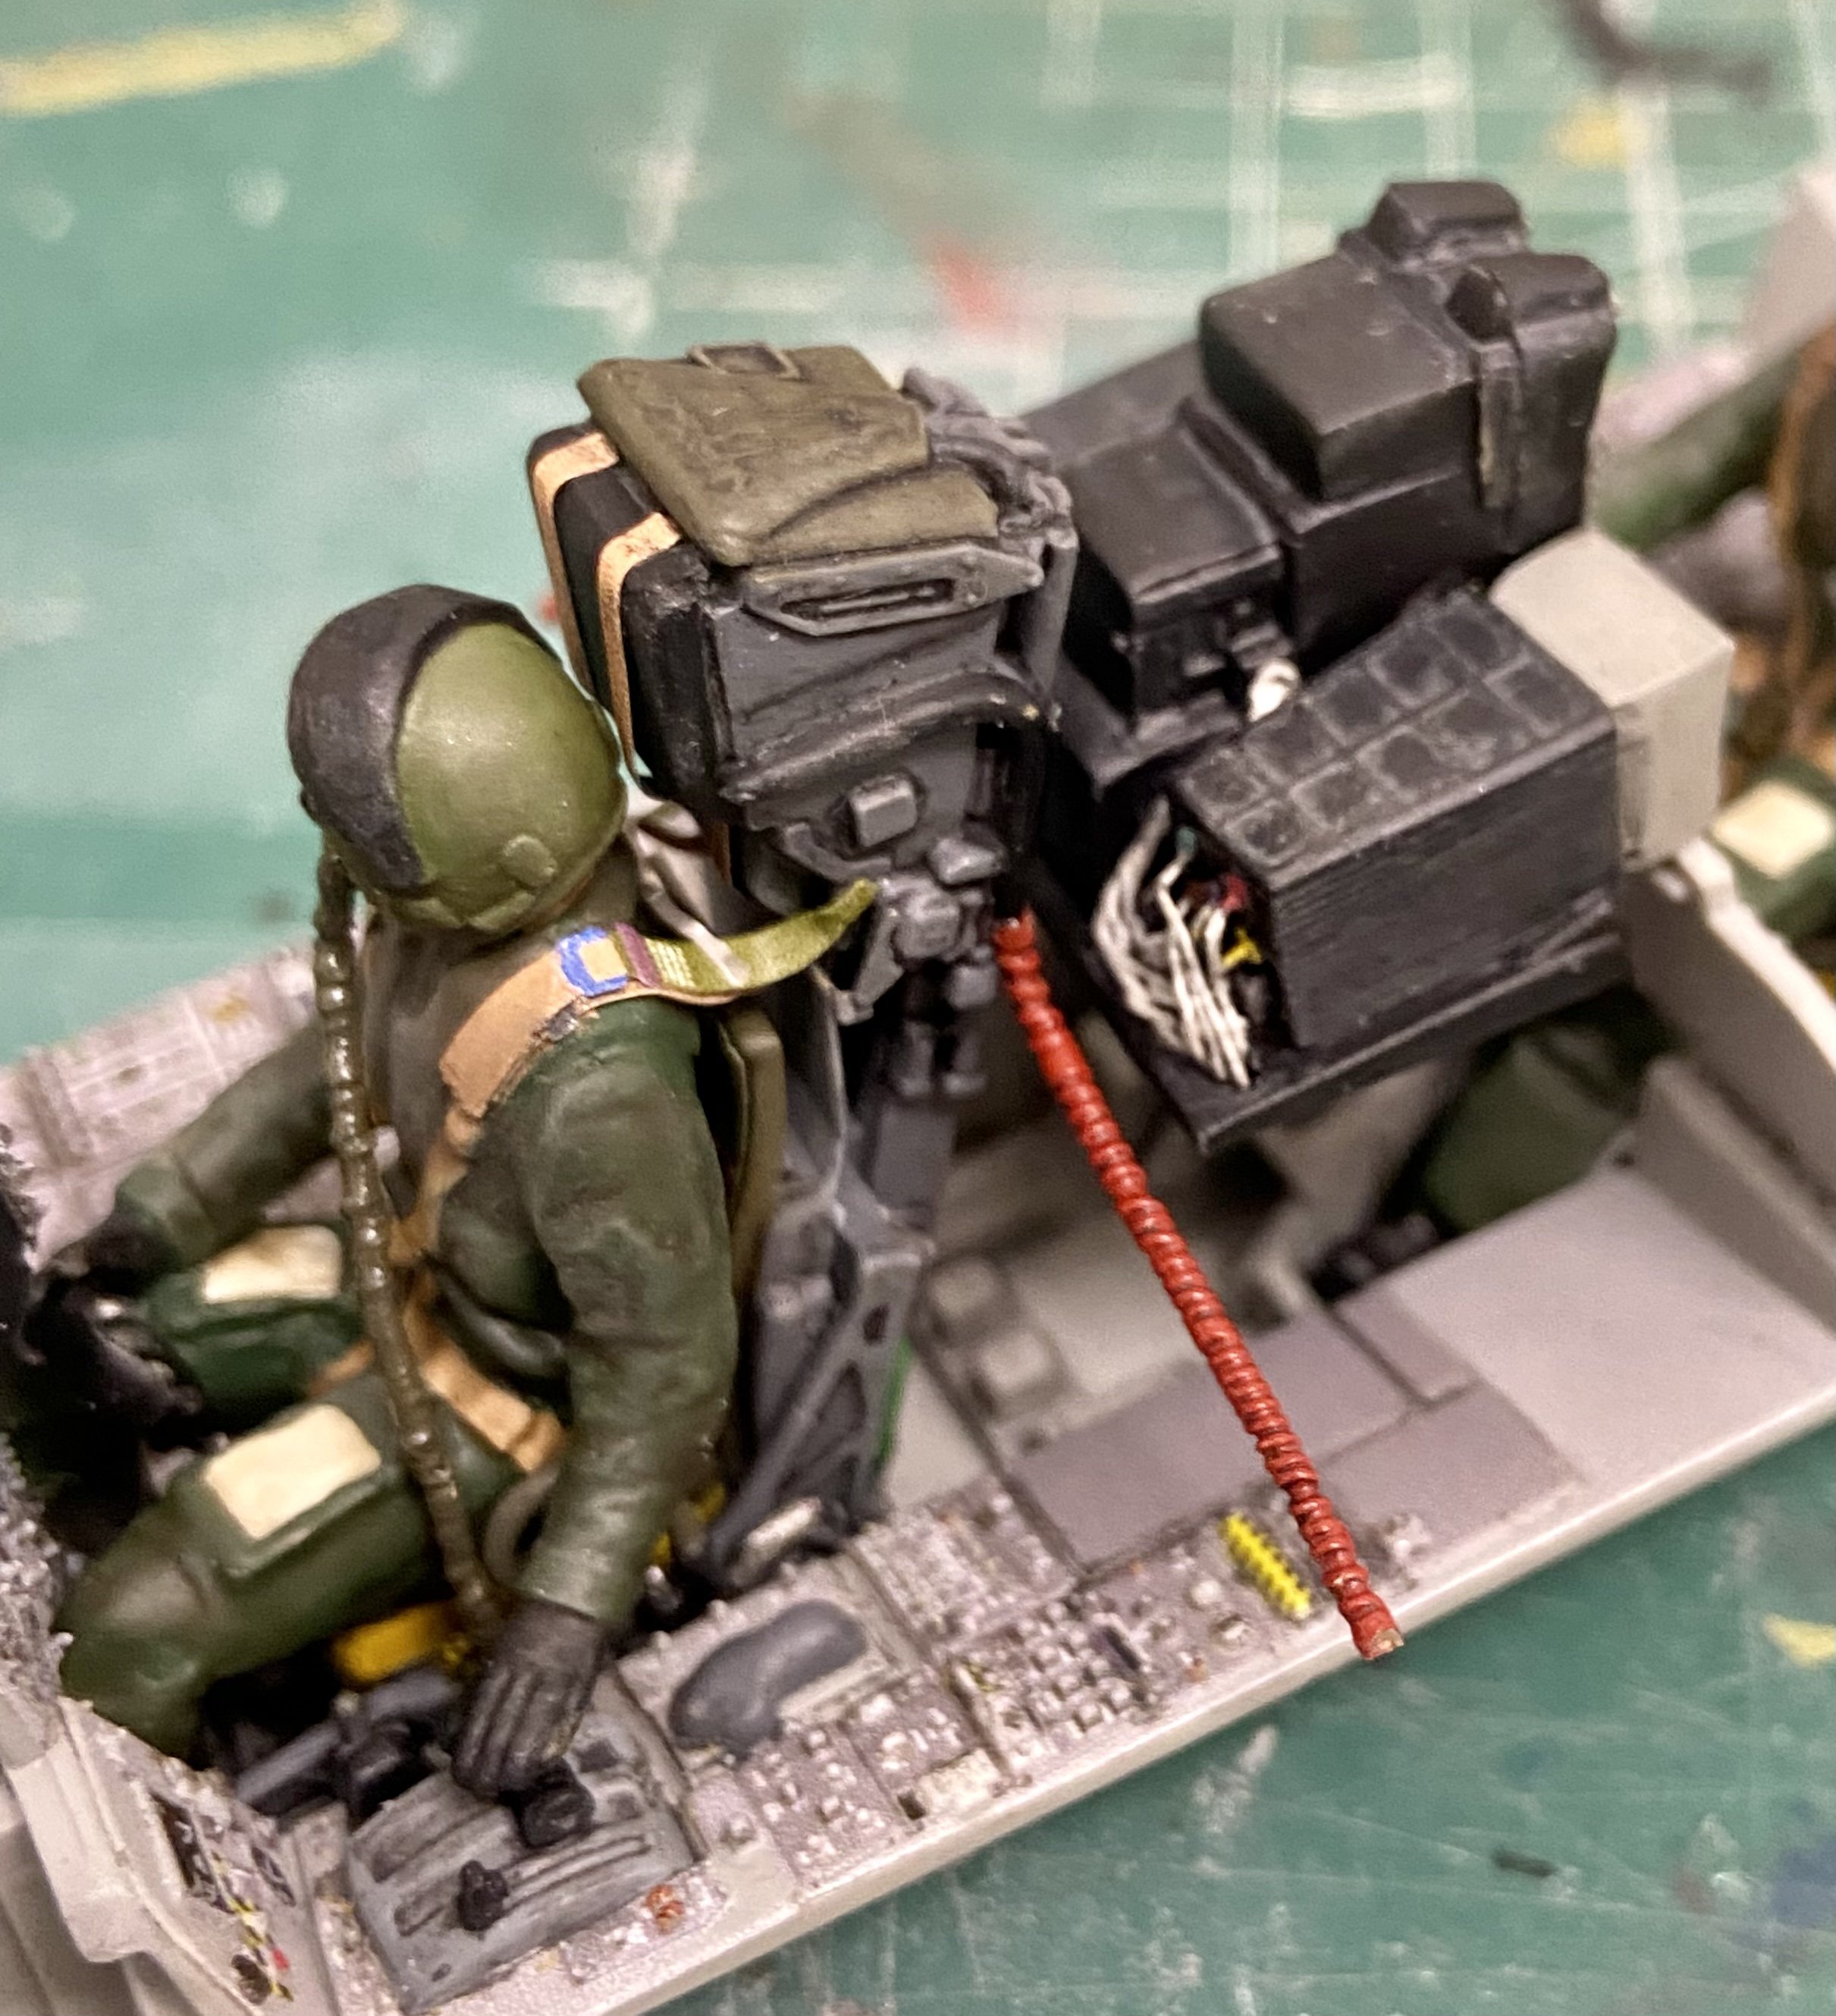
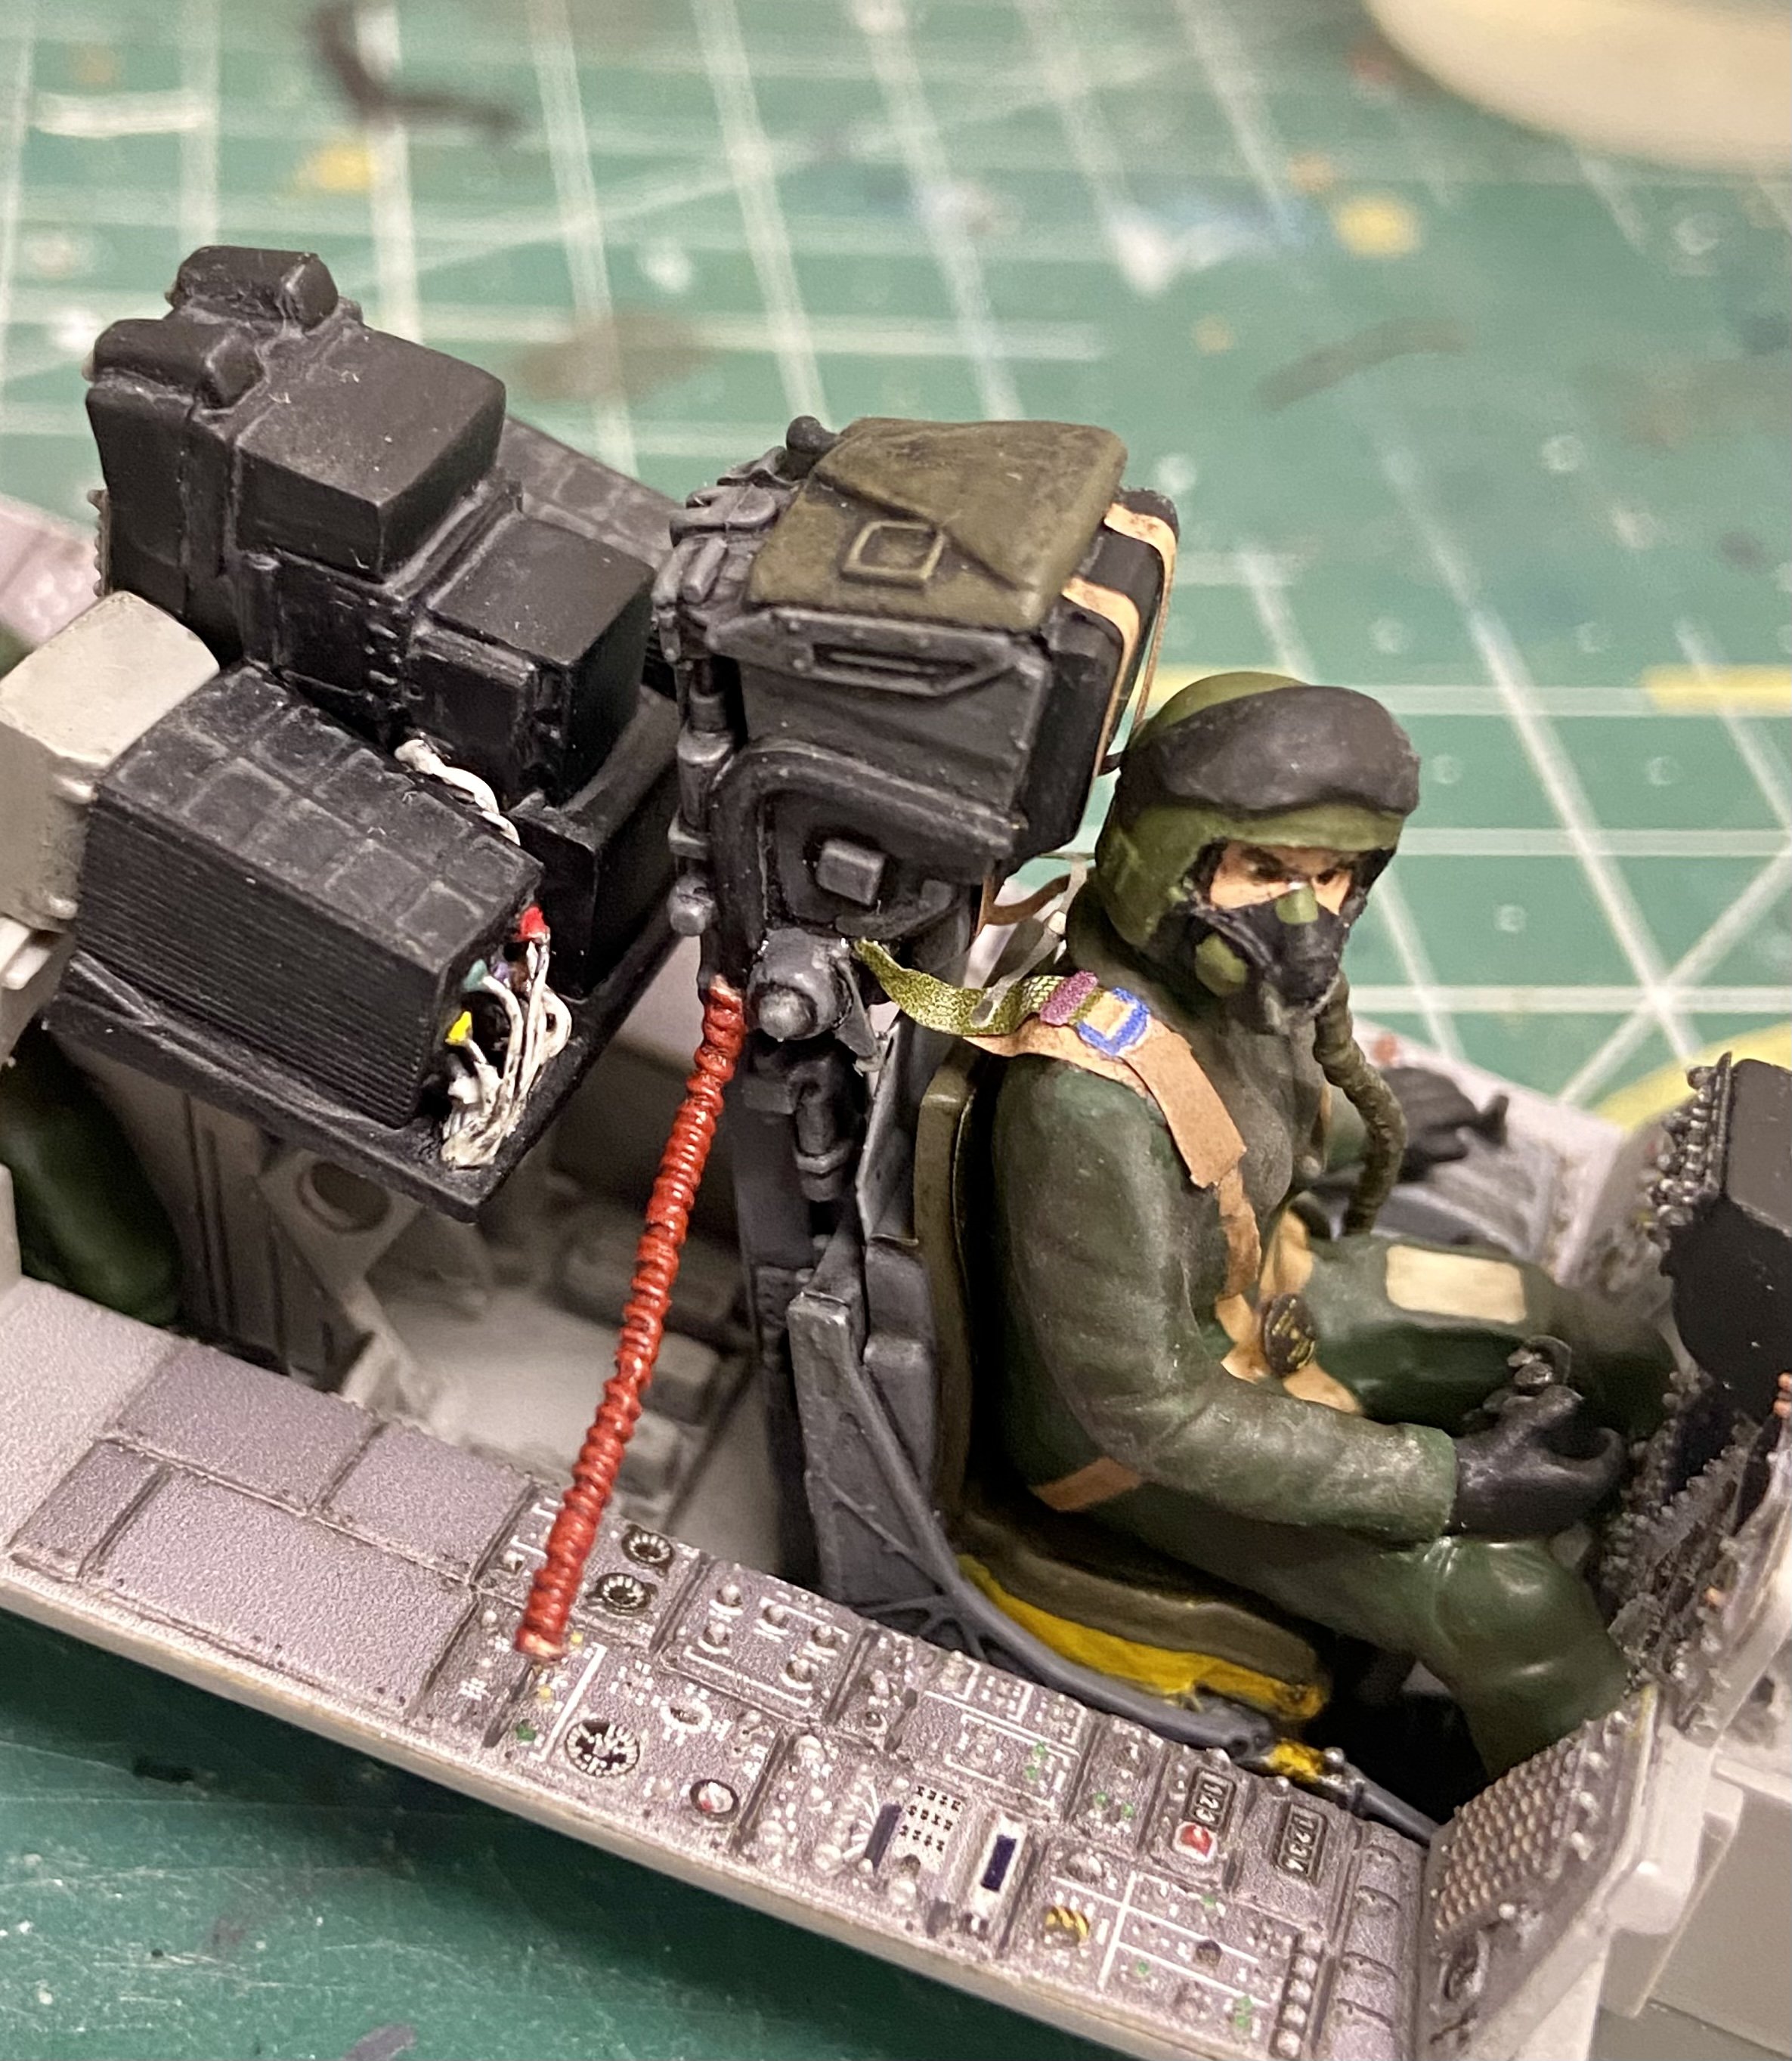
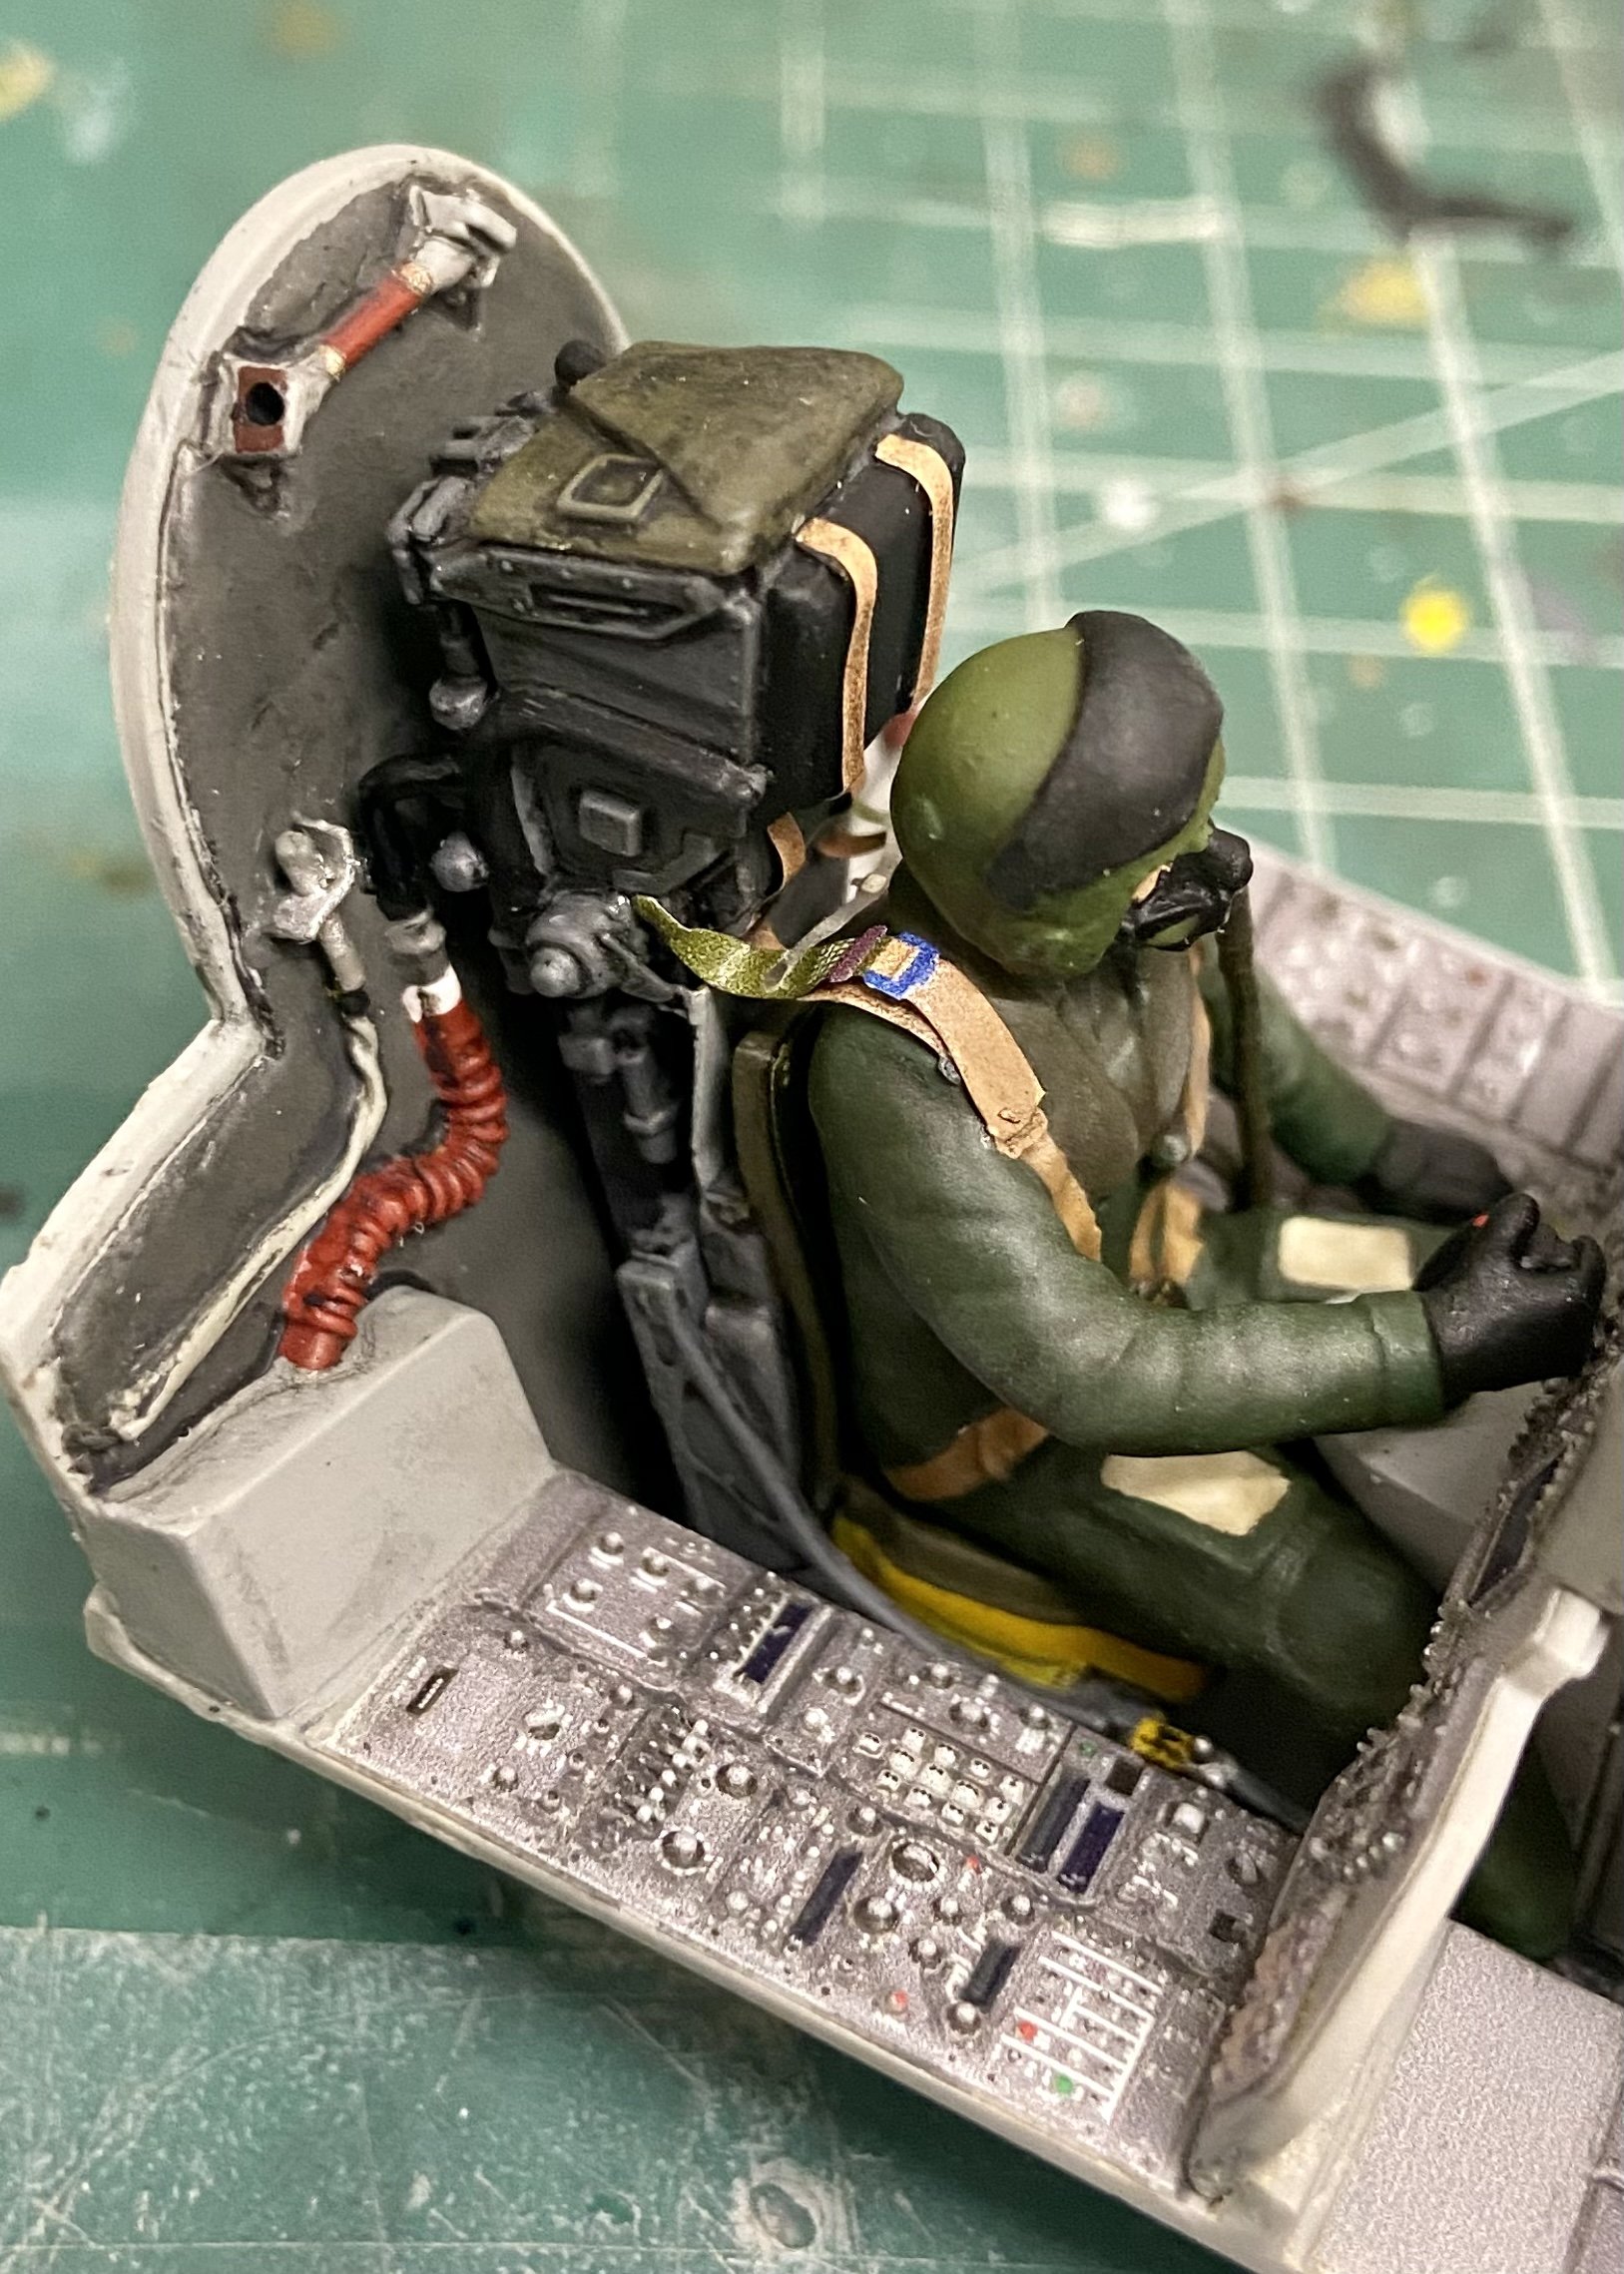
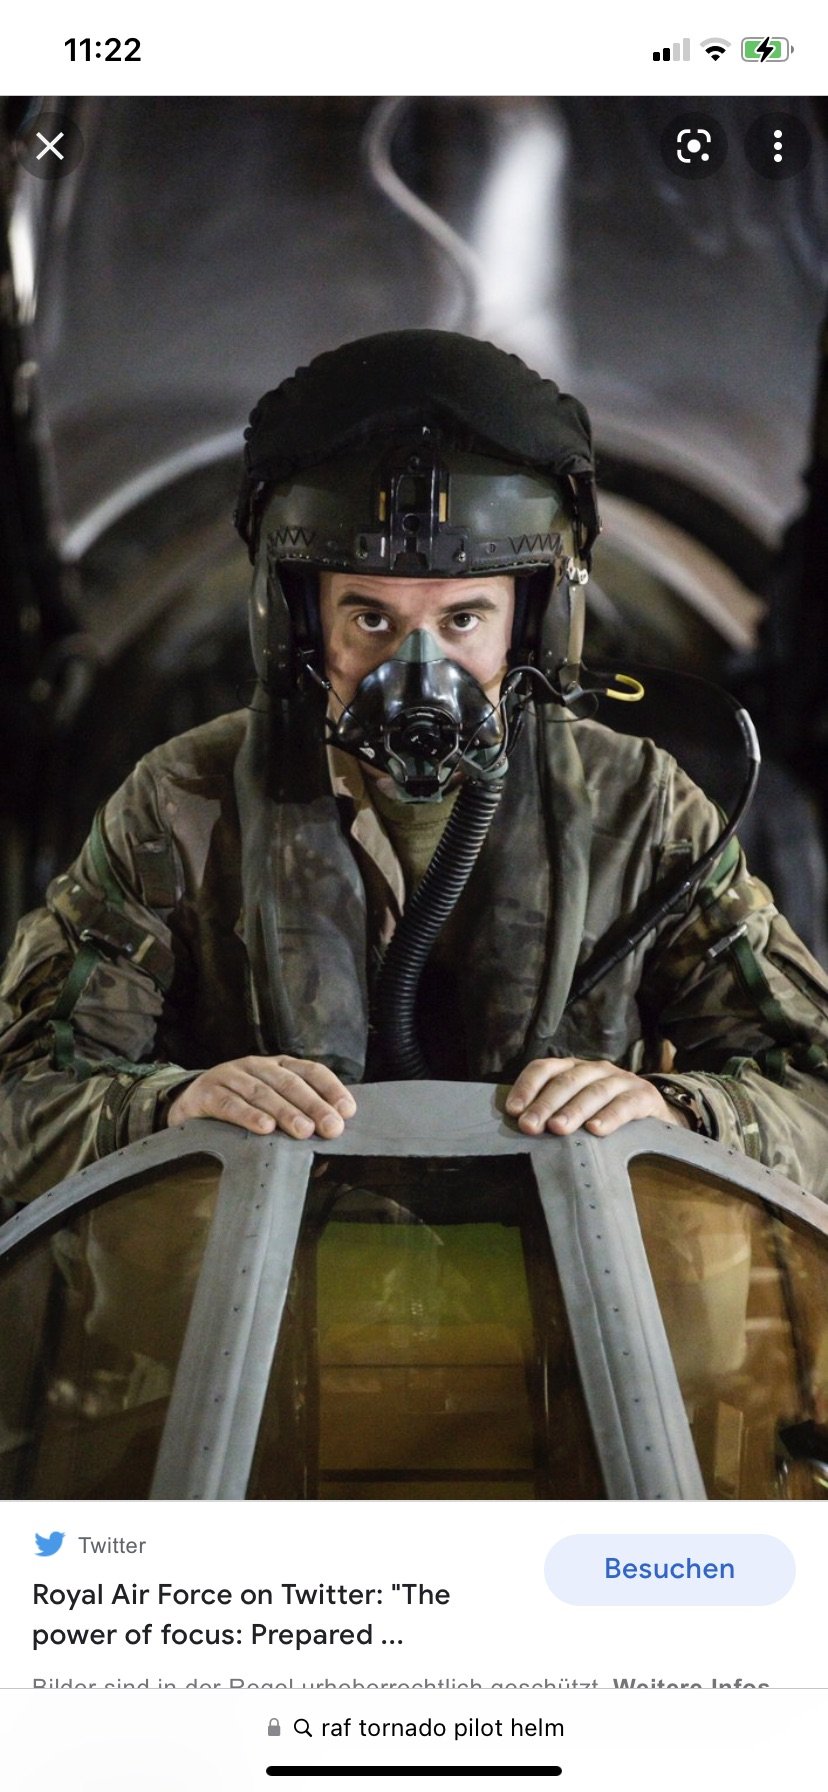
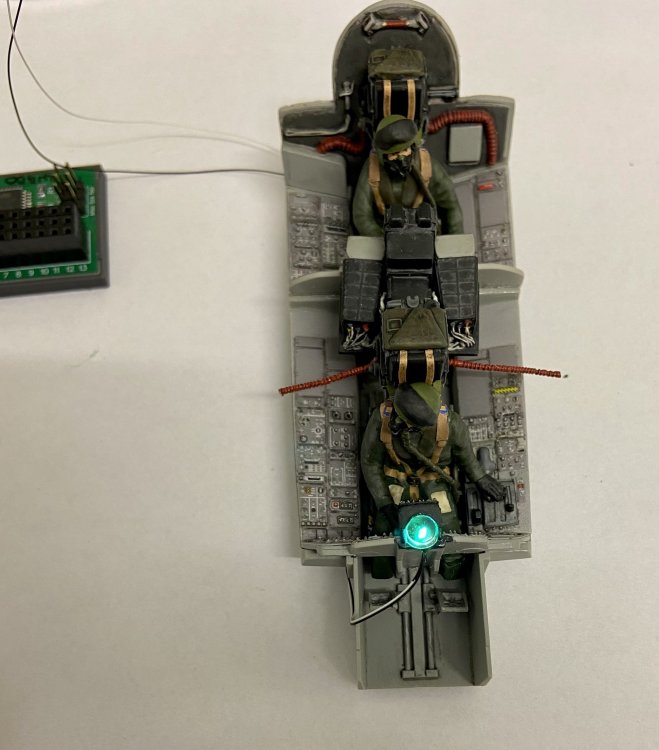
Thank you all for your feedback. Today I managed to add all missing hoses: The oxygen hoses of the crews‘ oxygen masks and the hoses to the ejection seats. For the masks of the crew I found a perfect reference foto in the internet: And for the hoses to the ejection seats: All hoses were scratched from wire. This is how they came out: Pilot and front ejection seat: WSO and back ejection seat: Final step will be adding the light to the HUD. This will be the topic for the next post.