
Kaireckstadt
-
Posts
1,705 -
Joined
-
Last visited
Content Type
Profiles
Forums
Events
Gallery
Everything posted by Kaireckstadt
-

617 Sqn Tornado Dambuster 70th
Kaireckstadt replied to Kaireckstadt's topic in LSM 1/35 and Larger Work In Progress
Thank you Rob! I have to finish the figures now and then the seats and pilots will get some paint. Thank you Peter! Detailing and quality of the kit is really much better than that of their Mirage. I‘m curious how the cabling will look like after painting. -
Copy Peter! Nothing to add!
-
Done - F-4EJ Kai Phantom - The Last of it's Kind ZM 1/48
Kaireckstadt replied to DocRob's topic in LSM 1/48 Work in Progress
Brilliant burner cans. Amazing paintwork Rob! -
Amazing, amazing and once again amazing!
-
Copy Gary, Peter! Great build so far and mishaps happen to all of us! But as long as there is a solution, it’s not a problem in the end!
-
Done - F-4EJ Kai Phantom - The Last of it's Kind ZM 1/48
Kaireckstadt replied to DocRob's topic in LSM 1/48 Work in Progress
Have just seen this right now. Great subject and build up to now Rob! Looking top notch! I‘m a Phantom-Phanatic and will follow your build closely. -
Copy Mike, great work!
-
Nice build Joachim!
-
617 Sqn Tornado Dambuster 70th
Kaireckstadt replied to Kaireckstadt's topic in LSM 1/35 and Larger Work In Progress
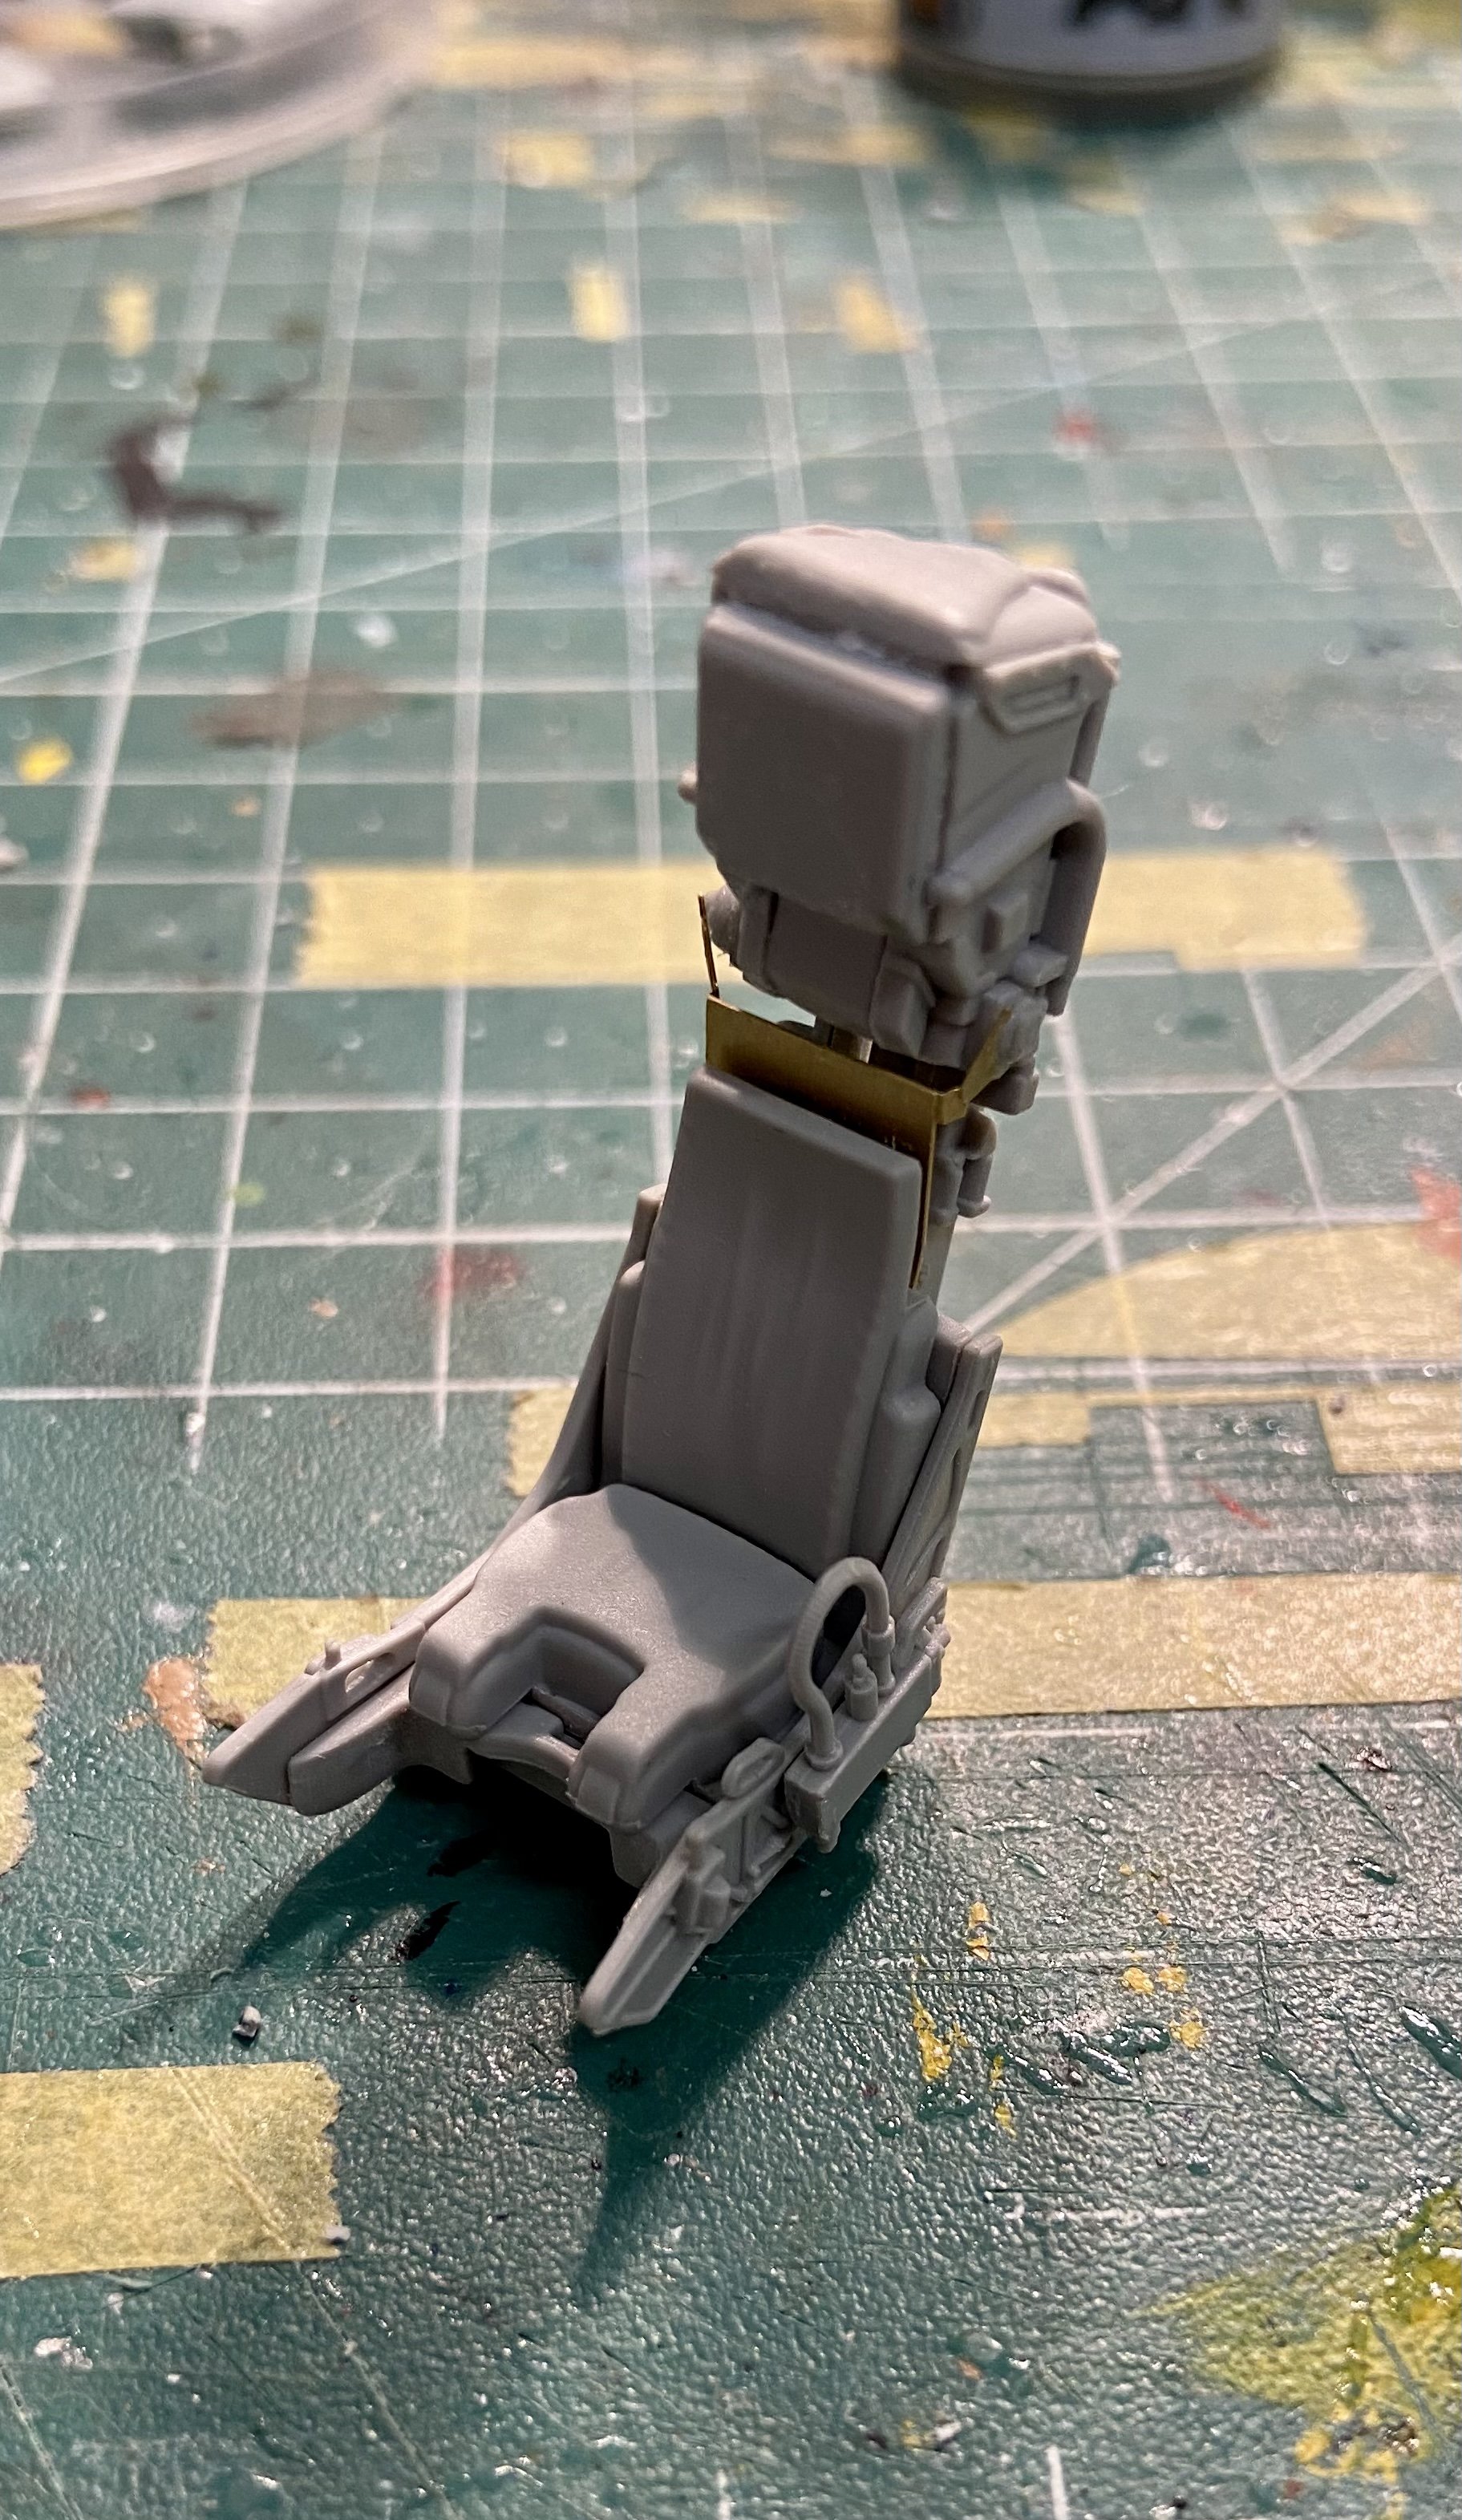
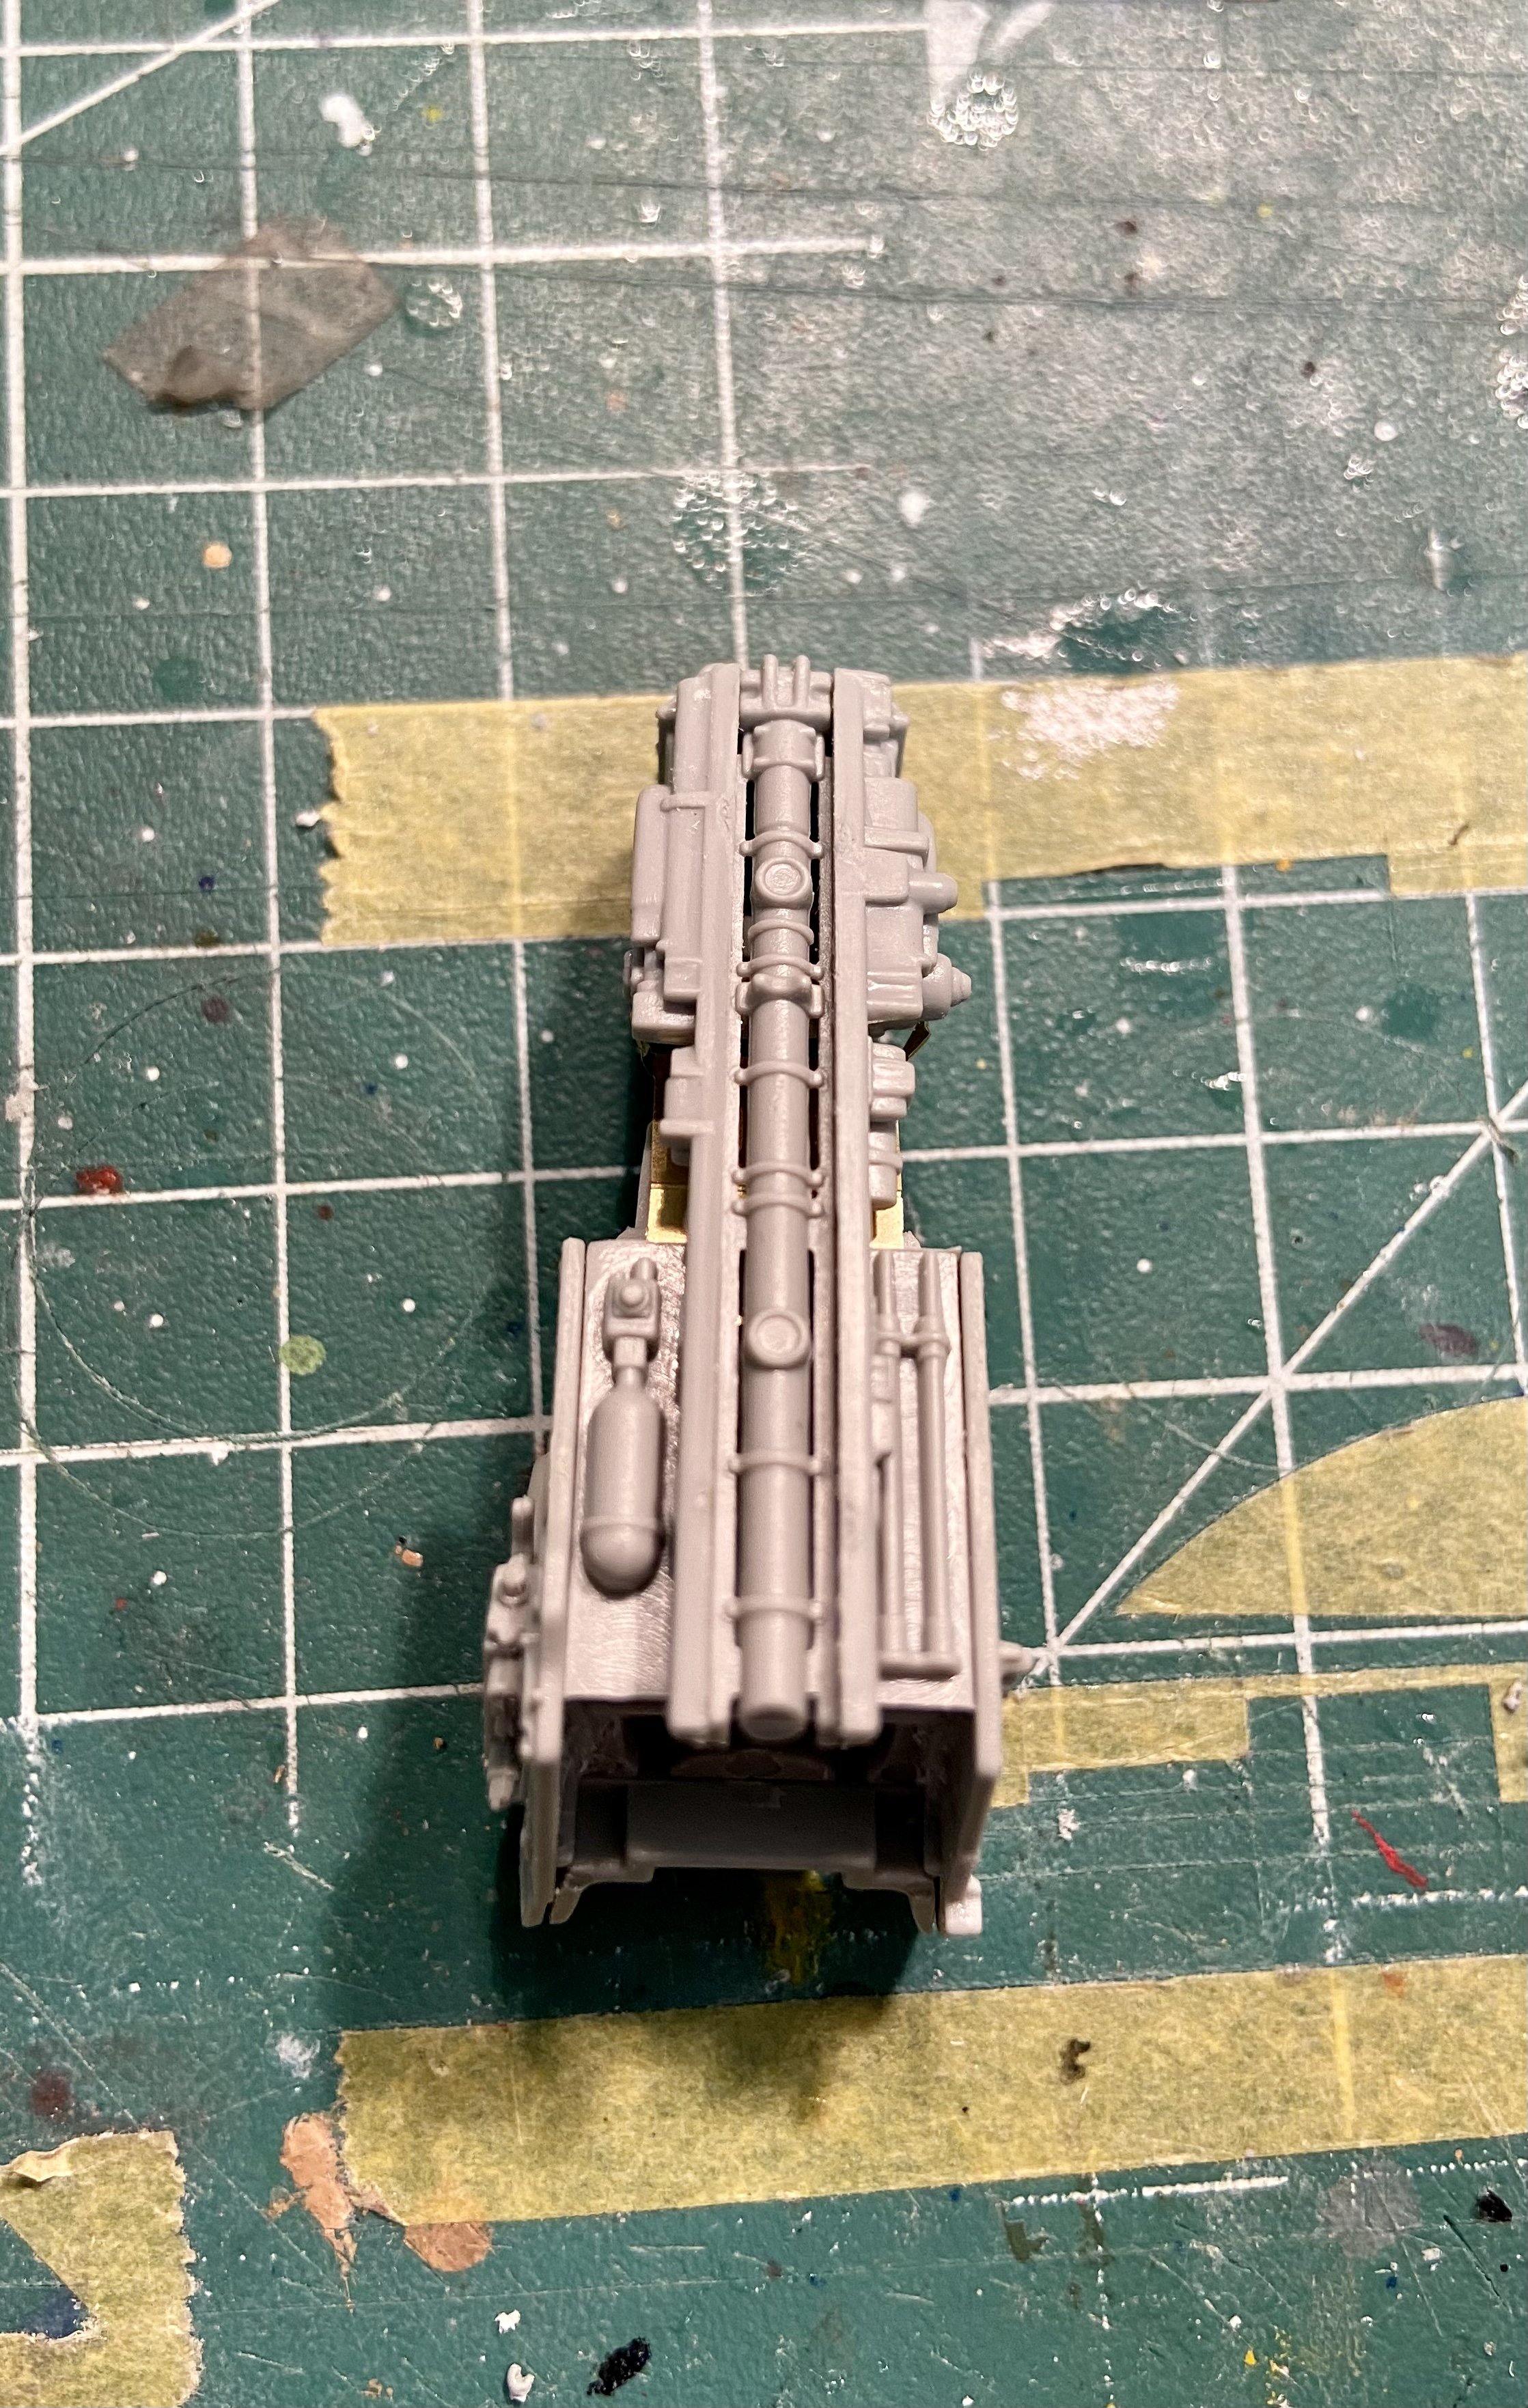
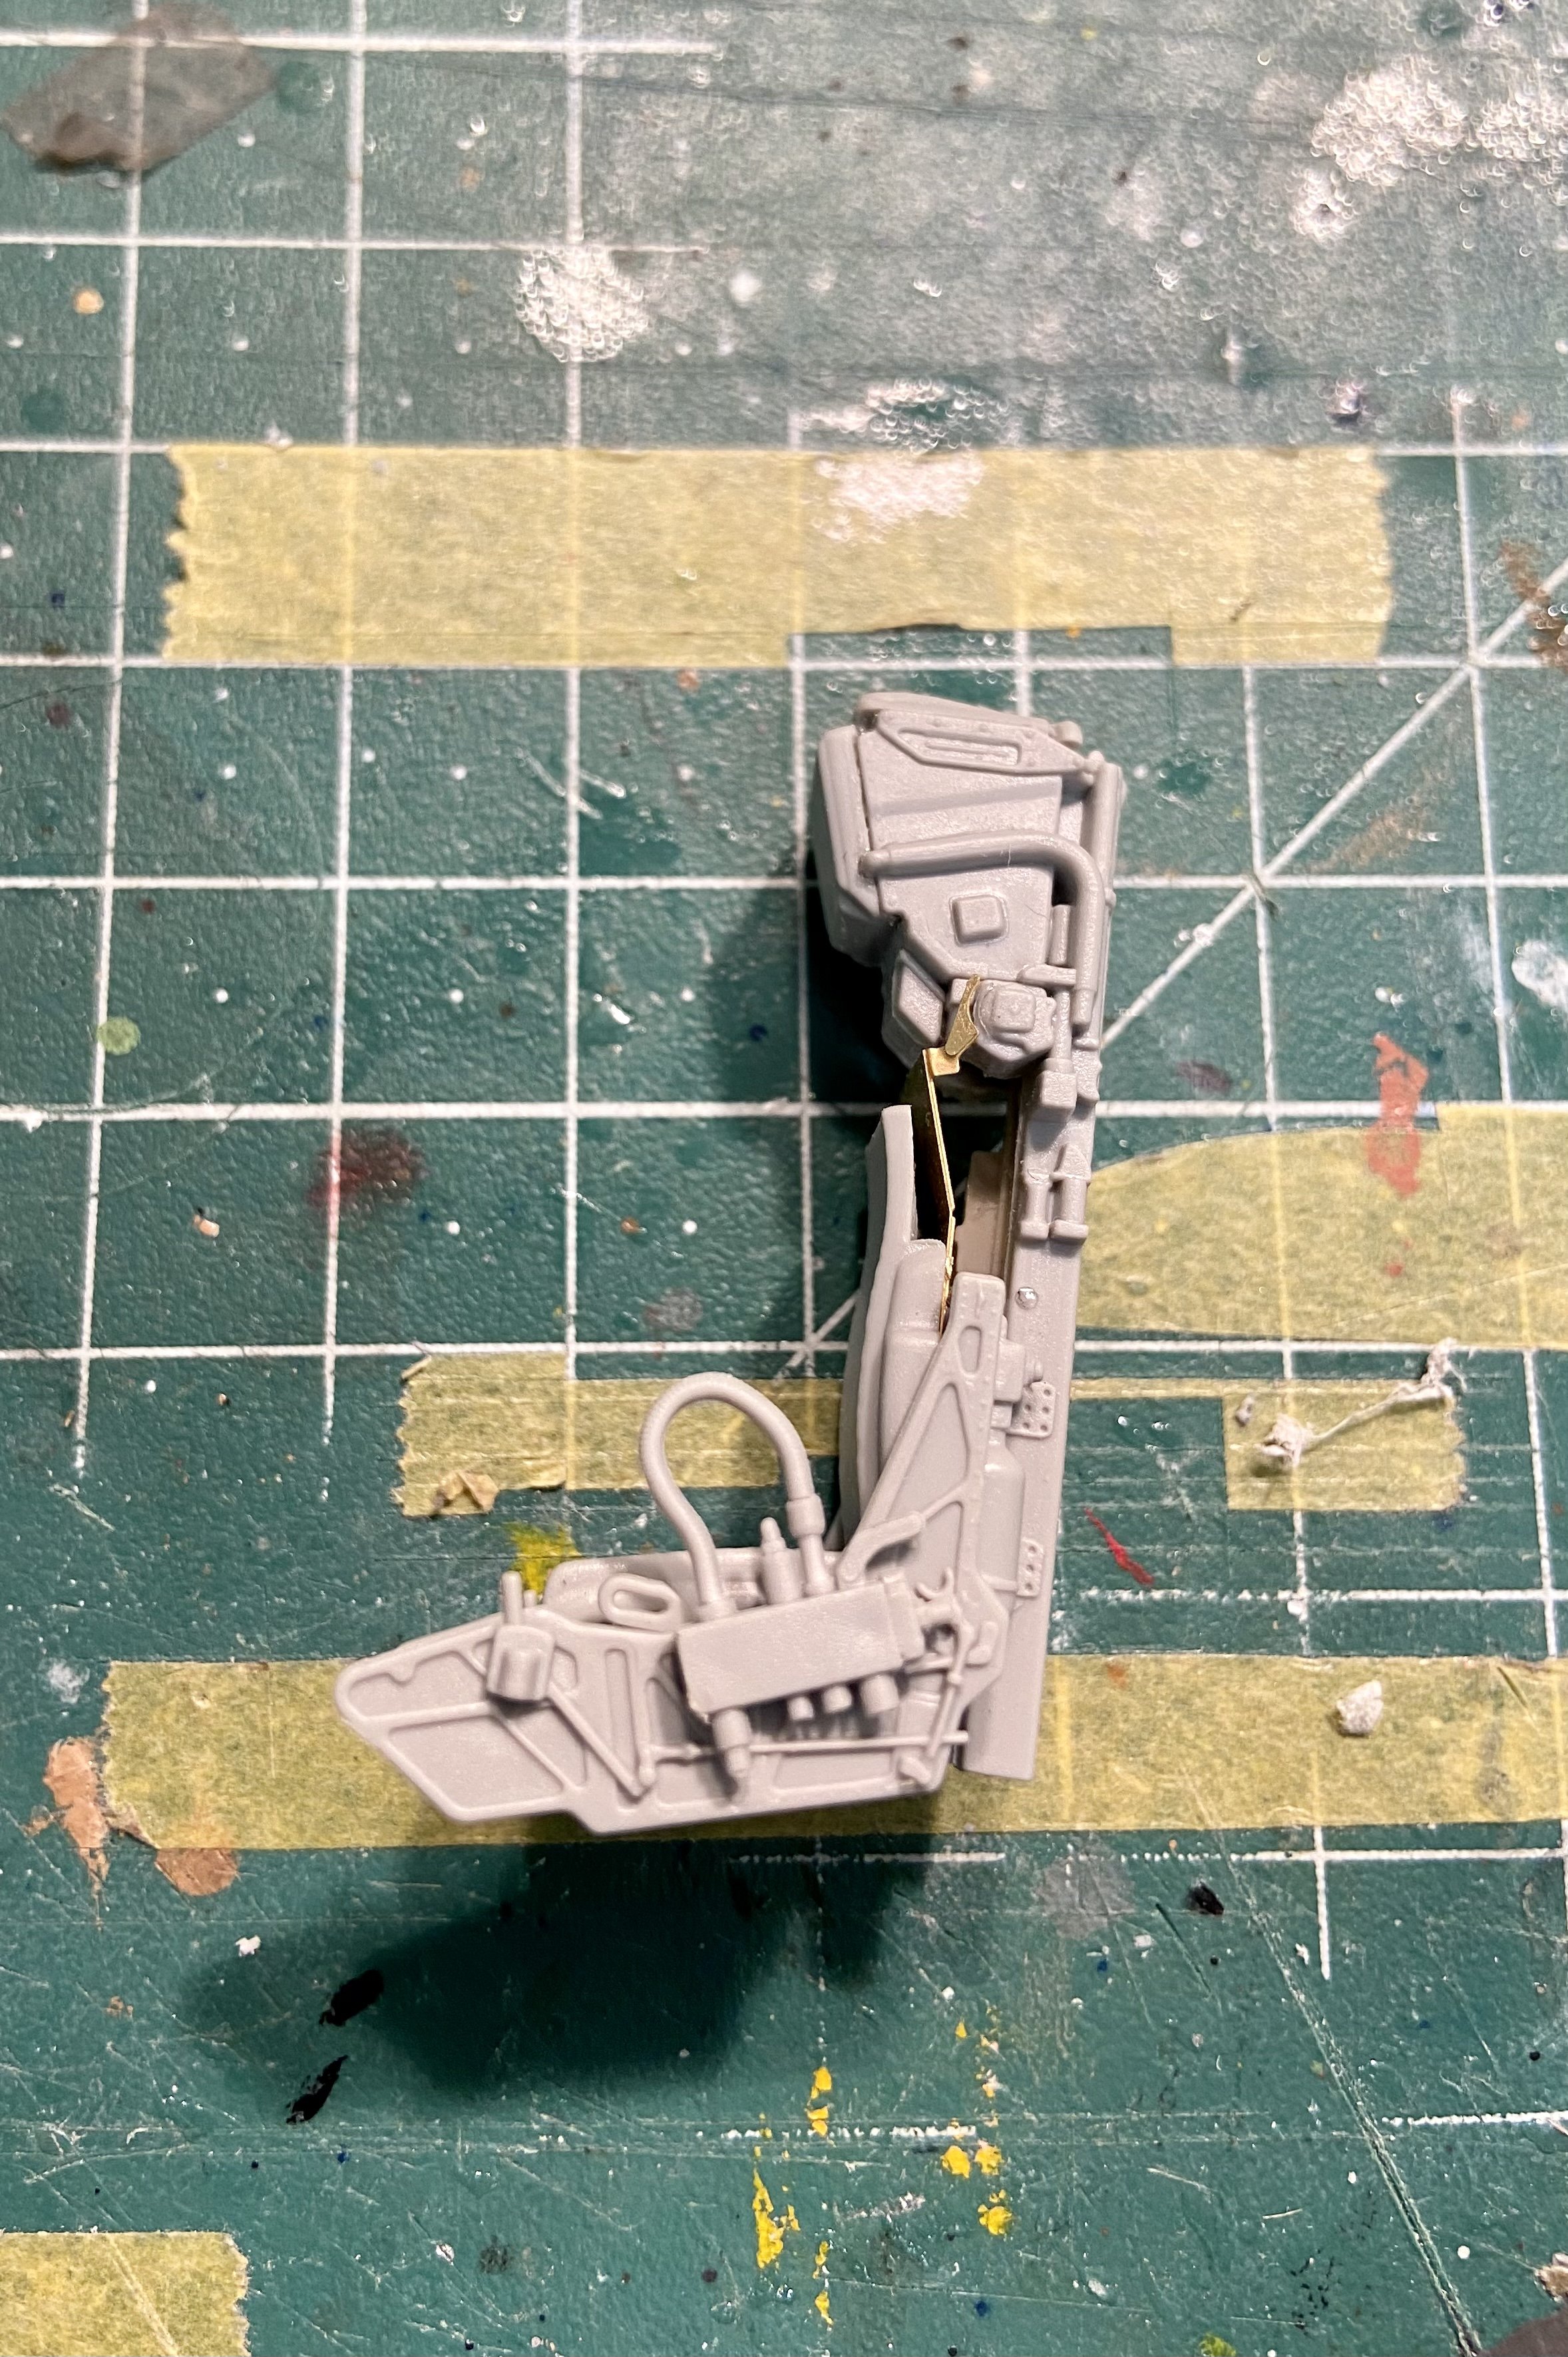
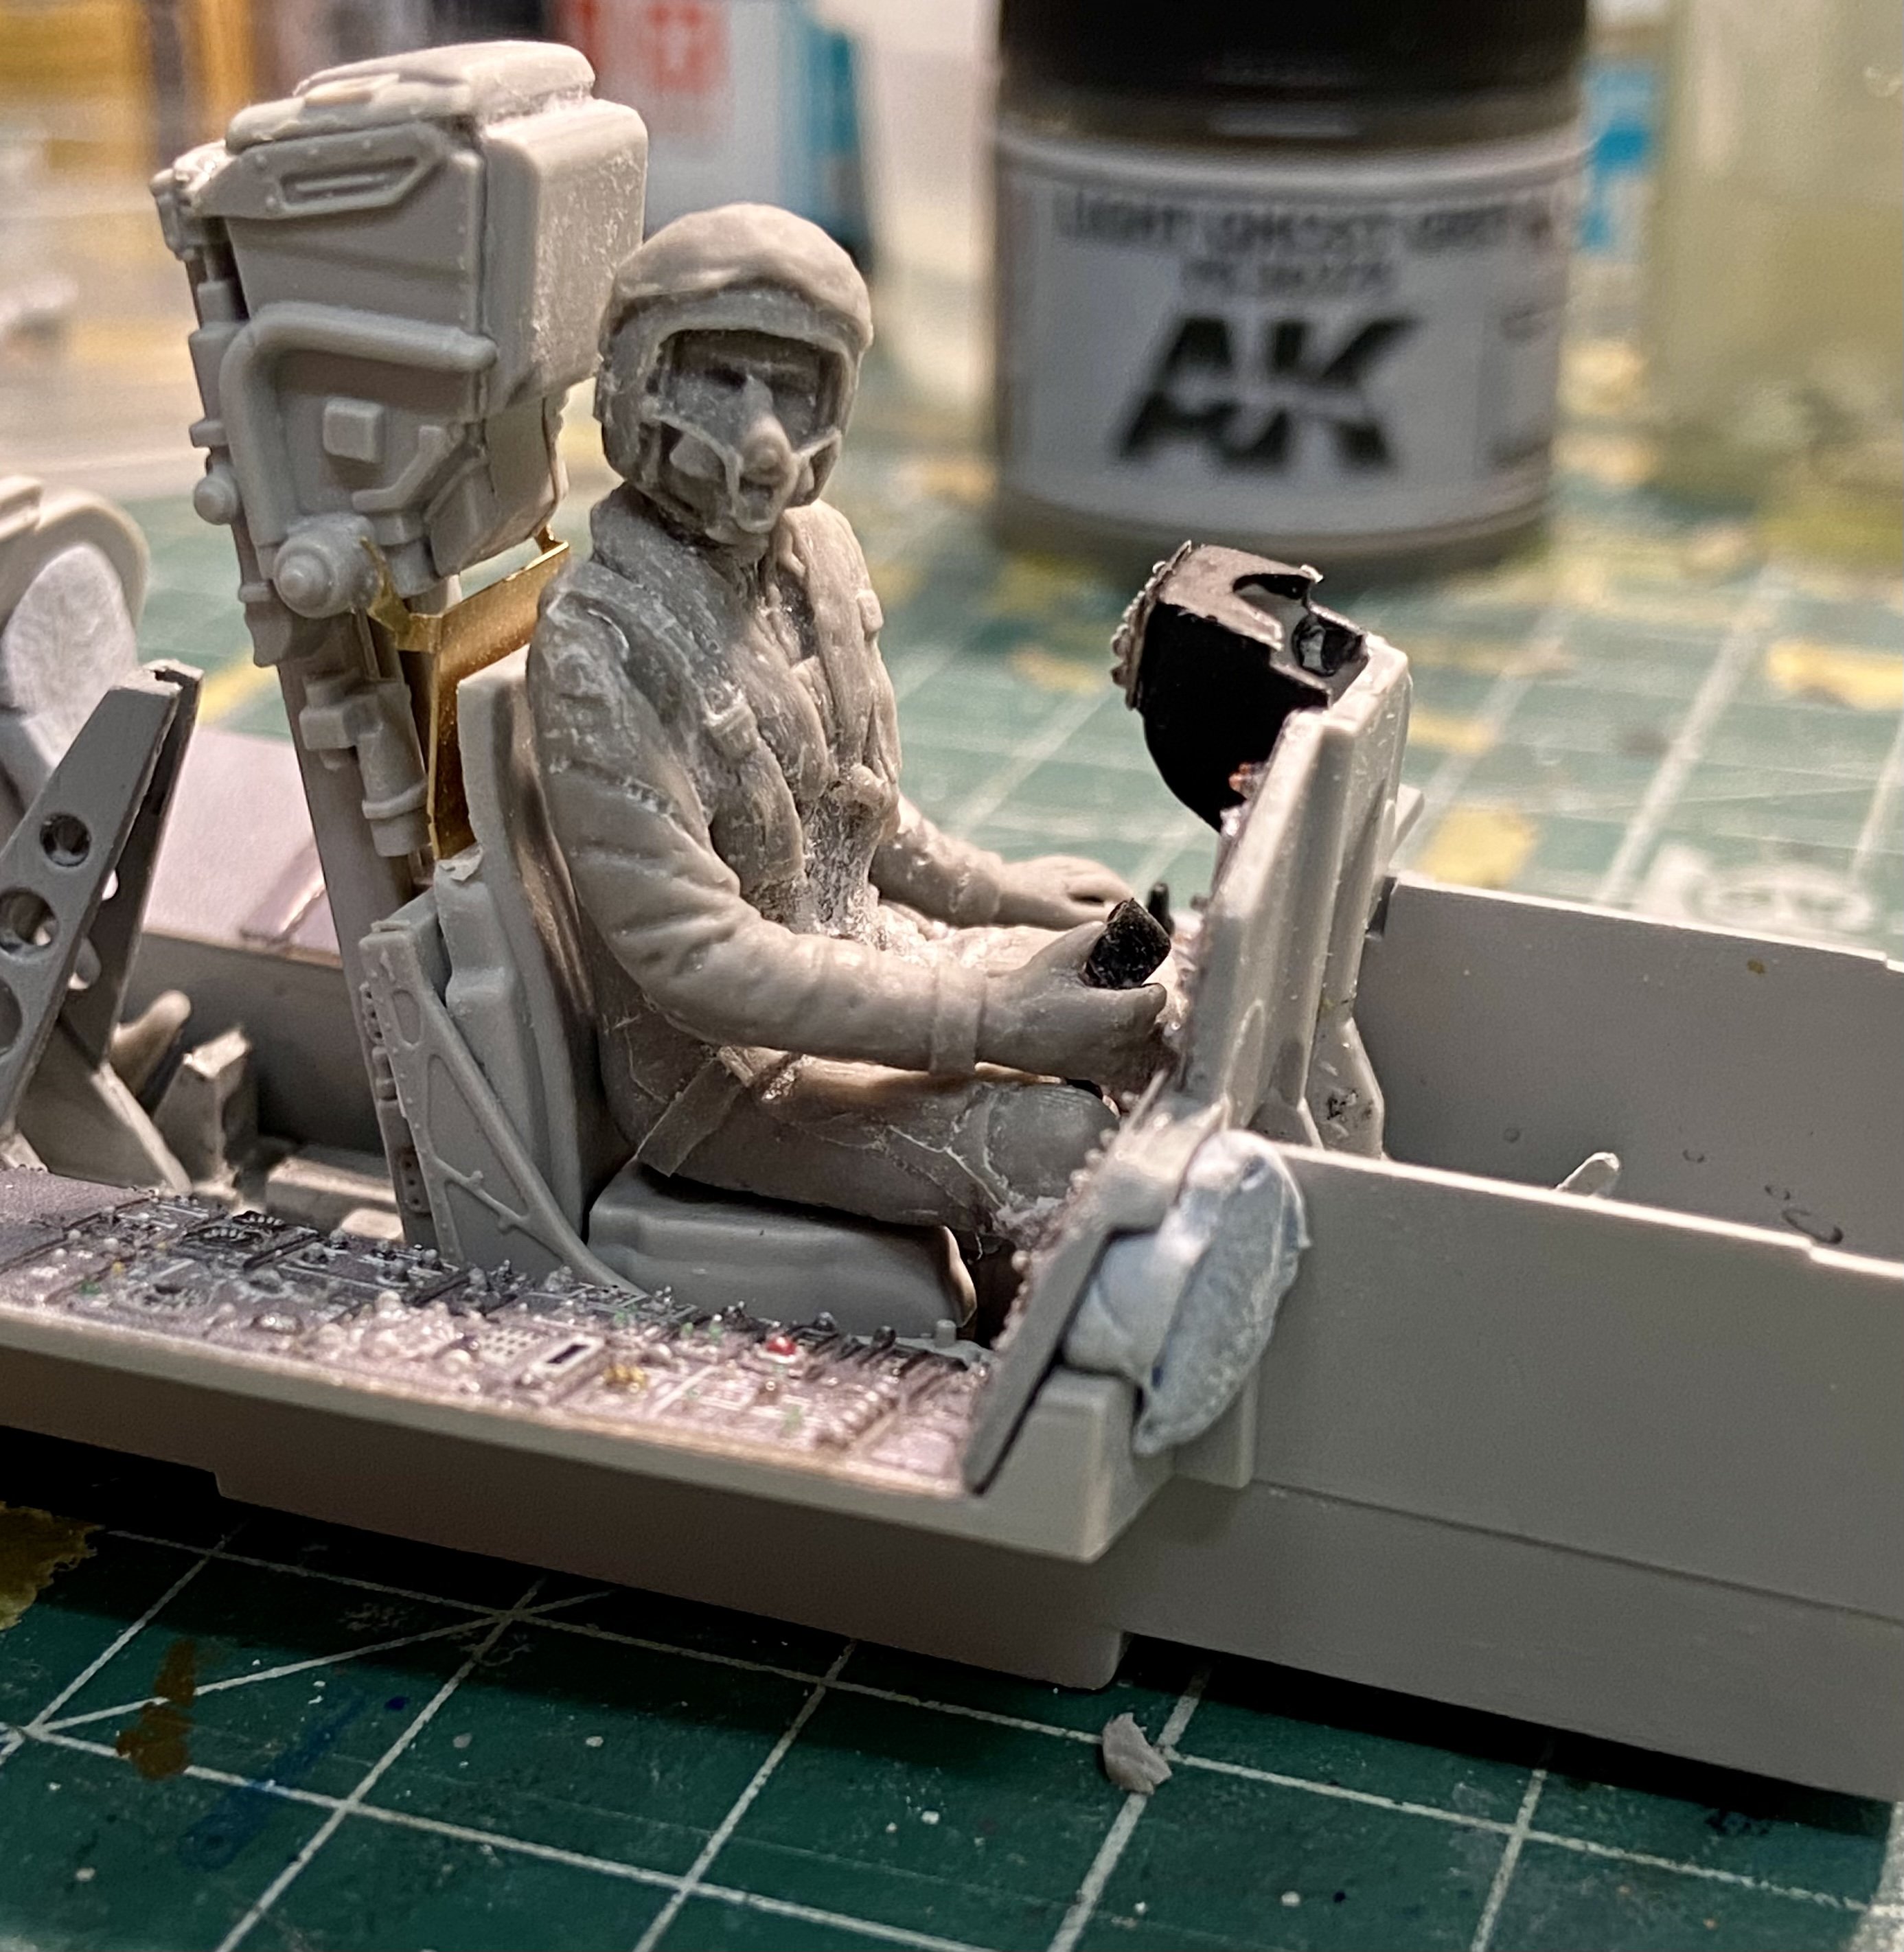
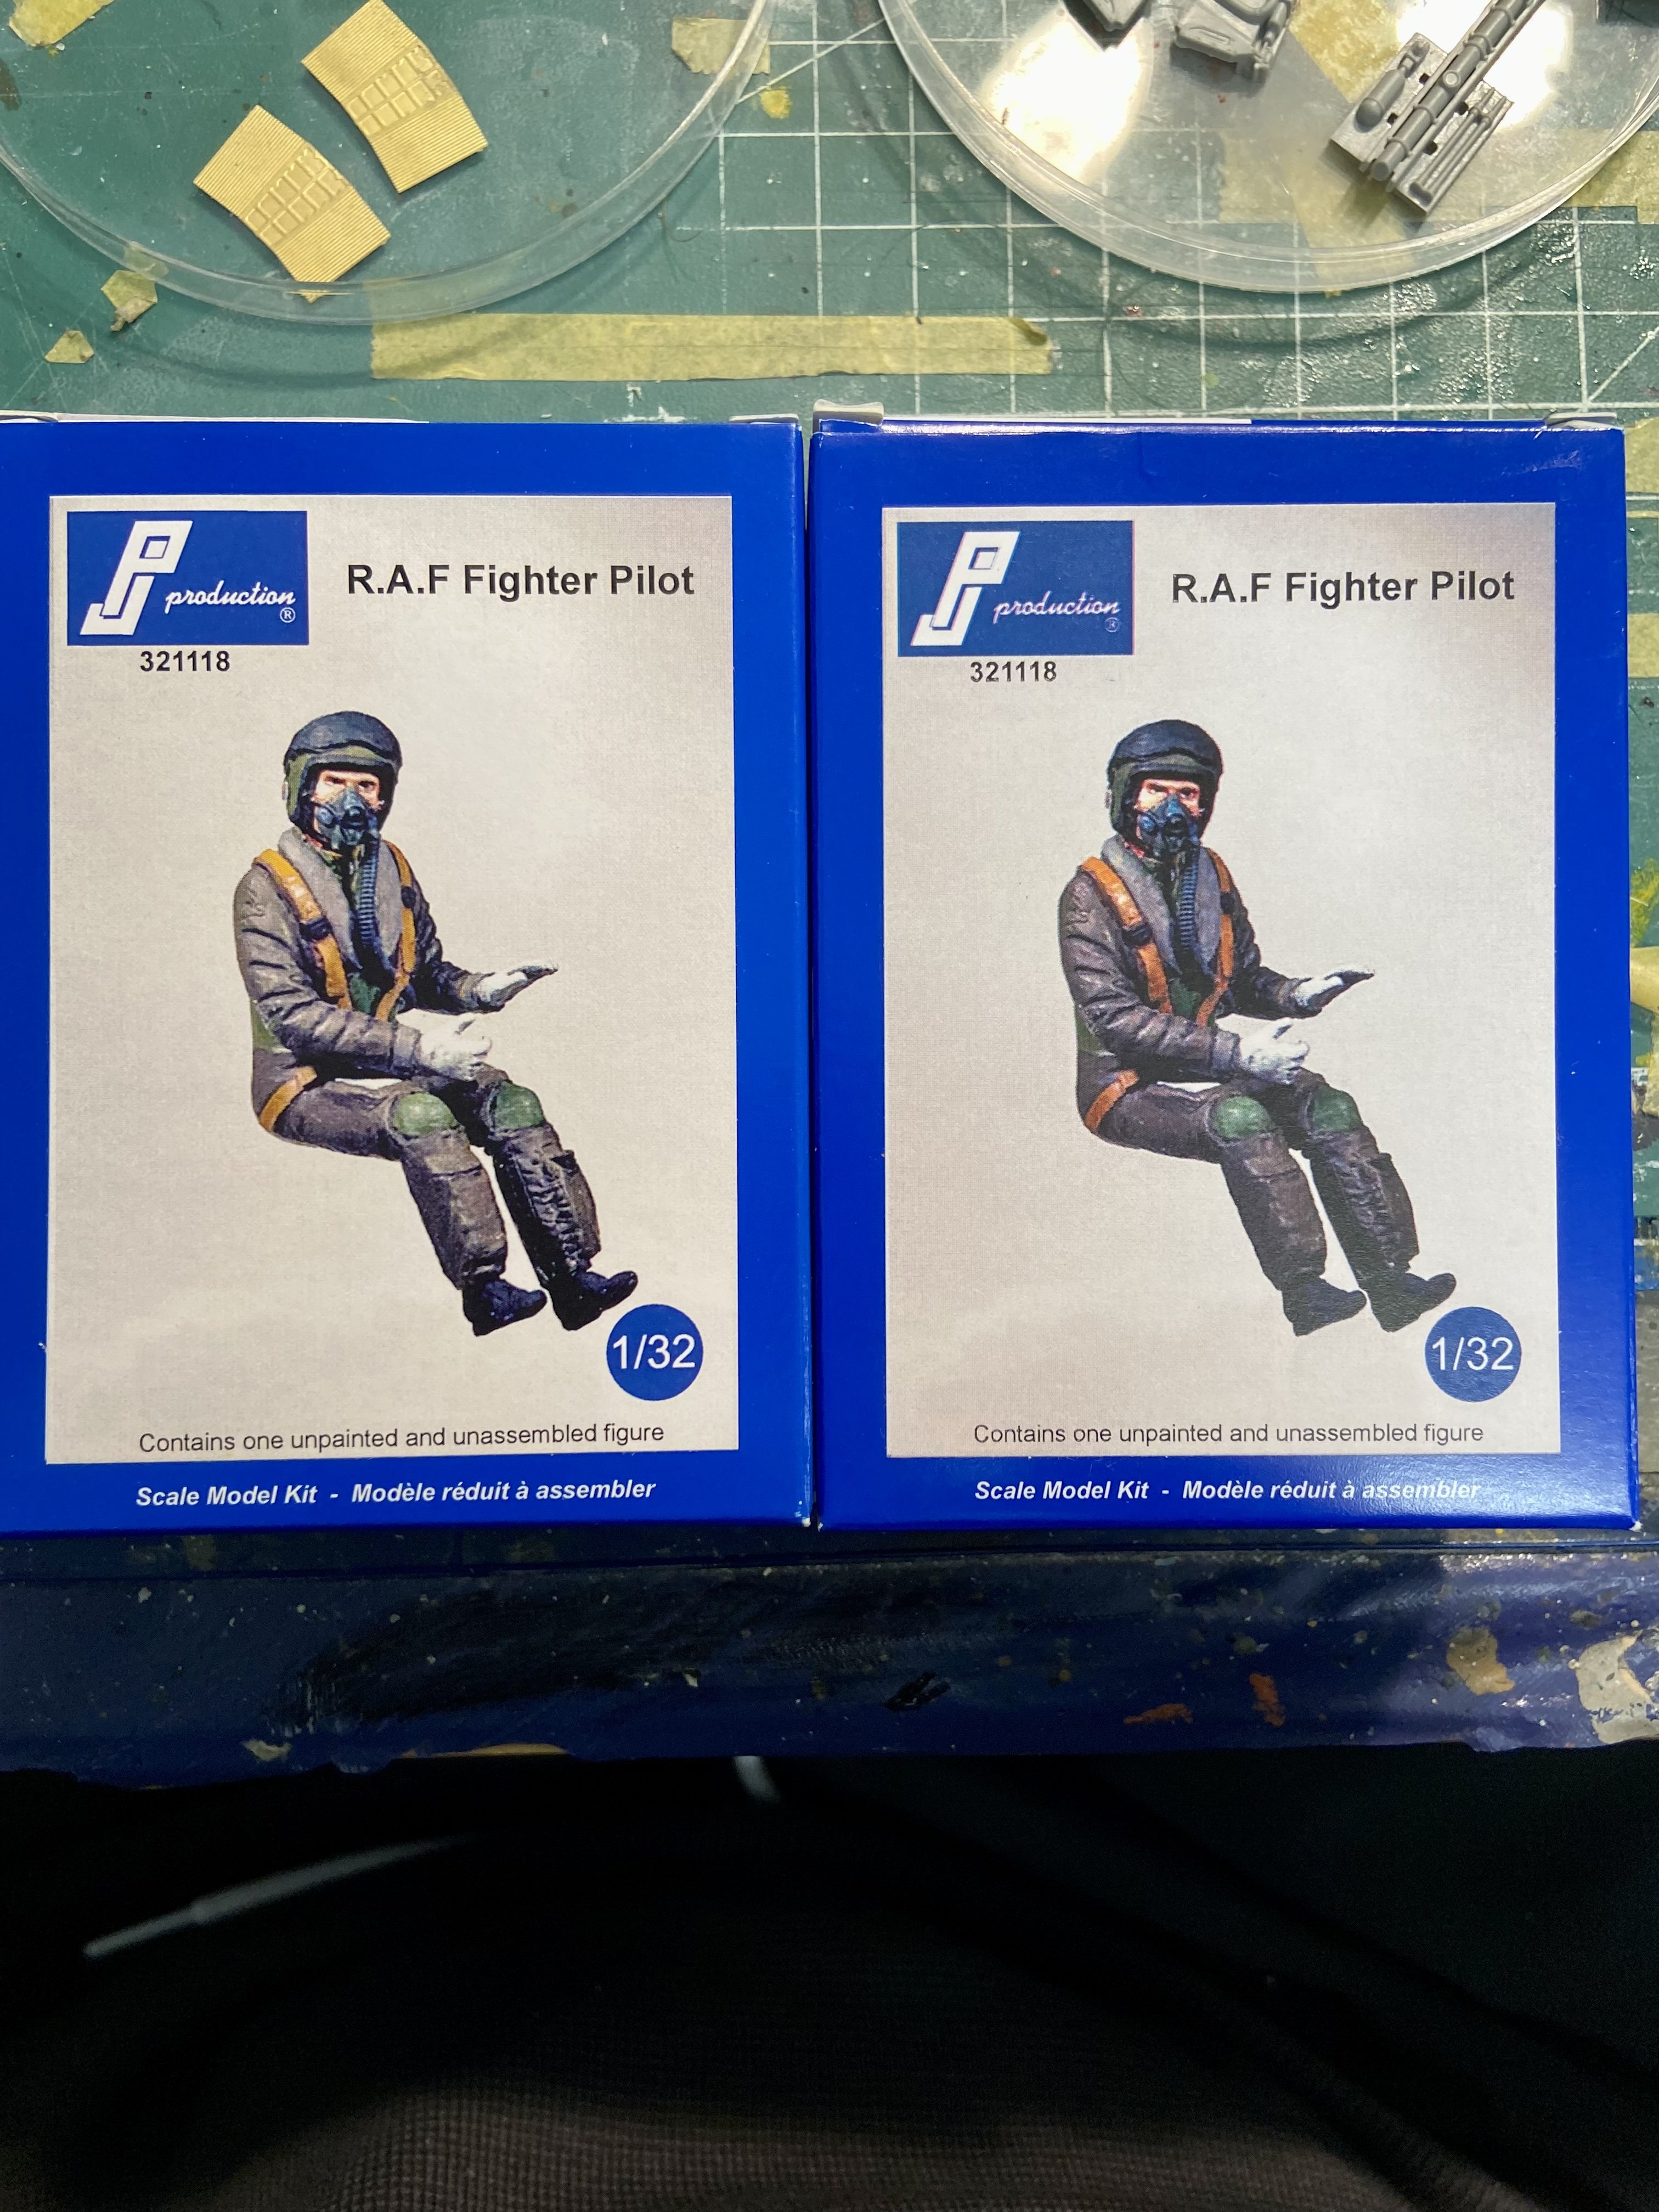
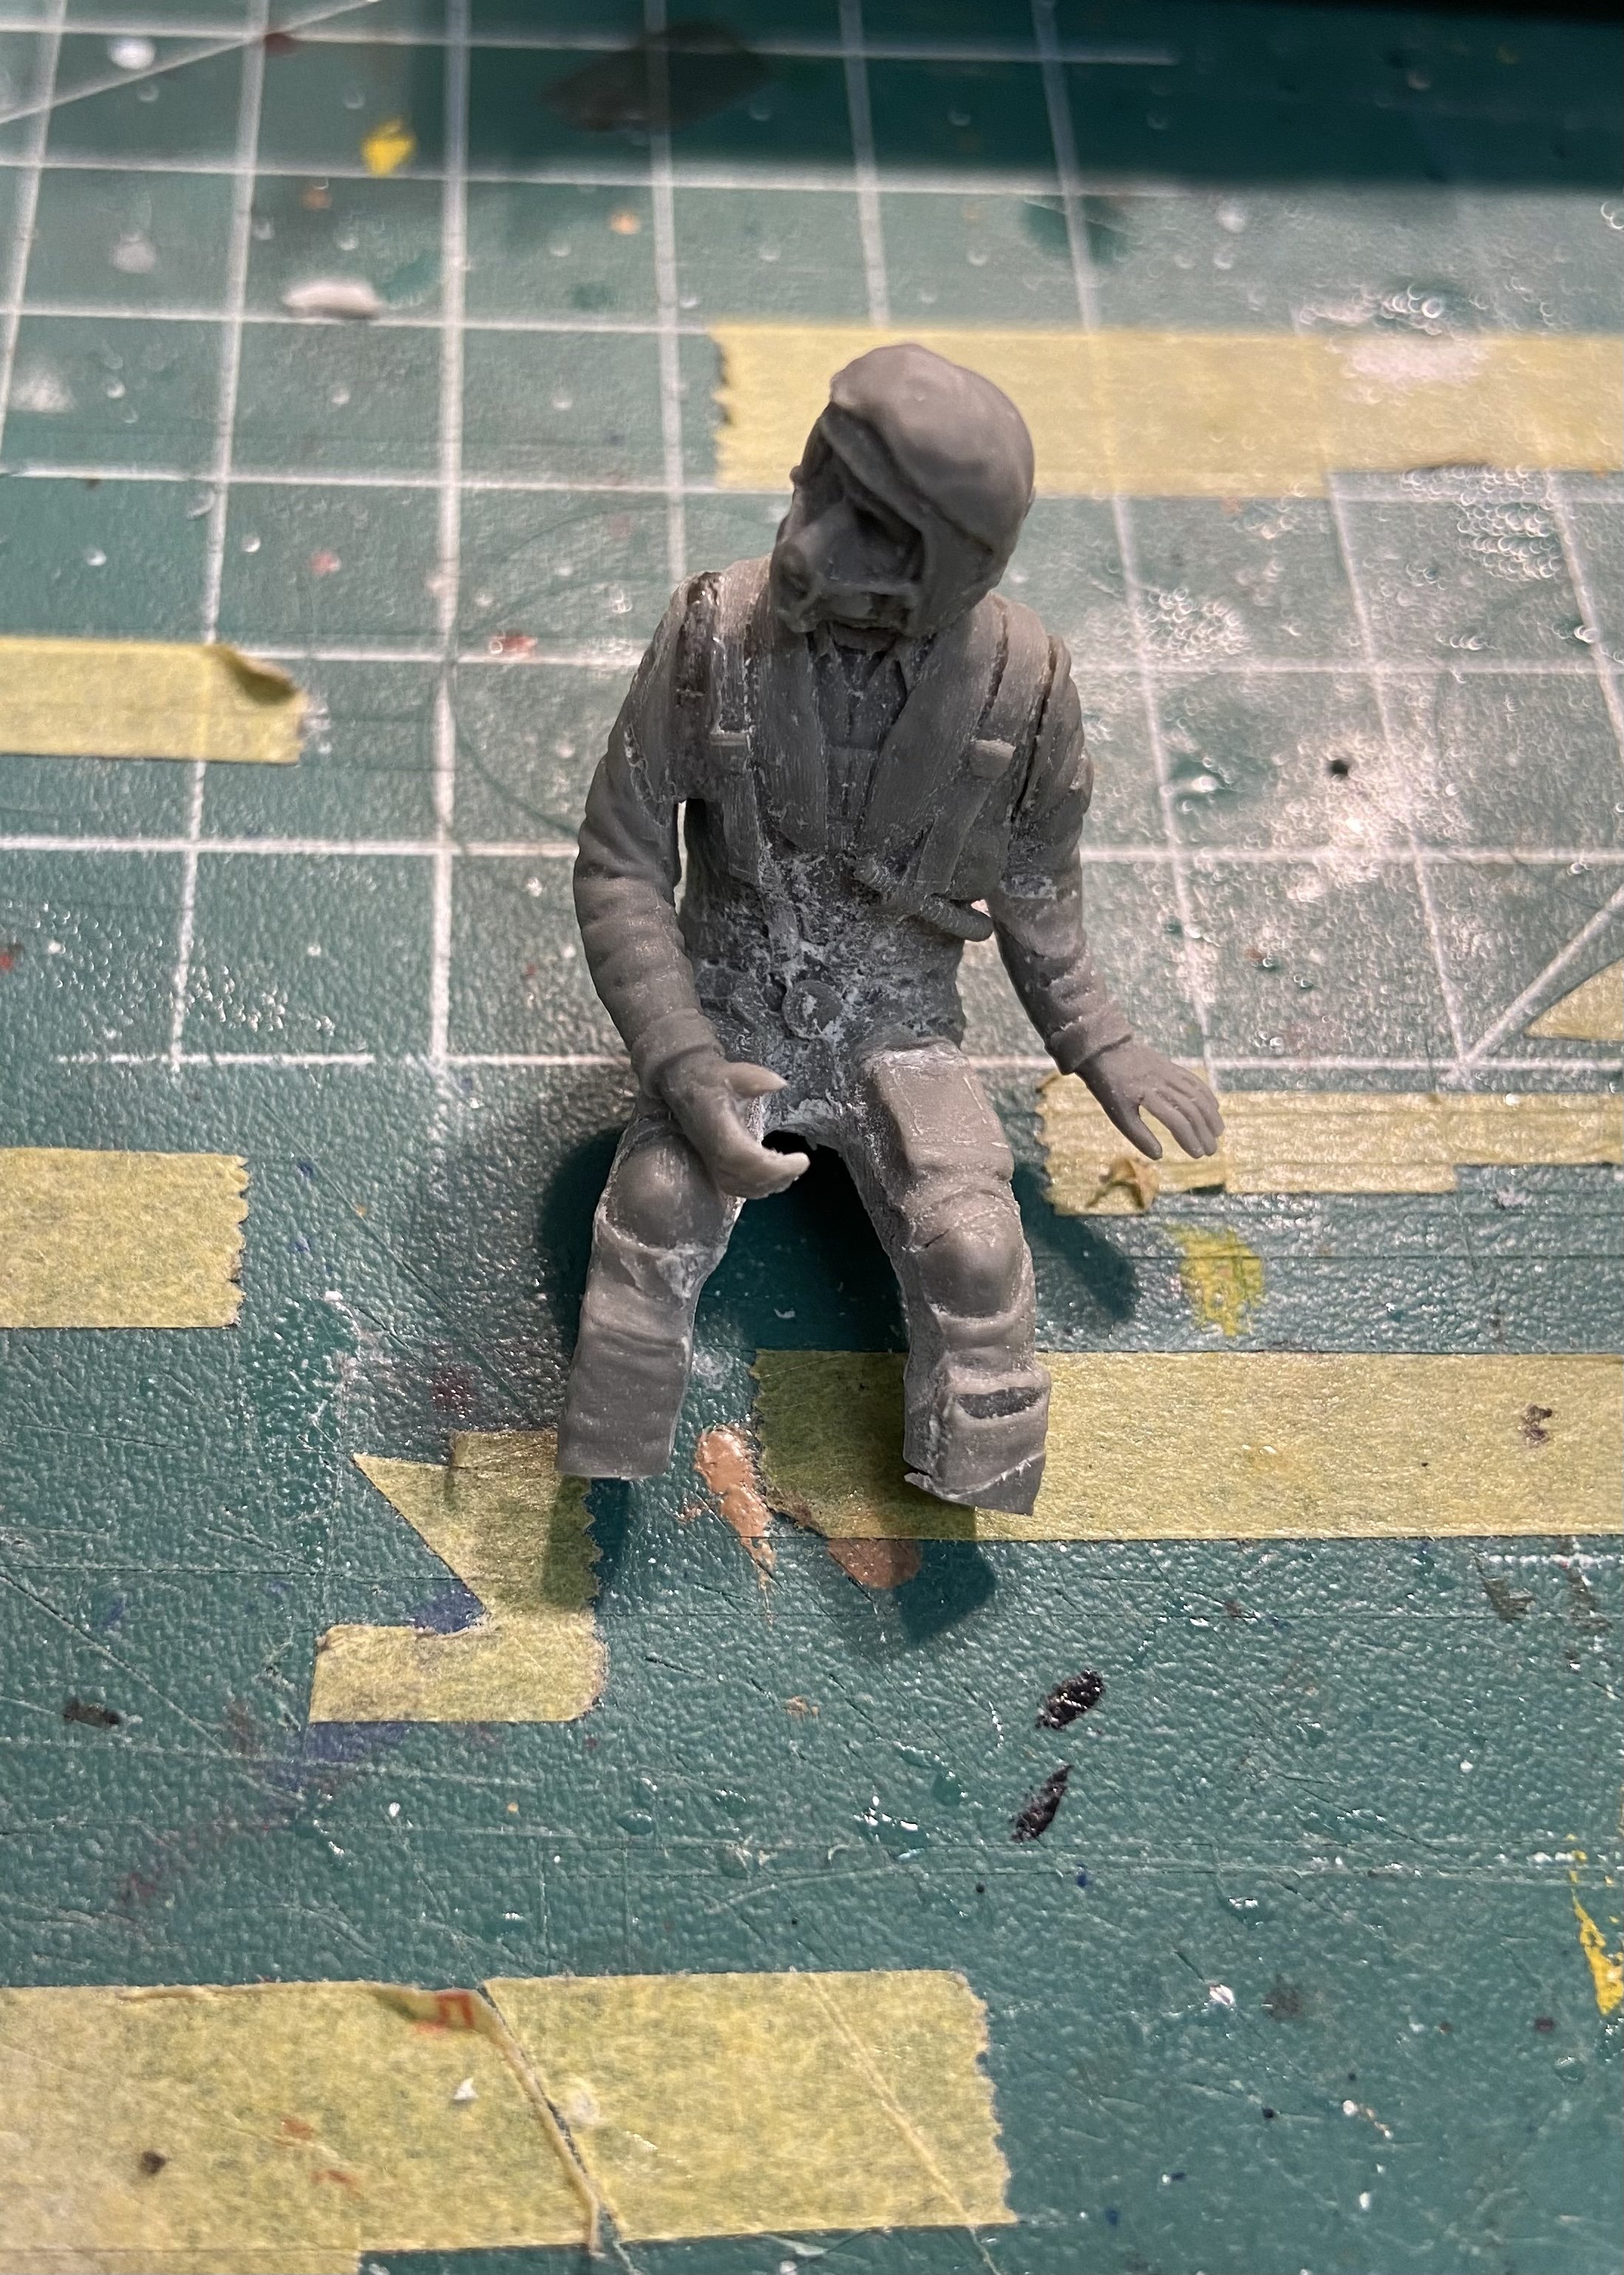
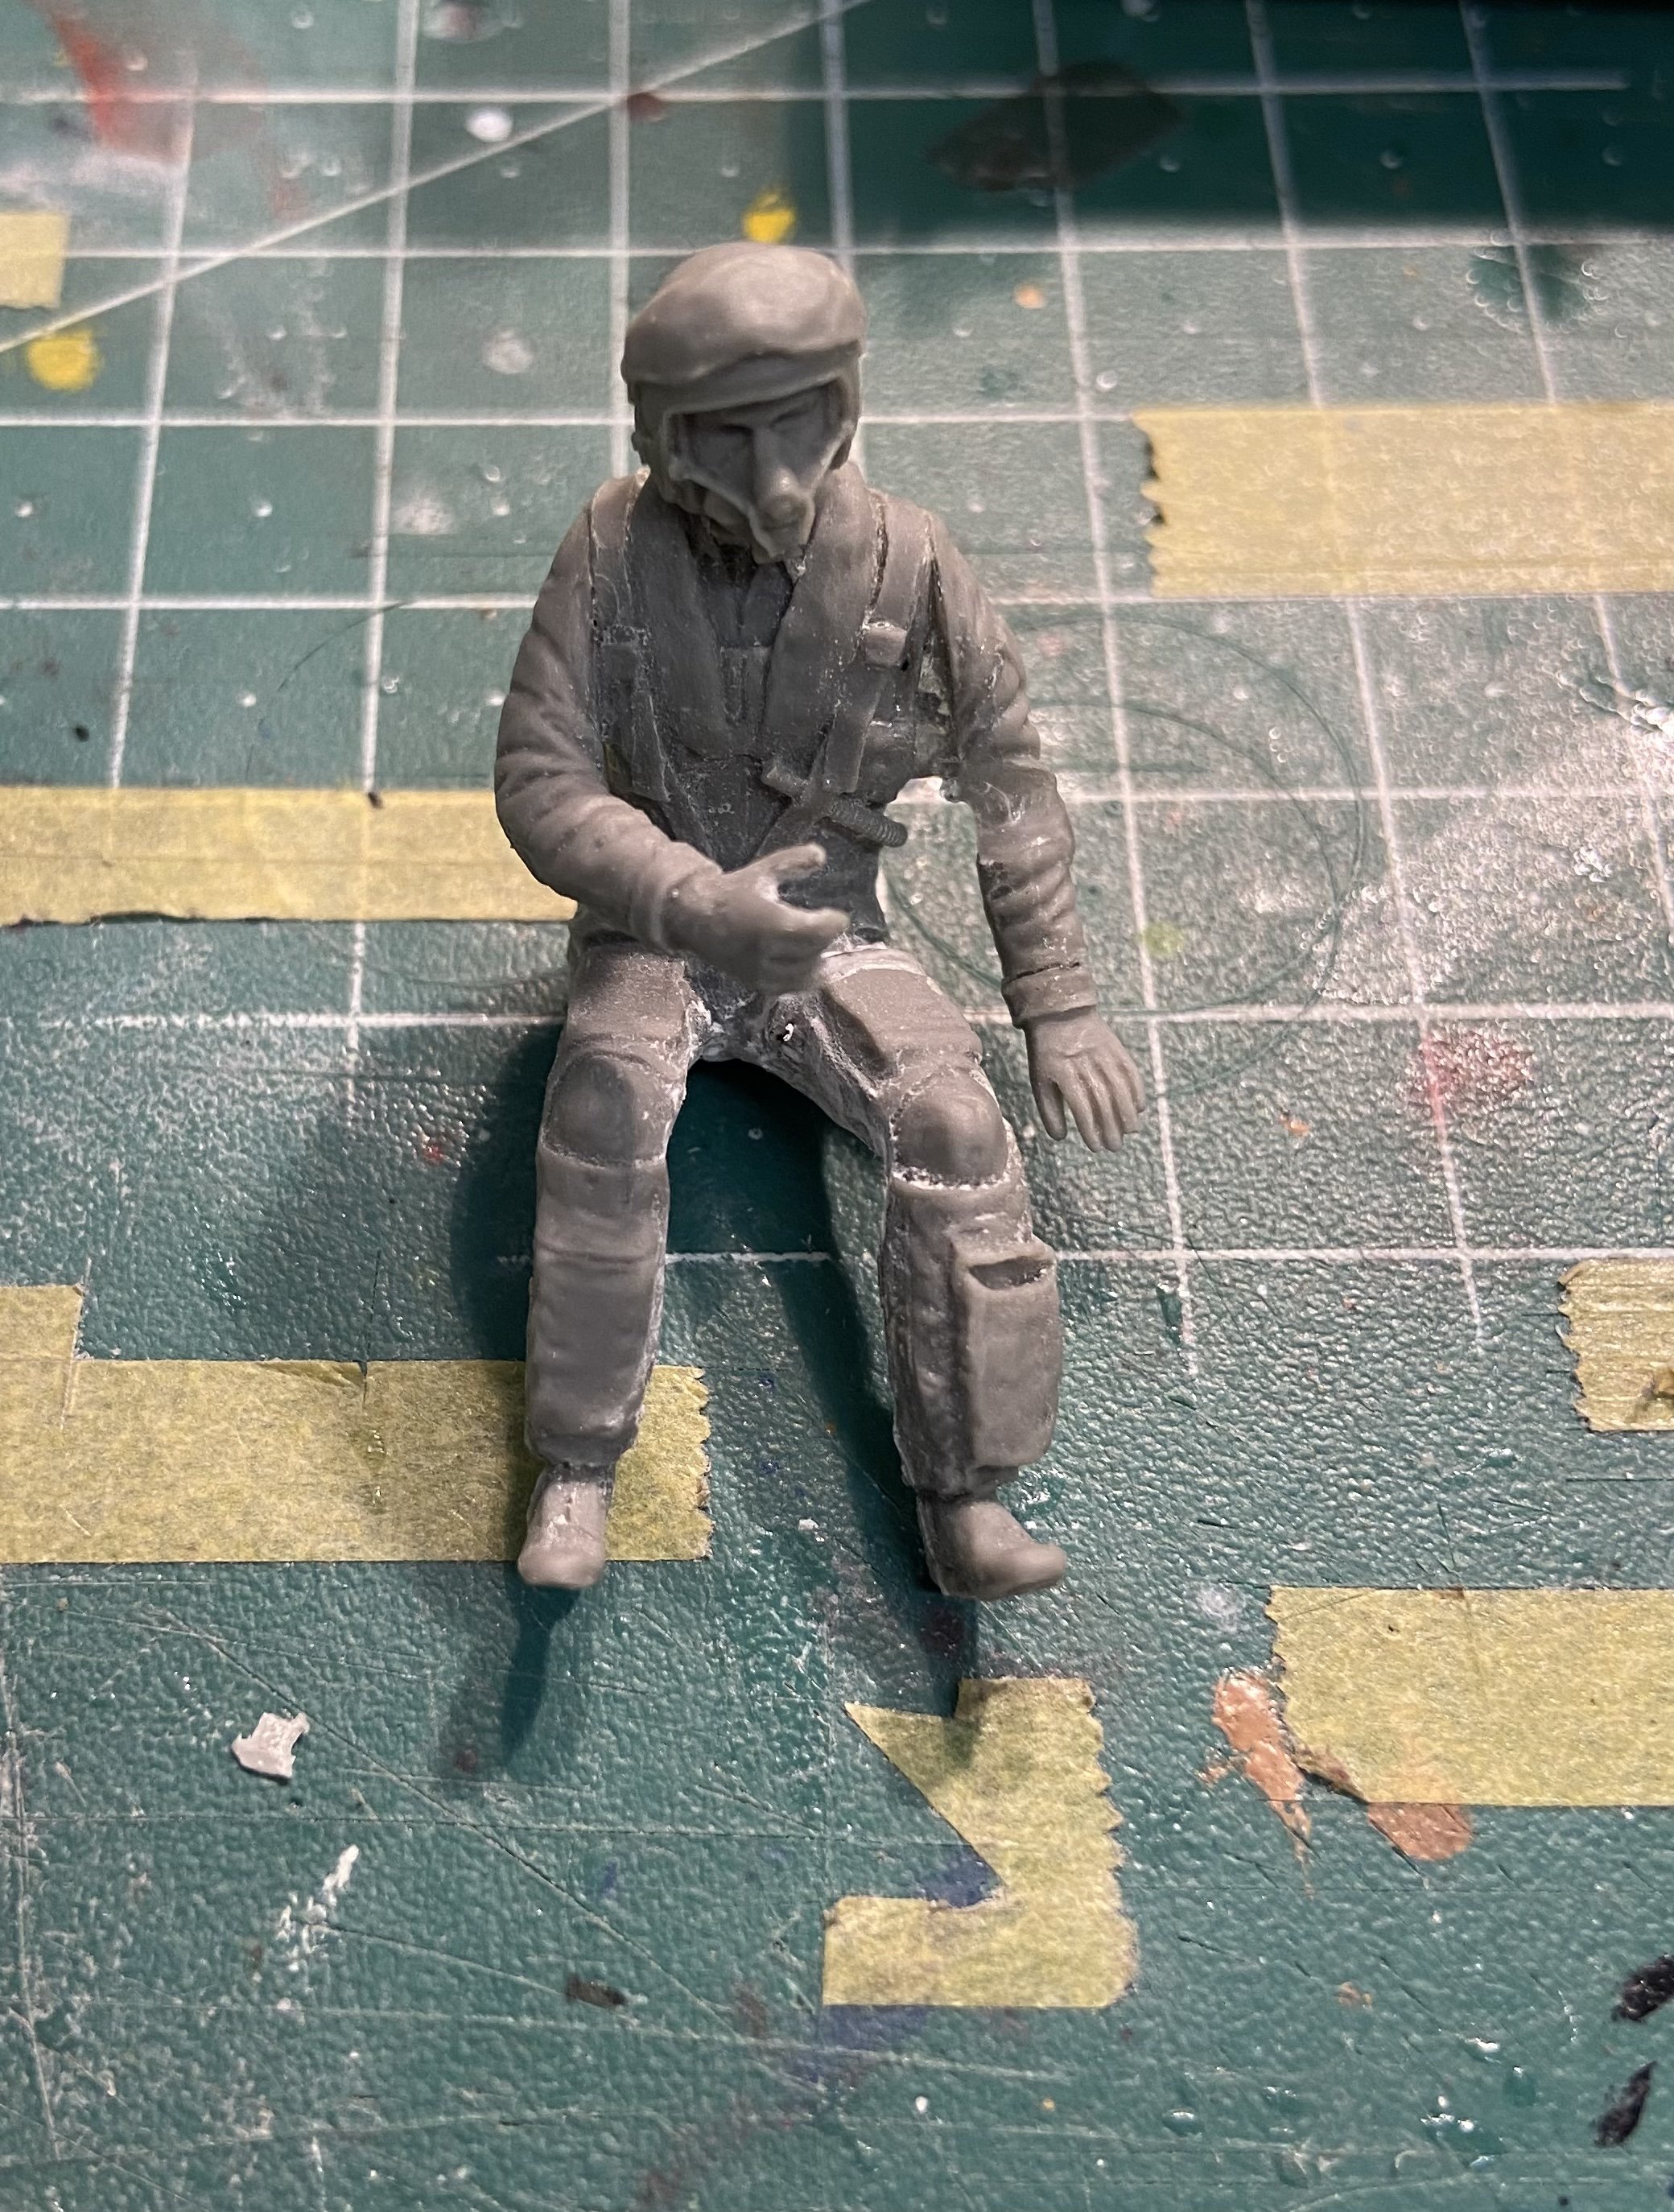
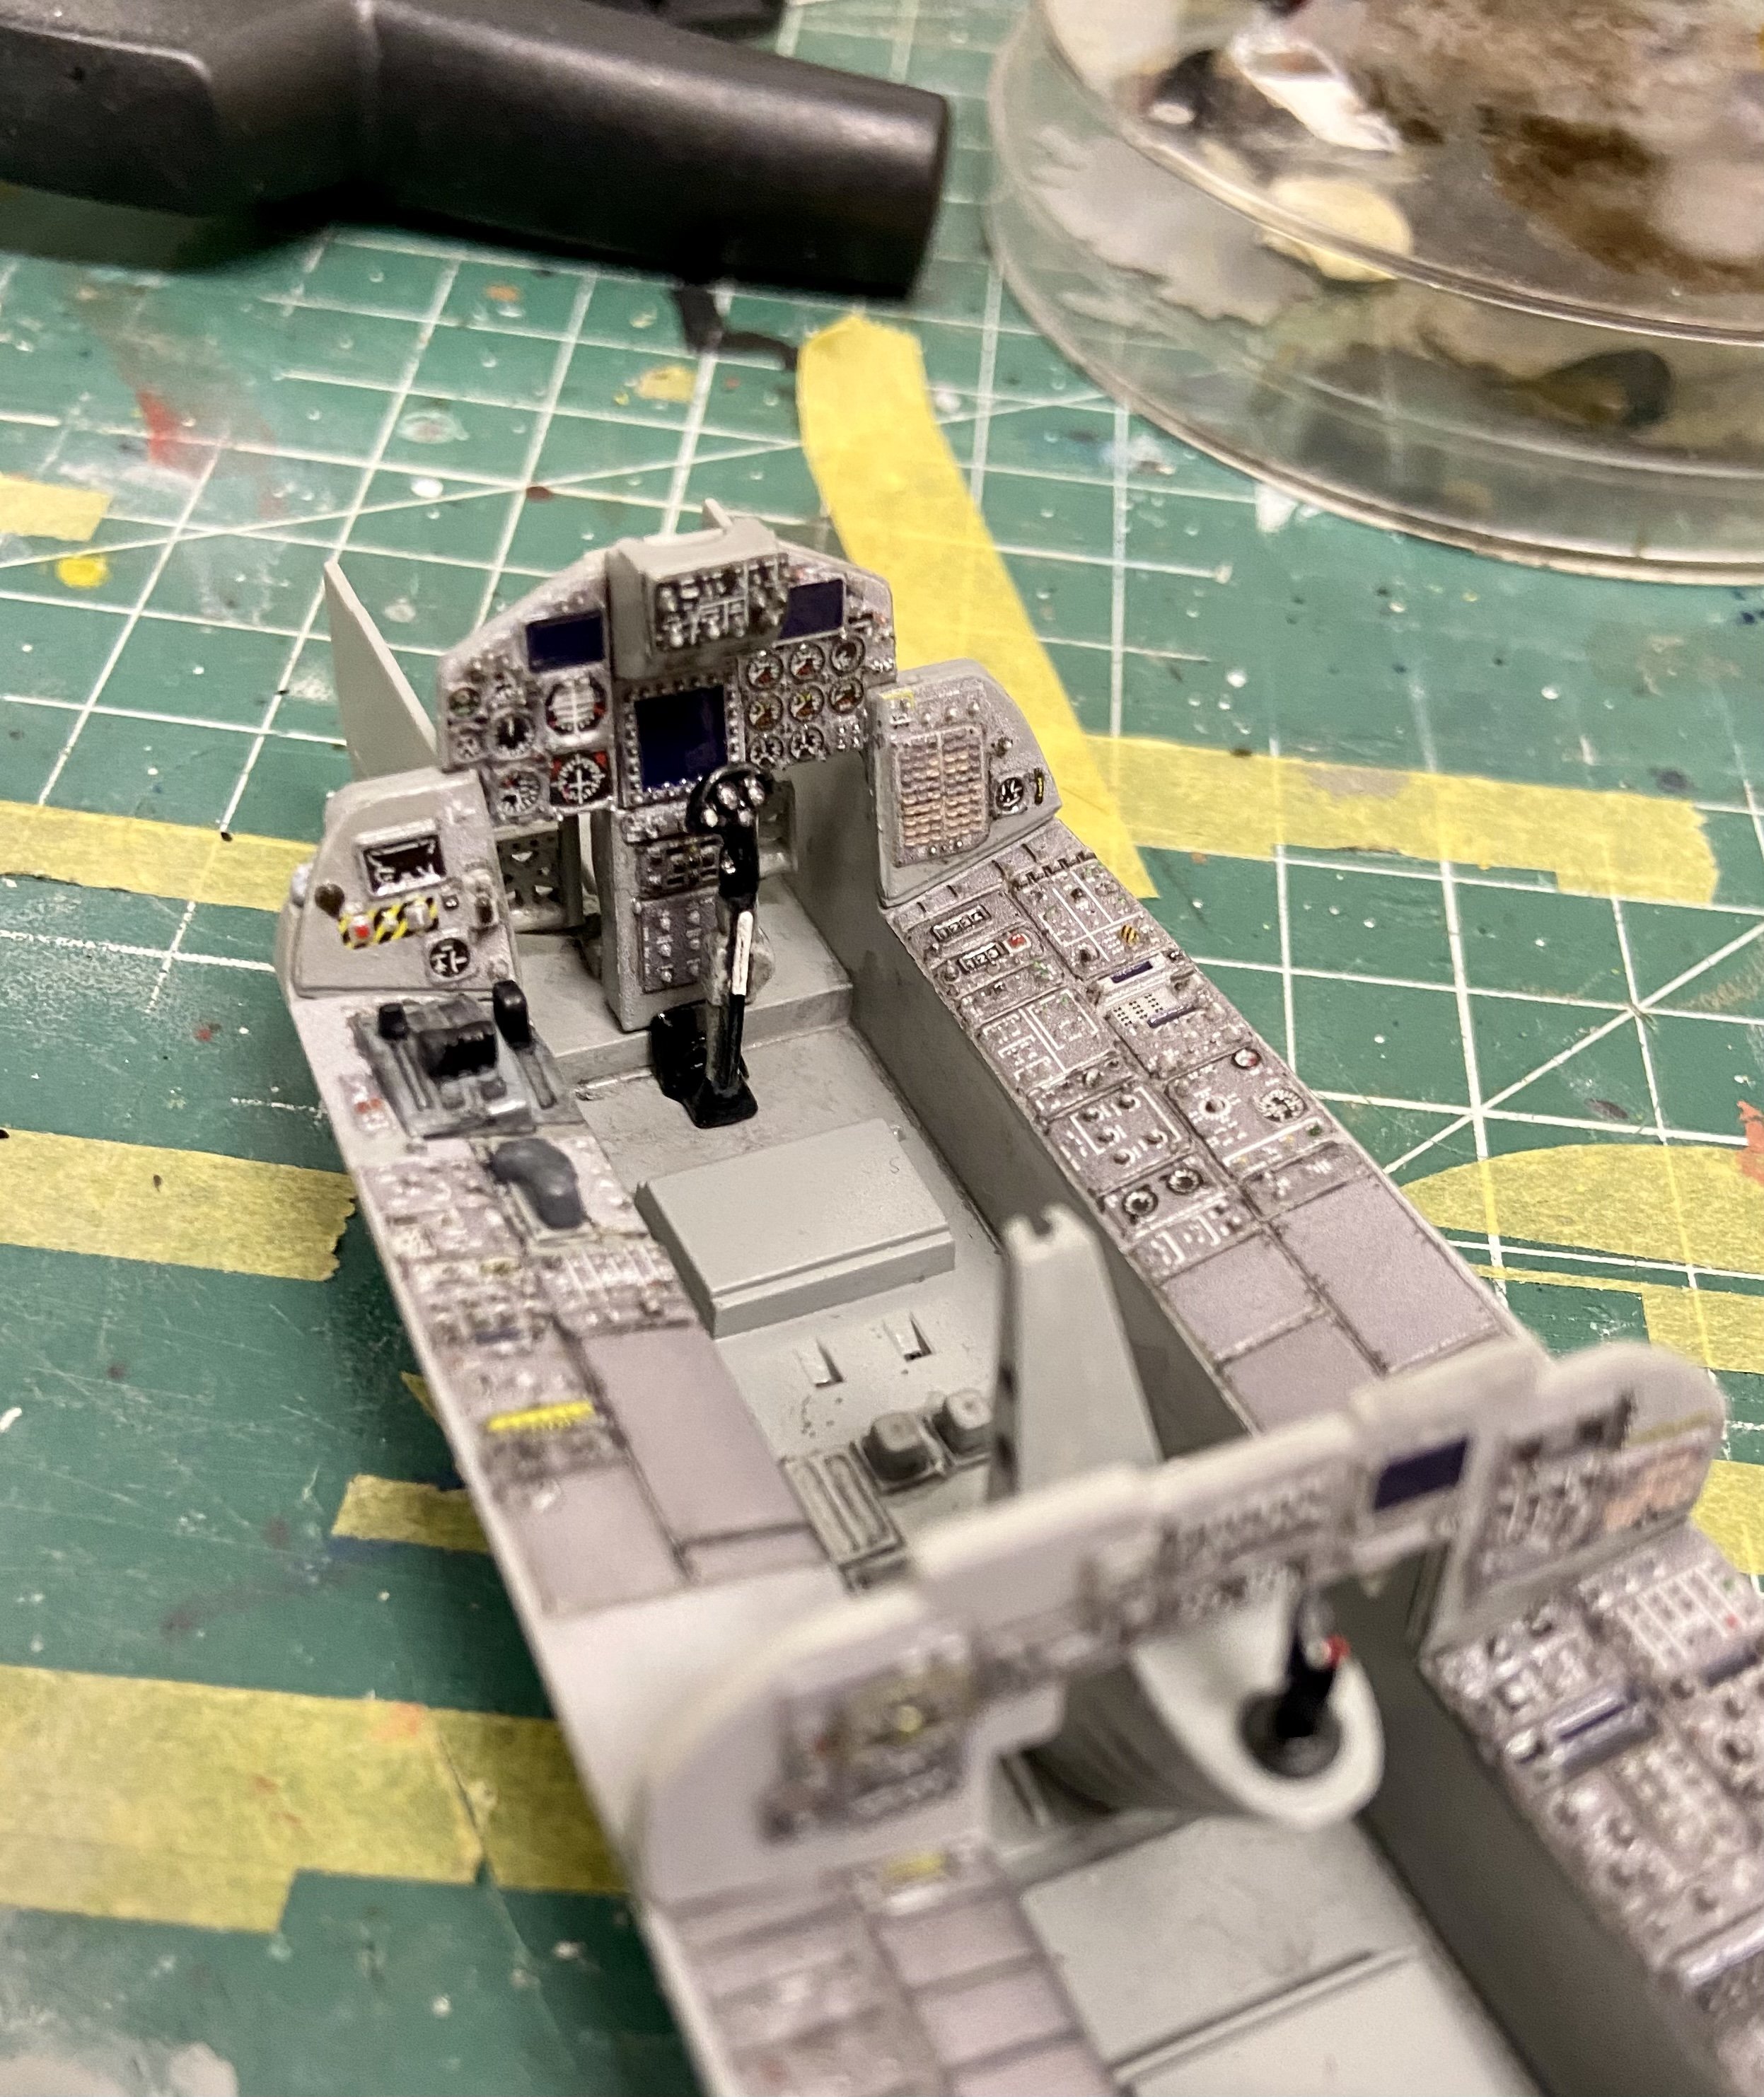
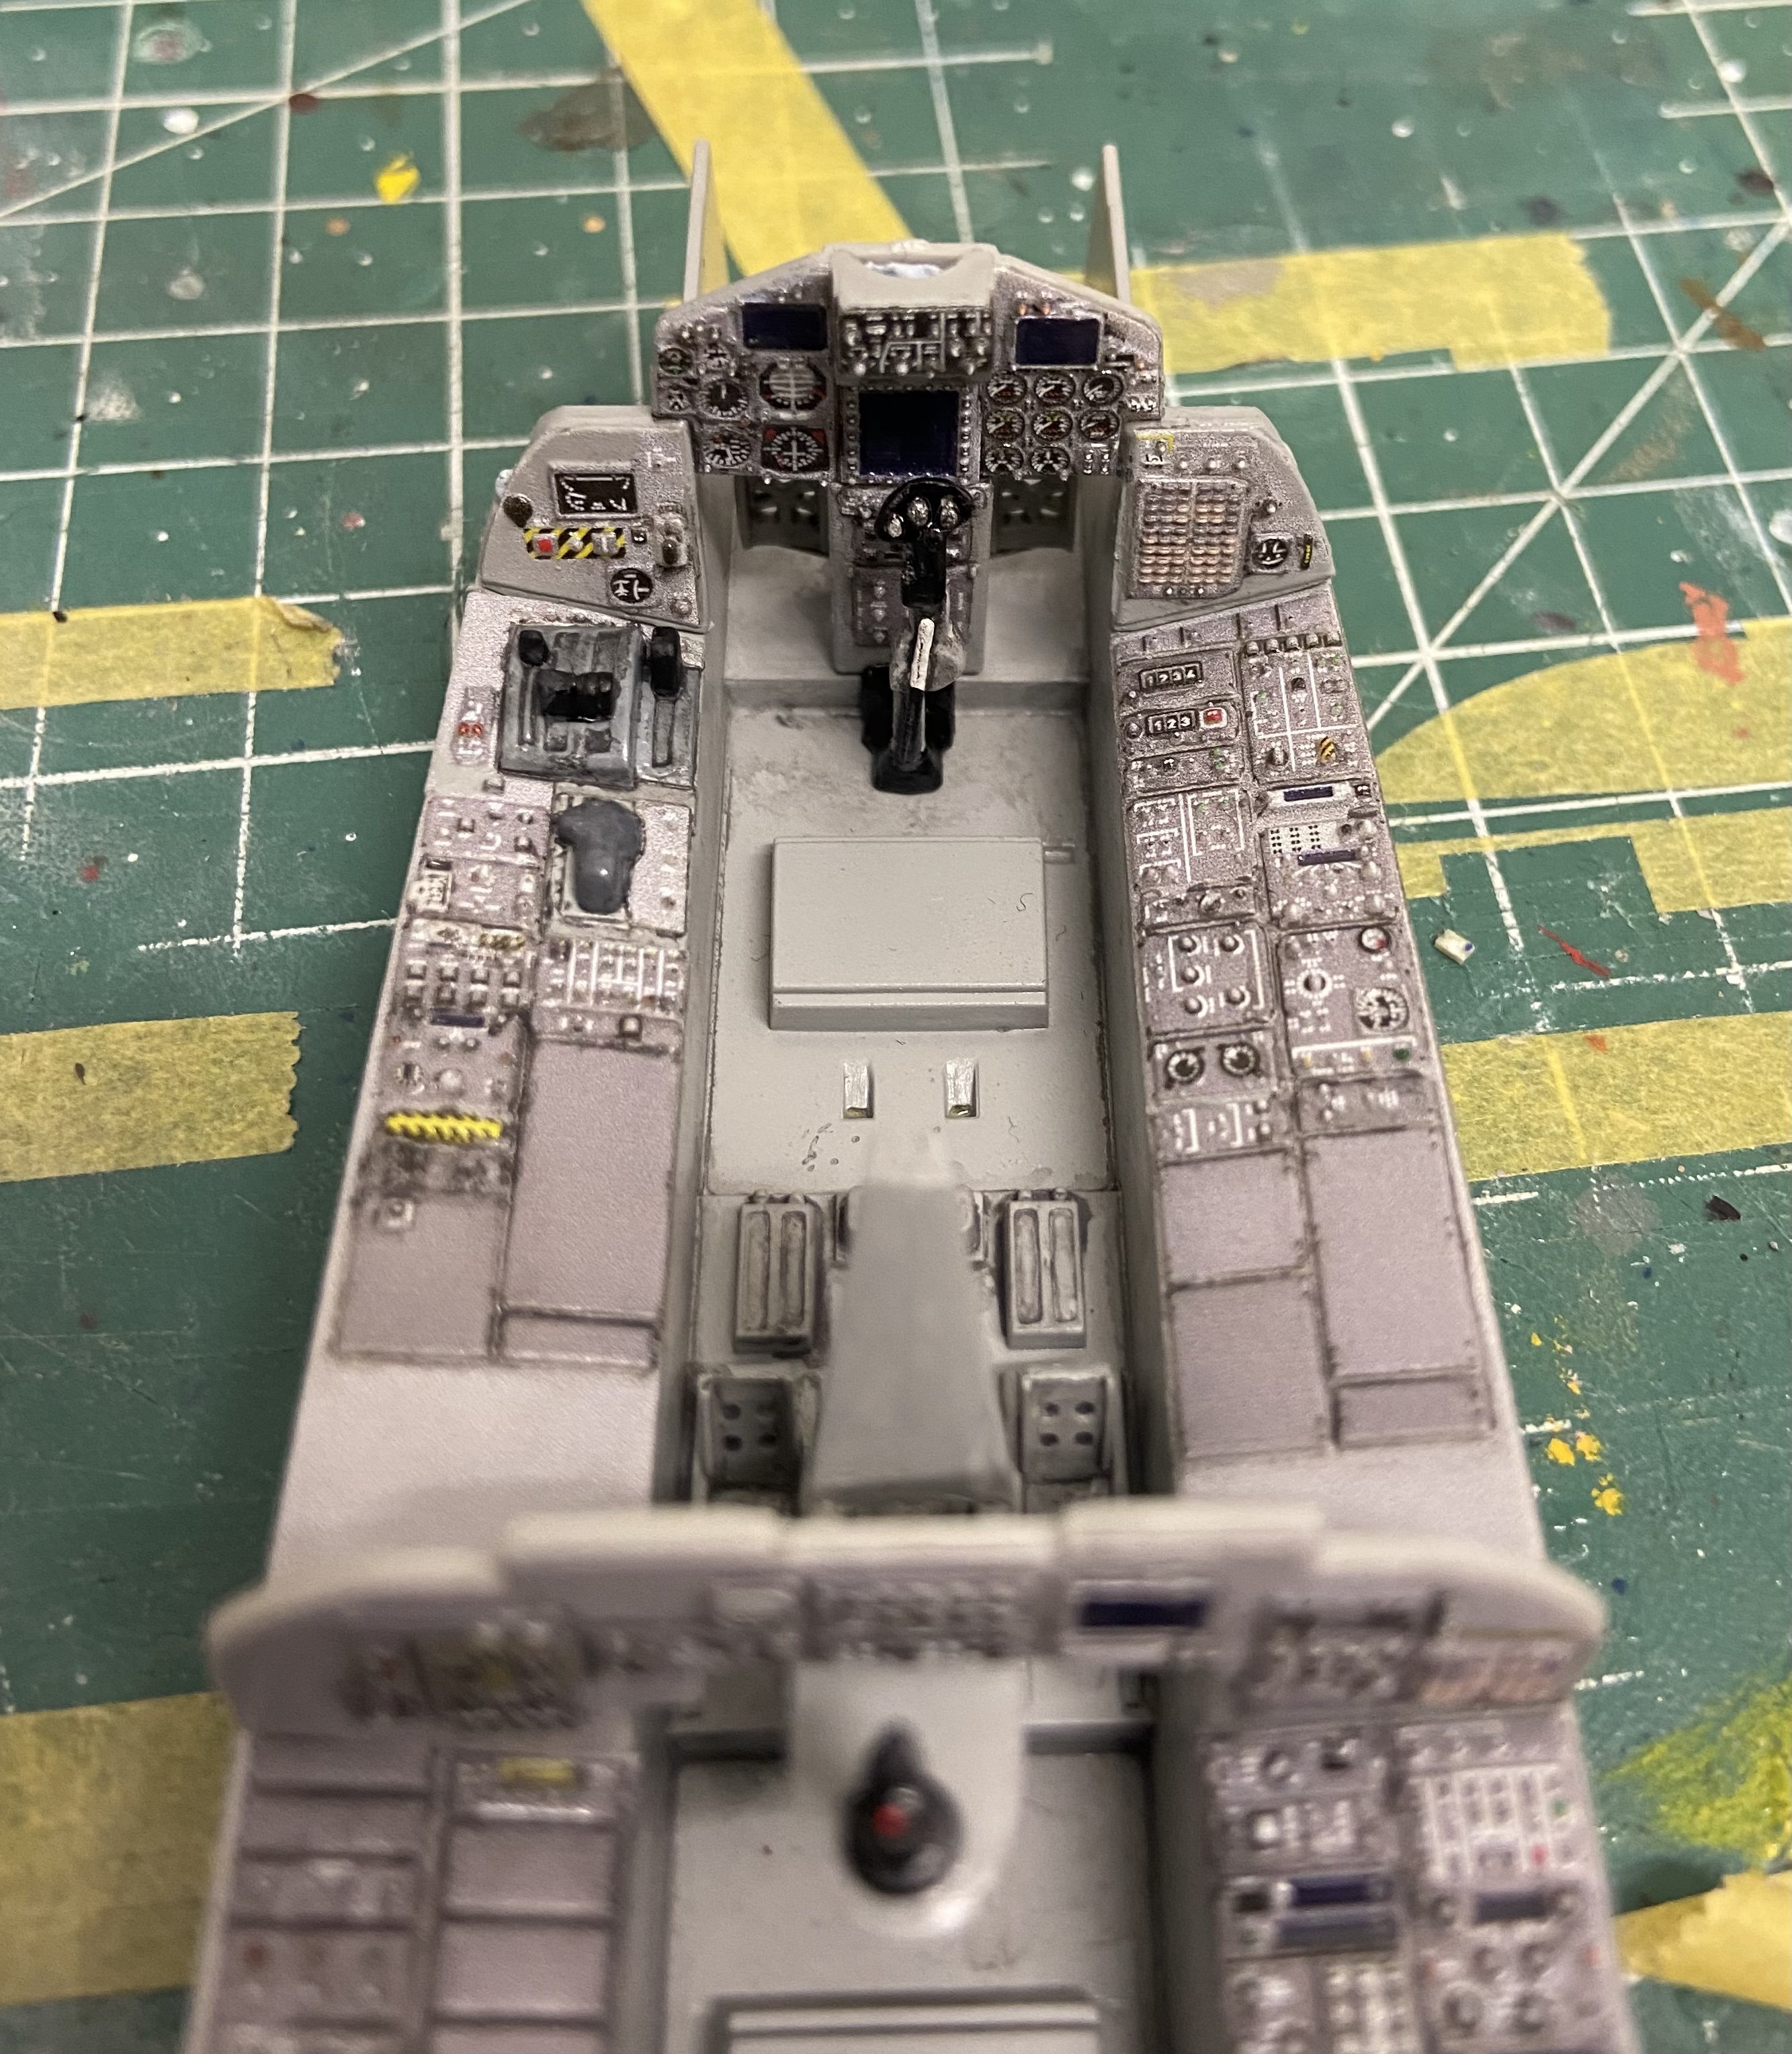
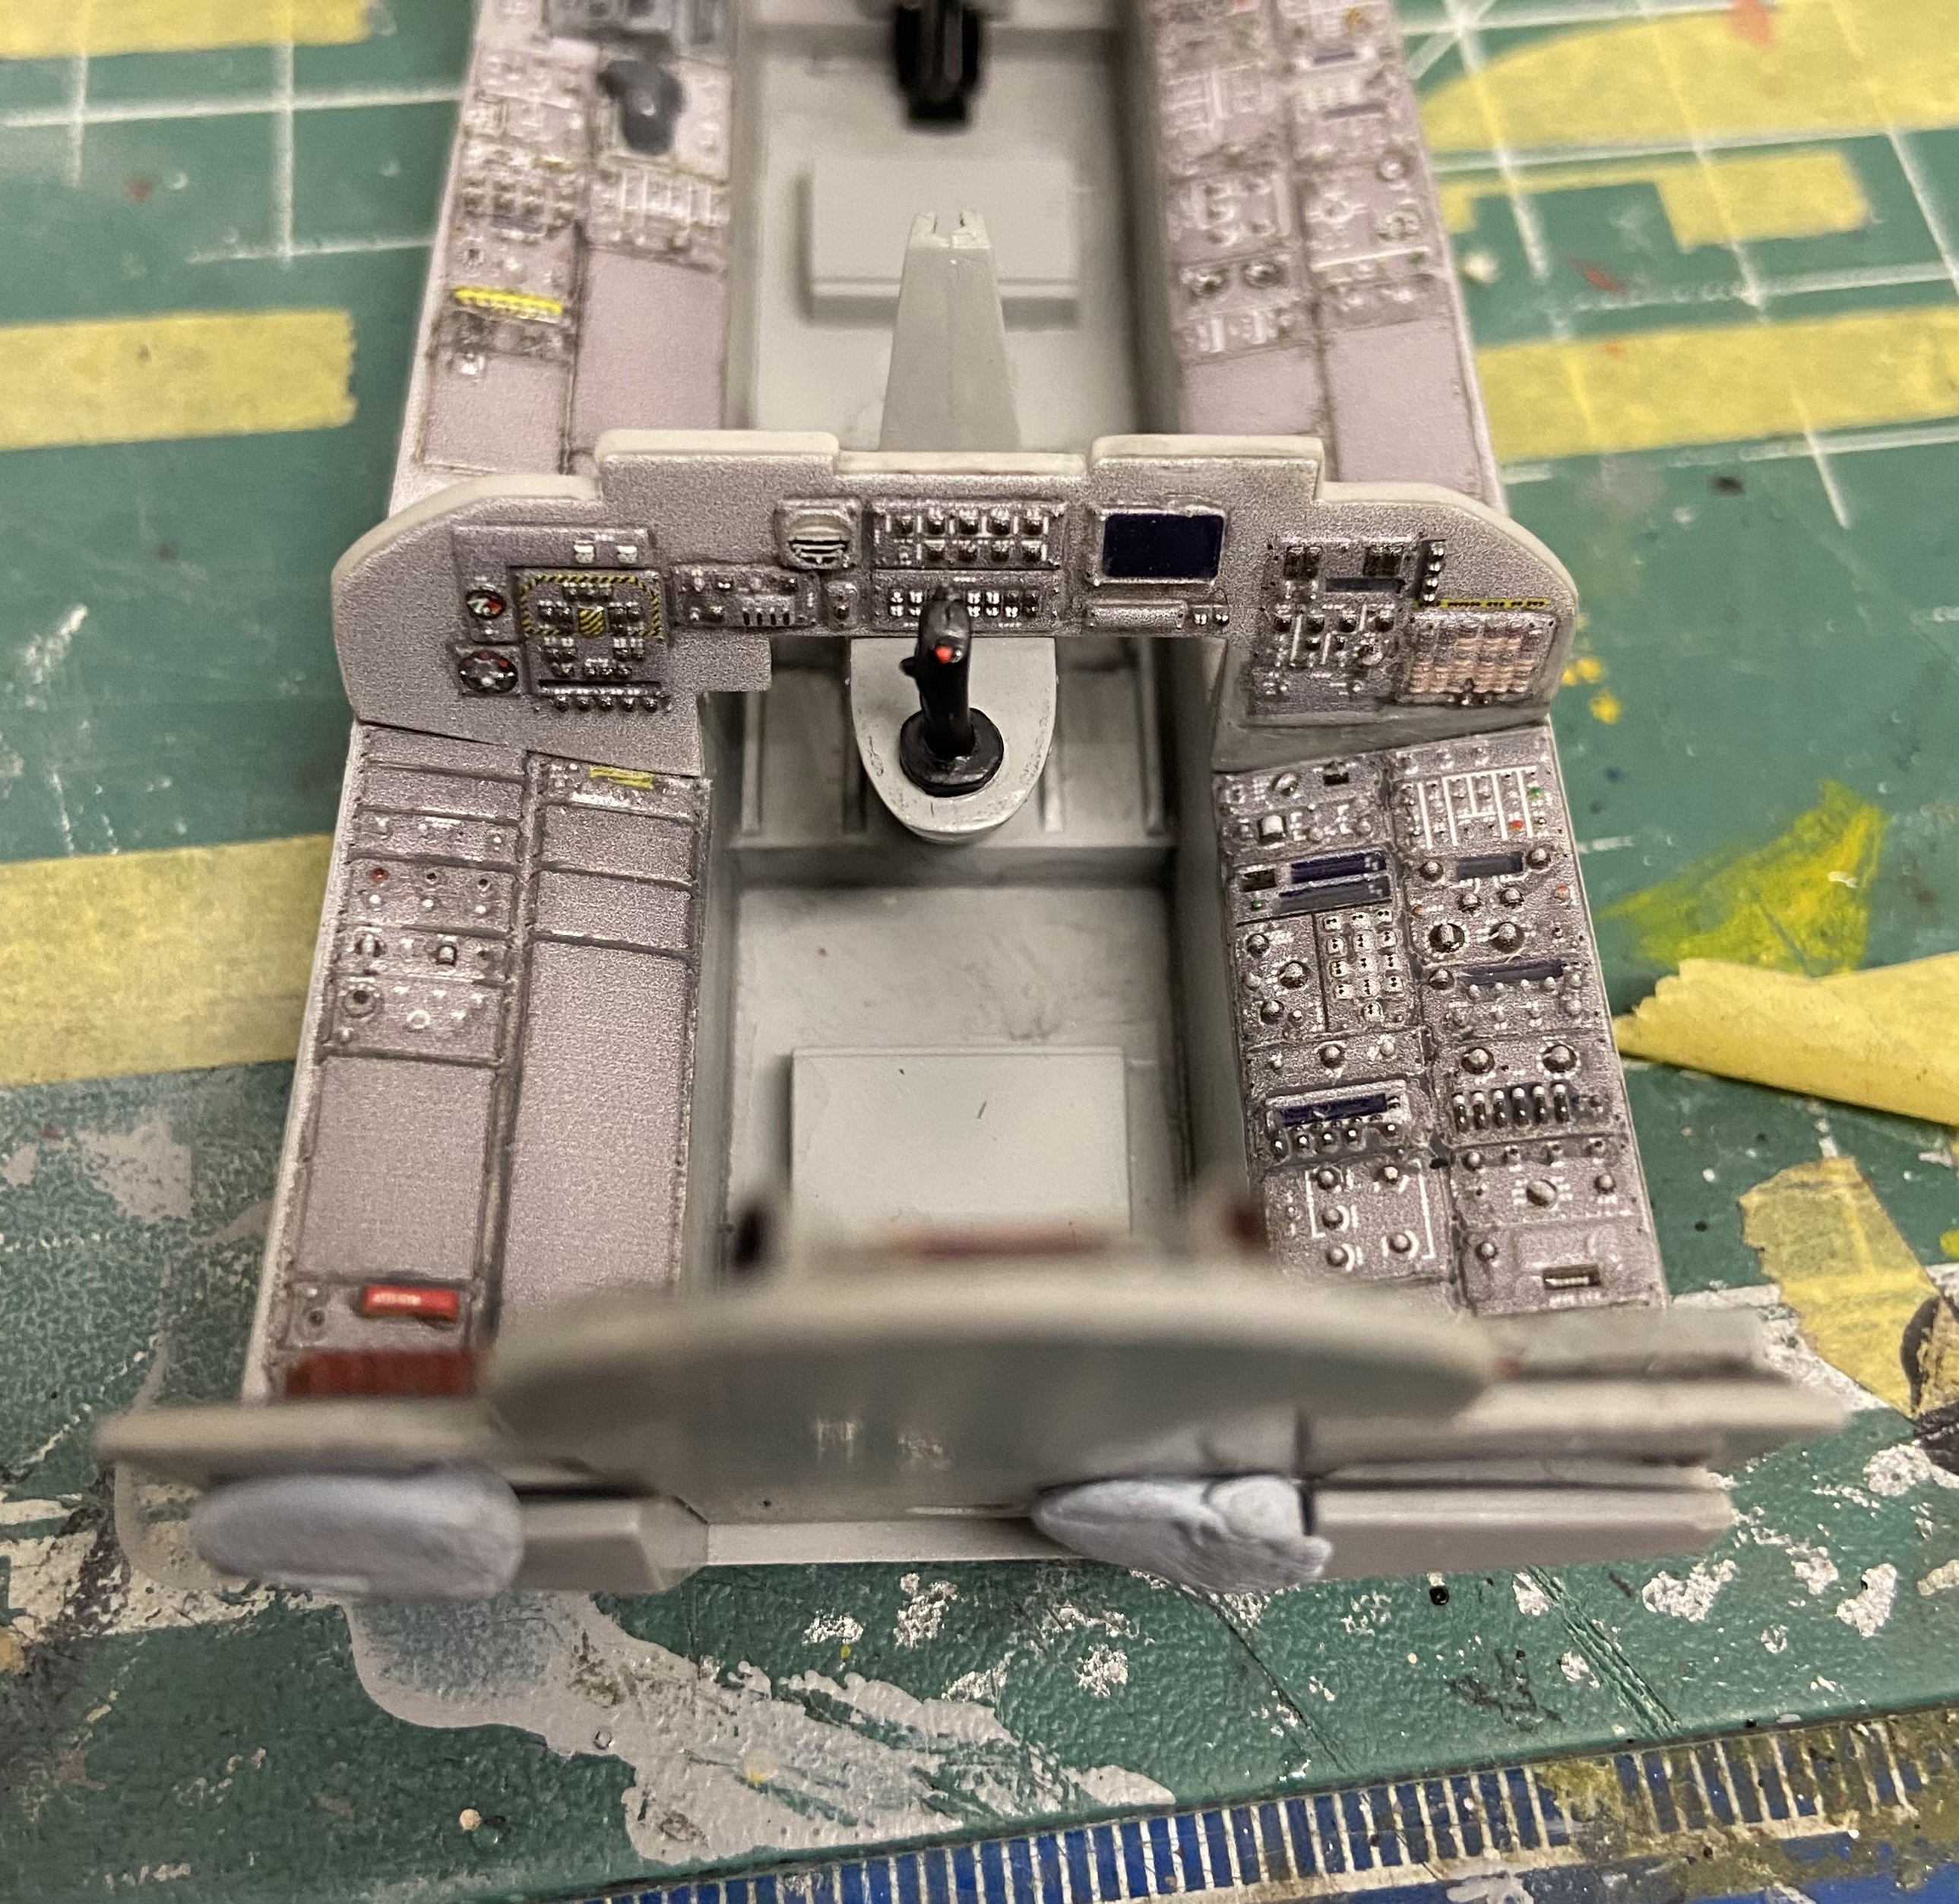
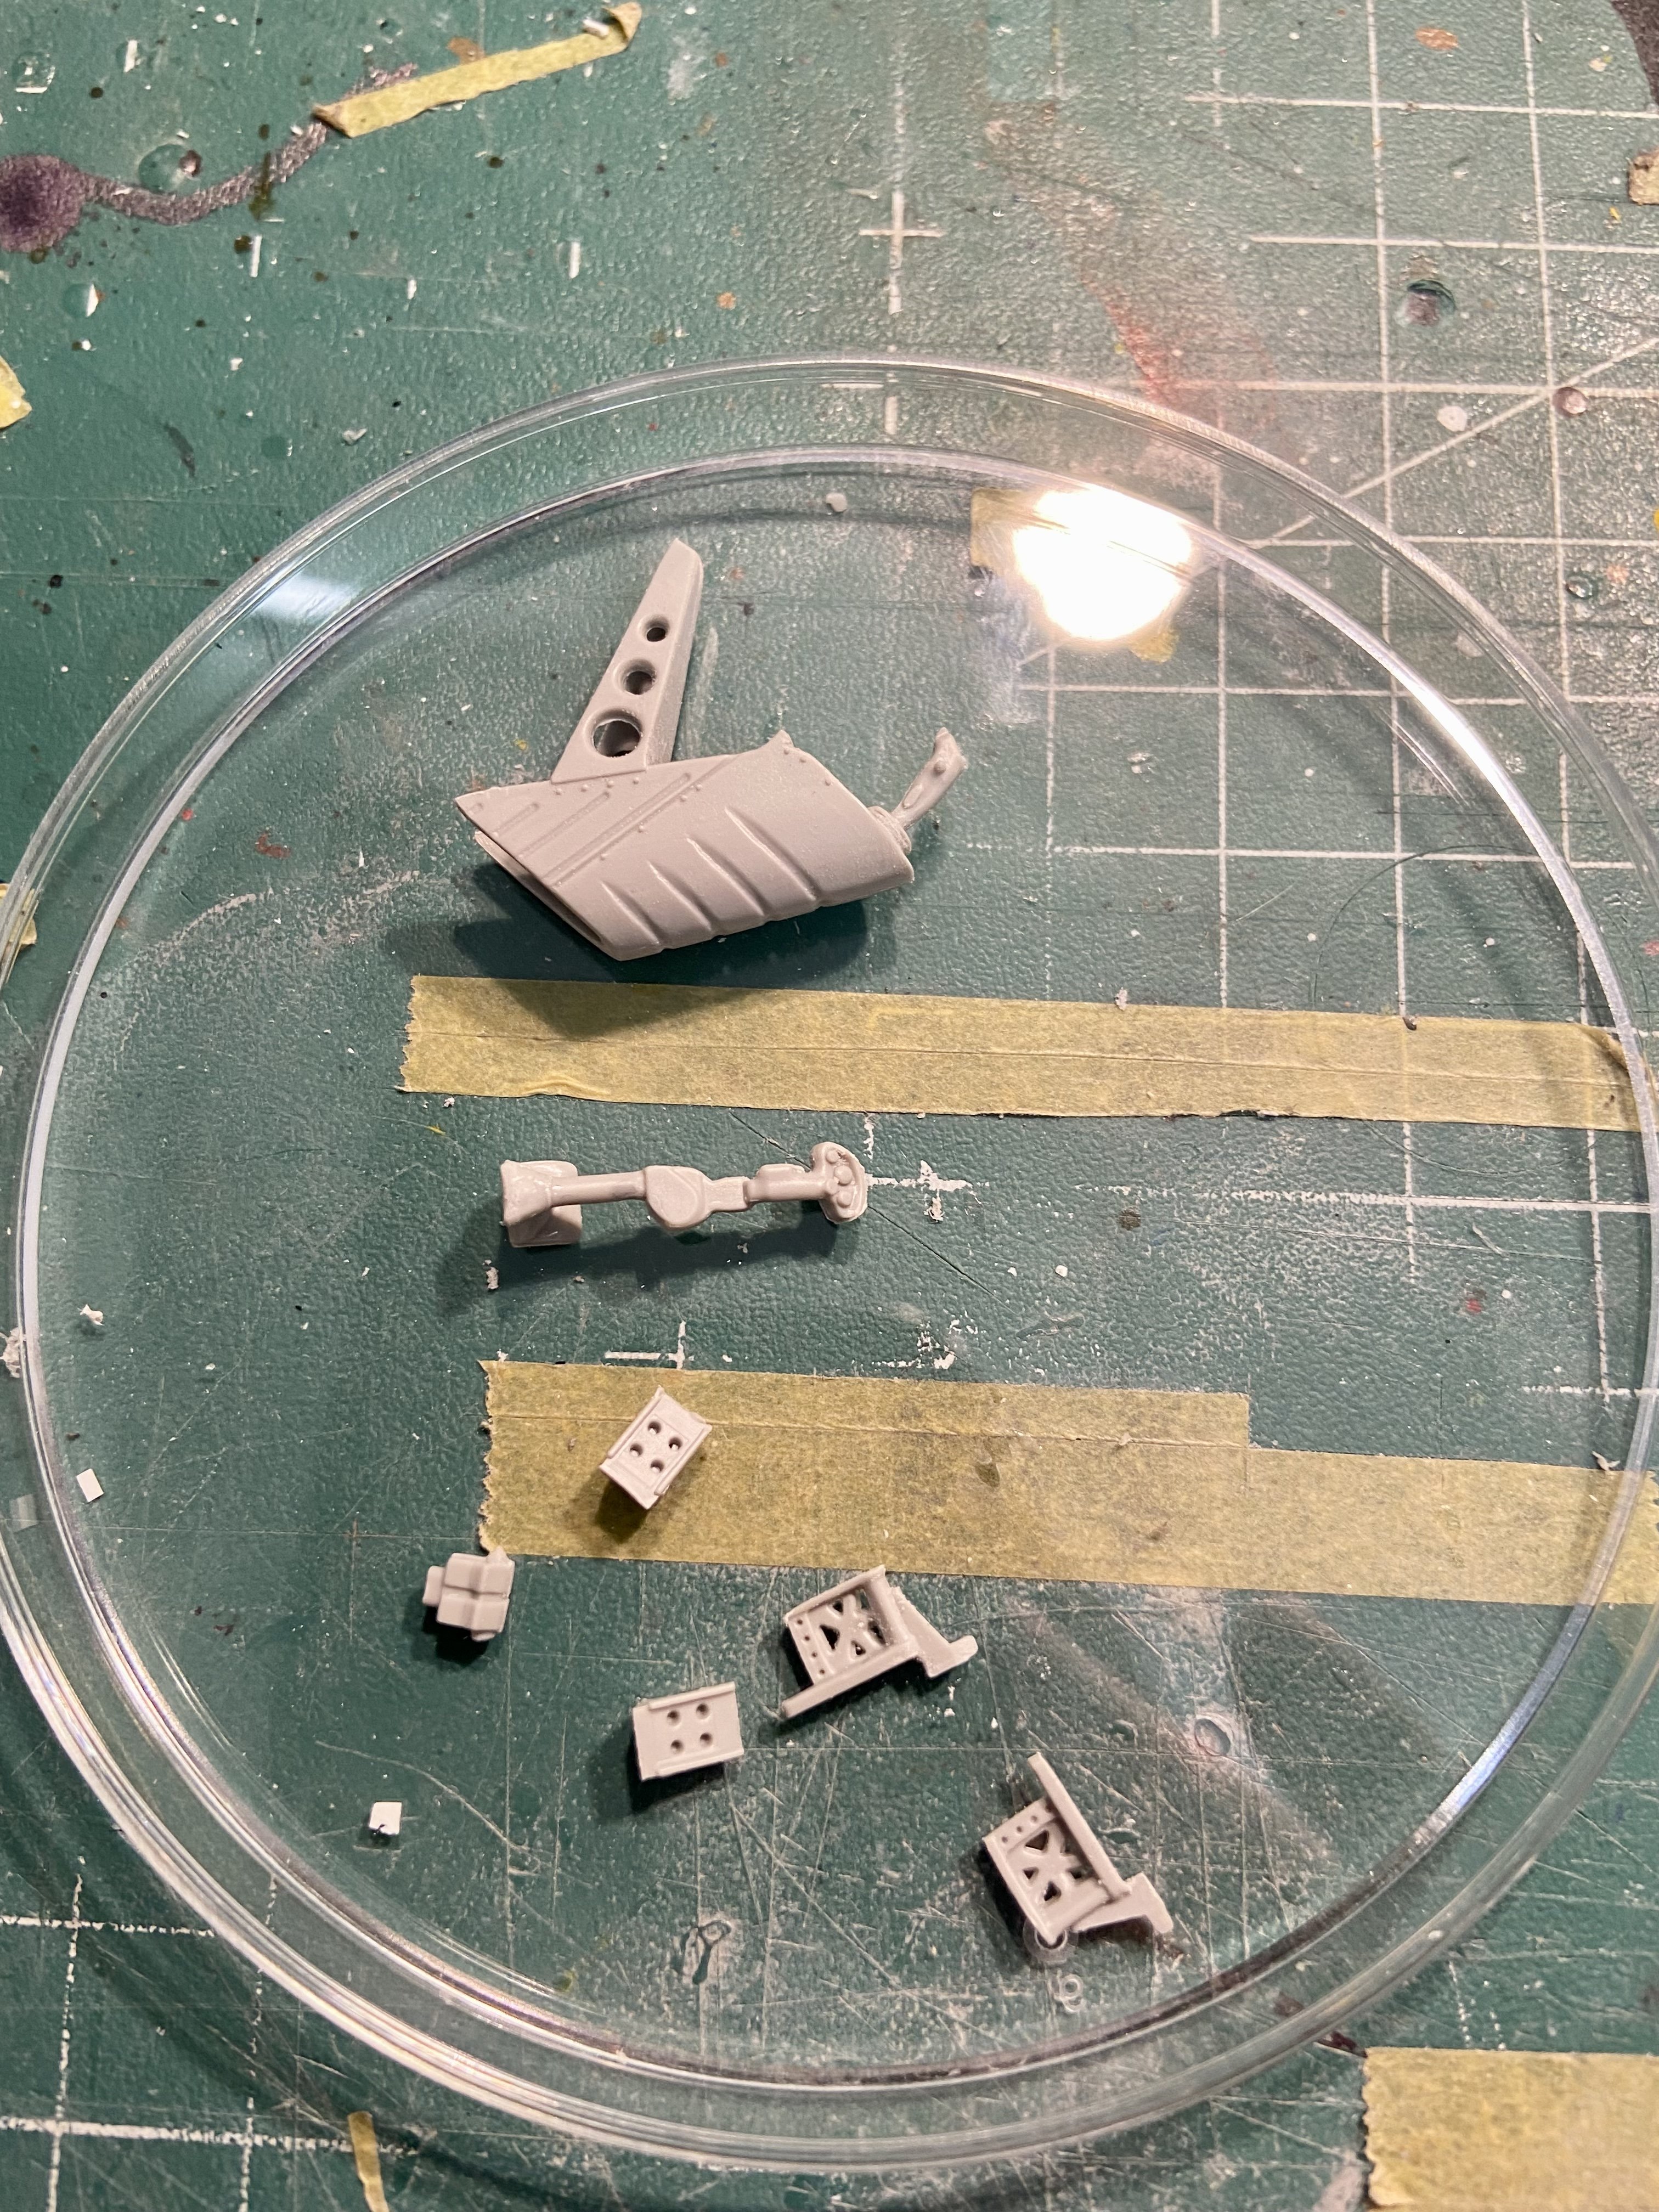
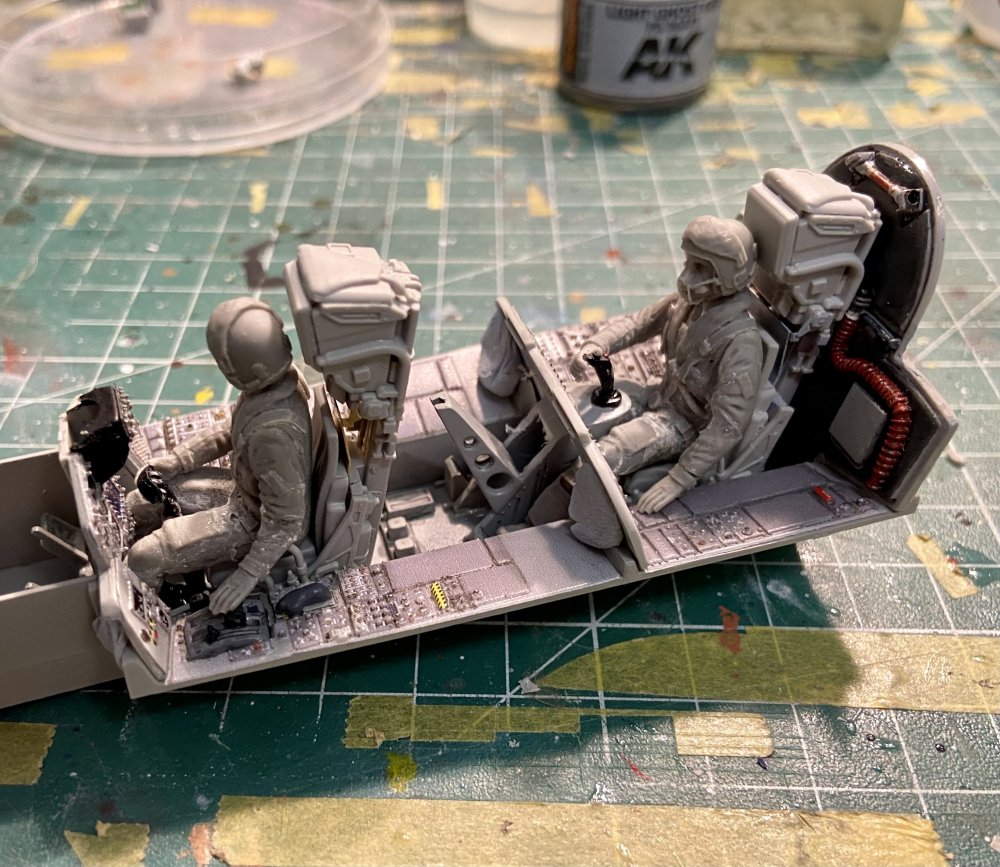
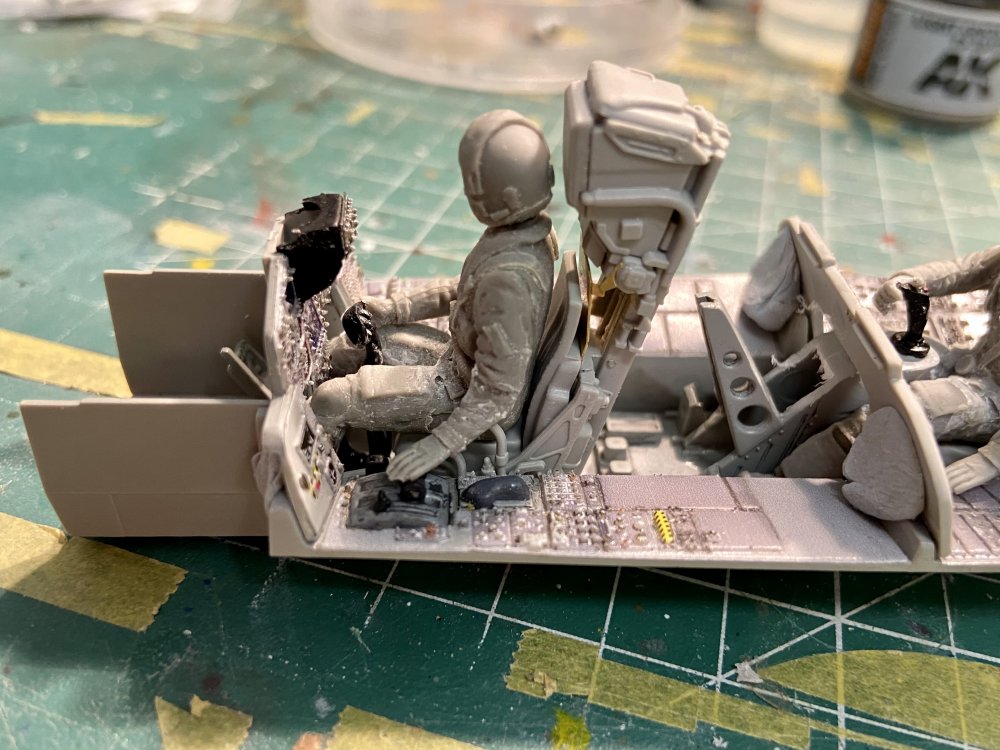
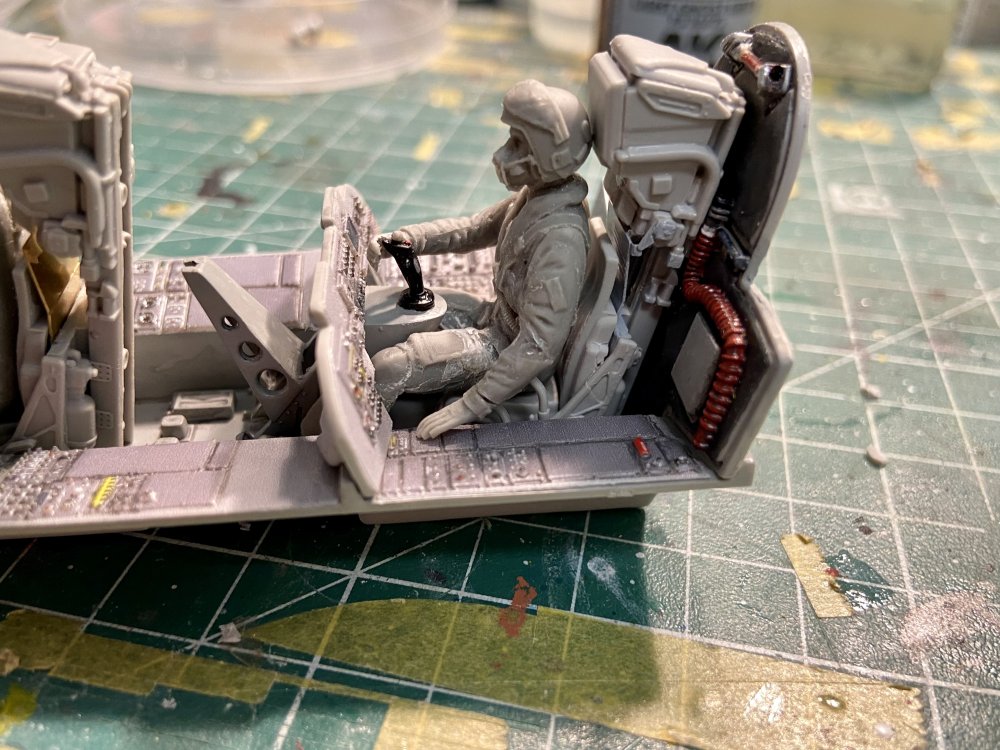
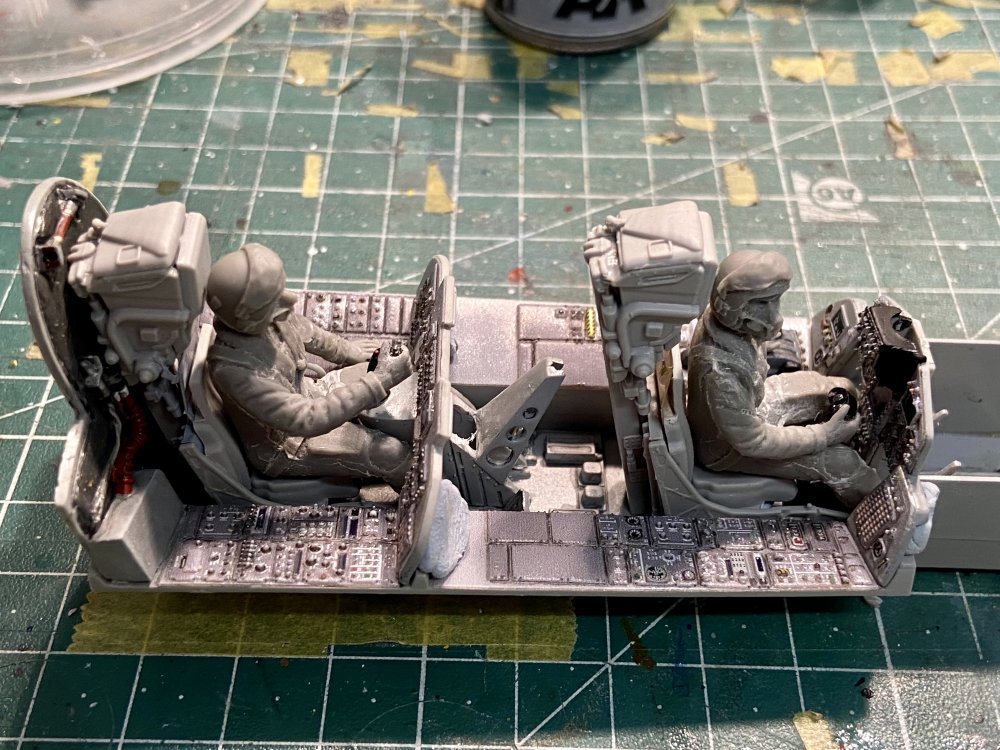
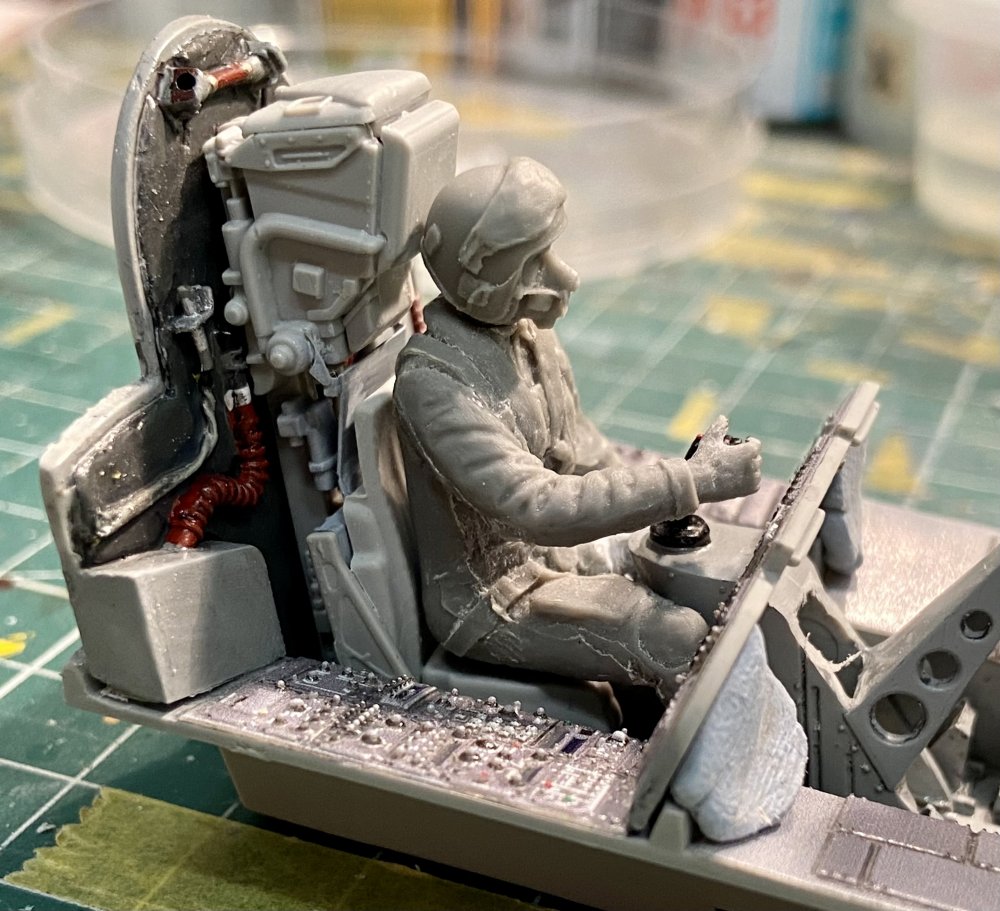
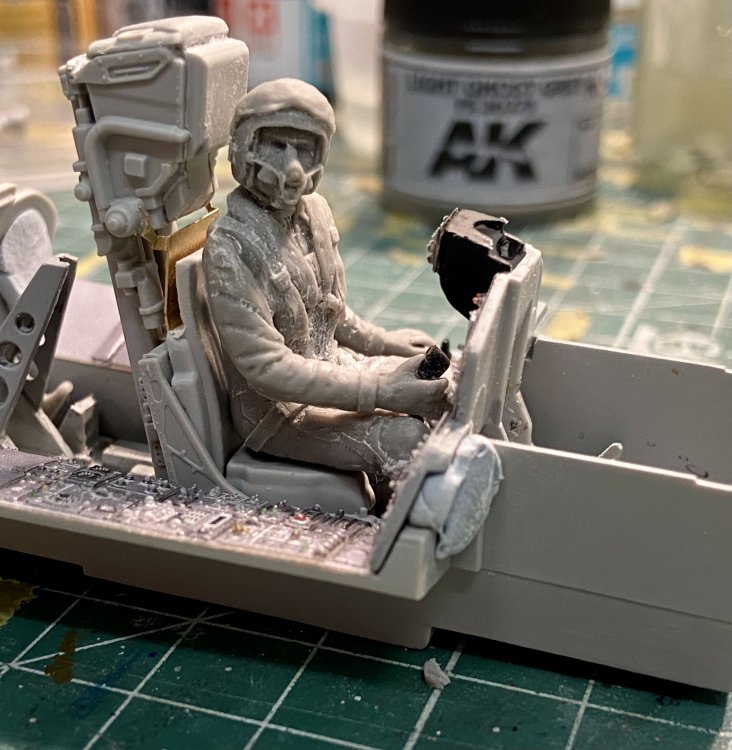
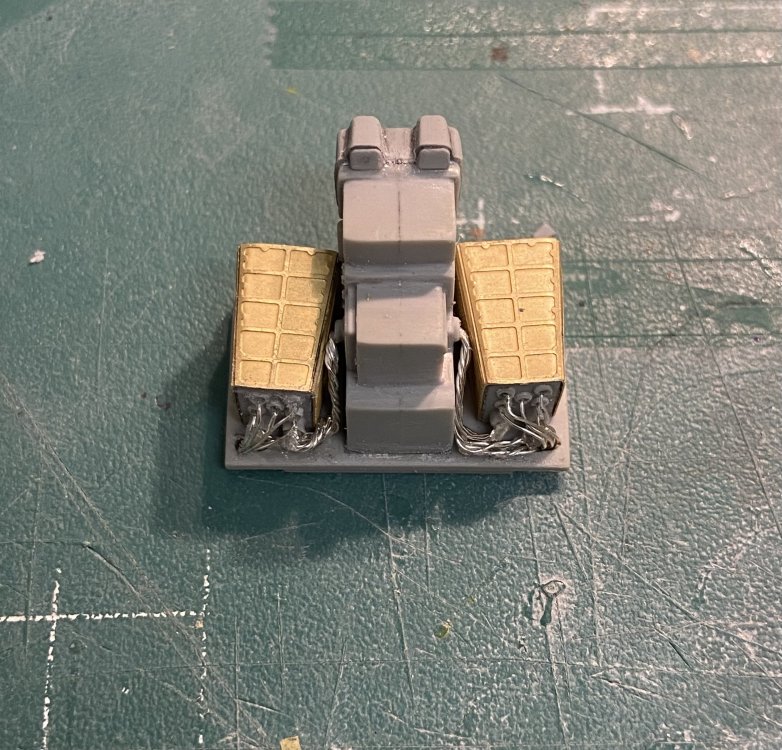
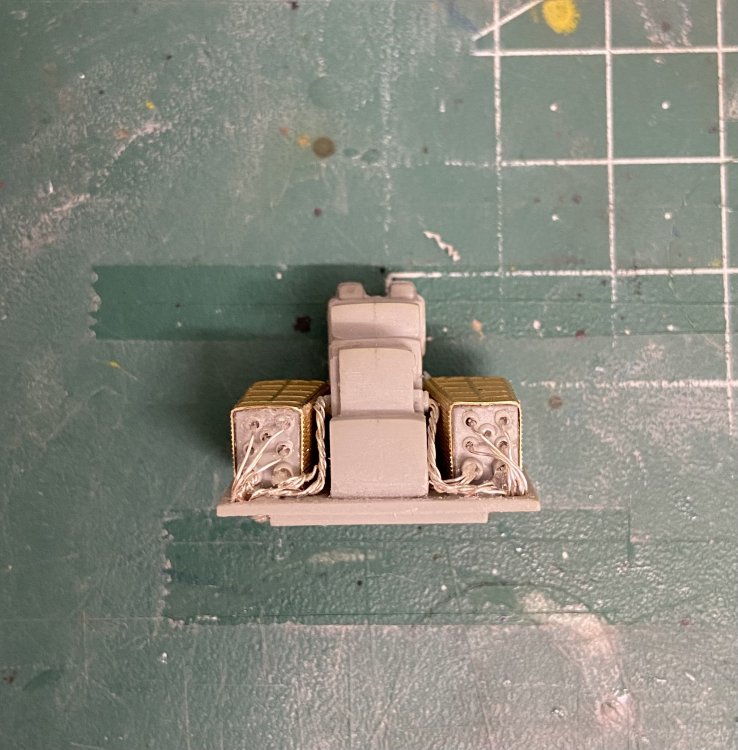
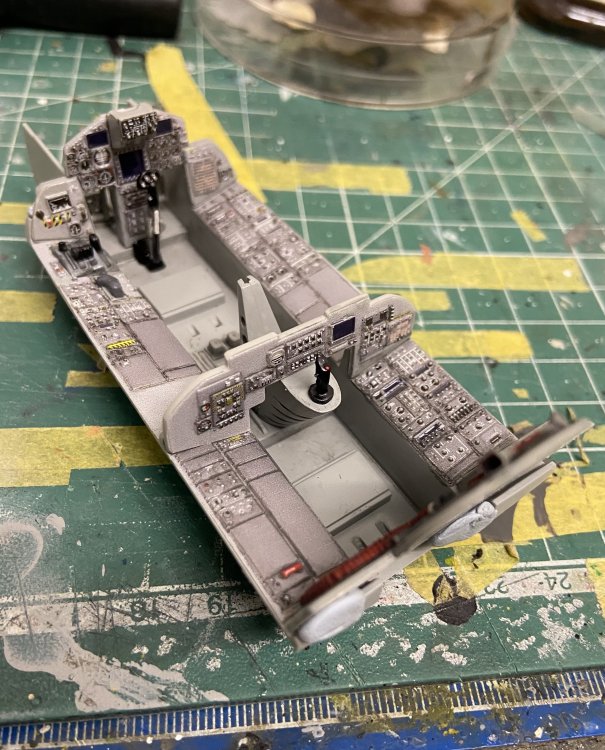
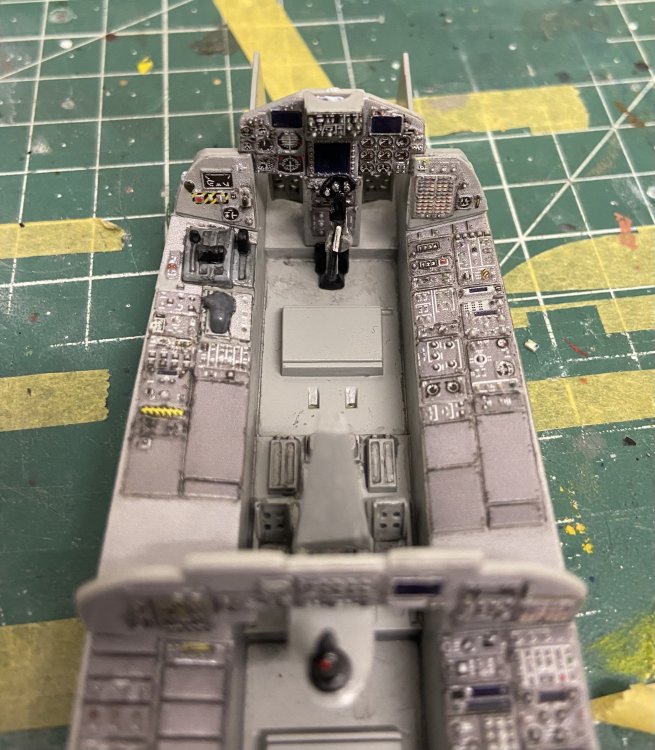
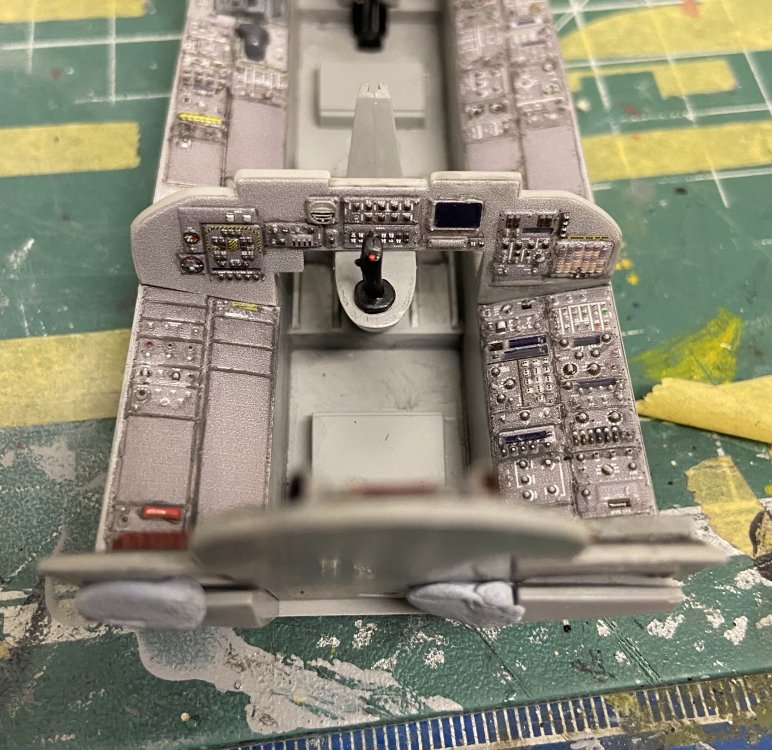
Today I will post a bigger update. I assembled the bangseats, posed the pilot and WSO in the cockpit and did some cabling on the instruments of the WSO. The Italeri bangseats are really nice and consist each of more than 10 parts: The pilot and WSO are from PJ Production. I had to change the poses a lot and bend the legs to fit into the pit. The pilot lost his feet which aren’t visible when sitting in his seat. The pilot has his hands on the throttle and stick (HOTAS) and the WSO on his stick and pressing some buttons on the side console. The pilot And the WSO. This was the most time consuming job Finally I cabled the backside of the instruments of the WSO. They are fully visible when the canopy is open. I carefully drilled holes and put in different kinds of wires. Now I can finish the cockpit painting and add the first electronic component: the light for the HUD.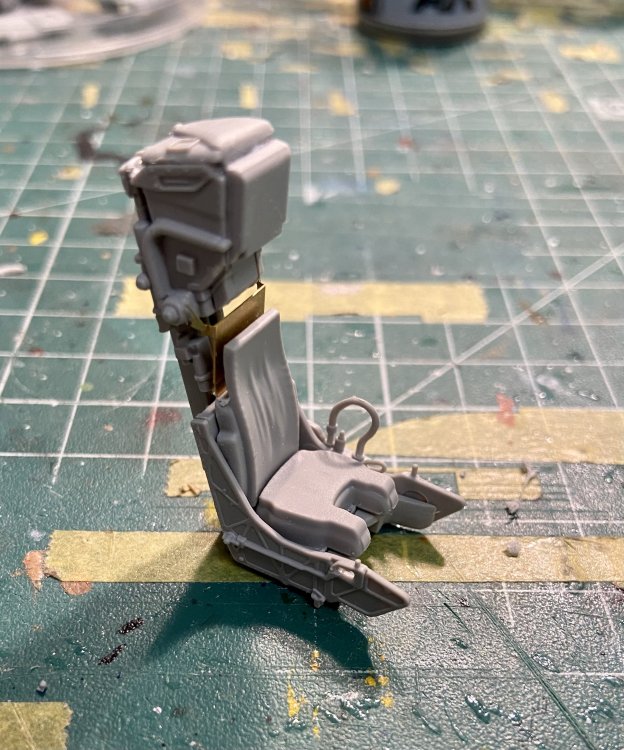


-
617 Sqn Tornado Dambuster 70th
Kaireckstadt replied to Kaireckstadt's topic in LSM 1/35 and Larger Work In Progress
Thank you Rob. I’m working on the bangseats and the pilots in the moment. Hope to post an update here soon. -
Great work Kevin!
-
Looking really good John! Nice fit!
-
617 Sqn Tornado Dambuster 70th
Kaireckstadt replied to Kaireckstadt's topic in LSM 1/35 and Larger Work In Progress
Thank you Harv, much appreciated! Thank you Peter, I hope to get back to the bench tomorrow evening. Thank you Gary. The backplate of the cockpit tub was really challenging. Don’t know why Italeri makes so many mistakes. -
Good trick to improve the fit and reduce rework to a minimum. Well done John!
-
Great work Harv! All this extra detailing will pay off in the end!
-
617 Sqn Tornado Dambuster 70th
Kaireckstadt replied to Kaireckstadt's topic in LSM 1/35 and Larger Work In Progress
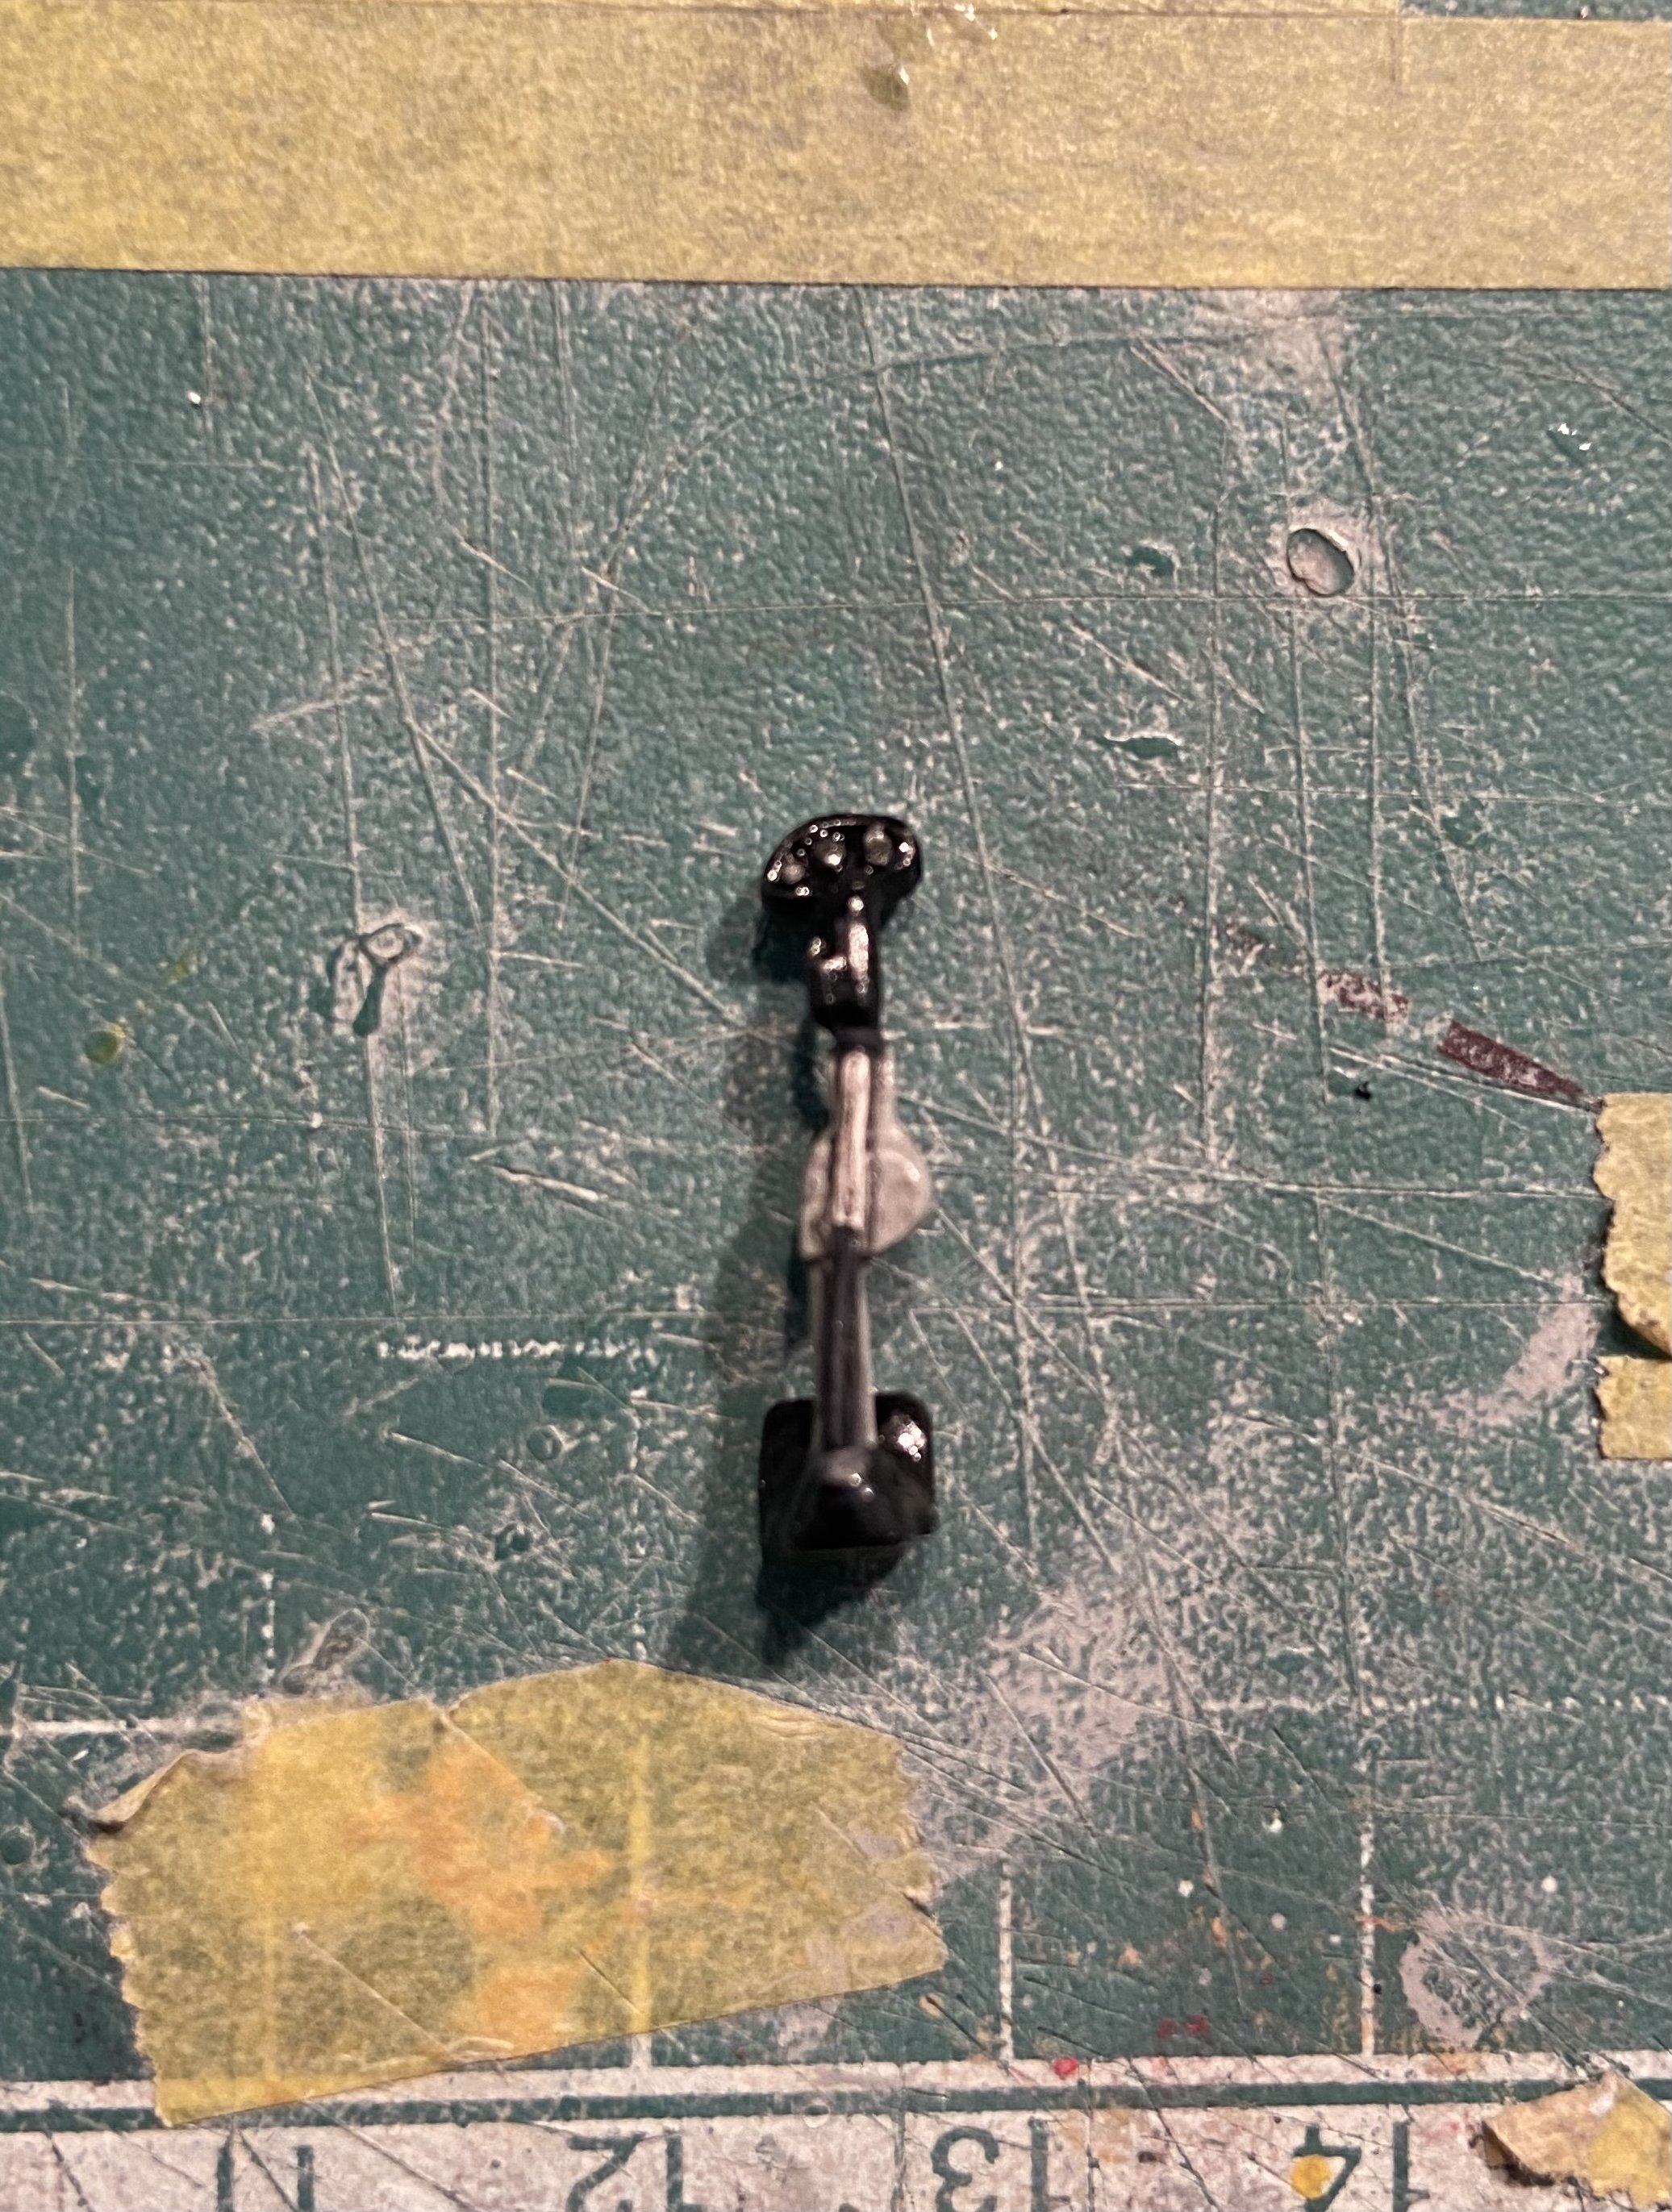
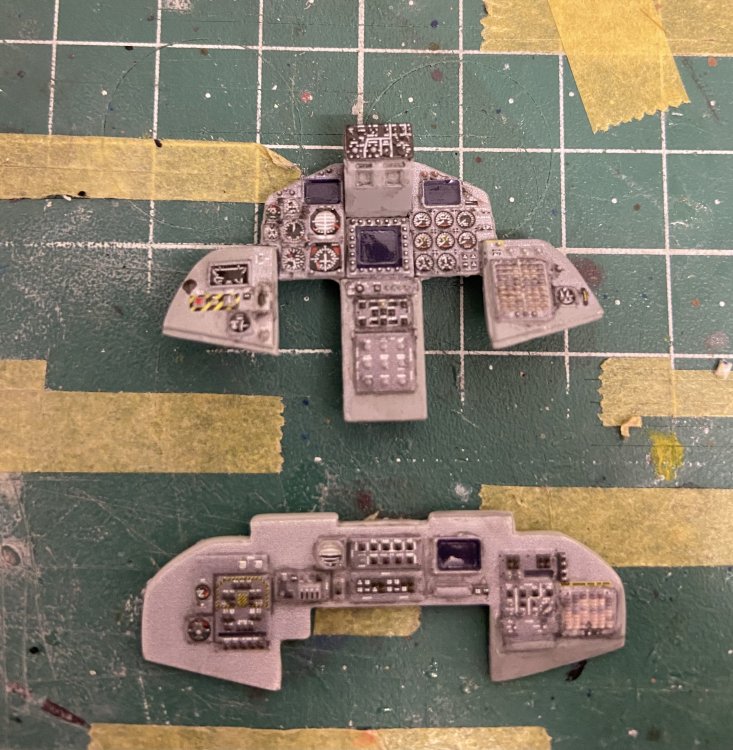
Made some progress the last 2 days with the cockpit. First I did some extra detailing to the control stick of the pilot: The backplate of the cockpit was painted according to the pictures available for me: Then all parts received a coat of Future and were then weathered with oil colors: All IPs and the backplate are not yet glued. Now all parts except the bangseats and the pilots are ready for a matte coat and a final weathering with my prismacolor silver pencil to simulate scratches. Next update to follow soon. I have 2 weeks holidays now…


-
Sorry Harv, I don’t know either.
-
617 Sqn Tornado Dambuster 70th
Kaireckstadt replied to Kaireckstadt's topic in LSM 1/35 and Larger Work In Progress
Thank you for your feedback guys. Much appreciated! I’m progressing slowly but with the holidays ahead I hope to speed up! -
Stunning Oliver, simply amazing!
-
Ferrari 330P4 Open top 24Hrs Daytona 1967
Kaireckstadt replied to mark31's topic in LSM 1/35 and Larger Work In Progress
Looks like the real thing! Amazing work Mark! -
Great work so far John!
-
617 Sqn Tornado Dambuster 70th
Kaireckstadt replied to Kaireckstadt's topic in LSM 1/35 and Larger Work In Progress
Thank you Harv. Much appreciated! -
617 Sqn Tornado Dambuster 70th
Kaireckstadt replied to Kaireckstadt's topic in LSM 1/35 and Larger Work In Progress
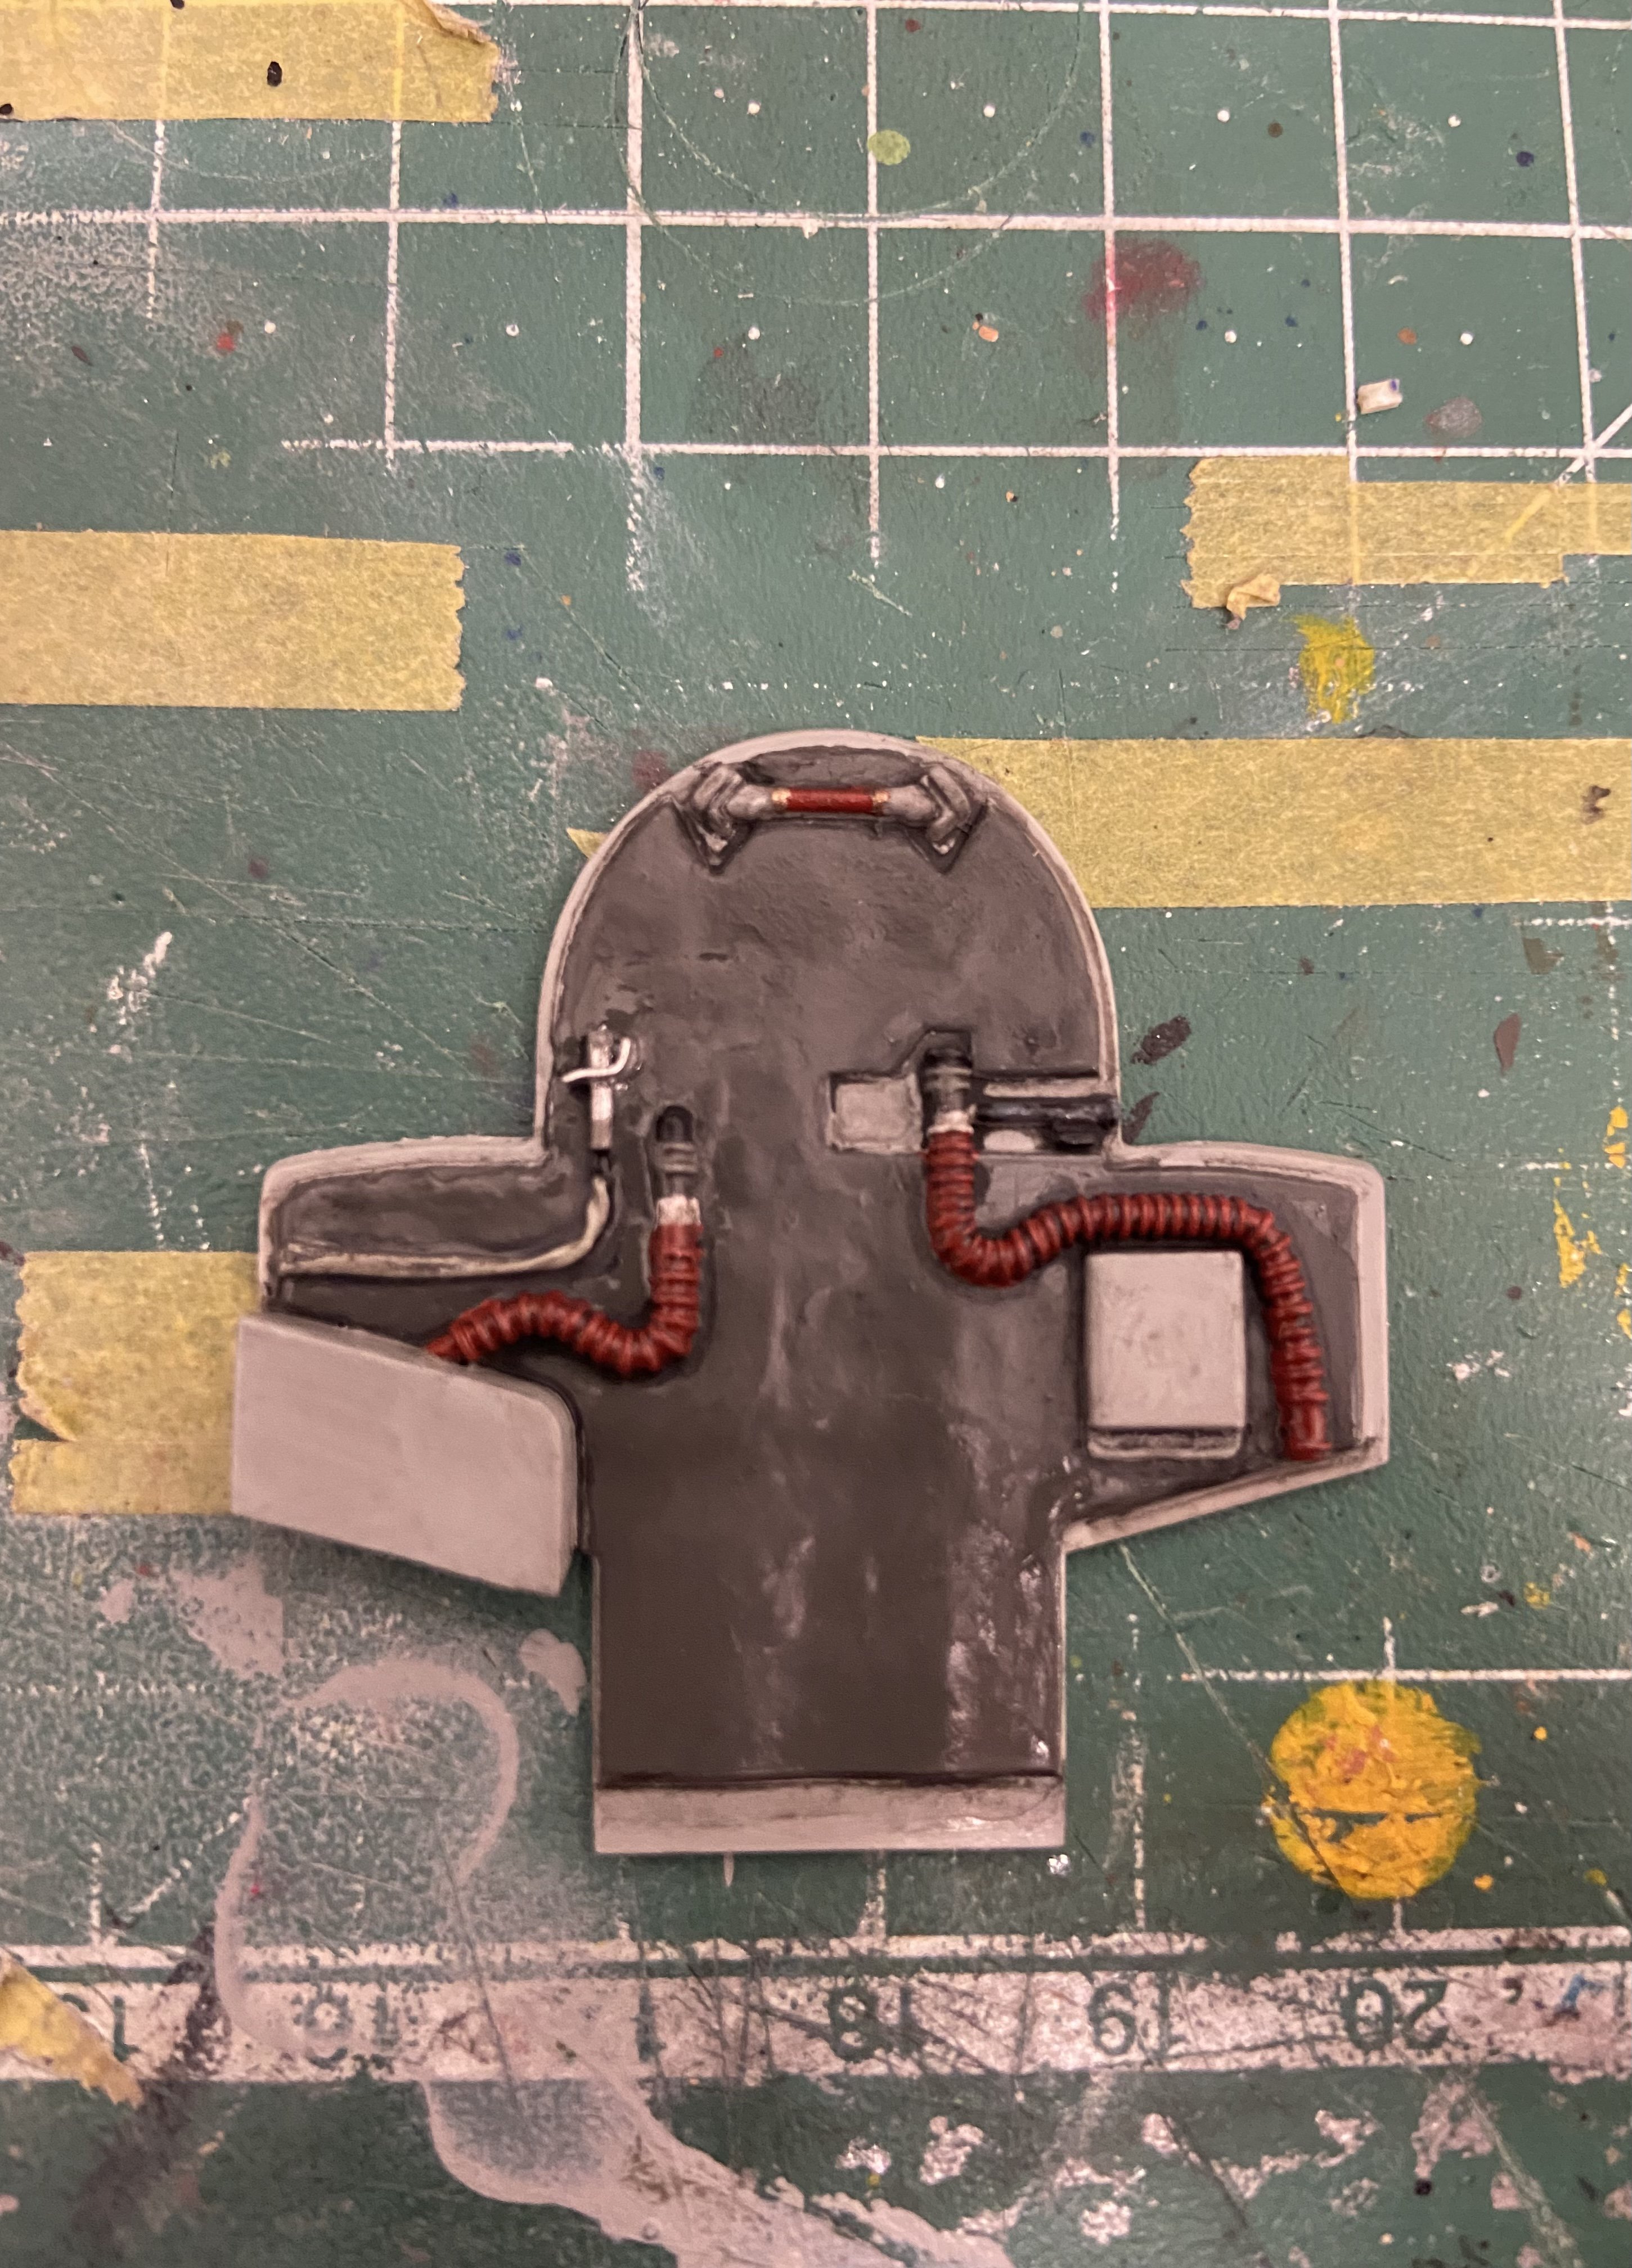
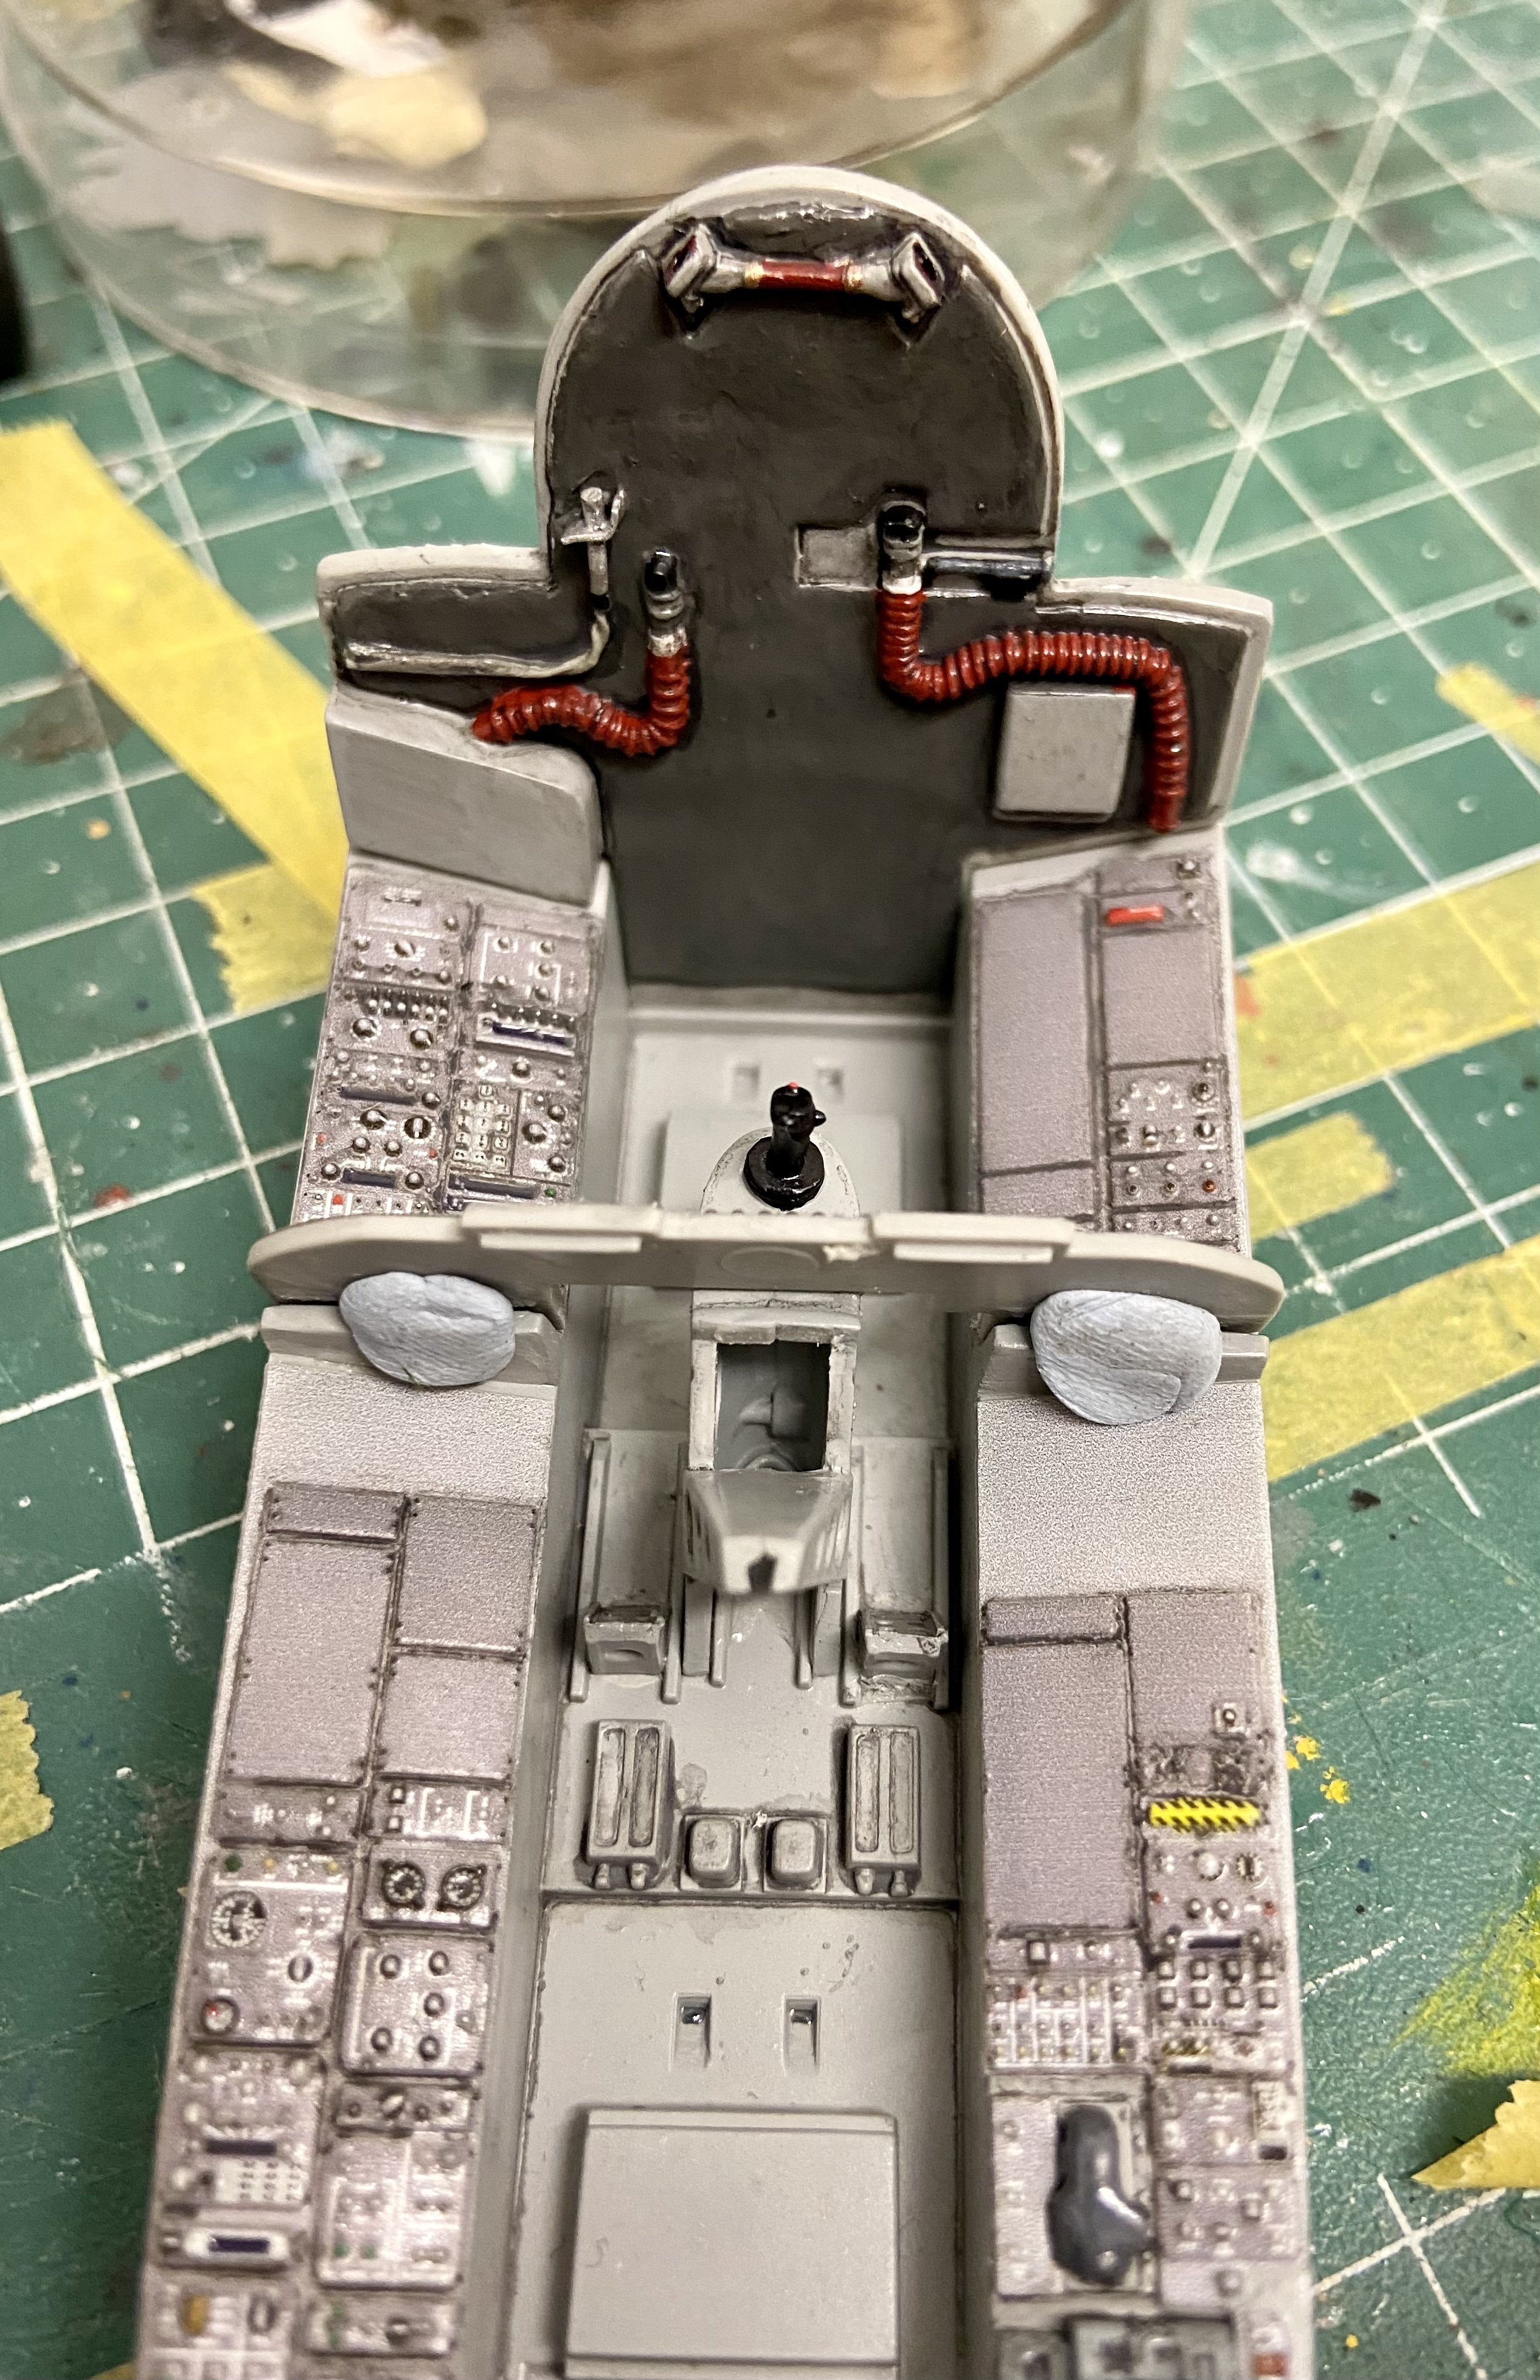
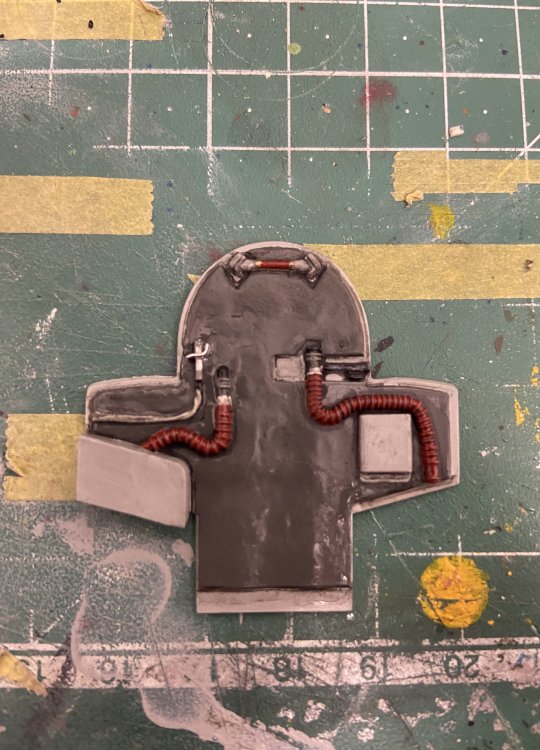
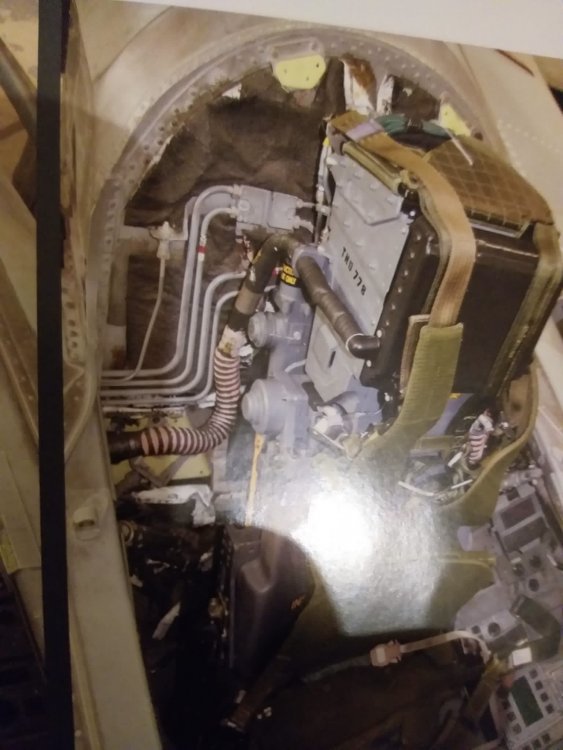
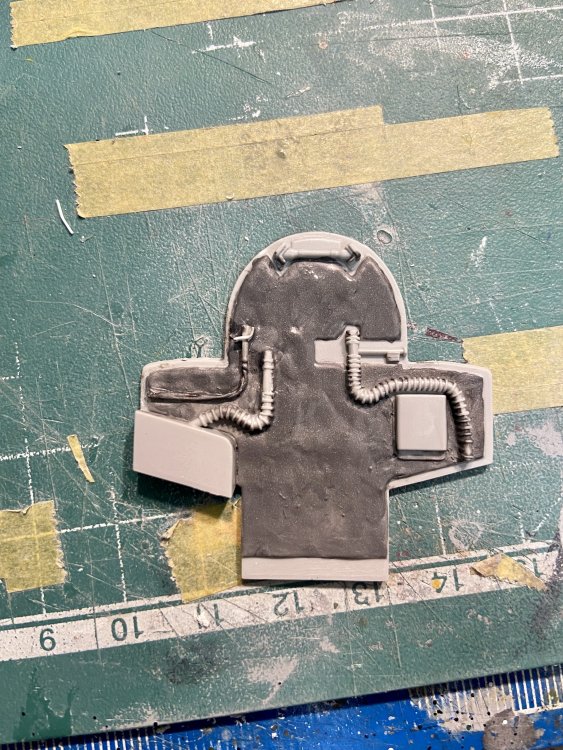
Today I had some time for the bench. I had to rework the backplate of the cockpit since the Italeri one does not depict the one used in the GR4-Tornado. This is the one which is wrong and depicted in the kit: And here is the correct one: I grinded away all the details not needed and added the new ones with evergreen sheet and stretched sprue: The tarpaulin on the backplate I replicated with thinned Mr. Dissolved Putty from Gunze. I also prepared the other parts of the cockpit: Next step will be to complete the cockpit and add the pilot and WSO.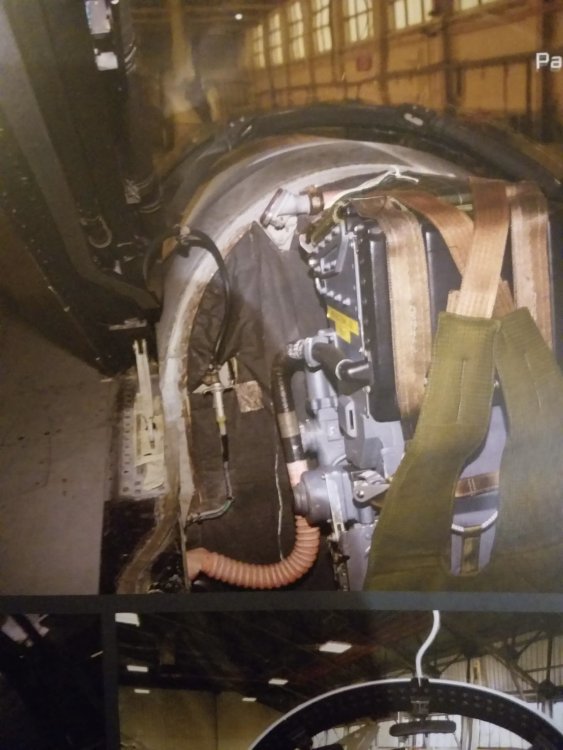

-
Nice looking front office John! The replacement seat and stick are a real improvement!