DocRob
-
Posts
7,127 -
Joined
-
Last visited
Content Type
Profiles
Forums
Events
Gallery
Everything posted by DocRob
-
Paint is looking great Gaz Is the angle of the wheel in picture one for real, due to relaxed fit Russian production tolerances maybe, or is it just not glued in place. Cheers Rob
-
 Looking good, nice dusty weathering, specially around the wheels and tracks. Cheers Rob
 -
Nice paintjob, that's the way to keep a monochrome surface from looking boring. Cheers Rob
-
Brilliant, the sepia toned ones look like taken from an old newspaper. Cheers Rob
-
Communist Russia’s Finest Passenger Service MI-4
DocRob replied to 1to1scale's topic in LSM 1/35 and Larger Work In Progress
IP is looking good. I will fasten my seat belt on the passenger seat and follow your build of this really interesting Heli. Cheers Rob -
Your paintjob looks great Gus, the colours look convincing. You should render your Corsair into Martins Pic. For getting the different looks onto the panels you could try (scrap sheet first) to carefully work some matte areas in with a fiber pen. That would dull the paint a lot in these areas. Cheers Rob
-
Your Super Sherman looks how,..., just super, love it. Can't wait for the weathering. You can see clearly, that the design of the Sherman was maxed out by this time. Cheers Rob
-
Nice Martin, coming together. Never thought about using white glue as filler and saved that info on my brain-drive . Cheers Rob
-
Lucky you , on my little island of permanent spring, spring itself is the coldest and wettest time of the year. Good for the nature after a dry, sunny and long winter, but I'm in need of some sunrays. Anyway, enjoy the first blossoms and a nice spring Cheers Rob
-
Pardon my French Cheers Rob
-
Me 163B 'Komet', 'White 13' (re-titled!)
DocRob replied to JayDee's topic in LSM 1/35 and Larger Work In Progress
If you want to close the Komet up (good choice for the Eric Brown 163 without the rocket engine and sans weapons) be careful to align everything right and test fit a lot. There is a hell lot of fuselage parts to get in sync and I stalled with mine. I destroyed lots of the work in the cockpit and inside the fuselage while doing so. There were some great pics and info provided in my building thread, mostly provided by Martin and Jeroen. https://forum.largescalemodeller.com/topic/5535-british-rocket-–-captured-me-163-meng-132/ Cheers Rob -
Kudos to Special Hobby for the Sunderland cover :)
DocRob replied to Martinnfb's topic in Special Hobby
And the last paint scheme plane took part in the Berlin Airlift, der Berliner Luftbrücke back in 1948. As a Berliner, that to me is some extra motivation. Cheers Rob -
Kudos to Special Hobby for the Sunderland cover :)
DocRob replied to Martinnfb's topic in Special Hobby
I saw this on the SH-page and immediately felt the urge to get me one. absolutely not my scale, but love that massive flying boat. Cheers Rob -
Tons of, Harv, after building their TA-152, I'm still in a mild trauma state and not brave enough to even start the single seater . Cheers Rob
-
Whatever this is about, some nice music here. I own some thousand Vinyls, new and vintage and there are some very precious rare pressings of Massive Attack among them, one Heligoland, a dark and sinister gem even has a hand printed cover. There are some great German bands around, but I have to admit, that I hate Rammstein for their all out permanent crying for publicity and being risen in West Berlin I know them from their firs breath. If you look for some special German band, I would recommend 'Bohren und der Club of Gore or a with a little bit more electronic approach 'Brandt Brauer Frick Ensemble' just for starts. Canada wise, I like the Sadies with or without Neko Case. Now I get it, you are reviving VIVA a defunct European music channel, but on the other hand you spoke about future Cheers Rob
-
That's an awful lot of kit parts, scratching and aftermarked put into the shaker of your craftmanship and talent to get this stunning result, Chapeau. Can't wait, how the hole thing turns out paired with the skeletal Fokker. Cheers Rob
-
Nie progress, Gaz, the bat is coming together. If you want to go steel finish, I can recommend Uschi van der Rosten pigments. Rubbed onto a primed surface gives a very convincing steel effect. There are only Iron, Steel and Chrome available, pity. These are the finest grained pigments I ever used. Congrats to your new booth, seems to be a Havox, right? I got the 80cm brother and will add two more LED strips to enhance lighting. Pity I can't get them here on my island, so this has to wait till my next visit in Germany. Cheers Rob
-
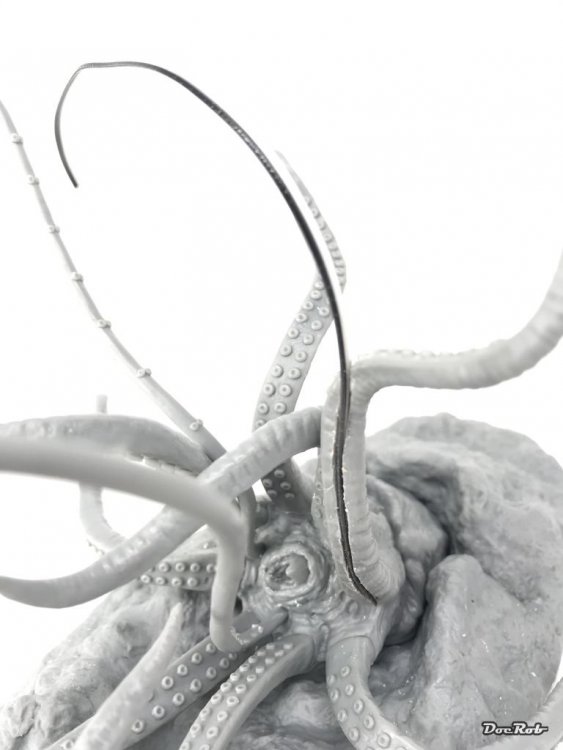
Thanks Gaz, and yes, both mouldings are perfect, the good to work with plastic of the ship and the heavy vinyl cast of the squid. The tentacles are only loosly fitted now, but it holds the submarine without problems and due to it's weight, everything is really stable. BTW: Aren't these 'Lange Kerls' from the Prussian army in your signature. They still do some ceremonial parades sometimes near my old hometown of Berlin. Cheers Rob
-
Revell fw 190 A8/R11 to "R2 Sturmbocke"
DocRob replied to coolboxx's topic in LSM 1/35 and Larger Work In Progress
Wow, amazing result, everything blends in perfectly. I love how you handled the huge black areas, its black, it's flat, but it' not to black, hard to explain. The mottling looks fabulous too, great stuff. Cheers Rob- 62 replies
-
- 3
-

-

-
- 1 32 fw 190 a8
- willi maximowitz fw 190 a8
- (and 1 more)
-
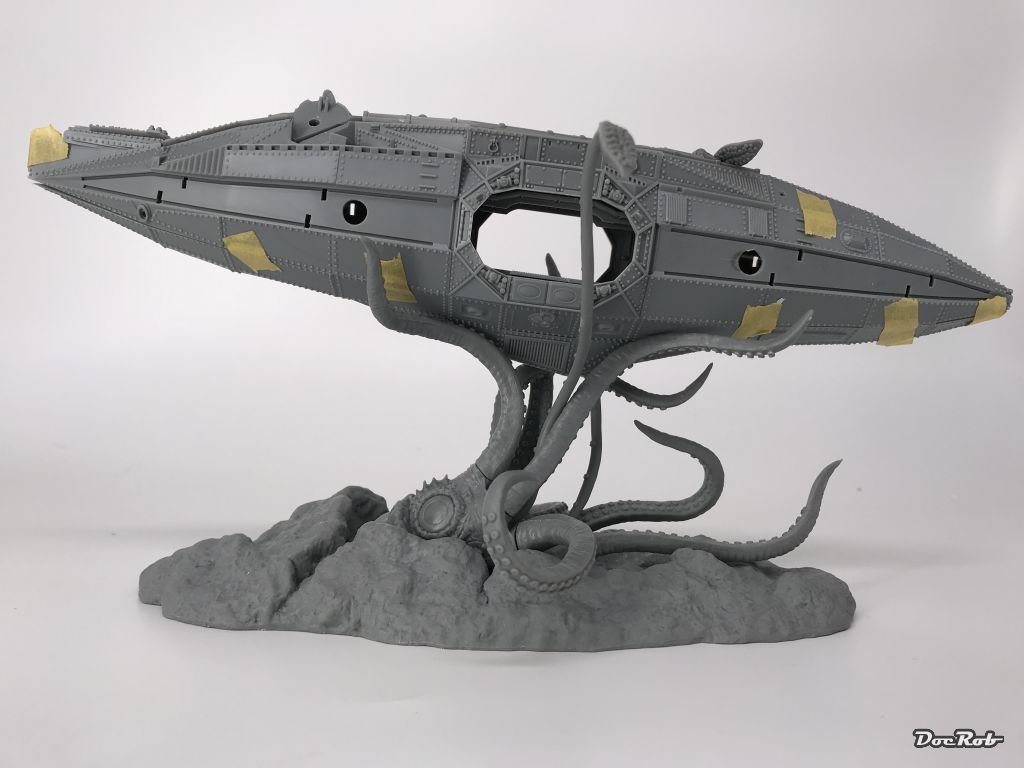
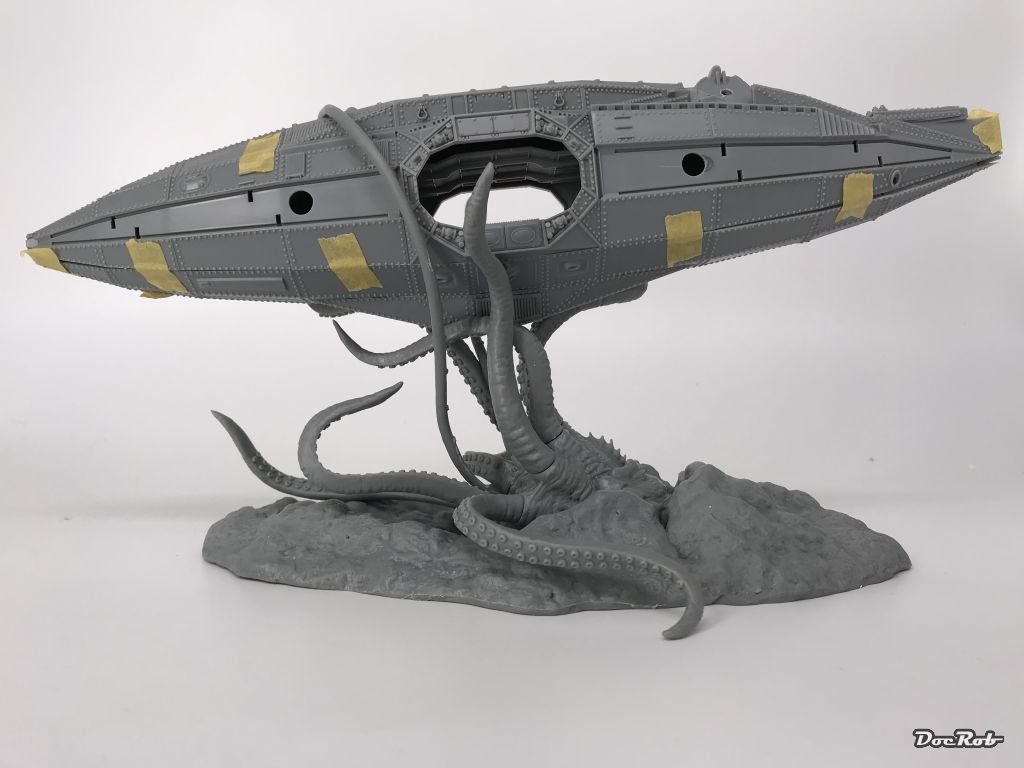
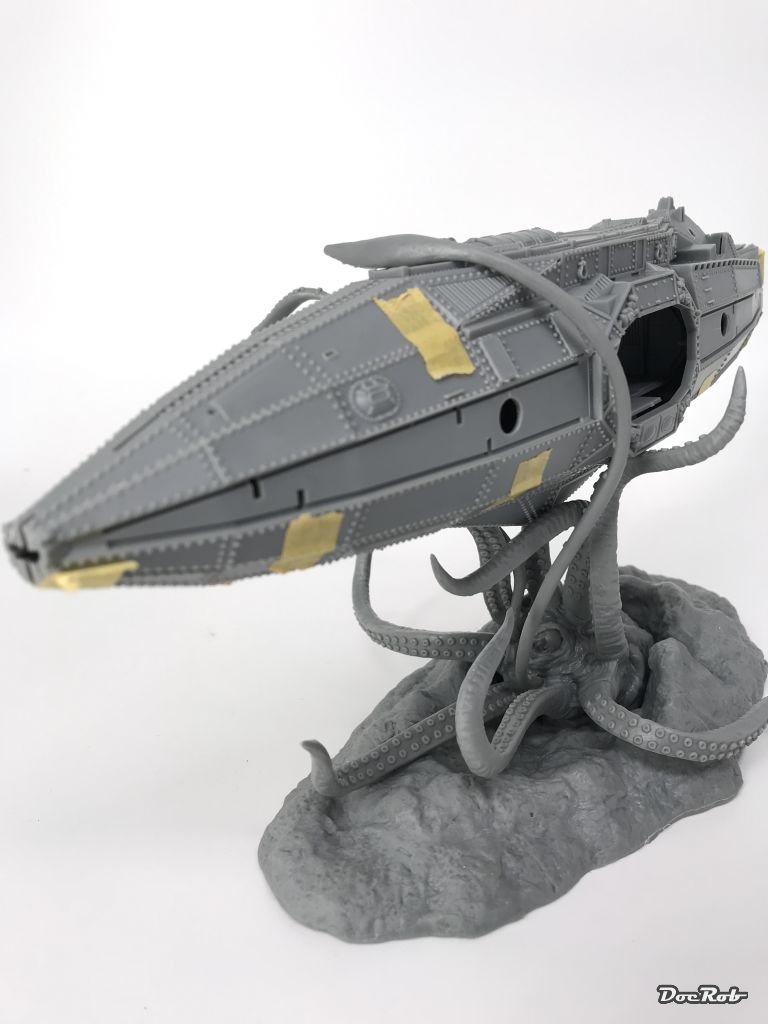
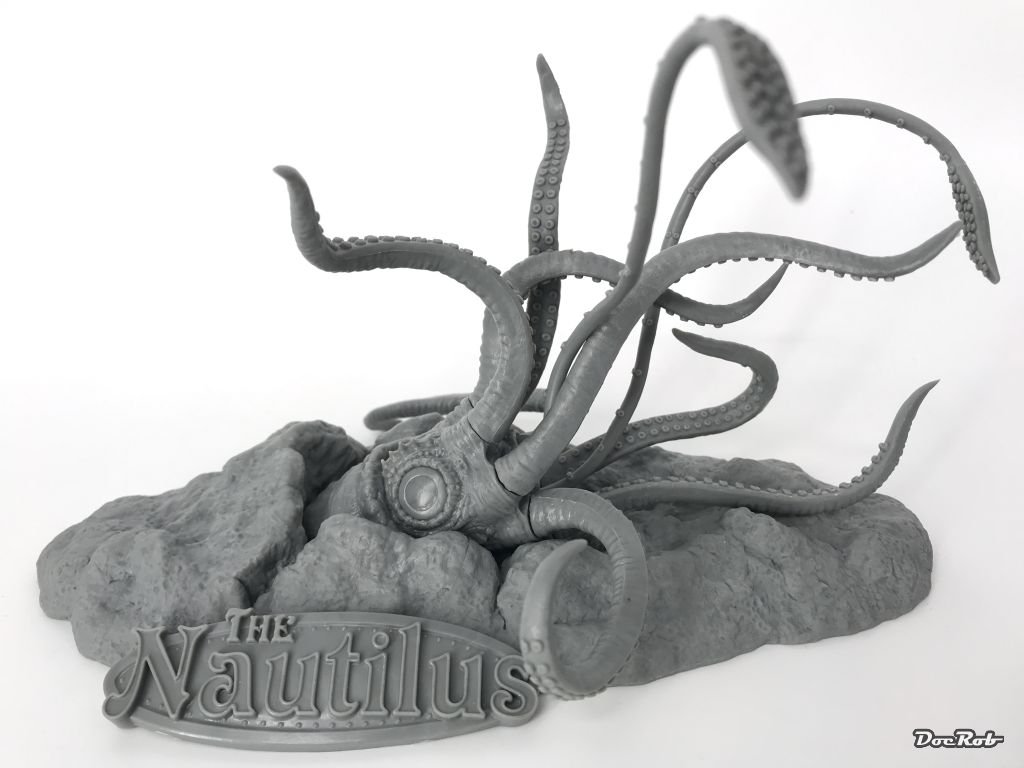
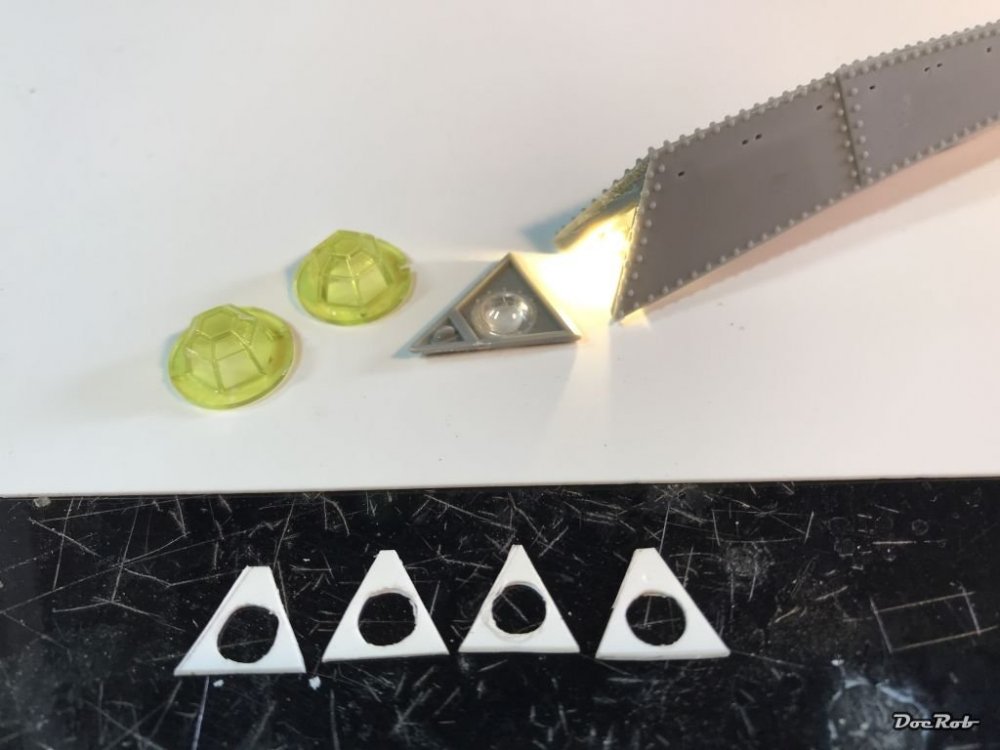
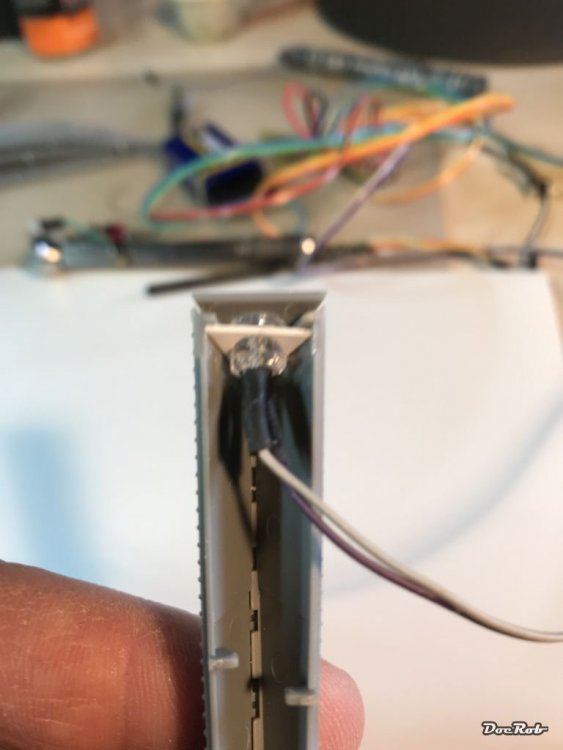
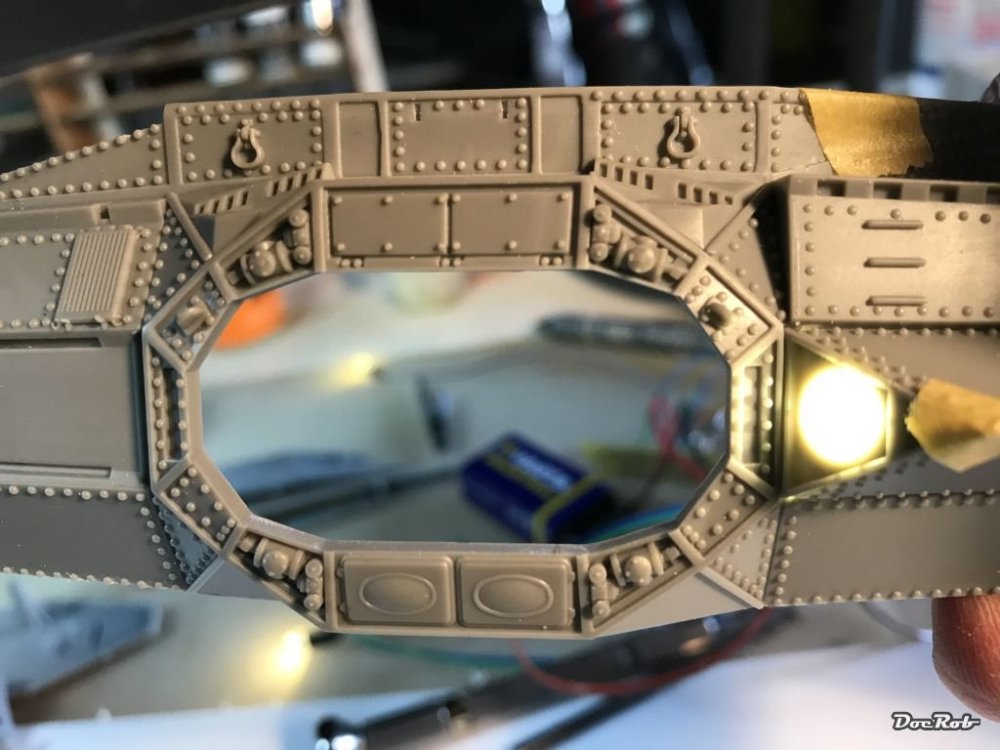
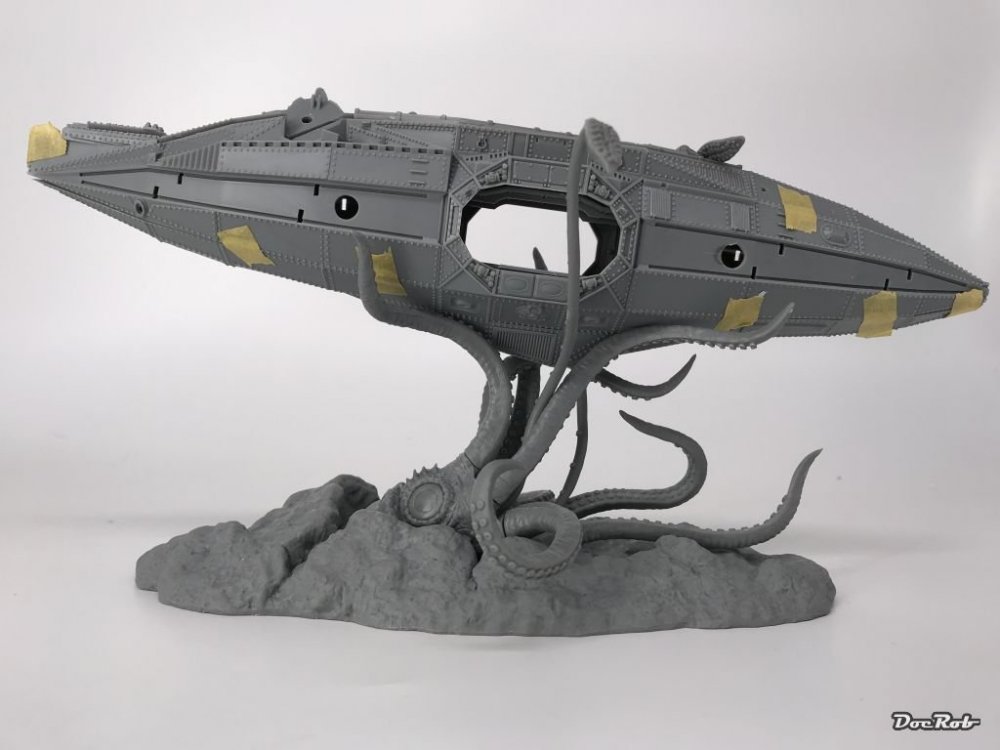
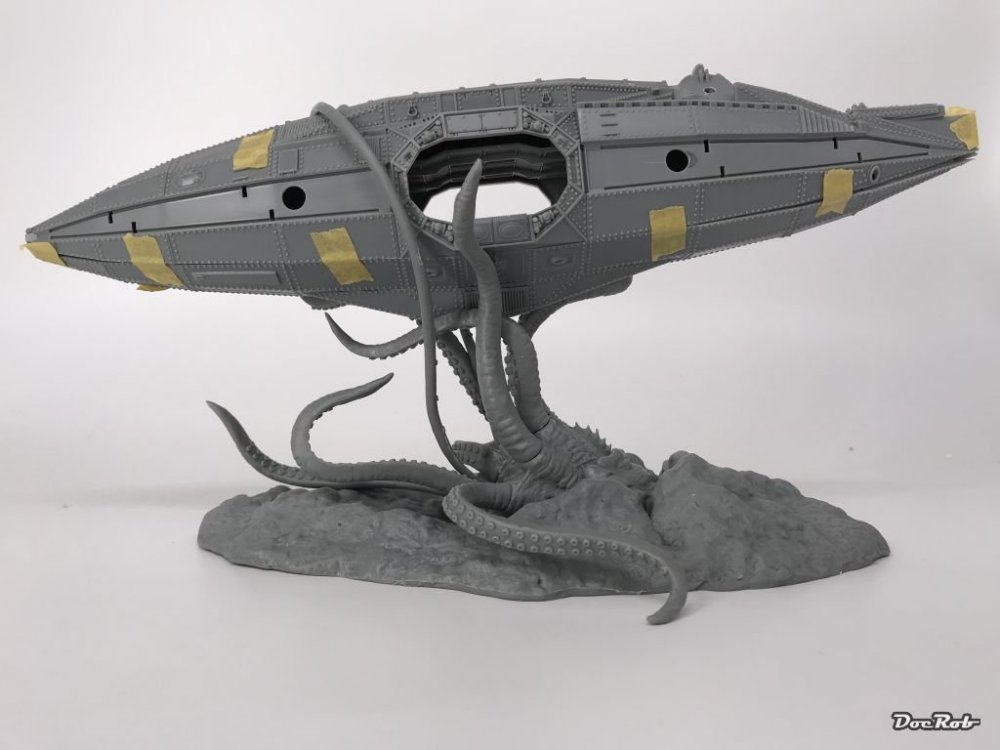
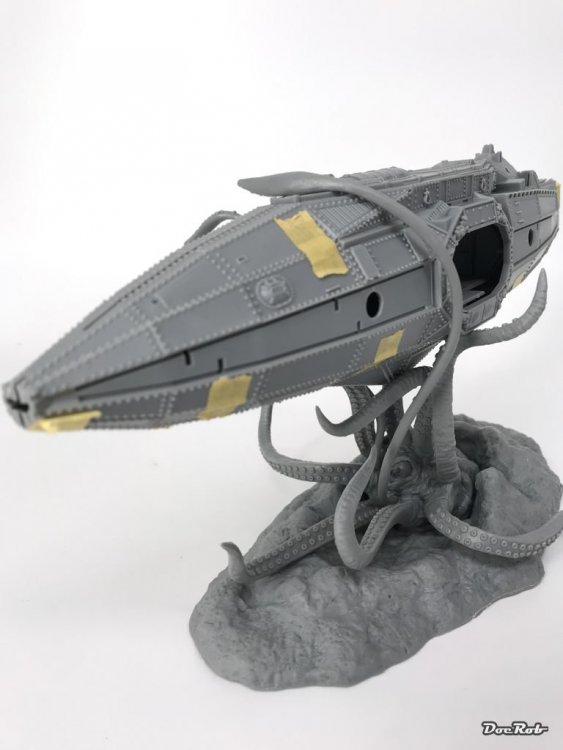
Hola compañheros submarinistas, Step by step I'm coming closer to solve the problems of installing everything in the correct place and style. I tinted the glass for the submarines bridge windows transparent yellow and cut some sheet triangles, which align the LED's beside the windows correctly and enable me to use the kit provided plastic lens in front of it. And that is how it looks when finished These photos were made to find the right spot, somewhere on the backside of the squid, to install the power cable, where I could hide it at best. They also give a good impression of how everything will look when finished. The squid is rigid enough to carry the submarine and it is designed to hold the Nautilus in place without the need for glue. With my Proxxon and a small grinding wheel I did something to the squid, I would normally do to it's smaller incarnations in a restaurant , I cut it. Actually I identified one of the backside arms to be ideal to hold the cable channel. The cable will be fixed with CA later and will be 99% invisible Cheers Rob
- 76 replies
-
- 7
-
-
- jules verne
- pegasus hobbies
- (and 1 more)
-
Thanks Harv Yeah Gus, my finger lingered sometimes above the buy-button of the Bandai stuff, but I'm not that deep into Star Wars. But there is other interesting stuff out there like Industriamechanika. They produce resin kits and I own some of them, because they have a great coolness factor. There will be another huge submarine dio project in future with one of their steam subs. There is no snap fit here, but clever engineering and very good fit. Didn't know that they do birds as well. If the Emil would be 1/32, it might be the answer to another thread right here . Gave that a thought too Wumm, but maybe I light the parrot like beak of the beast. Lighting the eye would look strange with the lights switched off and the beak is directed to the belly of the submarine. Cheers Rob
- 76 replies
-
- 2
-
-
- jules verne
- pegasus hobbies
- (and 1 more)
-
Gracias Senhores, it seems not only to be a cool-, but also a fun project and I will go a little wild with the weathering, as I will use mainly copper, brass and bronze colours for the hull with a lot of blueish, greenish patina on it. I never heard of a 1/32 'Spirit of St. Louis' by Pegasus Hobbies, I always thought they are more involved in science fiction kits. Cheers Rob
- 76 replies
-
- 3
-
-
- jules verne
- pegasus hobbies
- (and 1 more)
-
KITTY HAWK Mirage 2000 Family (1/32)
DocRob replied to Ivan Ivanovich's topic in Modelling Discussion
Tanguy and Laverdure, heroes of my childhood. Always loved their stories in the German 'Zack-Magazin'. Got warped back in times by that picture Cheers Rob- 82 replies
-
- 3
-
-
- mirage 2000
- kitty hawk
- (and 1 more)
-
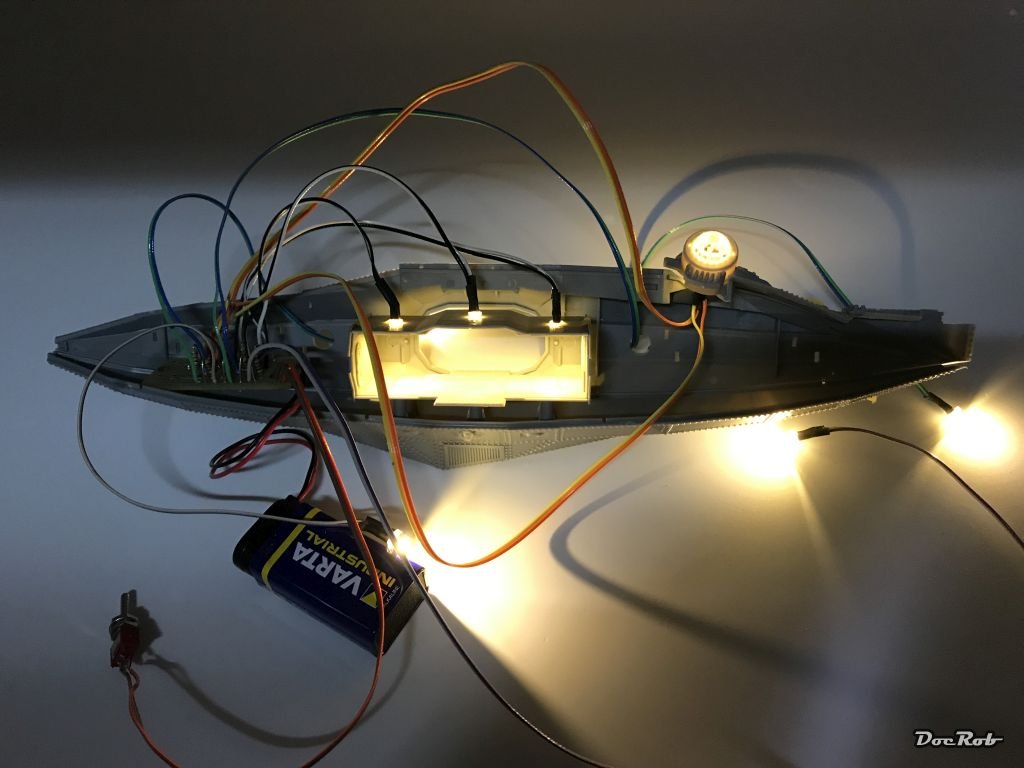
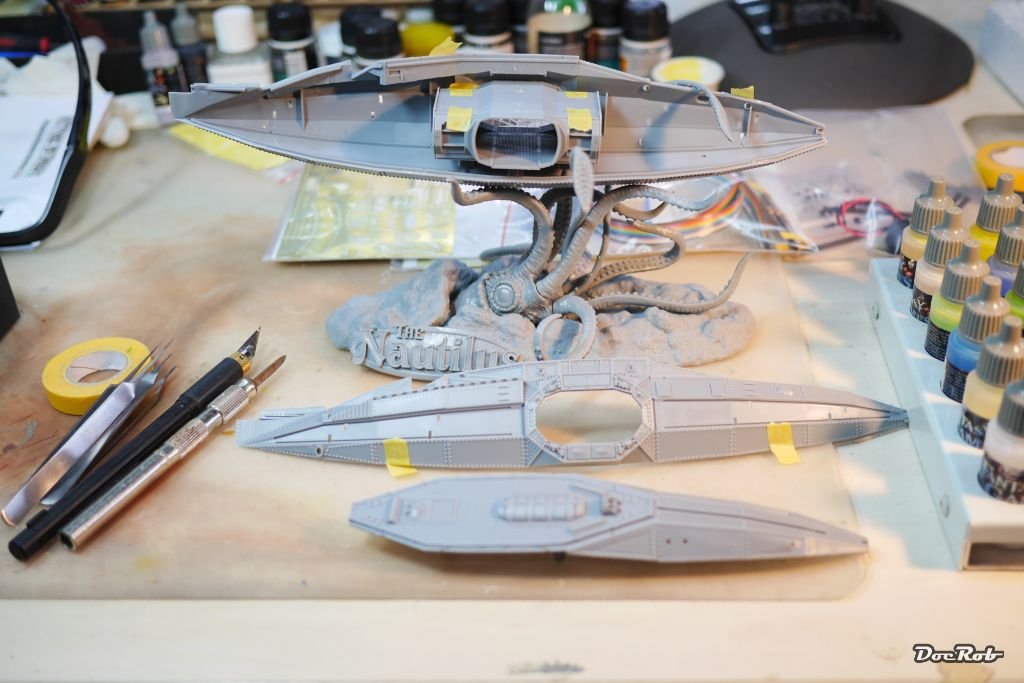
Ahoi Gentlemen, Some days ago I started a new project, while toying around with a kit from my stash, which always had a special attraction to me. I have a soft spot for some Sci-Fi-, fictitious-, and Steam Punk stuff. I purchased the kit of the Nautilus submarine which is loosley inspired by the novel by Jules Verne, '20.000 Leagues under the Sea'. The kit includes a giant squid, wich dramatically entangles the submarine. The squid is cast nicely out of some heavy vinyl and it's easy to build up, because the arms got unique links. The cast of the kits parts looks very good with no irritations to find. Til now the fit of the parts is exceptional, a thing which I have not anticipated by a kit from a, at least to me, unknown brand called Pegasus Hobbies. The box also includes masks for the panoramic windows and some useful photoetch. In addition I purchased a lighting kit by VoodooFX some better masks from Aztek and some more PE by Paragrafix. Lots of the Paragrafix set will go to the spare box, because there is a bridge included, which is obselete when you light the model, some blinds for the windows I will not use and some grids for the roof of the salon, which also hinders my lighting plans. The additional furniture and some other elements will be used though, which means the acquisition of the set was not totally wasted. After some test fitting I started to prepare the lightning, by drilling holes for the LED's and cables. The soldering took some hours, but in the end everything worked fine and I'm quite pleased, because it was my first circuit board soldering. There are four 4,8mm LED's provided for the big outside lights and five 3,0mm LED's for the salon and the 'alligator eyes'. Cheers Rob


- 76 replies
-
- 7
-
-
- jules verne
- pegasus hobbies
- (and 1 more)
-
Great work, can't wait to see the result. Cheers Rob