GazzaS
-
Posts
6,396 -
Joined
-
Last visited
Content Type
Profiles
Forums
Events
Gallery
Everything posted by GazzaS
-

PCM Focke Wulf FW 190 A-1/A-2/A-3
GazzaS replied to GazzaS's topic in LSM 1/35 and Larger Work In Progress
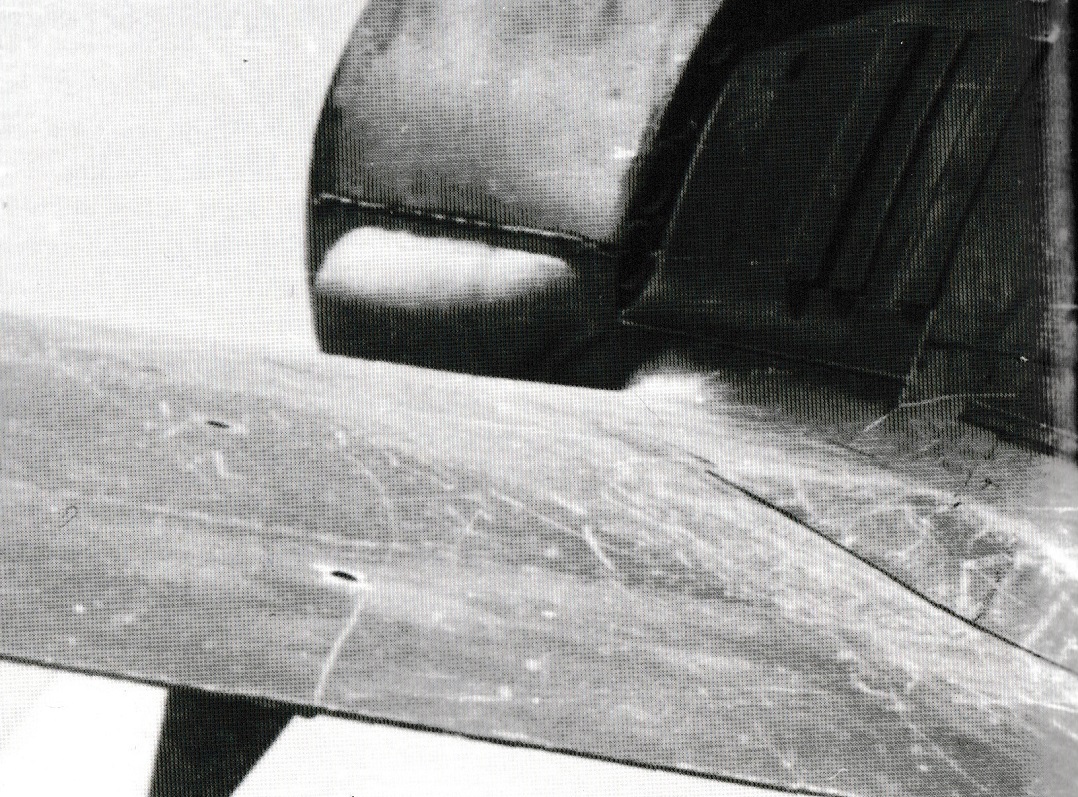
I admit that I get most of my images from the net. Of course, these images have been processed into digital format and trying to zoom-in only results in pixellation. Anyway... long story-short... I found a book with a large image of a 190 wing root. What this picture tells us is the story of the humble scuff. Not stripped paint. Not deep scratches. Just the marks left by the ground crews boots as they maintain and re-arm the bird in preparation for it's next sortie. I'm not saying that there isn't chipping involved. But these scuffs are rarely modelled. I've done it a few times before, but not on a large scale model. I had actually done it on this one, but when I wet sanded away the excessive chipping, the scuffs went with it. It's one that I want to use more often and more deftly.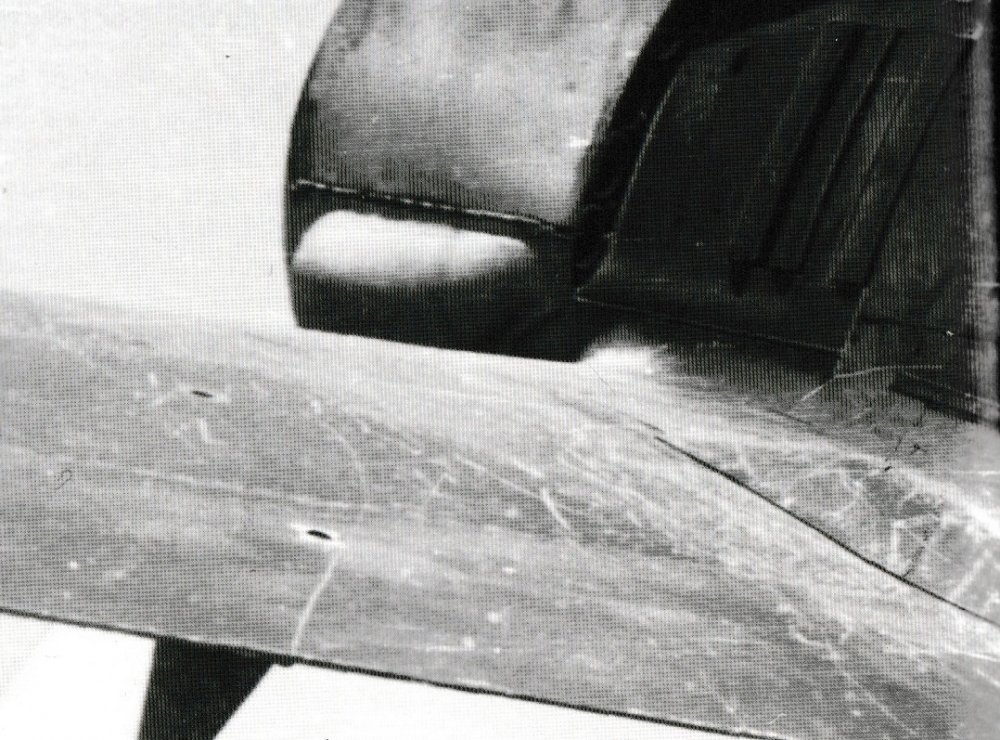
-
Nice, Harv!
-
Nice looking work, Rob! Looks like a fair amount of progress.
- 100 replies
-
- 6
-

-

-
- hasegawa
- ammoknight
- (and 1 more)
-
Bent wing bird- Tamiya F4U-1A
GazzaS replied to BlrwestSiR's topic in LSM 1/35 and Larger Work In Progress
I love a nice, busy looking radial engine. Nice work! -
PCM Focke Wulf FW 190 A-1/A-2/A-3
GazzaS replied to GazzaS's topic in LSM 1/35 and Larger Work In Progress
Thank you, my friends! -
PCM Focke Wulf FW 190 A-1/A-2/A-3
GazzaS replied to GazzaS's topic in LSM 1/35 and Larger Work In Progress
Thank you, Rob. We'll see what happens when the matte coat goes on. -
Not near enough to flood me out. But I will say, that is is the rainiest summer in my 19 years in Australia.
-
PCM Focke Wulf FW 190 A-1/A-2/A-3
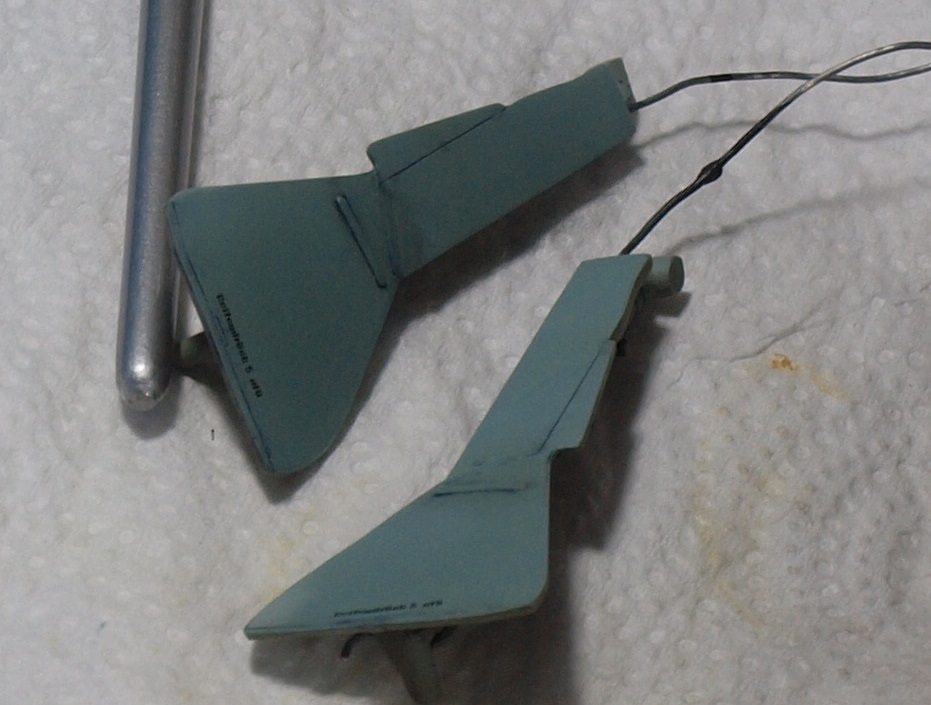
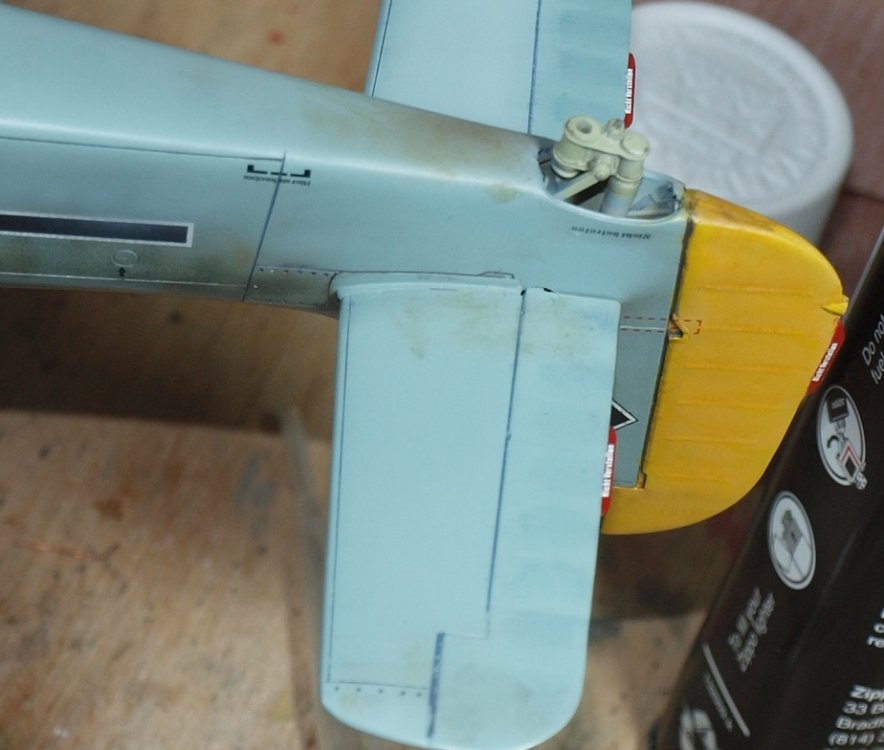
GazzaS replied to GazzaS's topic in LSM 1/35 and Larger Work In Progress
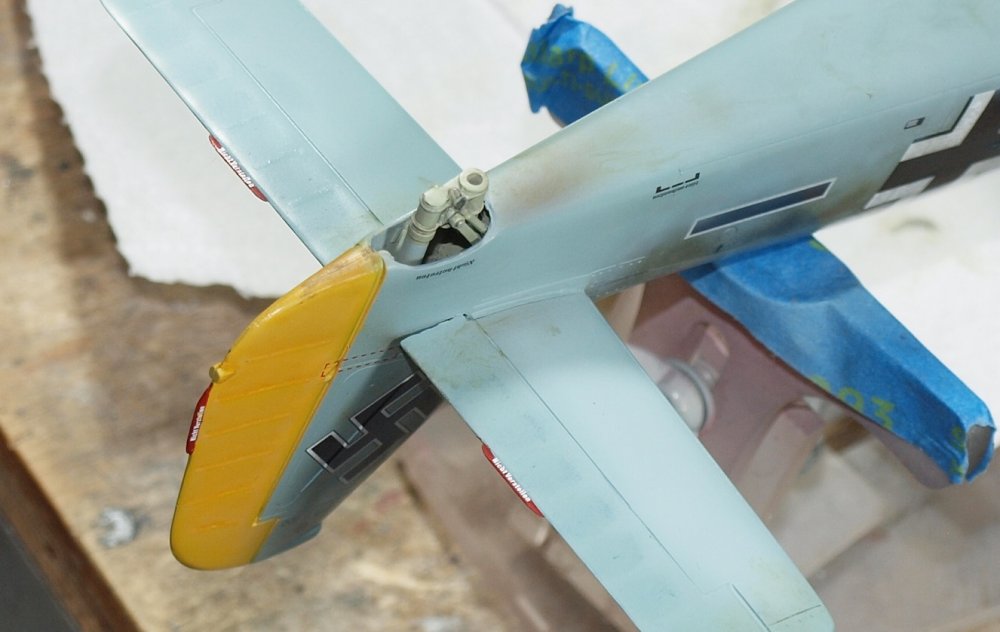
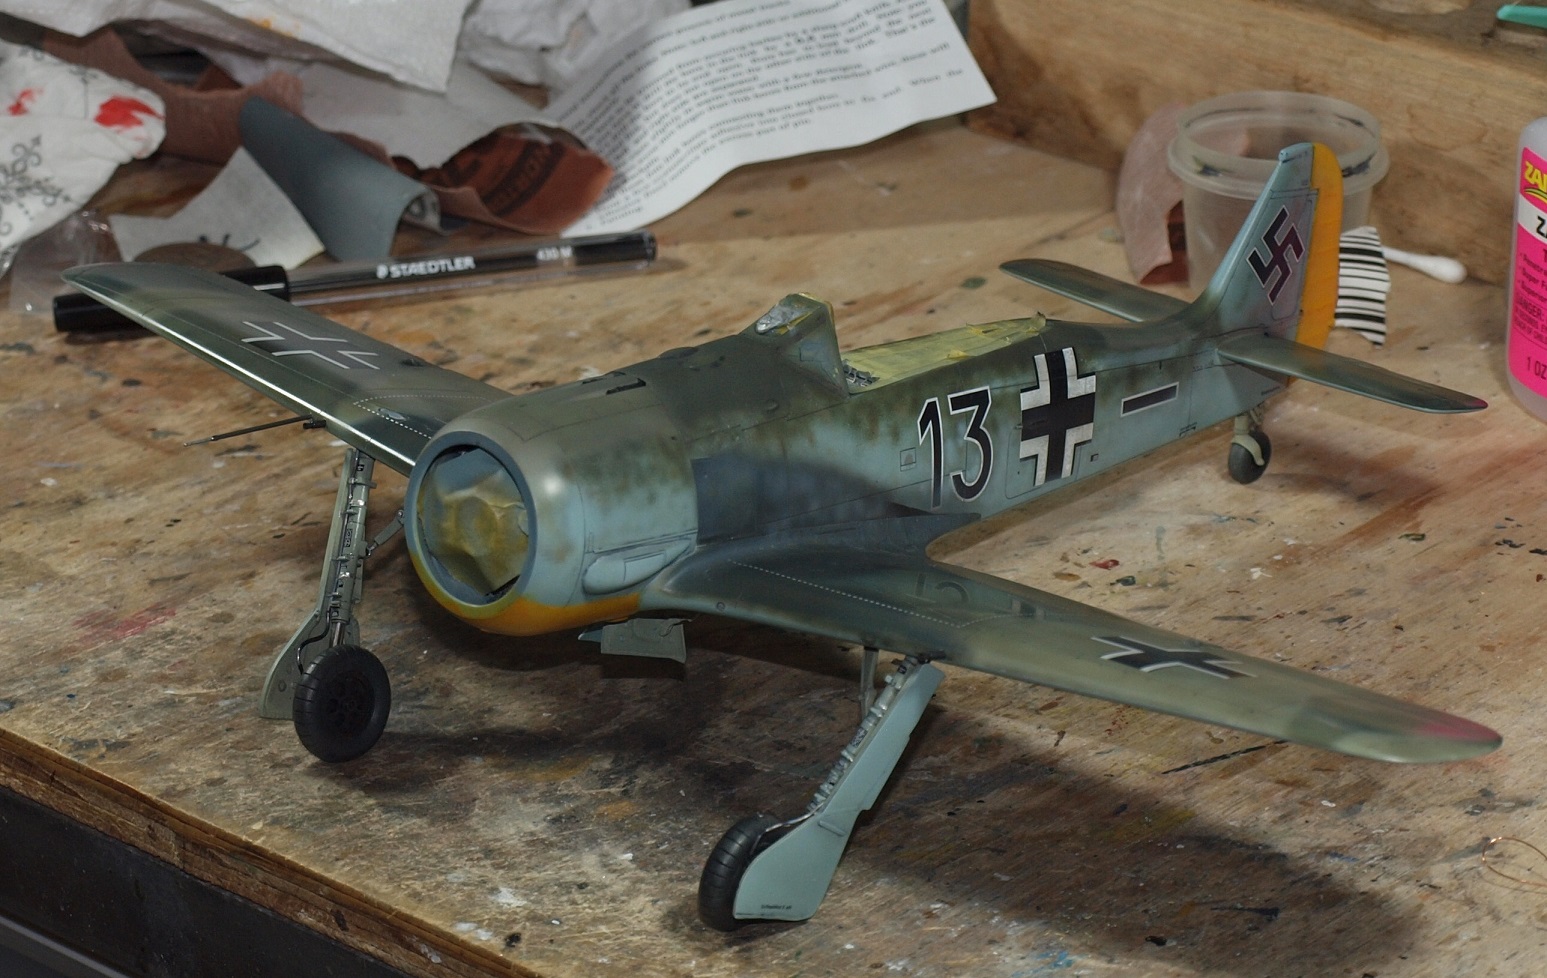
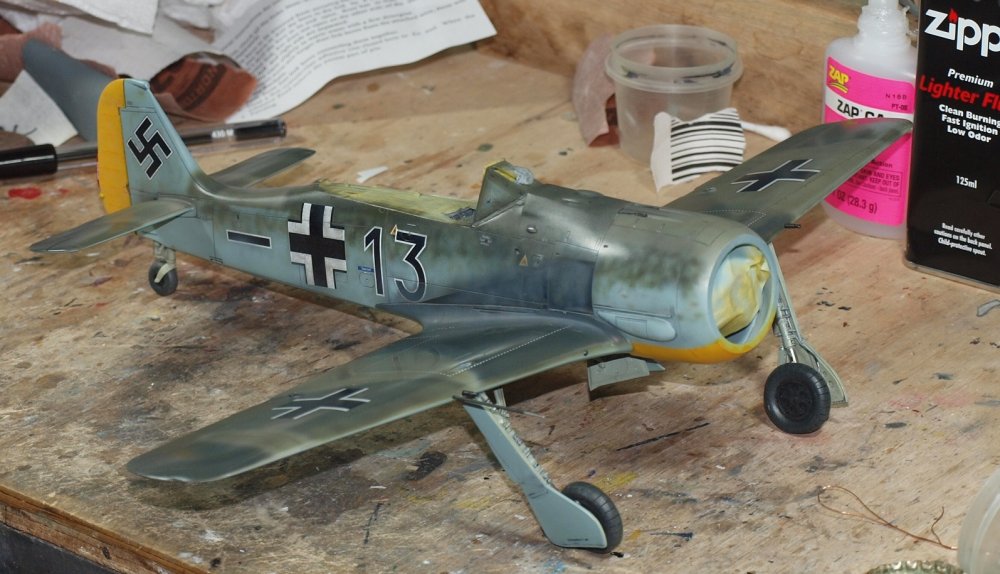
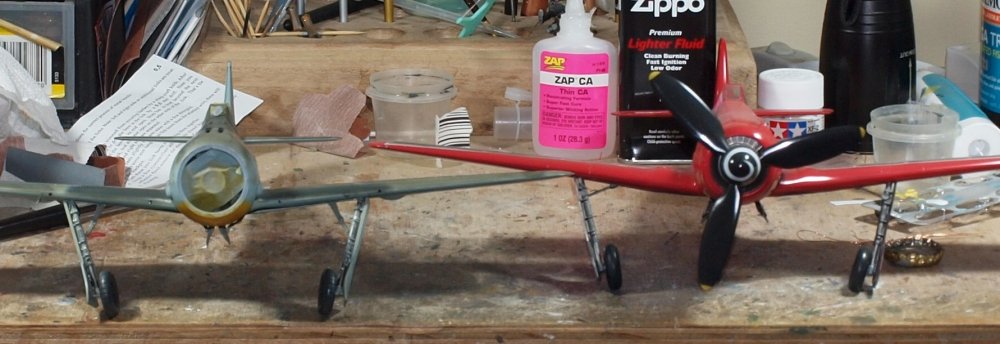
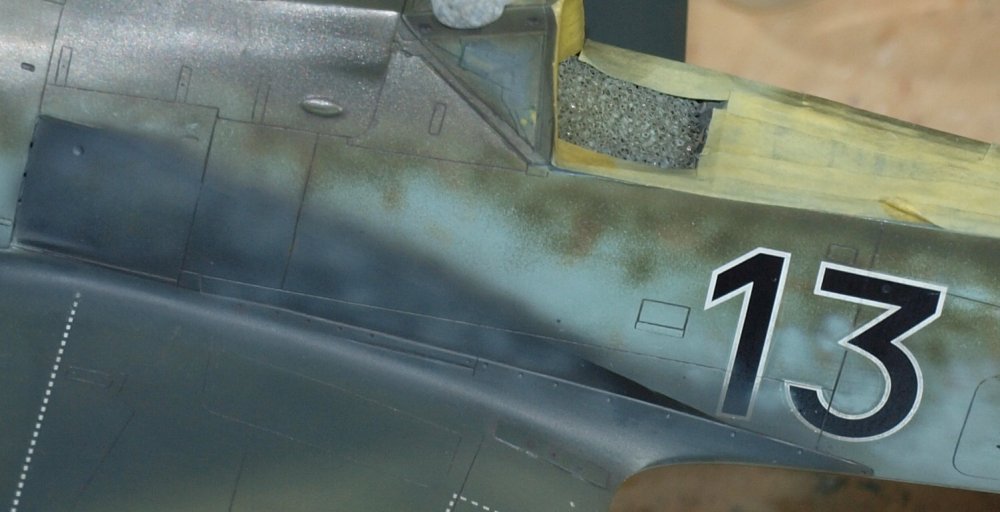
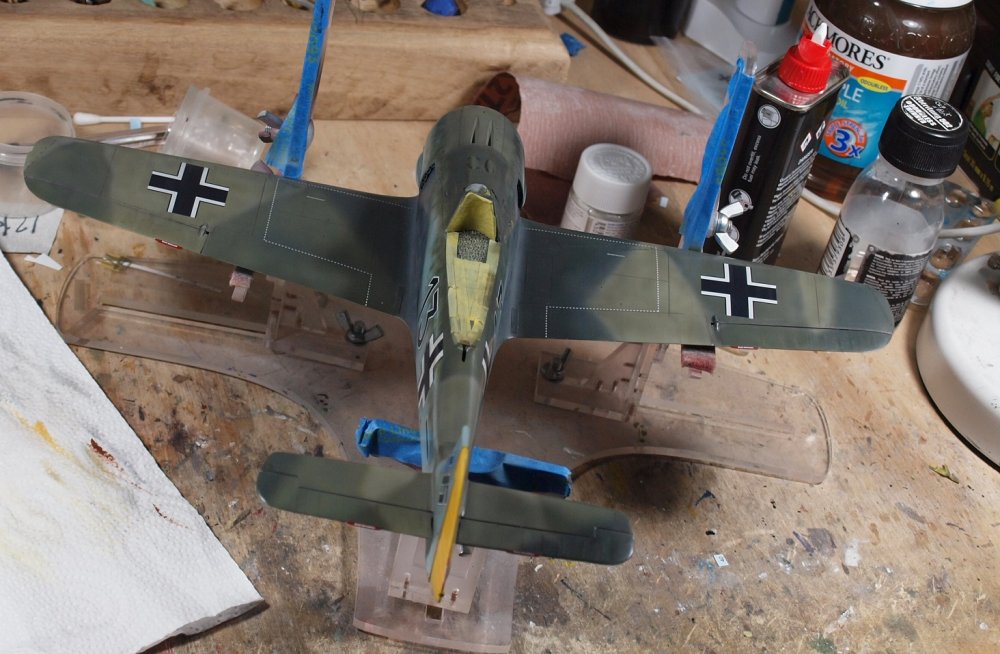
Well... a day of partial success. The Fw got it's guns and legs. And the paint job suffered. While building this kit, I assumed that the legs would attach just like the TA 152C kit I built over a year ago. Unfortunately... this wasn't the case. I struggled with the geometry and finally got them into a position where both wingtips were 52mm from the deck. You can see the paint damage near the starboard MG FF/M. I did some light sponge chipping, but I thought it overstated and wet sanded it back a bit. Maybe back too much. That is one of the joys of having ultra fine grit abrasives. If you overdo an effect, sometimes you can get it back to acceptable with a few wet strokes, and then dry off with paper towel. Finally I decided to compare the geometry of the LG with the earlier TA 152C kit. Not too dissimilar. But back to work tomorrow. Happy modelling!


-
PCM Focke Wulf FW 190 A-1/A-2/A-3
GazzaS replied to GazzaS's topic in LSM 1/35 and Larger Work In Progress
Thank you, hombres! -
Revell P-51-5NA Mustang
GazzaS replied to Peterpools's topic in LSM 1/35 and Larger Work In Progress
Peter, Your extra work has paid off, and the wings look nicely fitted. Keep up the good work! -
PCM Focke Wulf FW 190 A-1/A-2/A-3
GazzaS replied to GazzaS's topic in LSM 1/35 and Larger Work In Progress
Thank you, Kai. It's really all just a learning experience. Experimenting and hoping to get the right result. I'm pretty close to finished. All that remains of weathering is to do scratches where the paint hasn't been totally removed, and then sponge chipping. Then it's final assembly, matte coat, remove the canopy masking and attach the aerial. Ugh... and the pilot and base. Neither of which I've touched yet. -
PCM Focke Wulf FW 190 A-1/A-2/A-3
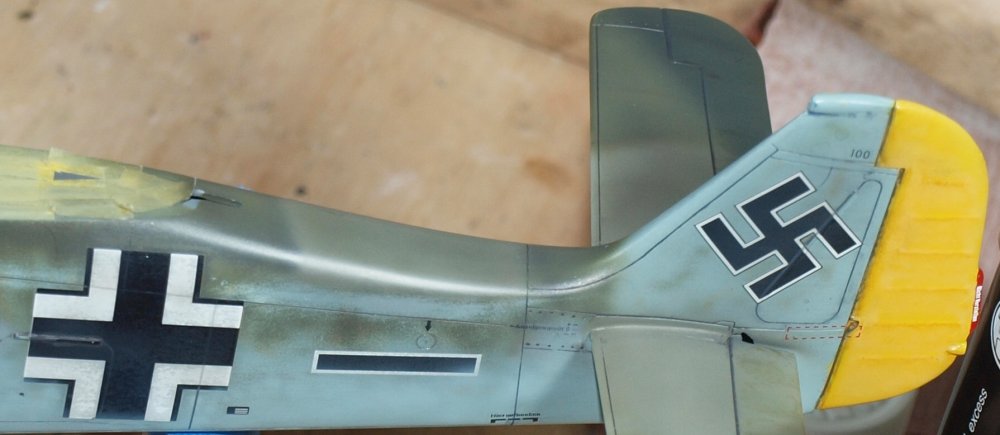
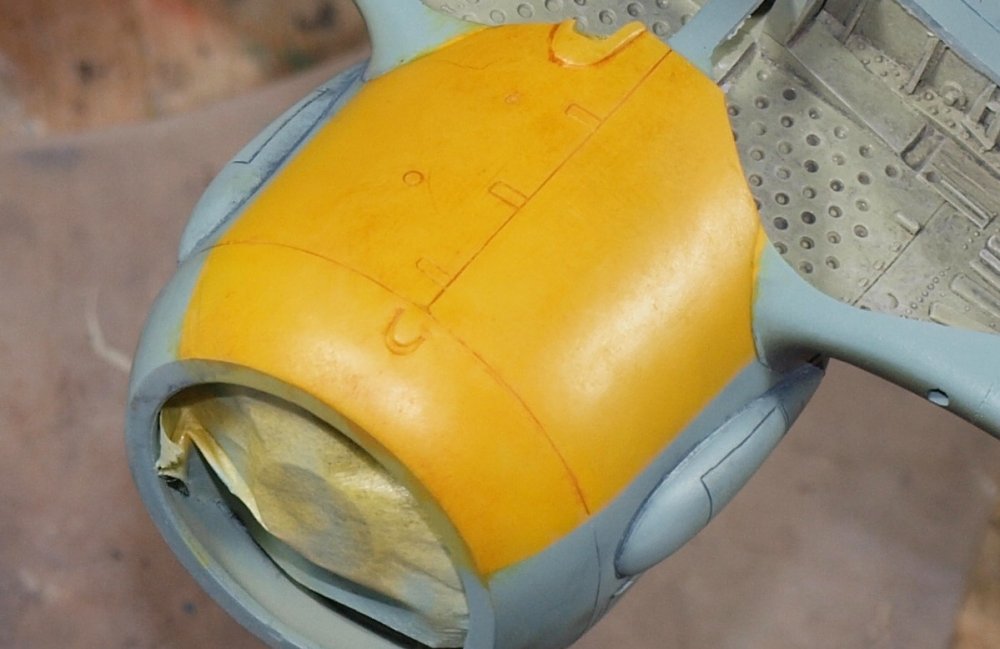
GazzaS replied to GazzaS's topic in LSM 1/35 and Larger Work In Progress
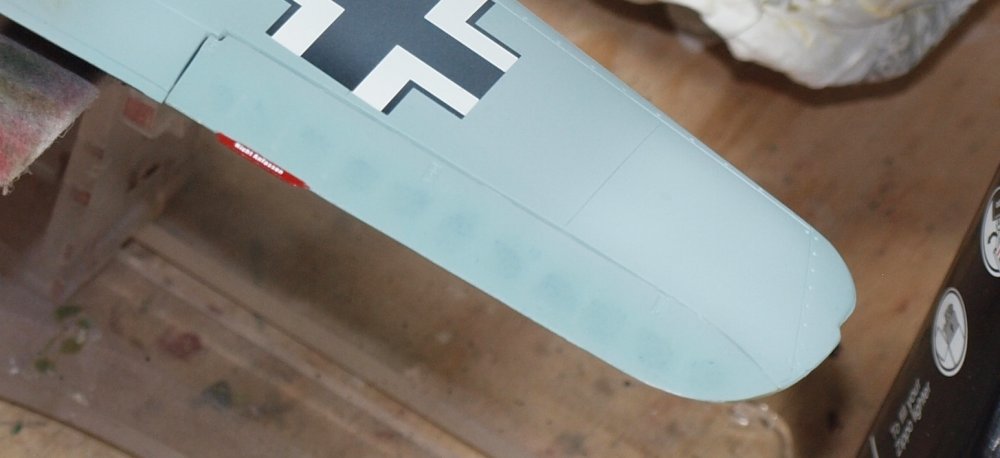
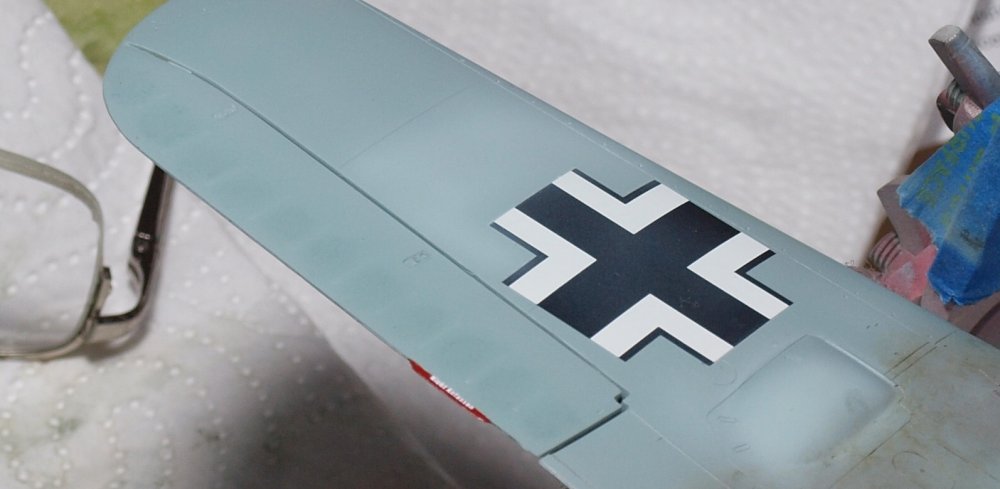
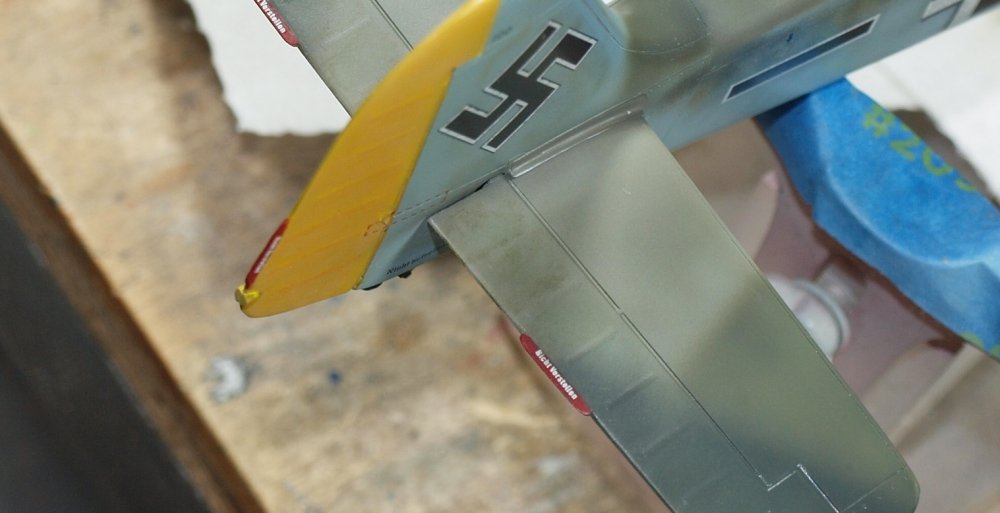
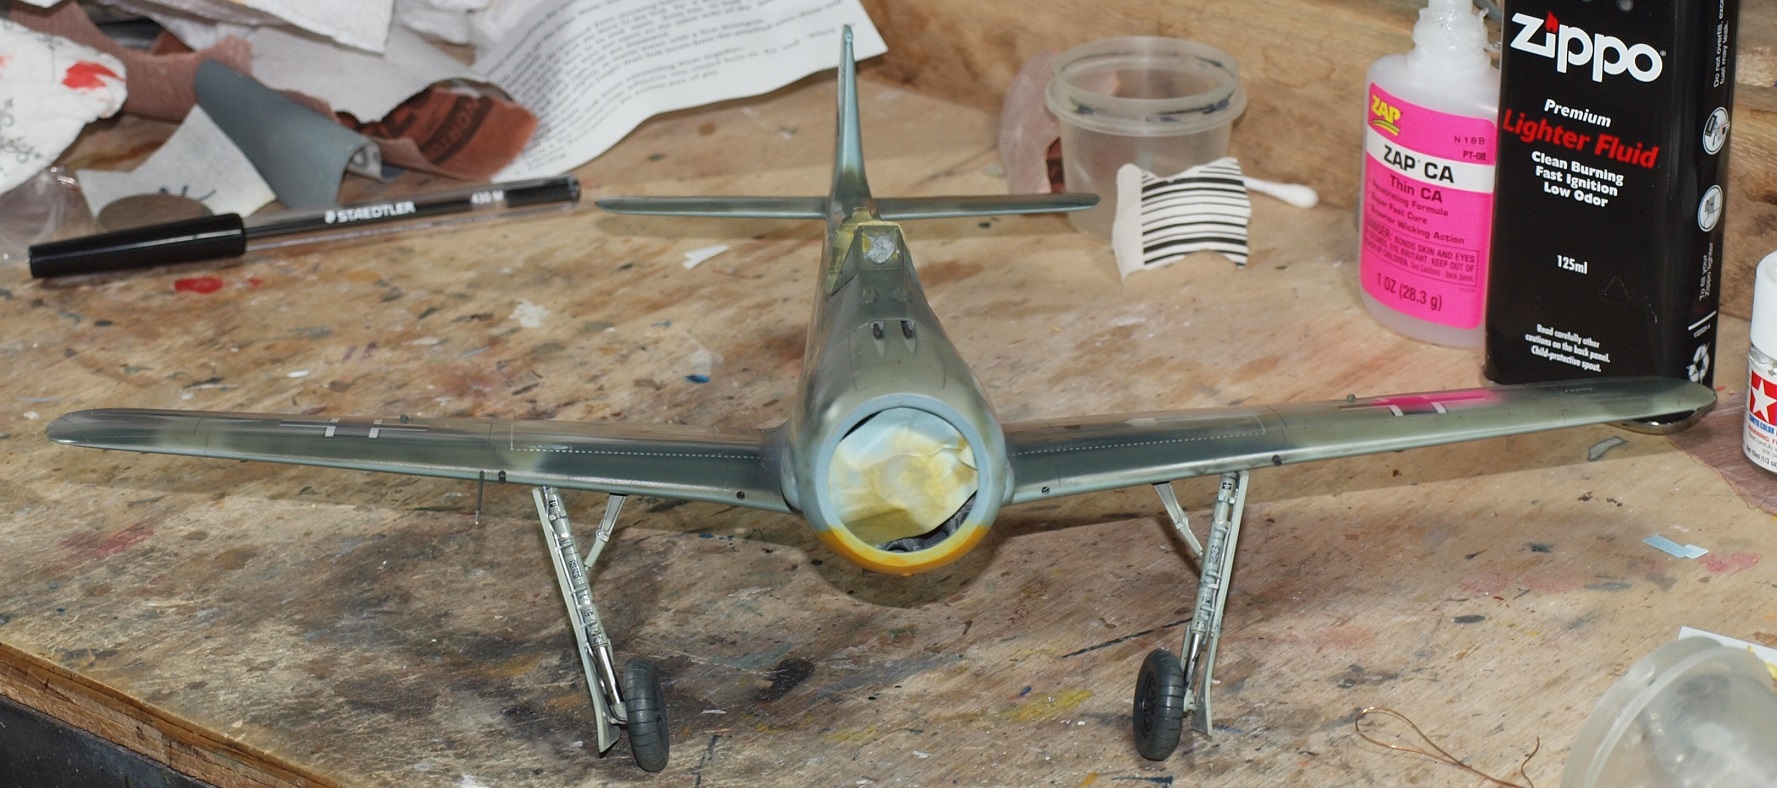
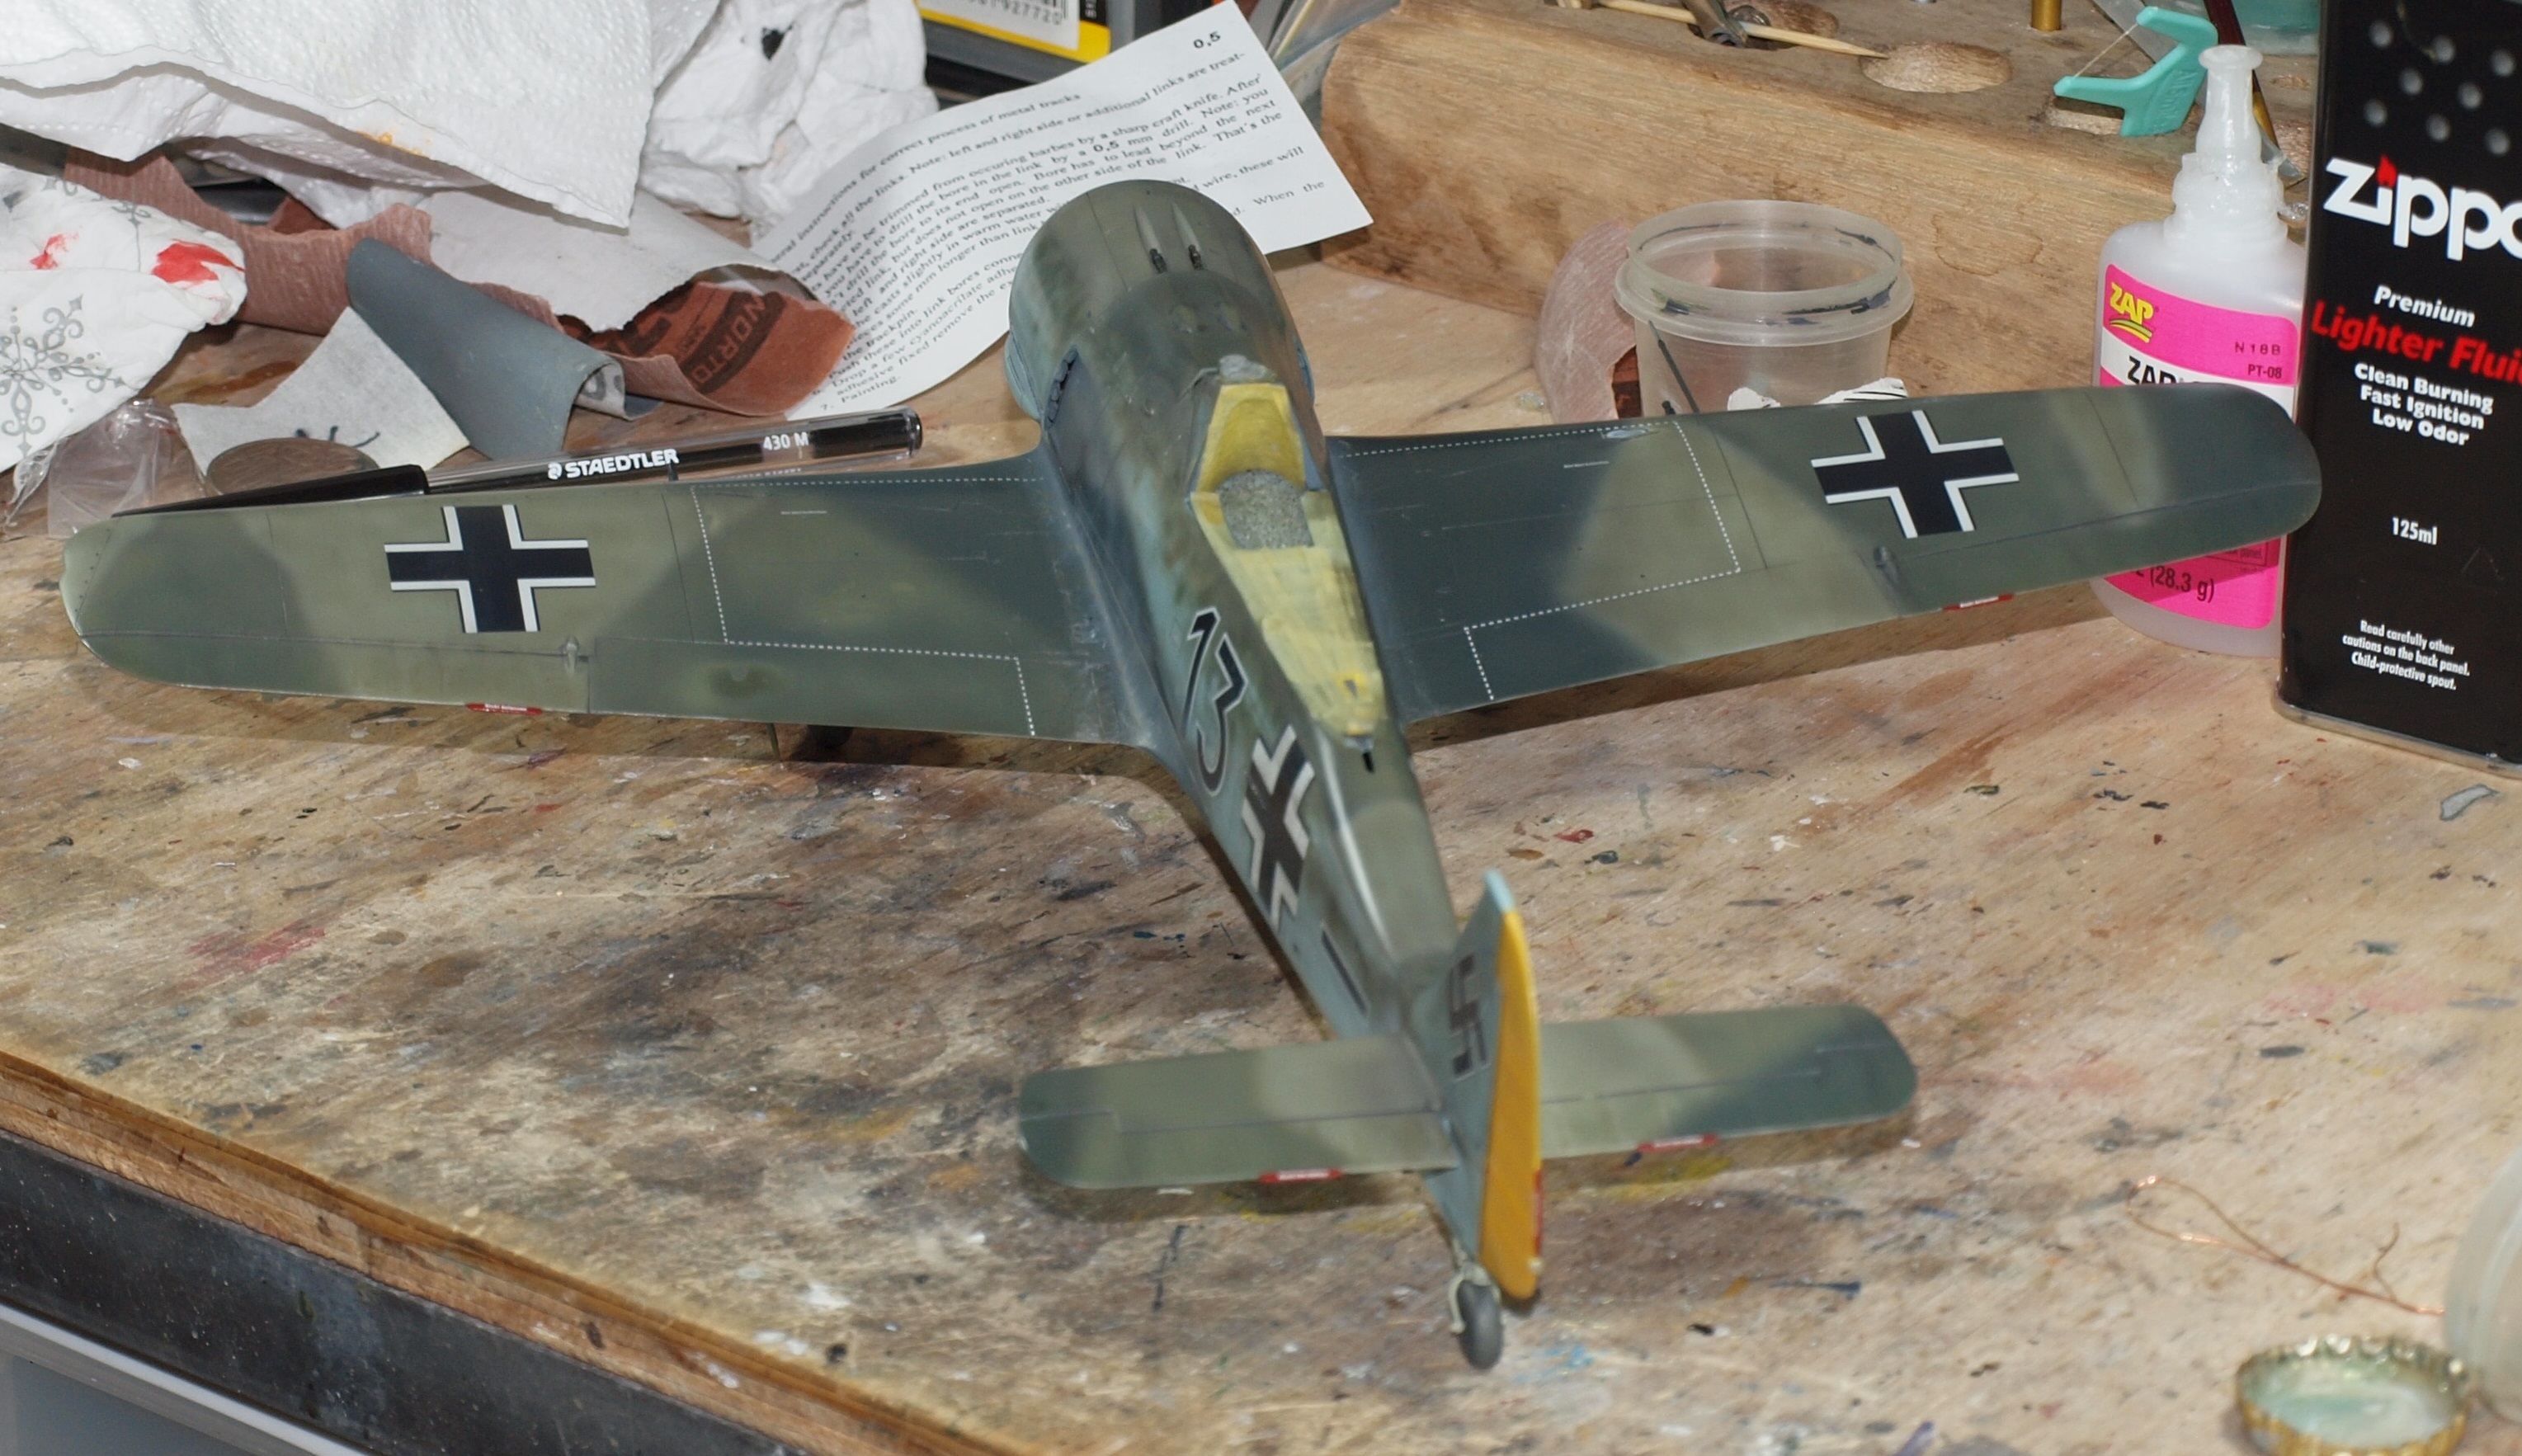
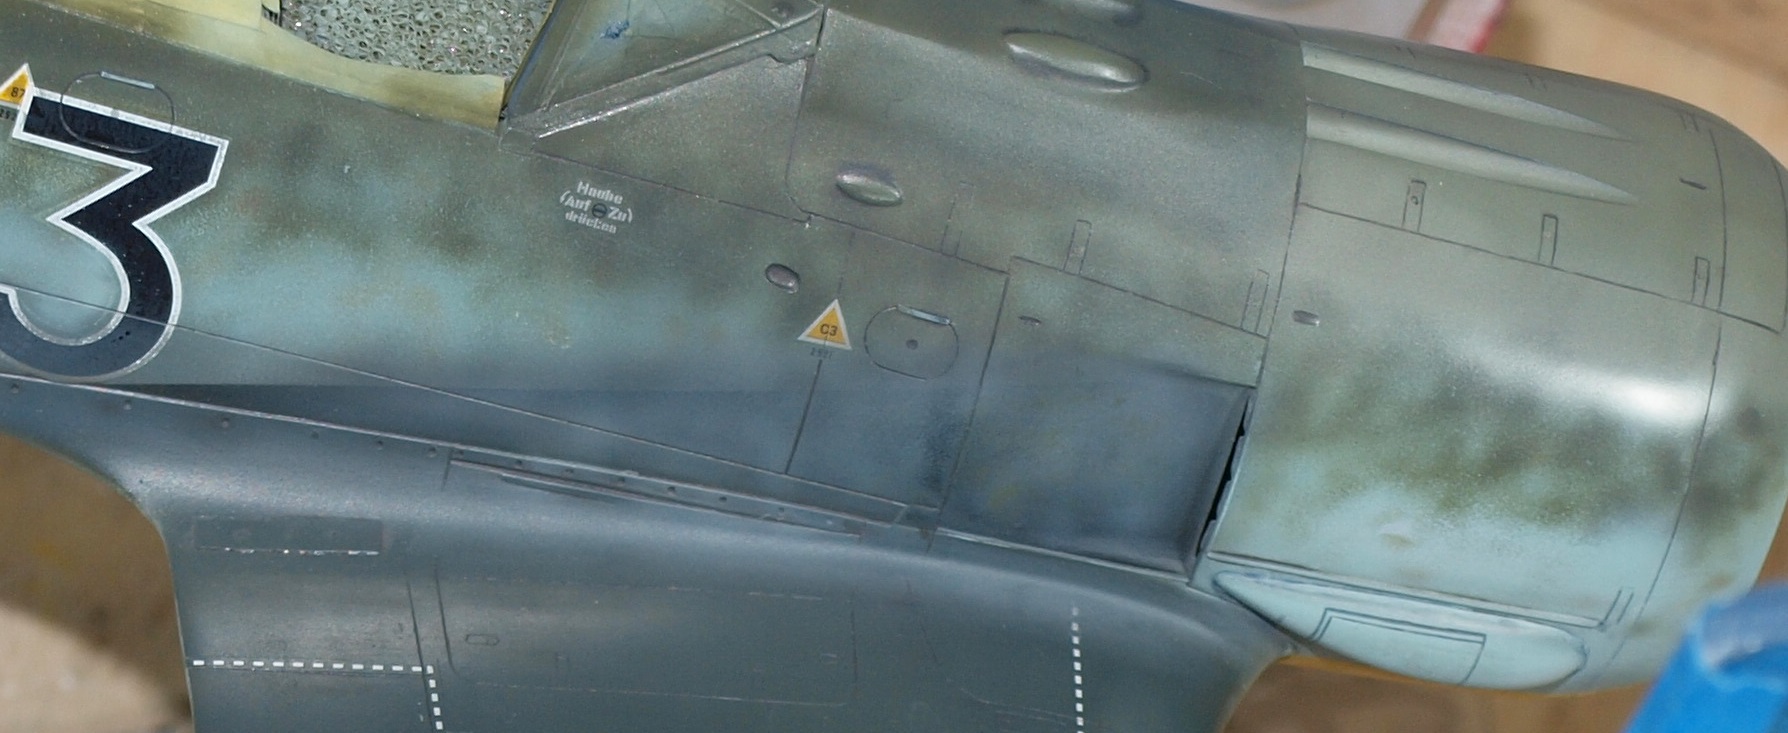
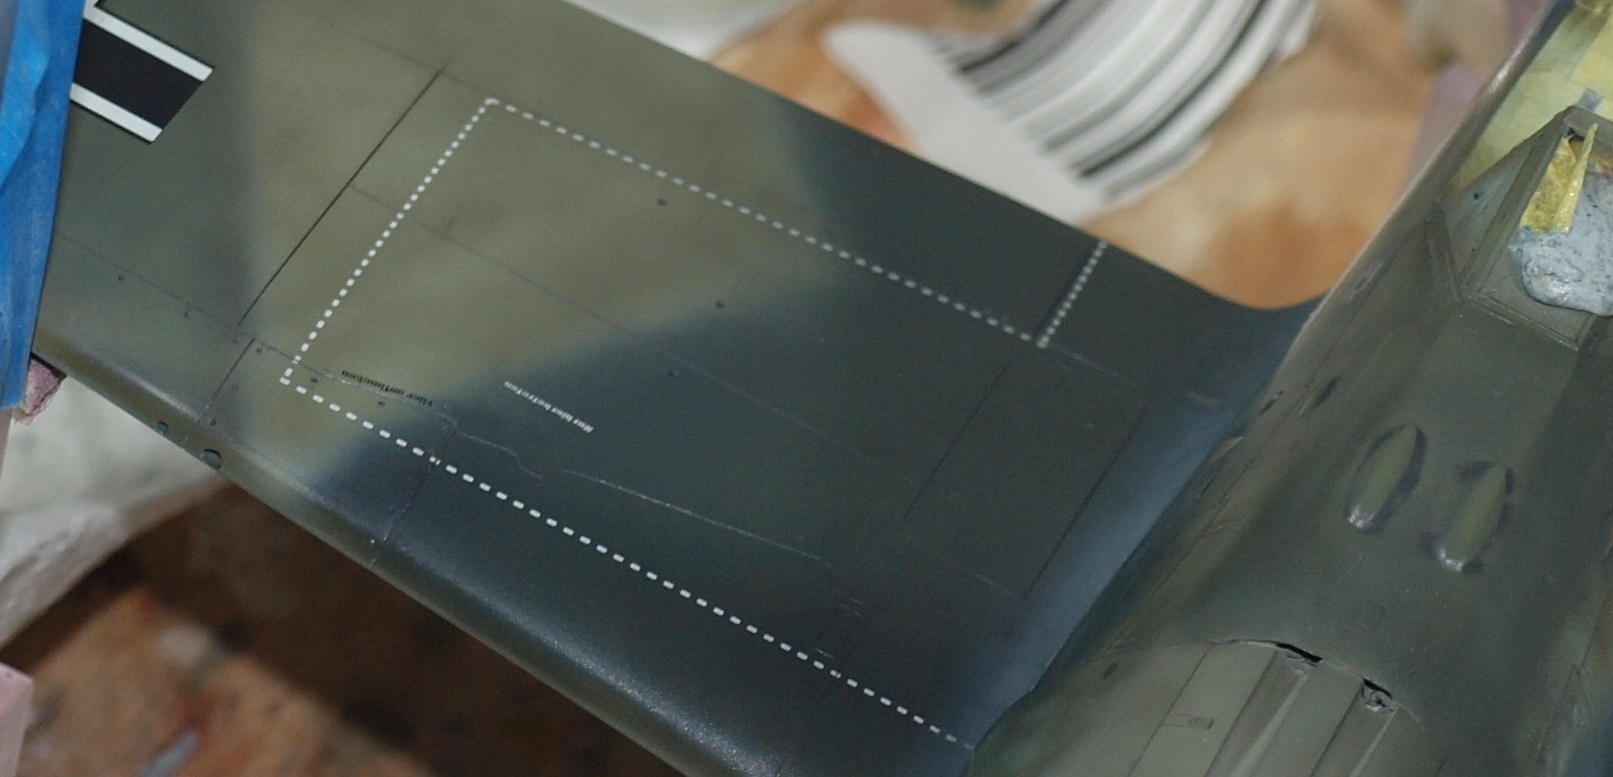
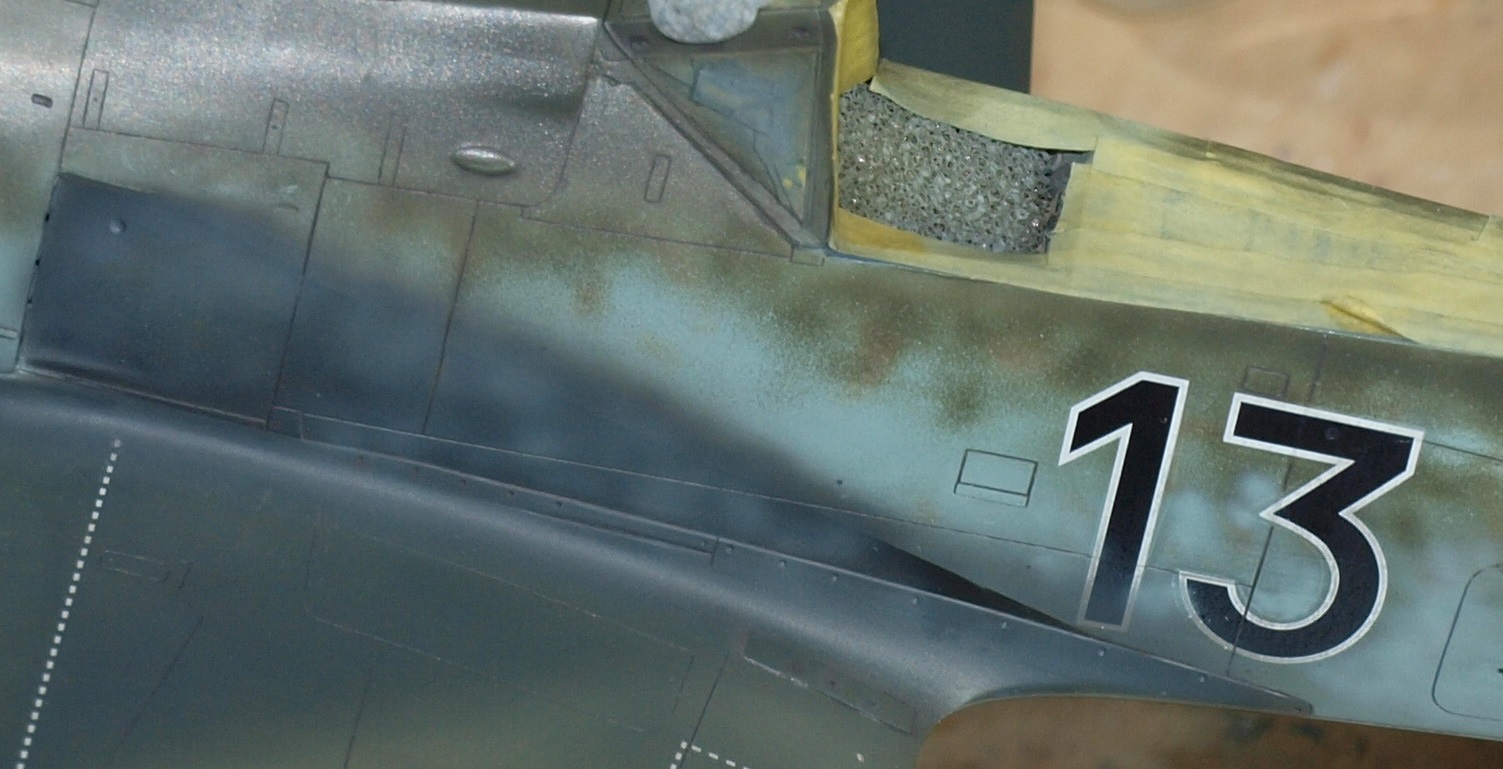
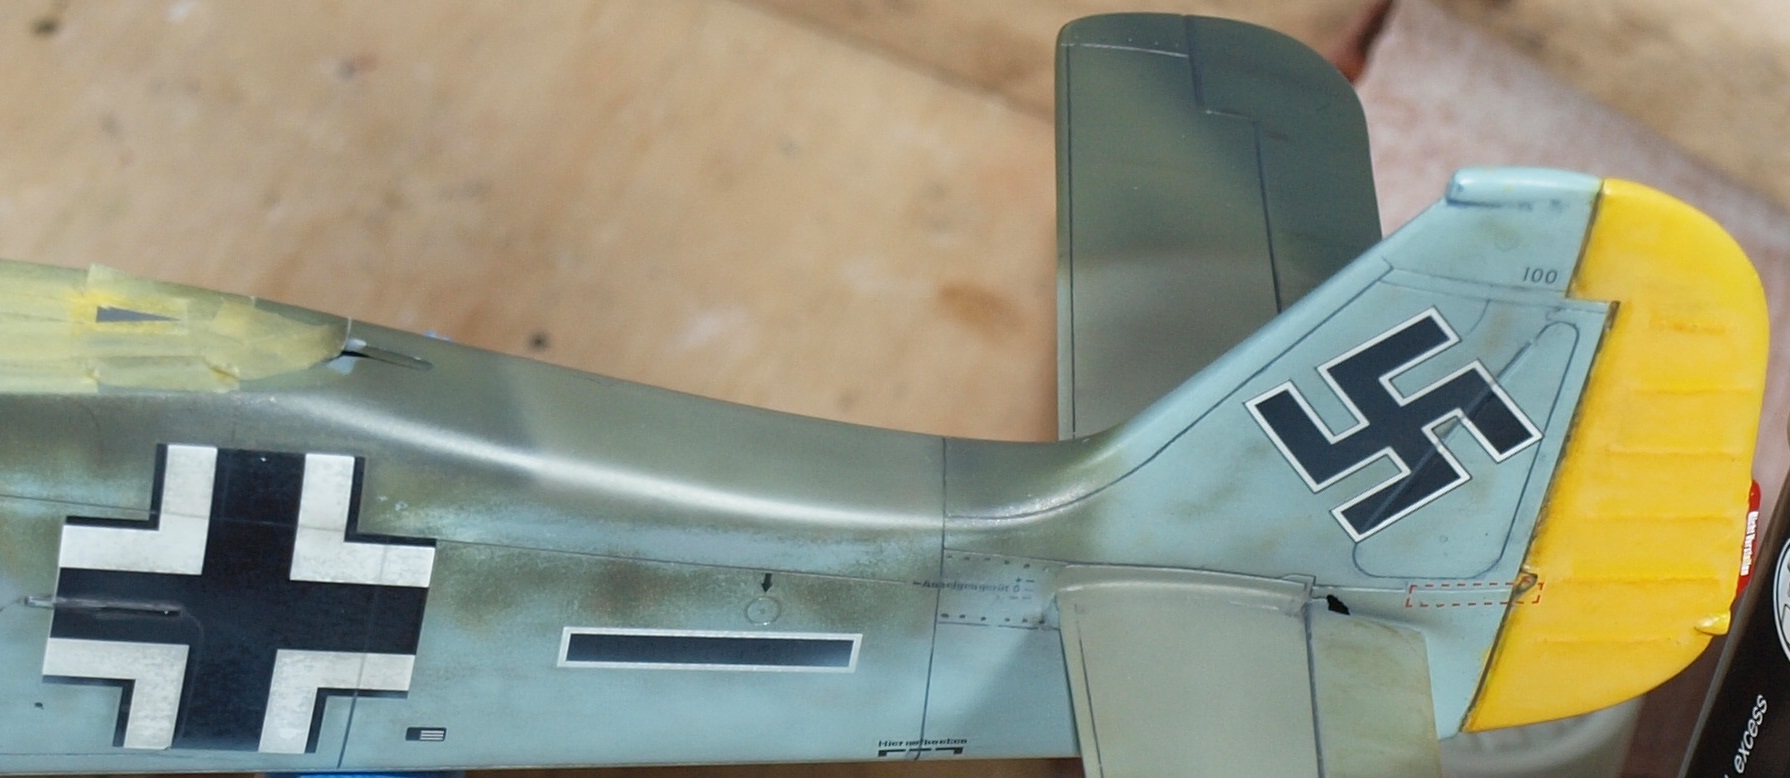
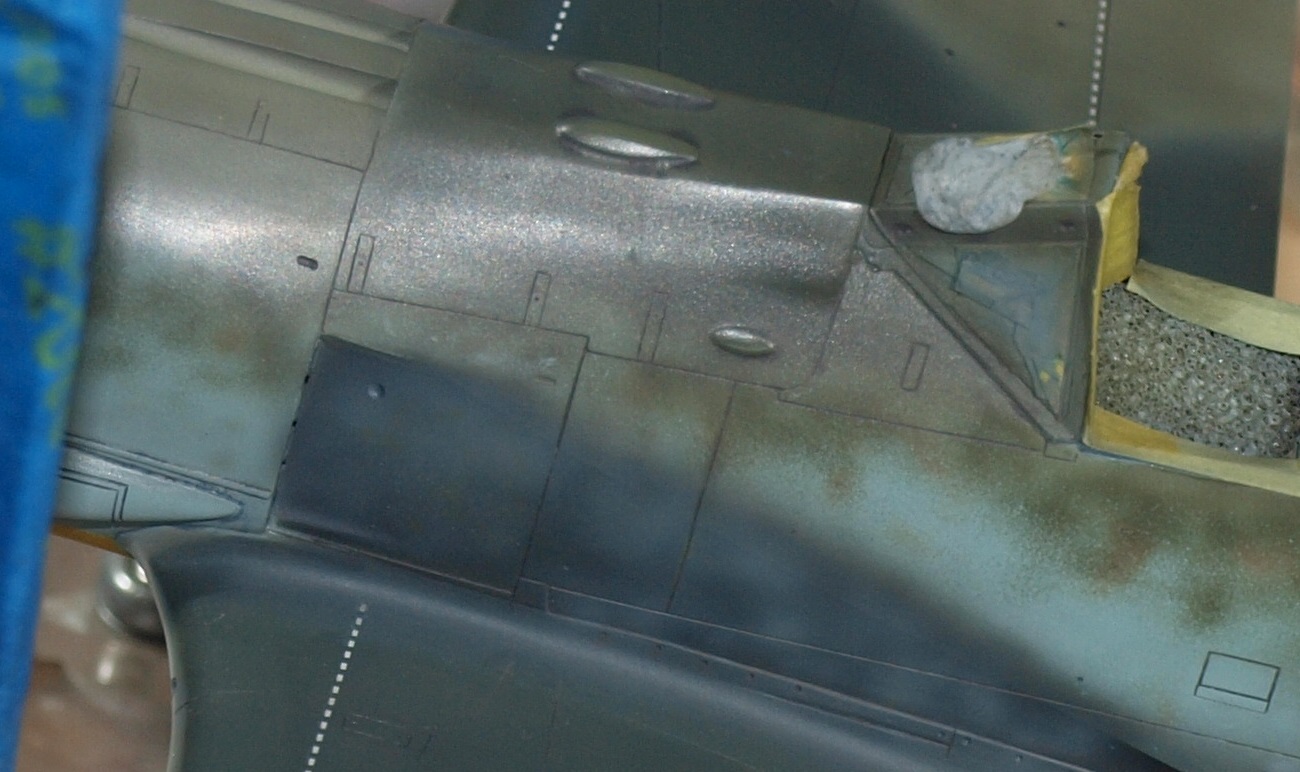
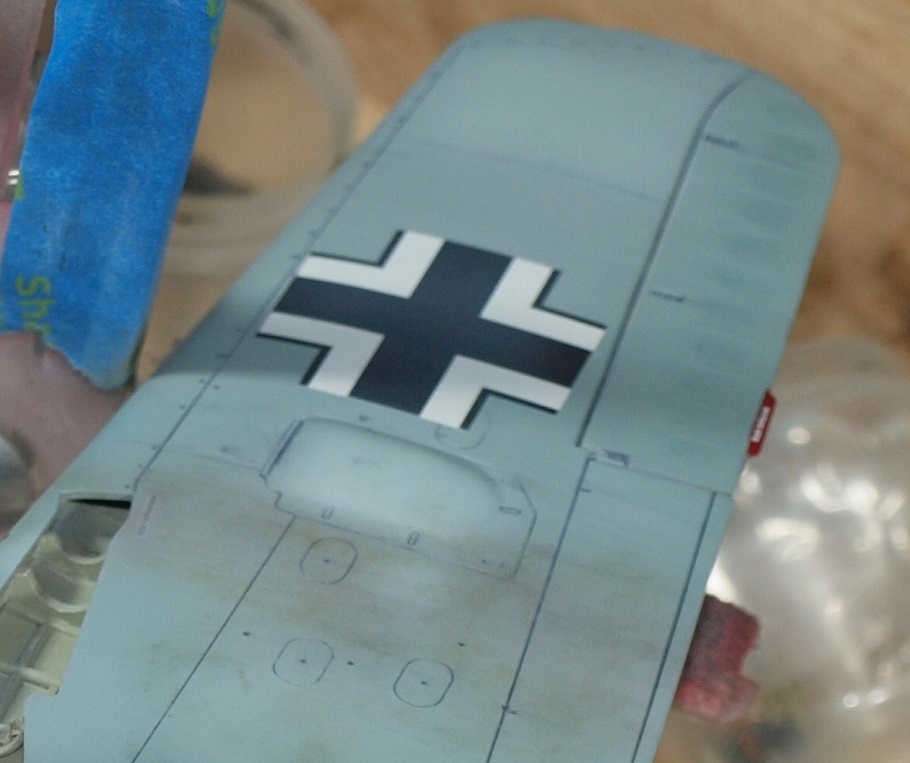
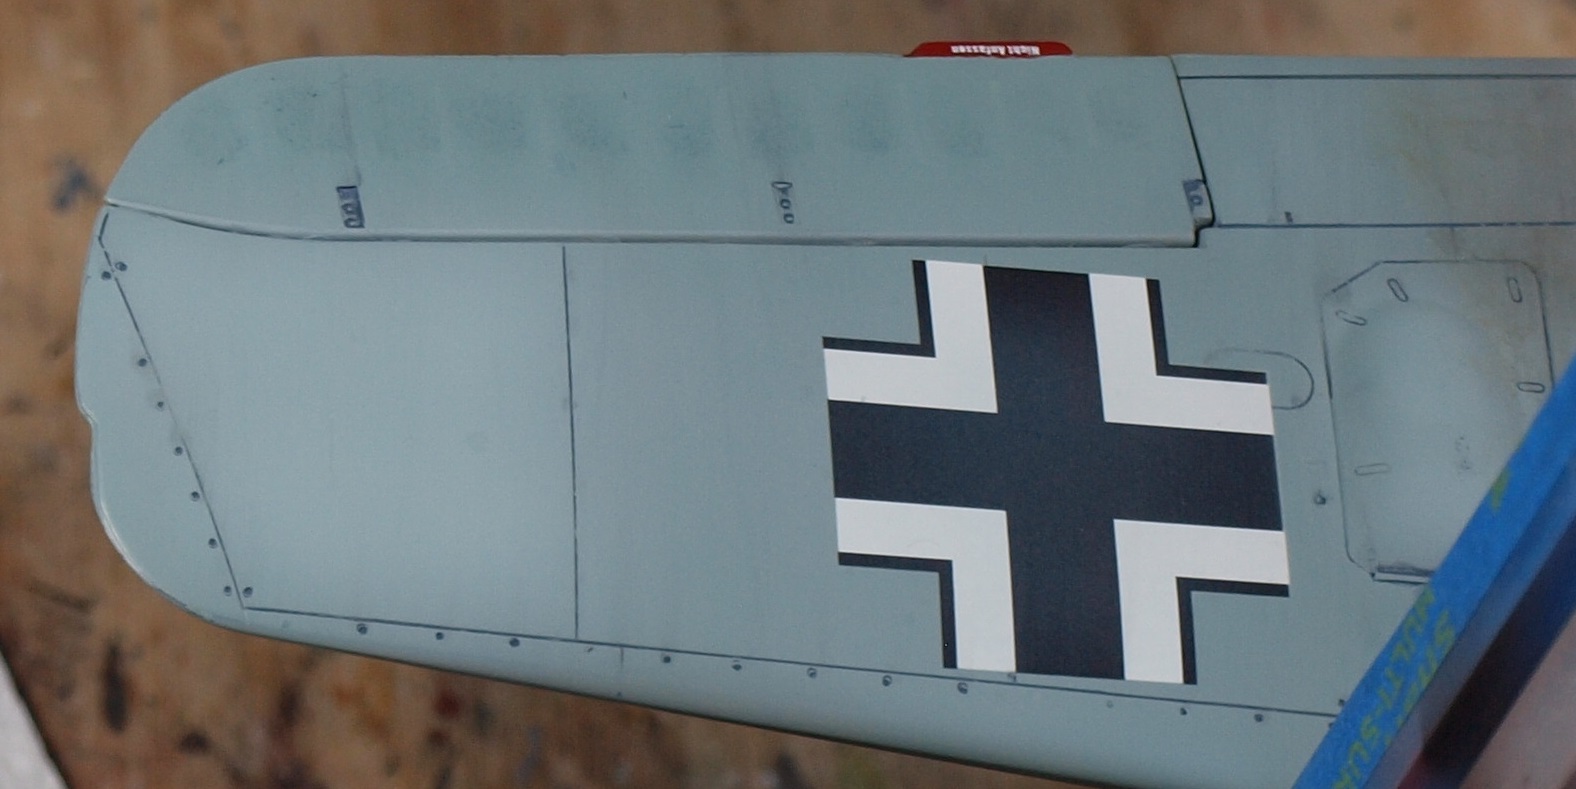
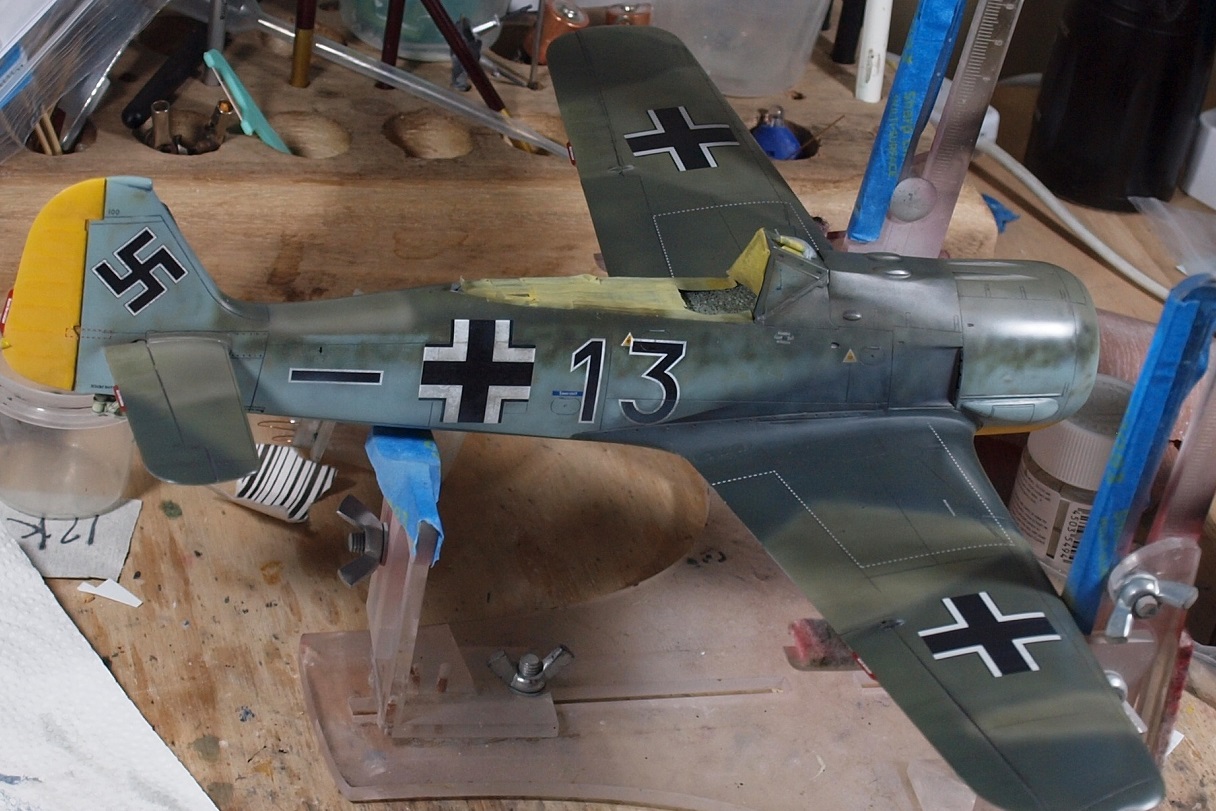
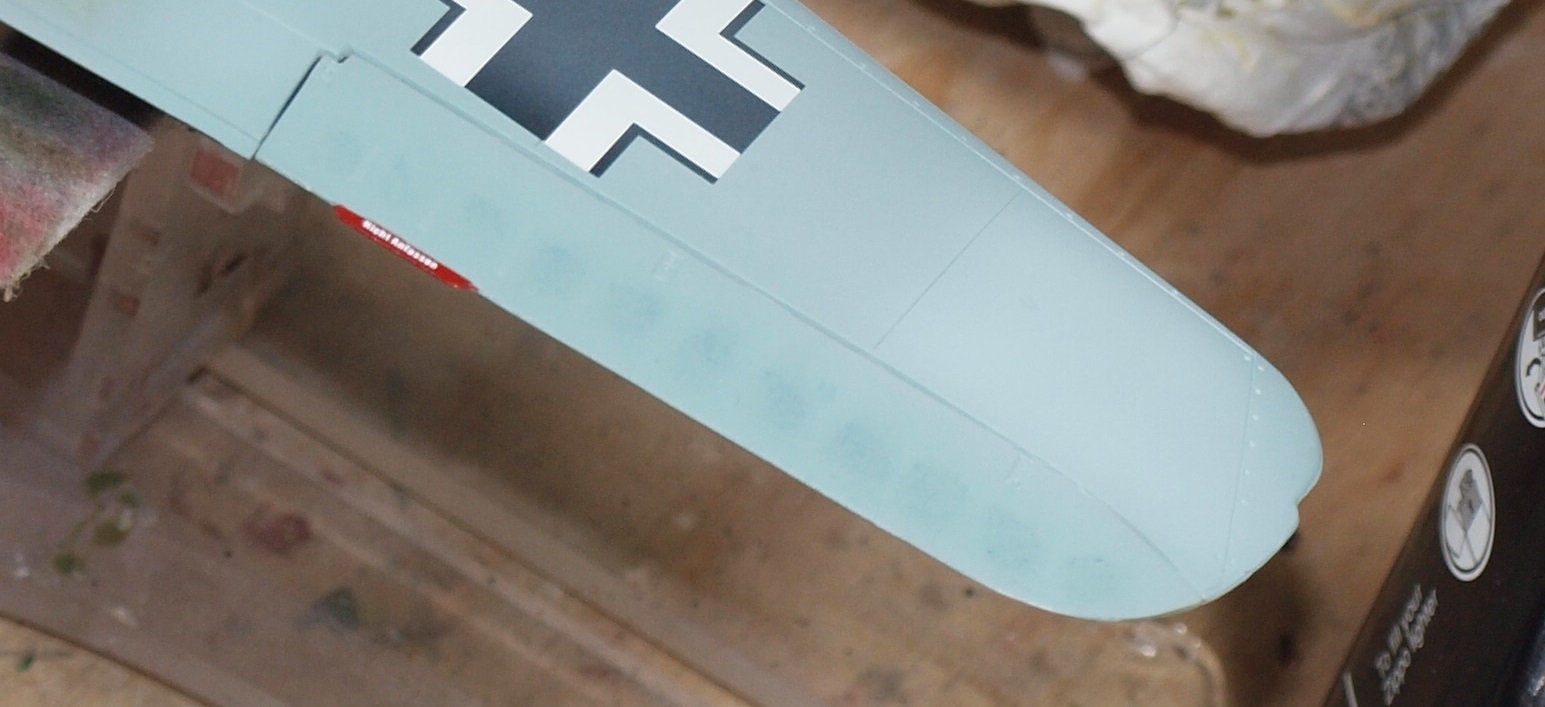
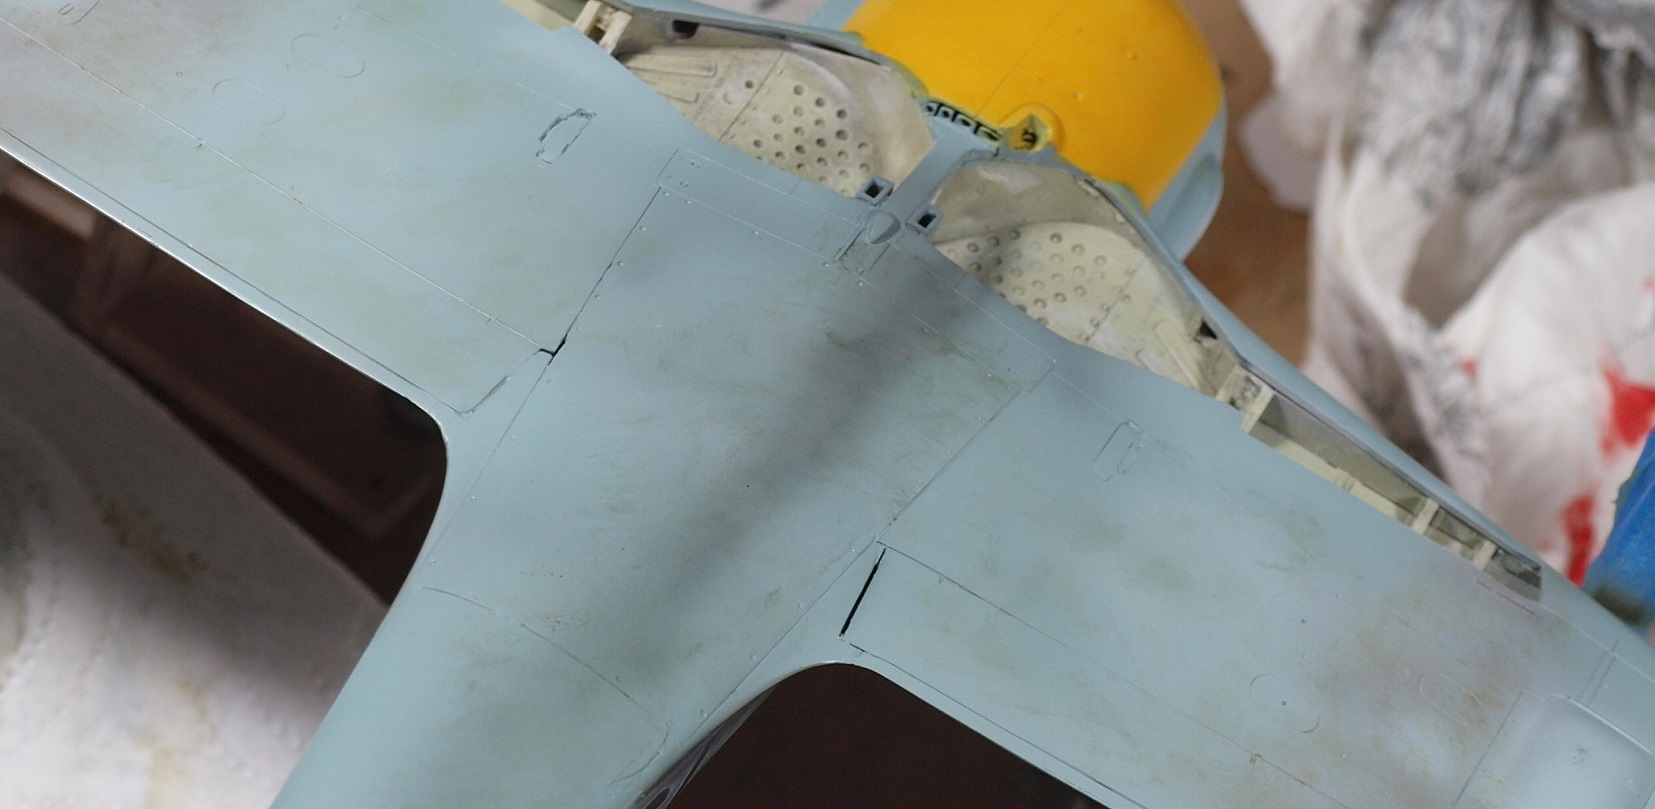
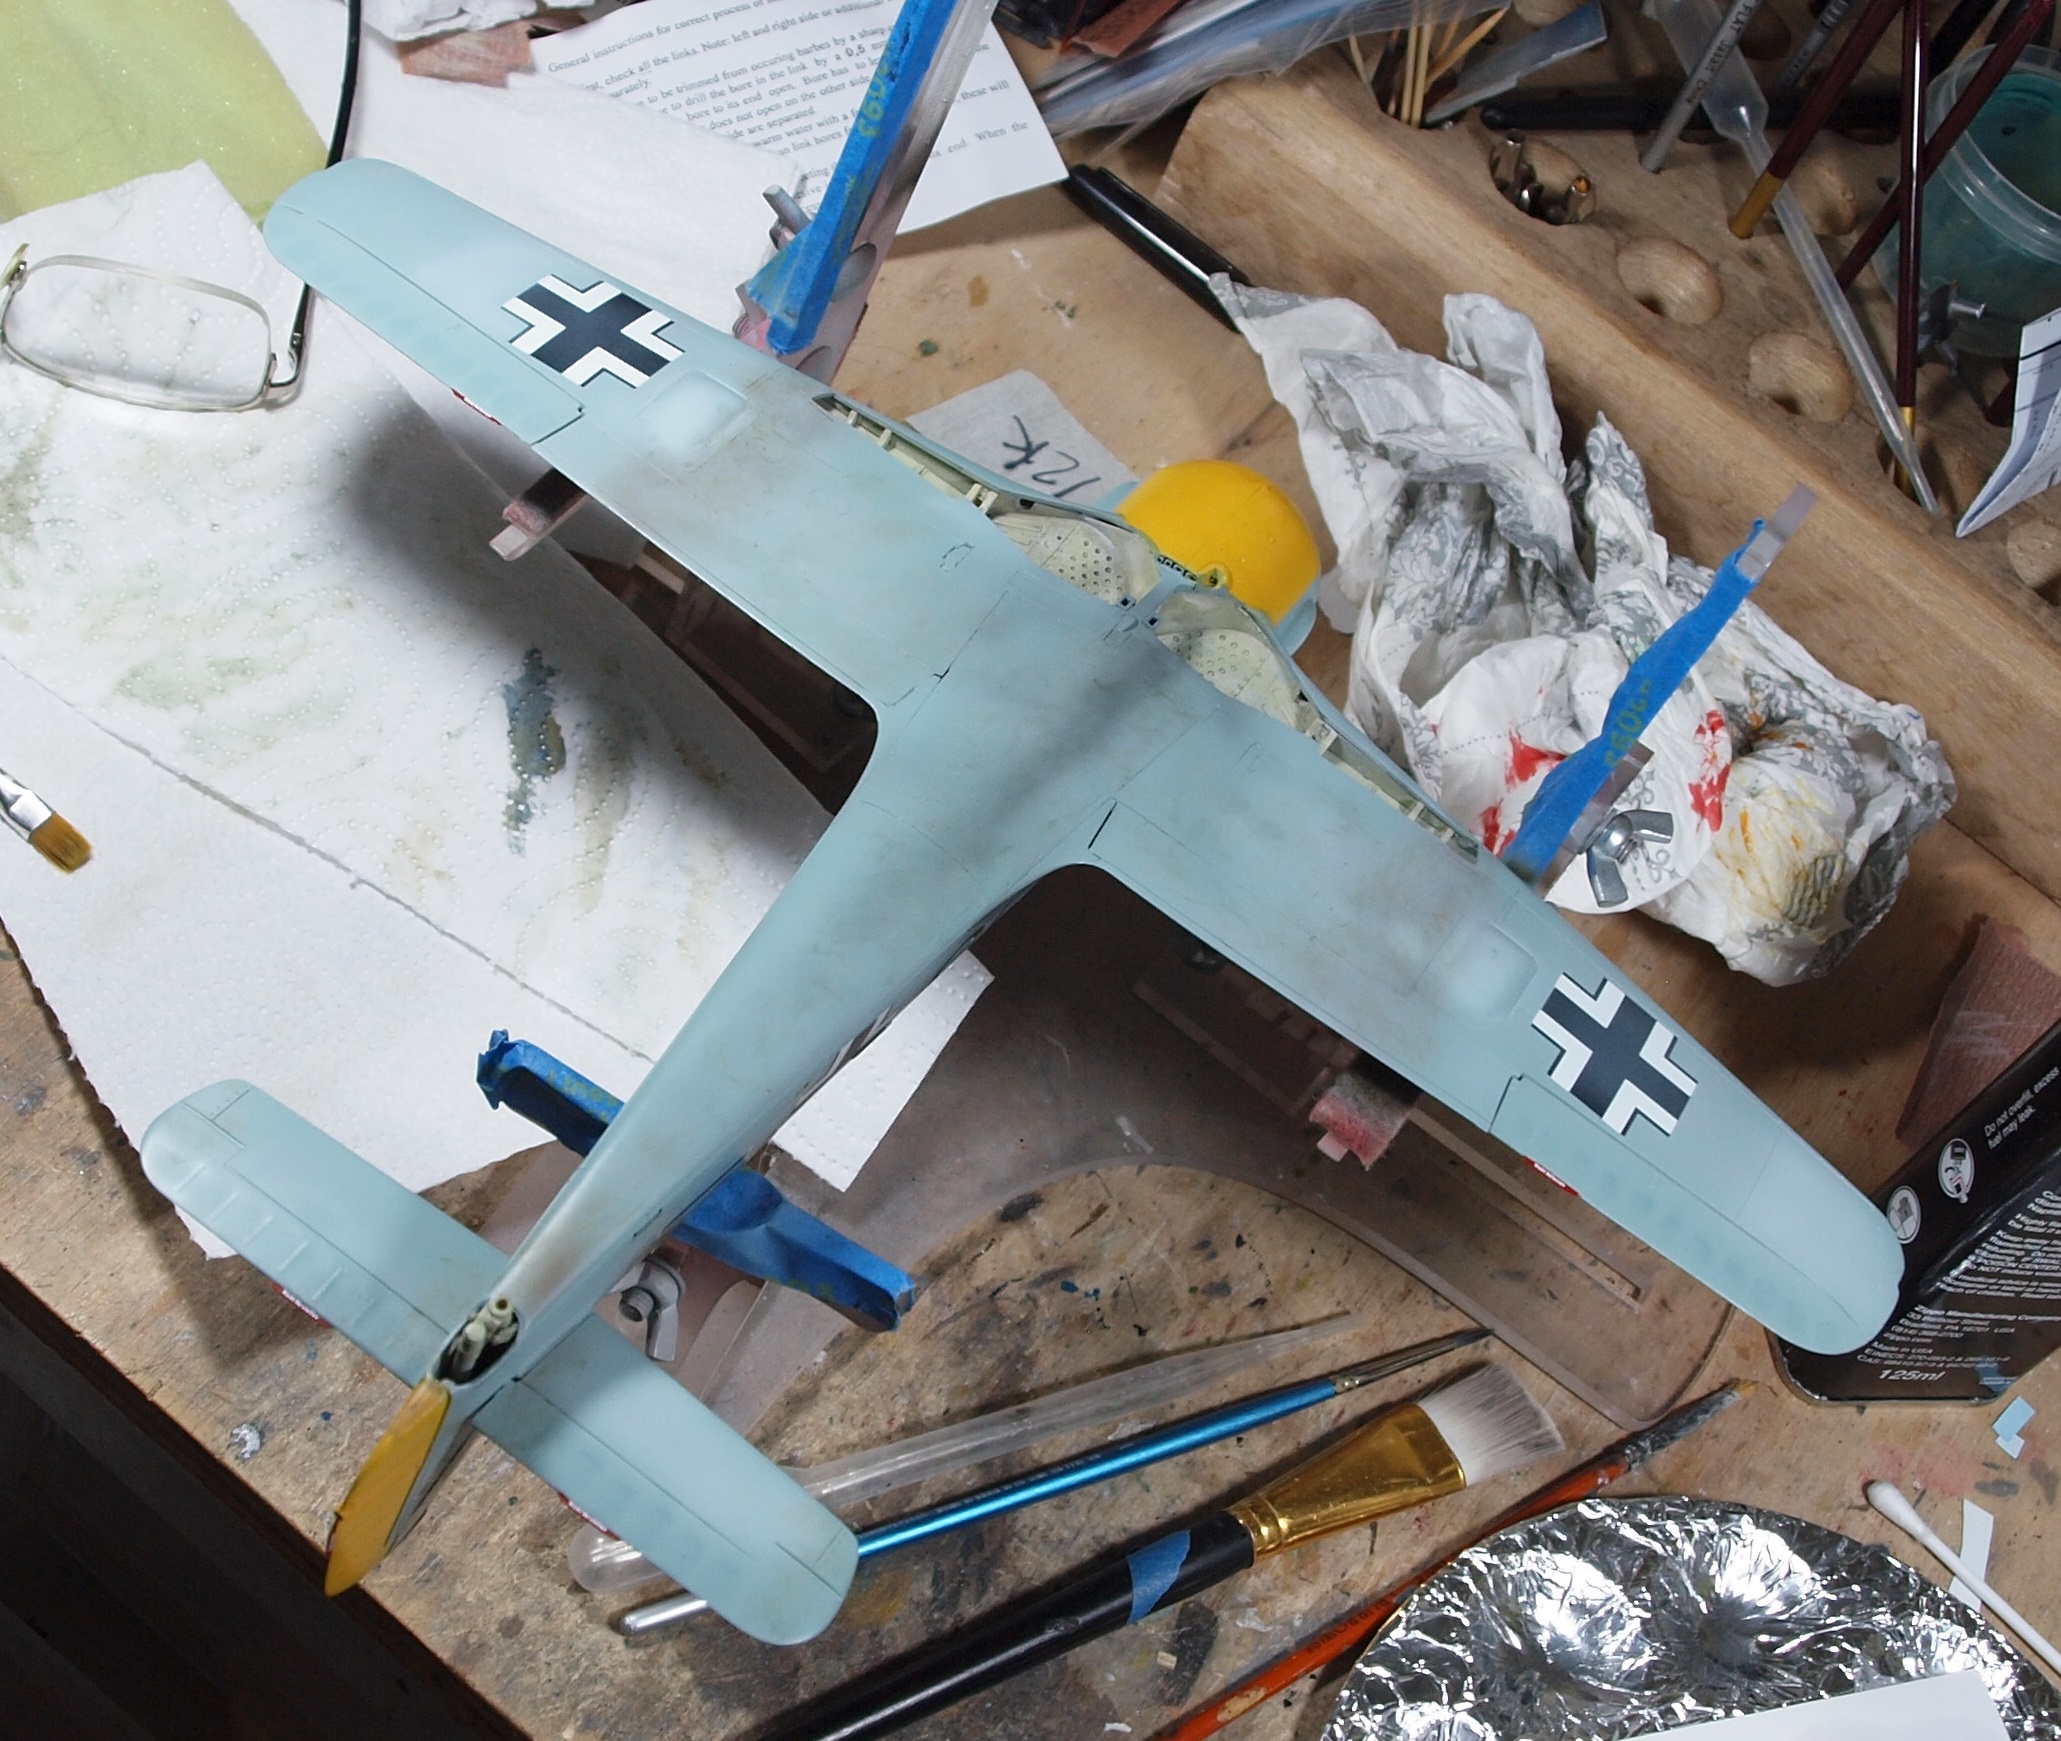
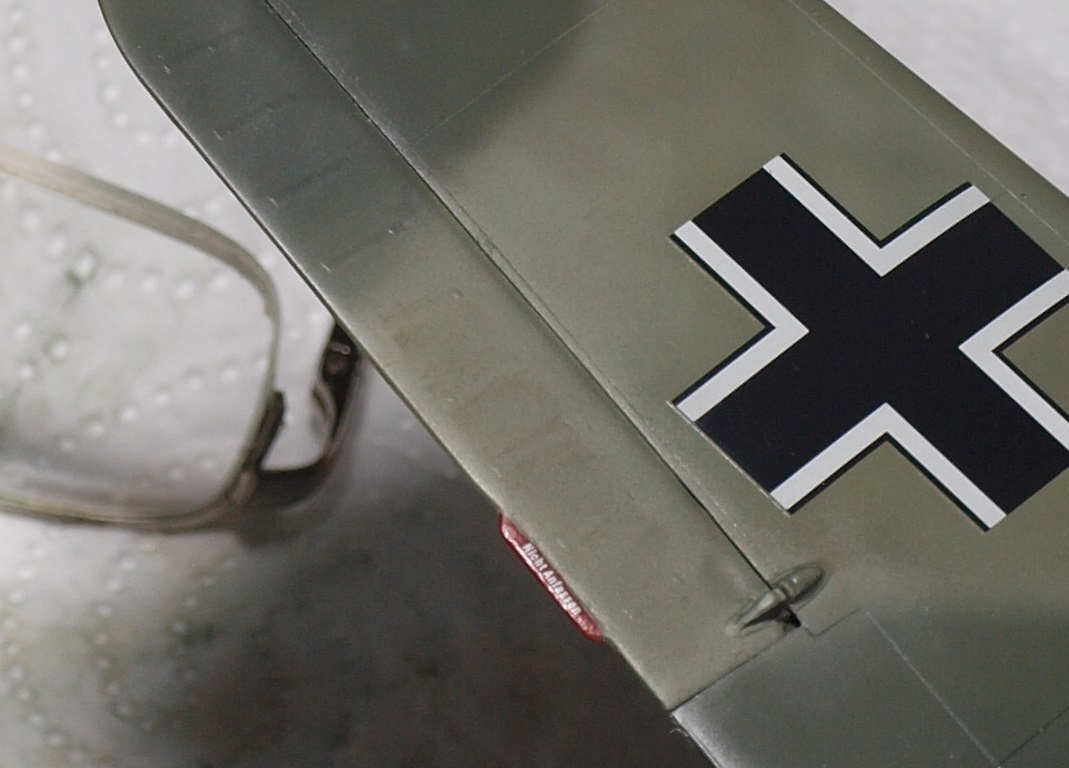
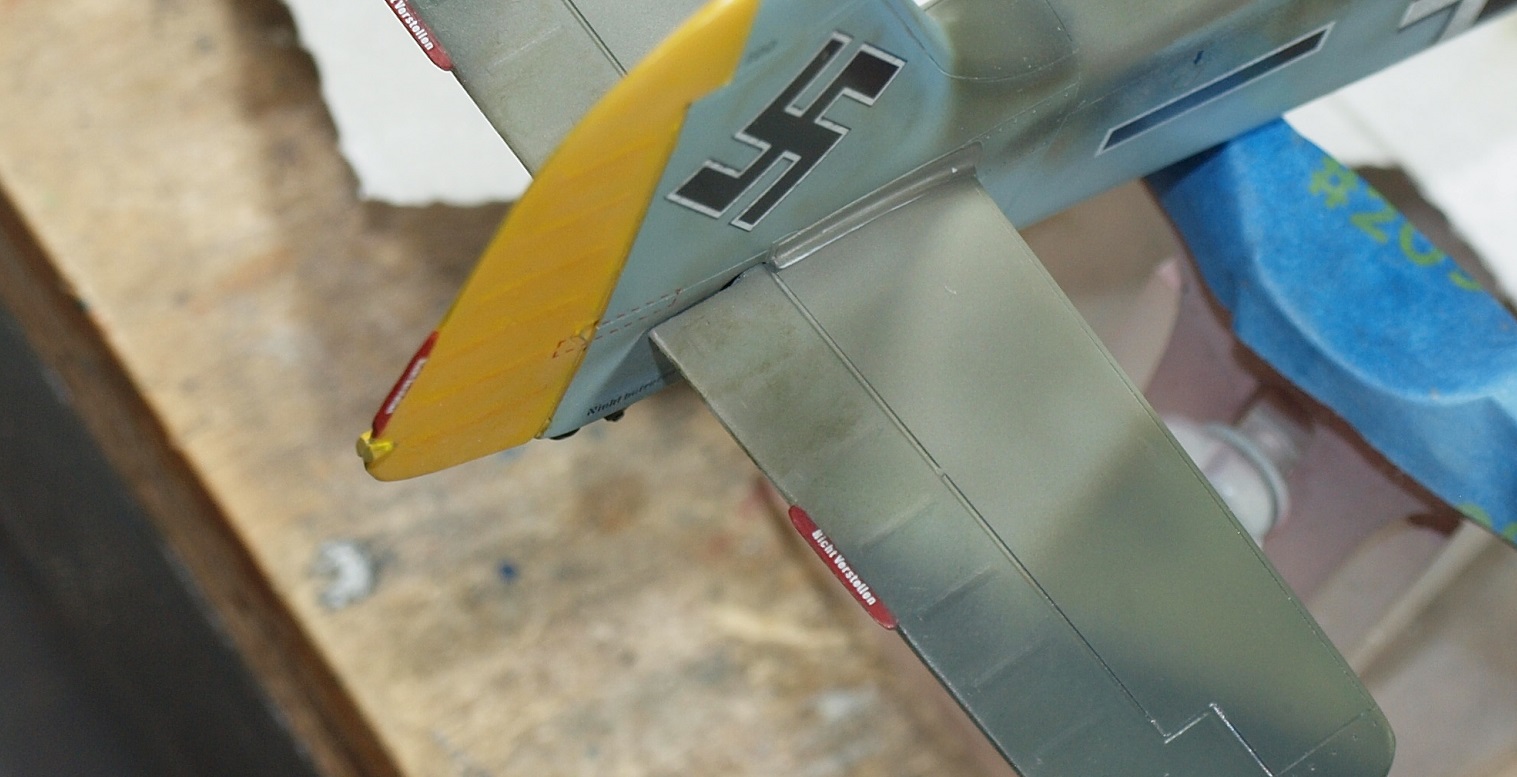
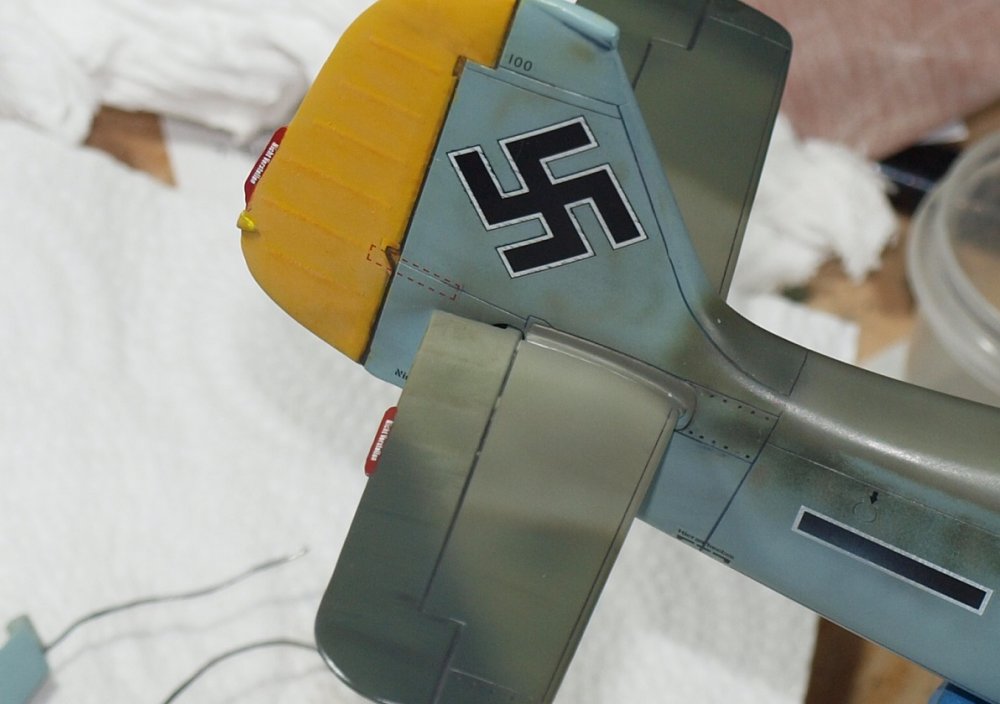
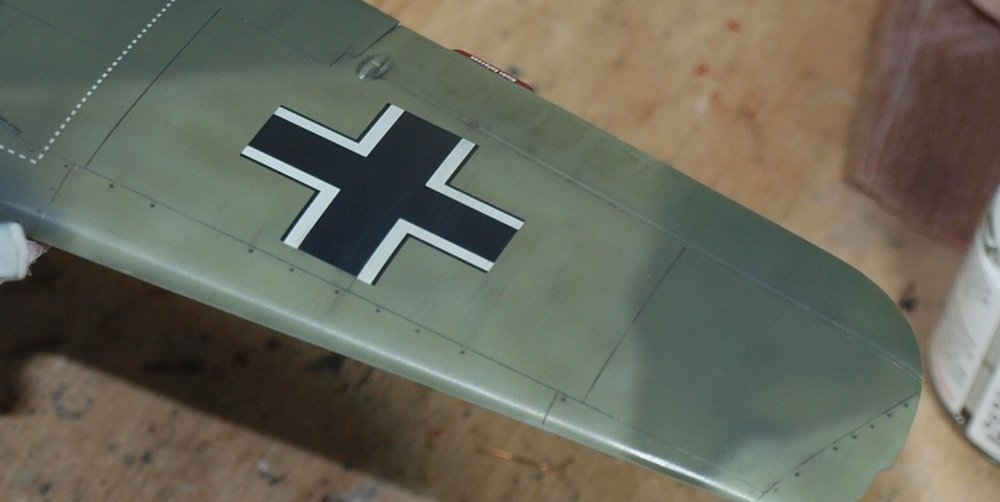
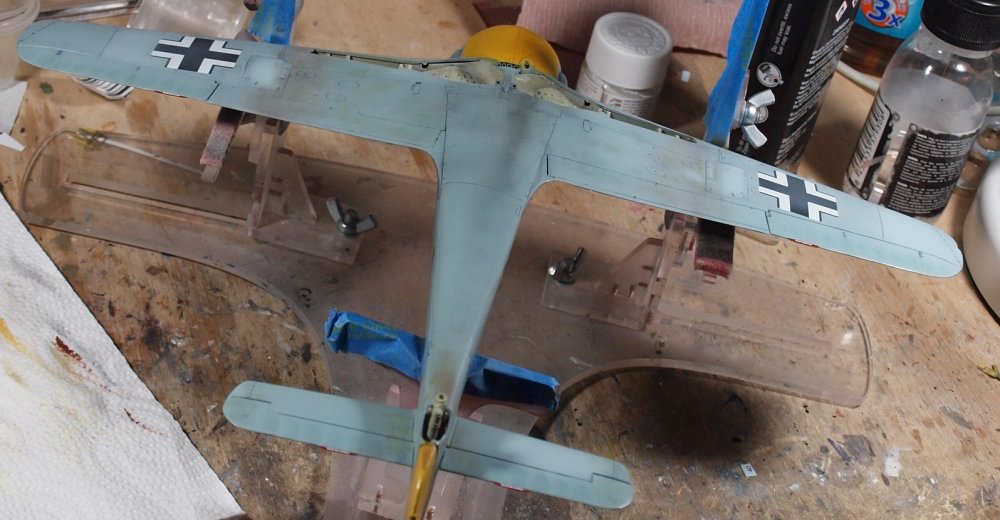
Despite the wet, lazy day, I pin-washed. I have divided the pinwash into three zones. The upper zone was done in a dark gray brown wash to blend with the camoflage colors. The light blue zone was pinwashed with a gray/blue wash. The final zone is the yellow zone which today is just the cowling in the chin area. I did that with a brown-orange color. You will see a series of macro photos followed by three distance photos. If you have any opinions on any of the three zones, please feel free to help me correct them.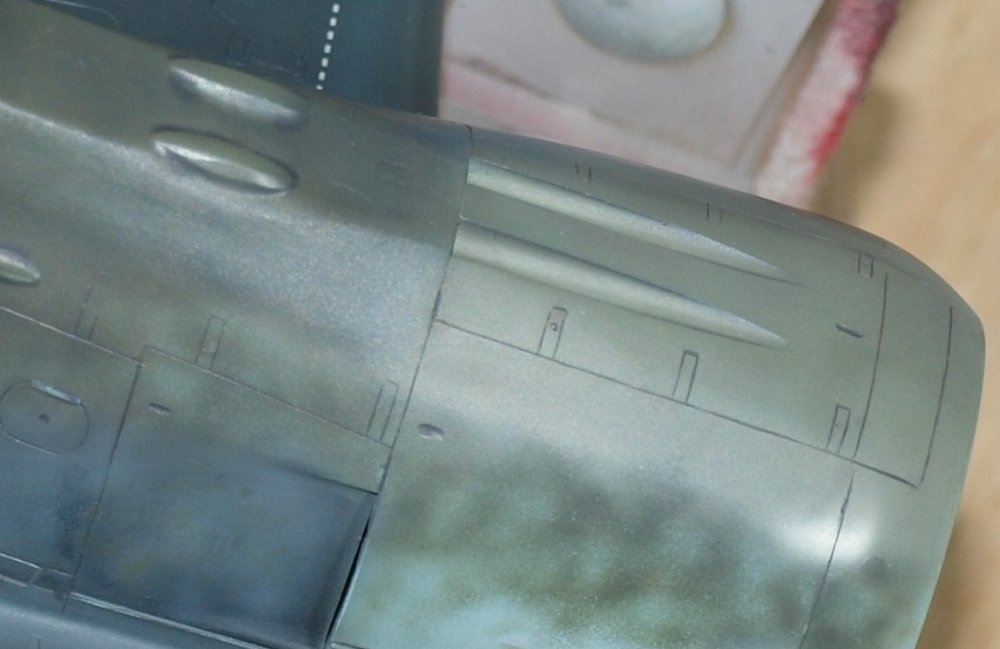


-
Looking sweet, John!
-
I feel the need... for Shake and Bake... Tamiya StuG
GazzaS replied to GazzaS's topic in LSM 1/35 and Larger Work In Progress
Thank you, Gents! -
I feel the need... for Shake and Bake... Tamiya StuG
GazzaS replied to GazzaS's topic in LSM 1/35 and Larger Work In Progress
Those all look great Rob! Thanks for the recommendation. -
Love the look of this one! The painting is excellent!
-
Phantom F-4C from 1:32 Tamiya kit
GazzaS replied to alberto49's topic in LSM 1/35 and Larger Work In Progress
A very nice selection of models! Well done! -
Israeli Mirage III C with Atar9C
GazzaS replied to Kaireckstadt's topic in LSM 1/35 and Larger Work In Progress
Kai, All of that PE work looks great and will add to your build. -
PCM Focke Wulf FW 190 A-1/A-2/A-3
GazzaS replied to GazzaS's topic in LSM 1/35 and Larger Work In Progress
Thank you, my friends! -
PCM Focke Wulf FW 190 A-1/A-2/A-3
GazzaS replied to GazzaS's topic in LSM 1/35 and Larger Work In Progress
Thank you, Peter! -
PCM Focke Wulf FW 190 A-1/A-2/A-3
GazzaS replied to GazzaS's topic in LSM 1/35 and Larger Work In Progress
Thank you, my friend! -
PCM Focke Wulf FW 190 A-1/A-2/A-3
GazzaS replied to GazzaS's topic in LSM 1/35 and Larger Work In Progress
The second go round with oils. I concentrated on the cloth surfaces, and the dirty areas underneath. I added a bit of brown to the exhaust smudge... but it's pretty hard to see.