GazzaS
-
Posts
6,396 -
Joined
-
Last visited
Content Type
Profiles
Forums
Events
Gallery
Everything posted by GazzaS
-
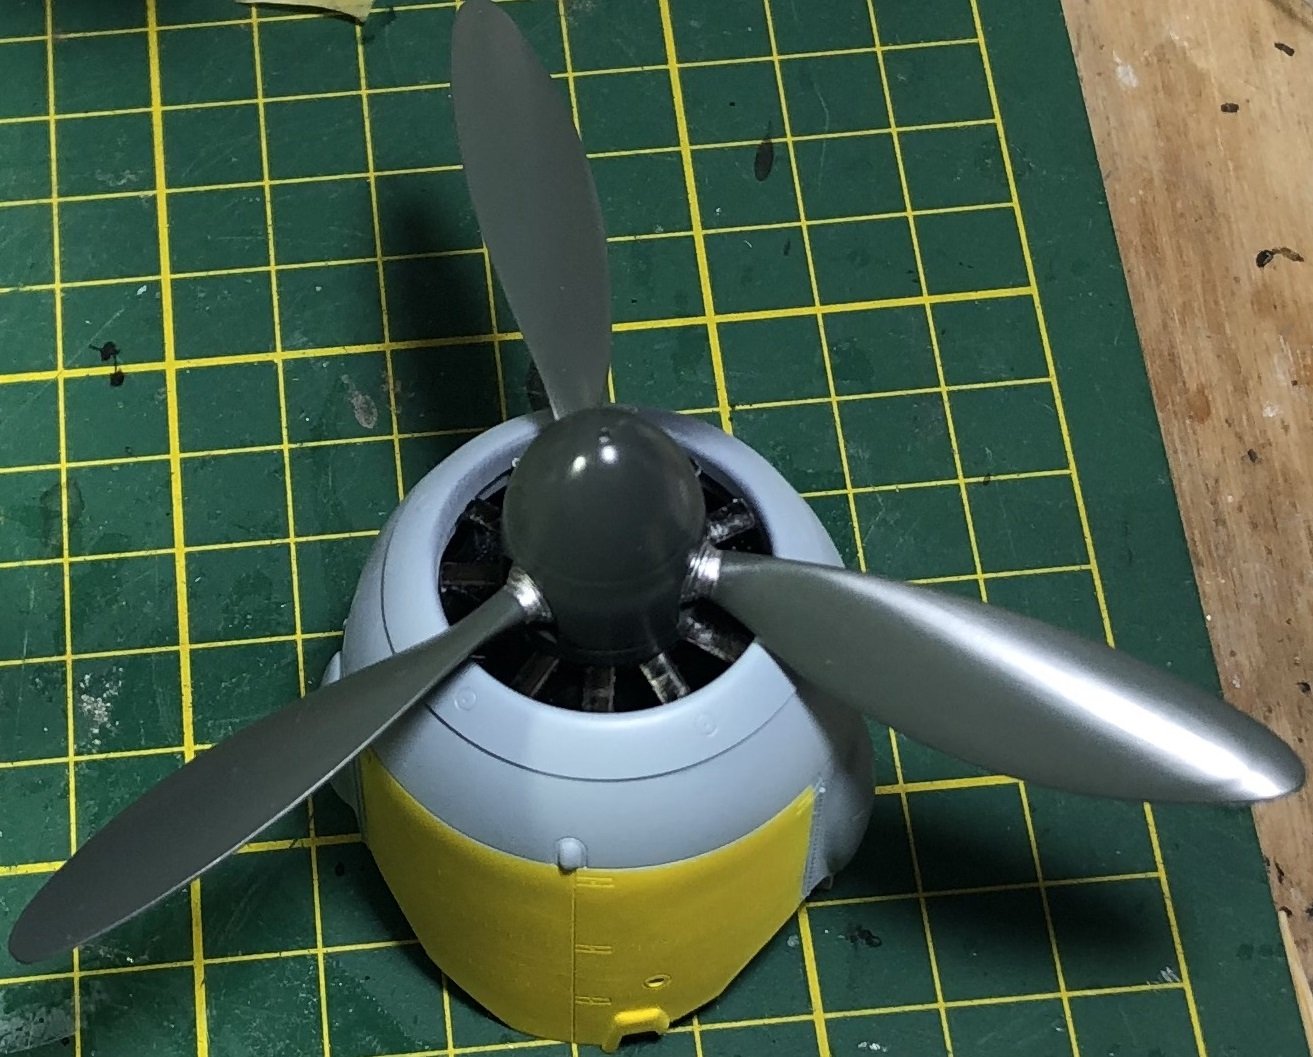
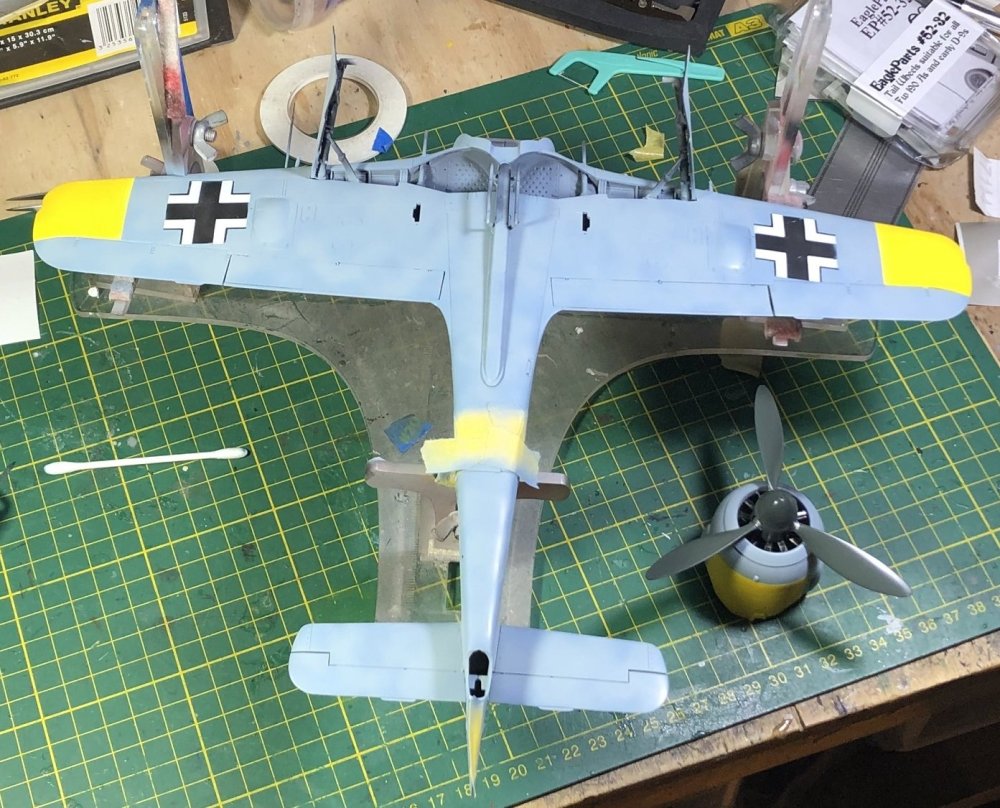
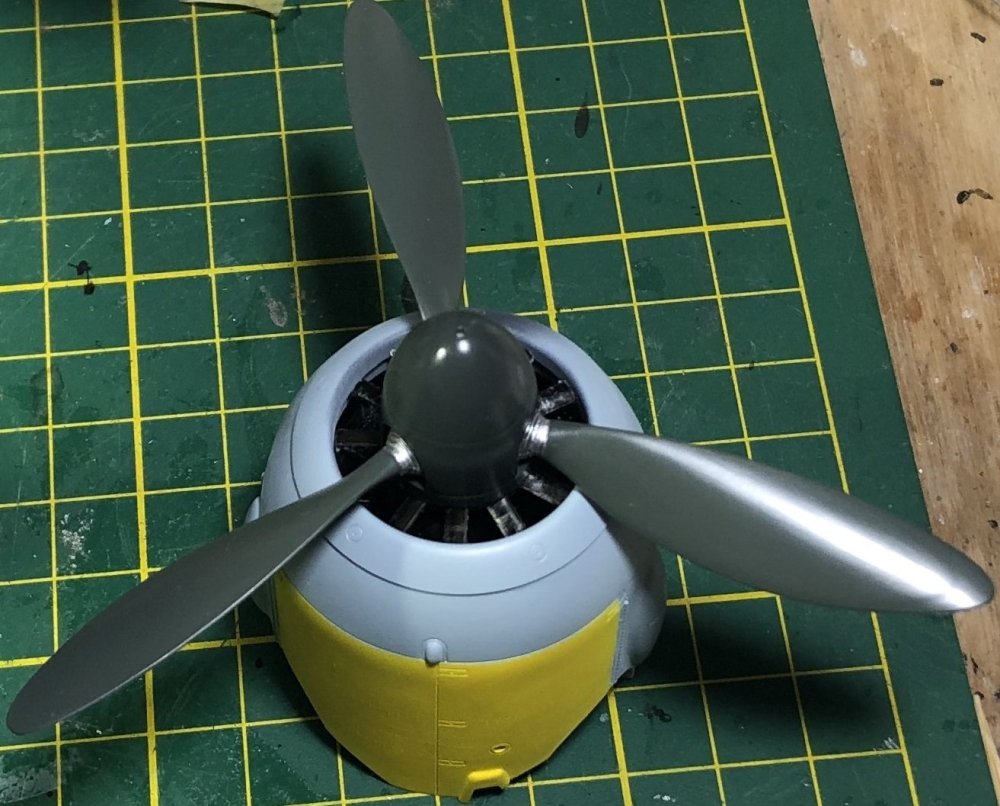
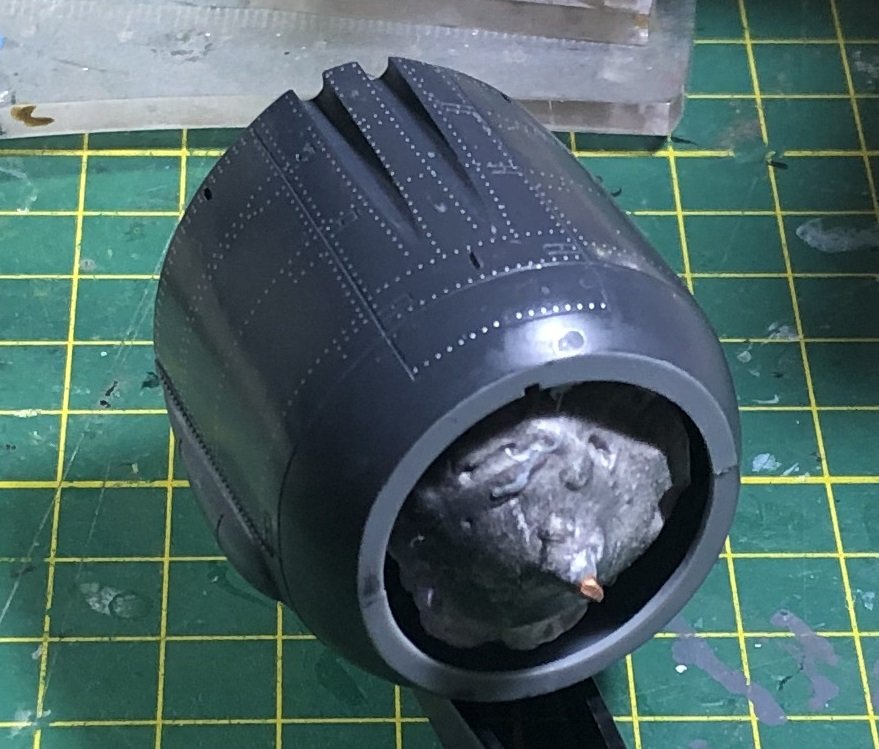
Thank you, Peter! I had a four-day weekend, and wanted to get some paint on. I didn't have enough time to get as much painting done as I wanted. Between laziness, family commitments, and and doing things to get the model ready for paint, I only managed to get the RLM 76 on. I added some blue to keep it from looking like a late-war build. I also used another shade to give it some body. The masks came out OK, but will need a little touch up. I had painted the spinner RLM70 and the blades RLM71 Friday. I painted the scratched up fan blade a long time ago. But back to work tomorrow. Not sure I'll get much done in the next four days. Cheers!
-

"Alert 1 to Eagle 1, splash the Zeros!"- Tamiya F-14
GazzaS replied to BlrwestSiR's topic in Let’s Get Wet Group Build.
Looks awesome, Carl. -
The rivets are expensive... but not difficult. Since I got a smashing deal for the kit, buying them didn't hurt so much.
-
Tamiya Mosquito FB Mk VI 60326 - 1/32
GazzaS replied to Bomber_County's topic in LSM 1/35 and Larger Work In Progress
Can't have everything, buddy. Which is kinda cool so it gives us a chance to make improvements... hopefully without the need to buy AM. I hate buying AM. -
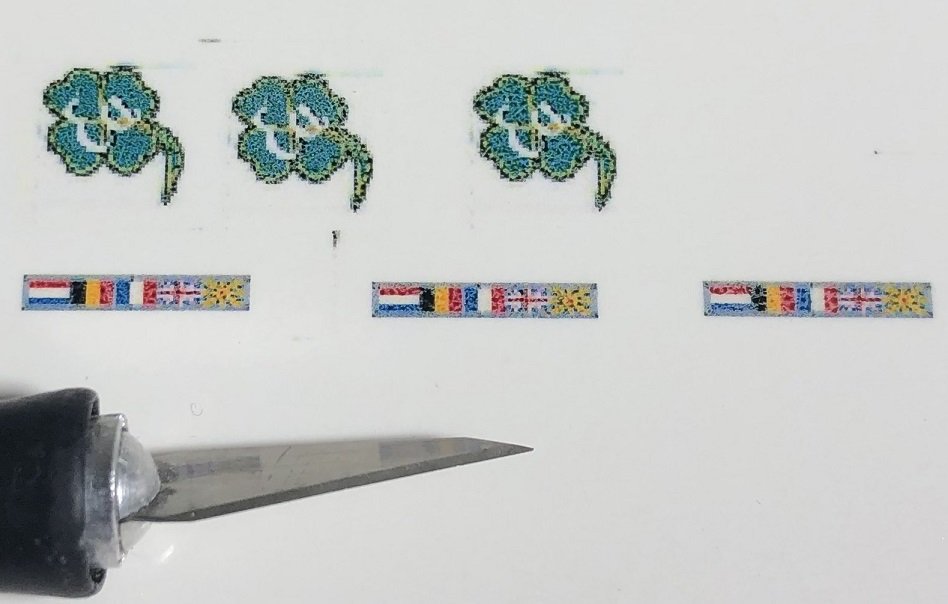
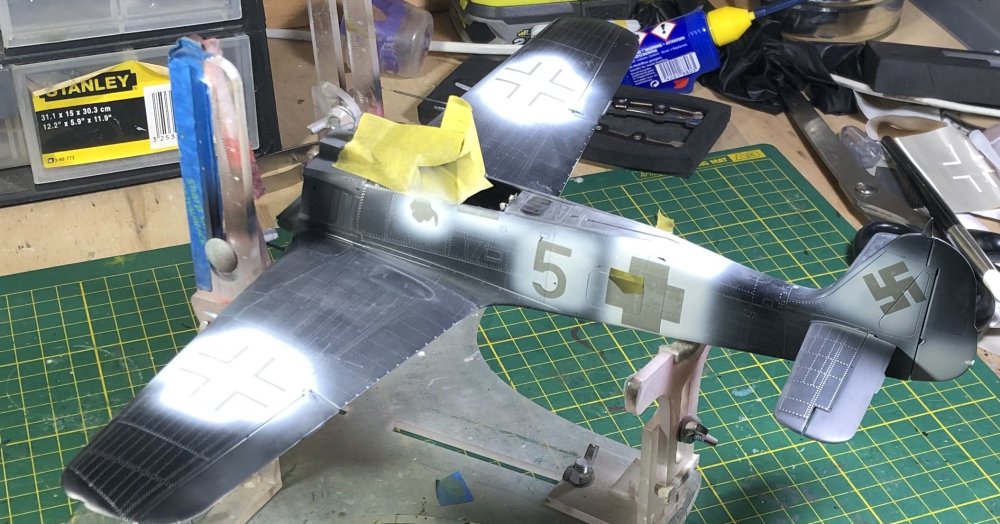
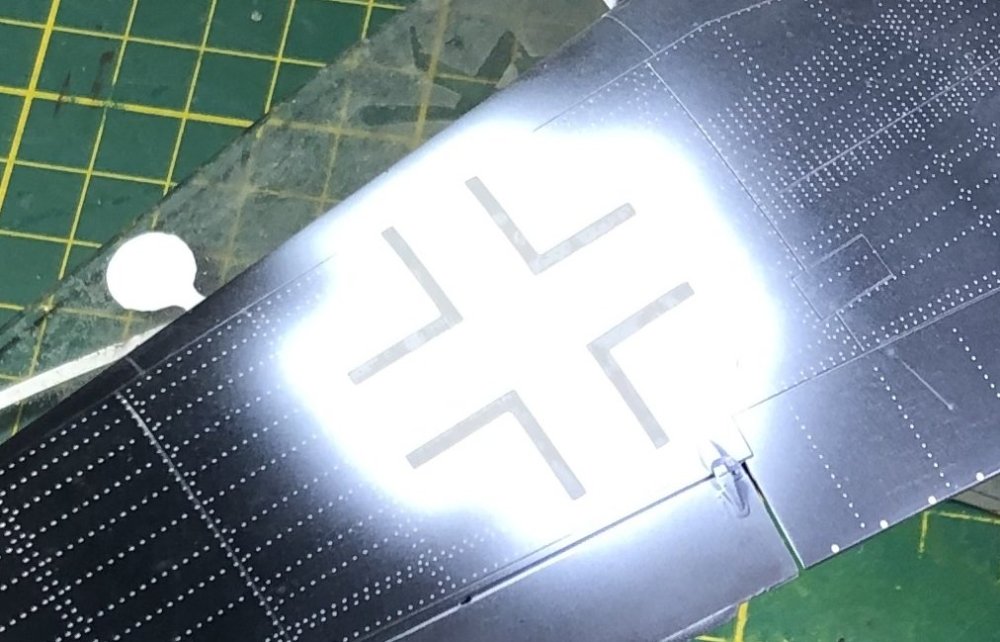
I wanted to get paint down today. But after a morning of creating custom decals and custom masks, the day is starting to cool... It's winter here in Australia. Last night, I settled on my pilot and scheme. Karl Willius of 1/JG 26 on service on the Ostfront. Decals. Seems the ink didn't level perfectly. I make two extras of everything. In normal vision, they don't look as bad. Wish I could just ring up Cartograf and have what I need delivered, next day. And then placing the masks. It's amazing how many tiny mistakes crop up when you are making masks on your computer then placing them on the kit. So, I had to make some changes, and cut more. But here is what she looks like now: Look at how that white paint reflects my bench lights. What shows after painting will be weathered down a bit. Thanks for looking!
-
1/16 scale Tiger VI Ausf E early build
GazzaS replied to CrankyCrafstman's topic in LSM 1/35 and Larger Work In Progress
Looks great, Ron! -
Looks mighty fine, Dave!
-
Tamiya Mosquito FB Mk VI 60326 - 1/32
GazzaS replied to Bomber_County's topic in LSM 1/35 and Larger Work In Progress
Very sharp engines, Phil! -
She's a beauty, John! So fast!
-
What a funky looking plane! Looks like something out of the Luftwaffe's secret projects dug up by some nosey G.I's. VEry nice progress, John. I don't even notice the warp in later photos. If you hadn't shown us, it wouldn't be a fixture in Hubert's mind.
-
Nice job, Rob. Are the SN-2, FuG-220 aerials metal pr plastic? Part of the kit, or AM?
-
Thanks Ron. I did the collar like this: Black primer... stippled in dark brown. Stippled in a gold color... and then dry-brushed off white. The idea of stippling in the colors was to avoid totally covering the colors below.
-
It's only decals really. And not that many of them. Probably a lot less than on a 1/32 scale Phantom. Like I have said before the only bad point is leaving them for 8 hours to dry.
-
Thanks Martin. I don't know the US jacket well enough to say so either way. There's nothing in the box that says it's a US jacket.
-
Thank you, Peter. If it weren't for the extended drying times, it would be a breeze.
-
Oh no... That was like 7 years ago. I ended up building it's own stand with a swivel top and a pivoting carriage enabling me to reach all of the kit's surfaces while standing. I almost finished, but ended up binning it. The surface detail was so sparse and my scribing skills so poor that I couldn't bear to look at it. All of the pics were on photobucket, so you know how that went. It was foiled top to bottom and wingtip to wingtip. I had even alternated the grain of the foil so that they alternated in different light wherever they were supposed to.
-
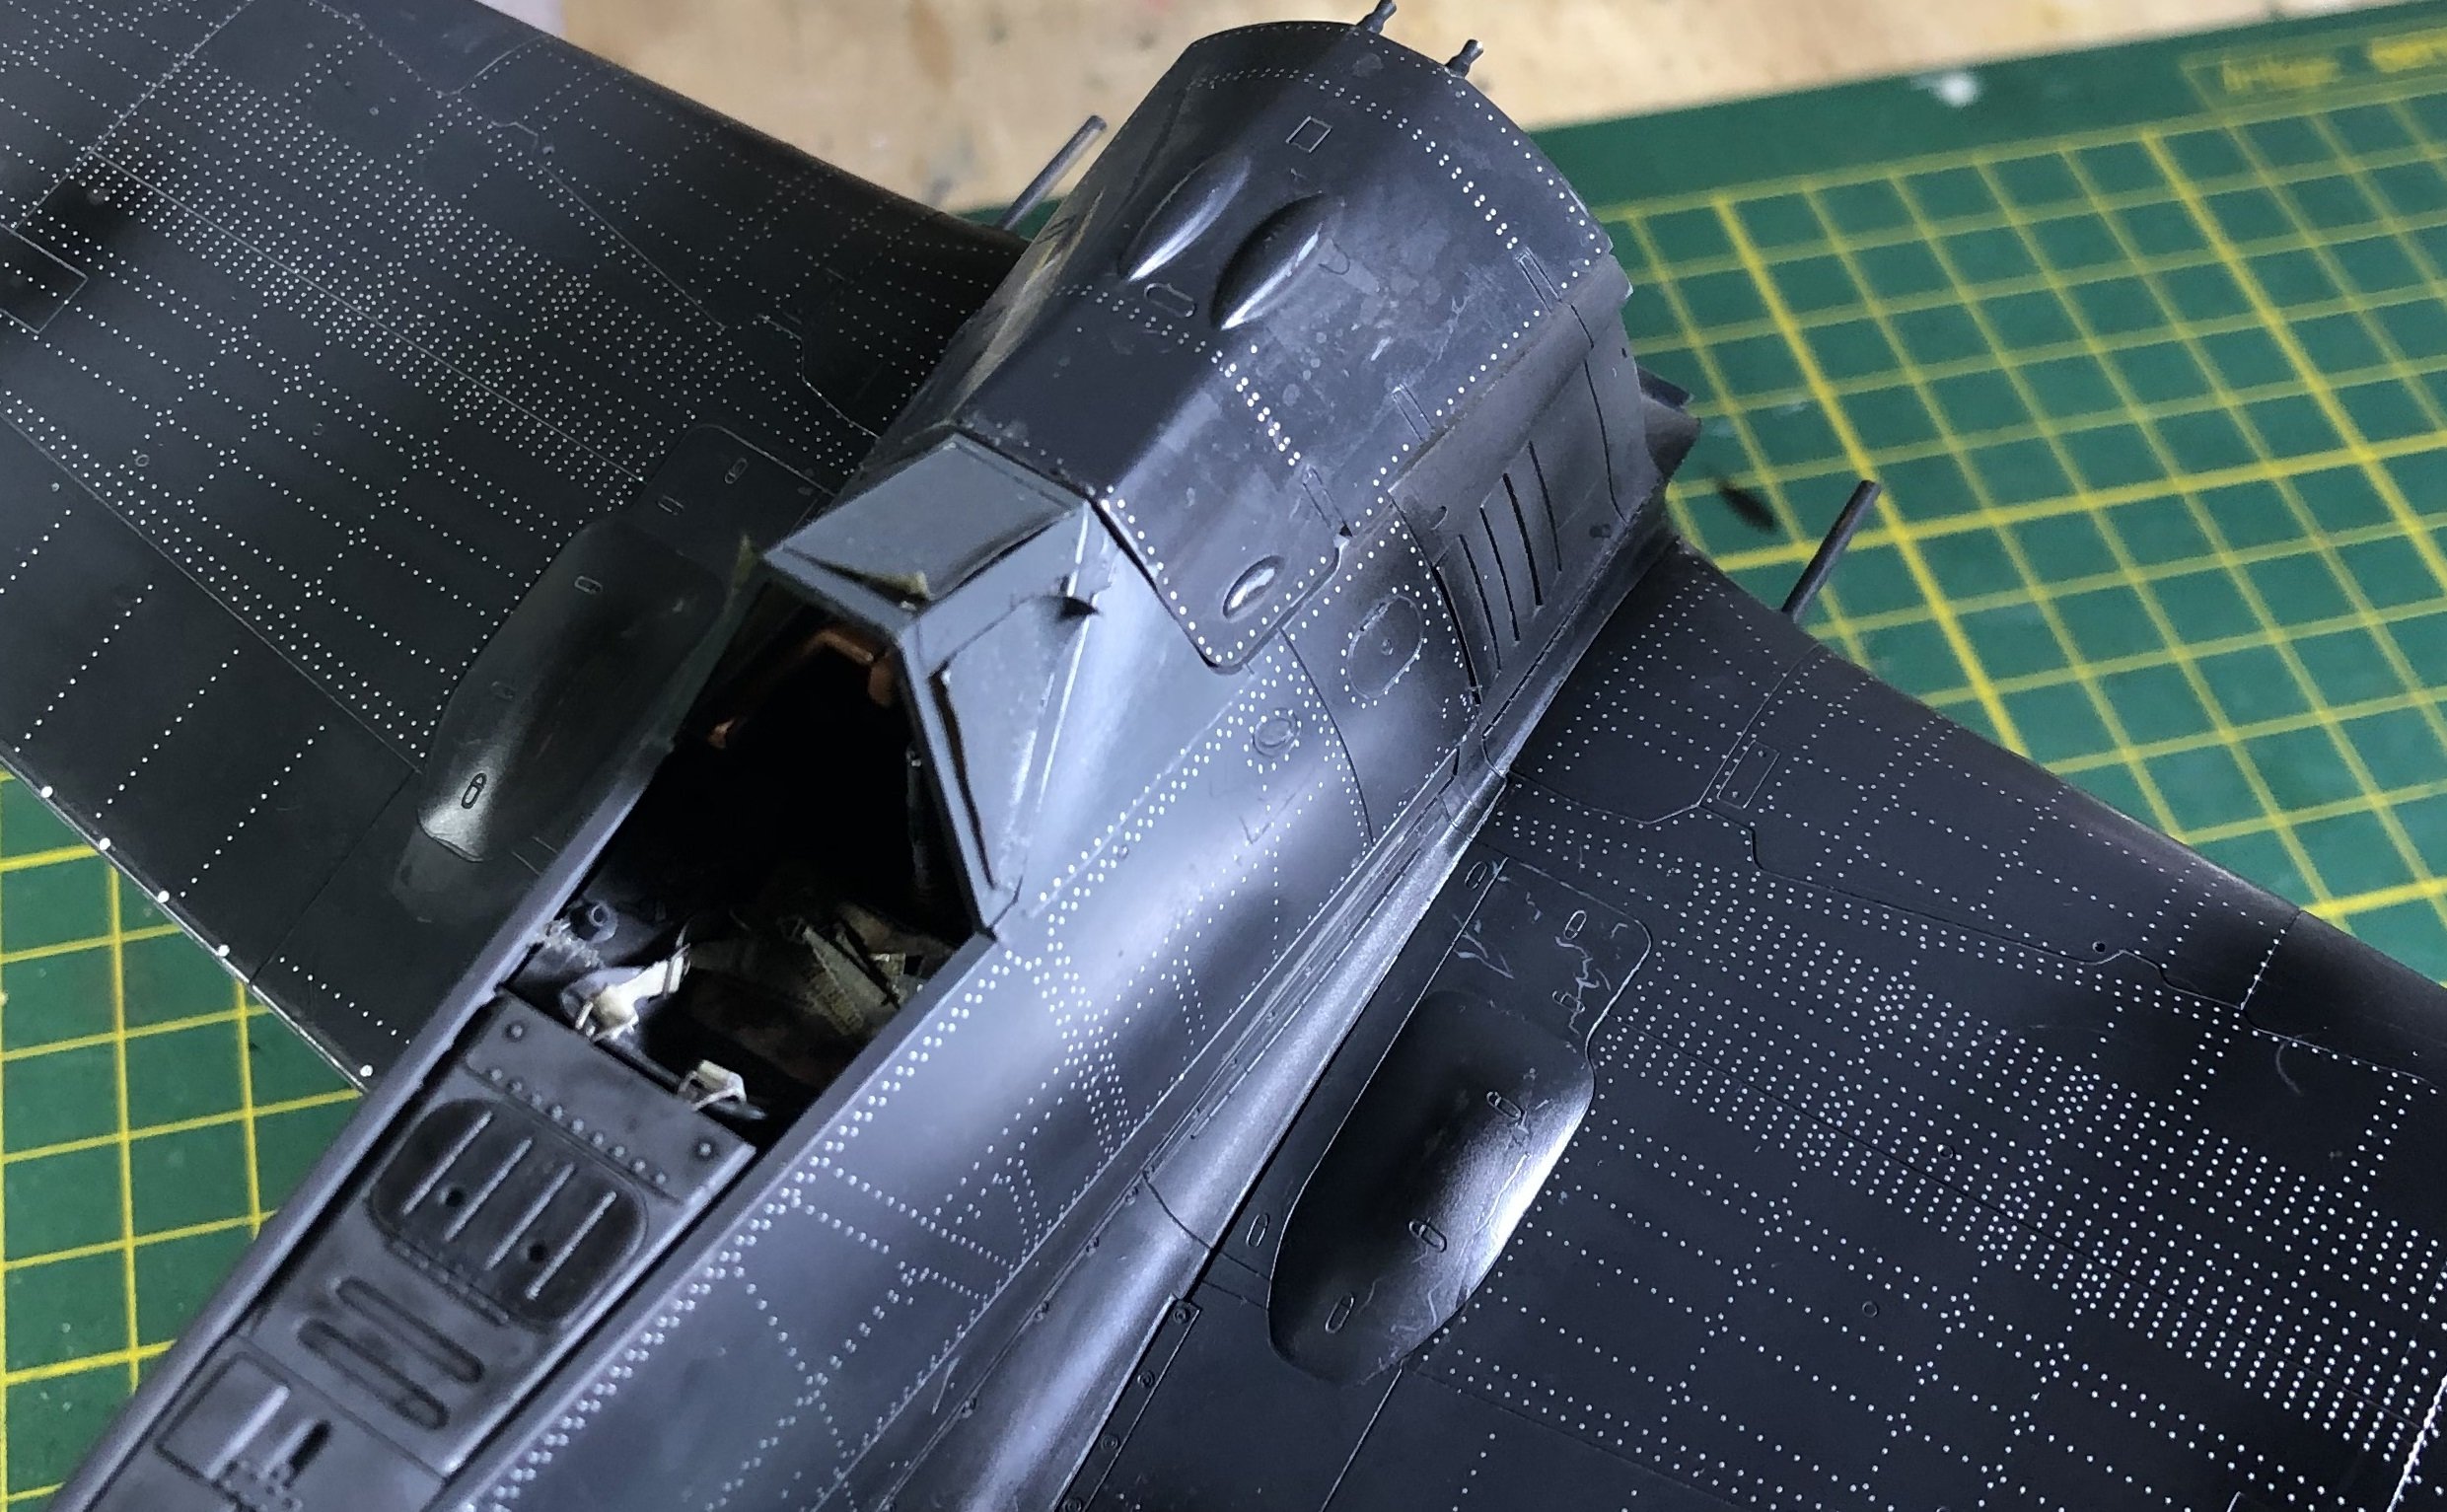
It really depends on what your goals are, Rob. I intend to only show the rivets in areas highly frequented by pilot and crew. If they all show, it won't look right. I'm leaning toward a Schlachtgruppen on the Ost Front. I read a book by a pilot who was in such a unit, and he flew multiple missions every day, dawn till dark trying to provide support for the ground troops. It sounded like their machines had little time for intense cleaning.
-
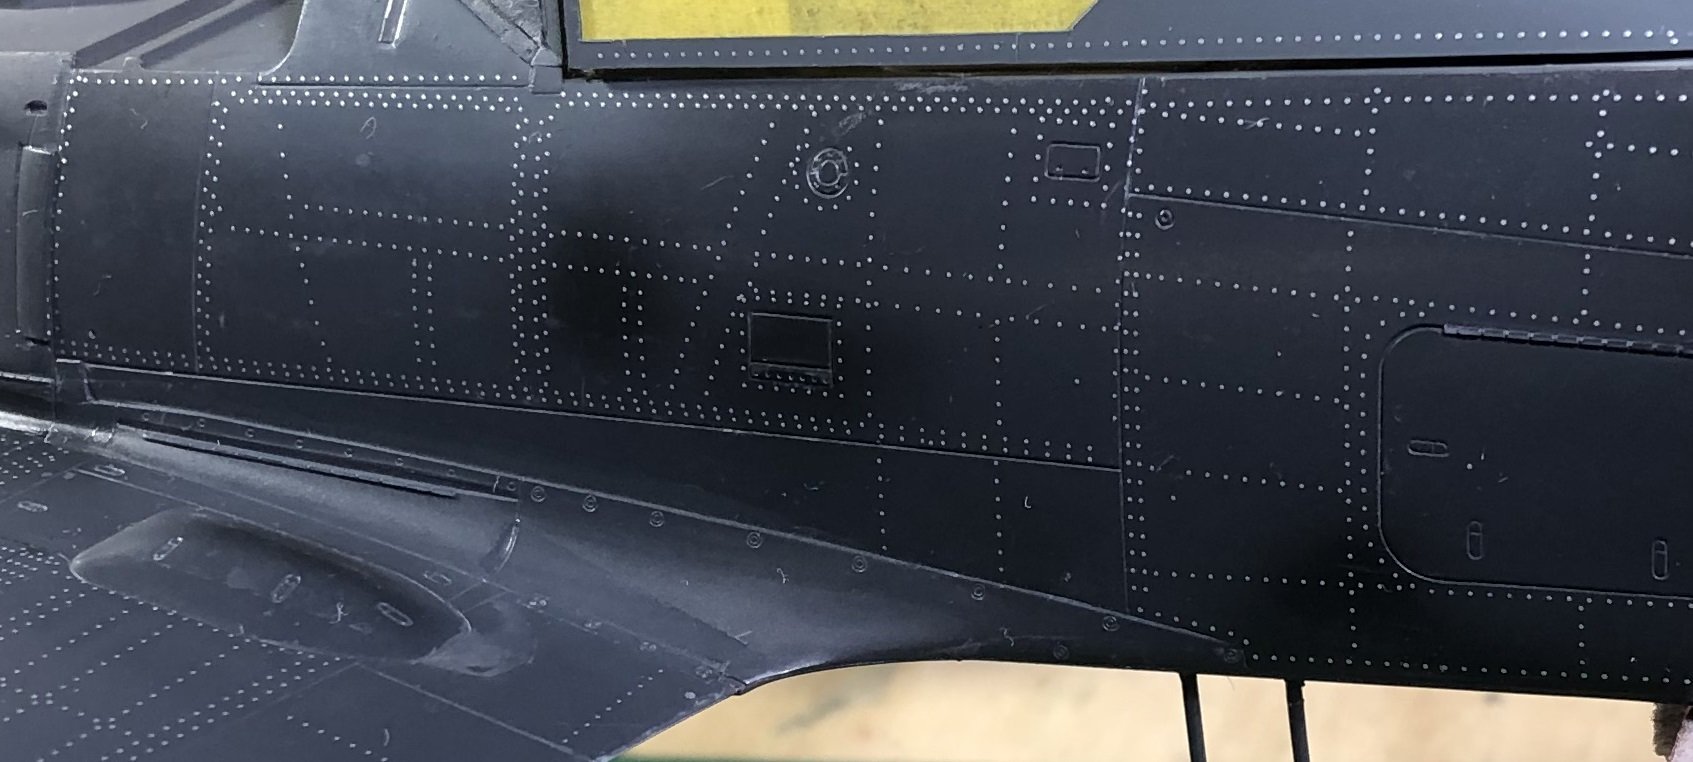
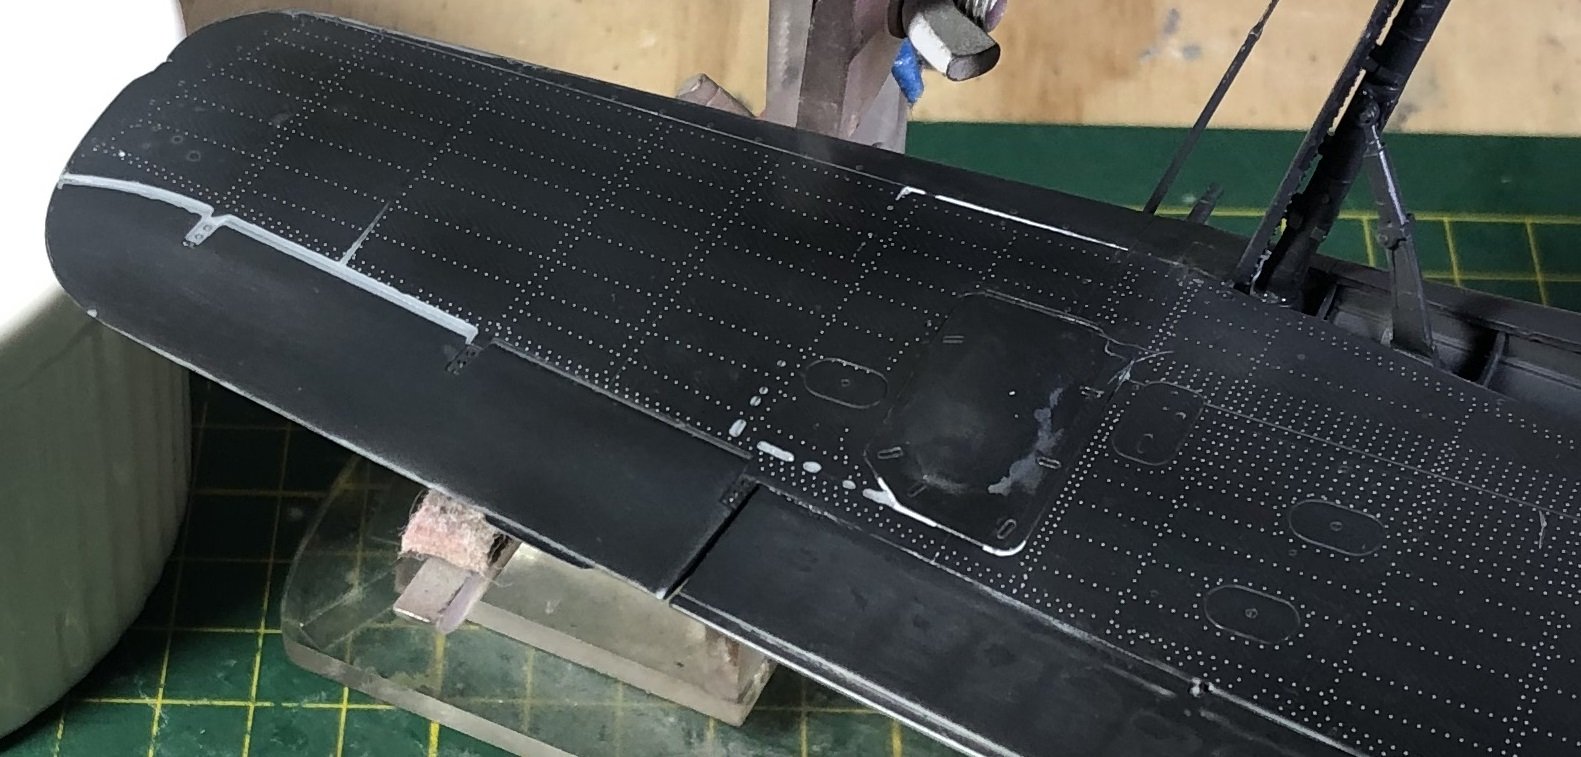
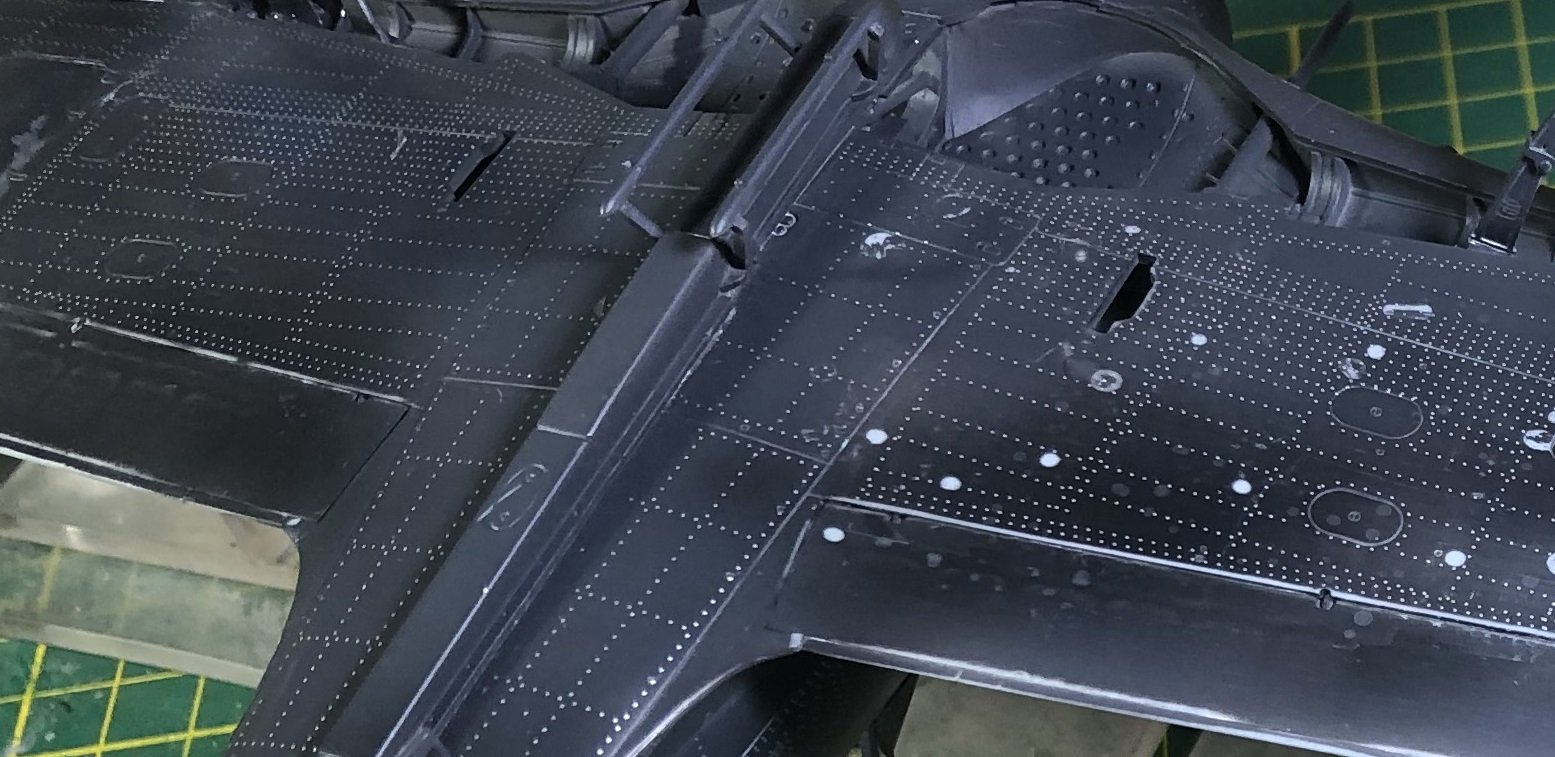
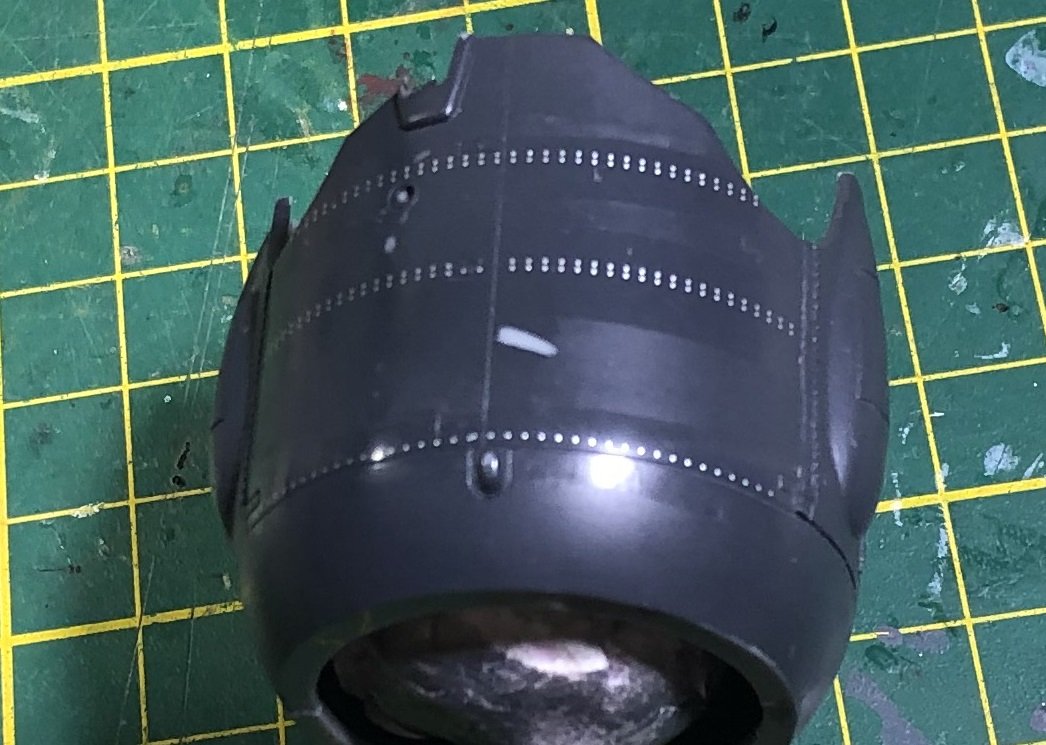
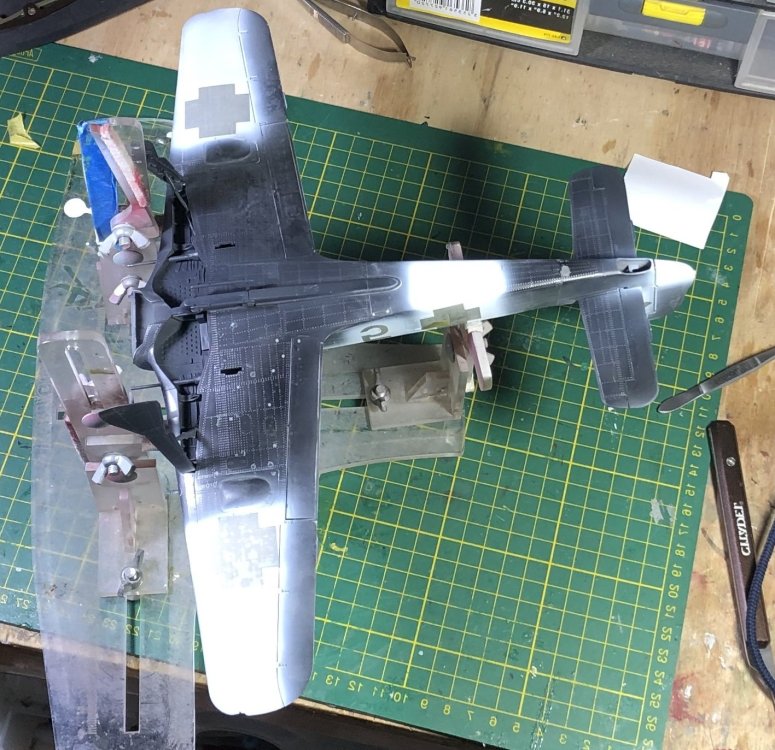
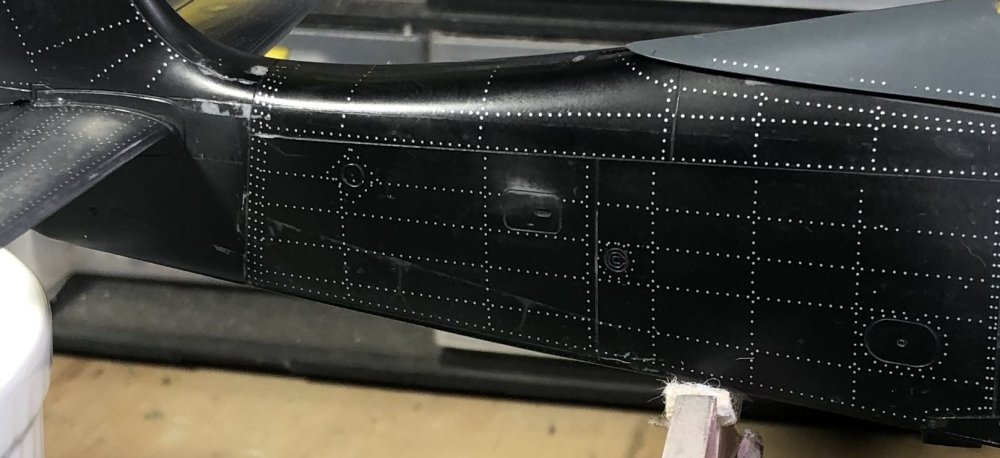
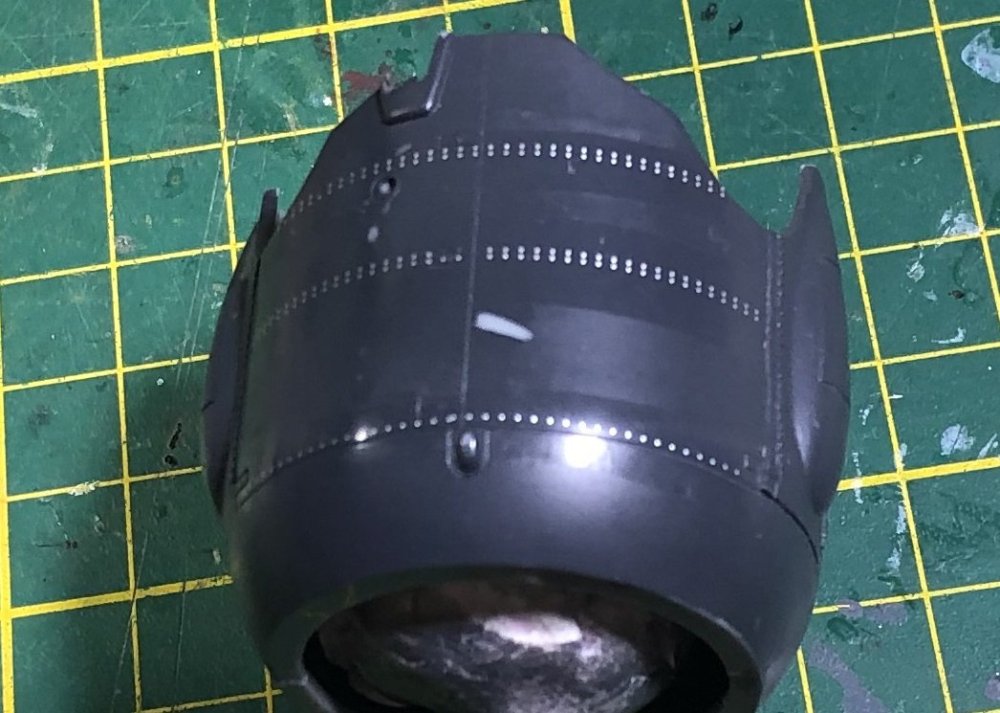
Welcome back. I'm ready to call the riveting done. I probably could have omitted many of the rivet decals. I don't want them all to show, and I did skip some. The ones that will show will be in areas where the crew have frequented. But I thought I would use a lot of the set anyway. You'll notice a few spots where the paint has been removed in dots and odd places. I reckon this comes from two causes. A: I sand it smooth and the paint may have been very thin. And B: The acids in Mr. Mark Softer ate through the thinned paint. Of course, decals don't stay attached to places where paint has been removed. Luckily it mostly happened on the underside. Thanks for looking!


-
Thank you, Peter! He was a good figure to paint. But the more I look at him, I think he is greatly out of proportion. A smallish head on a giant body with extra long legs.
-
Arado 234 Nachtigall on Speed
GazzaS replied to DocRob's topic in LSM 1/35 and Larger Work In Progress
Brilliant job, Rob! That canopy is the cat's meow. -
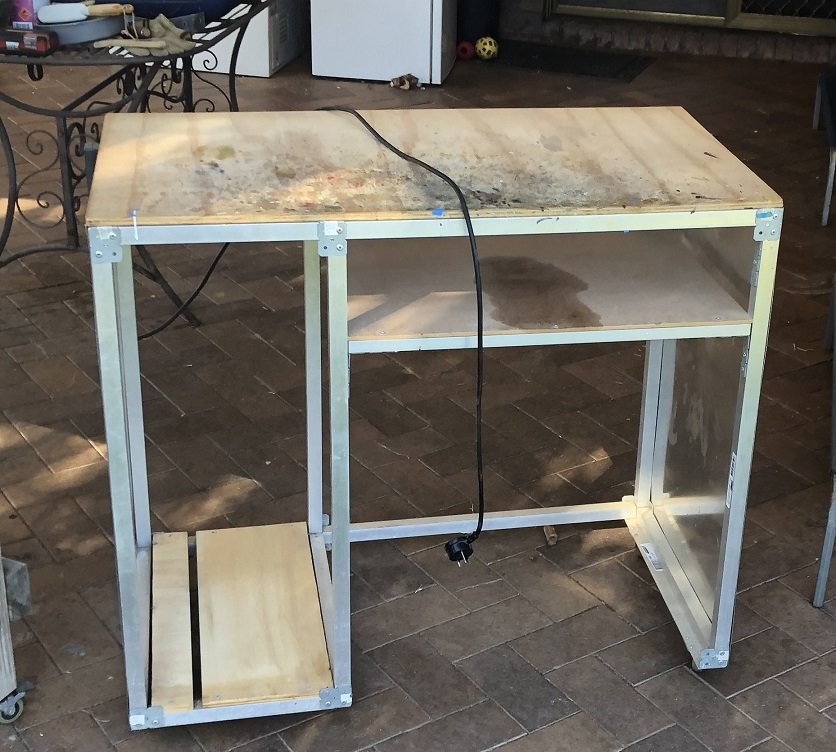
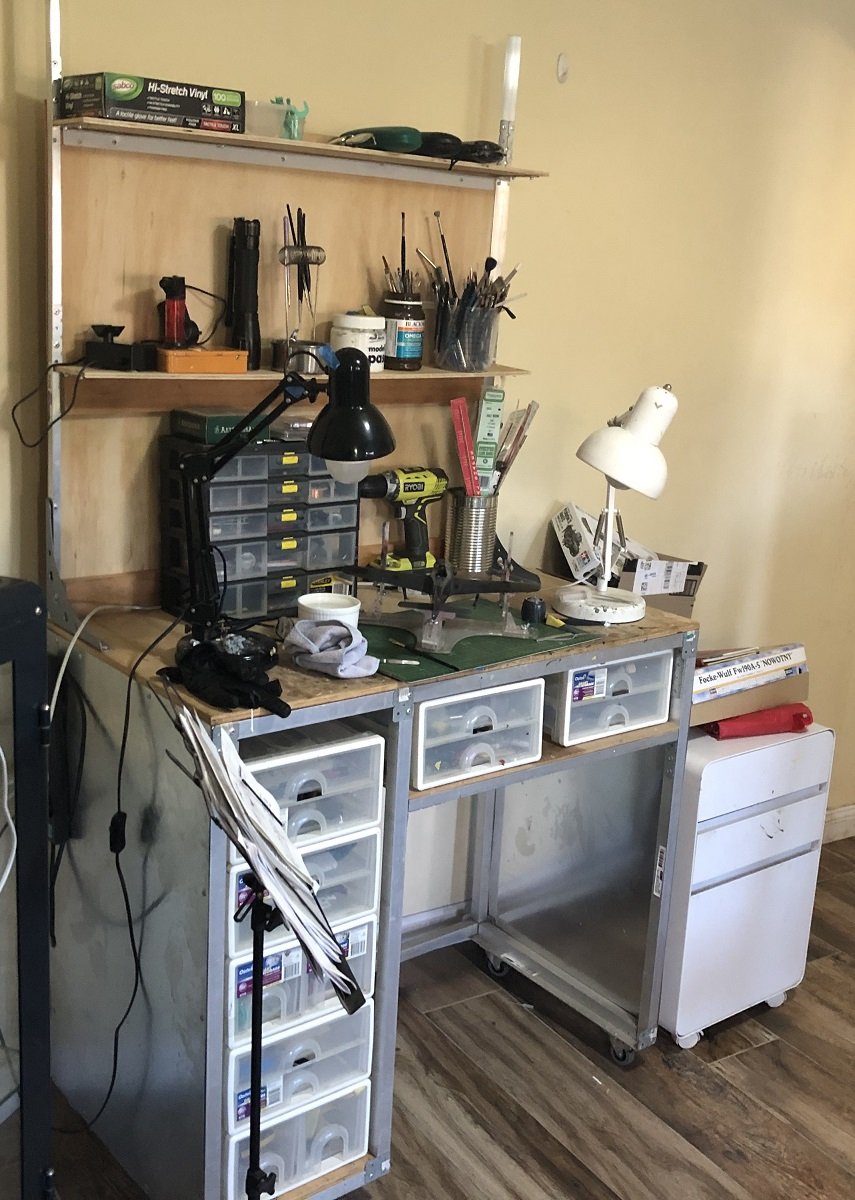
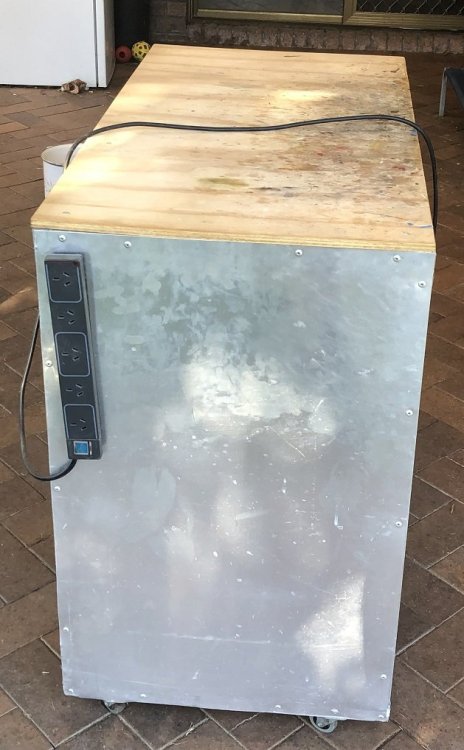
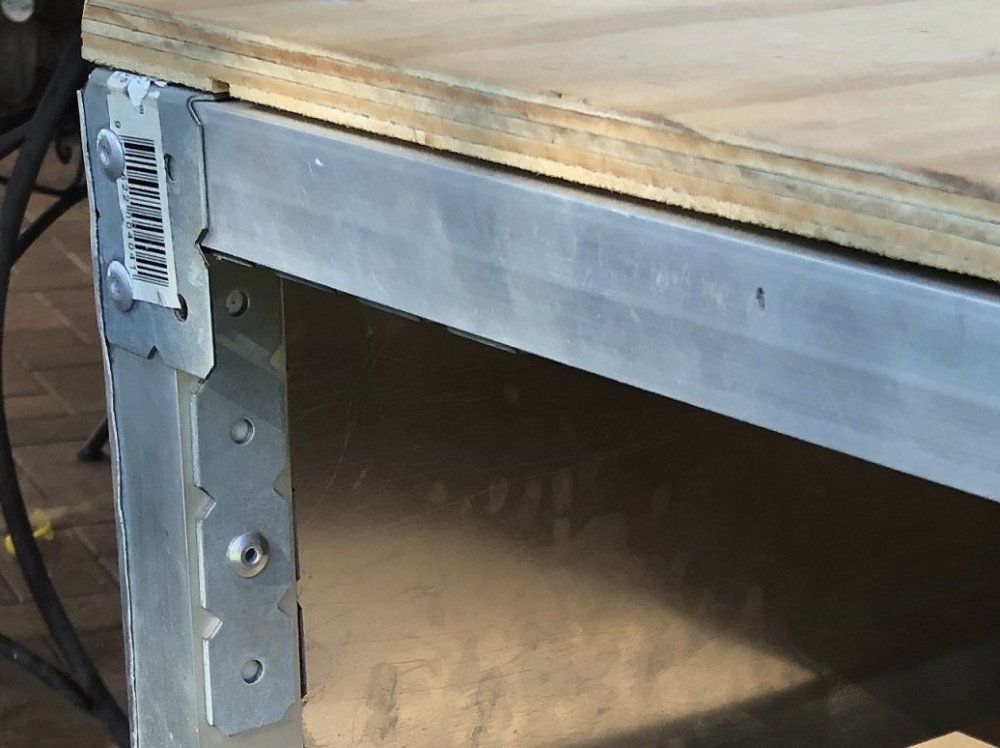
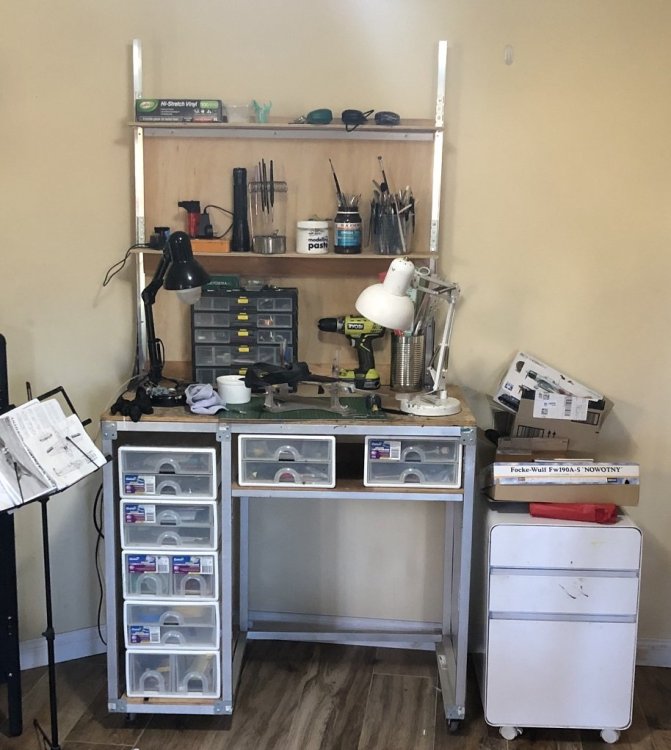
G'day fellas! After mulling it over for months, I decided to upgrade my bench. Many of you may not know, but my bench is totally mobile. My house, despite being a four bedroom house really has no place that I can use 365 days a year. The spare rooms have no air conditioning, and the bedrooms are too small. My 'master' bedroom is really no larger than the child's bedroom I slept in during the 1970's... It's only 12ft by 12ft. And the ensuite bathroom, including shower is slightly over 3ft by 9ft. So most of the year I model in the living room. But at Christmas time, I must surrender my spot to the Christmas tree. My bench is constructed of square aluminum tubing, steel brackets, rivets, some aluminum sheet, and plywood. It's light enough to pick up and carry if I remove all of the plastic storage drawer sets and modelling stuff. And it sits on casters. I built it tall to prevent me from stooping. When I'm at the bench, the plywood top is slightly lower than my pecs. It's 1meter or 39 inches wide. The oil stain on the lower shelf is from my knife sharpening kit. The wet stone leaked a little oil. And 20 inches deep. The power box is held on by Alien Tape. Handy stuff if you need it! I didn't want to possibly electrify my bench by badly placed screws. I just had no room for all of the little things that you want at arms reach every time you're there. So, I went upwards. I needed to buy more brackets, rivets, and angle aluminum. I wanted to add two shelves in a lightweight configuration so that the bench wouldn't be top heavy nor unstable. But I didn't want to buy a lot of stuff because I keep a lot of scraps if they're longer than 3 ft. And here she is: All of my paints and large bottles of solvents are kept in the white roll-away cabinet. And my wife's music stand holds all of the kit directions in place. And finally all of my paint brushes and little tools are off the bench-top. I use cheap desk lamps with the brightest bulbs in cool-white that I can find. If you look into them, you'll be thinking: "Take-me-to-your-leader". I also keep a large bottle of CA solvent handy. Good for getting those shiny droplets of CA off the faux-wood tiles. So... it's junk. But it's rigid and can suit any modellers need as long as he stays away from really large stuff like a Monogram 1/48 B-29. Thanks for looking!


-
Martin, Totally forgot about this one. Glad to see the work continuing. Reminds me that I have a fair amount of 1/48 twins to start. Too many new large scale kits coming out...
-
Go do some chores! Do some stuff off the Honey-do list. Spend too much time away from your bench. Make your bench time valuable instead of the only thing to do in your time off work. Nothing gets my mojo flowing better than too little time to model. Kids? Grandkids? Spend some time with them.
-
Sorry to hear of your awful experience, Bill. I hope you recover from covid, swiftly.
-
Seeing the one pic... could be a couple bicycle frames stuck together. Obviously, a high priority since the country is supposed to need every penny to fight the Soviet menace.