BlrwestSiR
-
Posts
9,218 -
Joined
-
Last visited
Content Type
Profiles
Forums
Events
Gallery
Everything posted by BlrwestSiR
-
Neat! We're close enough to CWHM that they'll fly over the city in the summer. Nothing quite like 4 Merlins in close formation.
-

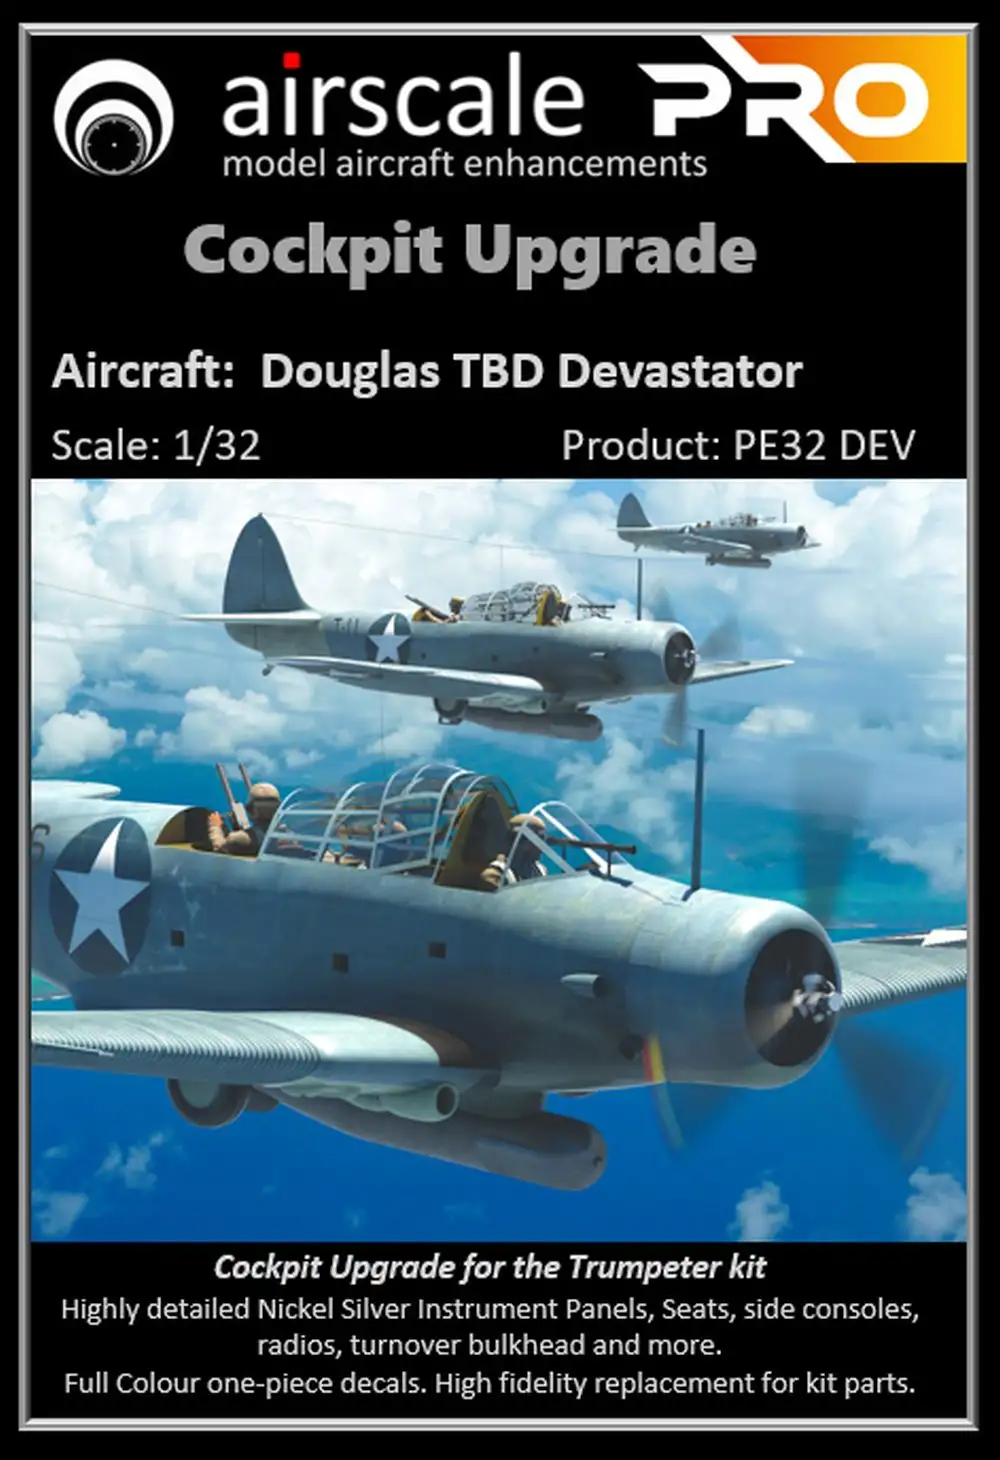
Announcement of a Zotz A-20 decal release?
BlrwestSiR replied to Clunkmeister's topic in Modelling Discussion
Fran, Eli said Sprue Brothers will carry them as well. -
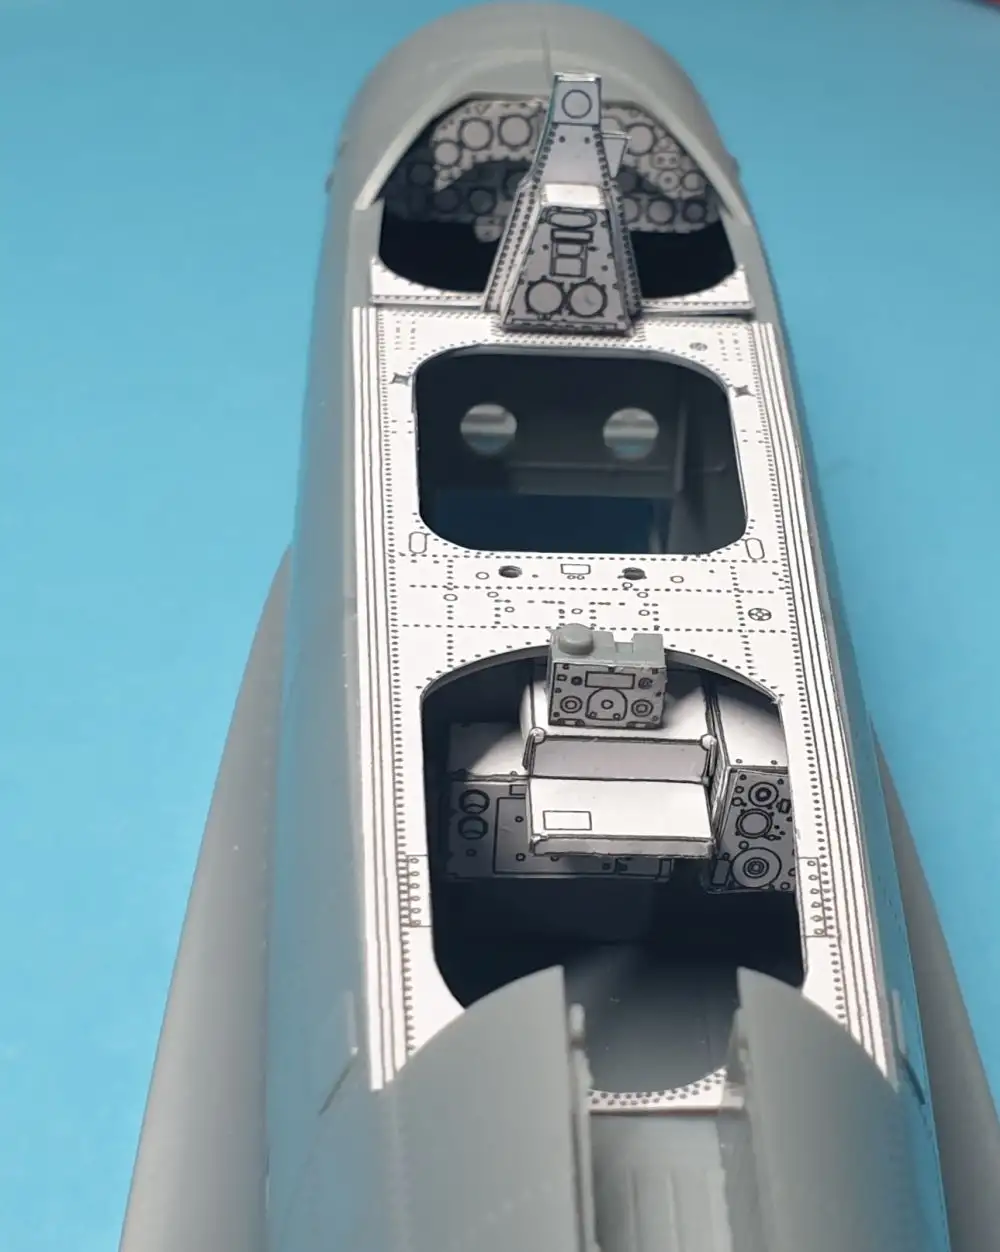
Trumpeter TBD-1 Devastator
BlrwestSiR replied to Clunkmeister's topic in LSM 1/35 and Larger Work In Progress
Look what's just been announced: Pic of the mock up.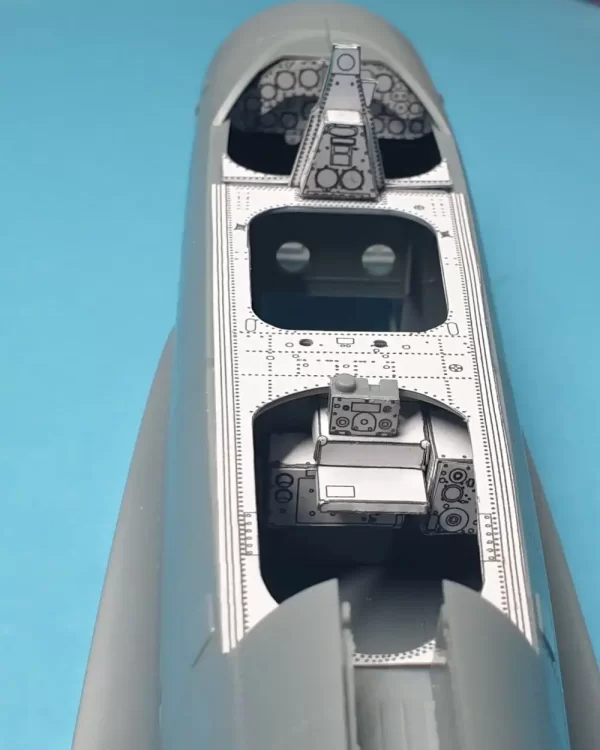

-
Just saw this. Fantastic model Jarrod! I was really impressed by the wood effect on the tools. Keep it up and can't wait to see your next build. Carl
-
Purty
-
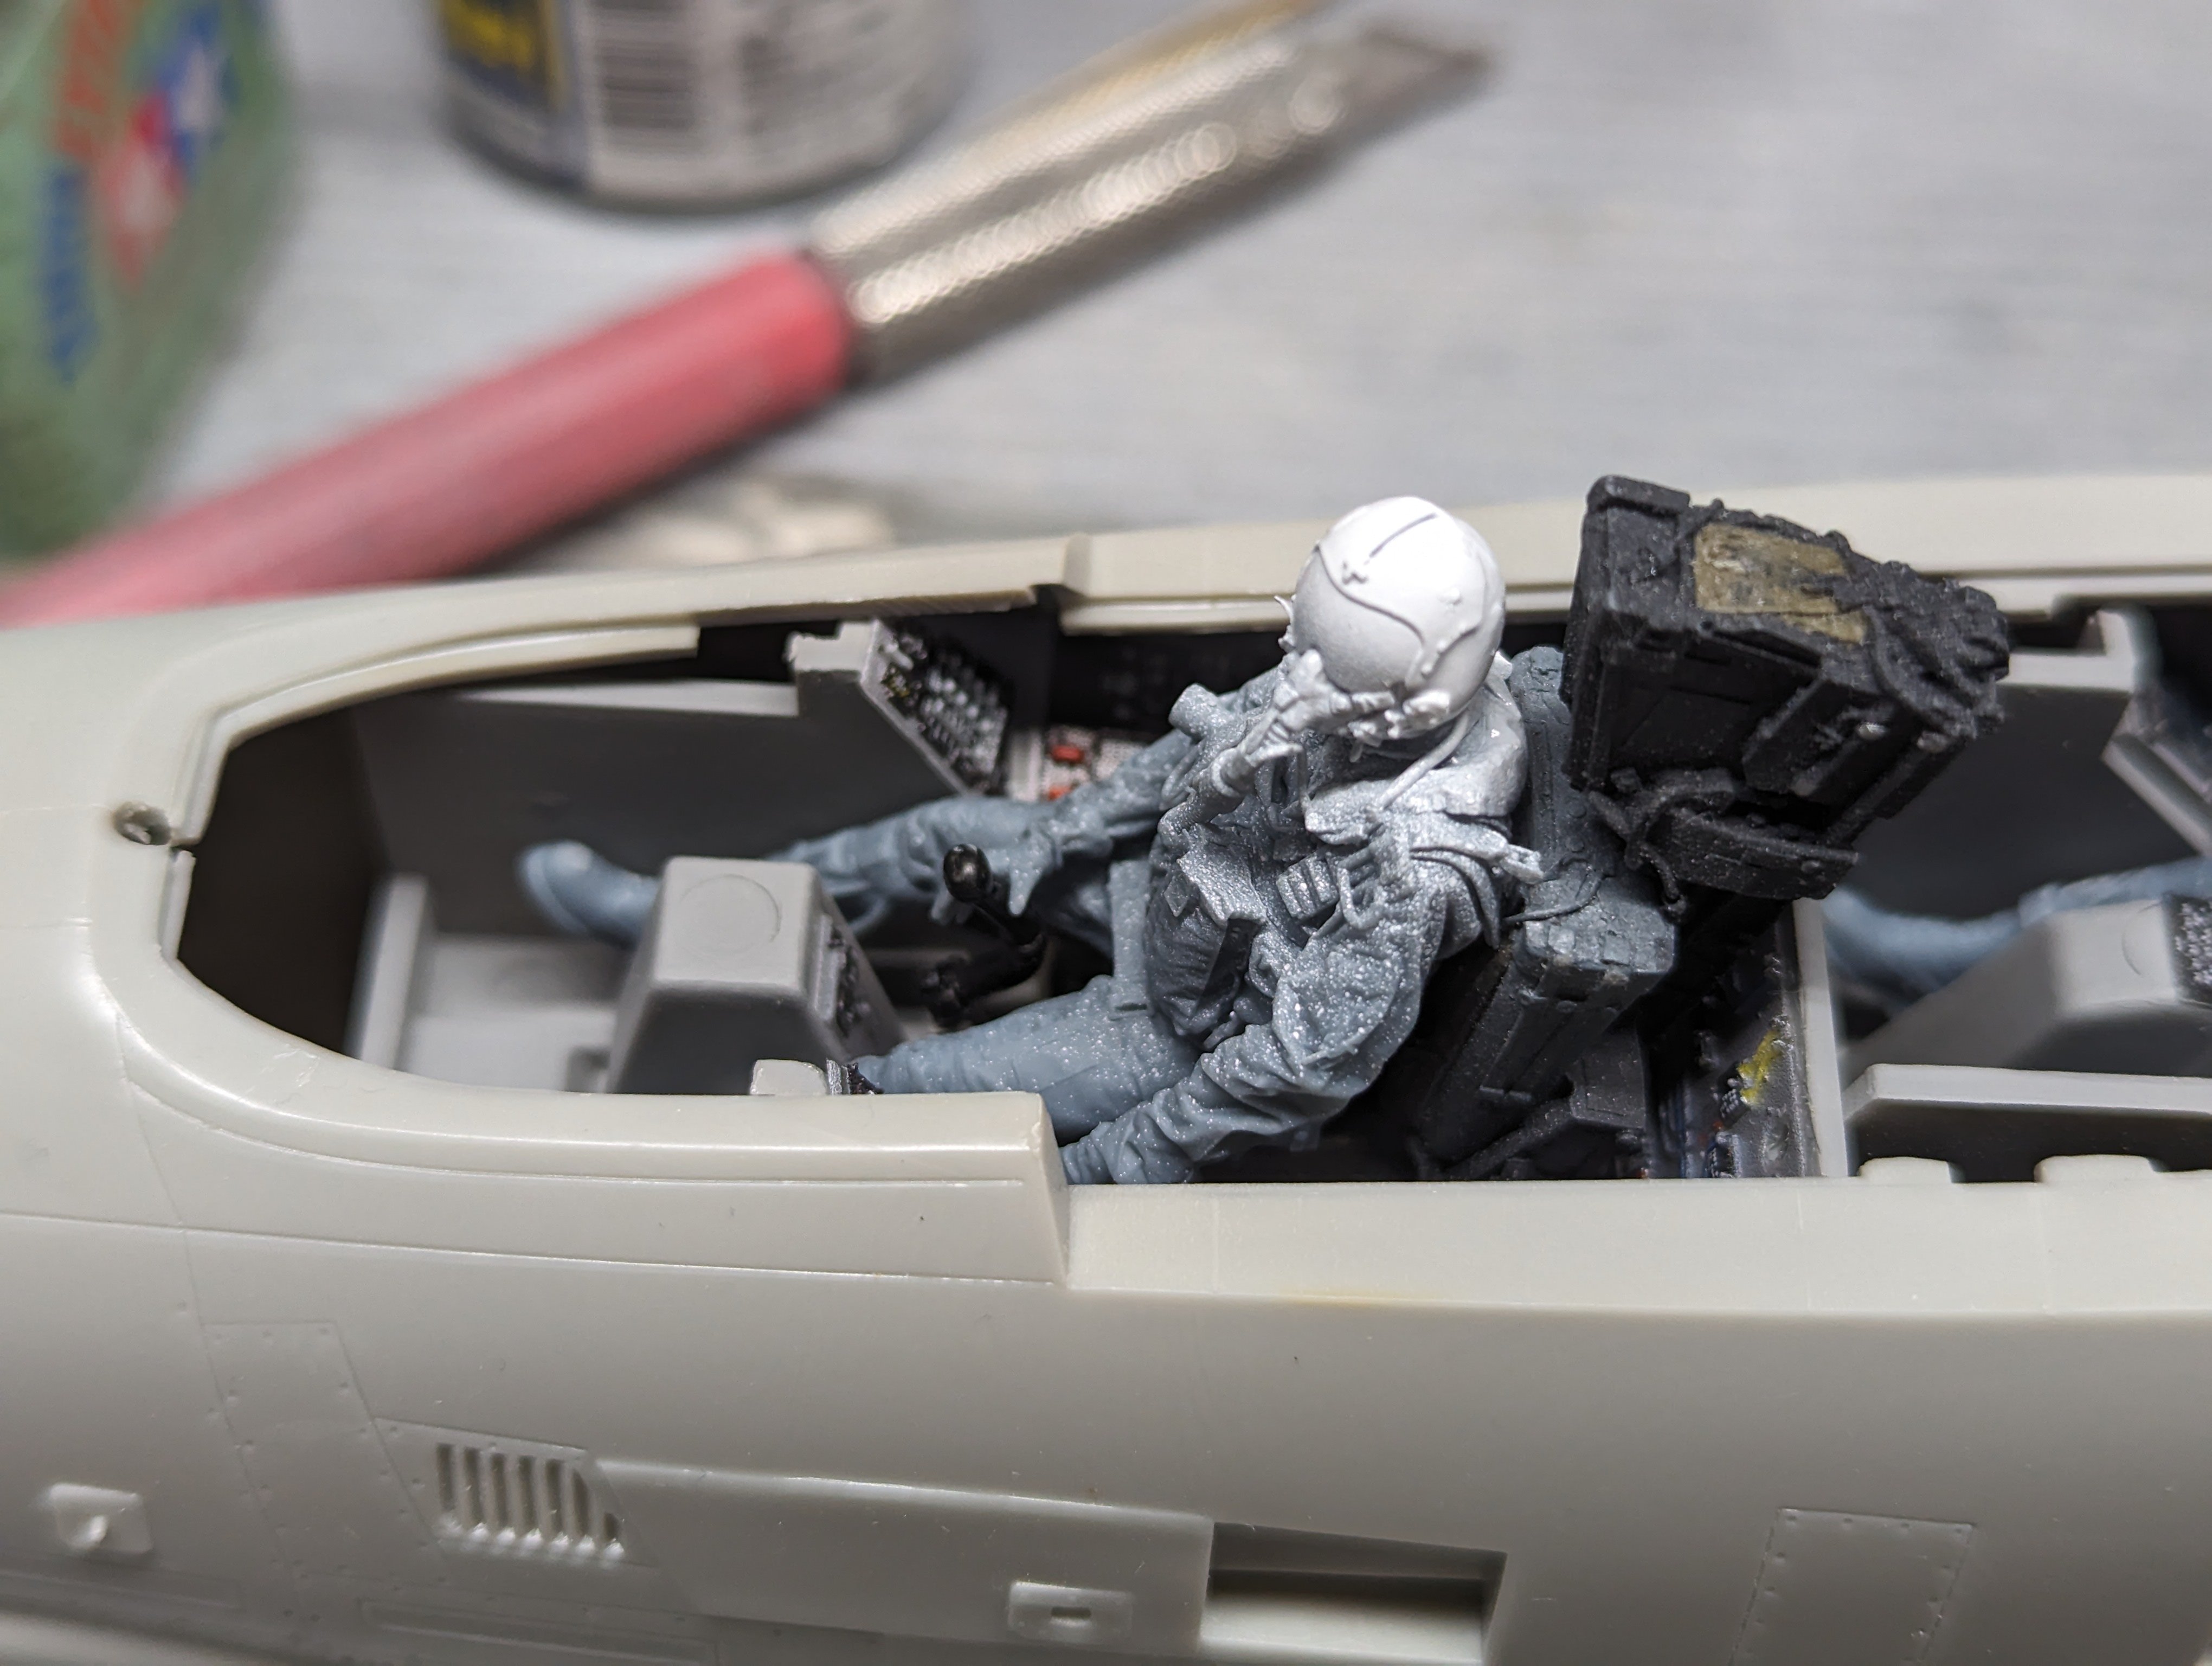
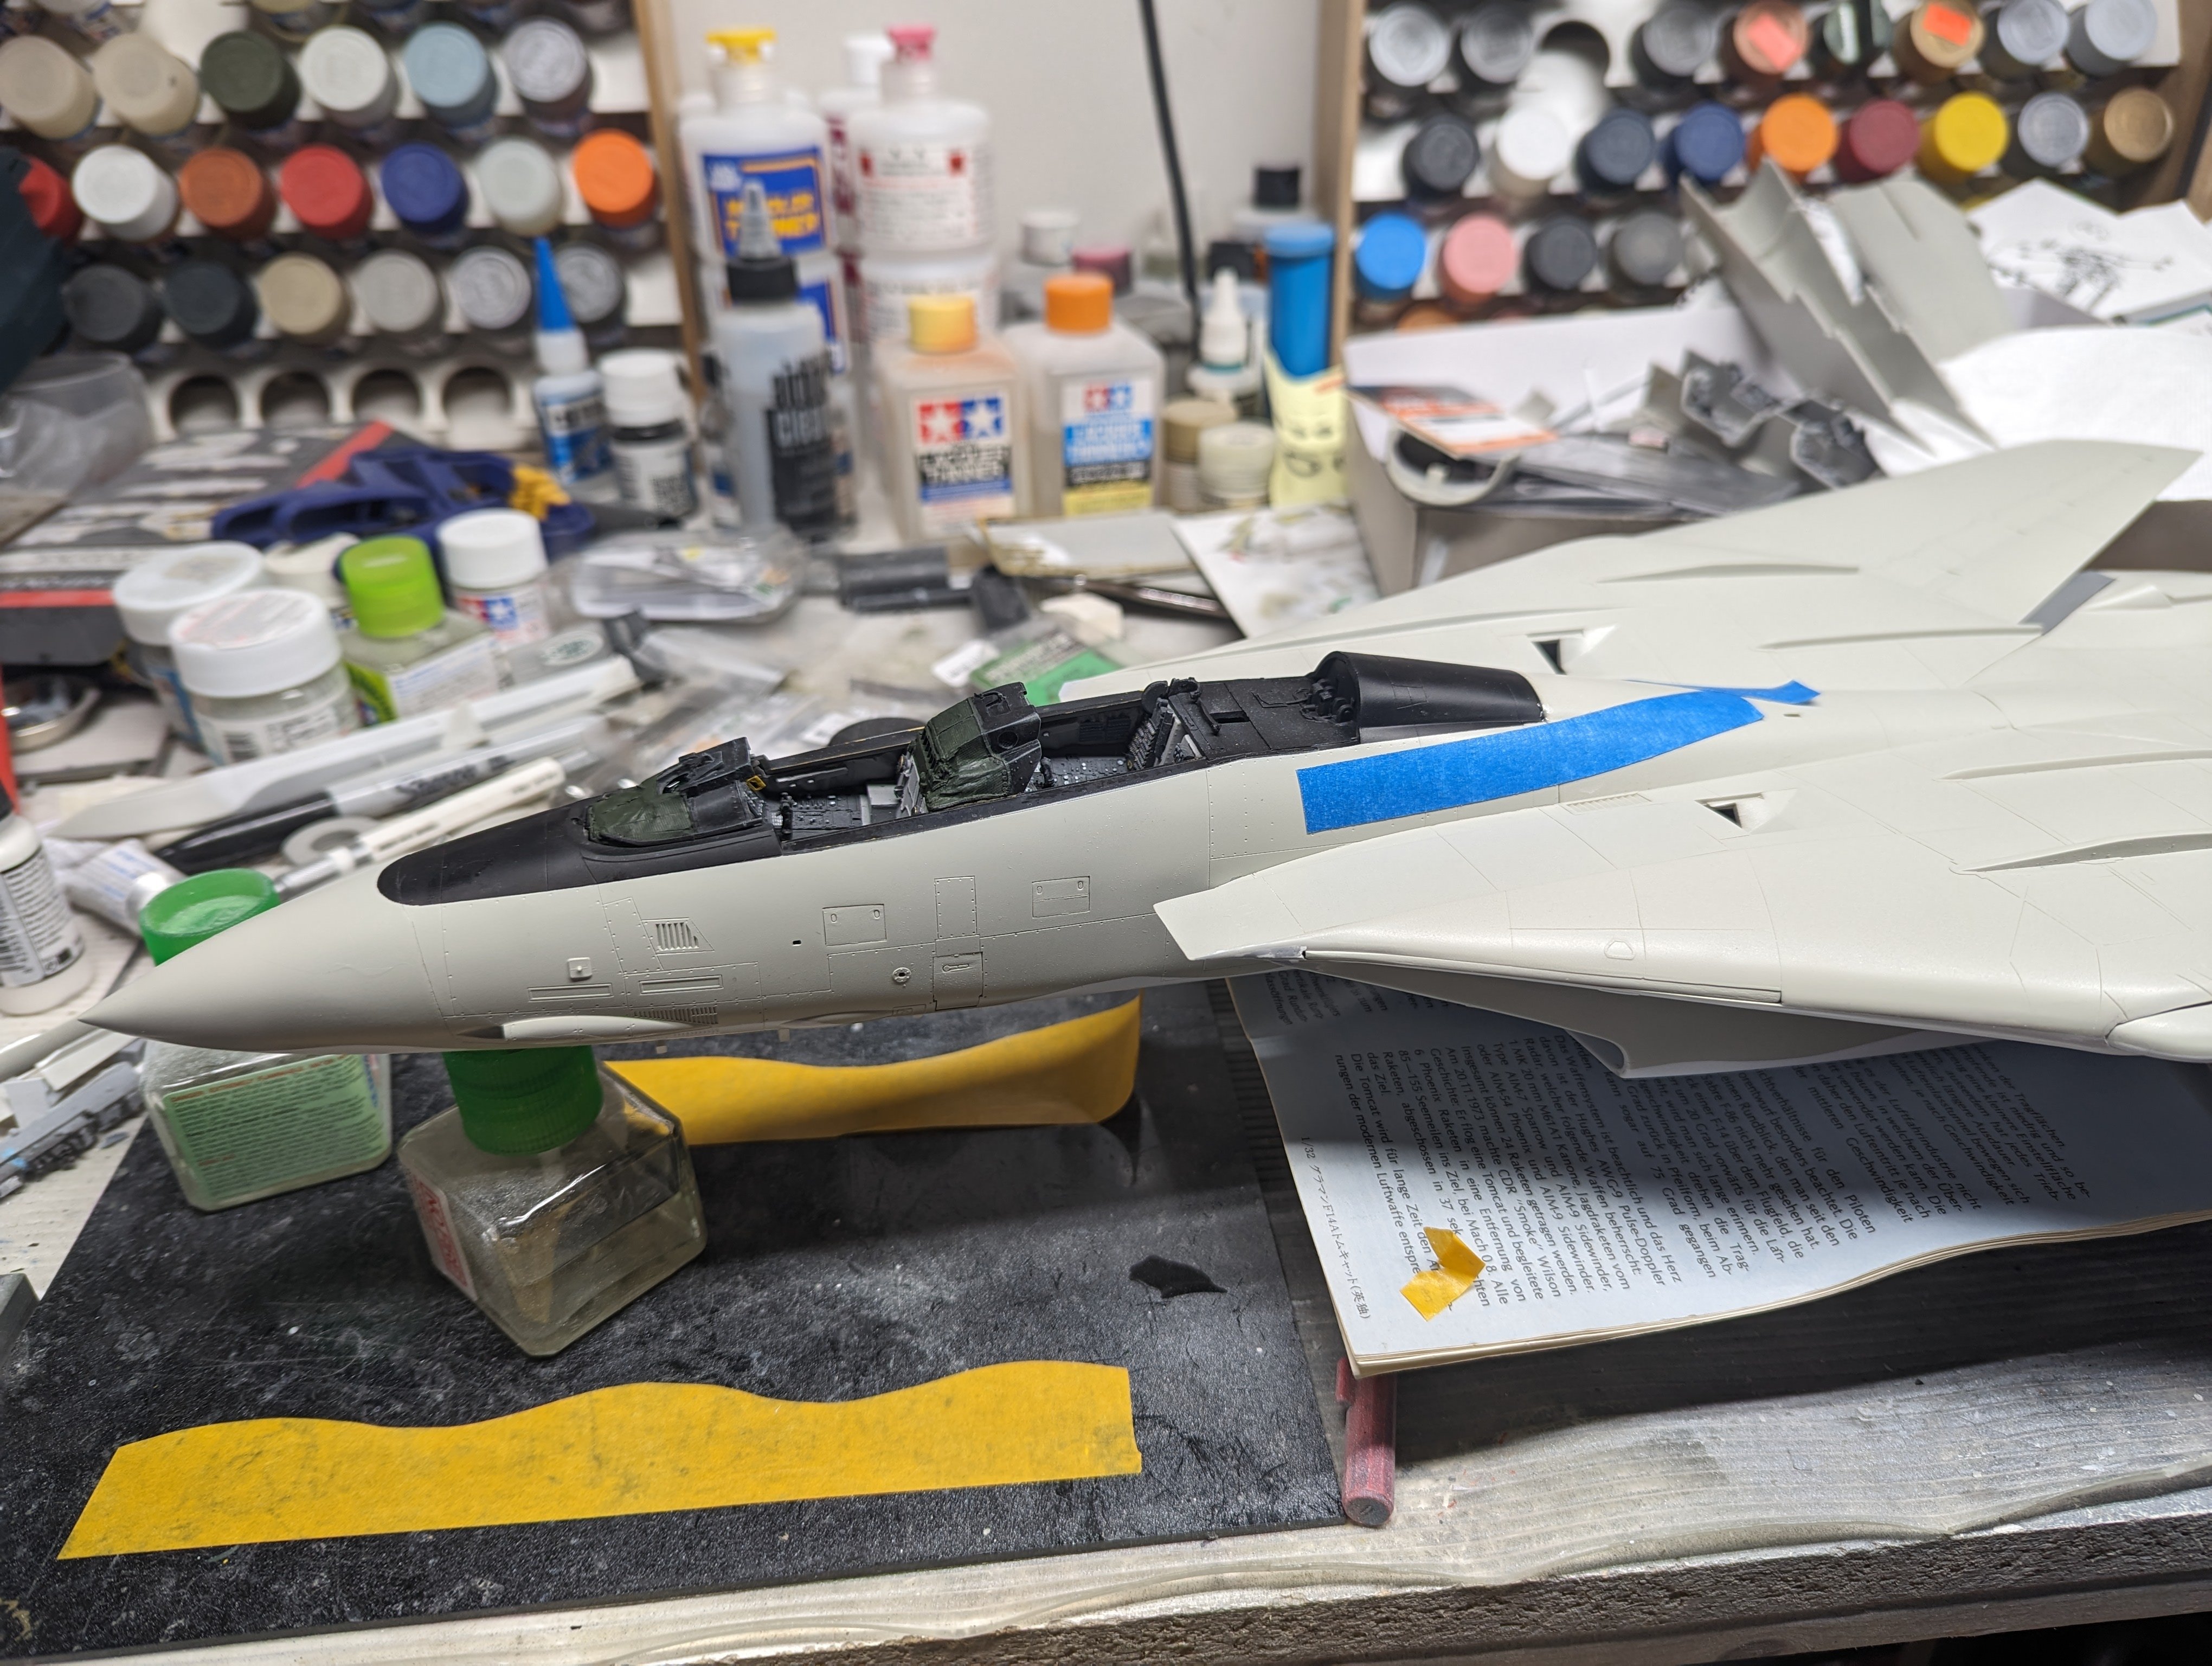
Another Tomcat, I know.
BlrwestSiR replied to BlrwestSiR's topic in LSM 1/35 and Larger Work In Progress
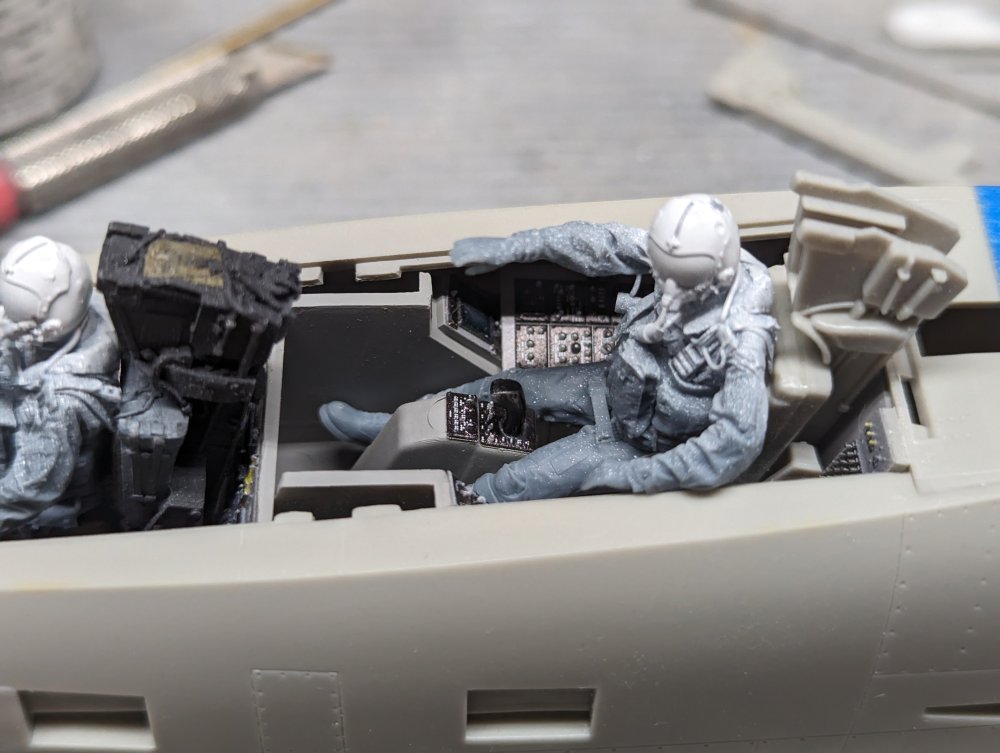
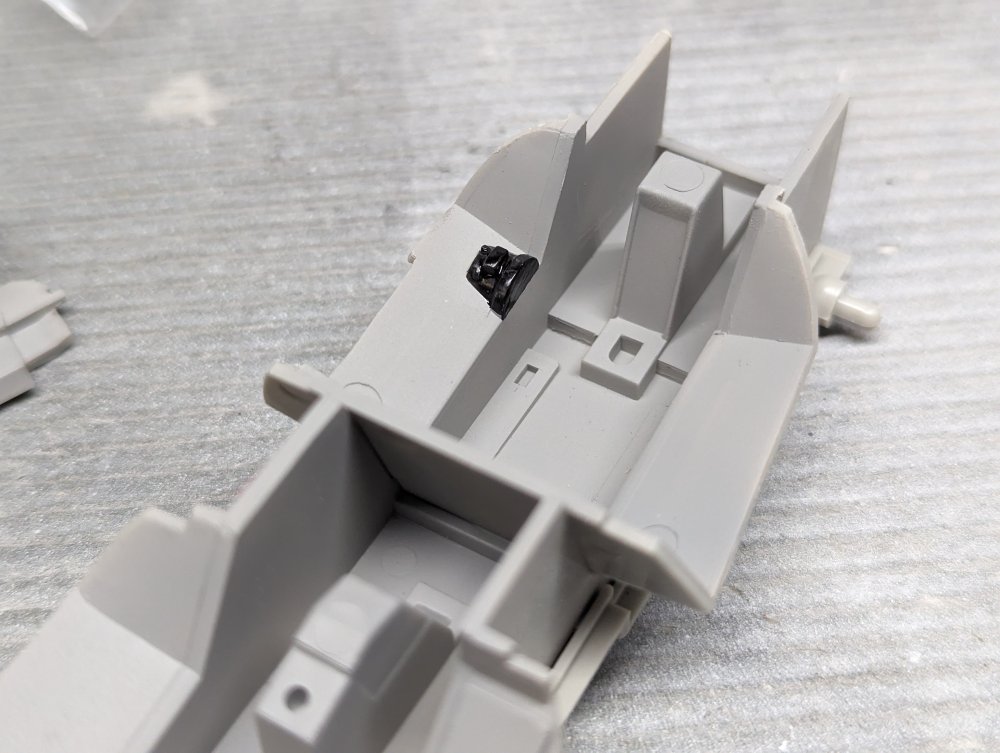
The forward fuselage is together. This time it was much easier without needing to worry about the NLG bay. The pilot is sitting on the Teknics seat I did earlier. His hands are on the throttle and stick with only a slight tweak to the stick angle. The RIO is on the kit seat. He fit better on that than the Teknics one so I'll have to figure out whether to tweak the fit of the Teknics seat or have both of them on the kit ones.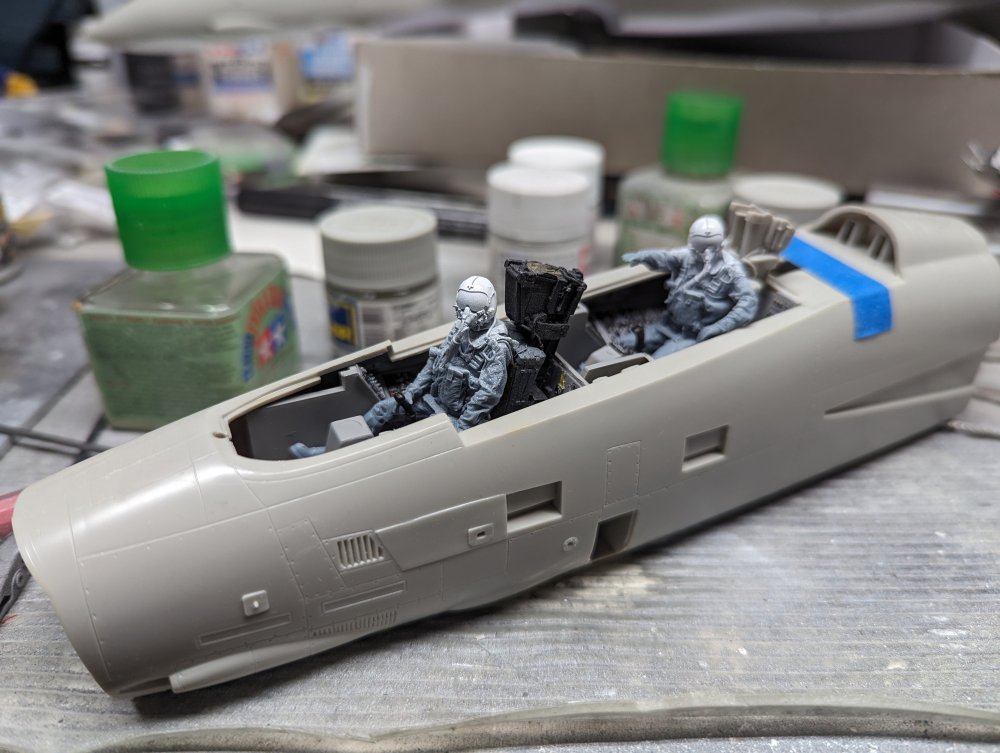

-
Congratulations! We're a long way off from our first grandchild. Hopefully one day.
-
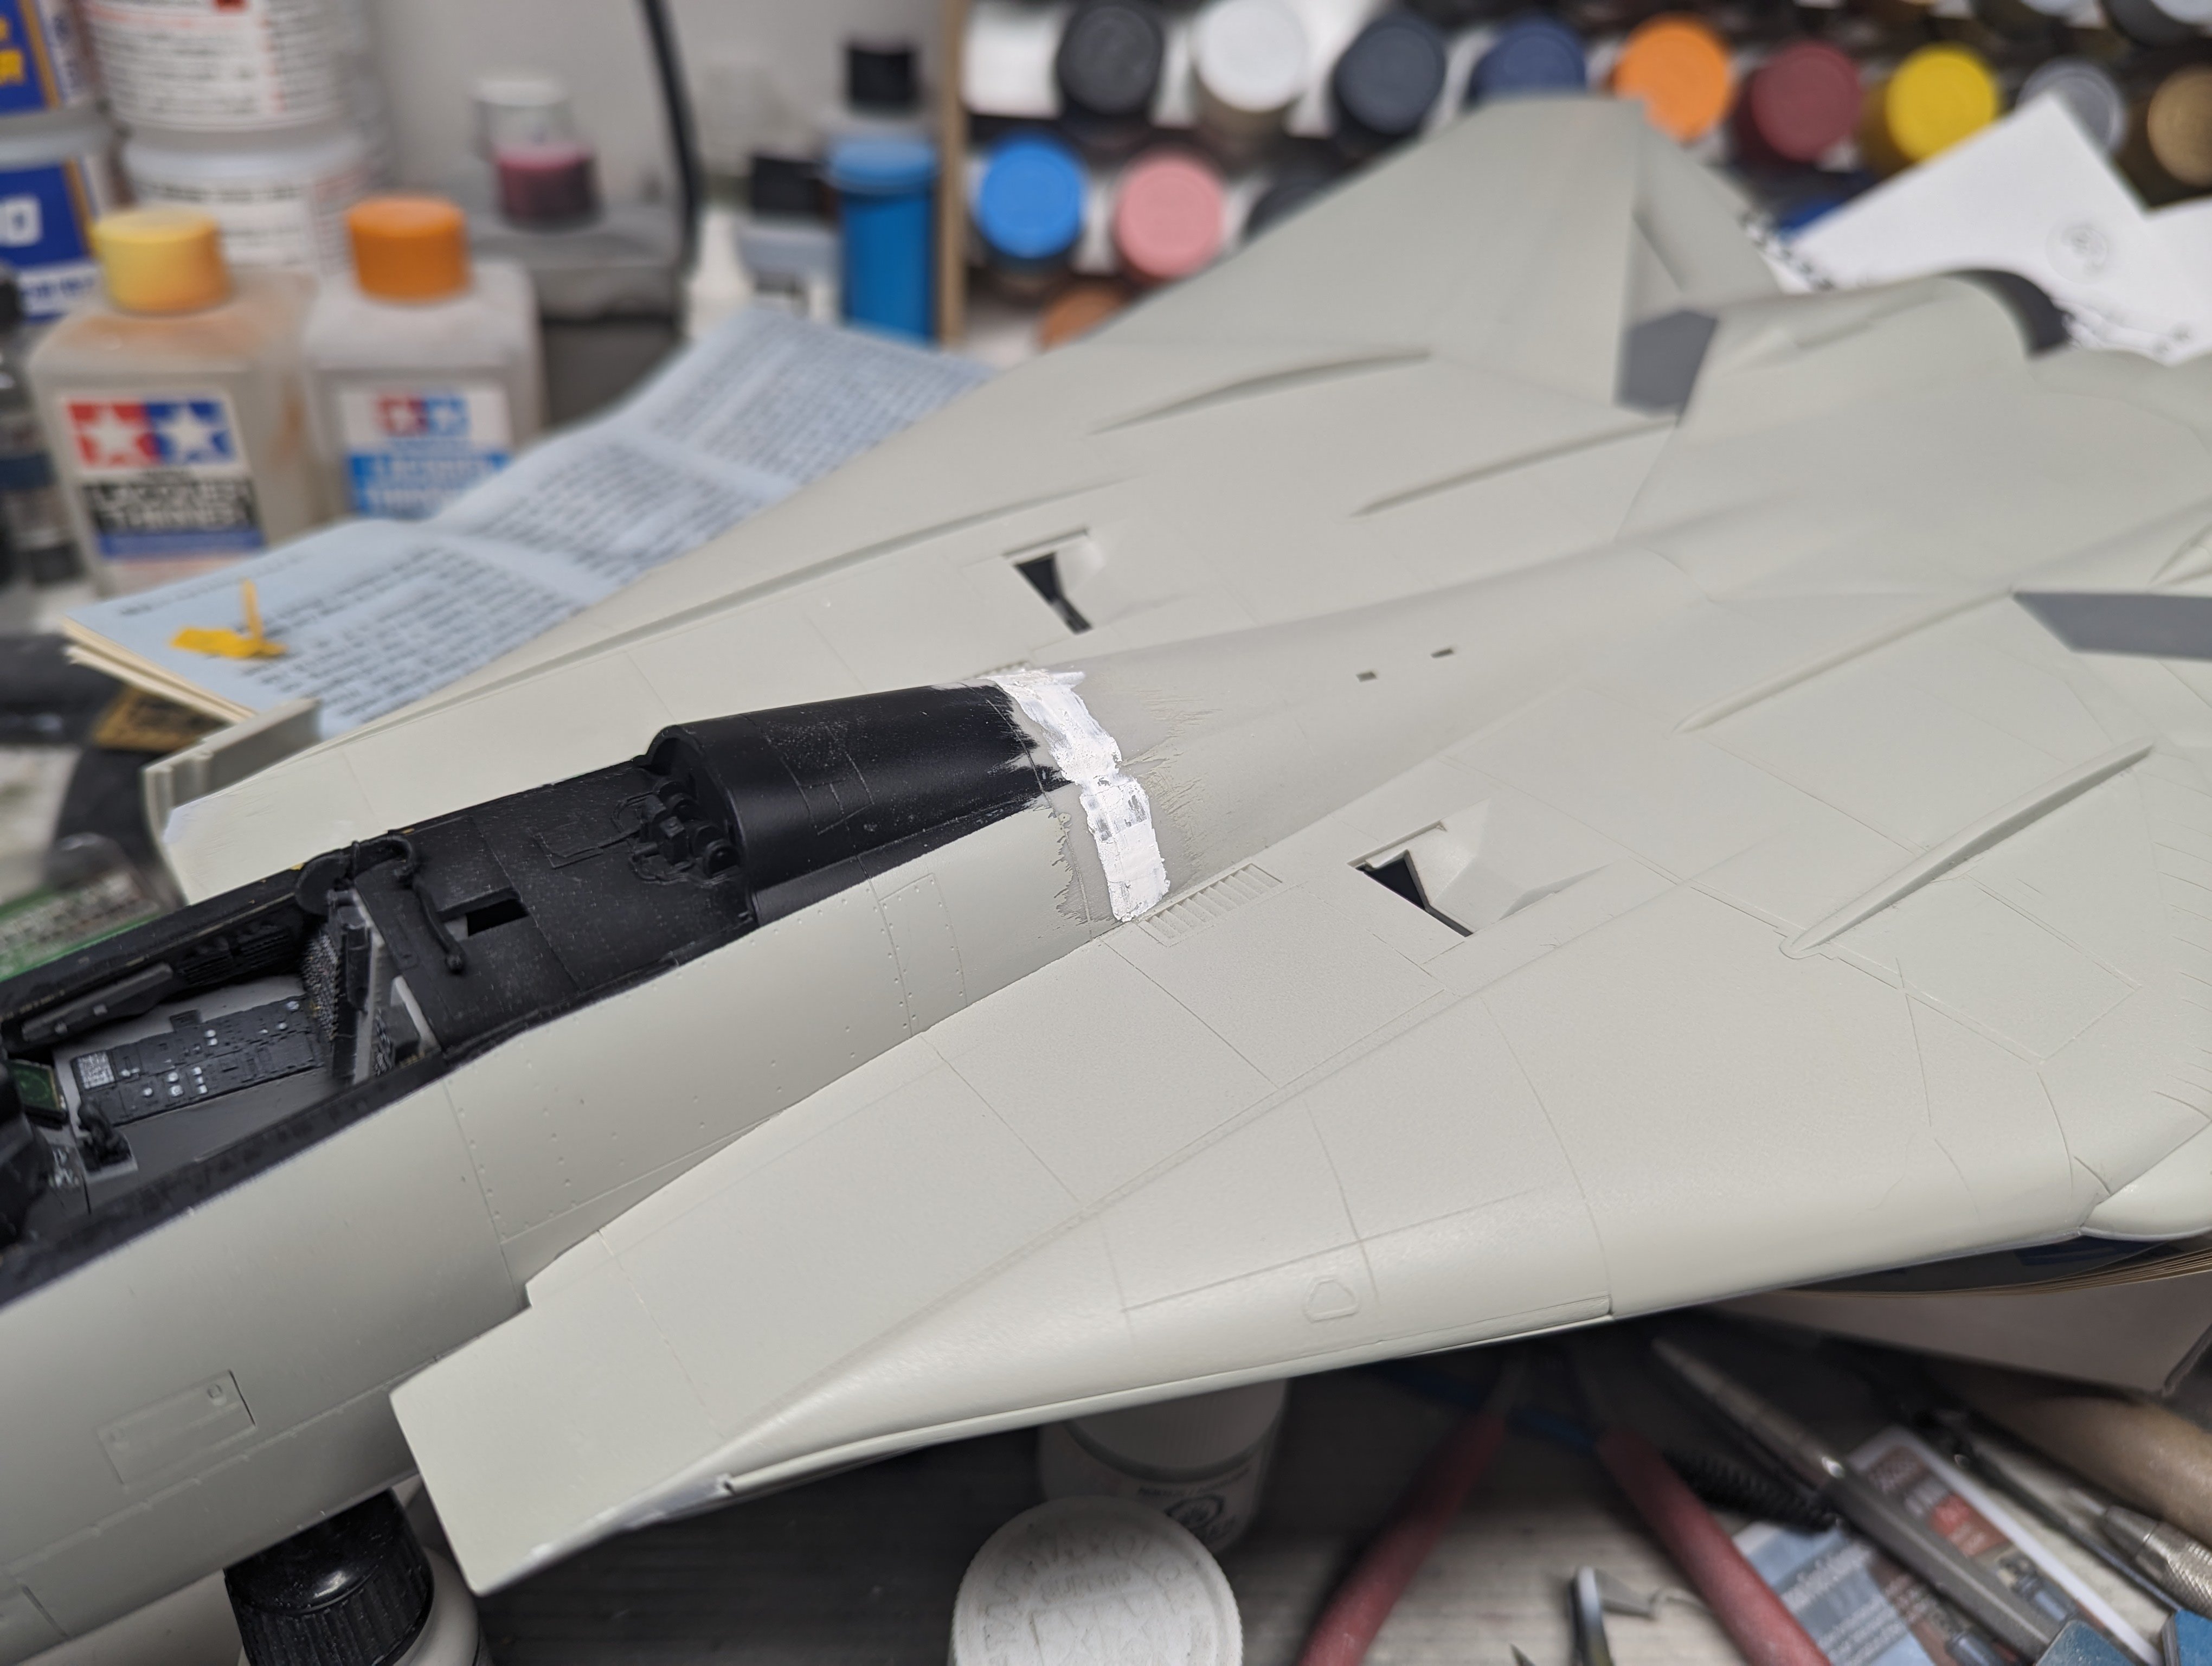
"Alert 1 to Eagle 1, splash the Zeros!"- Tamiya F-14
BlrwestSiR replied to BlrwestSiR's topic in Let’s Get Wet Group Build.
Seam now filled with putty.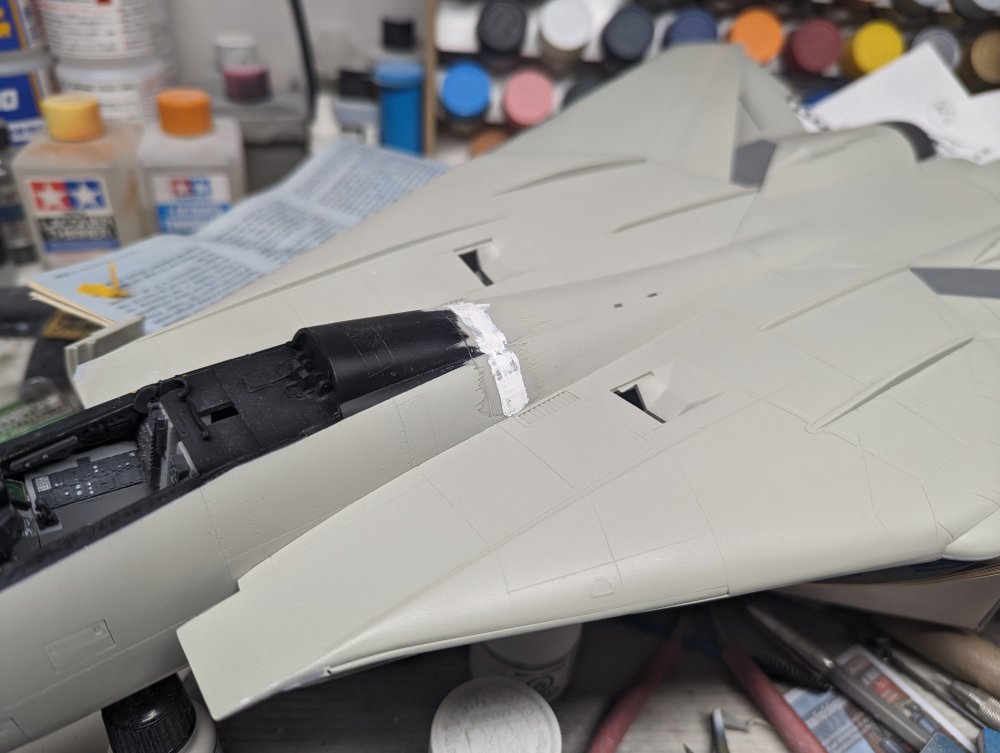
-
Thanks Phil. I thought they were like a chisel but wasn't sure.
-
"Alert 1 to Eagle 1, splash the Zeros!"- Tamiya F-14
BlrwestSiR replied to BlrwestSiR's topic in Let’s Get Wet Group Build.
Sprue goo for the preliminary filling as well as strengthening of the joint.
-
Trumpeter TBD-1 Devastator
BlrwestSiR replied to Clunkmeister's topic in LSM 1/35 and Larger Work In Progress
That looks good. Nice fix on the windscreen and well worth the effort. -
"Alert 1 to Eagle 1, splash the Zeros!"- Tamiya F-14
BlrwestSiR replied to BlrwestSiR's topic in Let’s Get Wet Group Build.
Fuselage is now one piece. Once dry I'll fill the join and do touch up paint work.
-
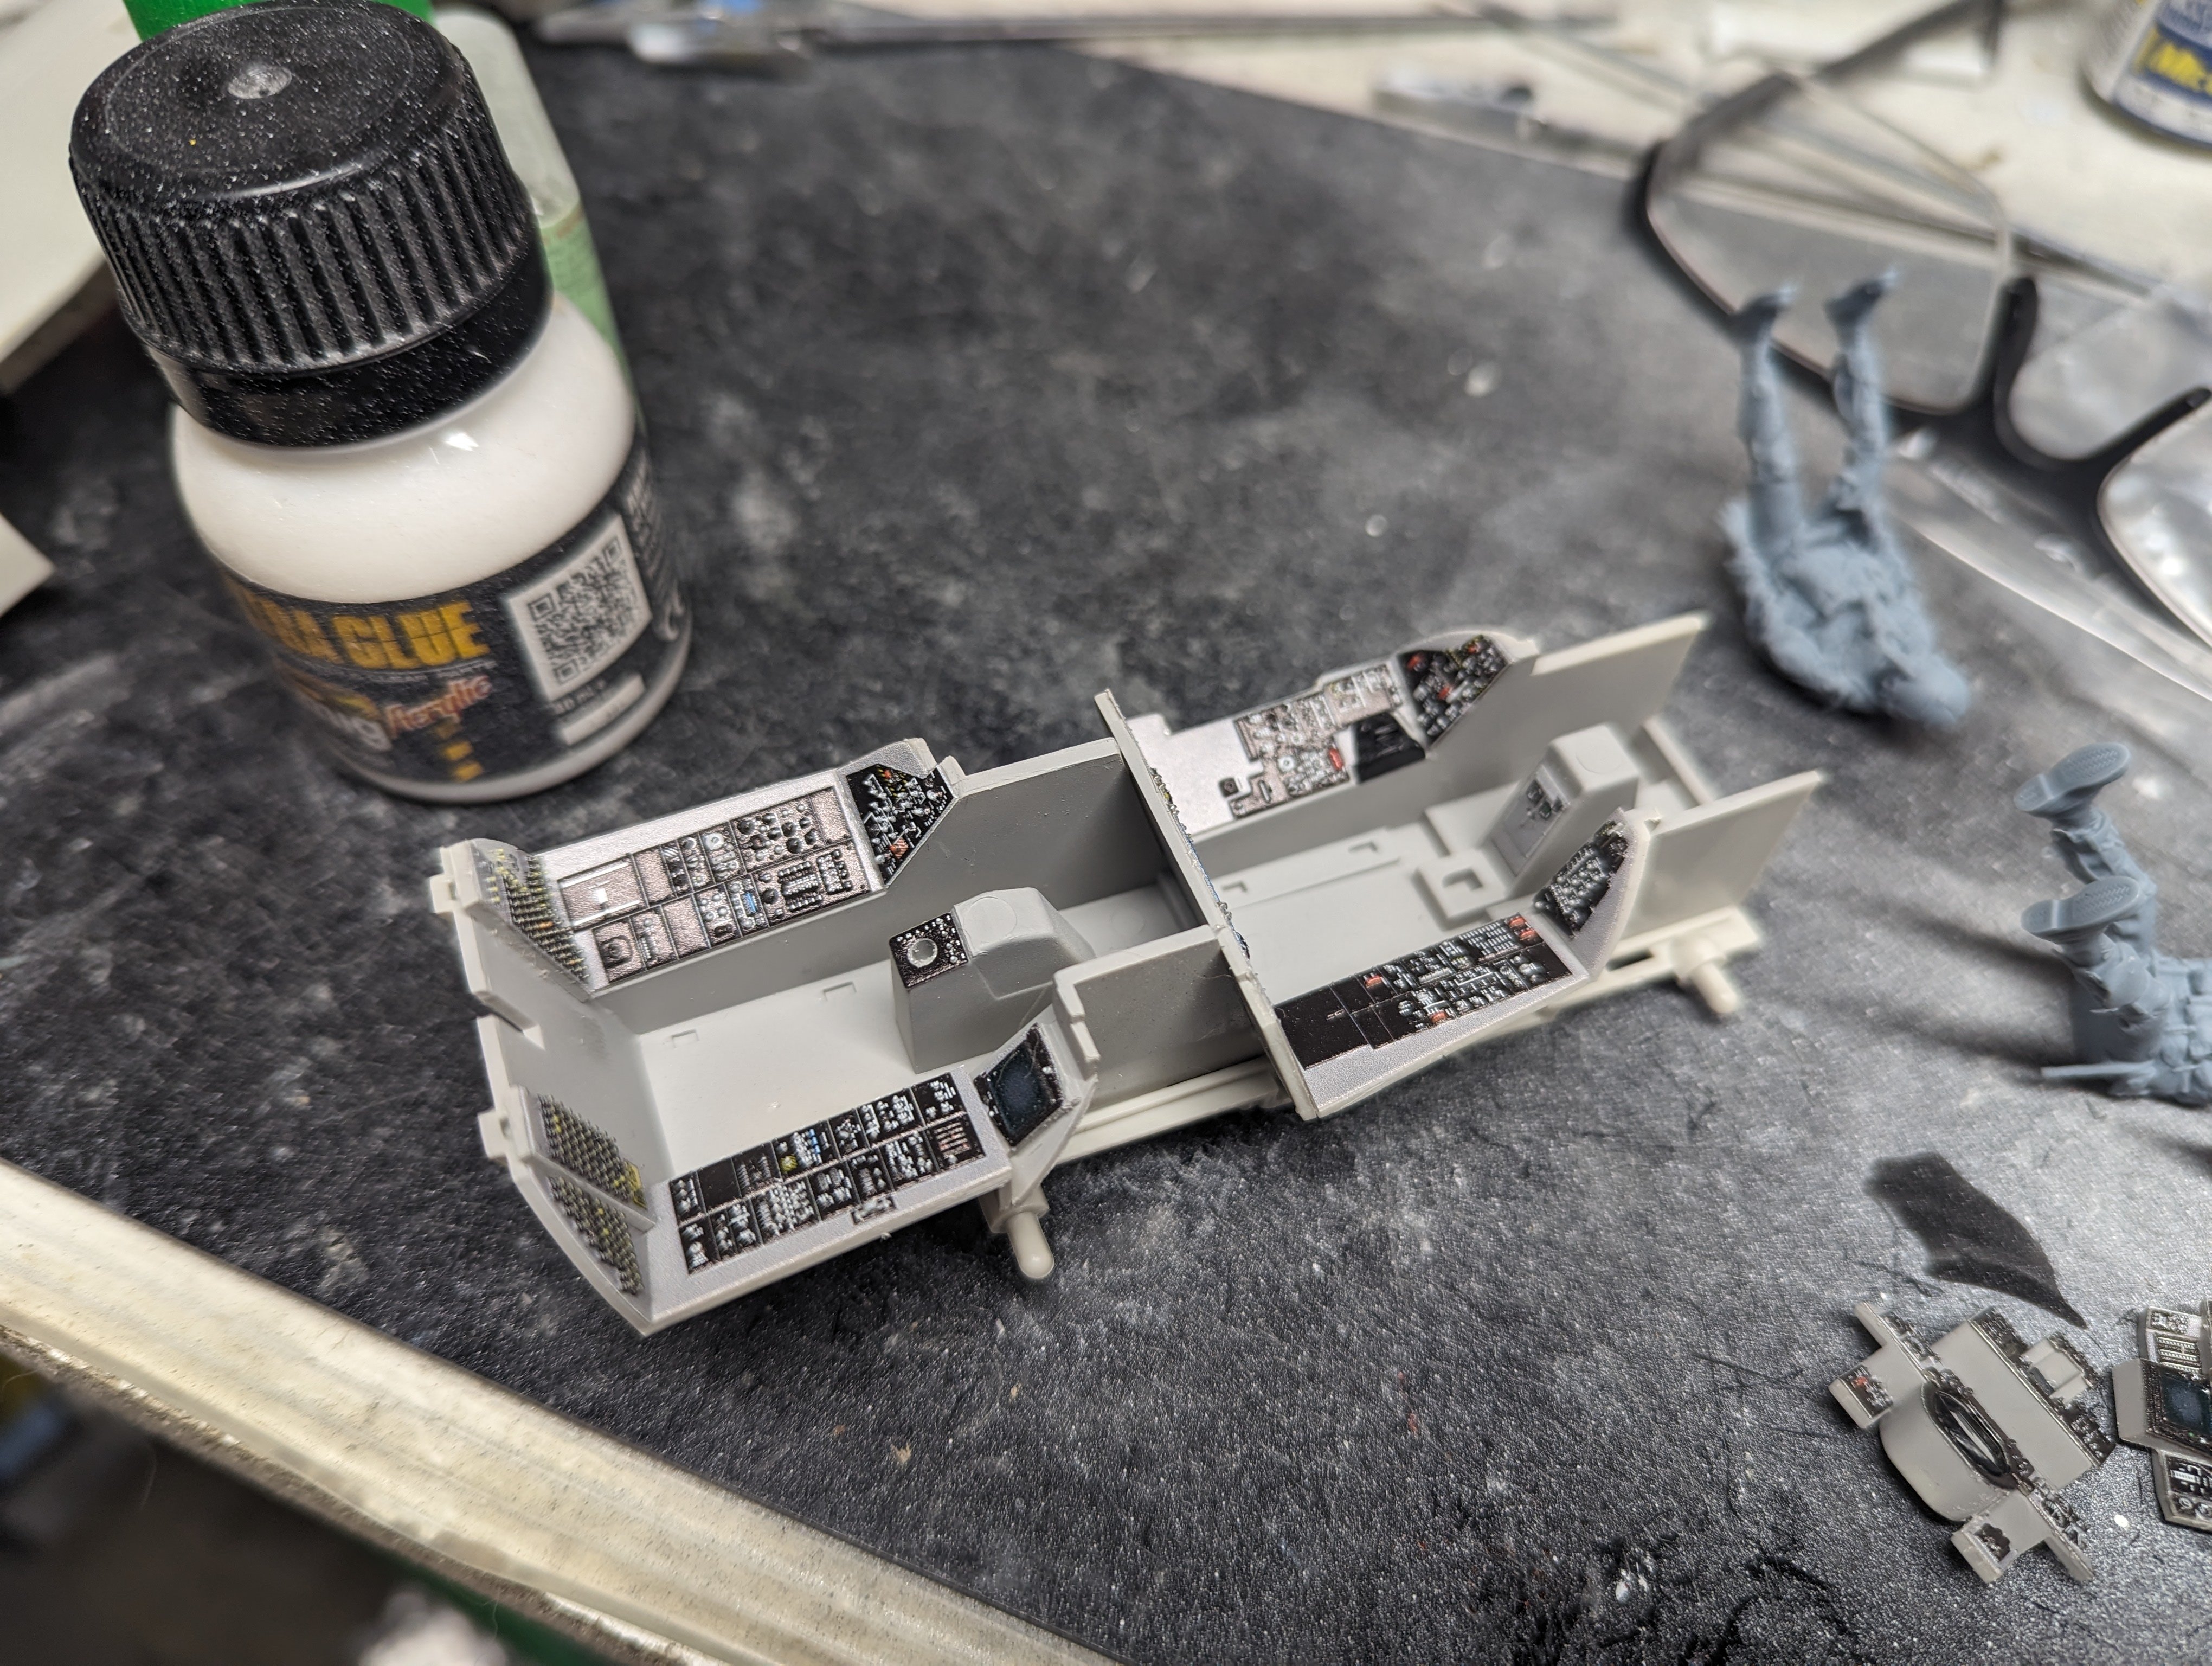
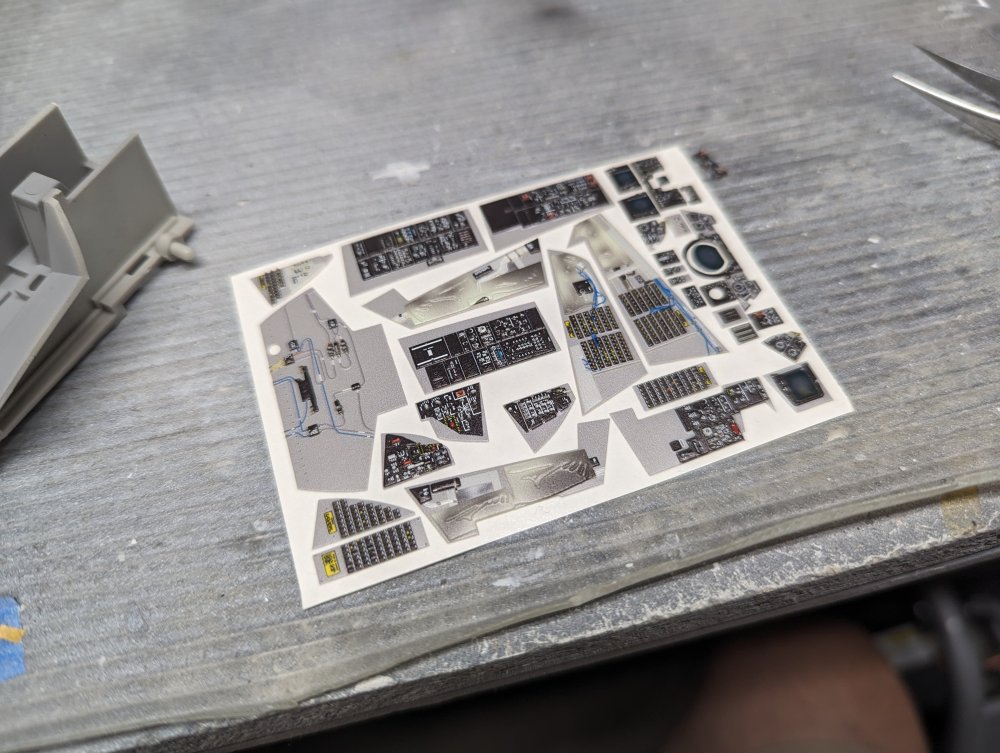
Here's the Red Fox set for the Tamiya F-14A A couple panels were a bit over sized but I managed to trim them down slightly. Do be careful if you try that as they are definitely stiffer and more brittle feeling compared to the Quinta or Kits-World ones.
-
Announcement of a Zotz A-20 decal release?
BlrwestSiR replied to Clunkmeister's topic in Modelling Discussion
Nope, they're 1/32. My guess the 1/33 is a typo. Eli is asking for suggestions for other subjects to do. He also said the release will be limited so grab it while you can. -
Announcement of a Zotz A-20 decal release?
BlrwestSiR replied to Clunkmeister's topic in Modelling Discussion
Hannants has it listed for pre-order and it's been confirmed by Eli himself. https://www.hannants.co.uk/product/ZTZ32084?result-token=BB8N5 -
1/16 scale Tiger VI Ausf E early build
BlrwestSiR replied to CrankyCrafstman's topic in LSM 1/35 and Larger Work In Progress
Amazing work Ron. -
Phil, I'm curious about the broach. I've seen them listed but not sure what the use is? I suspect it's a lost in translation thing.
-
I think I’m getting into my work a little too deep.
BlrwestSiR replied to ScottsGT's topic in General Discussion
I just spewed potato salad reading that! Thankfully no one was sitting opposite me. -
Fast work John. Glad to have pointed out the bulkhead issue before it causes any problems. For the cannon, there's only the CMK ones in resin. The Whirlwind had the recoil springs exposed so there's nothing else that matches. The closest would be ones for a Hurricane IIC or D but they're not an exact match.
-
LSM Modelling News 2023 merged Fran and Artful69’s threads
BlrwestSiR replied to Fran's topic in Modelling Discussion
Just got an email from Attitude Aviation (Bouchon Scale Models) and they're about to release a retractable tailwheel for the Airfix 1/24 Spitfire kit. Which means building a VII and VIII are now possible. https://www.buchonscalemodels.com/products/1-24-spitfire-retractable-tailwheel-resin-conversion He also mentioned there's more coming and has a picture of a Griffon Spitfire.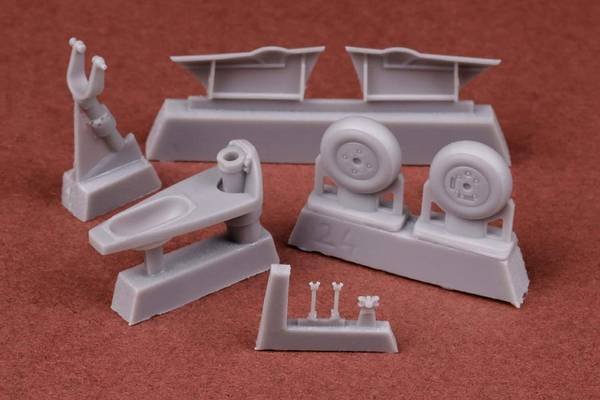
-
That's definitely an odd one there Scott. I haven't come across that issue before.
-
Looks good Scott. I'm getting close to engine install too.
-
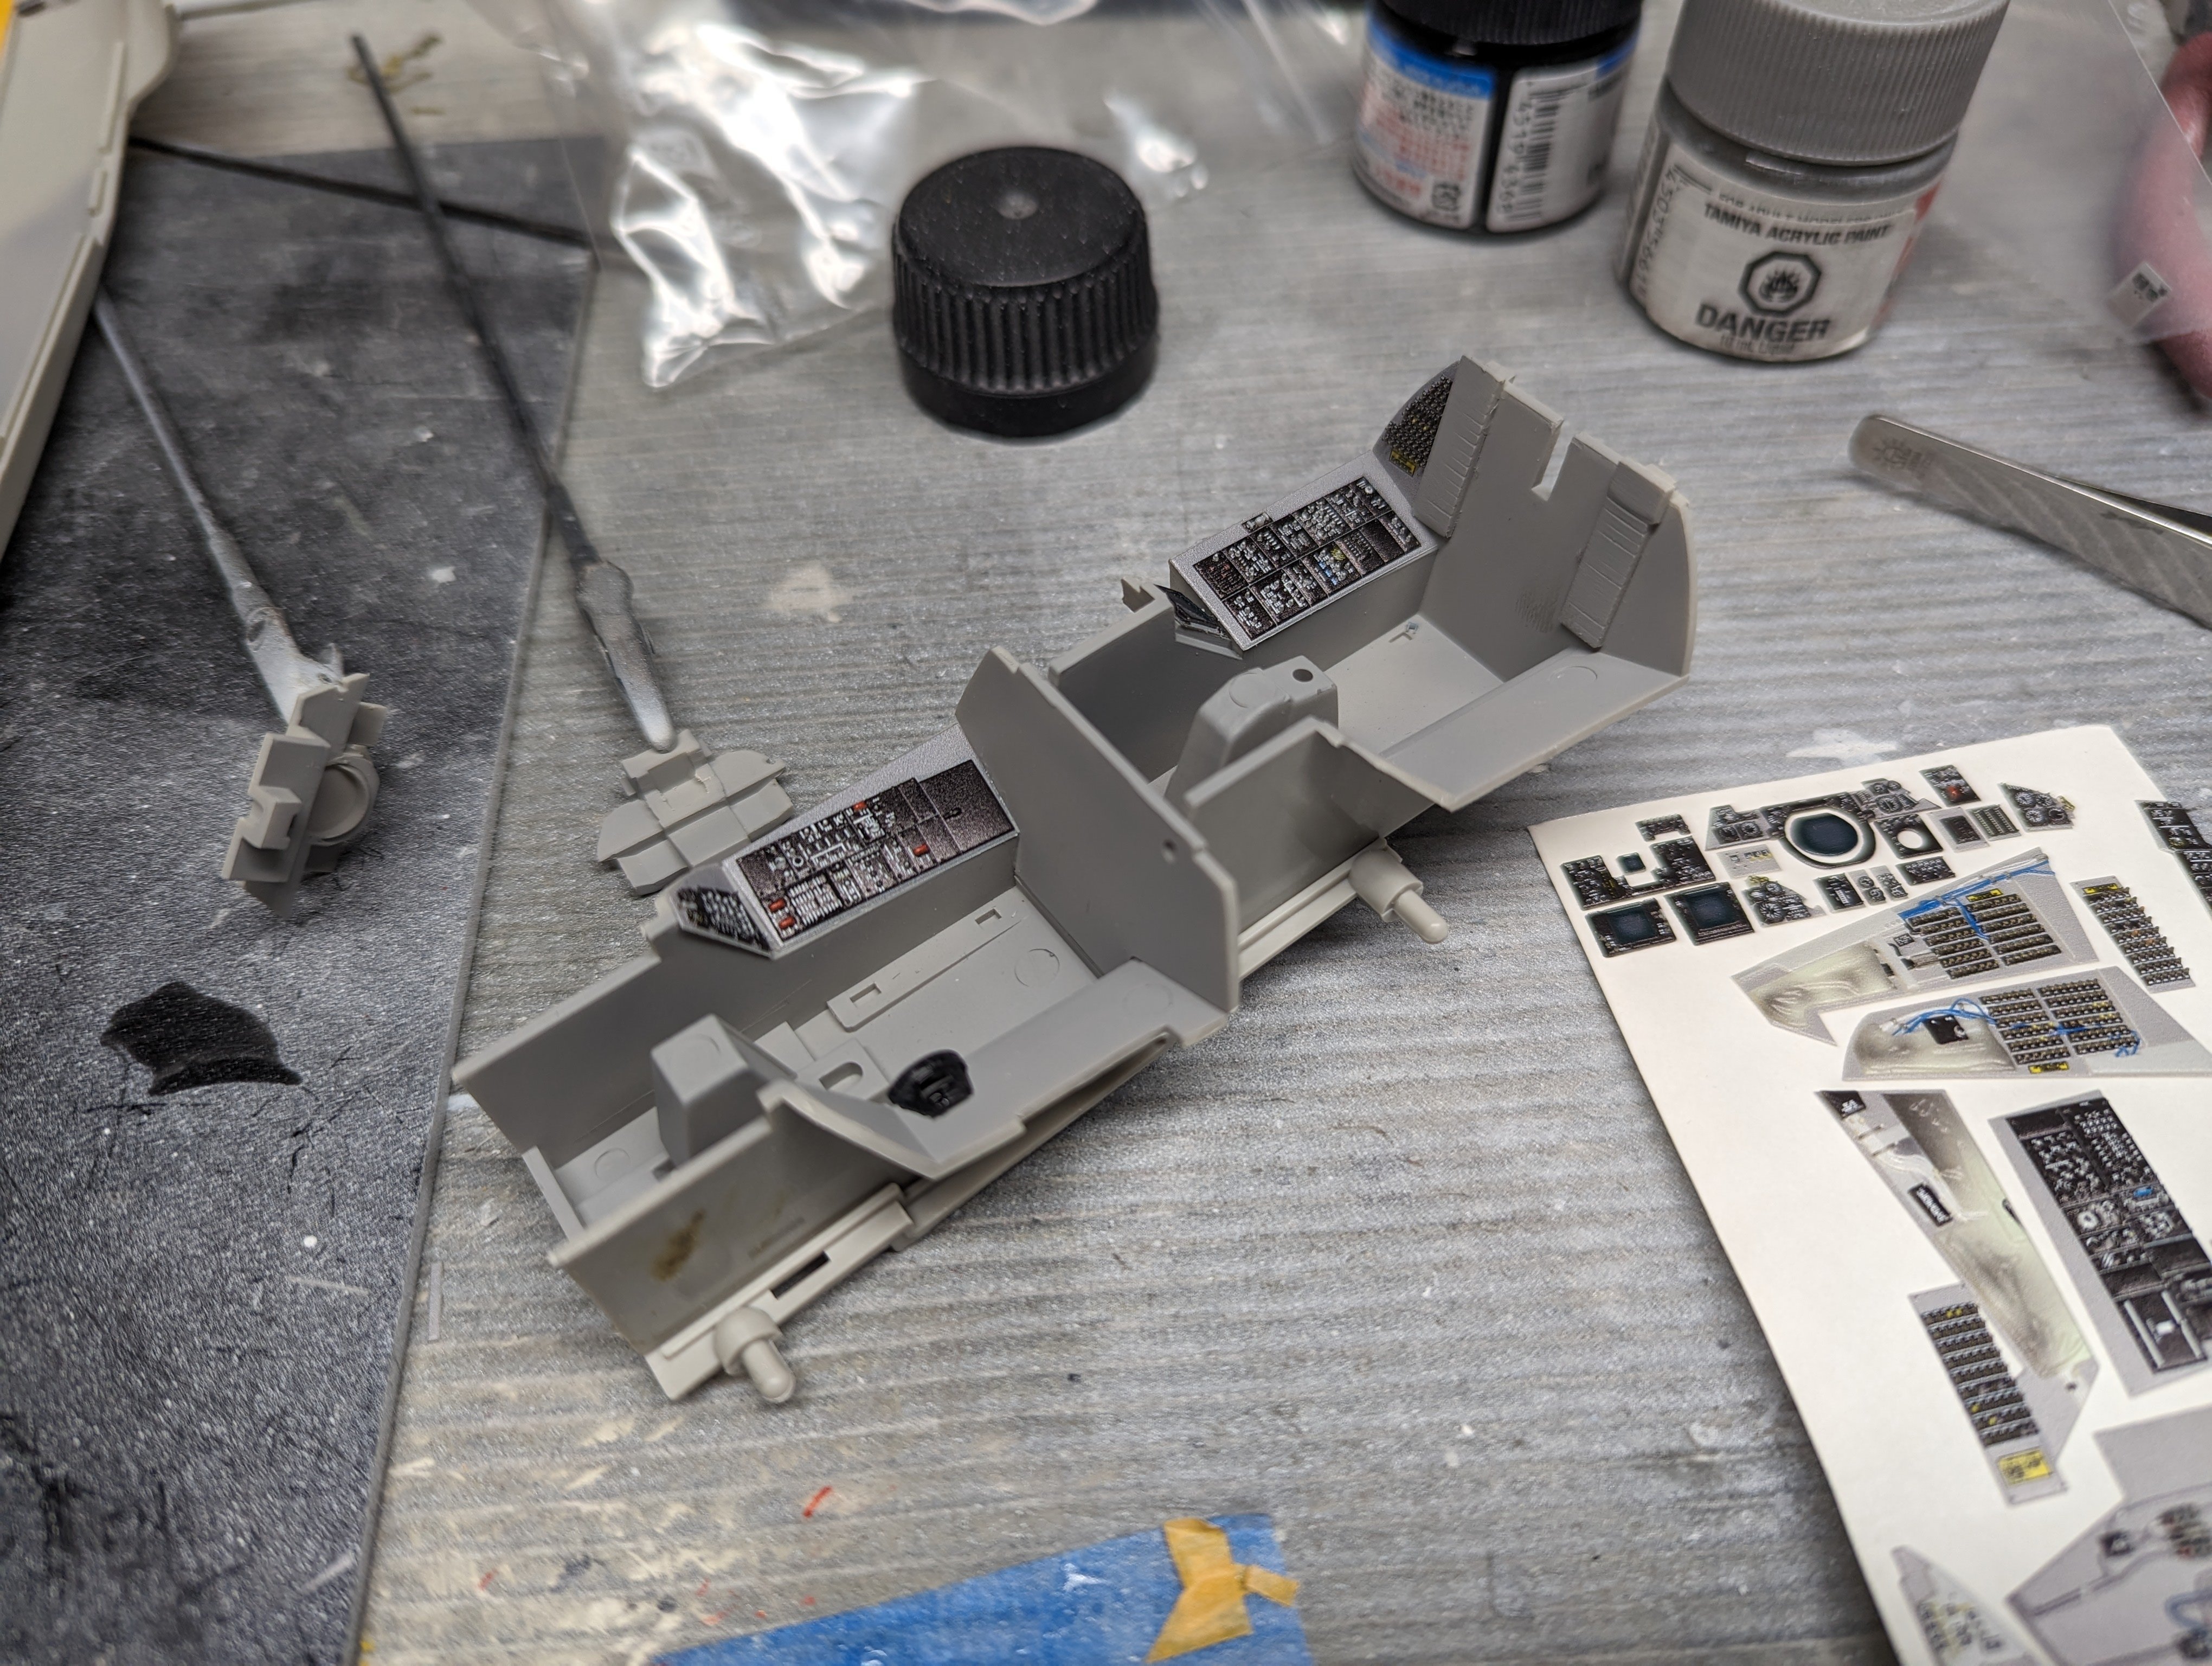
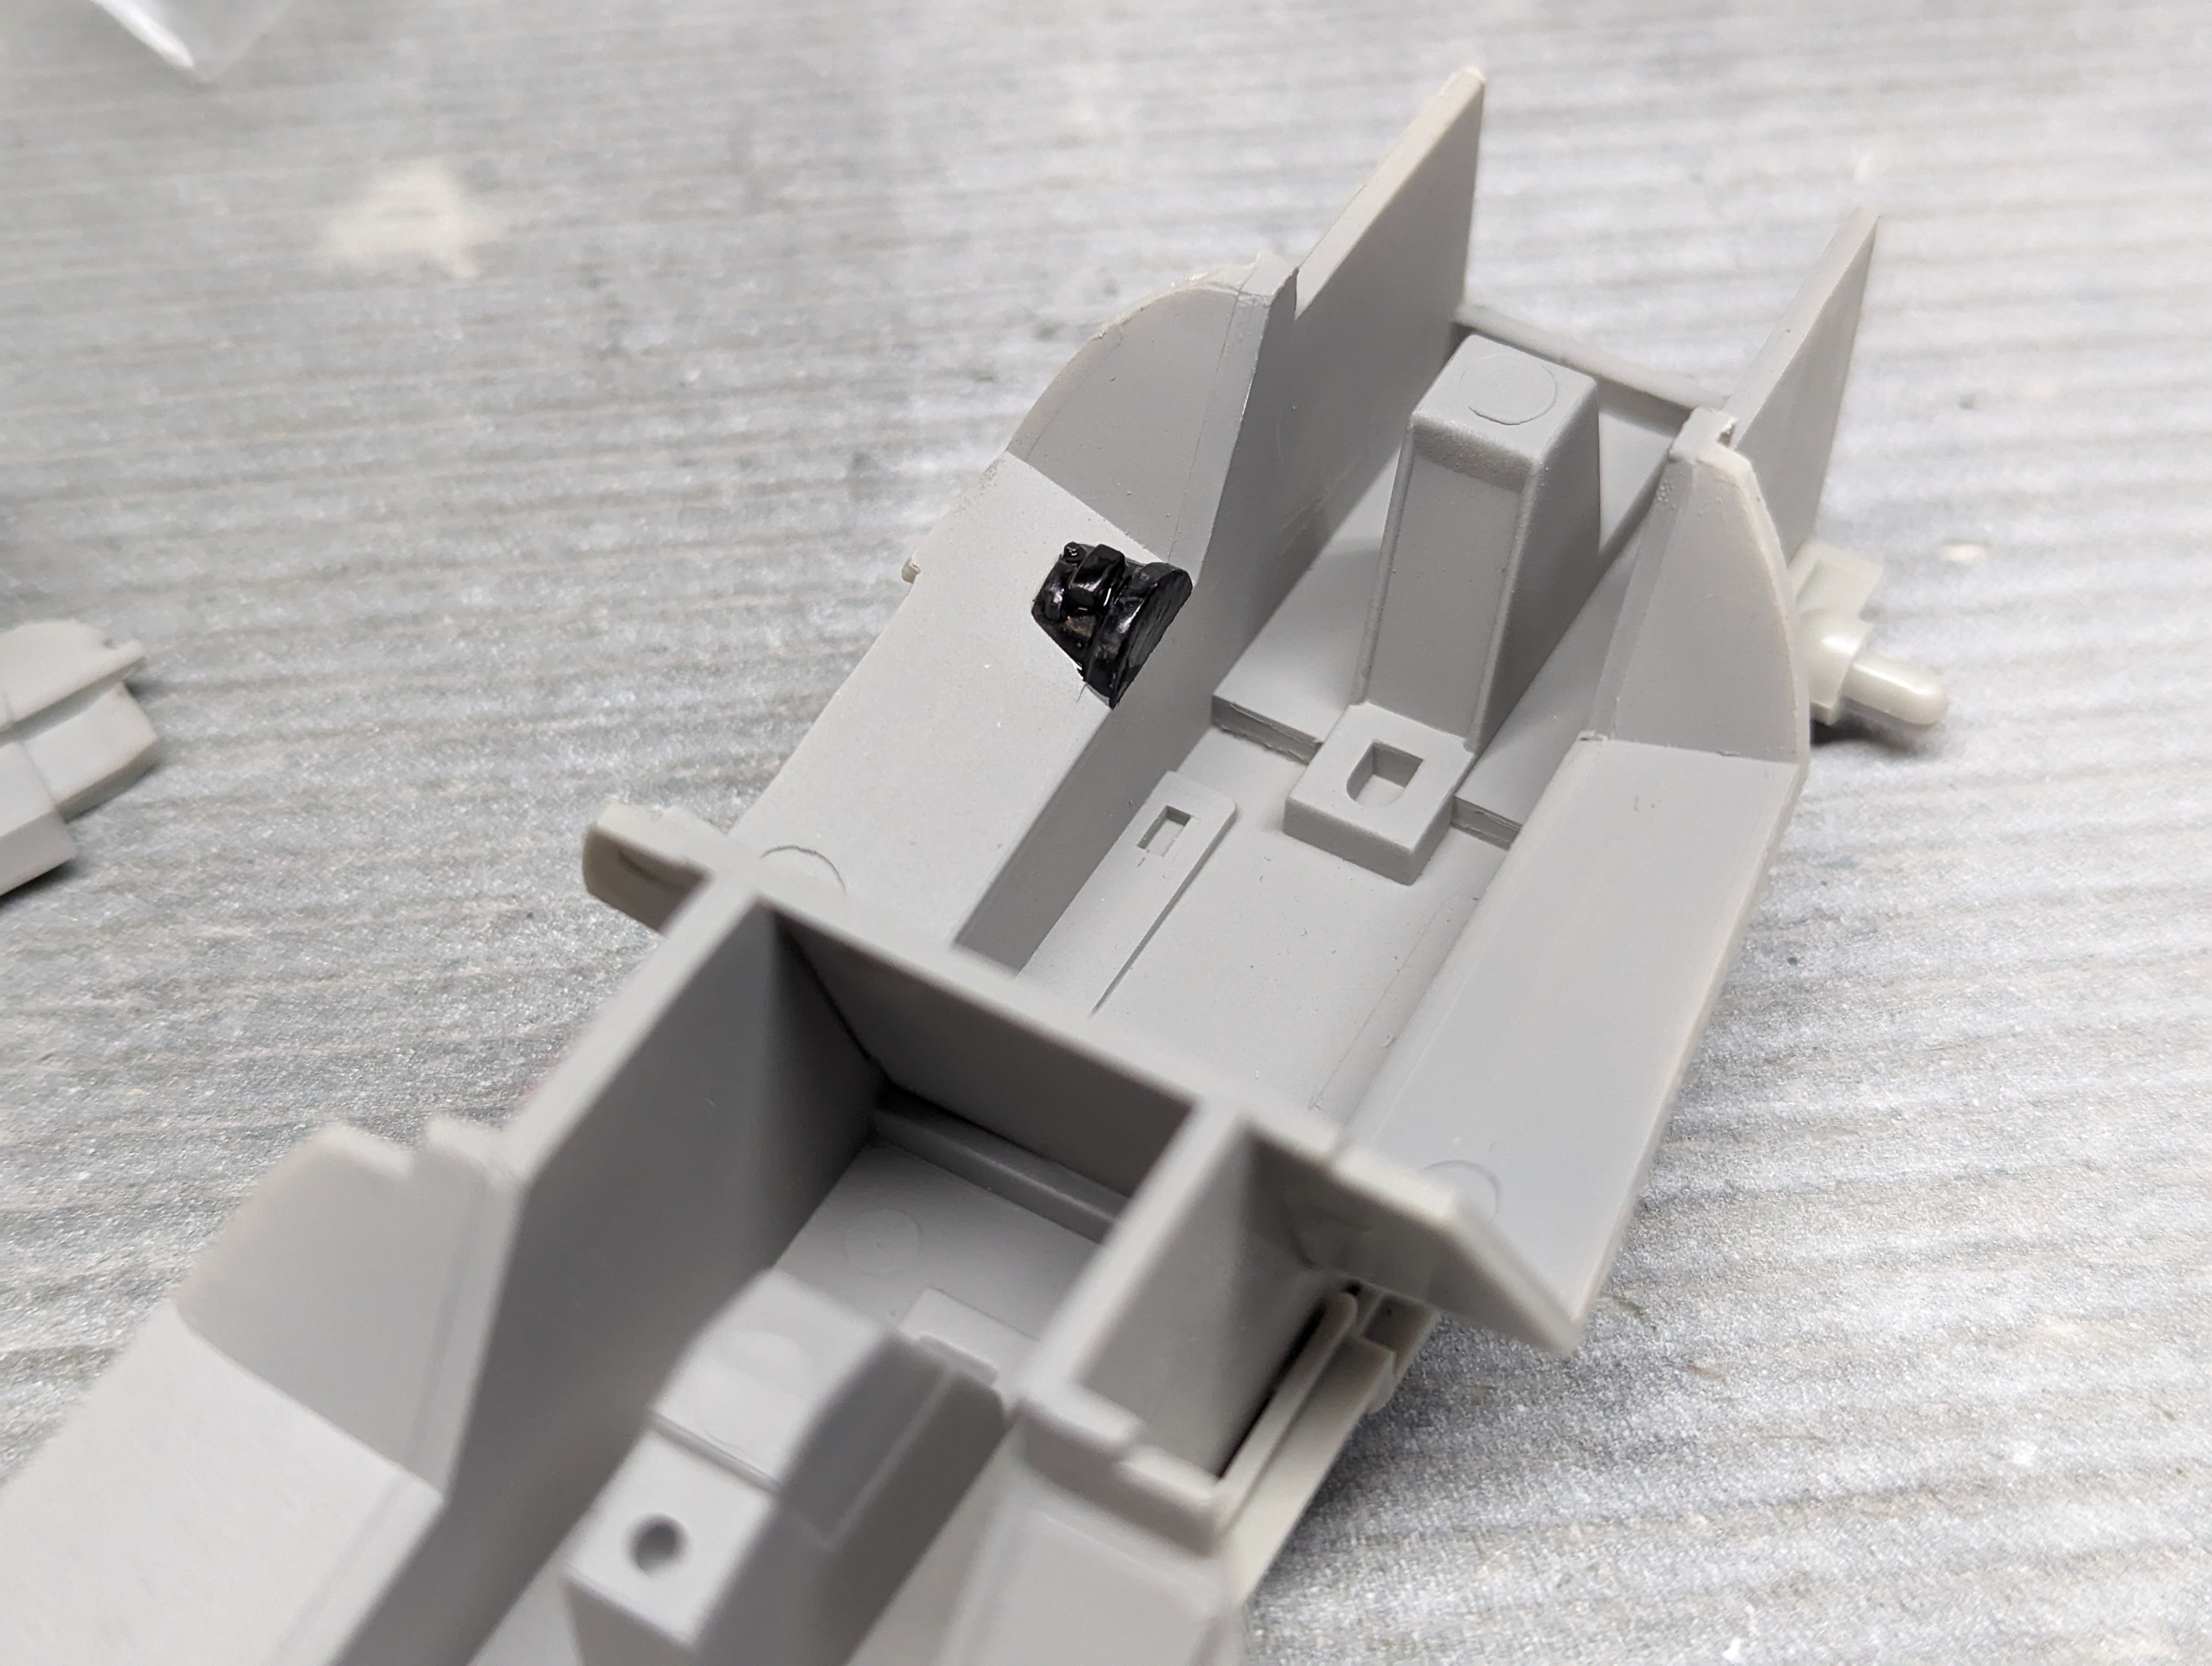
Another Tomcat, I know.
BlrwestSiR replied to BlrwestSiR's topic in LSM 1/35 and Larger Work In Progress
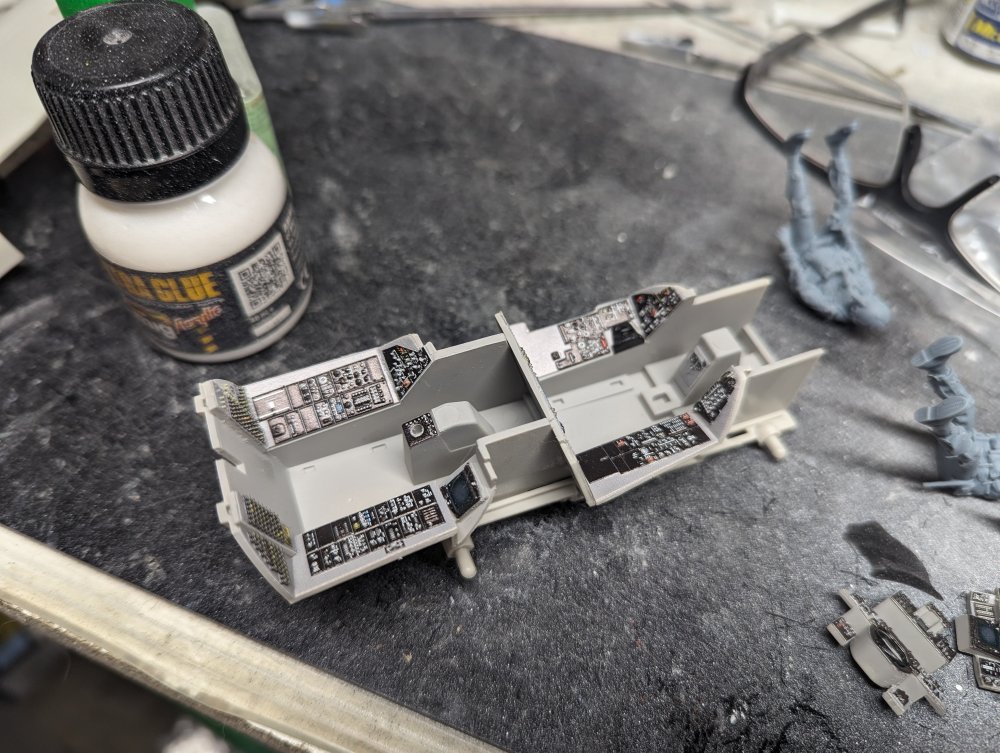
I started on the Red Fox IP. First up, I painted the throttle assembly prior to applying any of the panels. Then I started by working my way around the cockpit. I'm using PVA glue to apply them as it gives me lots of time to get them in place.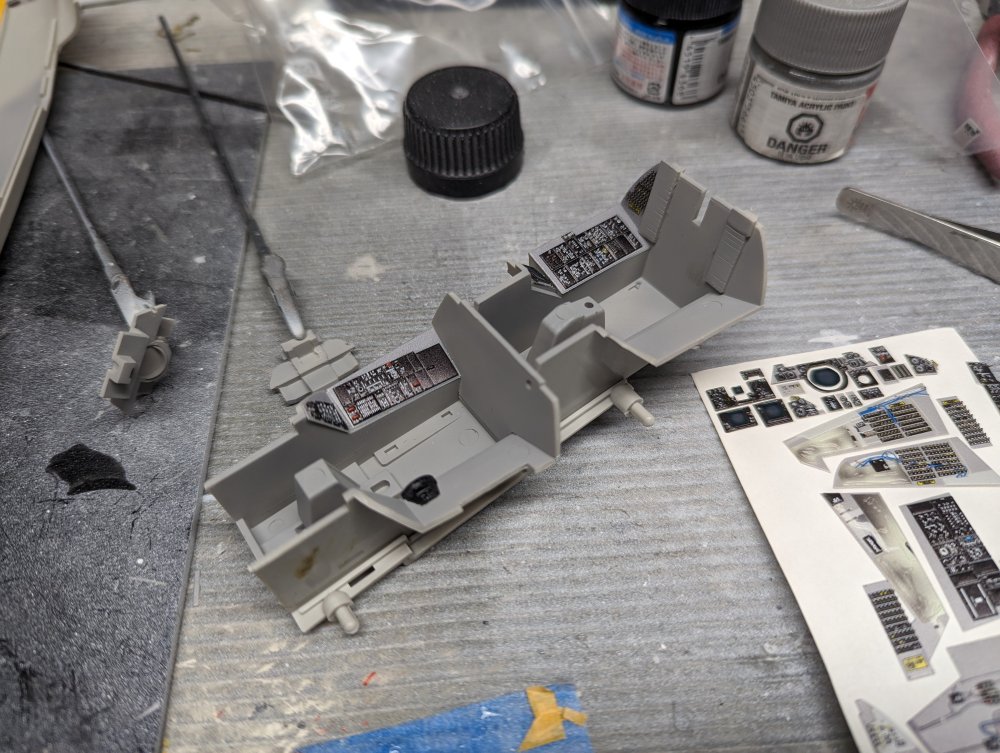
-
Ron, sounds like a Miniart kit. Hope it goes together like one.
-
Nice choice John. It's a nice kit. The only fit problem I found was the engine bulkheads in the nacelles. The mounts for the landing gear need a quick trim to fit properly. The top one is stock and the lower one is the modded one. Then the bulkhead fit fine.