BlrwestSiR
-
Posts
9,173 -
Joined
-
Last visited
Content Type
Profiles
Forums
Events
Gallery
Everything posted by BlrwestSiR
-
Nah, don't worry. My birthday was yesterday so you didn't.
-
 Beautiful model Ernie.
 -
Really nice paint job. Definitely distinctive that's for sure.
-
Thanks for sharing the pics. Lots of great looking builds there.
-
Thanks everyone! They were some small chocolate bars but Jimmy is a big dog and the actual amount of chocolate in them was so small he should be fine.
-
1/16 scale Tiger VI Ausf E early build
BlrwestSiR replied to CrankyCrafstman's topic in LSM 1/35 and Larger Work In Progress
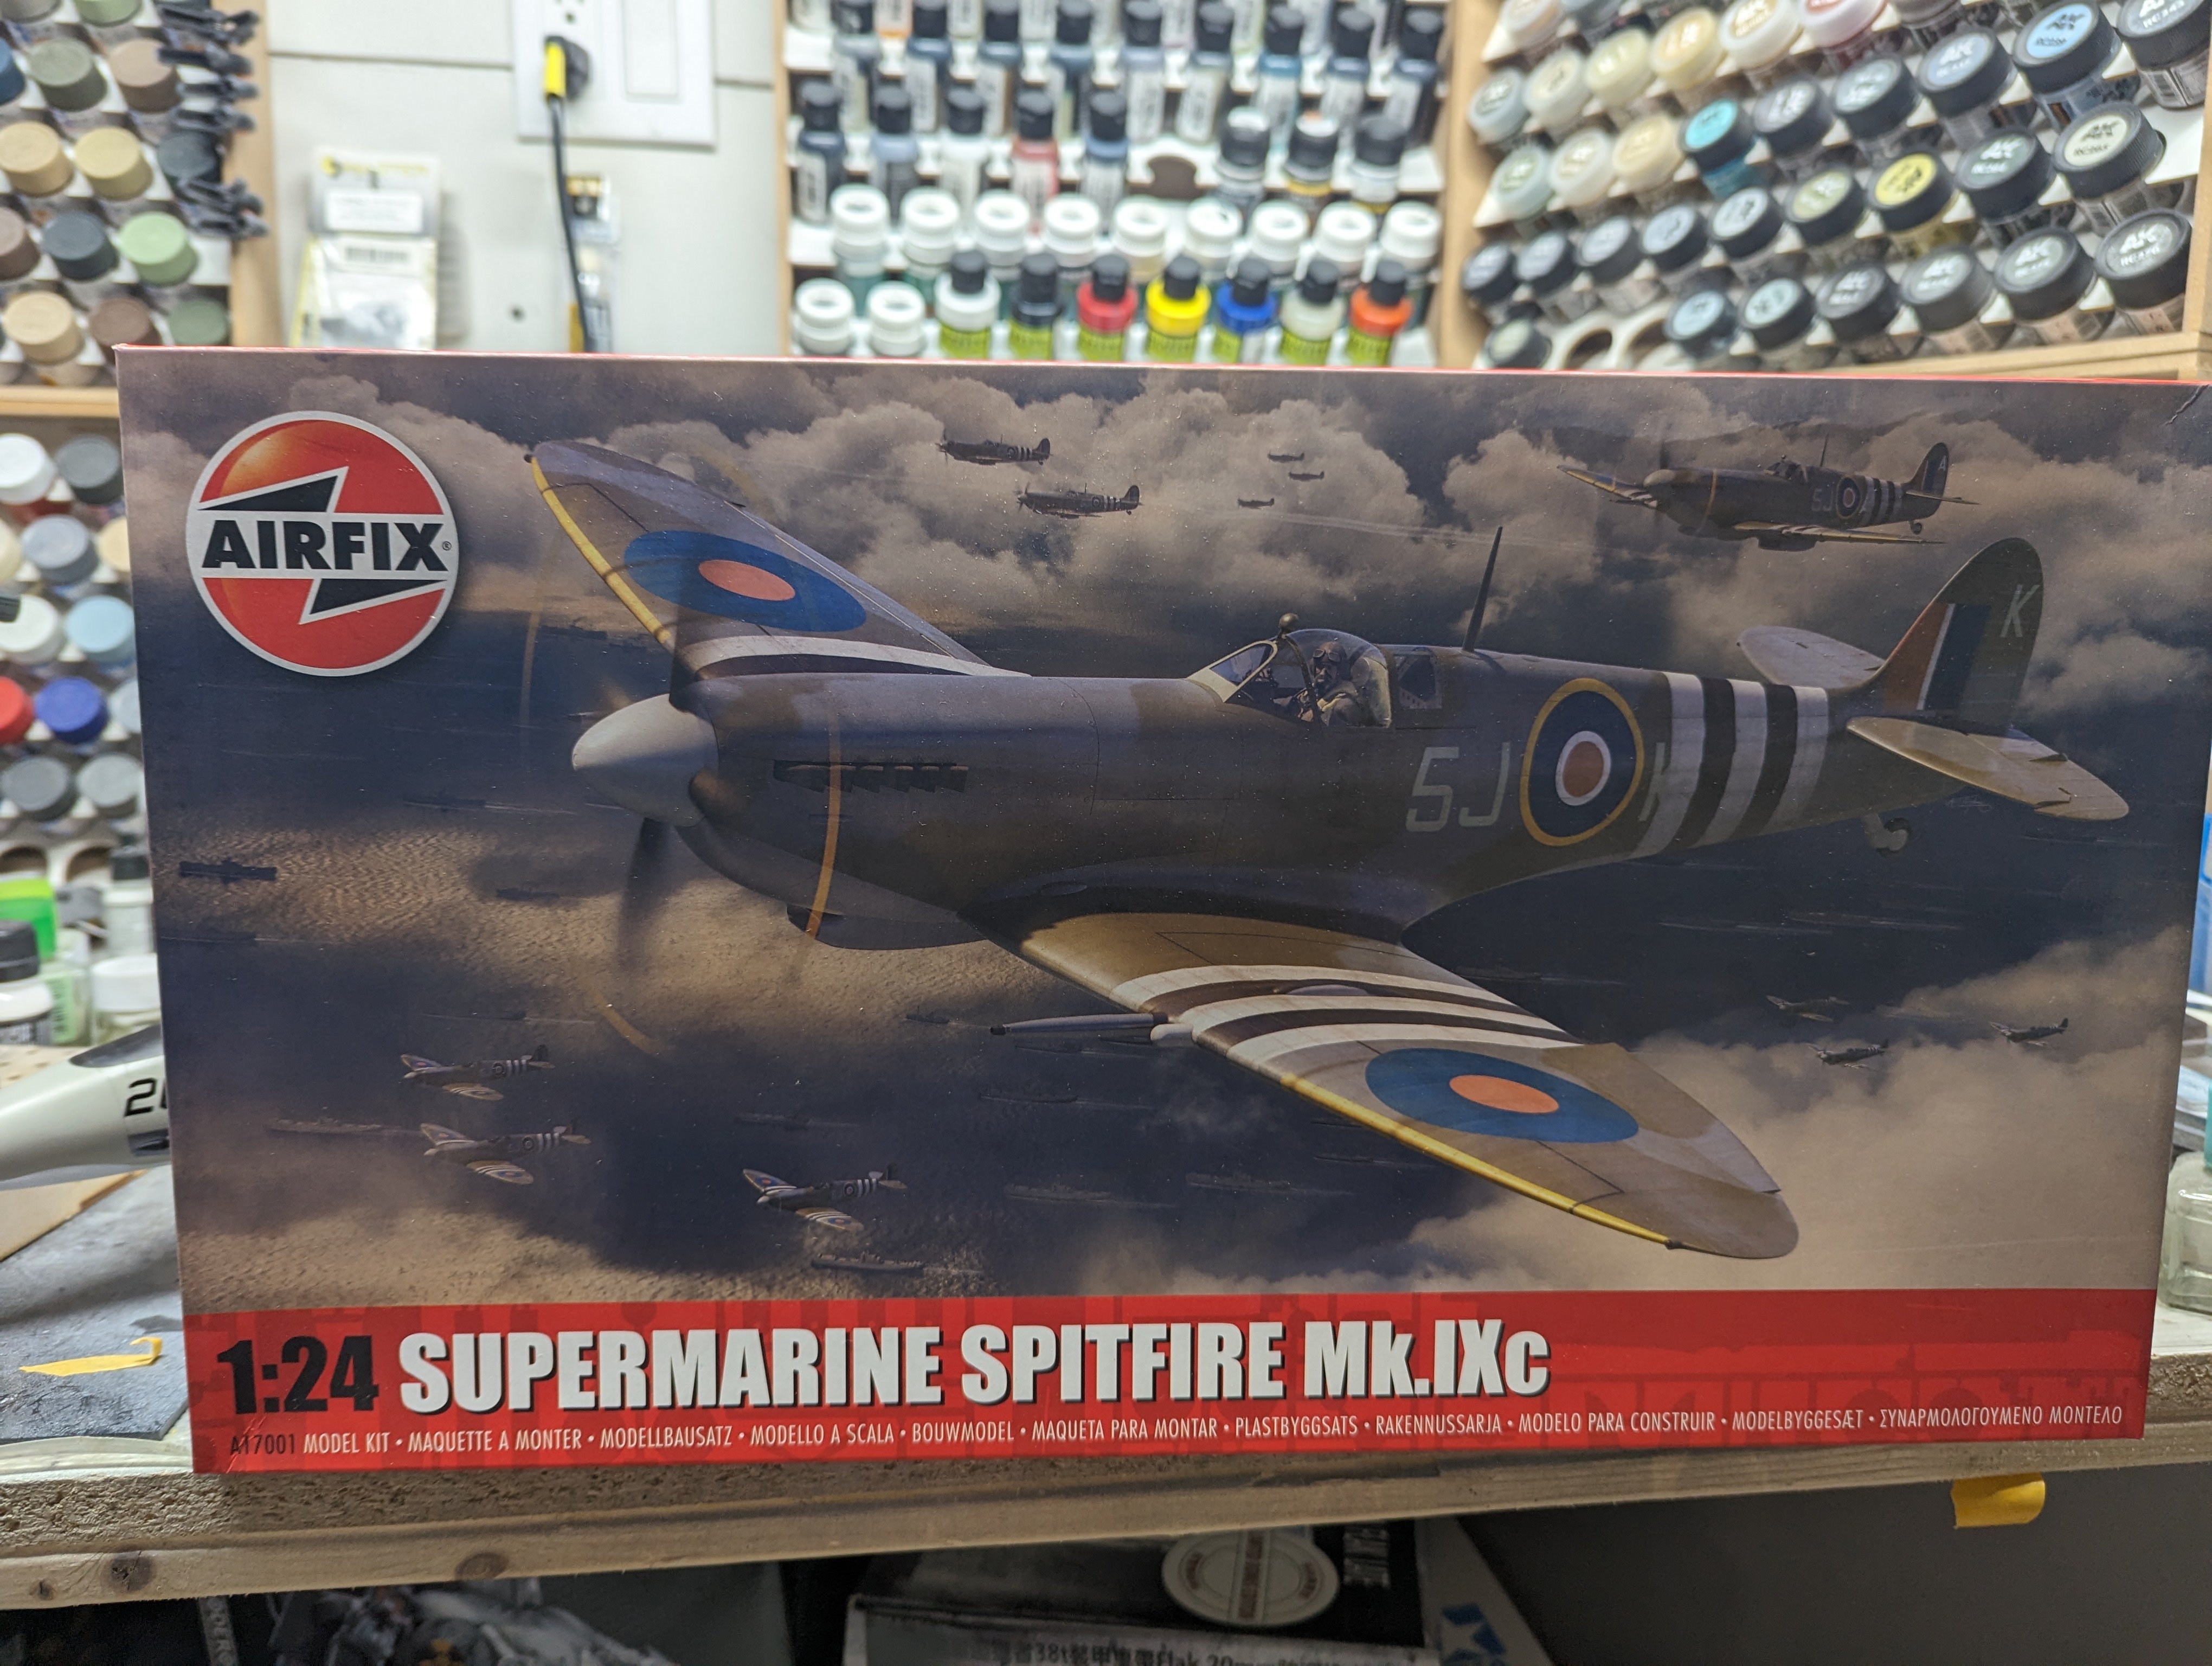
Ron, my LHS has them listed now with a pre-order discount. $187 CAD which was a bit too tempting. Luckily for me, we're done having kids. -
"Alert 1 to Eagle 1, splash the Zeros!"- Tamiya F-14
BlrwestSiR replied to BlrwestSiR's topic in Let’s Get Wet Group Build.
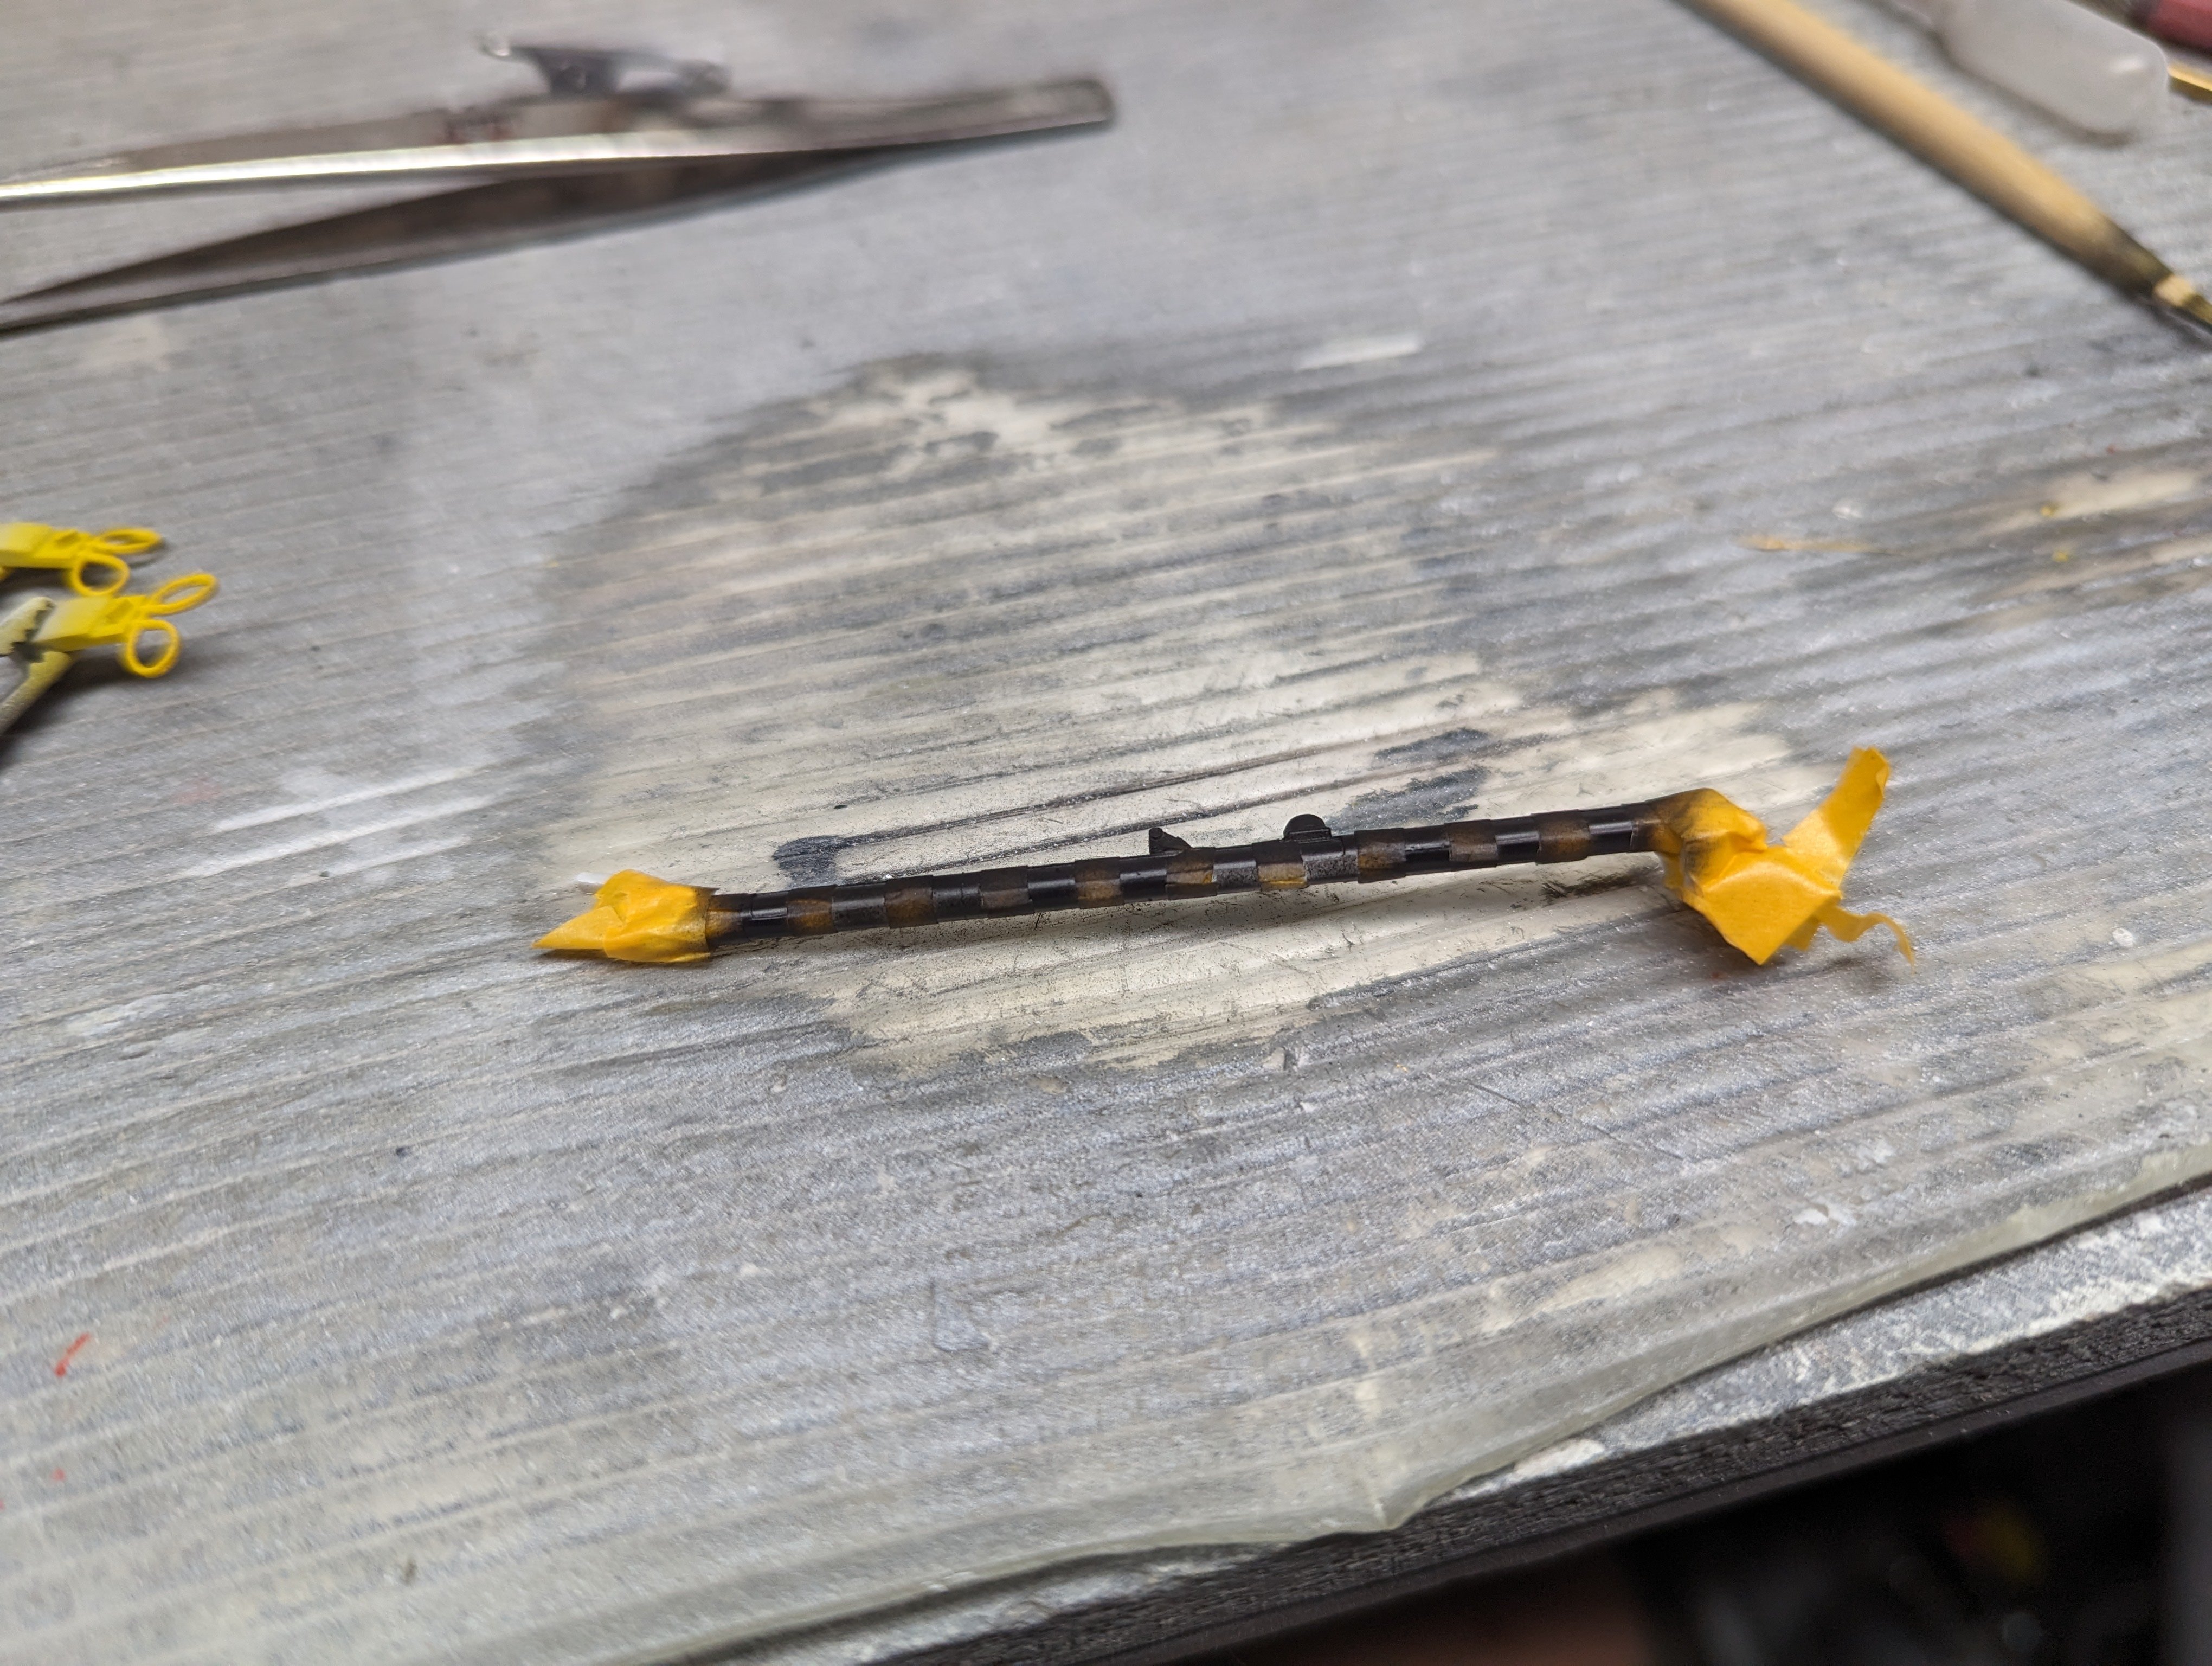
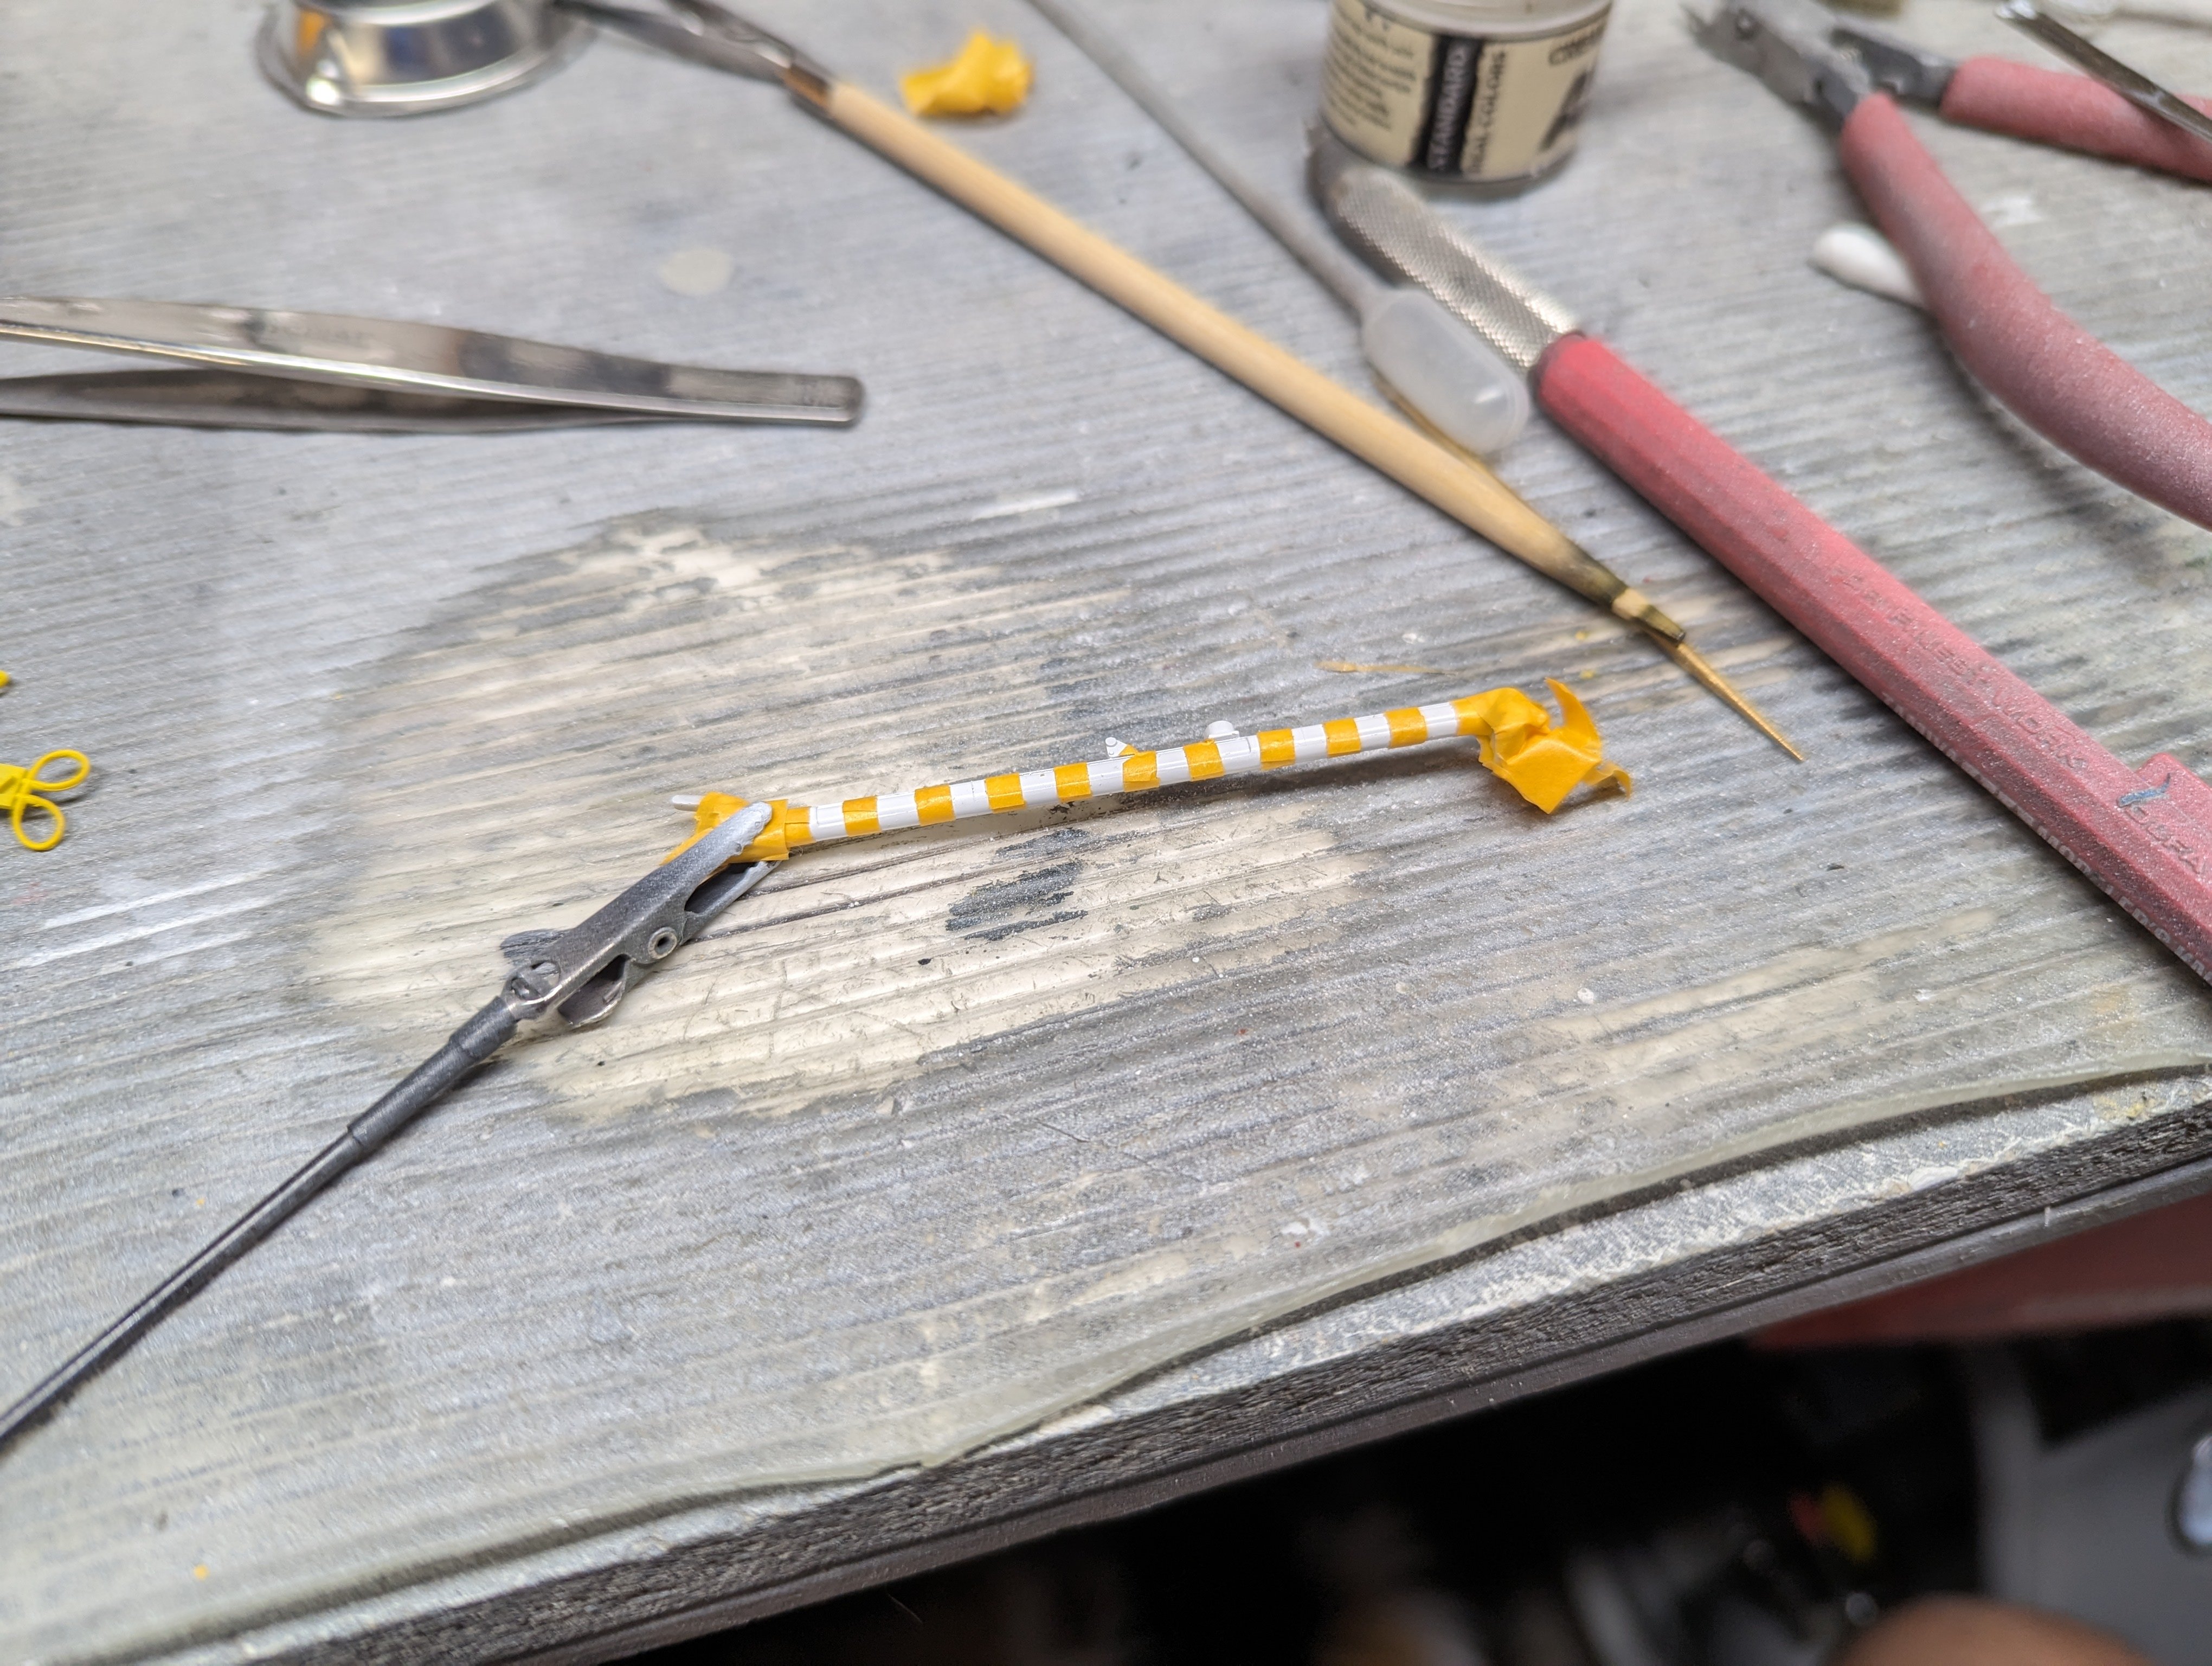
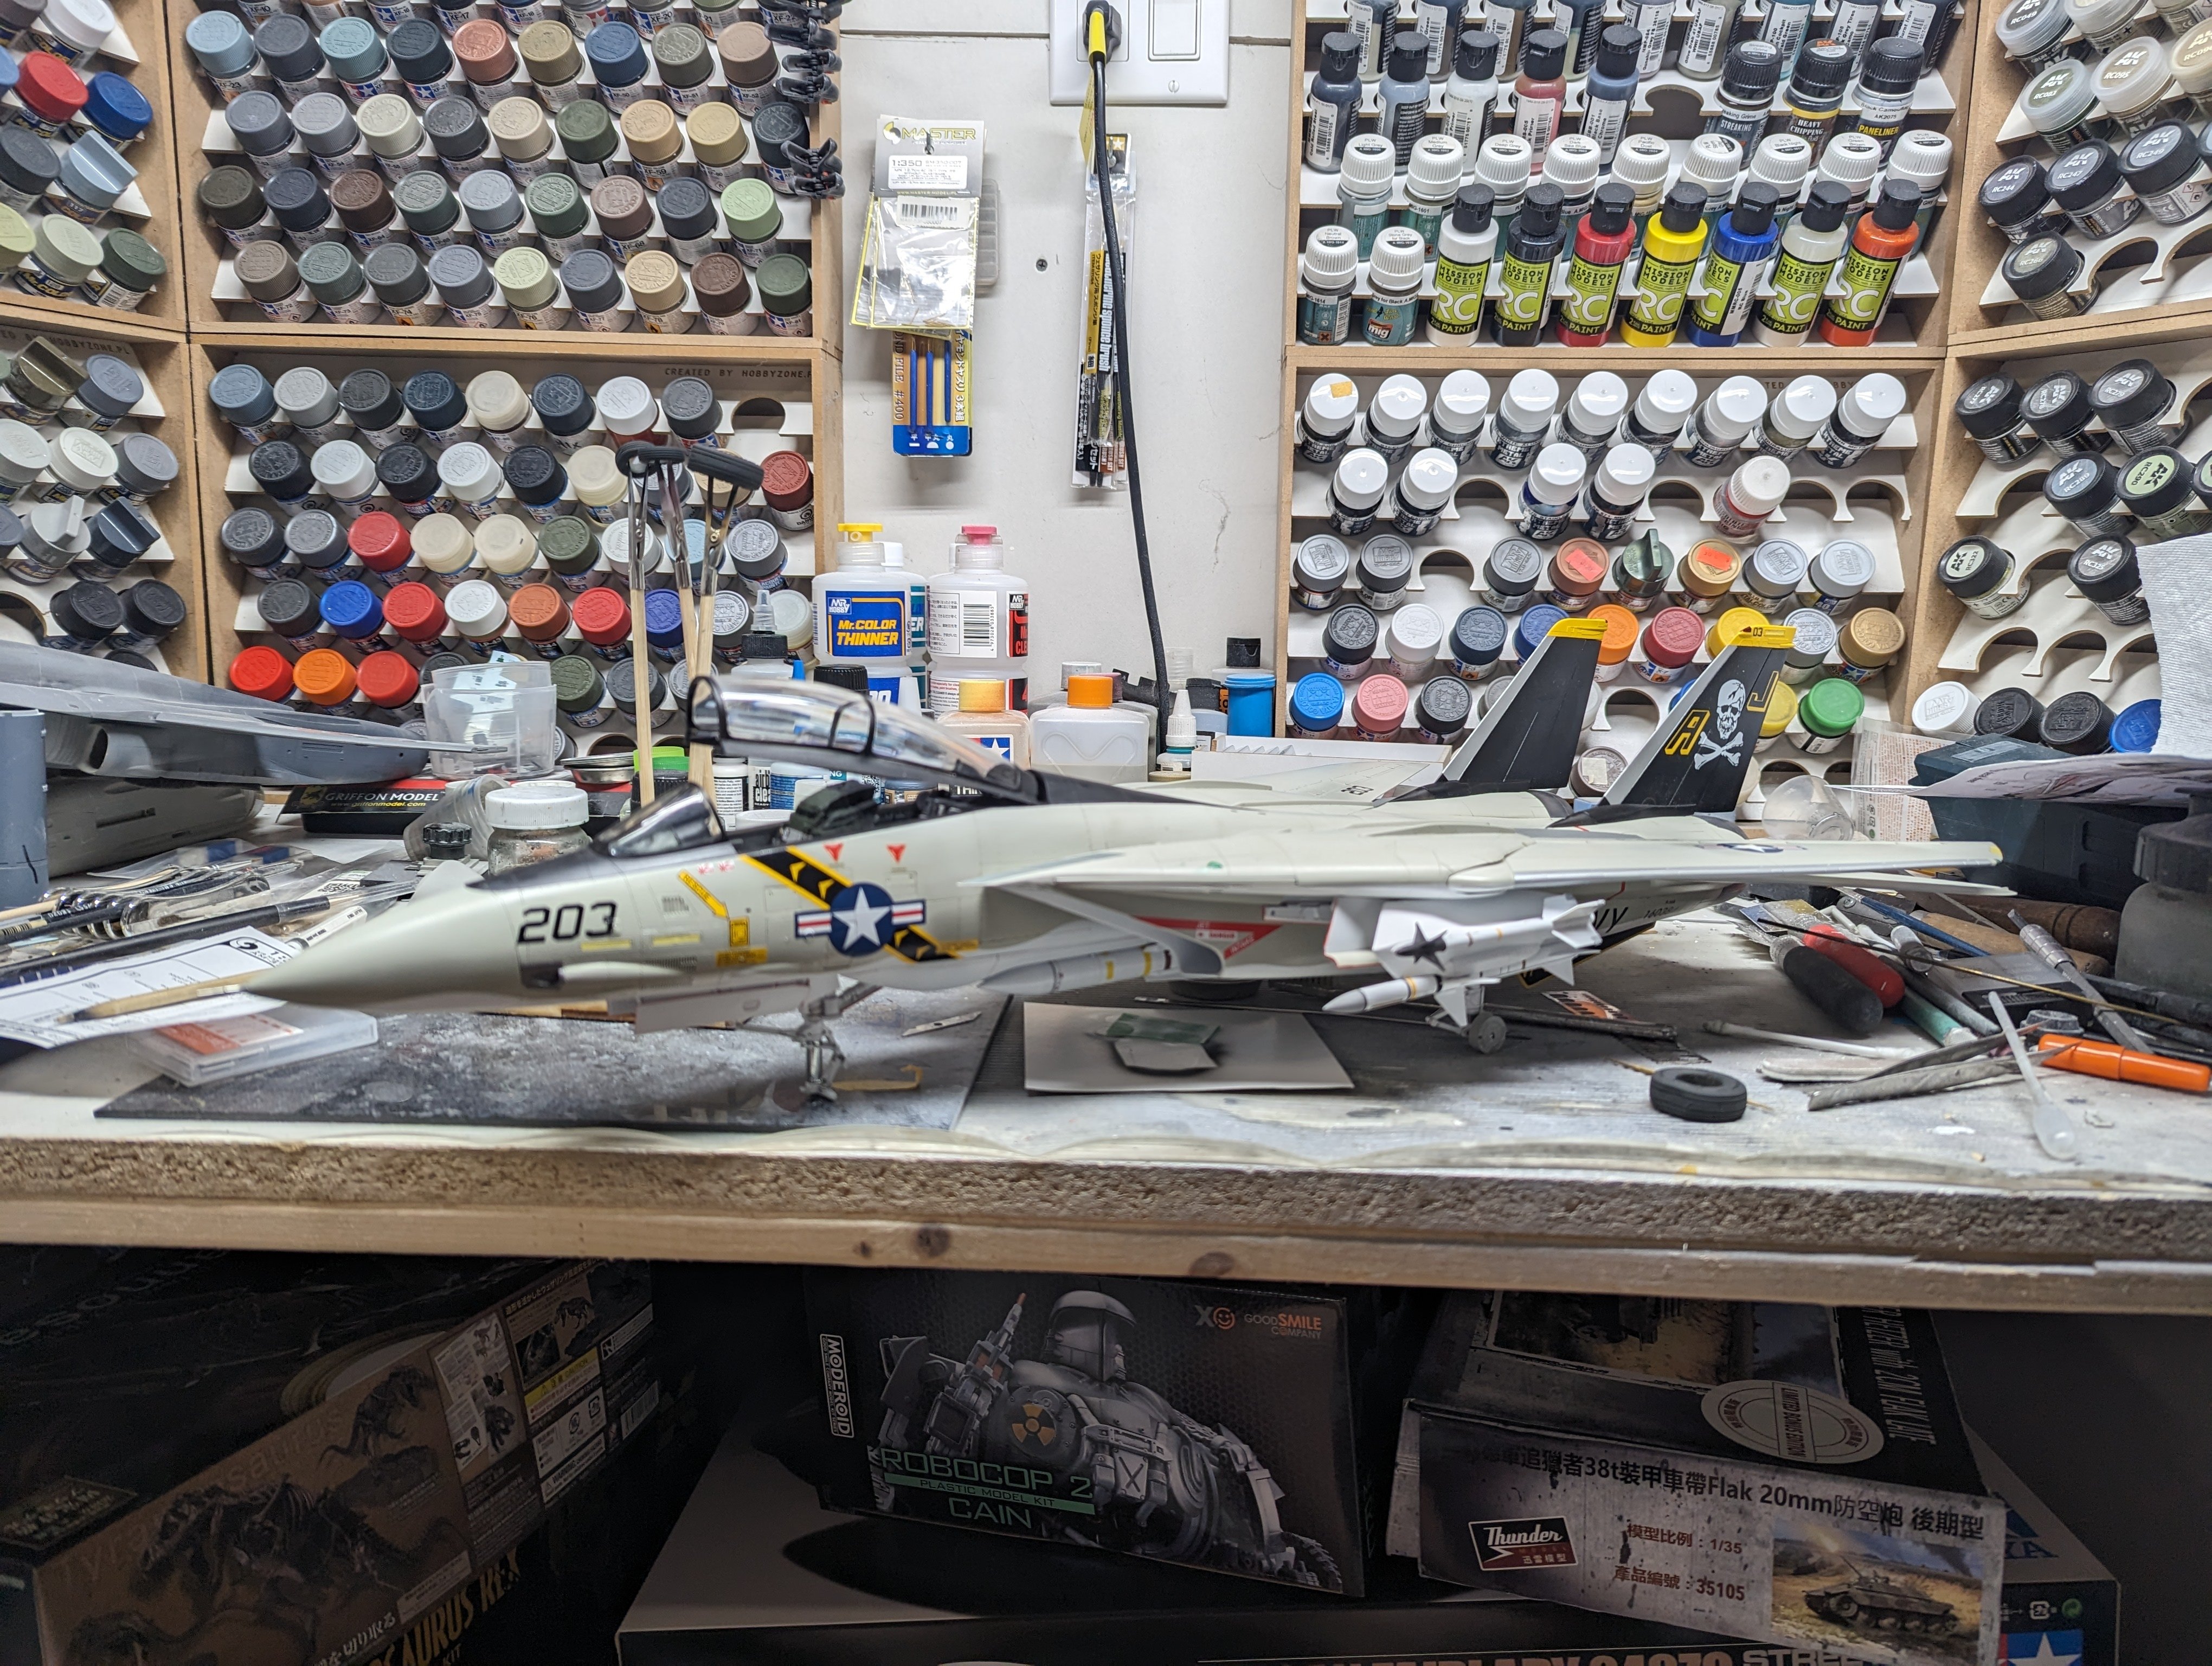
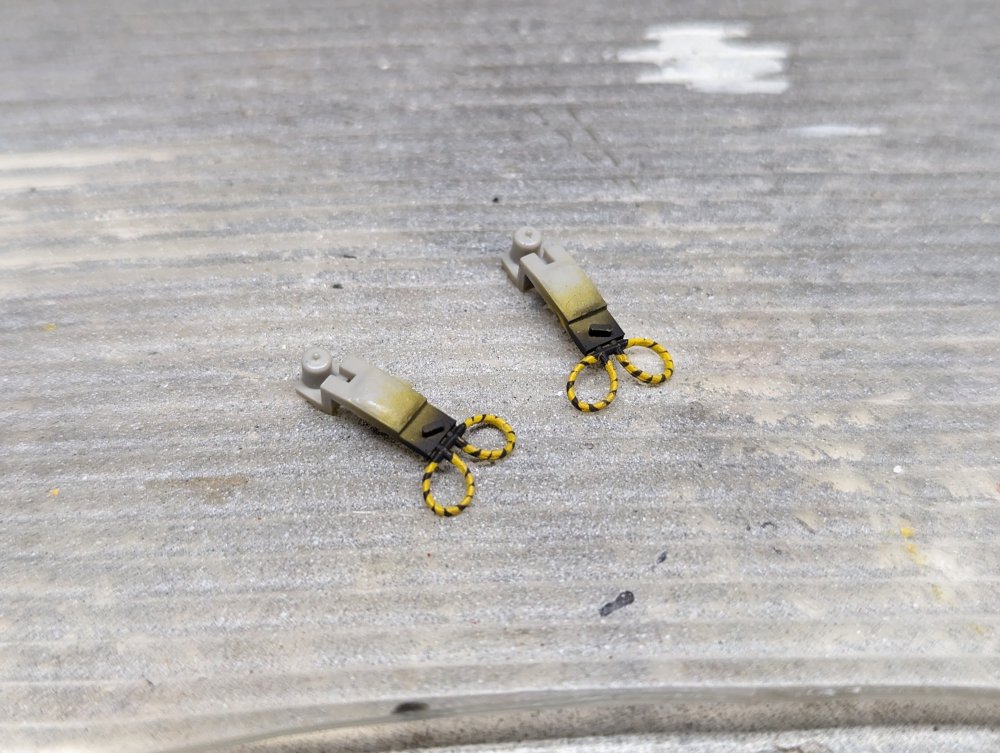
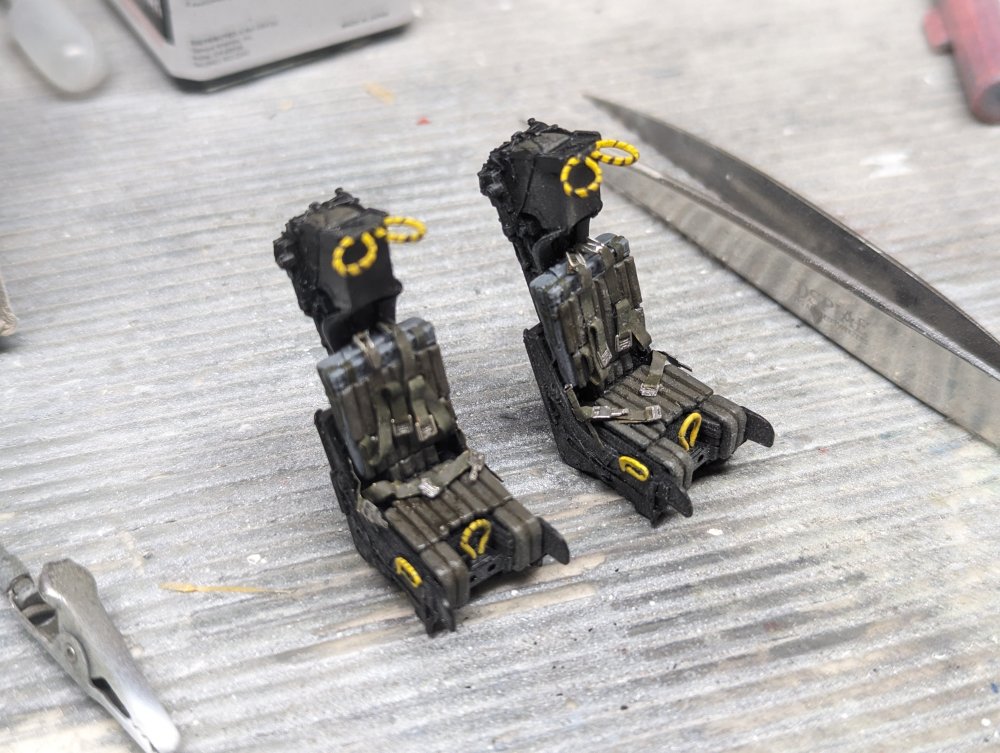
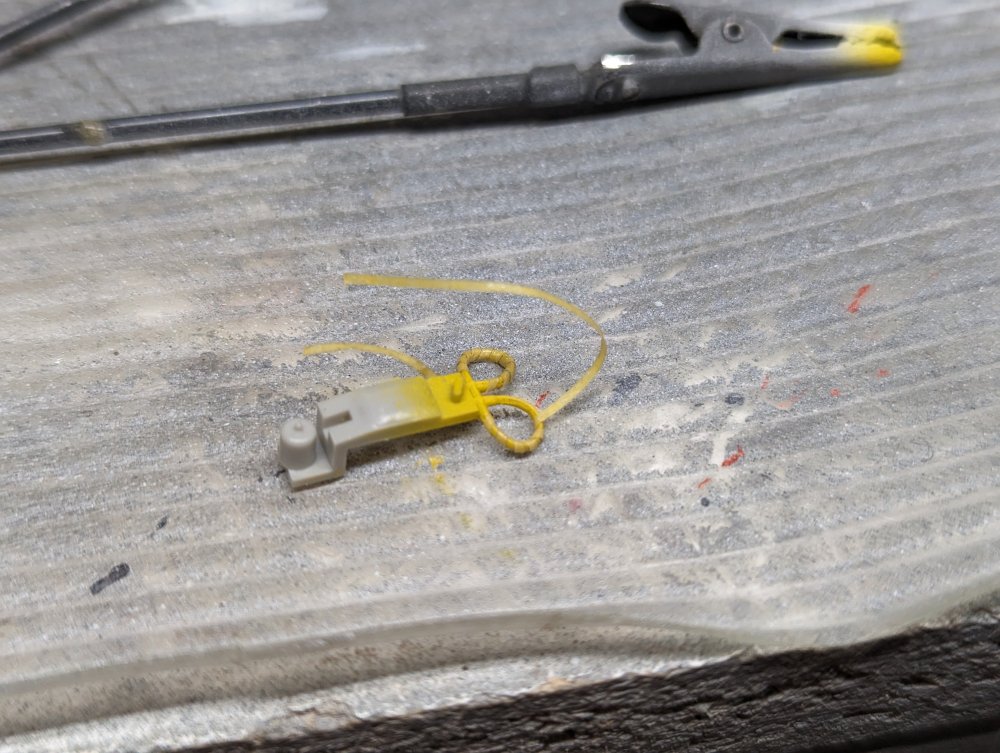
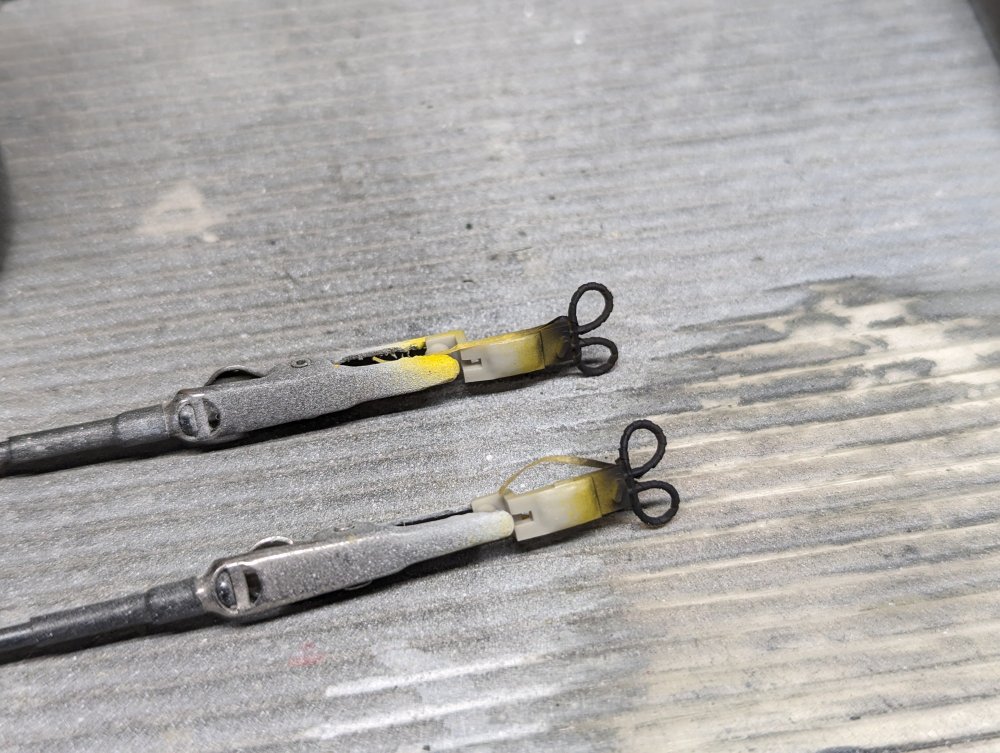
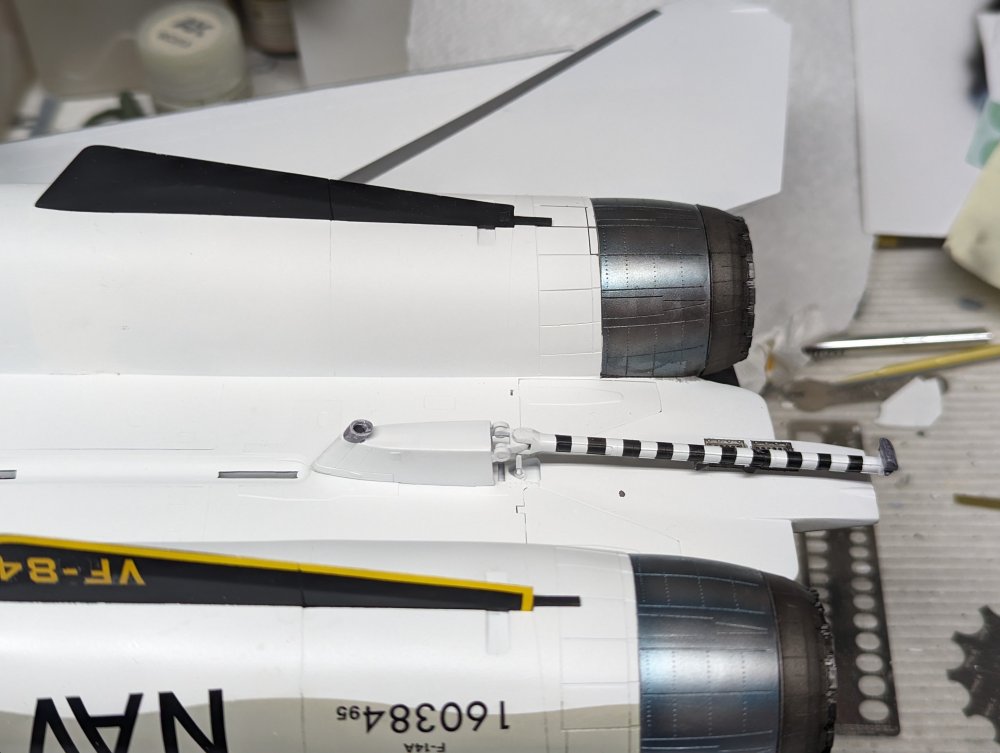
More progress on this build. The ejection seat pull rings are done. I used the kit ones as the Aires ones don't include them. First up was a base of yellow. Then I masked them off using 0.7mm tape. Sprayed the black and unmasked them. Finally cut off the kit part and glued onto the seats. I also did the tail hook at the same time. Can't believe how much is still left. I keep thinking I'm almost done and then find some more small bits.


-
Thanks guys! Sadly, while we were out for dinner the dog ate my present from our oldest. He was quite upset but I told him I appreciated the thought.
-
LSM Modelling News 2023 merged Fran and Artful69’s threads
BlrwestSiR replied to Fran's topic in Modelling Discussion
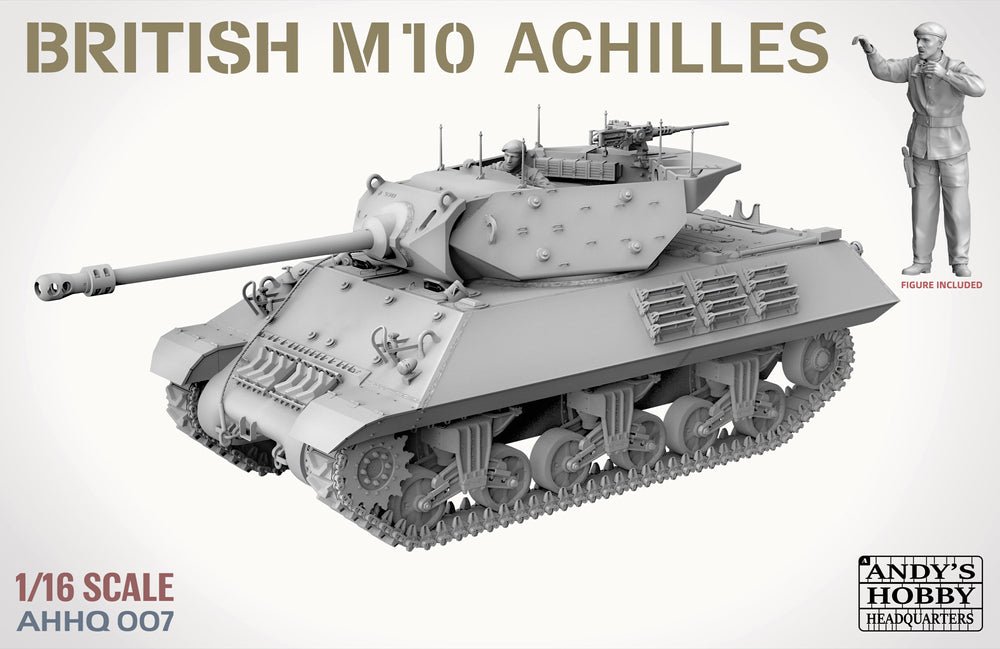
Andy's Hobby Headquarters has just announced a 1/16 M10 and Achilles tank destroyers. They're coming out in October for $149.99 each. They just got posted to my LHS so I broke down and pre-ordered the Achilles.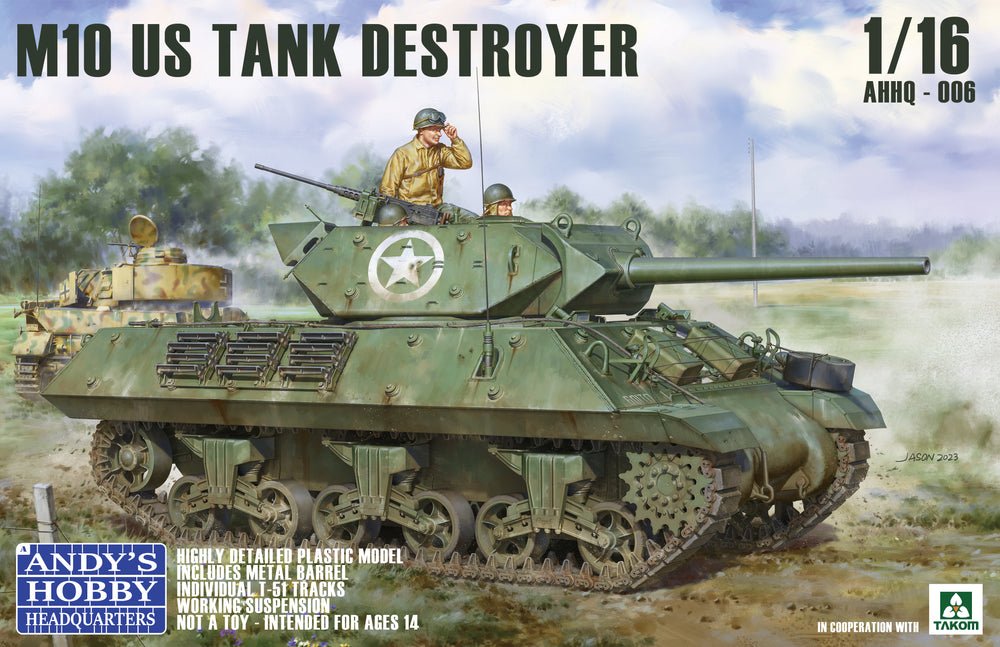
-
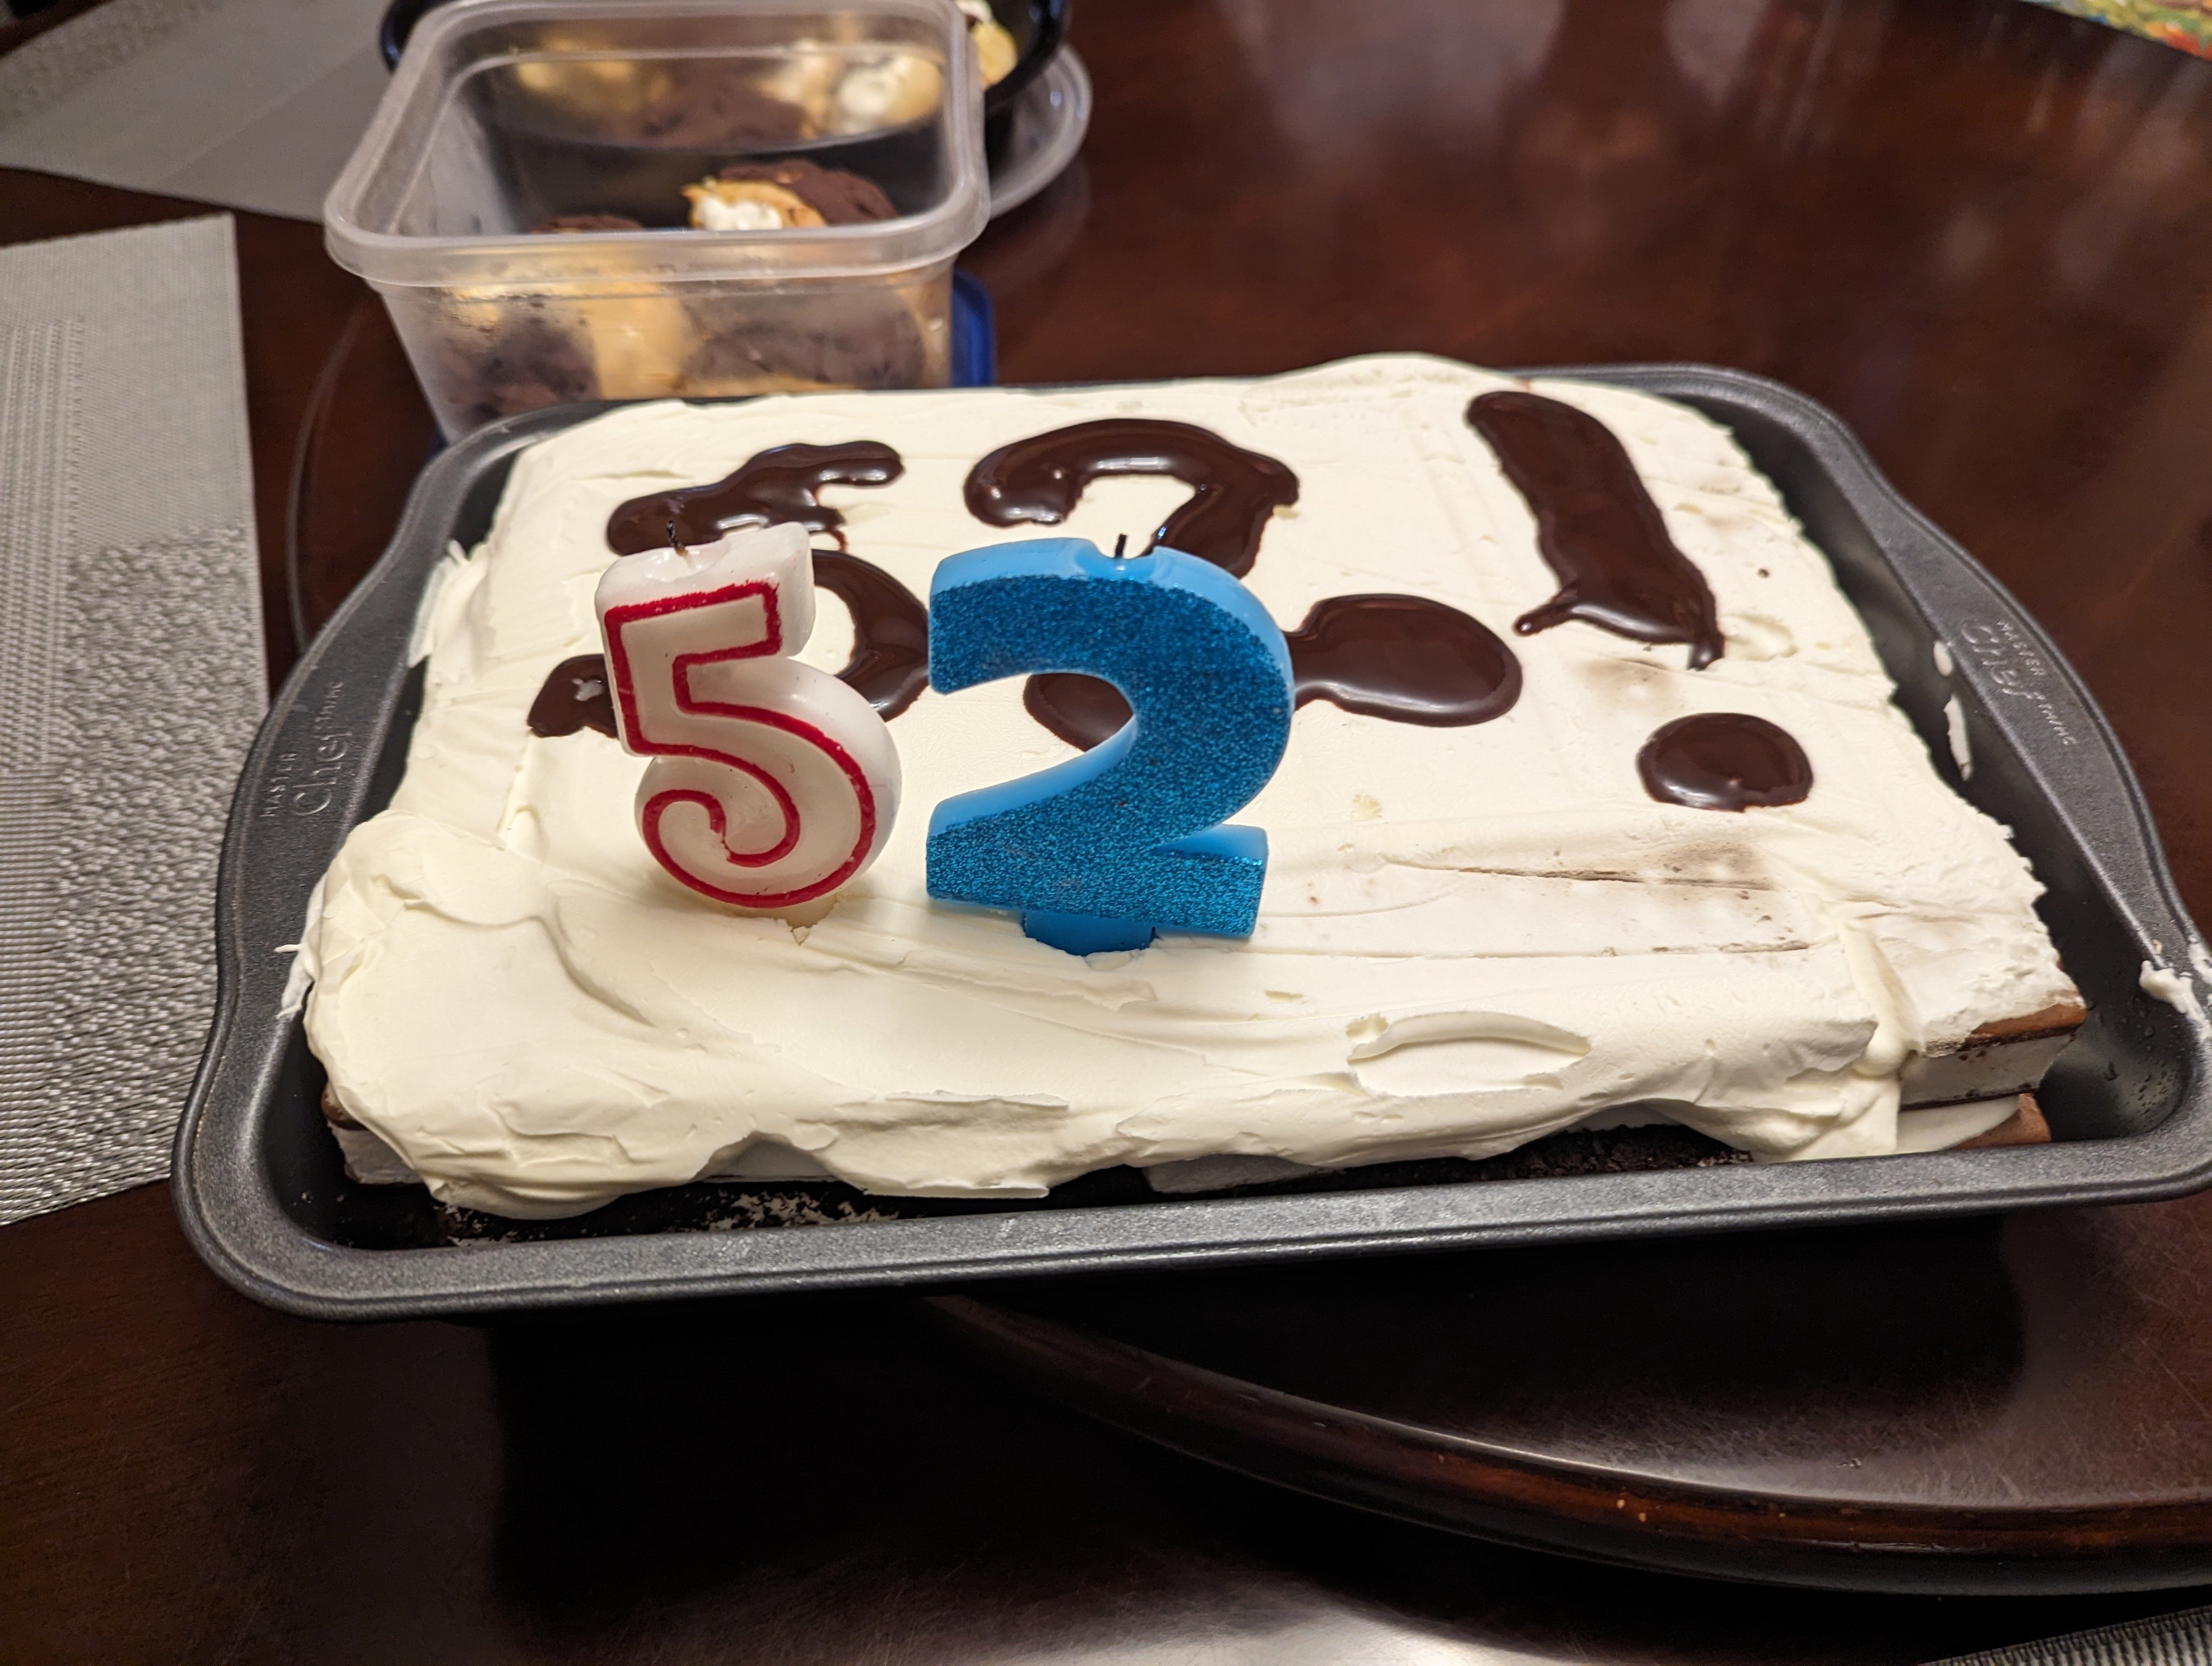
Ice cream cake. It even came with candles.

-
Nice compressor Rob. Hope it works out well for you.
-
1/16 scale Tiger VI Ausf E early build
BlrwestSiR replied to CrankyCrafstman's topic in LSM 1/35 and Larger Work In Progress
Amazing work Ron. Have you seen that Andy's is coming out with an M10 and Achilles next? -
What is on your bench right now ? Share a picture :)
BlrwestSiR replied to Martinnfb's topic in Modelling Discussion
Great timing, I found a box that the wing parts fit in so I'll drop them off tomorrow at the post office. Carl -
What is on your bench right now ? Share a picture :)
BlrwestSiR replied to Martinnfb's topic in Modelling Discussion
FantAstic job on the finish. I wouldn't mind seeing a how-to on it too. -
Just have Martin whisper in your ear and it'll happen.
-
I blame @Martinnfb...
-
Final Countdown Tomcat done!
BlrwestSiR replied to ScottsGT's topic in LSM 1/32 and Larger Aircraft Ready for Inspection
Great looking Tomcat there Scott. Now that you've managed to tackle a couple Revell versions, you should try the Tamiya one. I wonder which is harder to put together at this point. -
What is on your bench right now ? Share a picture :)
BlrwestSiR replied to Martinnfb's topic in Modelling Discussion
Getting closer.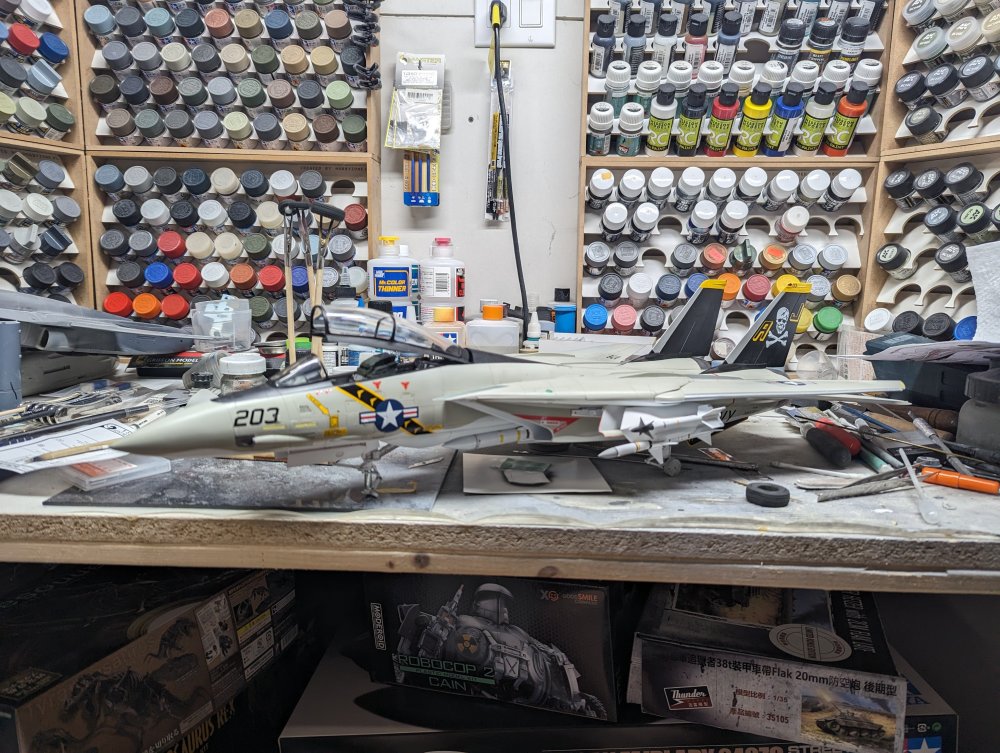
-
Tamiya Birdcage "Bubbles"
BlrwestSiR replied to JohnB's topic in LSM 1/35 and Larger Work In Progress
Always great to watch you work your magic on a Corsair. I'm up to 12 Spitfires so a long want to catch up to you. -
I beat you all. I had an order from Great Hobbies shipped to me. They're less than an hour's drive from me. Canada Post sent it to Vancouver, which is 3,000km away before it was sorted and sent back. Not 5 minutes ago, I got this email from Canada Post for a different package: Your parcel may be delayed Unfortunately, we made an error sorting your parcel. We’re trying to correct it, and we’re committed to delivering your parcel as requested. We’re sorry for any inconvenience or delay.
-
That's large scale! Thanks for sharing Maru!
-
"Alert 1 to Eagle 1, splash the Zeros!"- Tamiya F-14
BlrwestSiR replied to BlrwestSiR's topic in Let’s Get Wet Group Build.
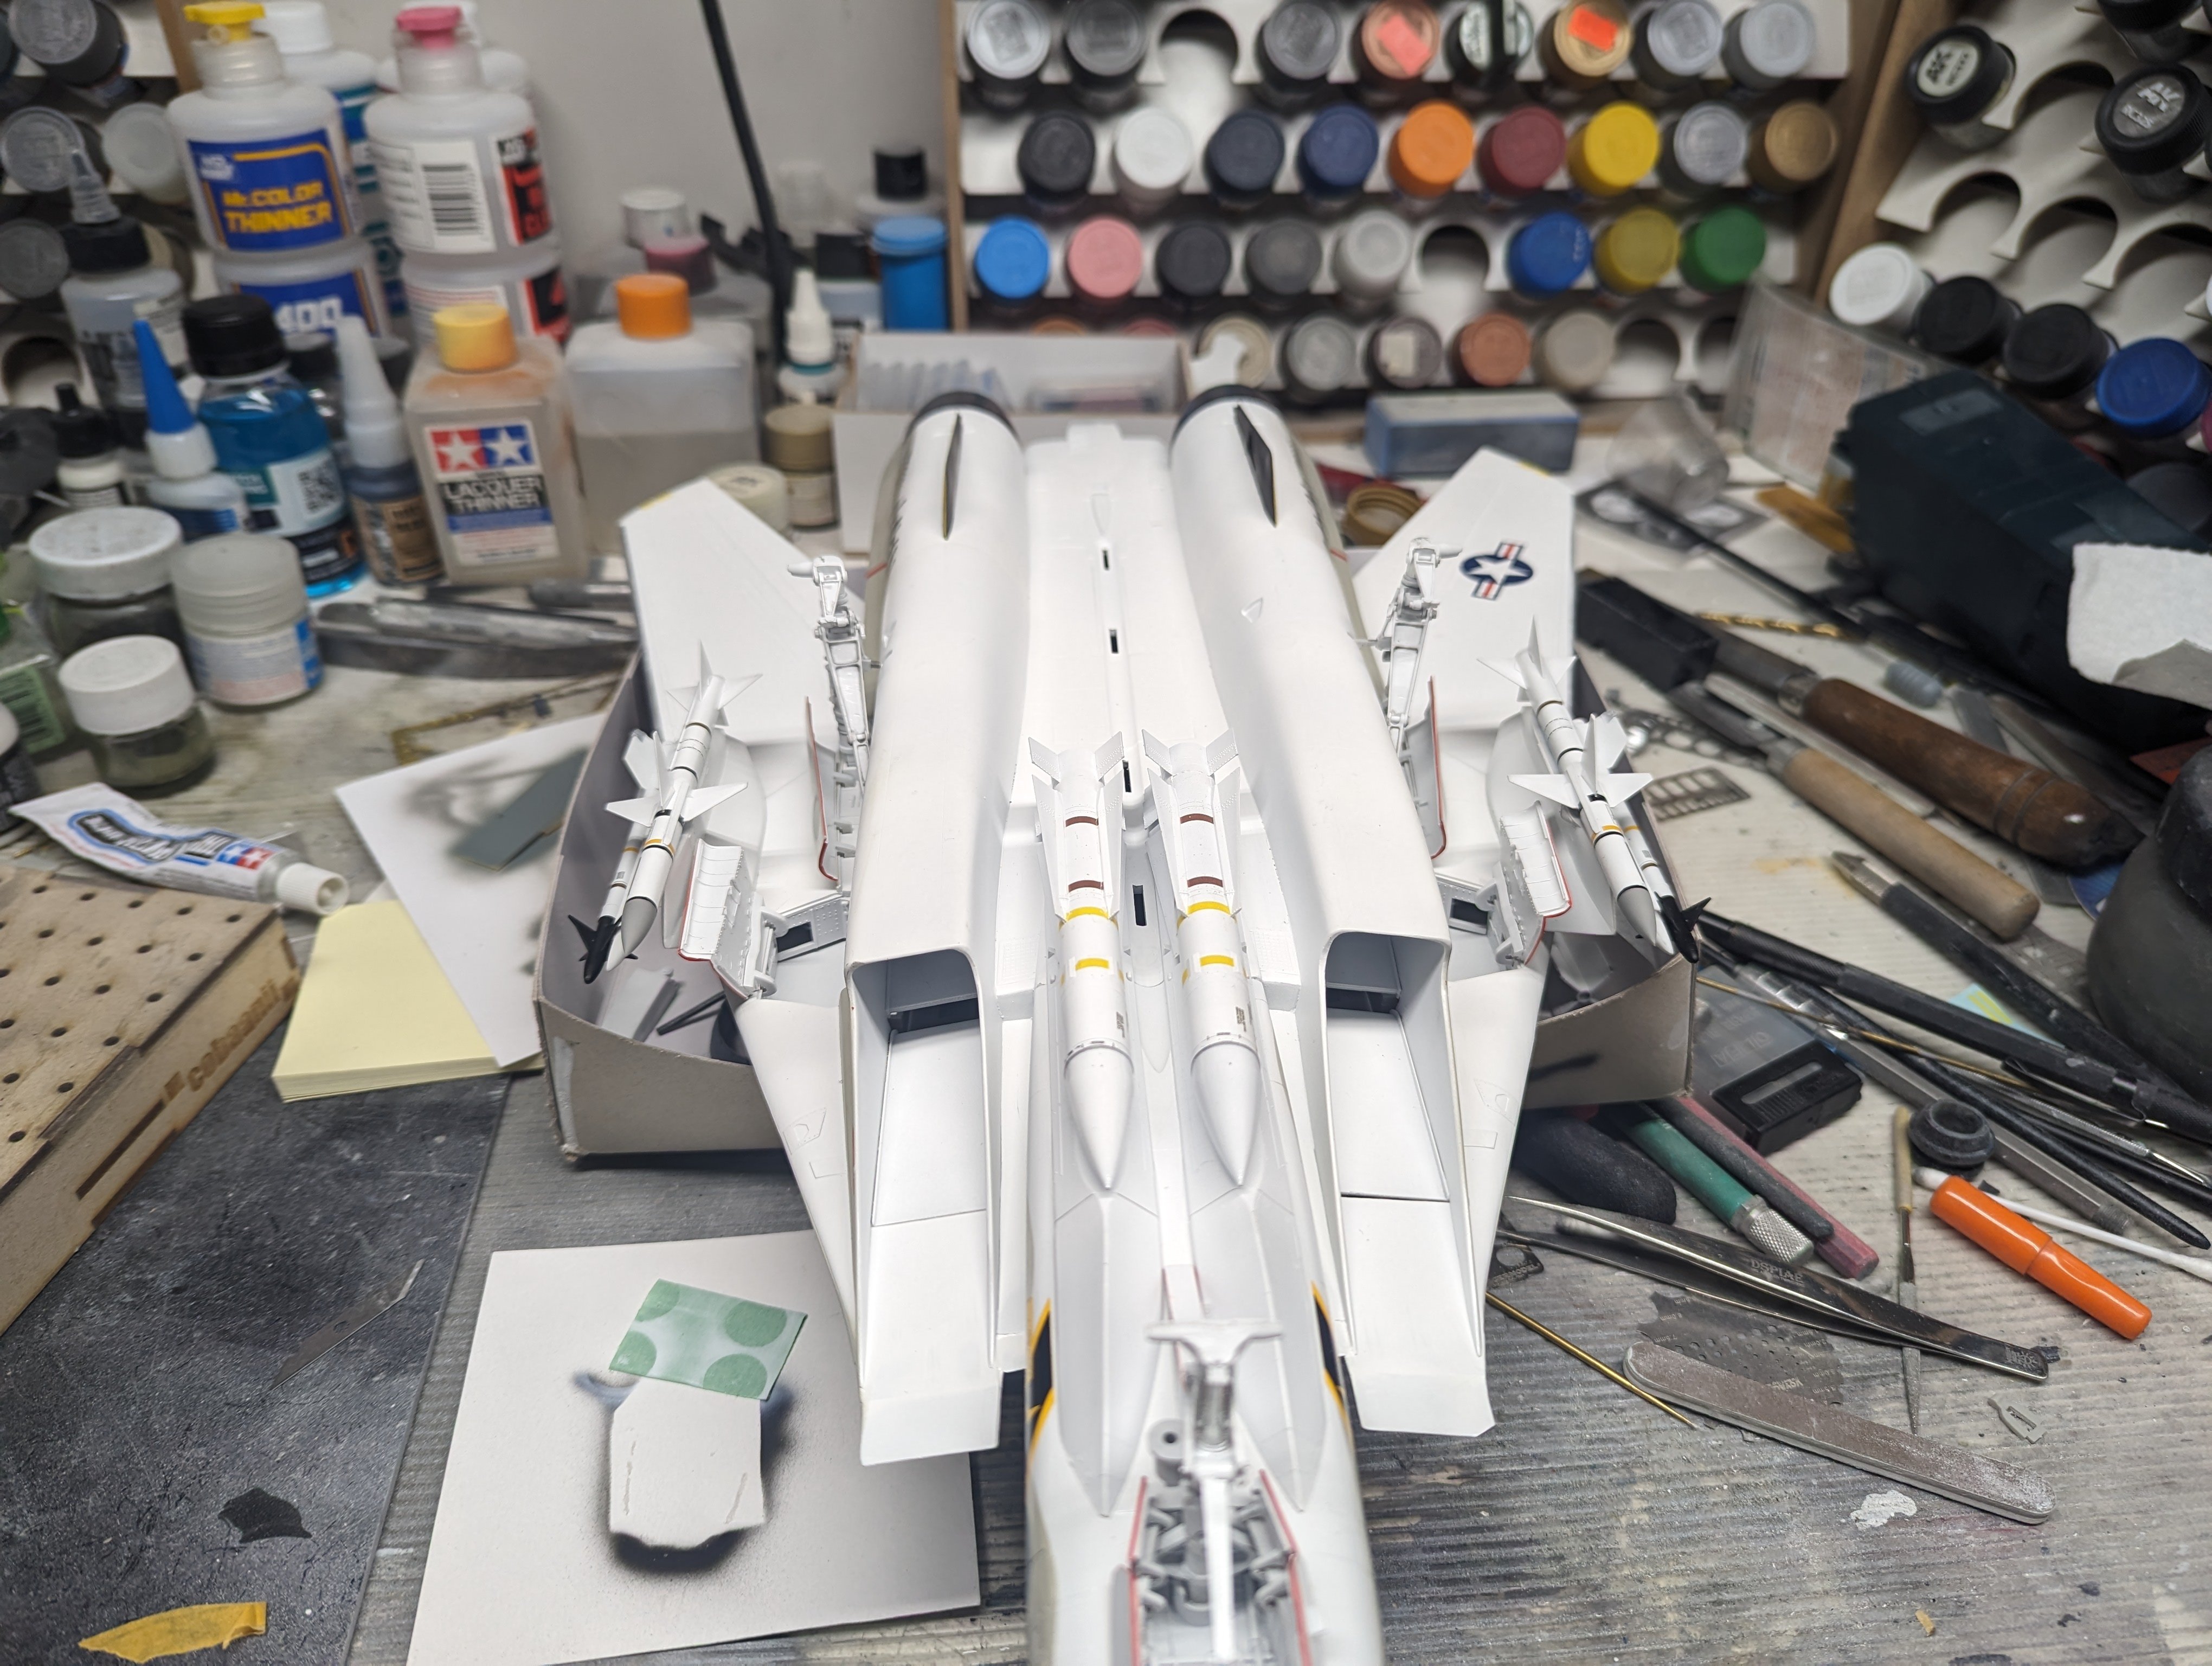
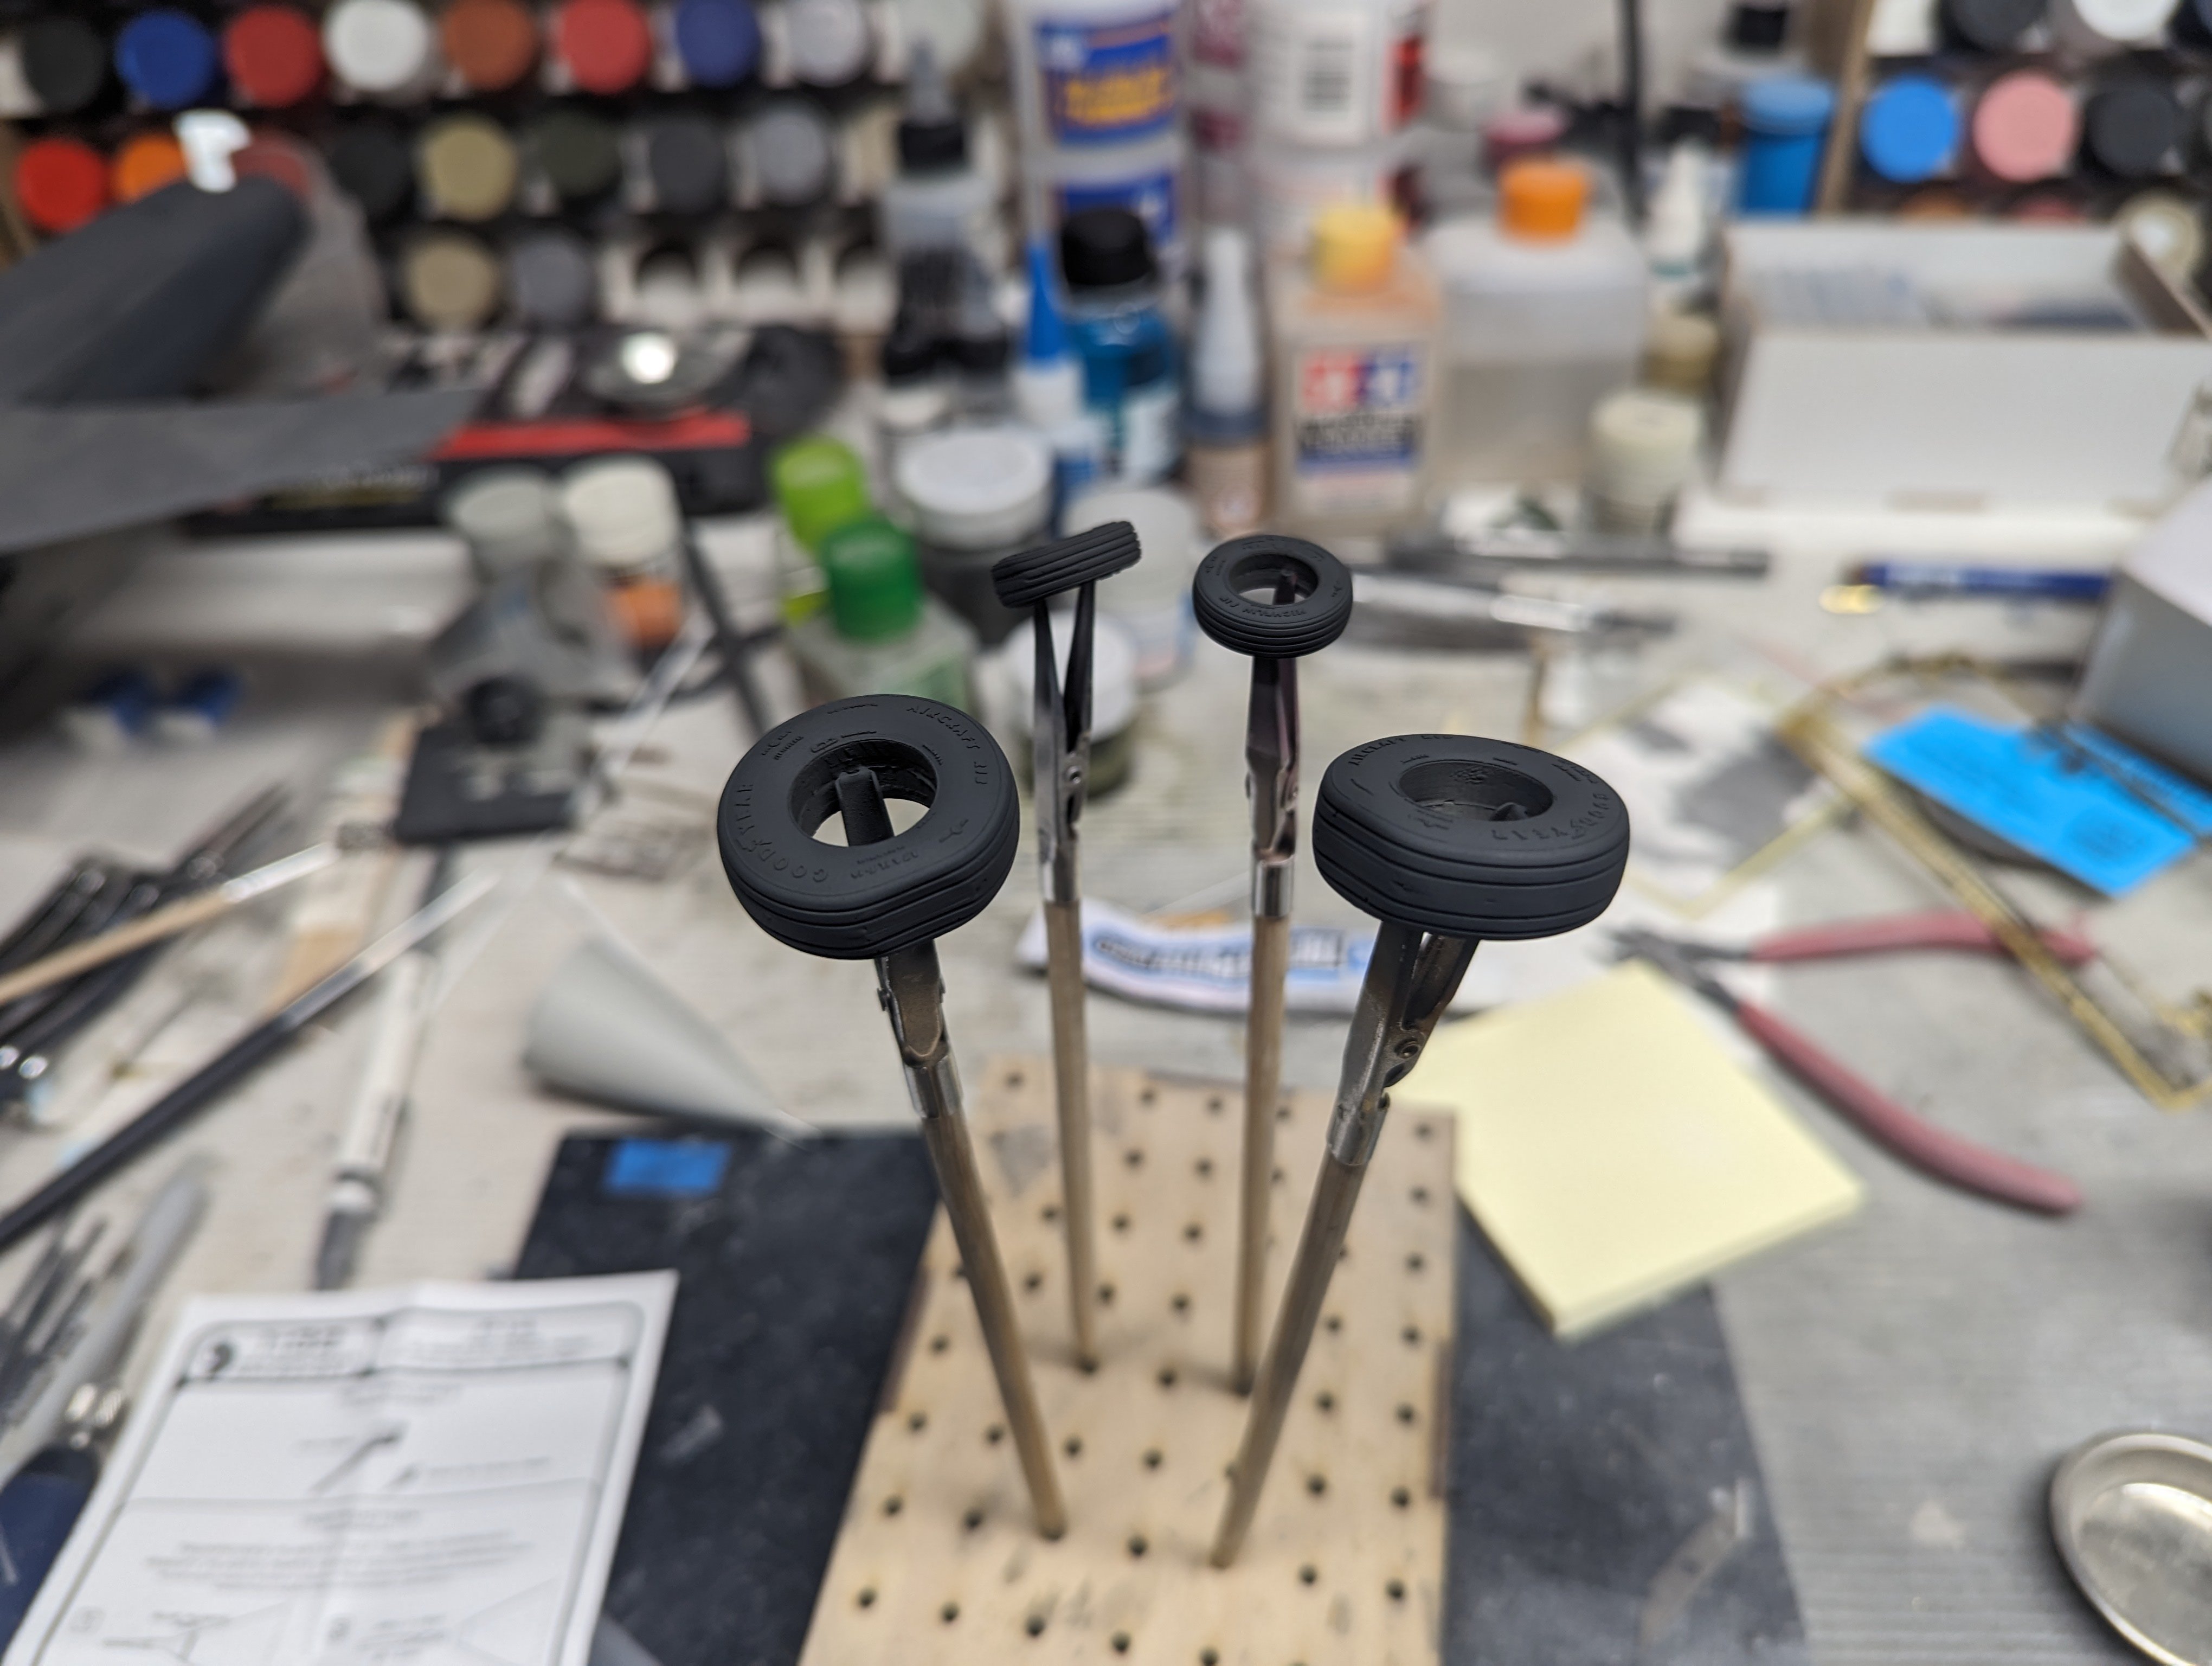
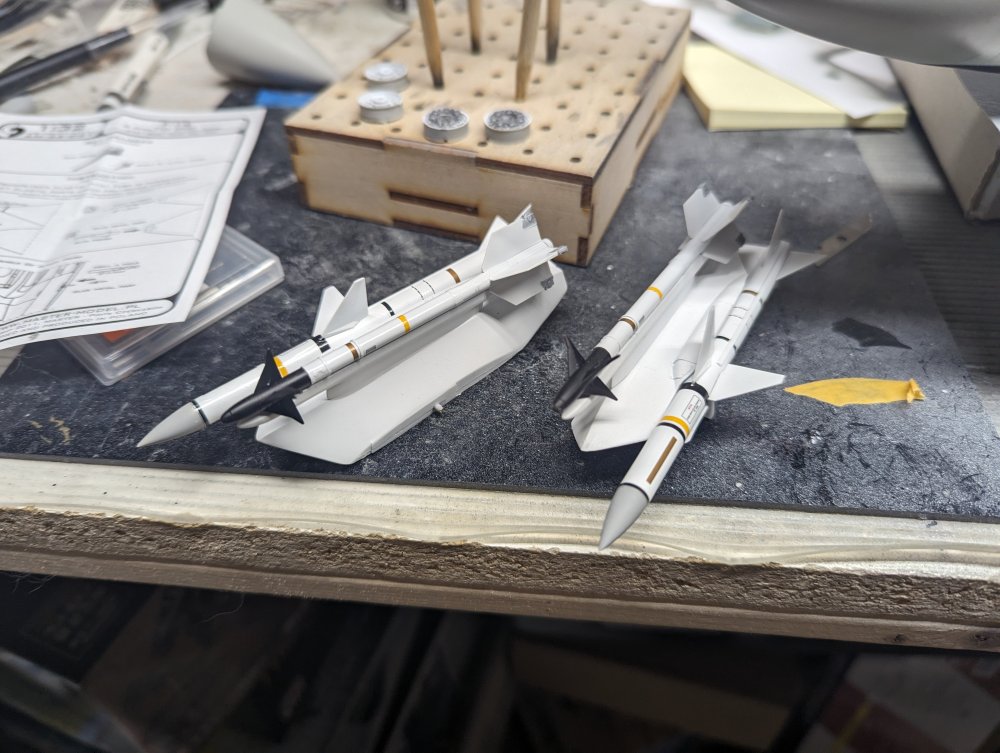
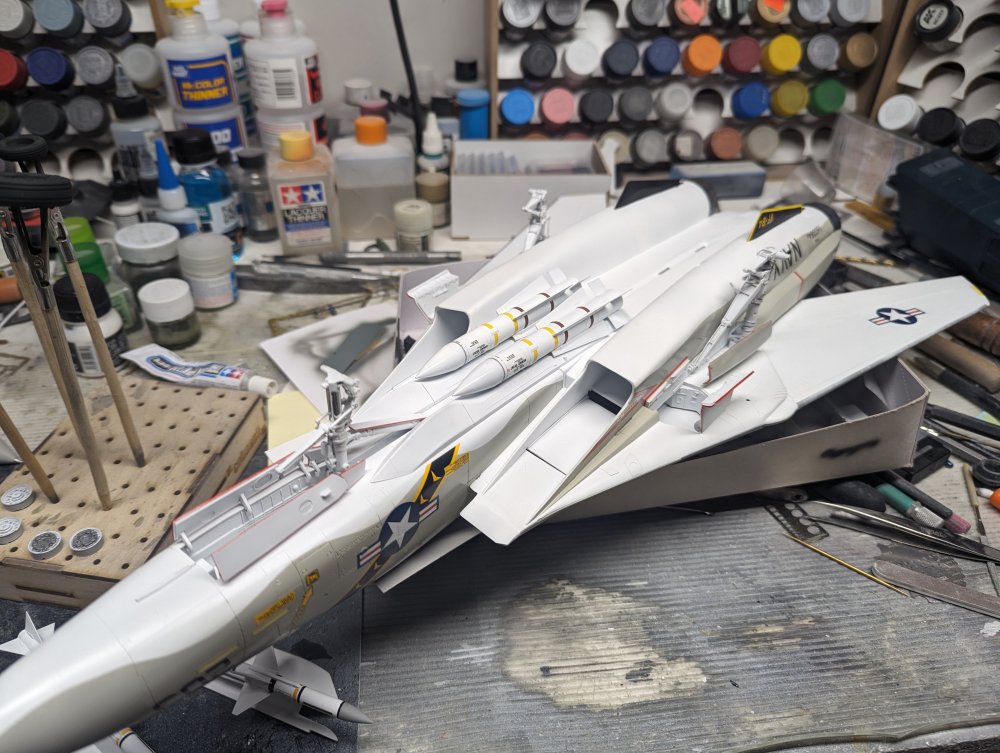
Gear bay doors and missiles are on. I started with the gear bay doors. Then the Pheonix went on. Lastly, I glued the AIM-9s and AIM-7s to the wing glove pylons. Then these went onto the fuselage. I painted the tires so those will be next. Right side up.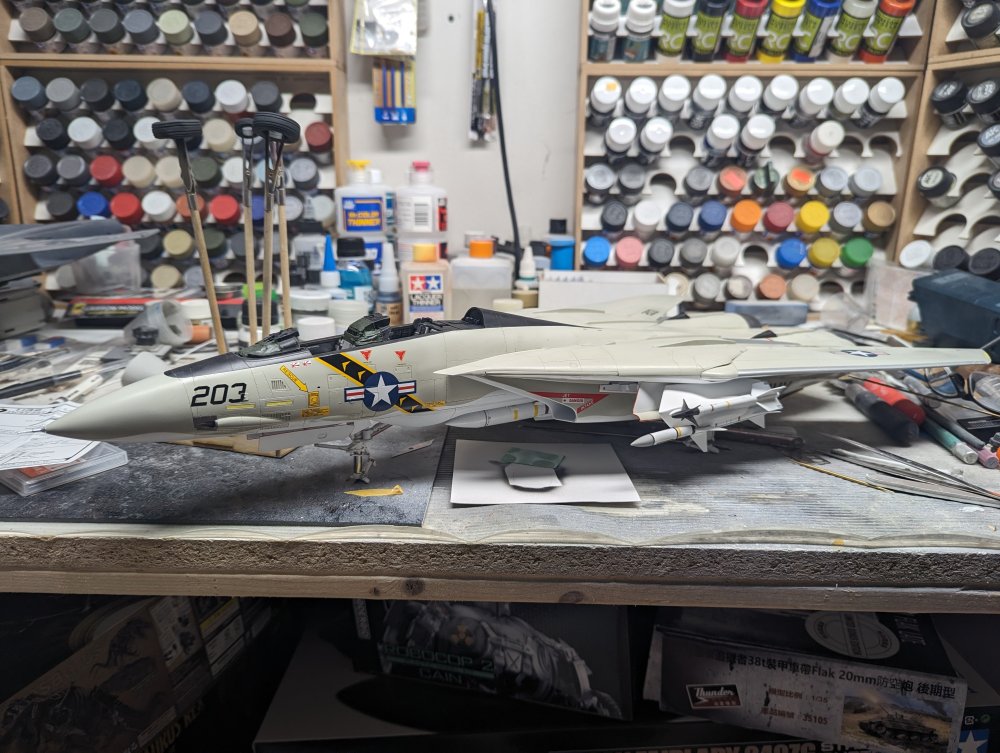


-
Great work on the gear bay. I'm still plugging away at my Tomcat build as well so I'm sort of glad to not be the only one here.
-
Yup. It'll go nicely with the Bandai one I have. A before and after I guess.

-
Is it me or does that Devastator look a bit compressed?