BlrwestSiR
-
Posts
9,173 -
Joined
-
Last visited
Content Type
Profiles
Forums
Events
Gallery
Everything posted by BlrwestSiR
-

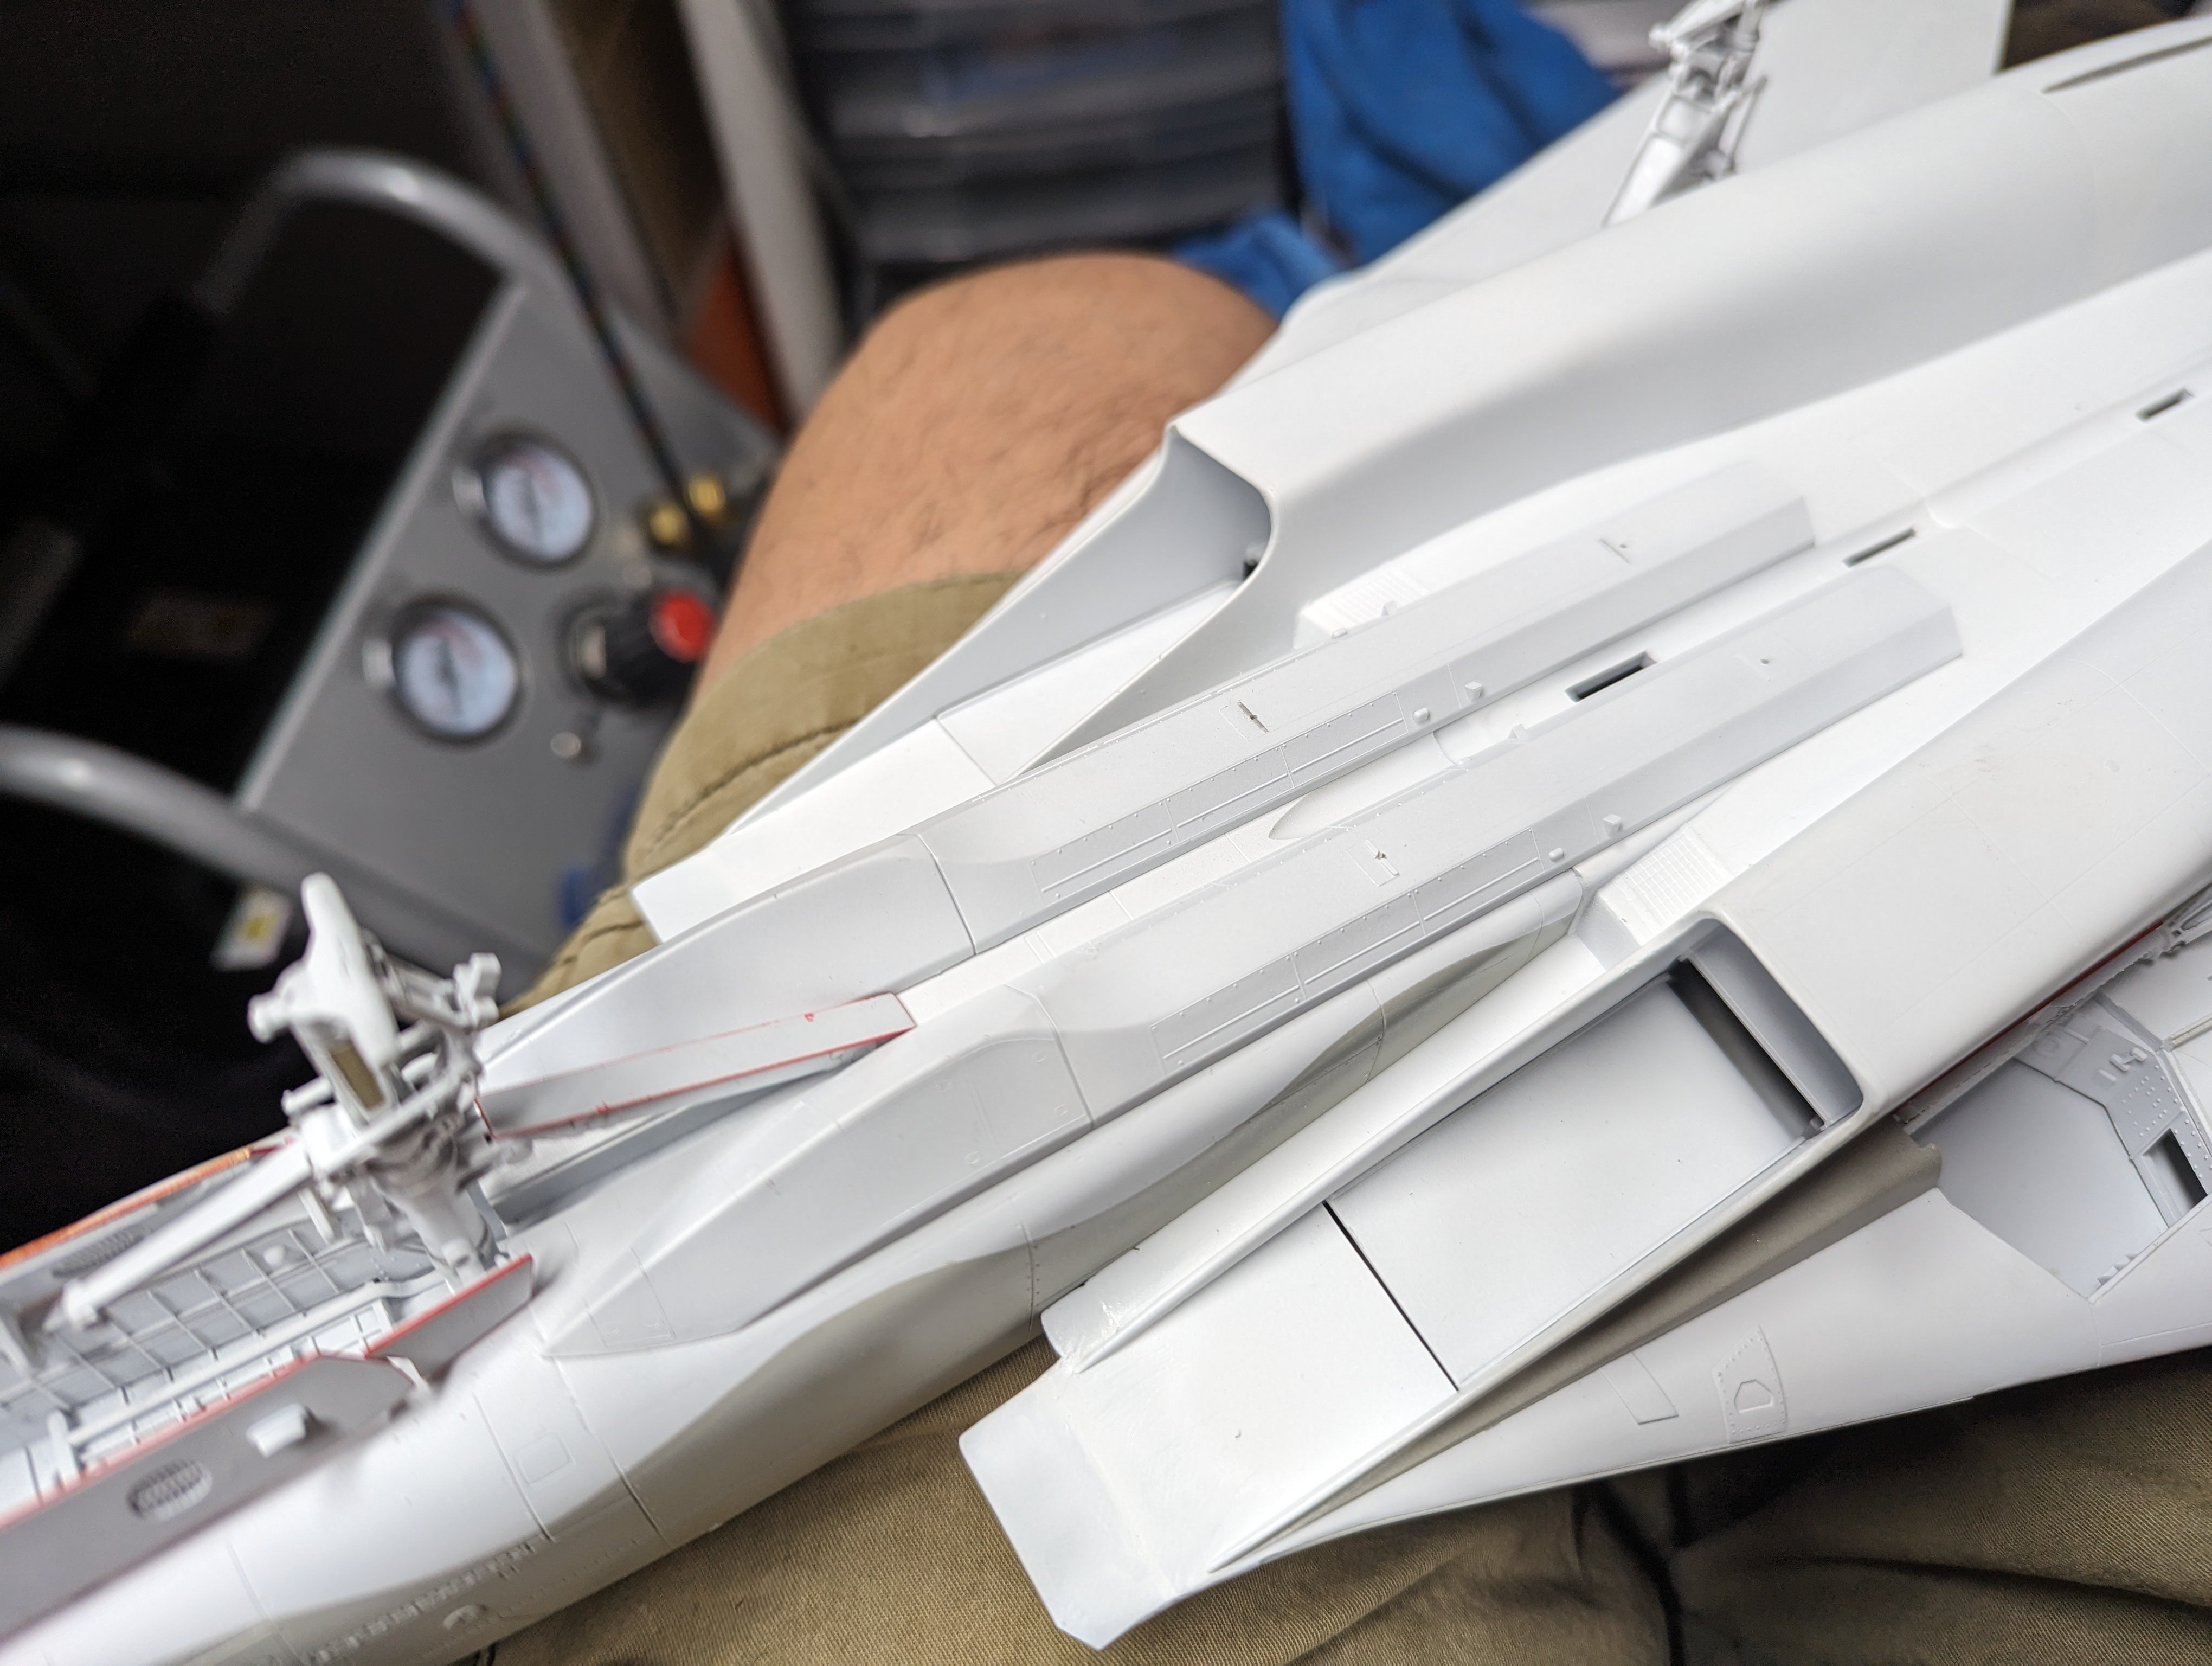
"Alert 1 to Eagle 1, splash the Zeros!"- Tamiya F-14
BlrwestSiR replied to BlrwestSiR's topic in Let’s Get Wet Group Build.
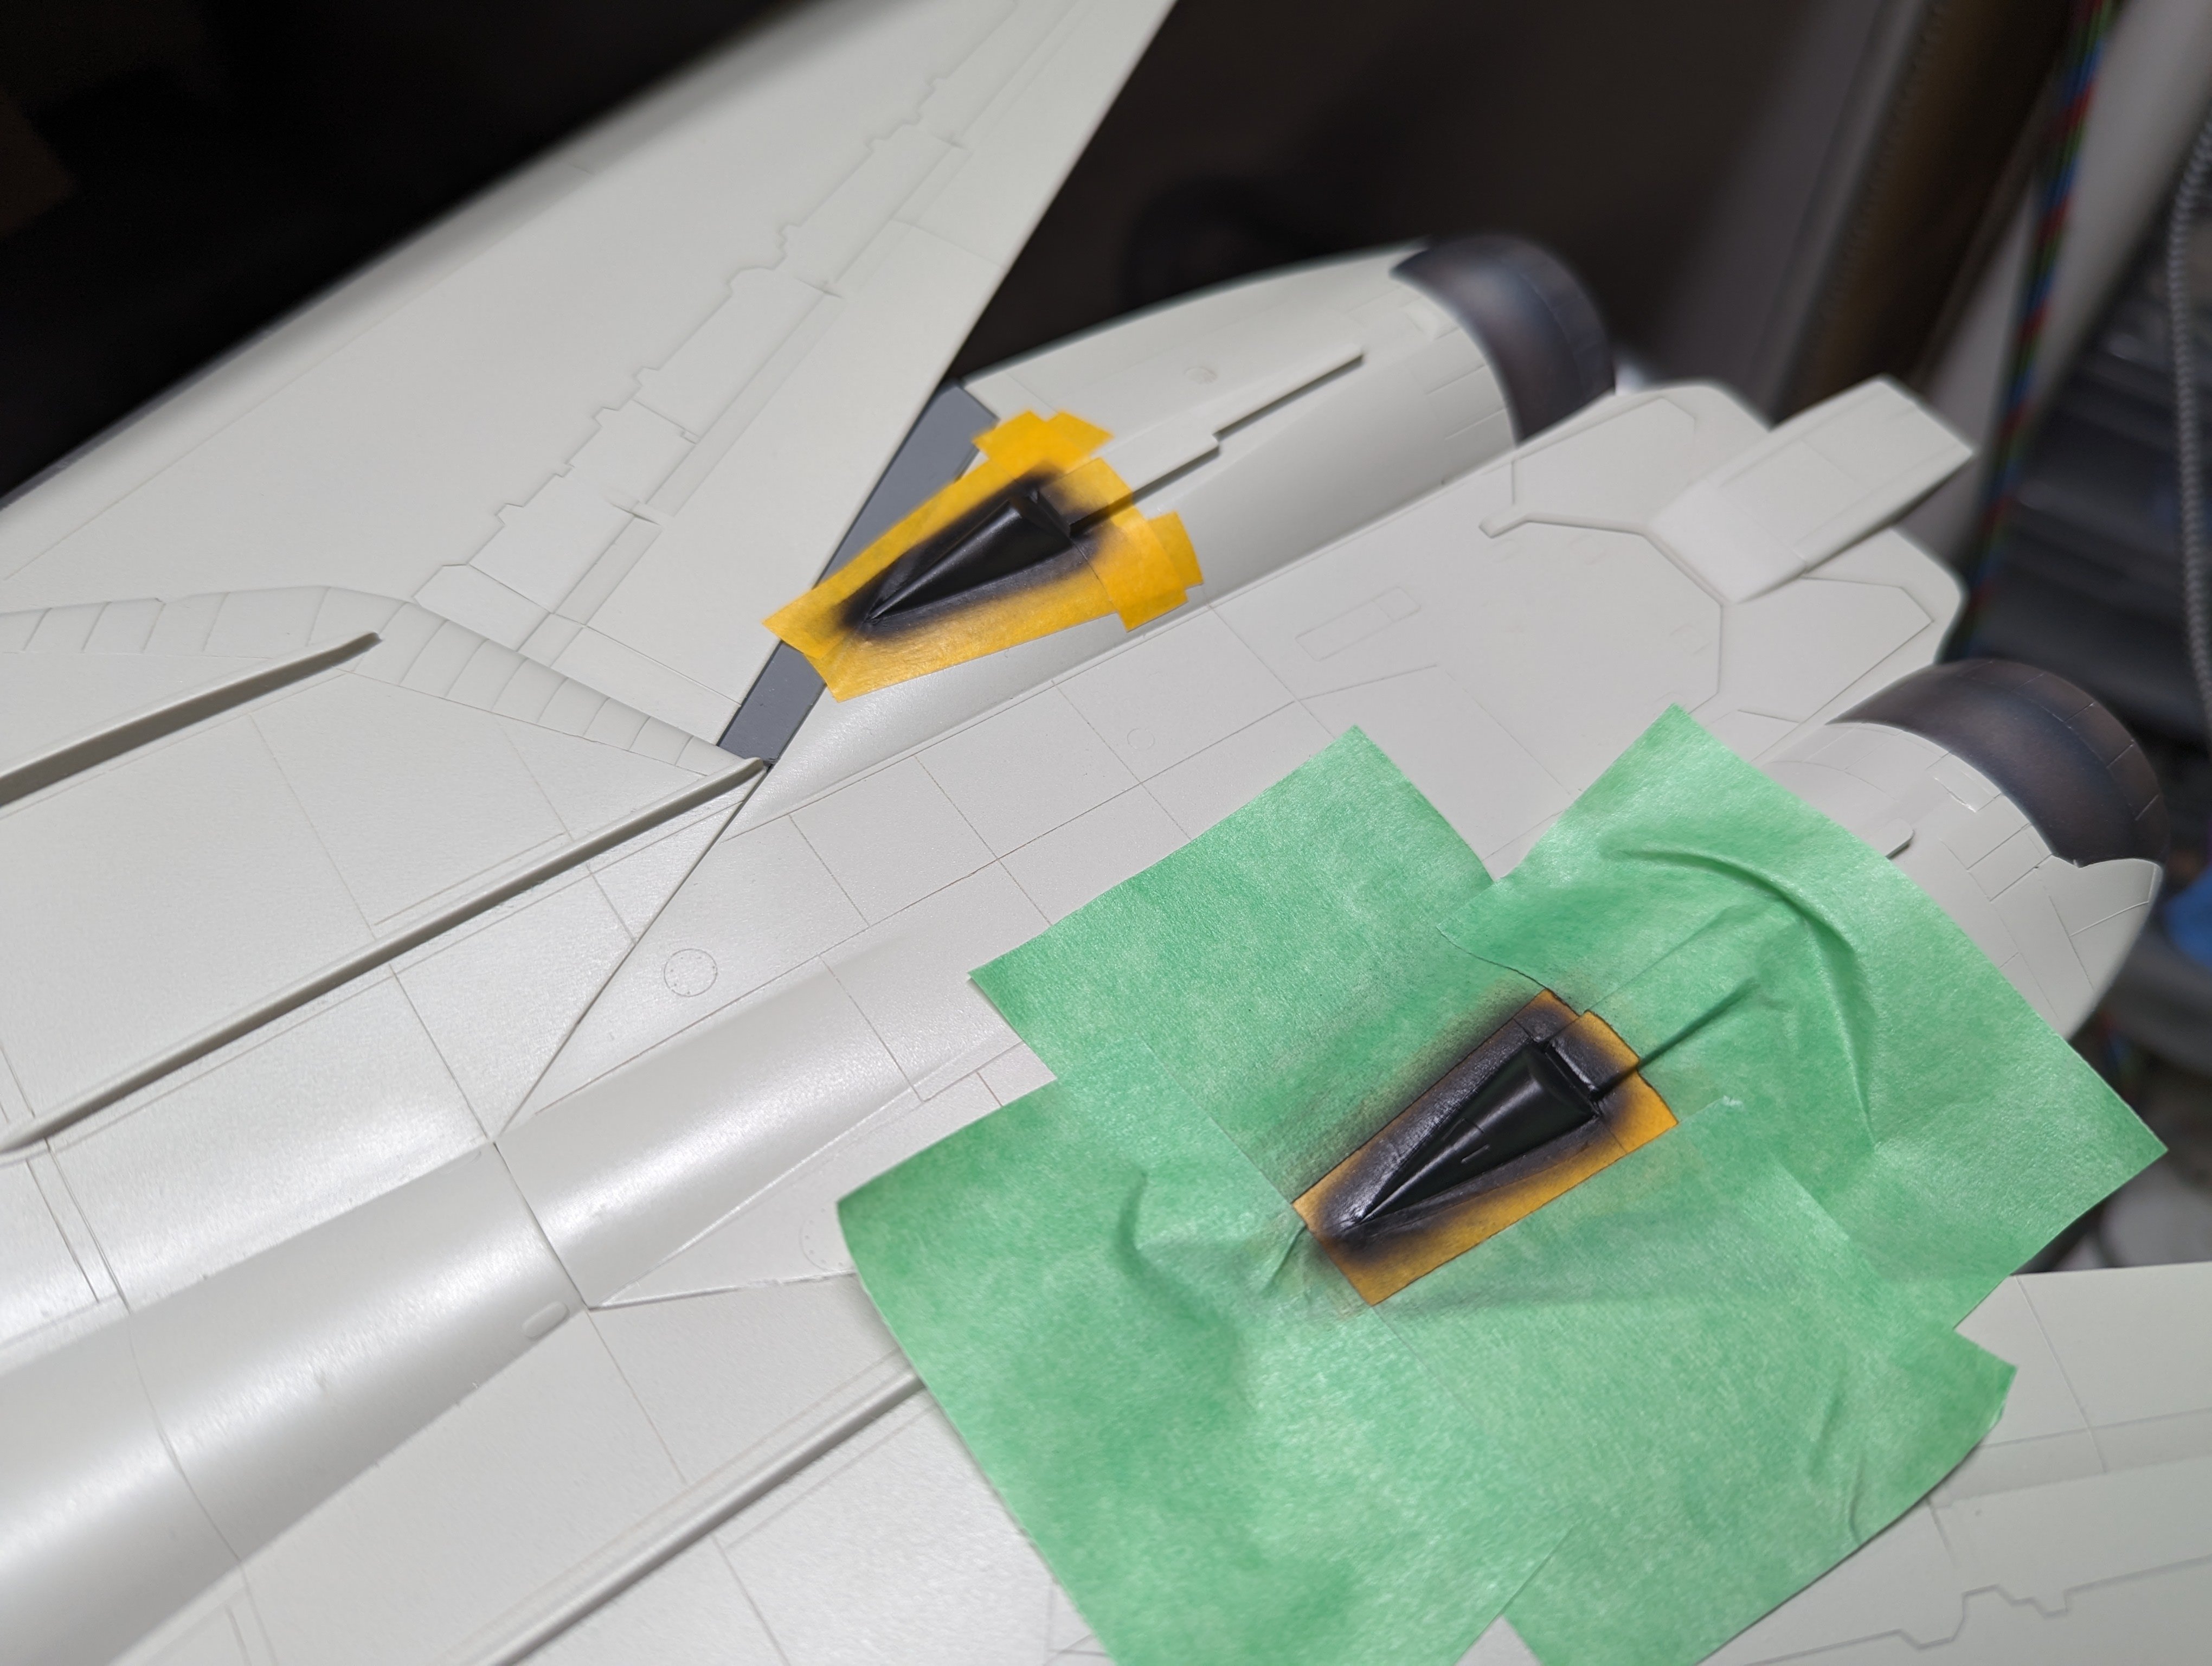
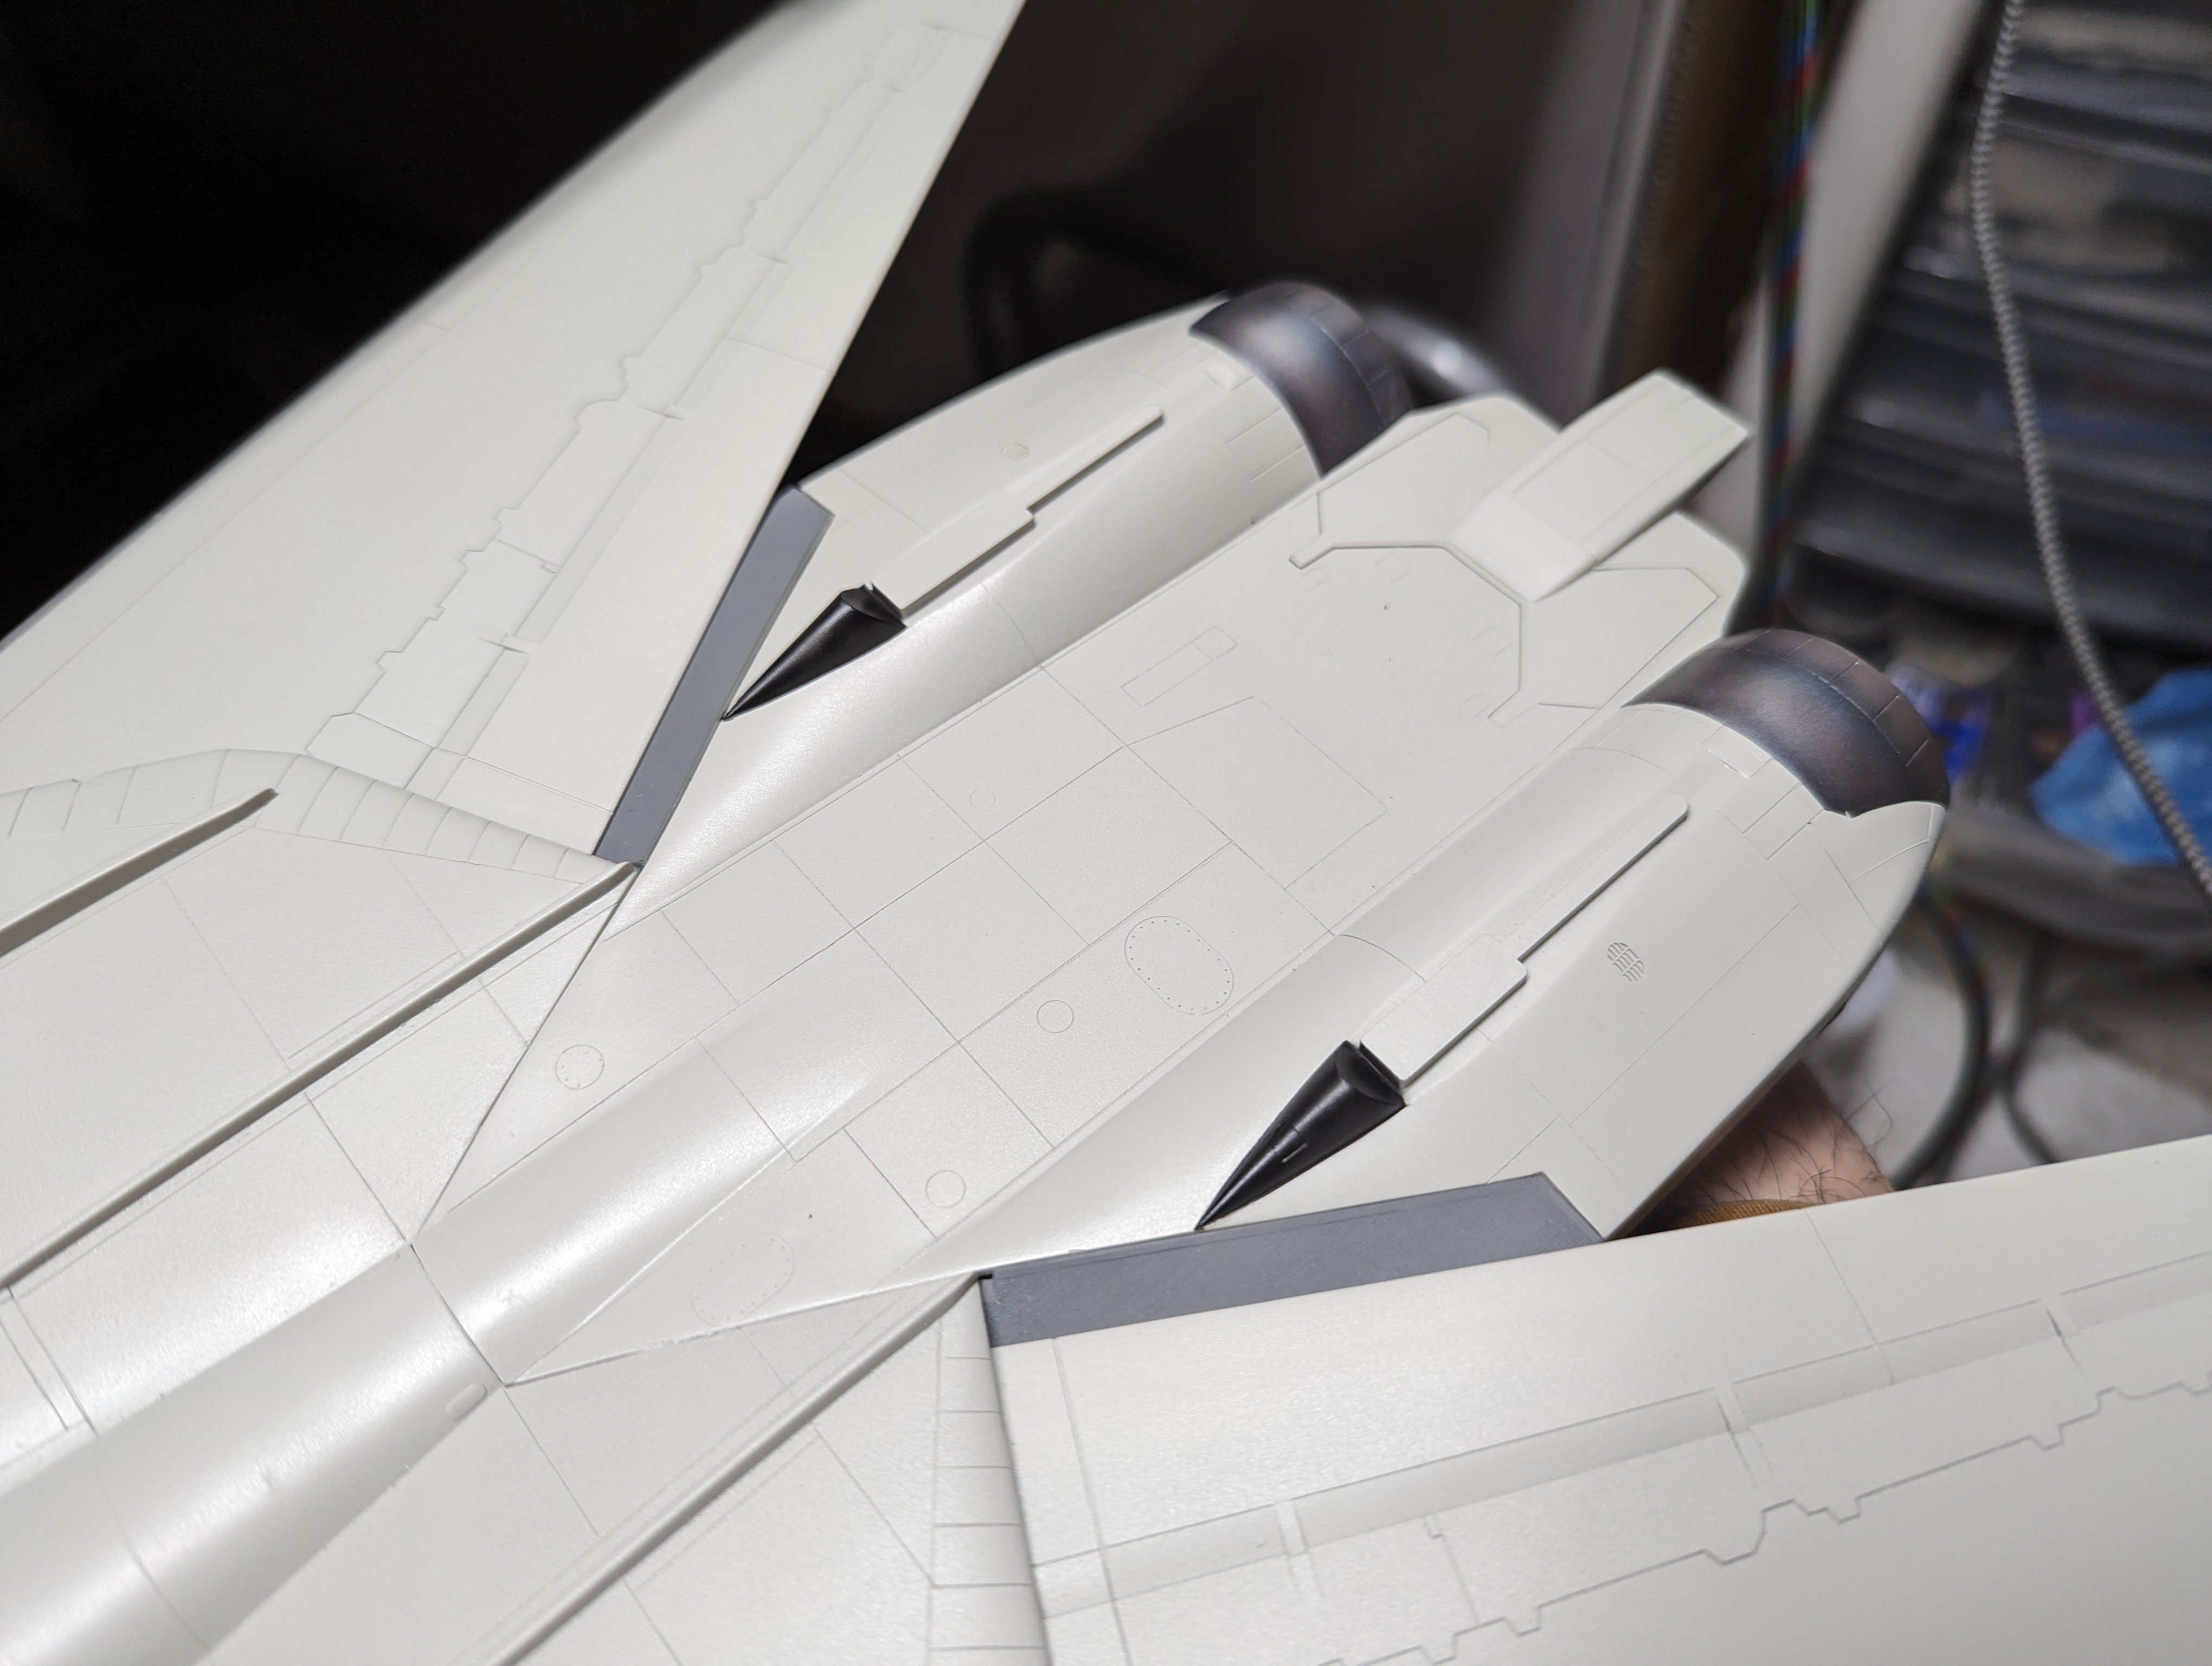
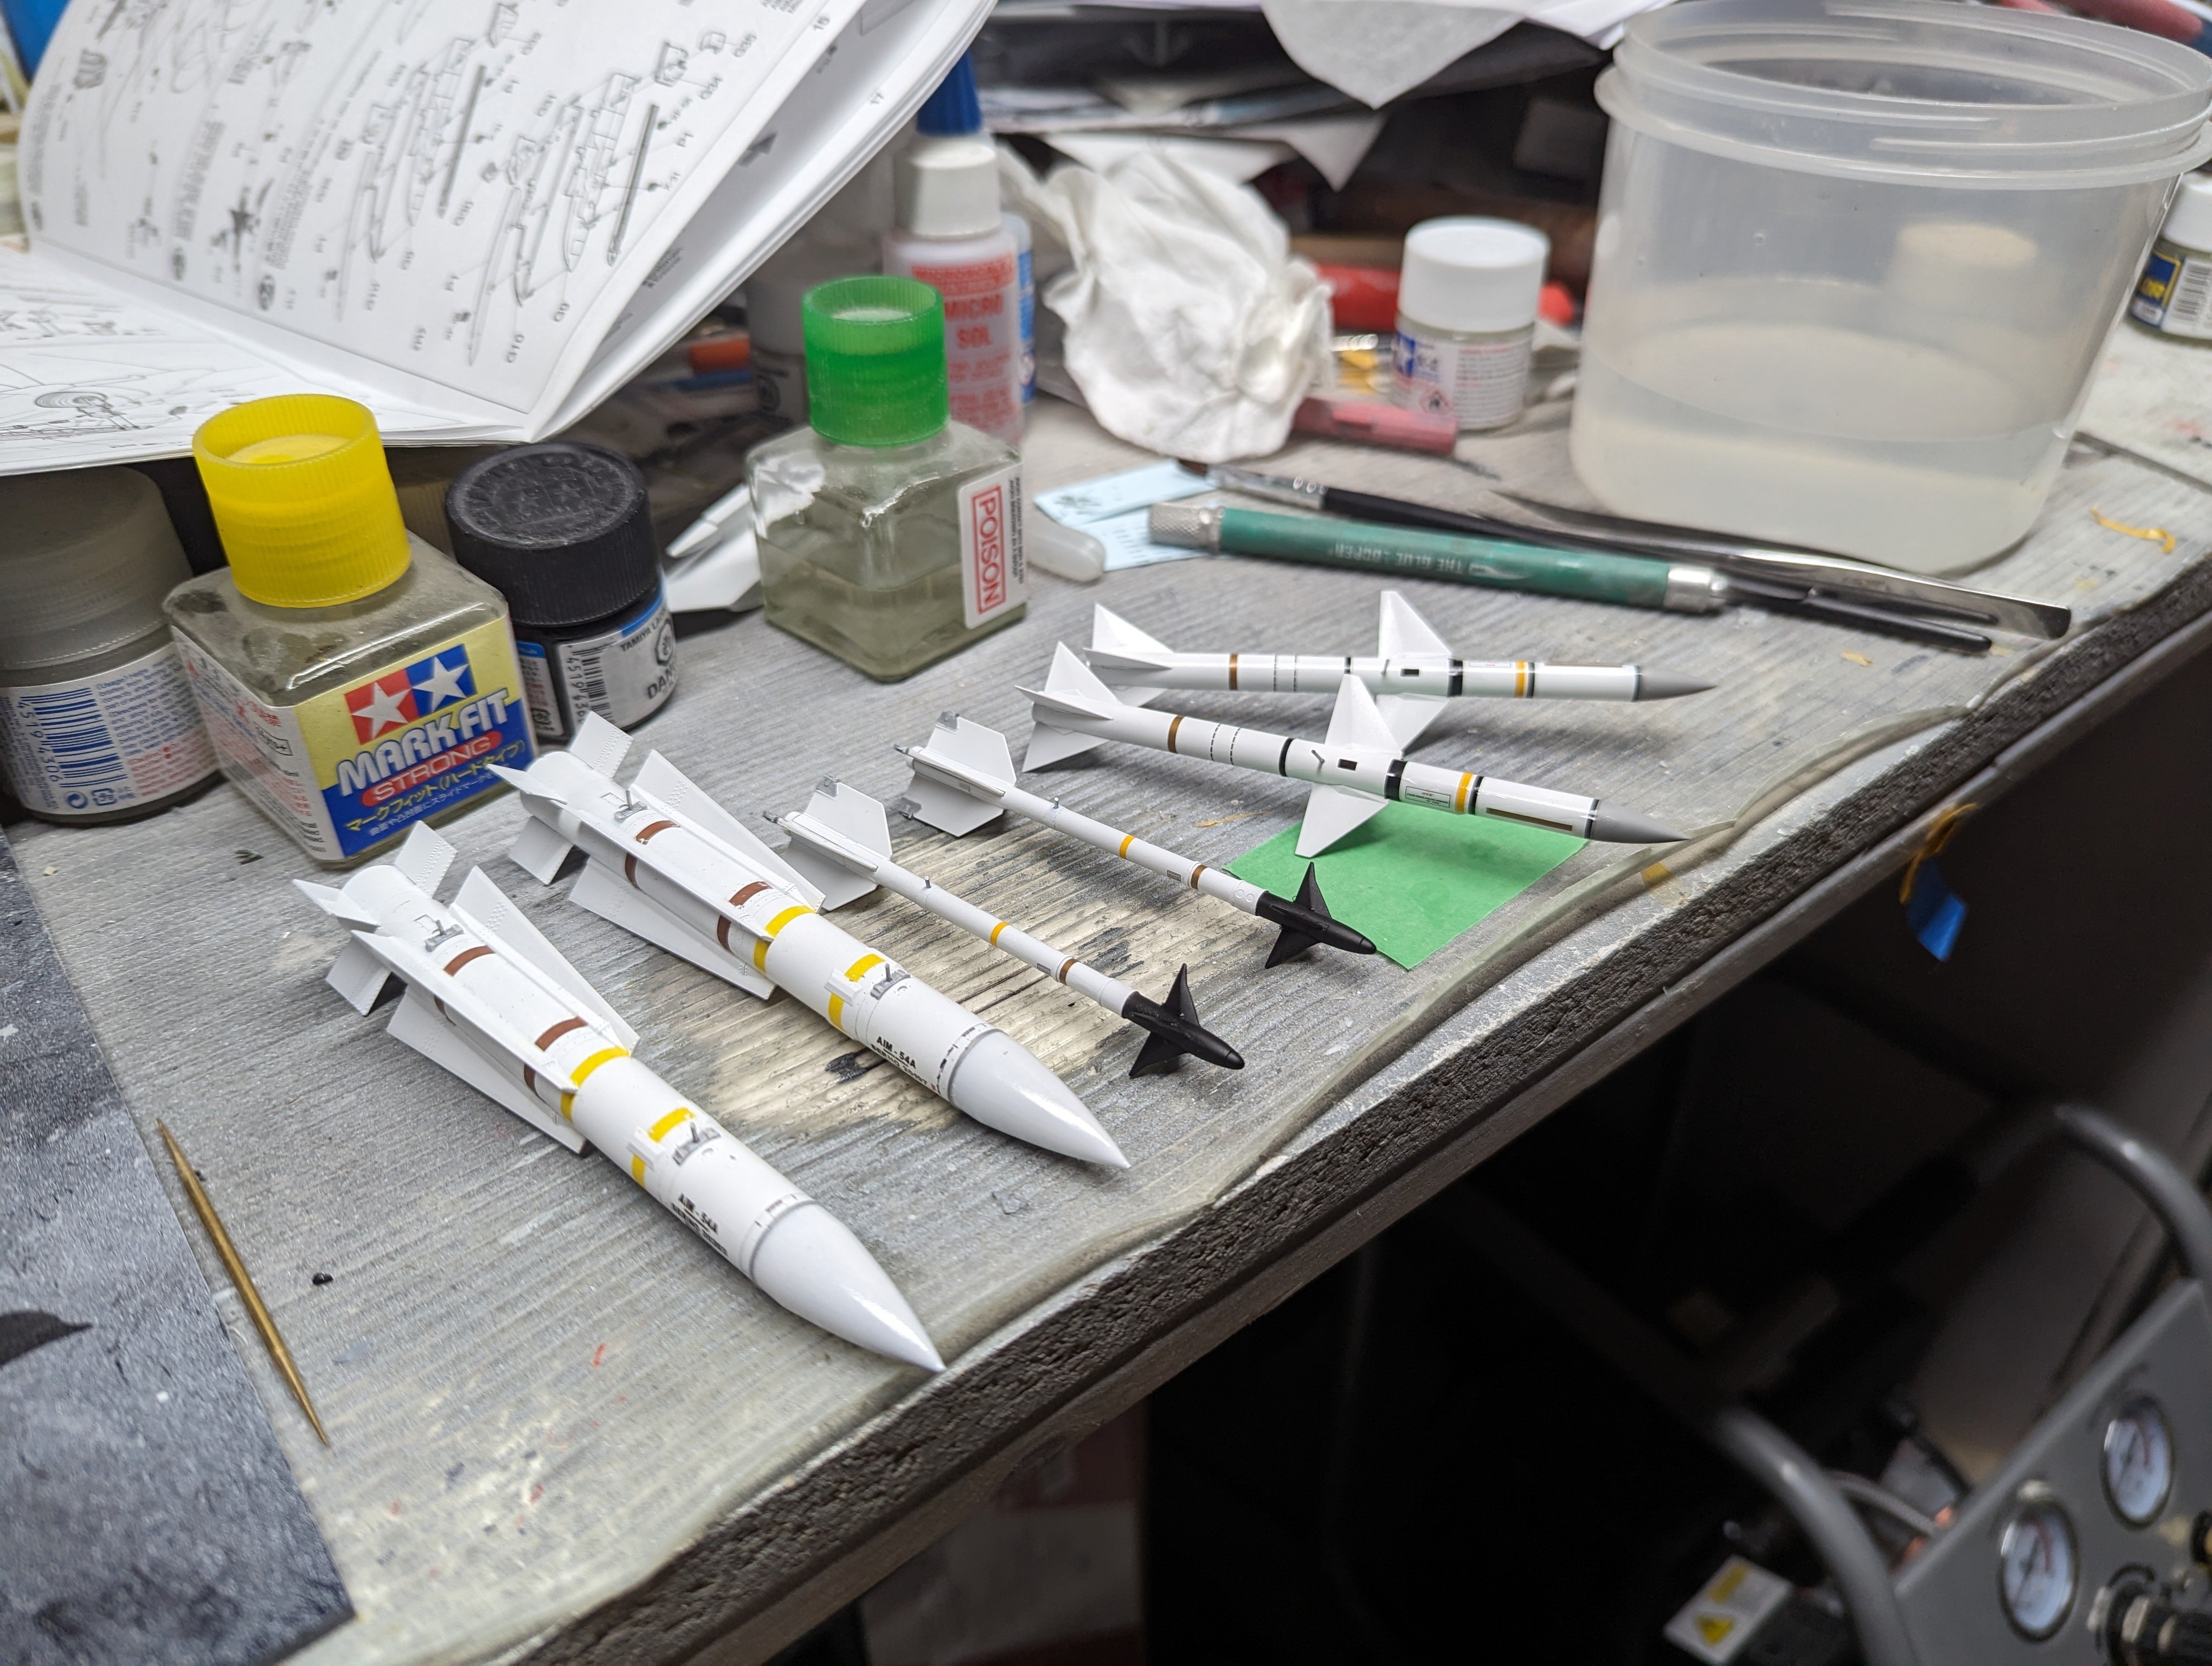
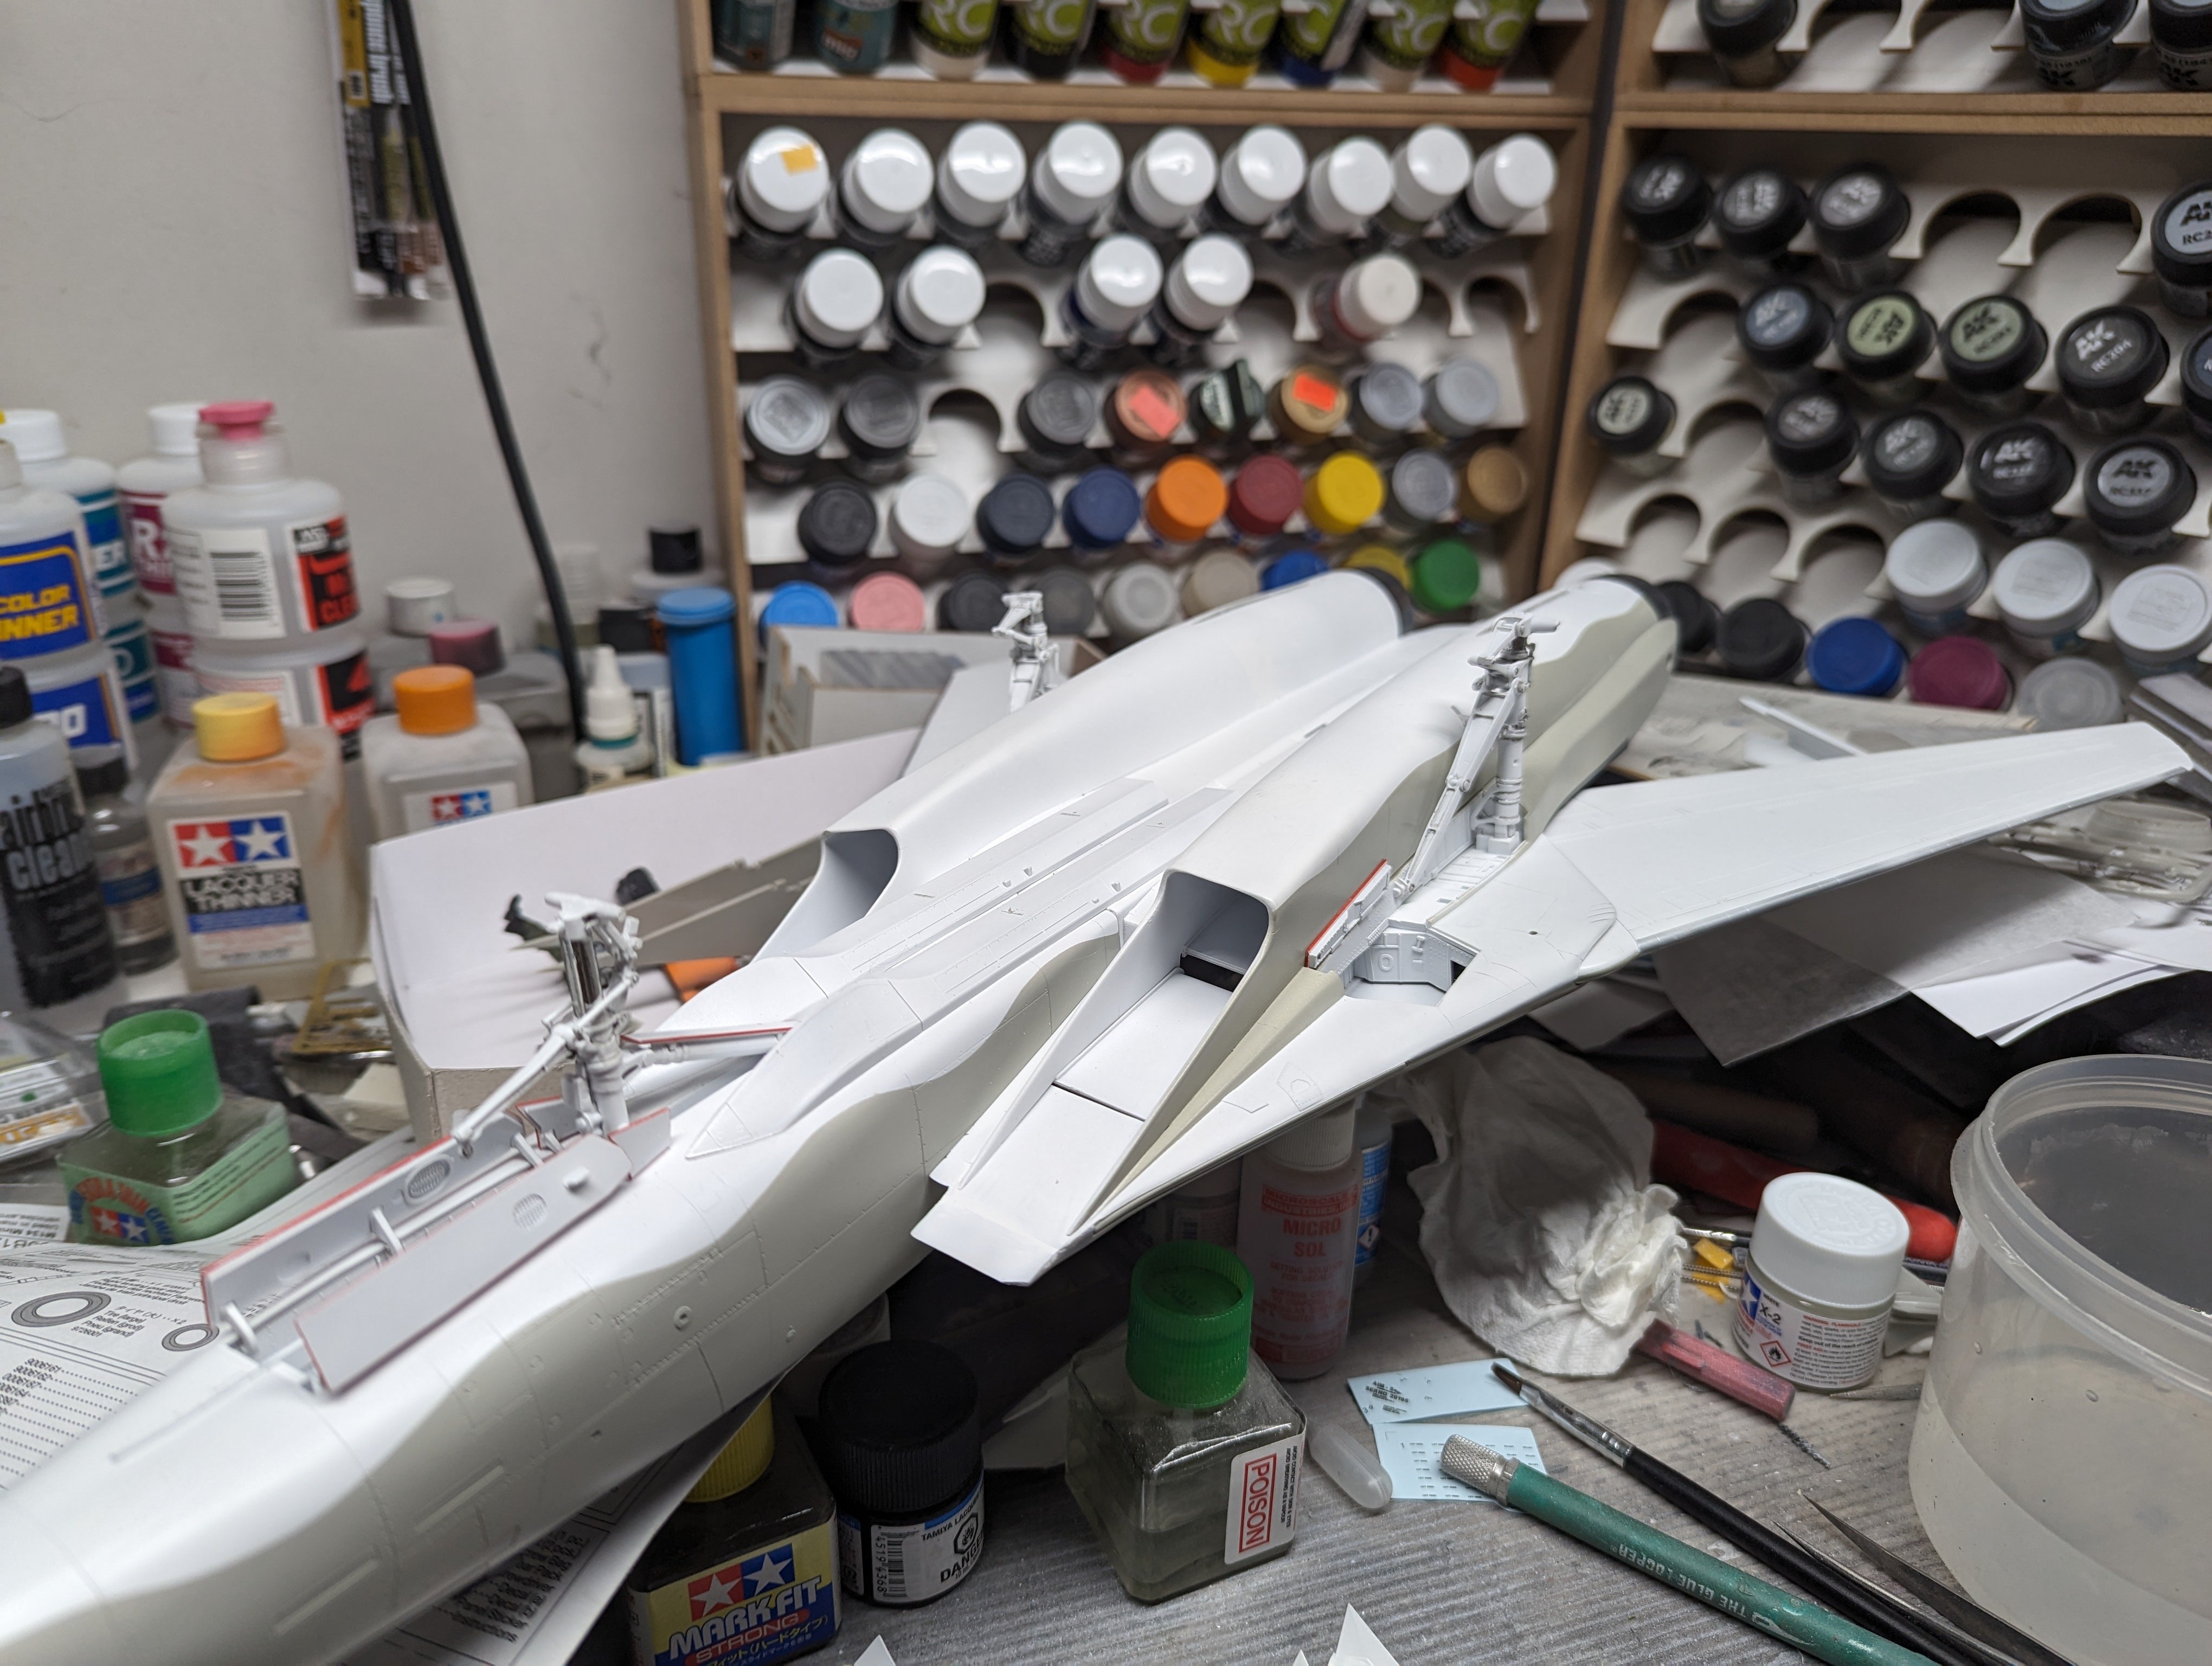
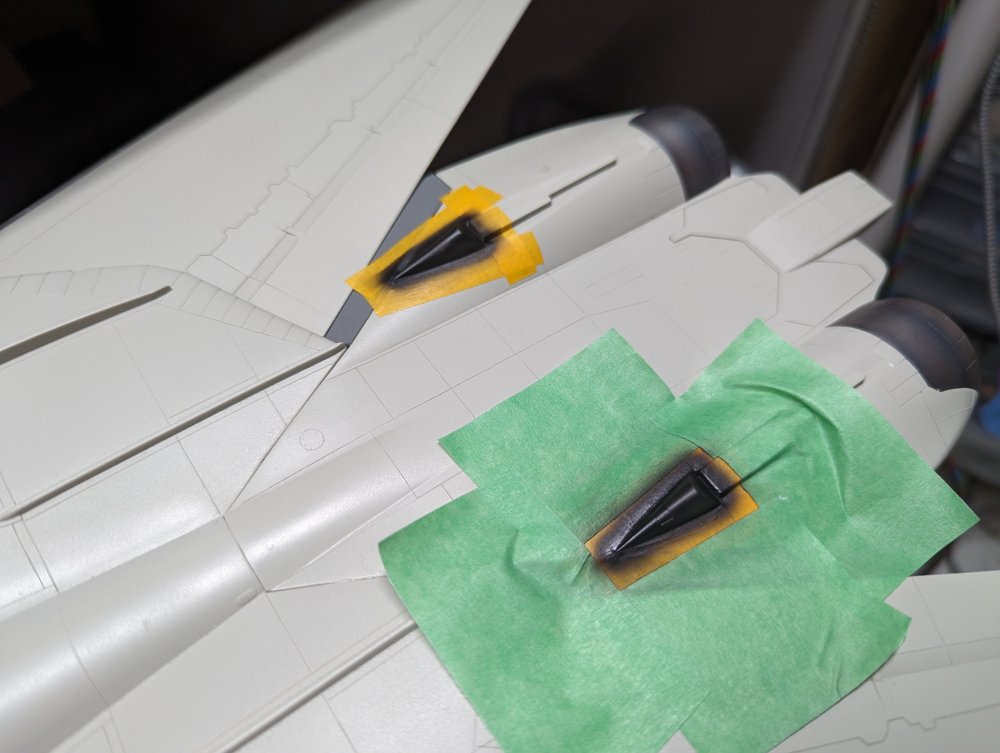
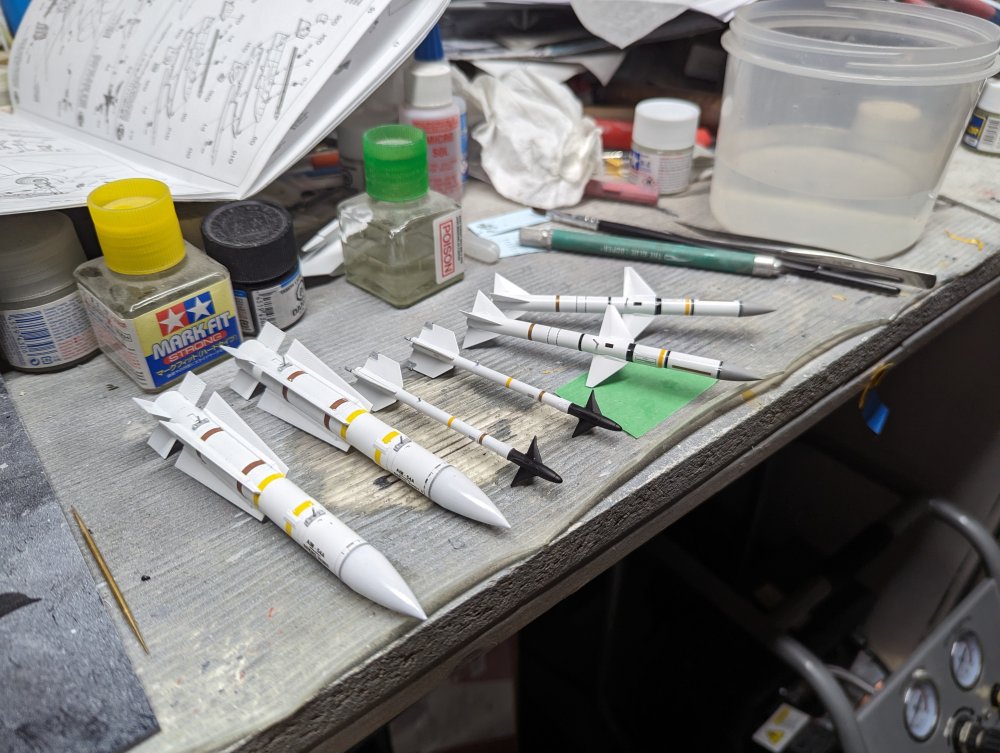
More progress on the Tomcat. I finished the seam work and touched up the paint. I then finished painting the antiglare panel around the cockpit and the tips of the vertical tails base I then added the Pheonix pallets. Landing gear was next. Finally I did the detail painting and decal work on the missiles. I used Aim-7s and AIM-9s from a Tamiya F-4 kit. The Aim-54A Pheonix missiles are by Eduard.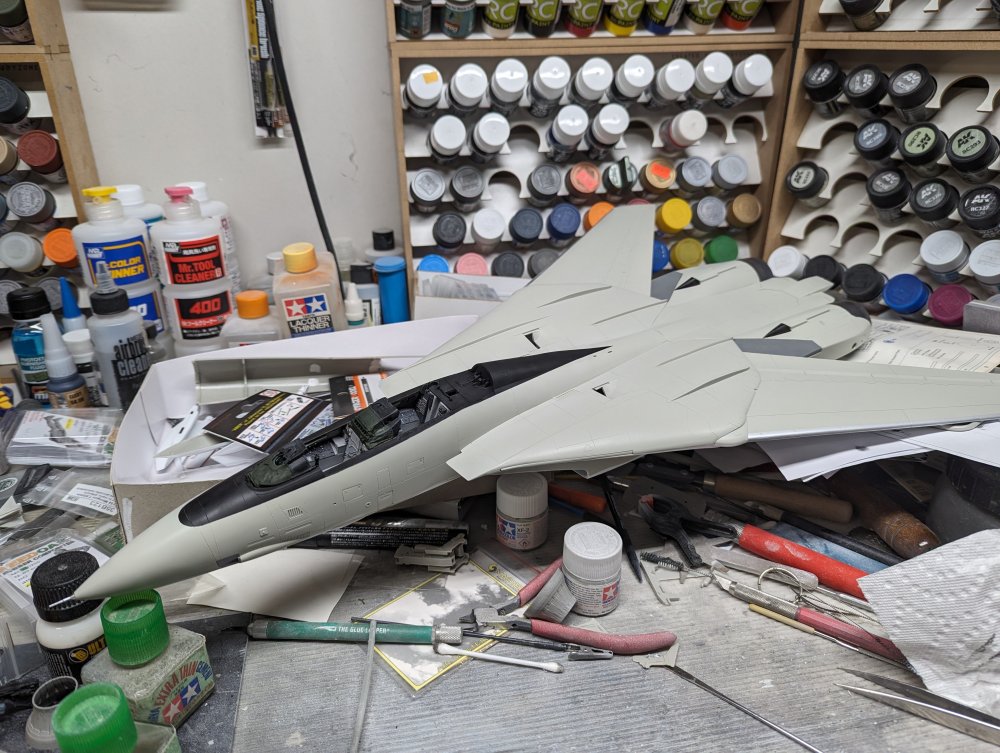


-
Baby Boot looks awesome. Can't wait to see what you can do with big brother.
-
HK's 1/32 Mosquito-Finished
BlrwestSiR replied to KevinM's topic in LSM 1/35 and Larger Work In Progress
Looks good there Kevin. I need to do a Mossie with invasion stripes one day. -
Fun in the mountains!
-
LSM Modelling News 2023 merged Fran and Artful69’s threads
BlrwestSiR replied to Fran's topic in Modelling Discussion
If that is anything like their armour kits, it's going to be a great model. -
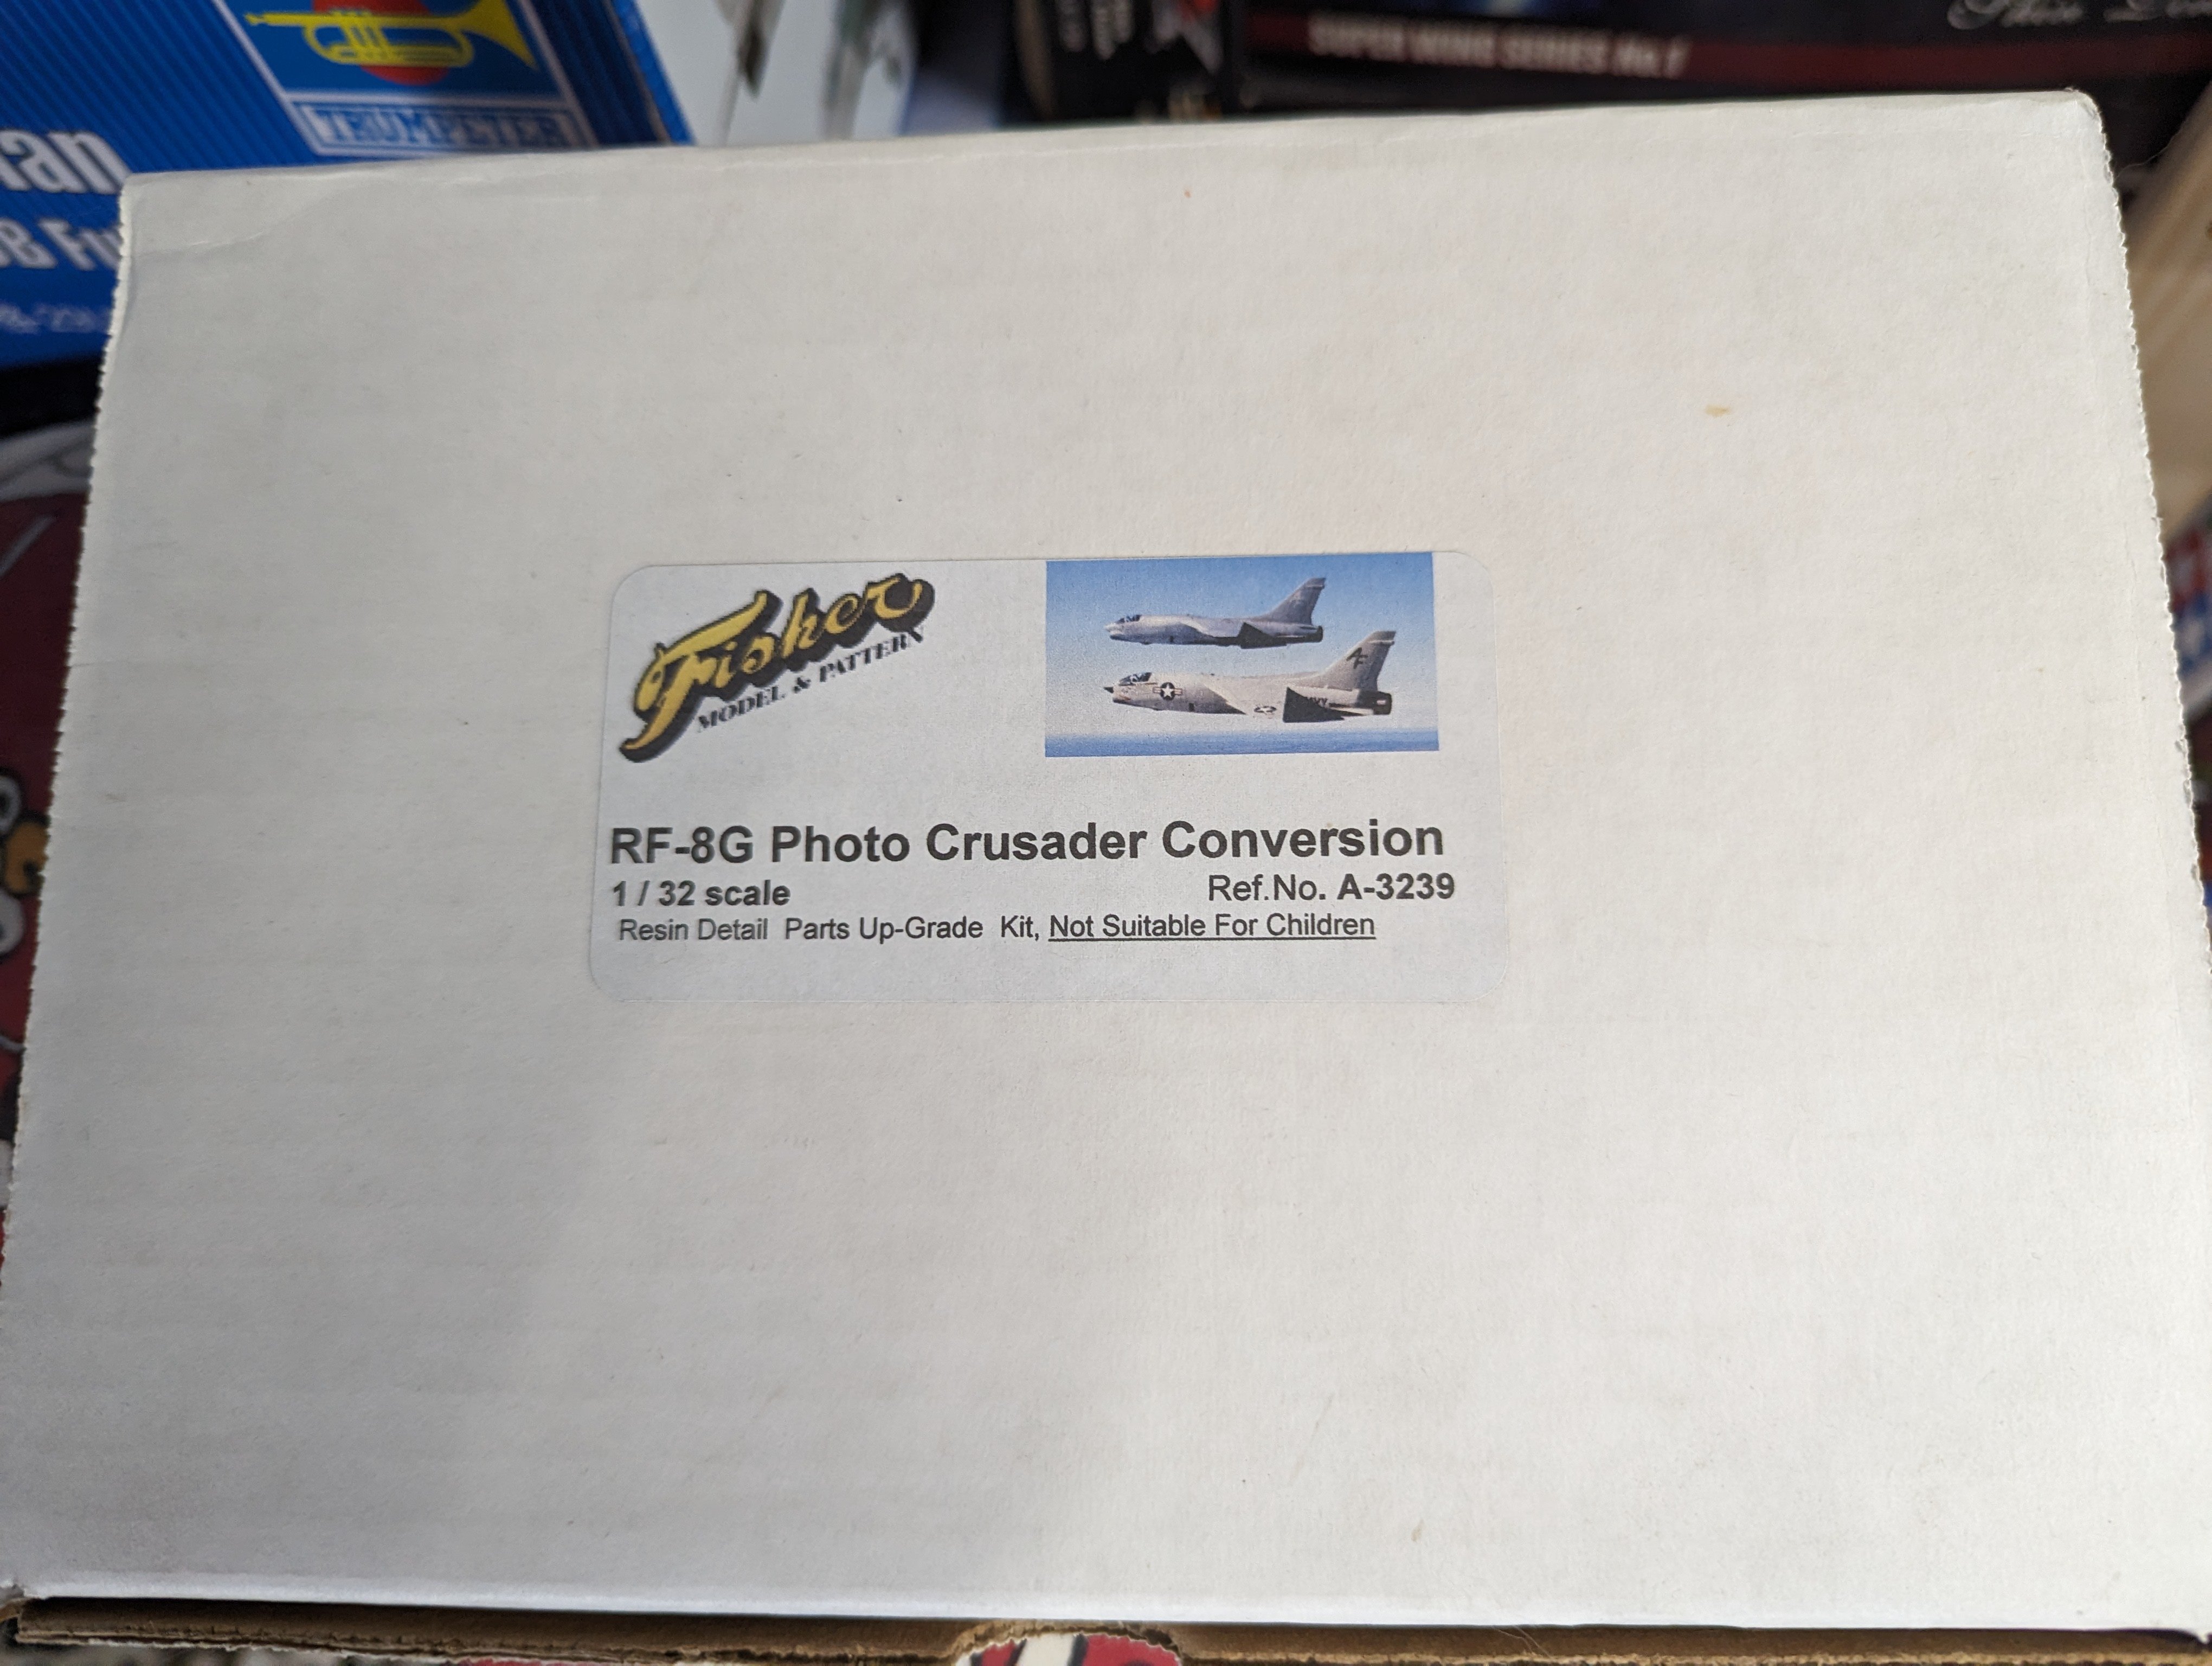
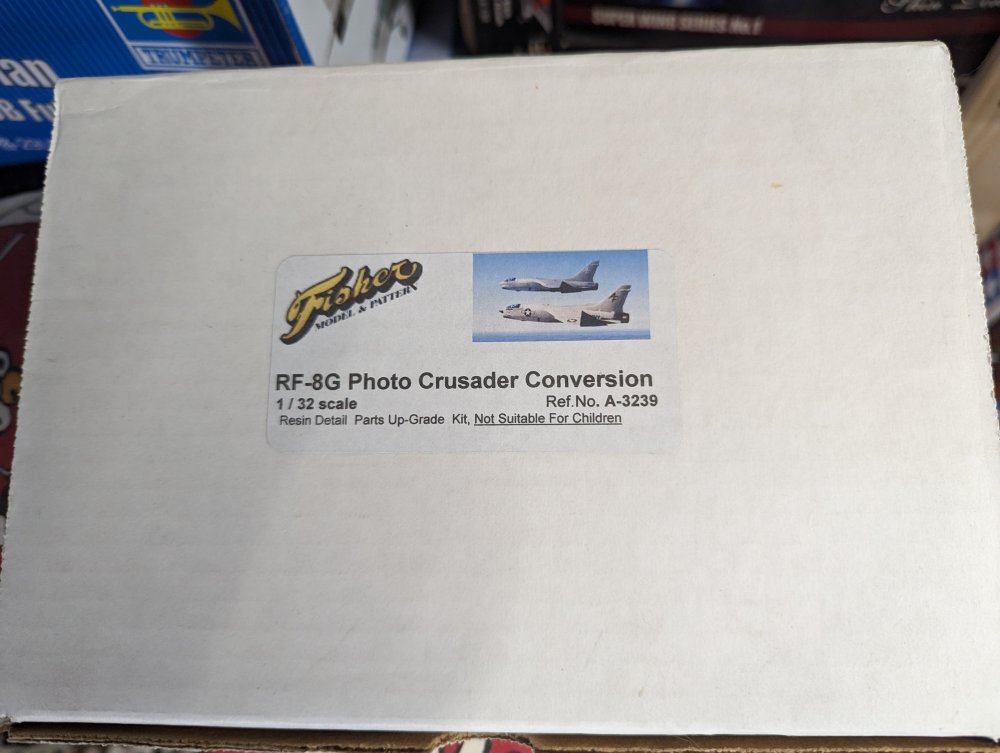
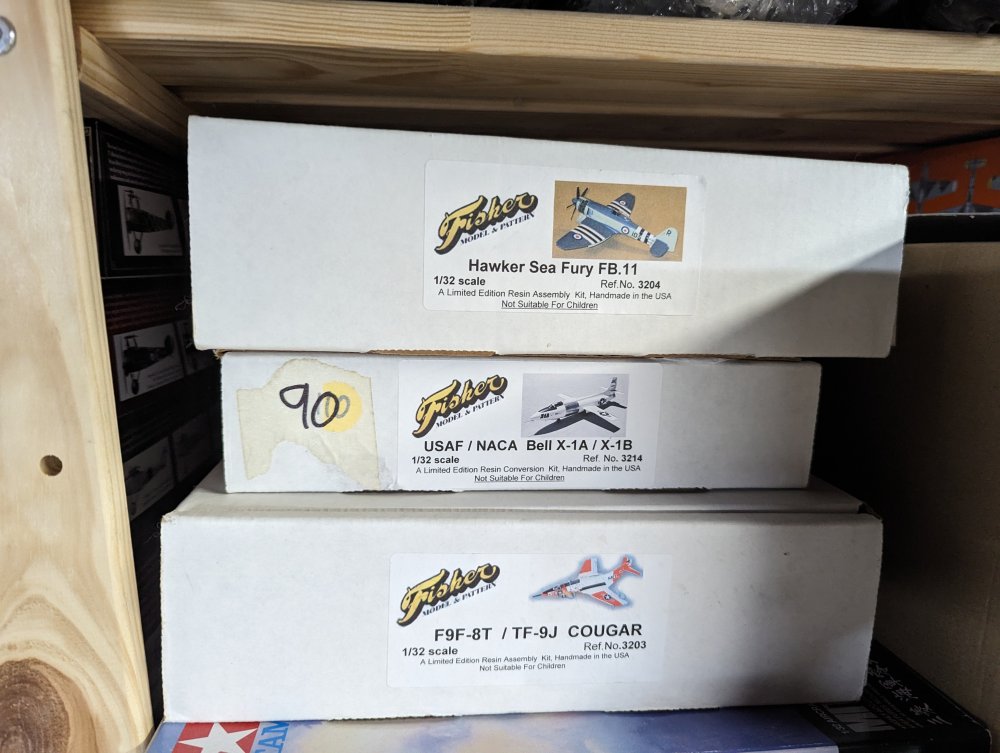
Here's what I have. I also have an F-8C that's started.
-
I would be up for that.
-
Same here. 3 full kits in the stash and a pair of conversions.
-
According to their Facebook page, they've been open for 37 years. They used to be in a different location and moved about a decade ago to their current spot. That's where I found them and have been going since.
-
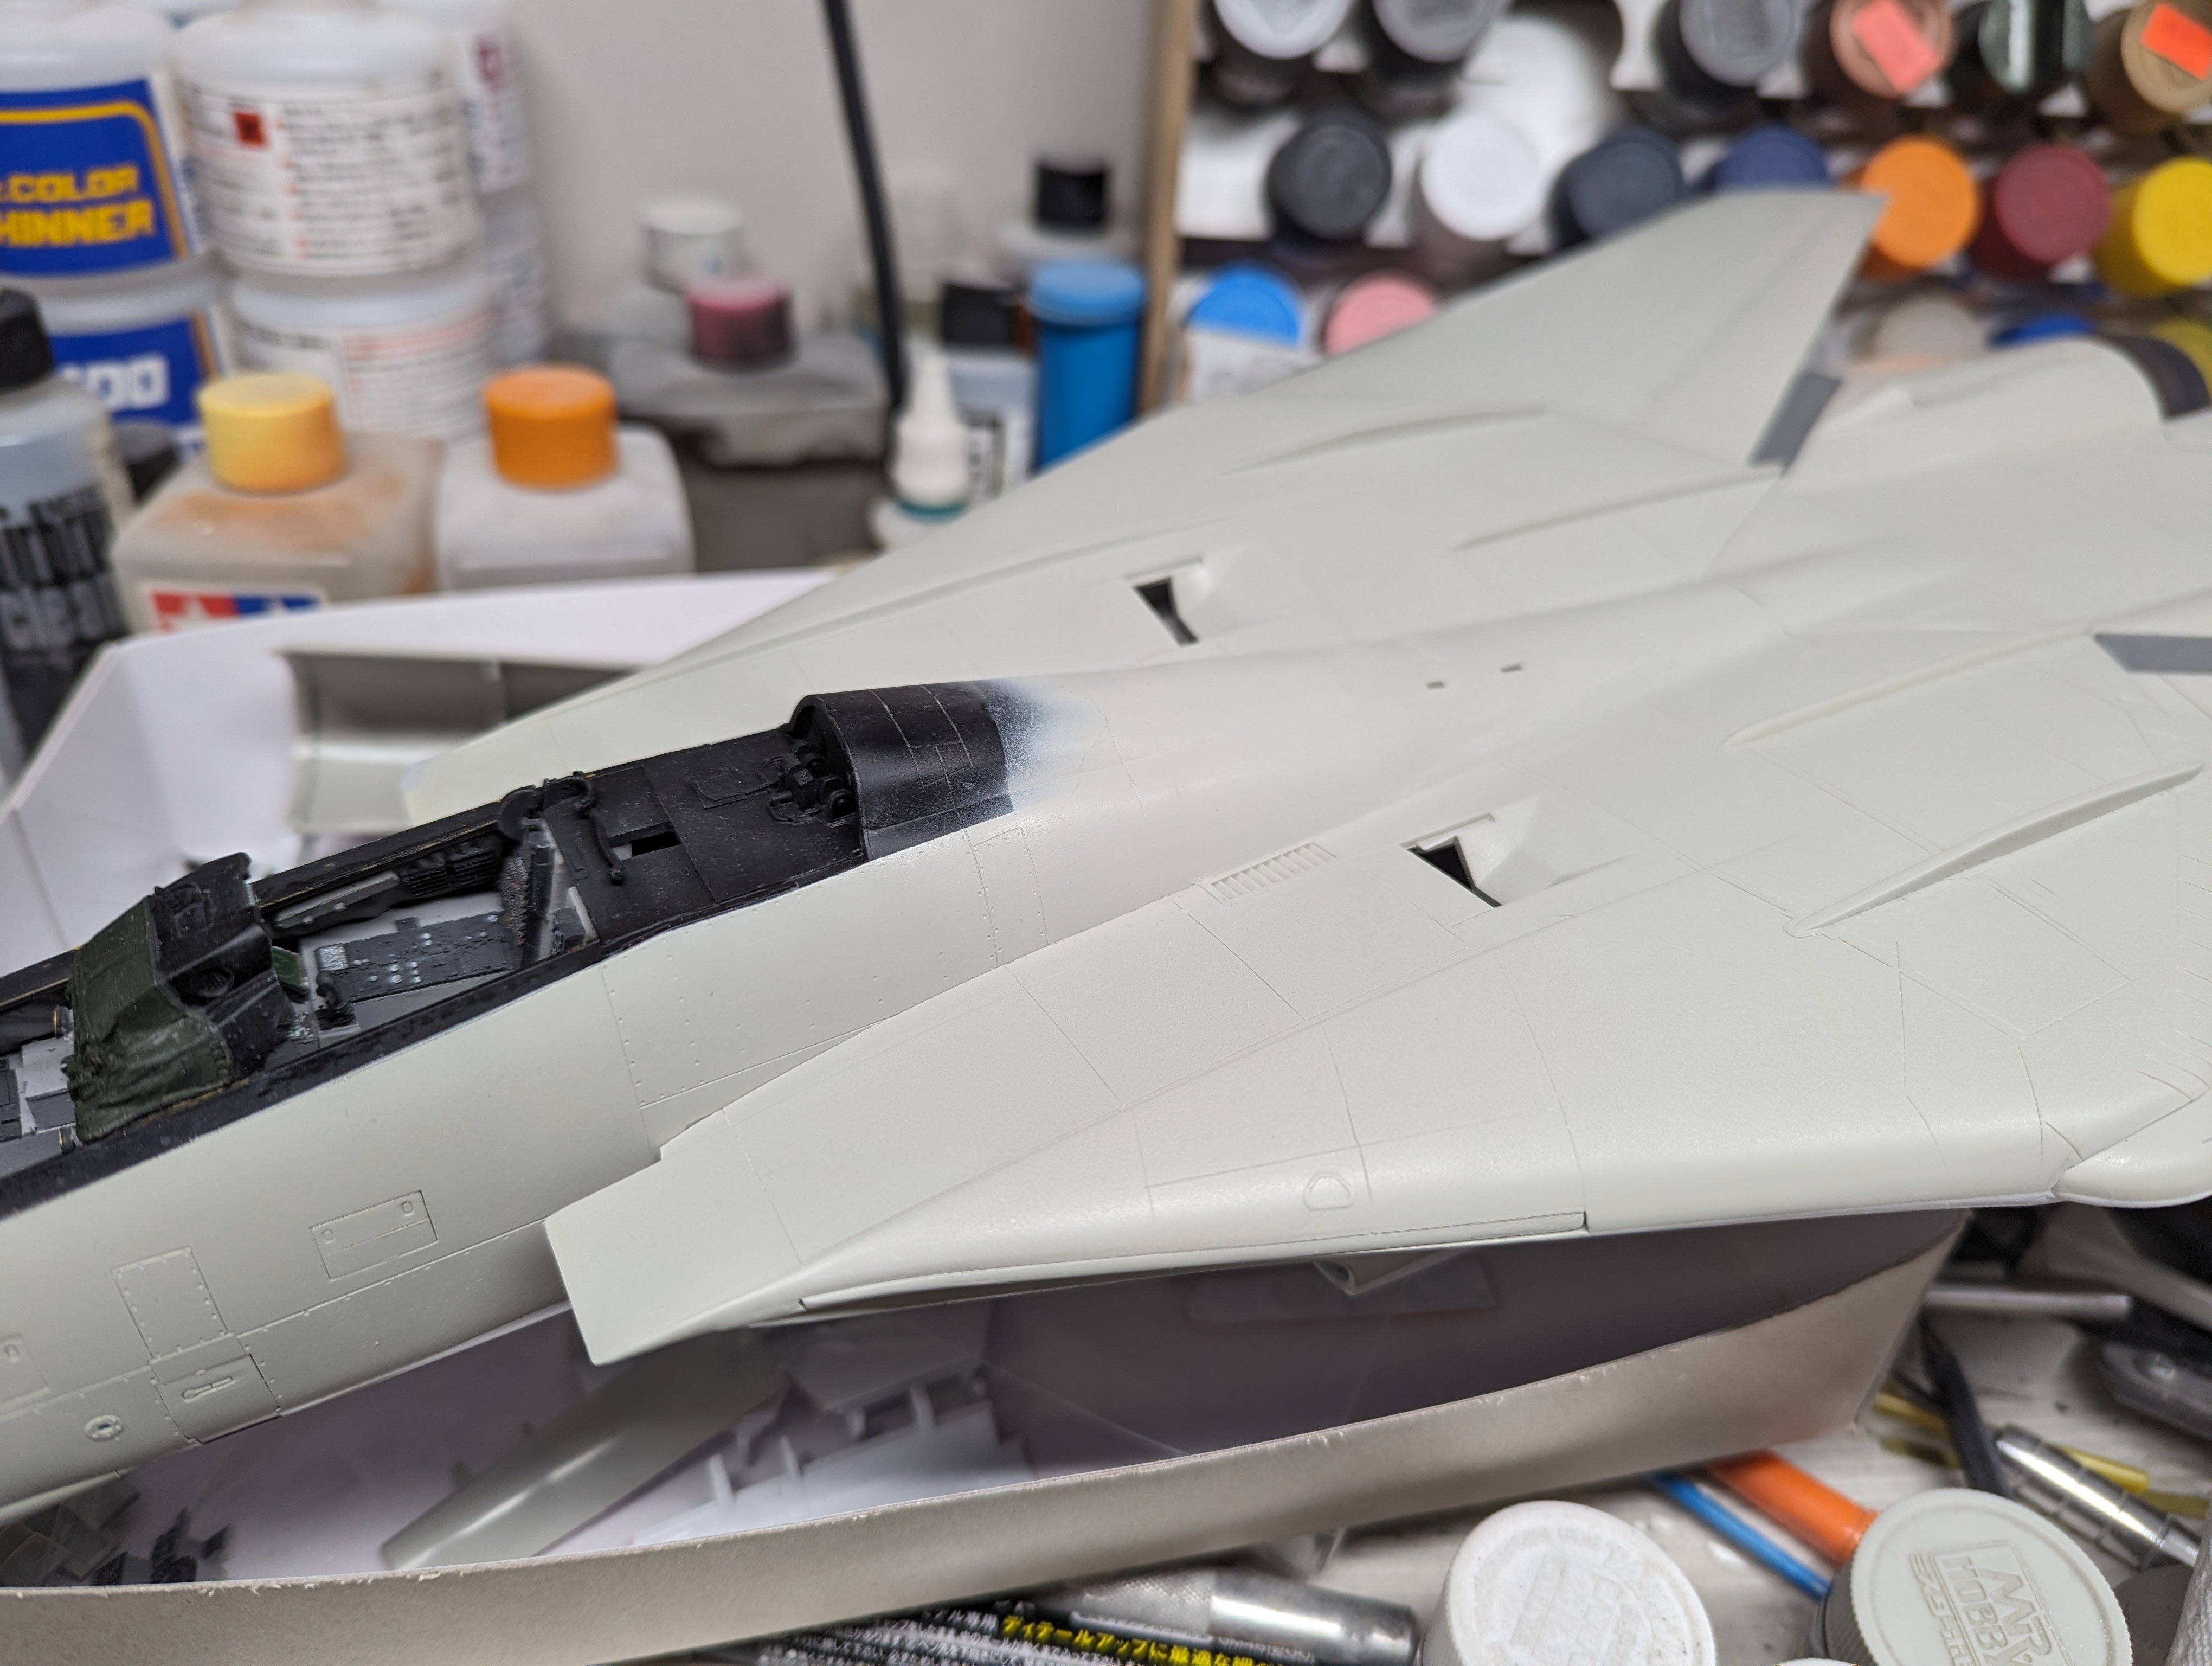
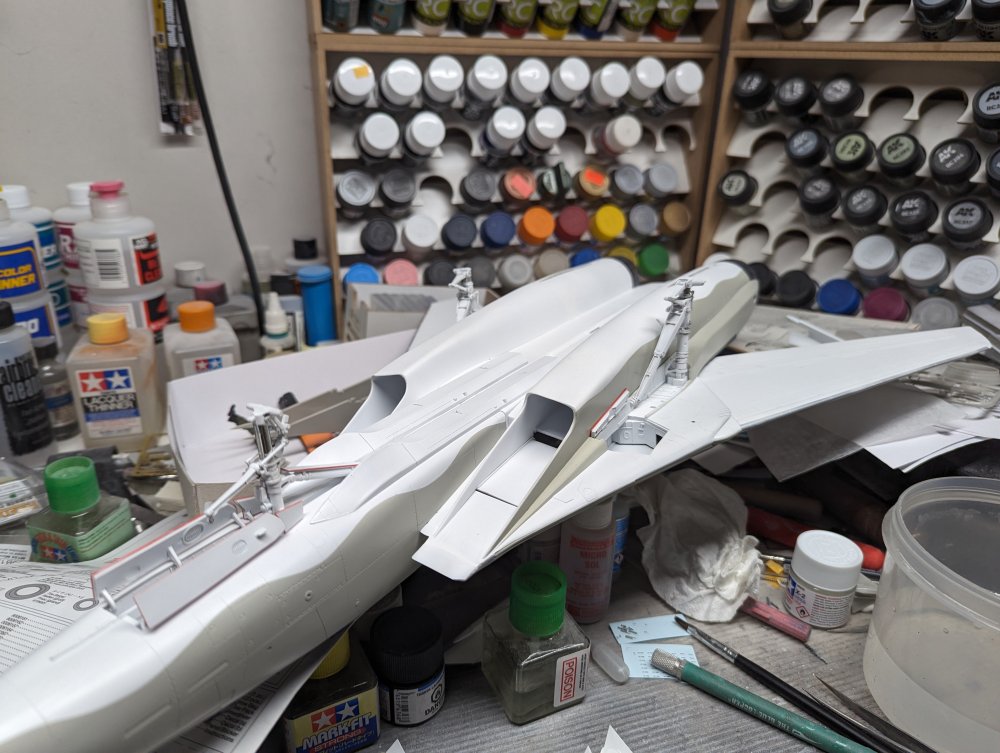
Another Tomcat, I know.
BlrwestSiR replied to BlrwestSiR's topic in LSM 1/35 and Larger Work In Progress
I used Tamiya lacquer gloss black with a brush and put it on wet. Out of the bottle, it was thing enough and just flowed into the details. -
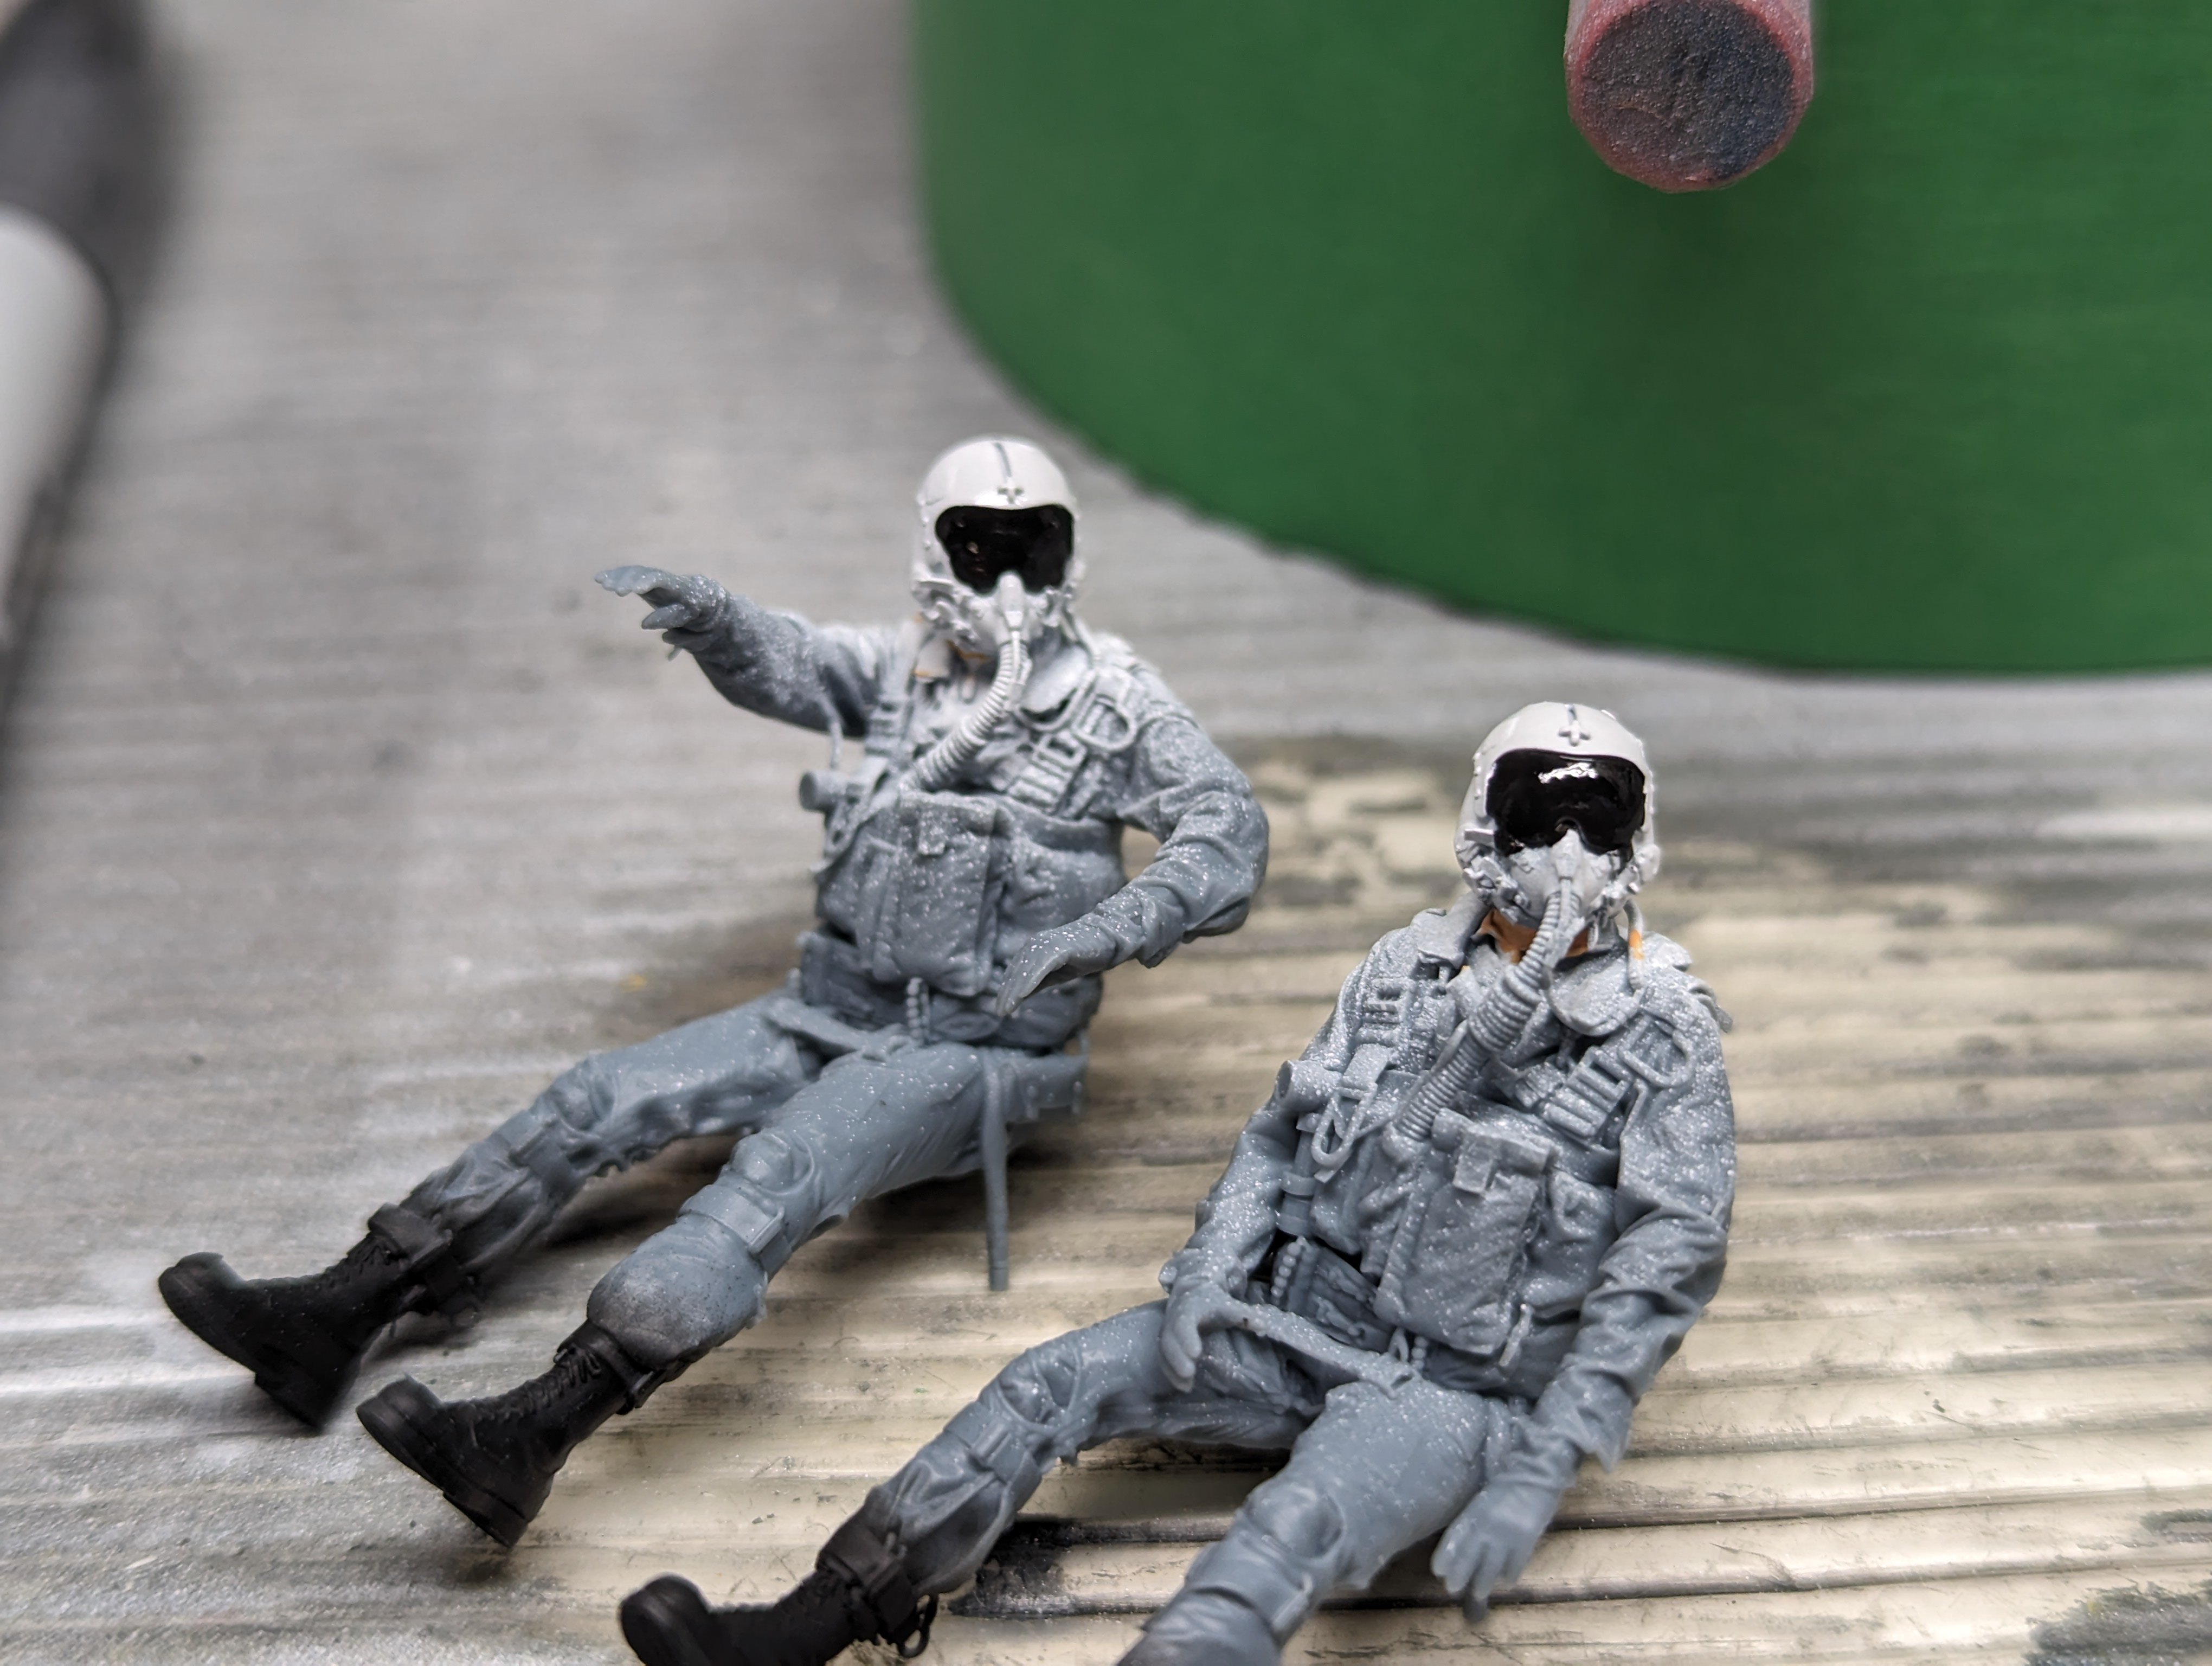
Another Tomcat, I know.
BlrwestSiR replied to BlrwestSiR's topic in LSM 1/35 and Larger Work In Progress
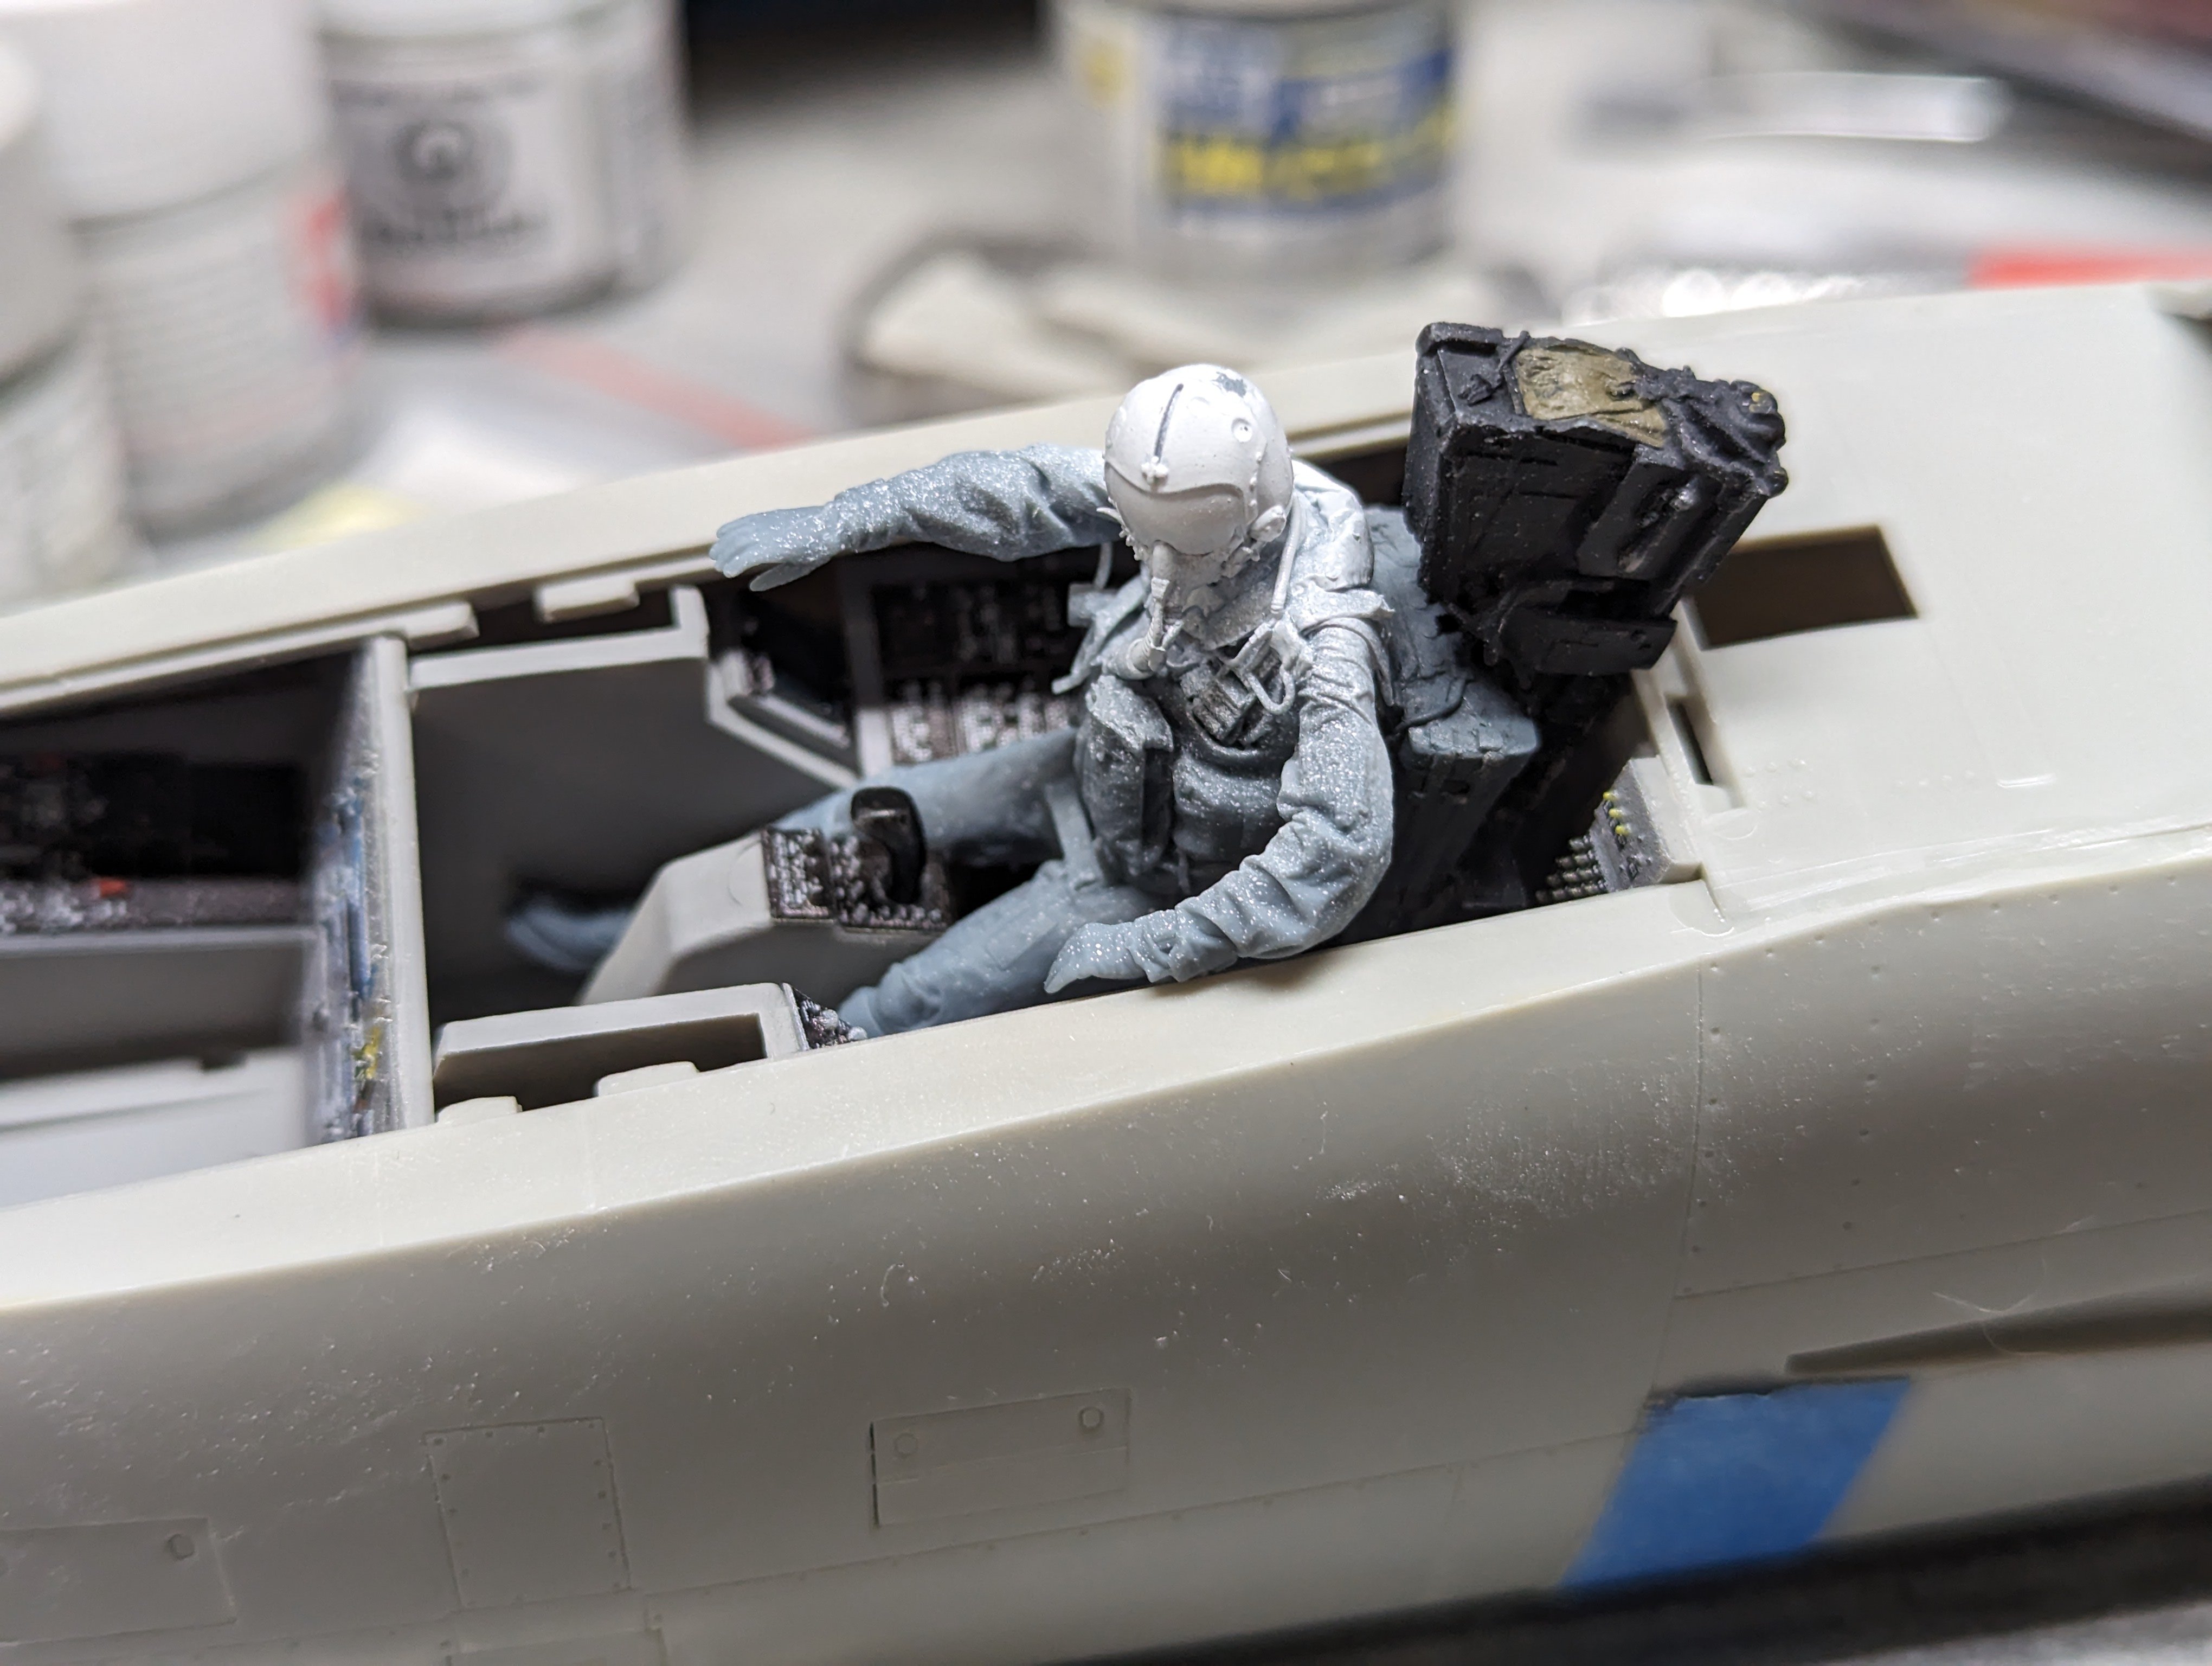
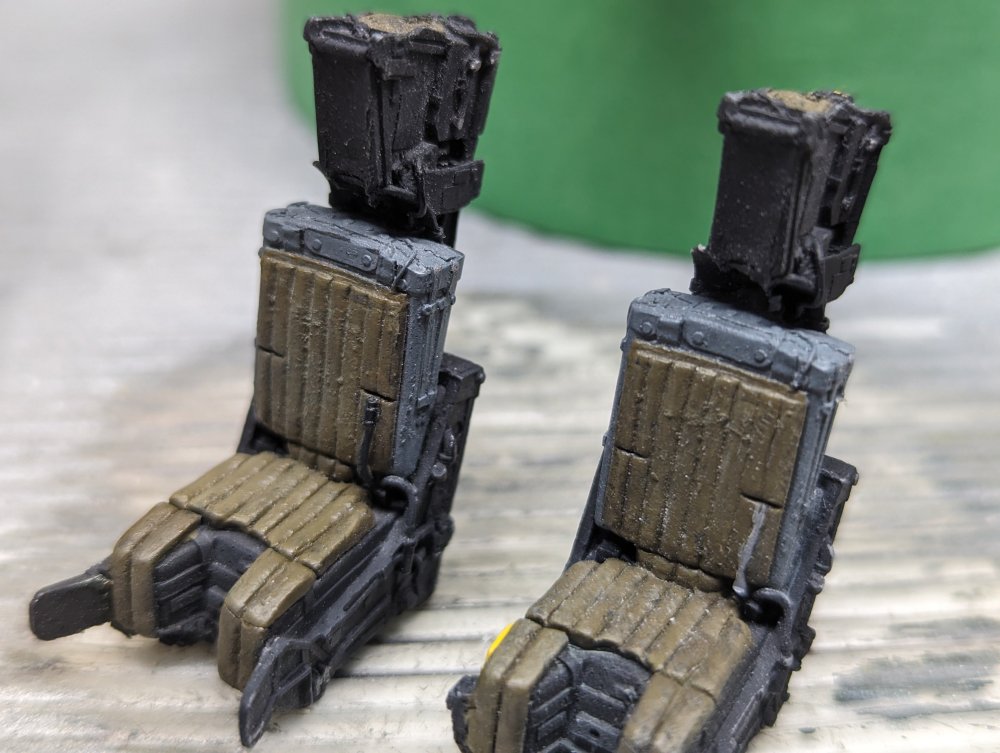
Thankfully all I needed was snip off a moulded on wire/cable/hose on the one seat and the RIO ended up fitting. The pilot seat is on the left and you can see where I cut off the offending bit on the right seat. Speaking of the crew, I did some paintwork on them. Mostly just their visors and the backs of their necks.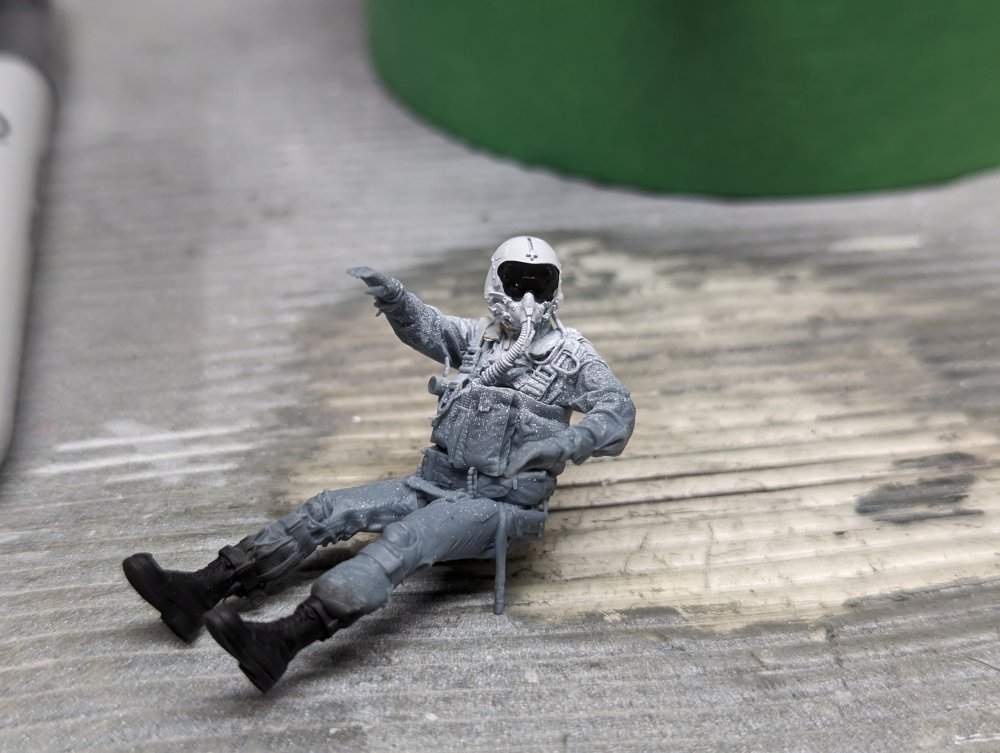

-
Tamiya Mosquito FB Mk VI 60326 - 1/32
BlrwestSiR replied to Bomber_County's topic in LSM 1/35 and Larger Work In Progress
Phil, that's a great looking cockpit and nose gun bay. -
Finally something that we gave the rest of the world so they'd forget about us inflicting Justin Bieber on them.
-
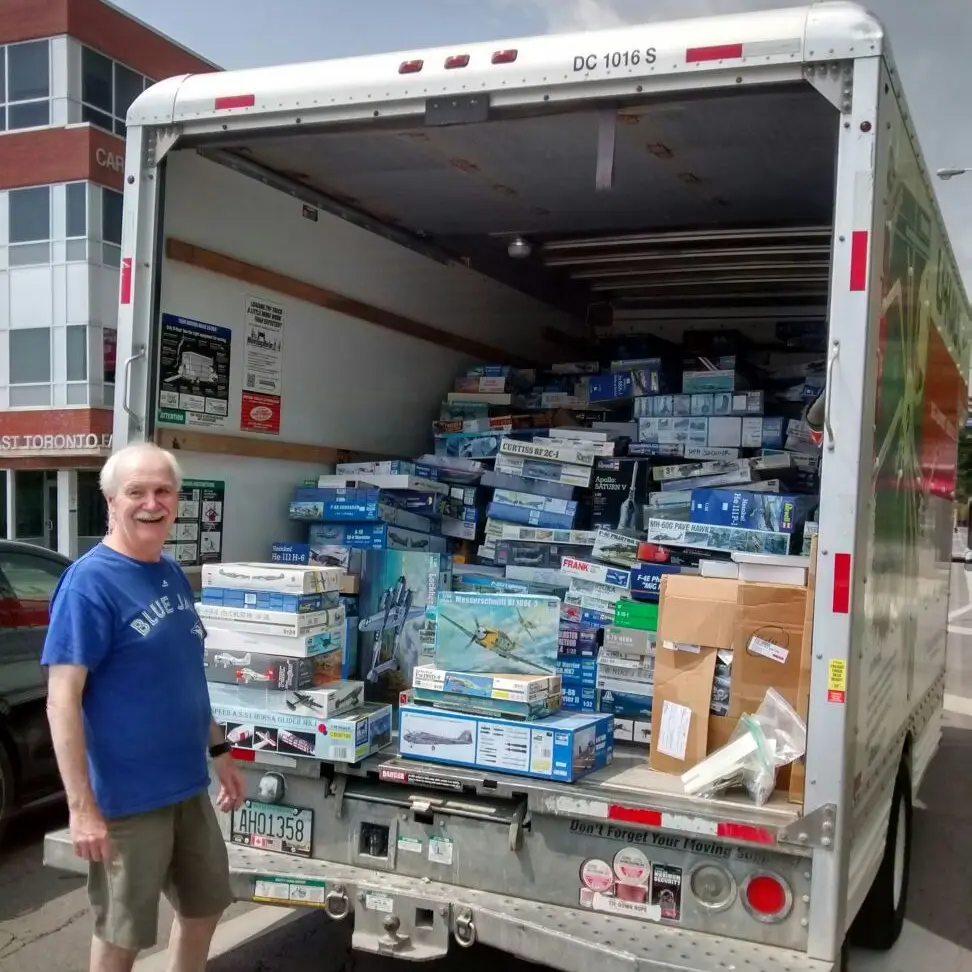
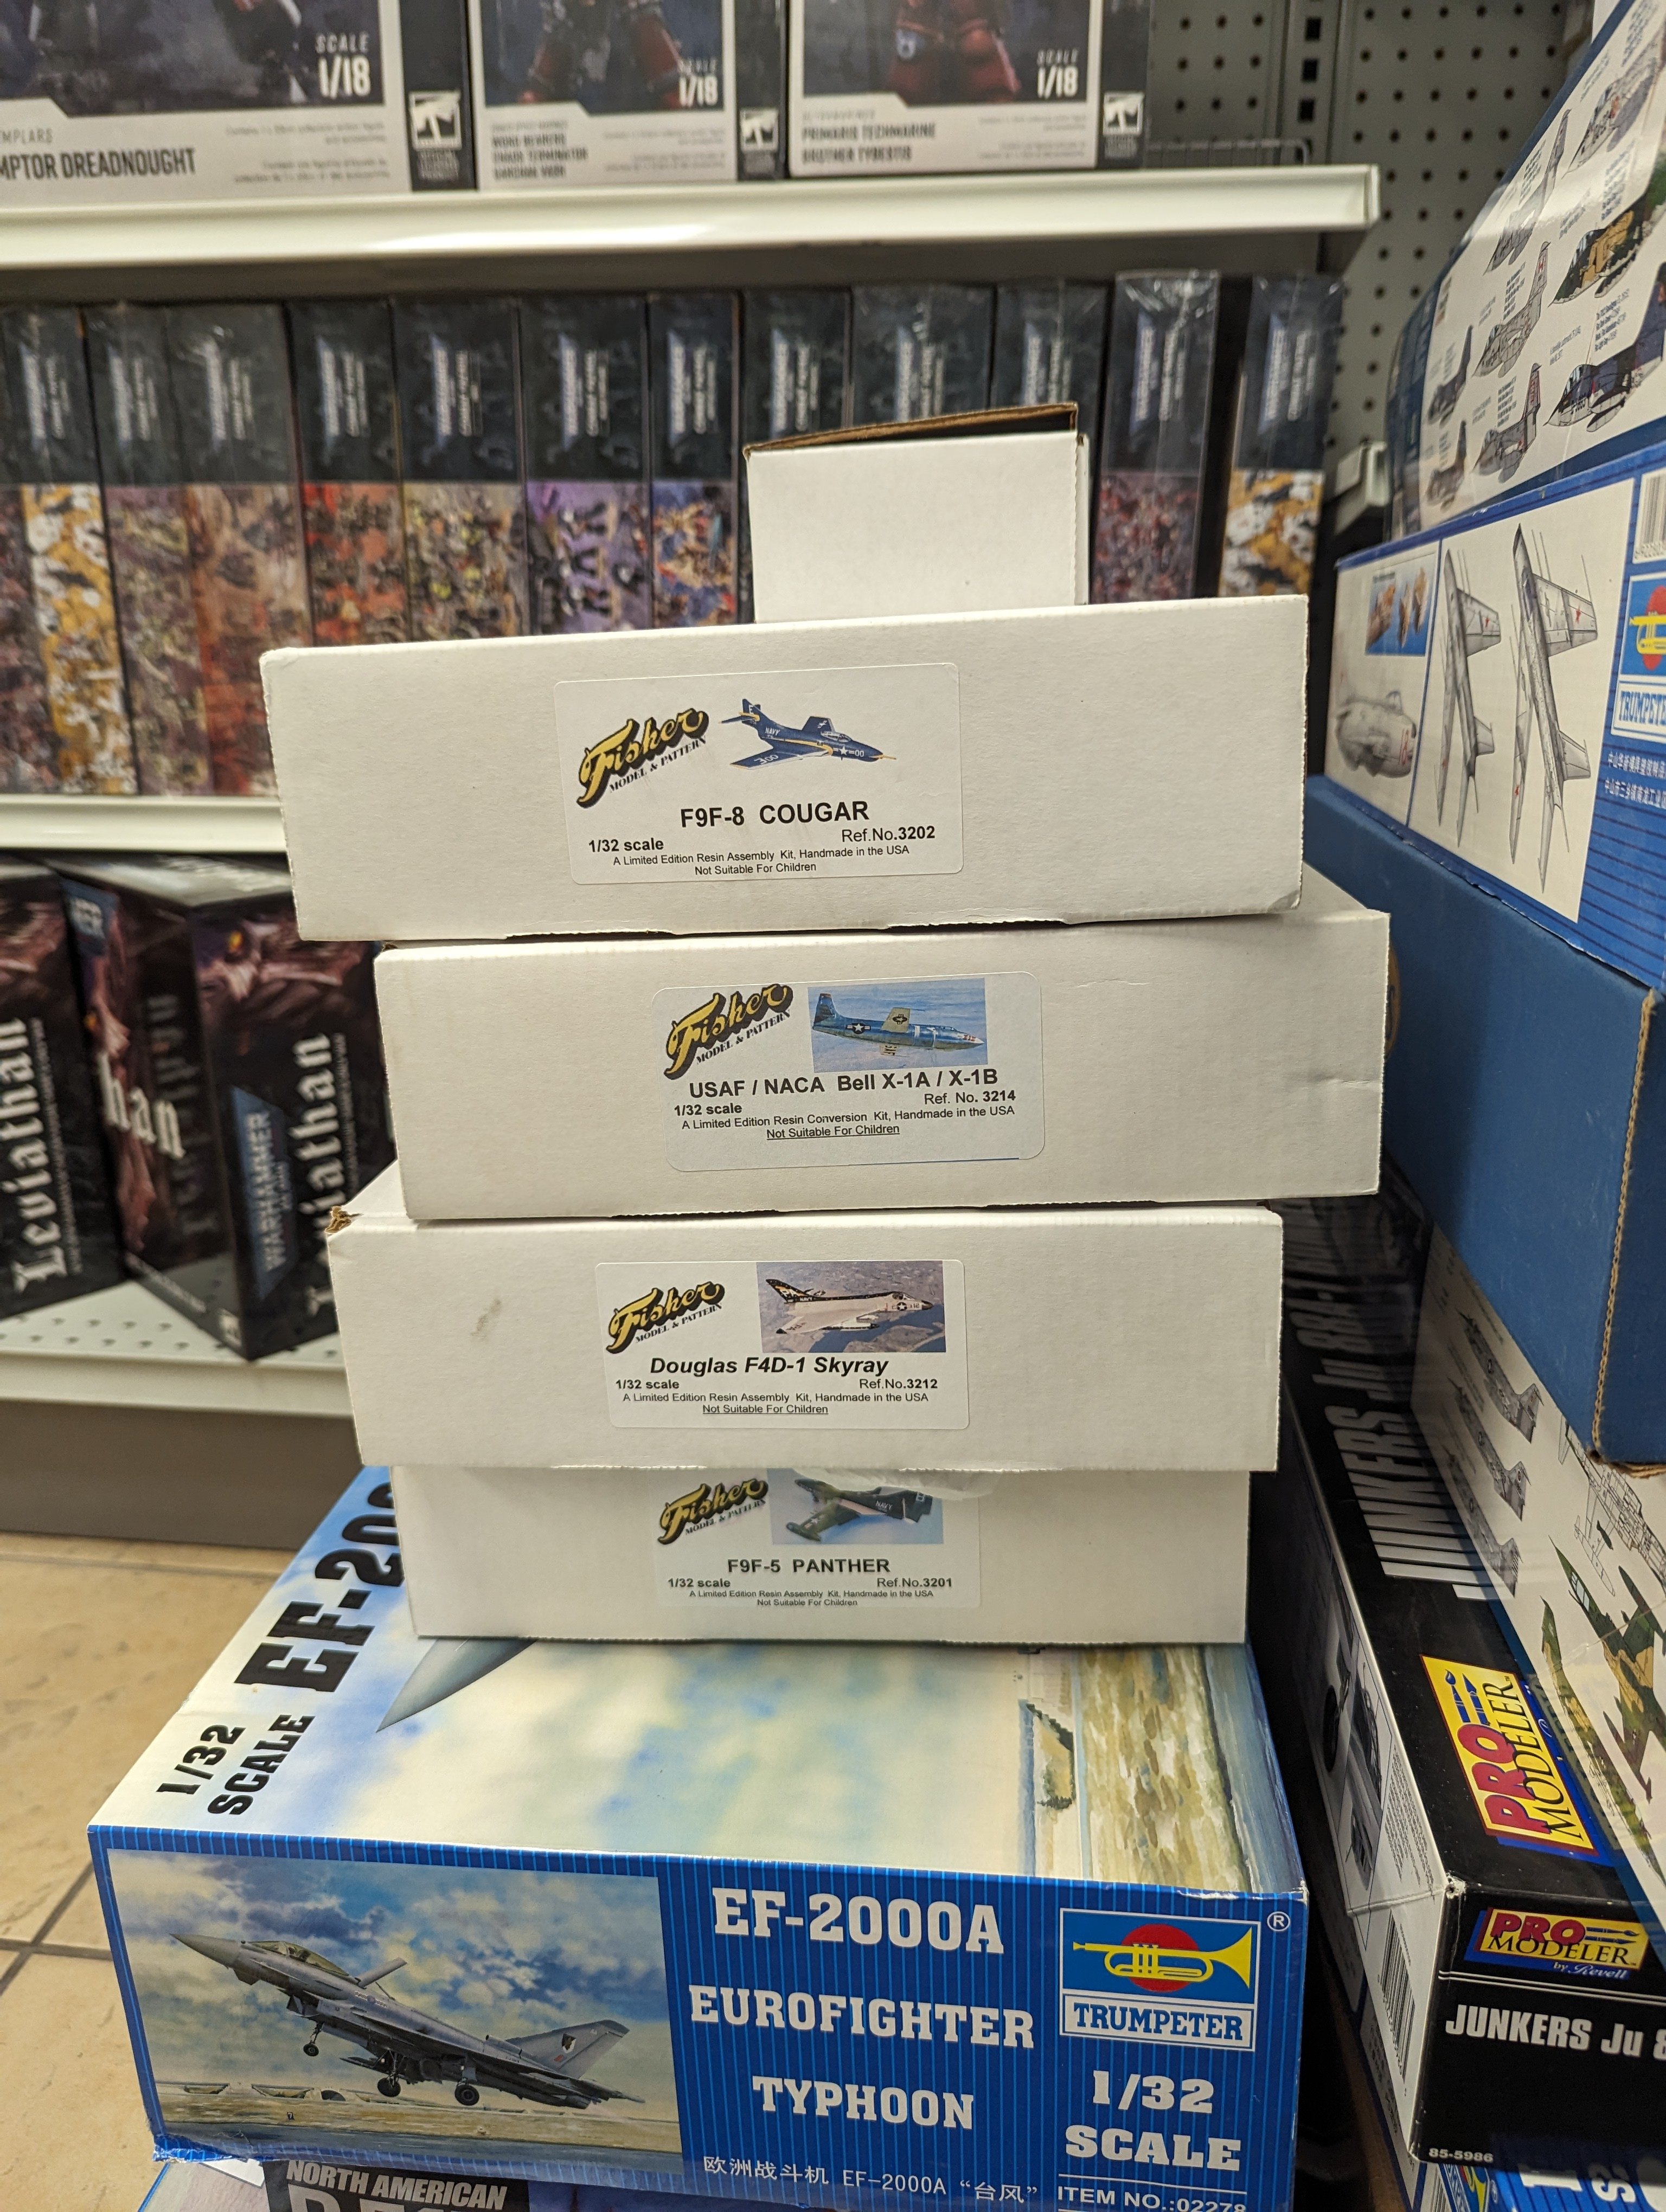
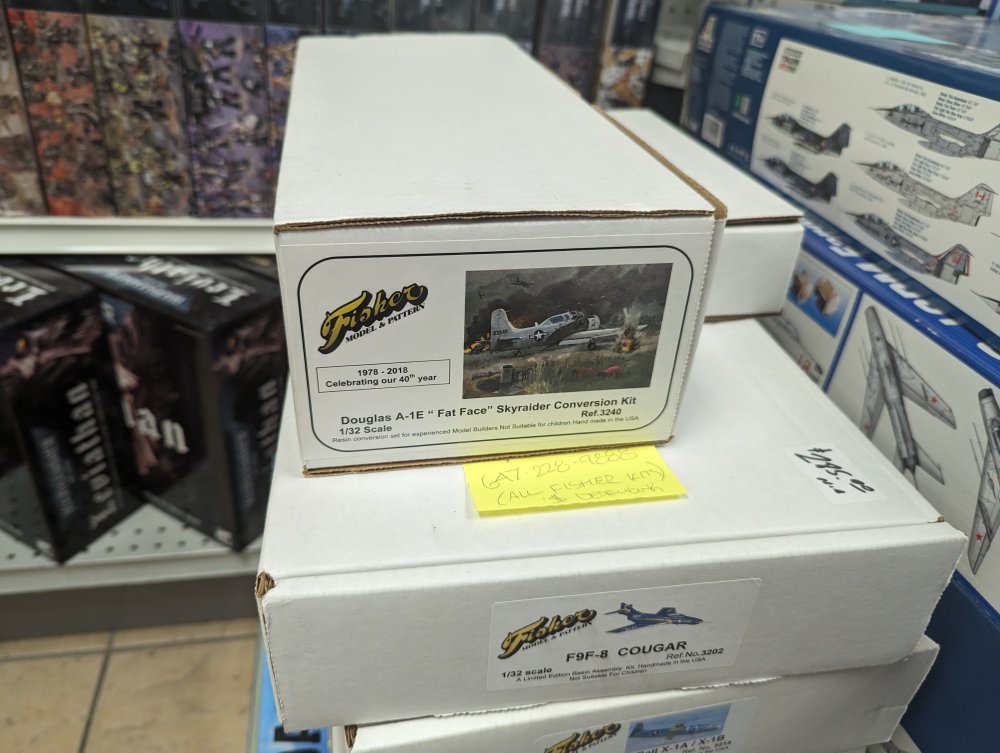
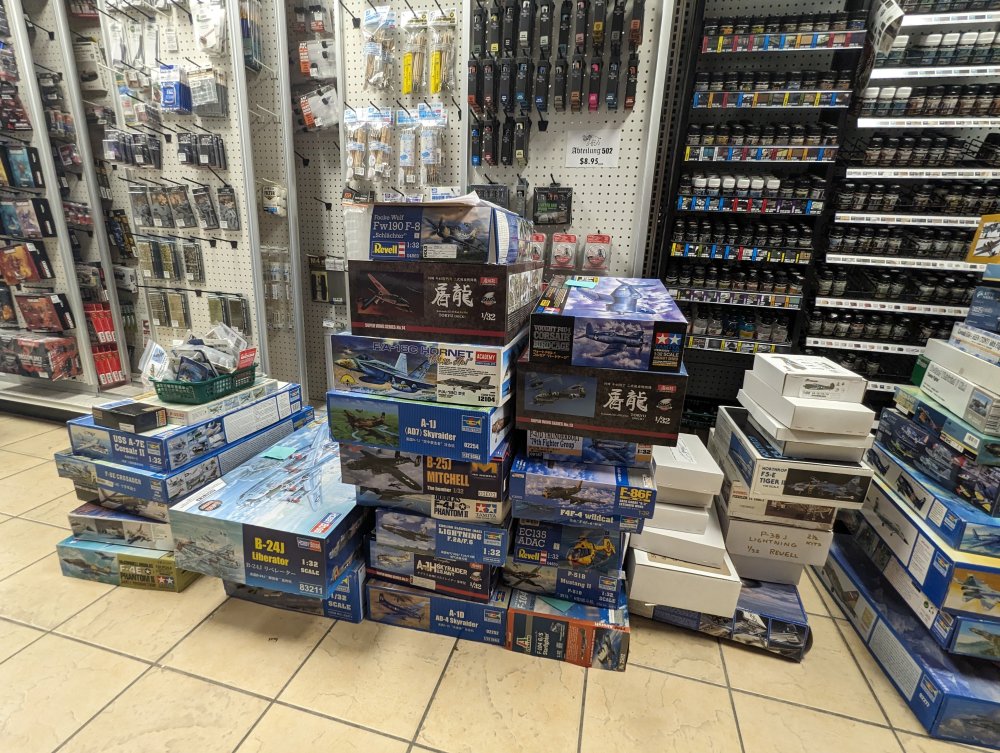
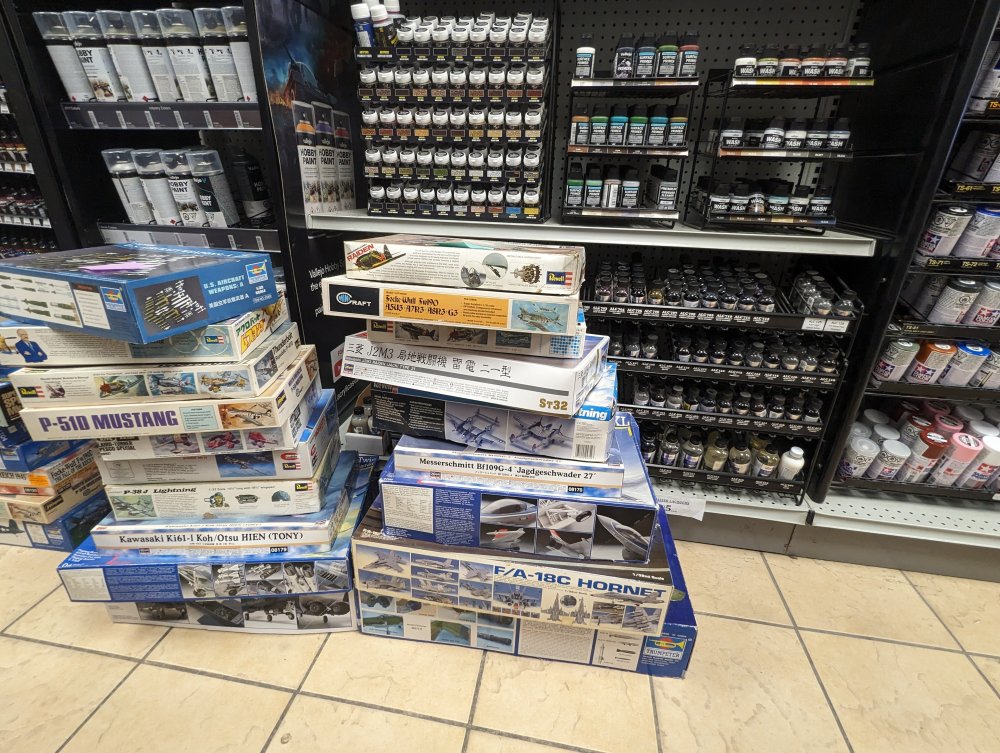
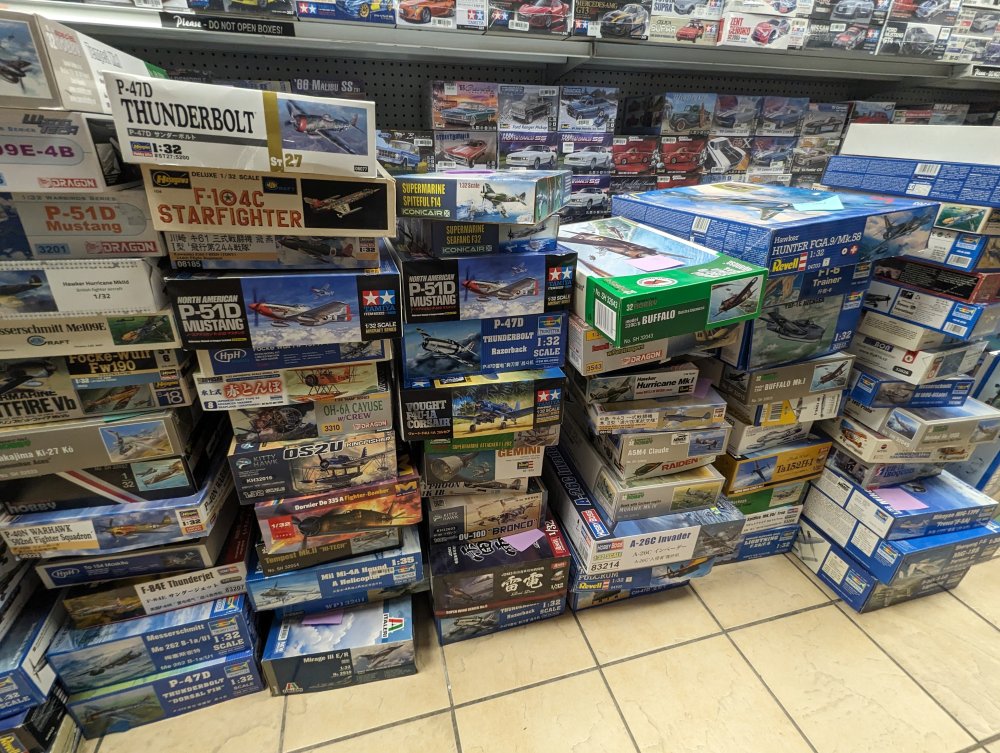
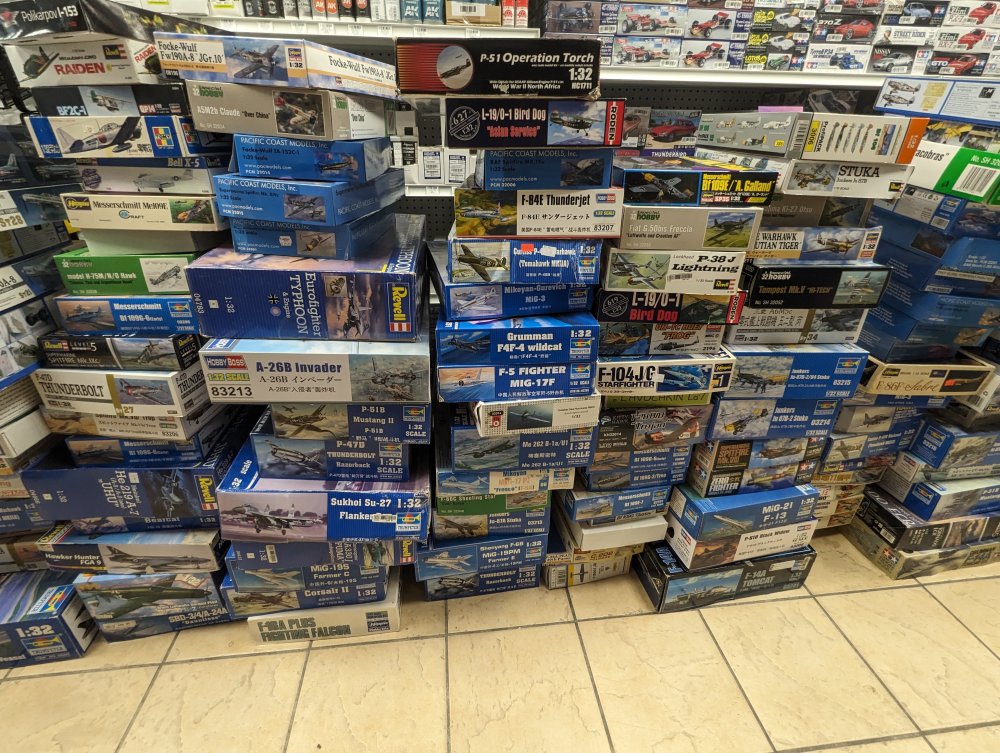
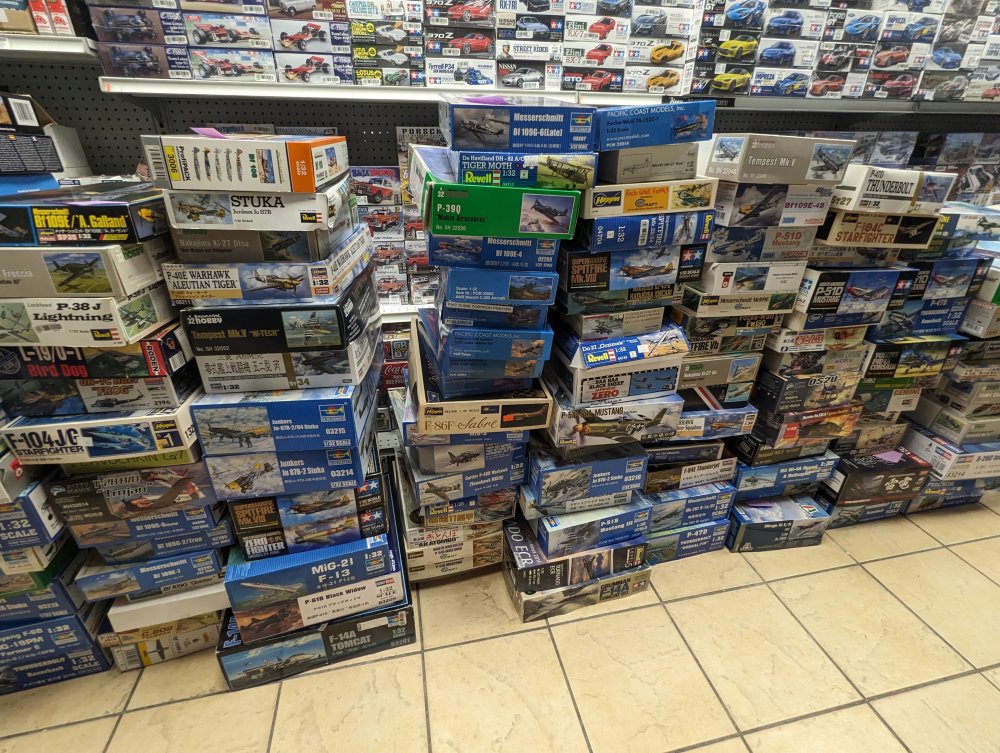
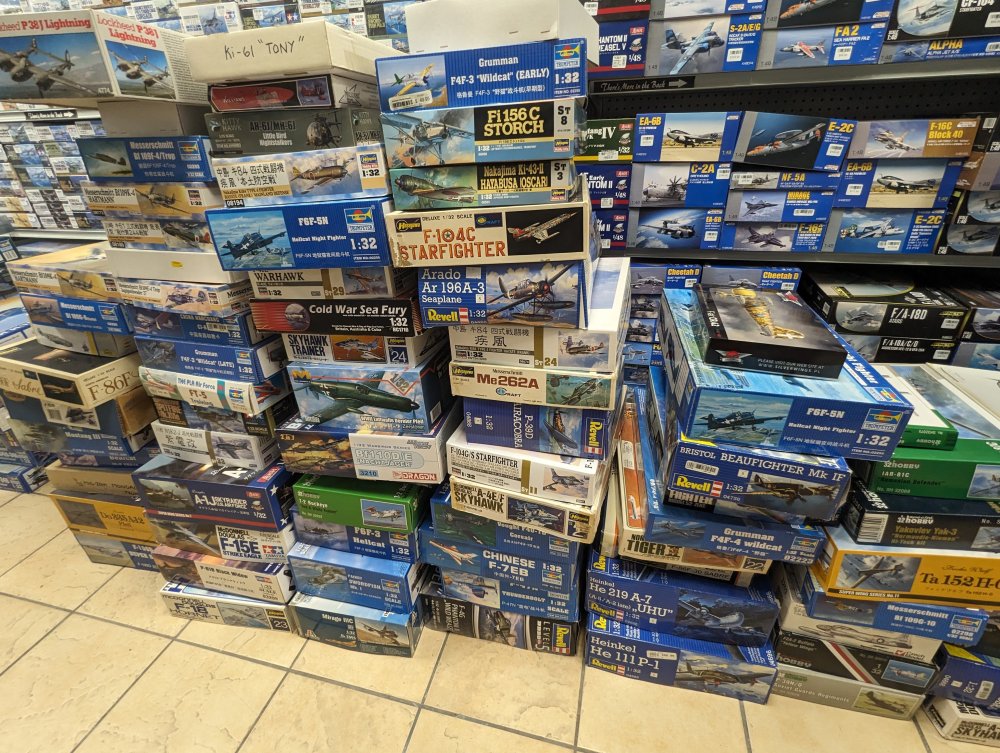
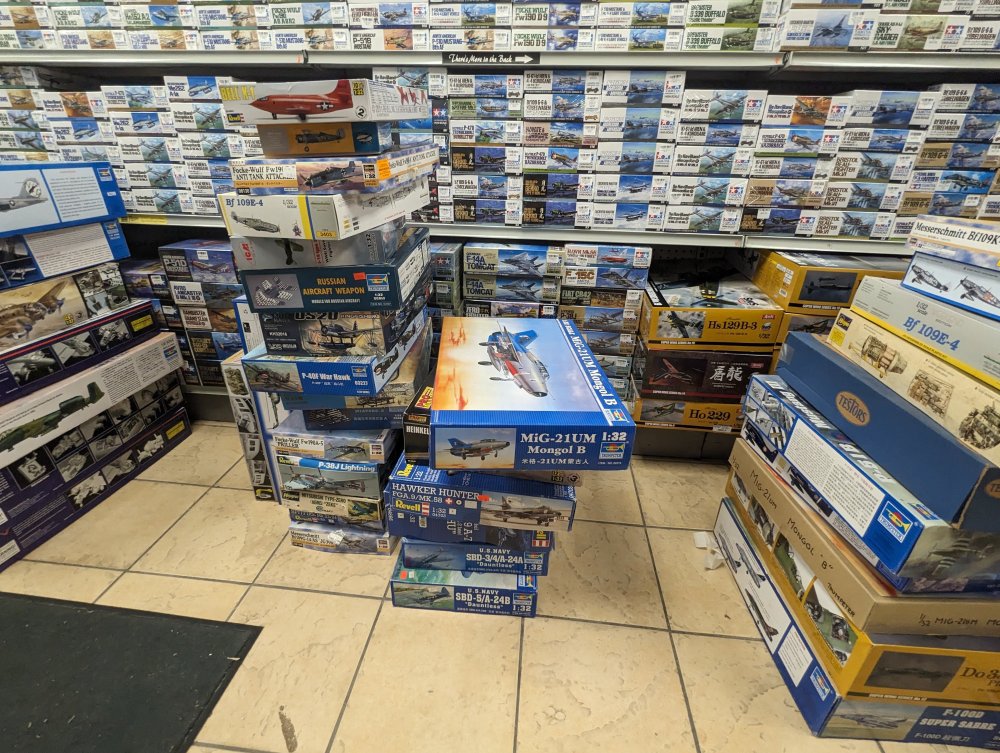
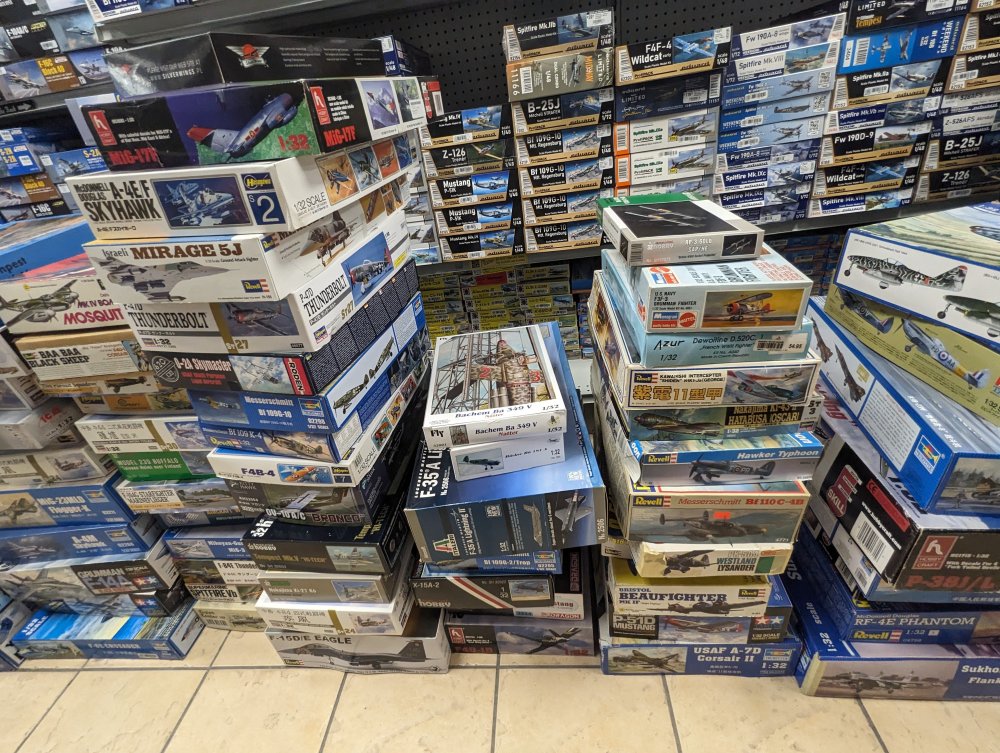
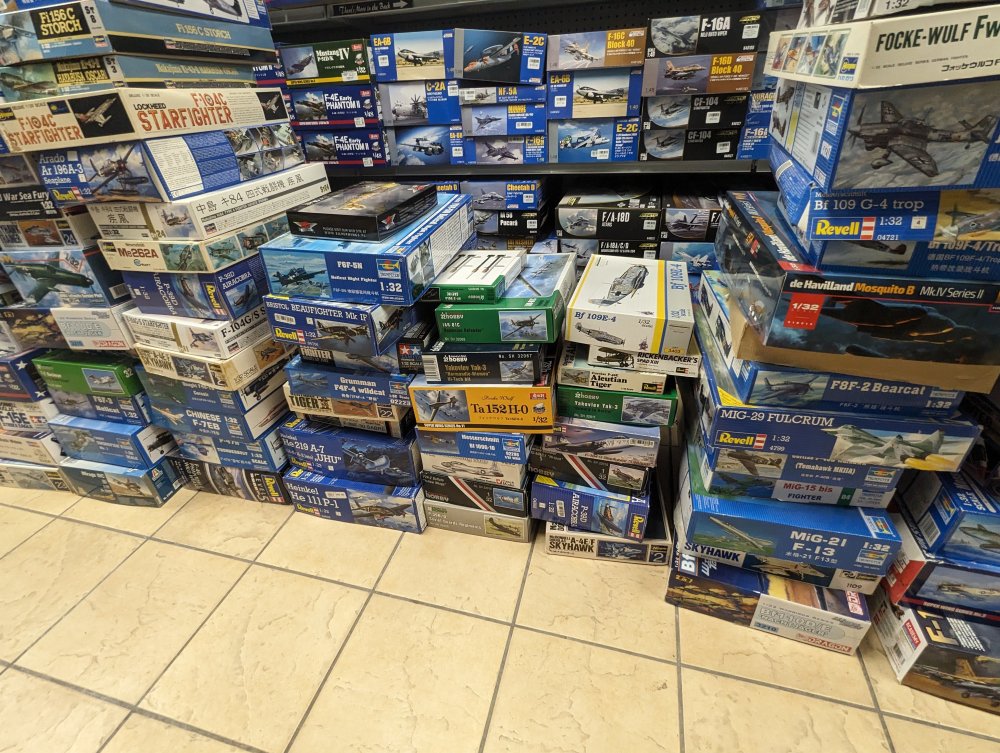
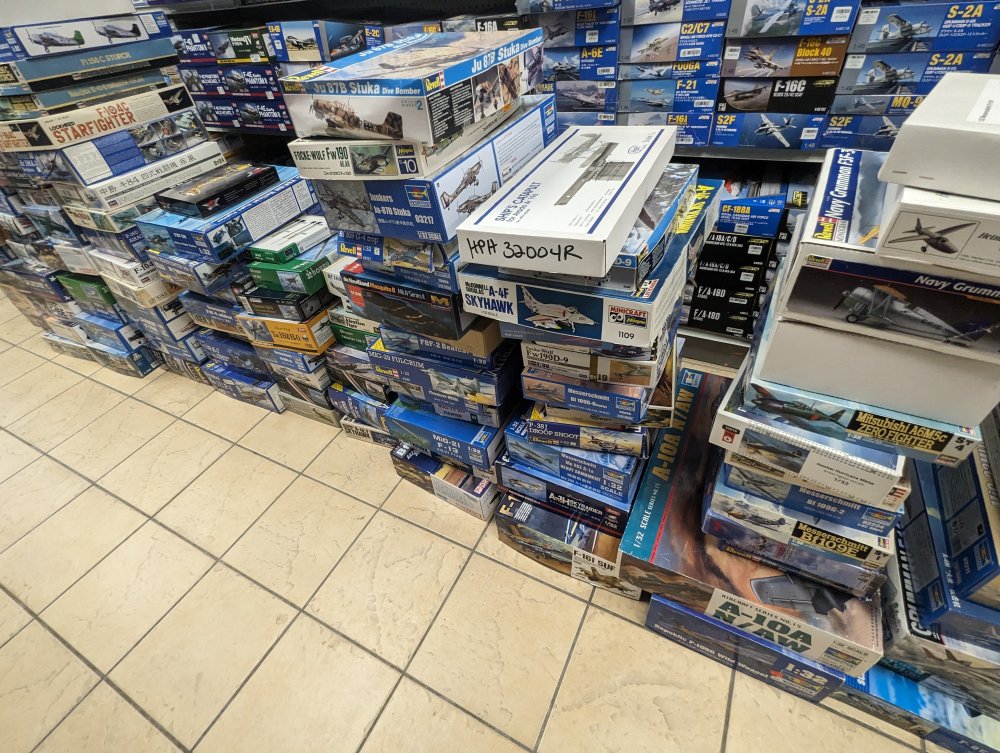
The shop is Wheels and Wings in Toronto. wheelswingshobbies.com They are going to post everything on their site for sale but it may take some time. When I took the pics yesterday, they were still in the midst of sorting through the kits. The staff siad it'll go up a bit at a time and to keep checking in. There are quite a few LEM kits in the stash along with a couple HpH kits too. There's some Rutman stuff too. It's really quite a mix.
-
I haven't heard of SX-Art but Art Scale is doing a set of masks for the kit. Also, HGW is coming out with a set of belts for it as well. Hannants has both list as coming soon.
-
The Fisher kits that is. Not the whole collection.
-
It is indeed. The shop is going to call me first with a total price and then I'll see if I take them.
-
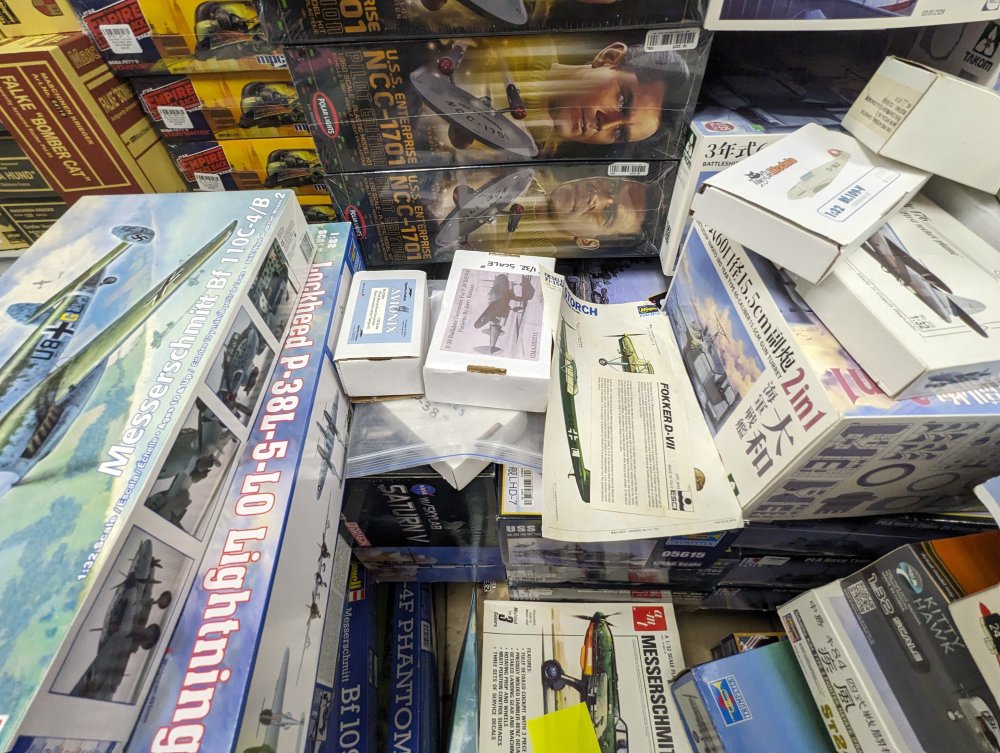
One more:
-
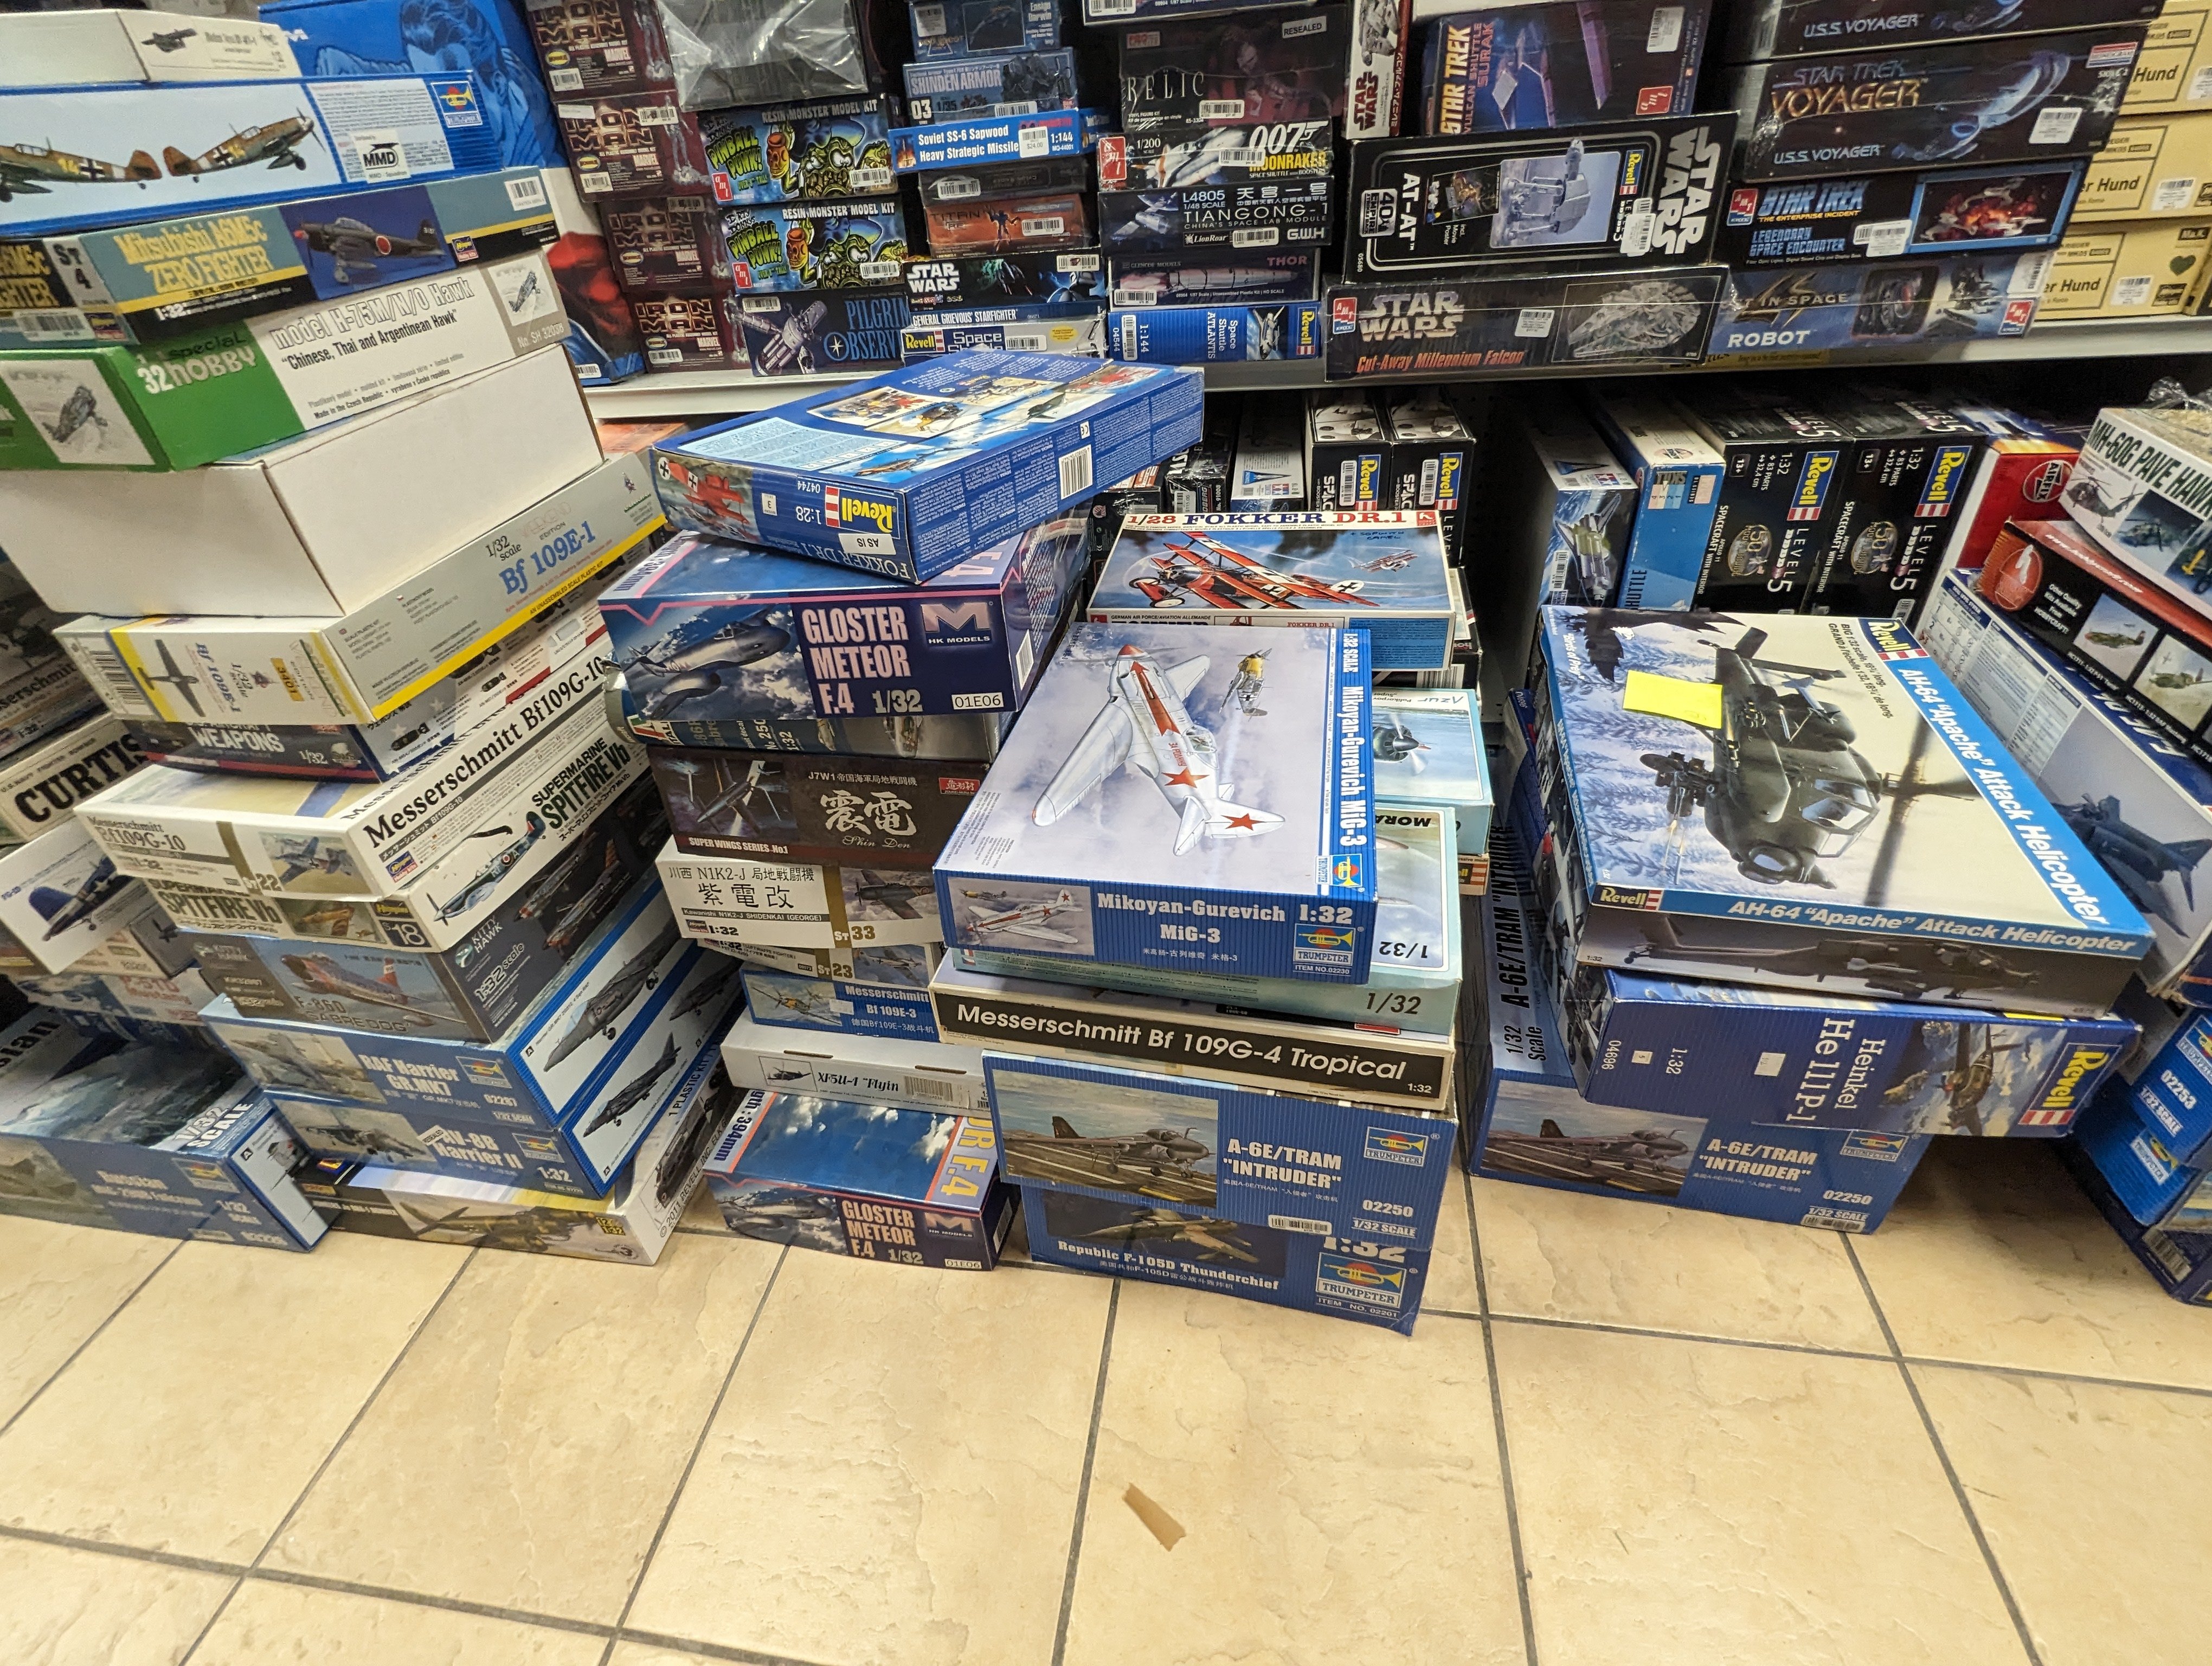
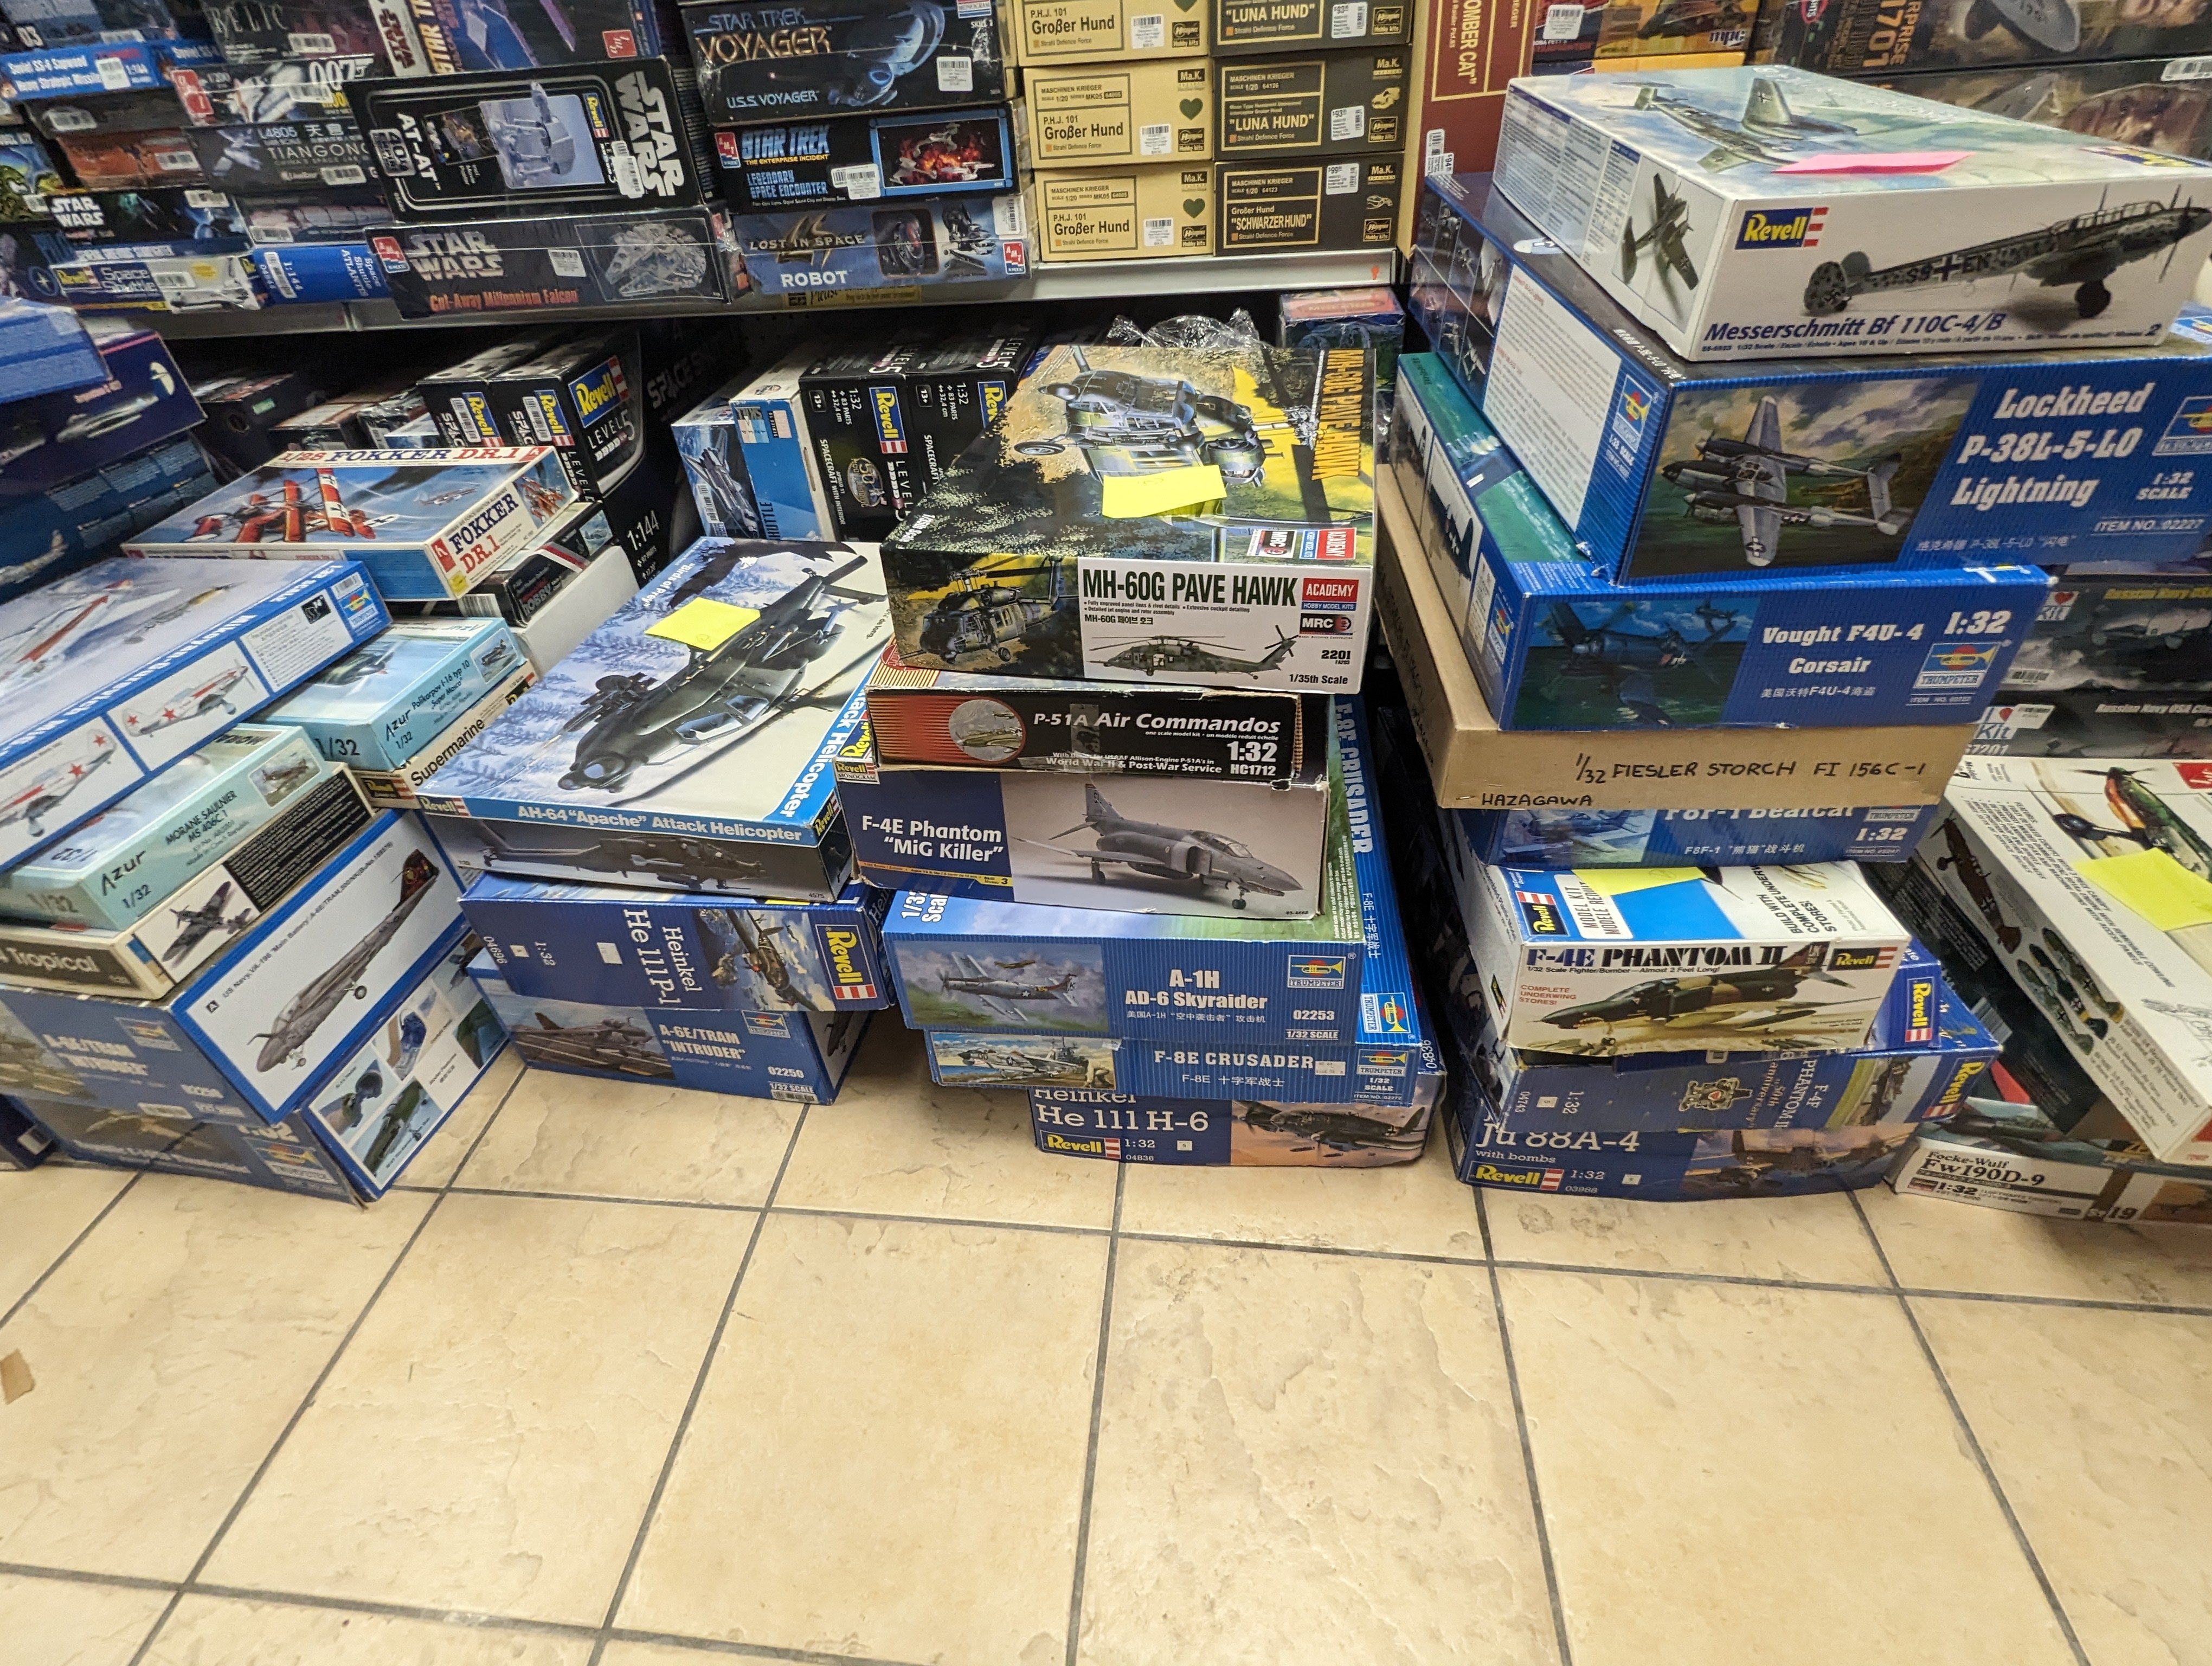
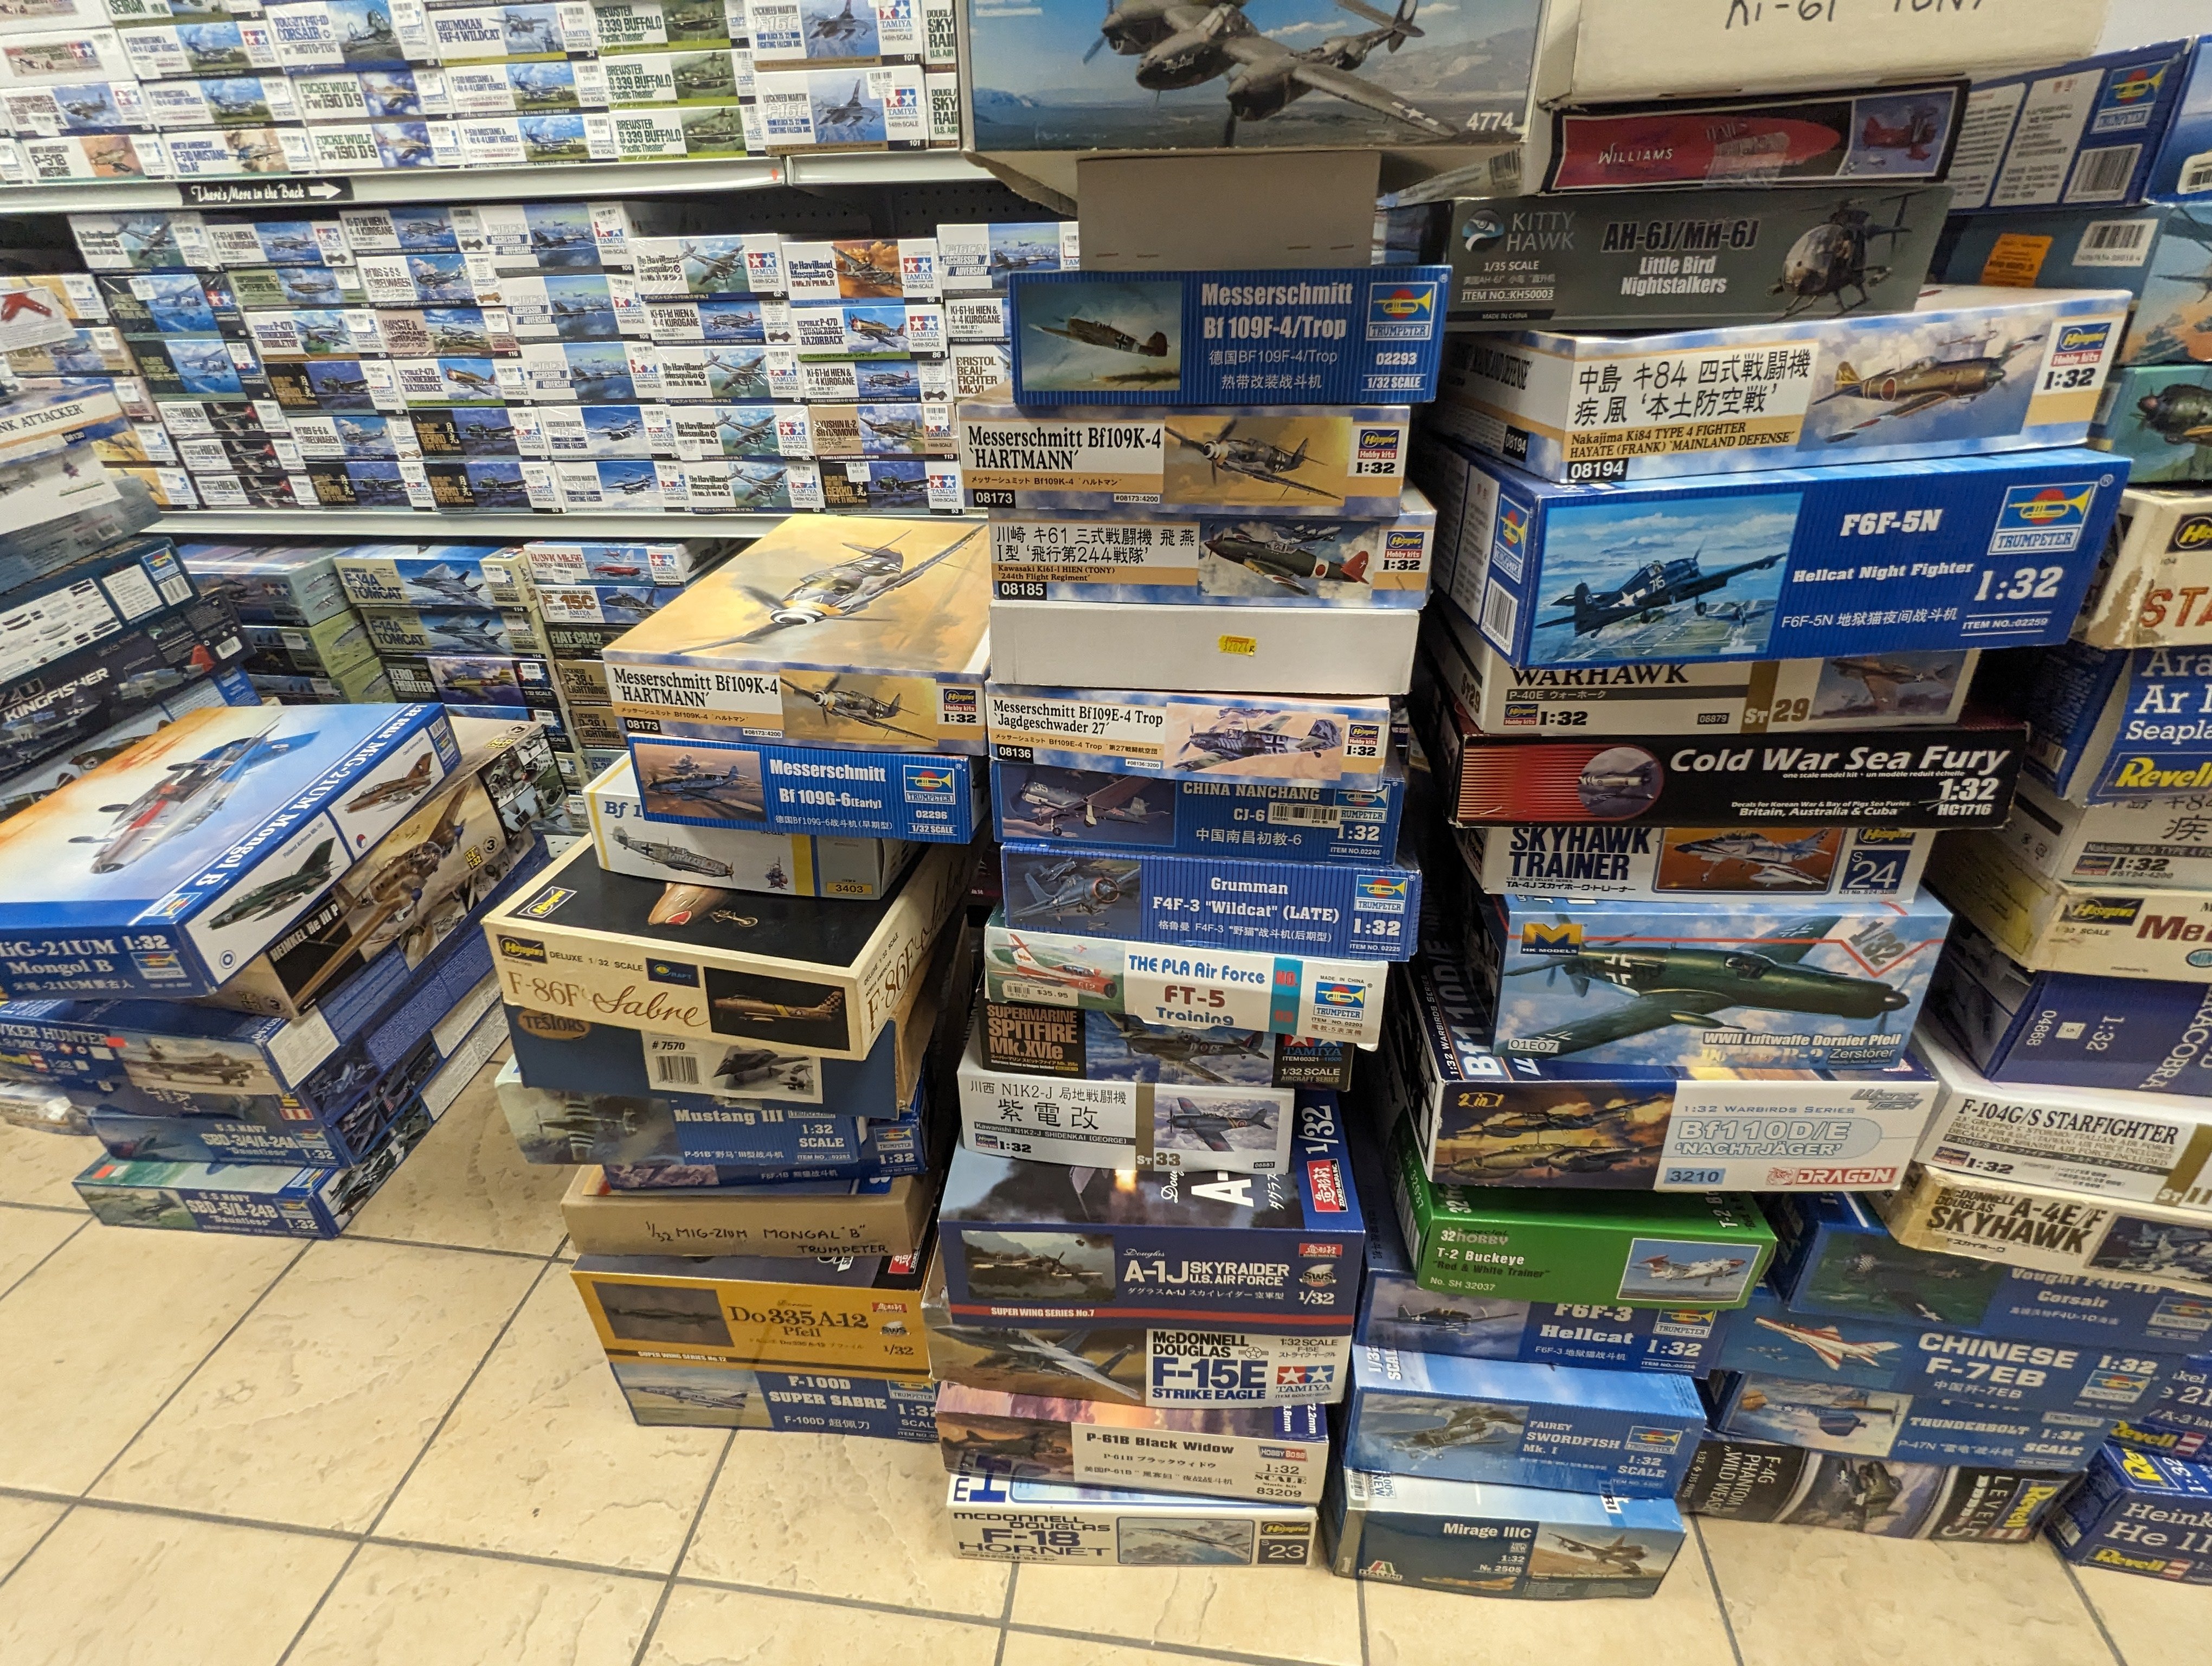
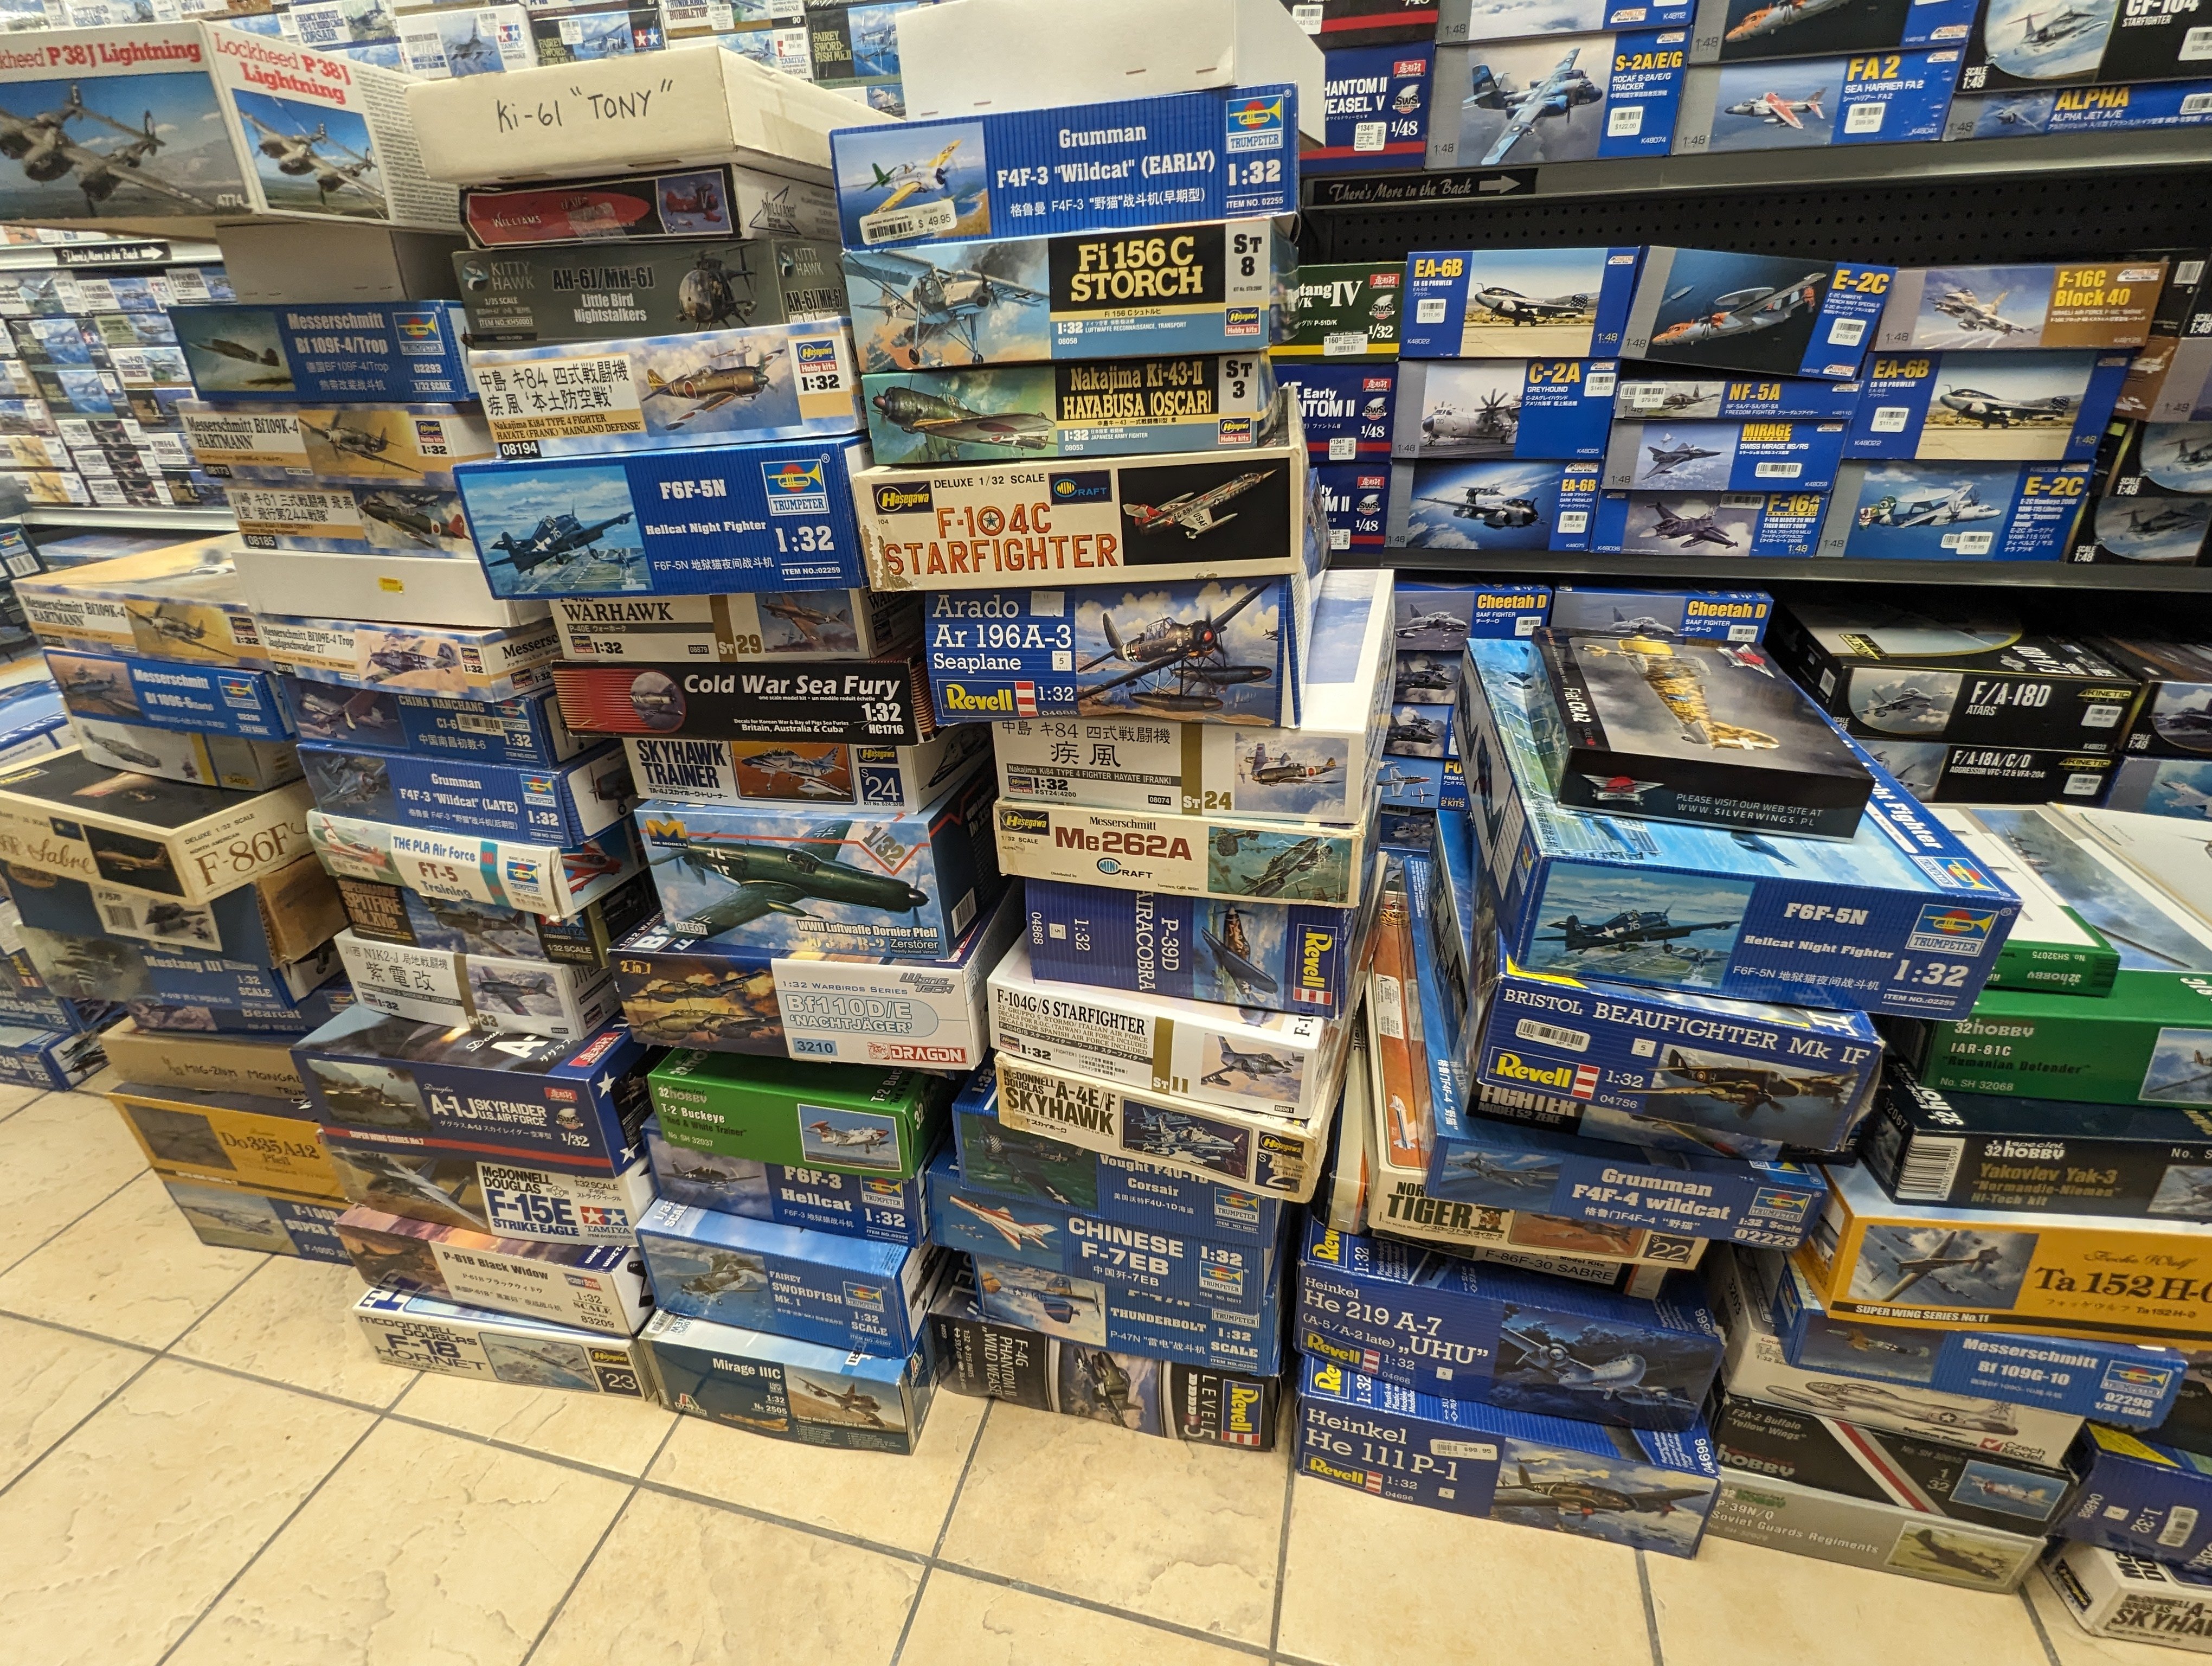
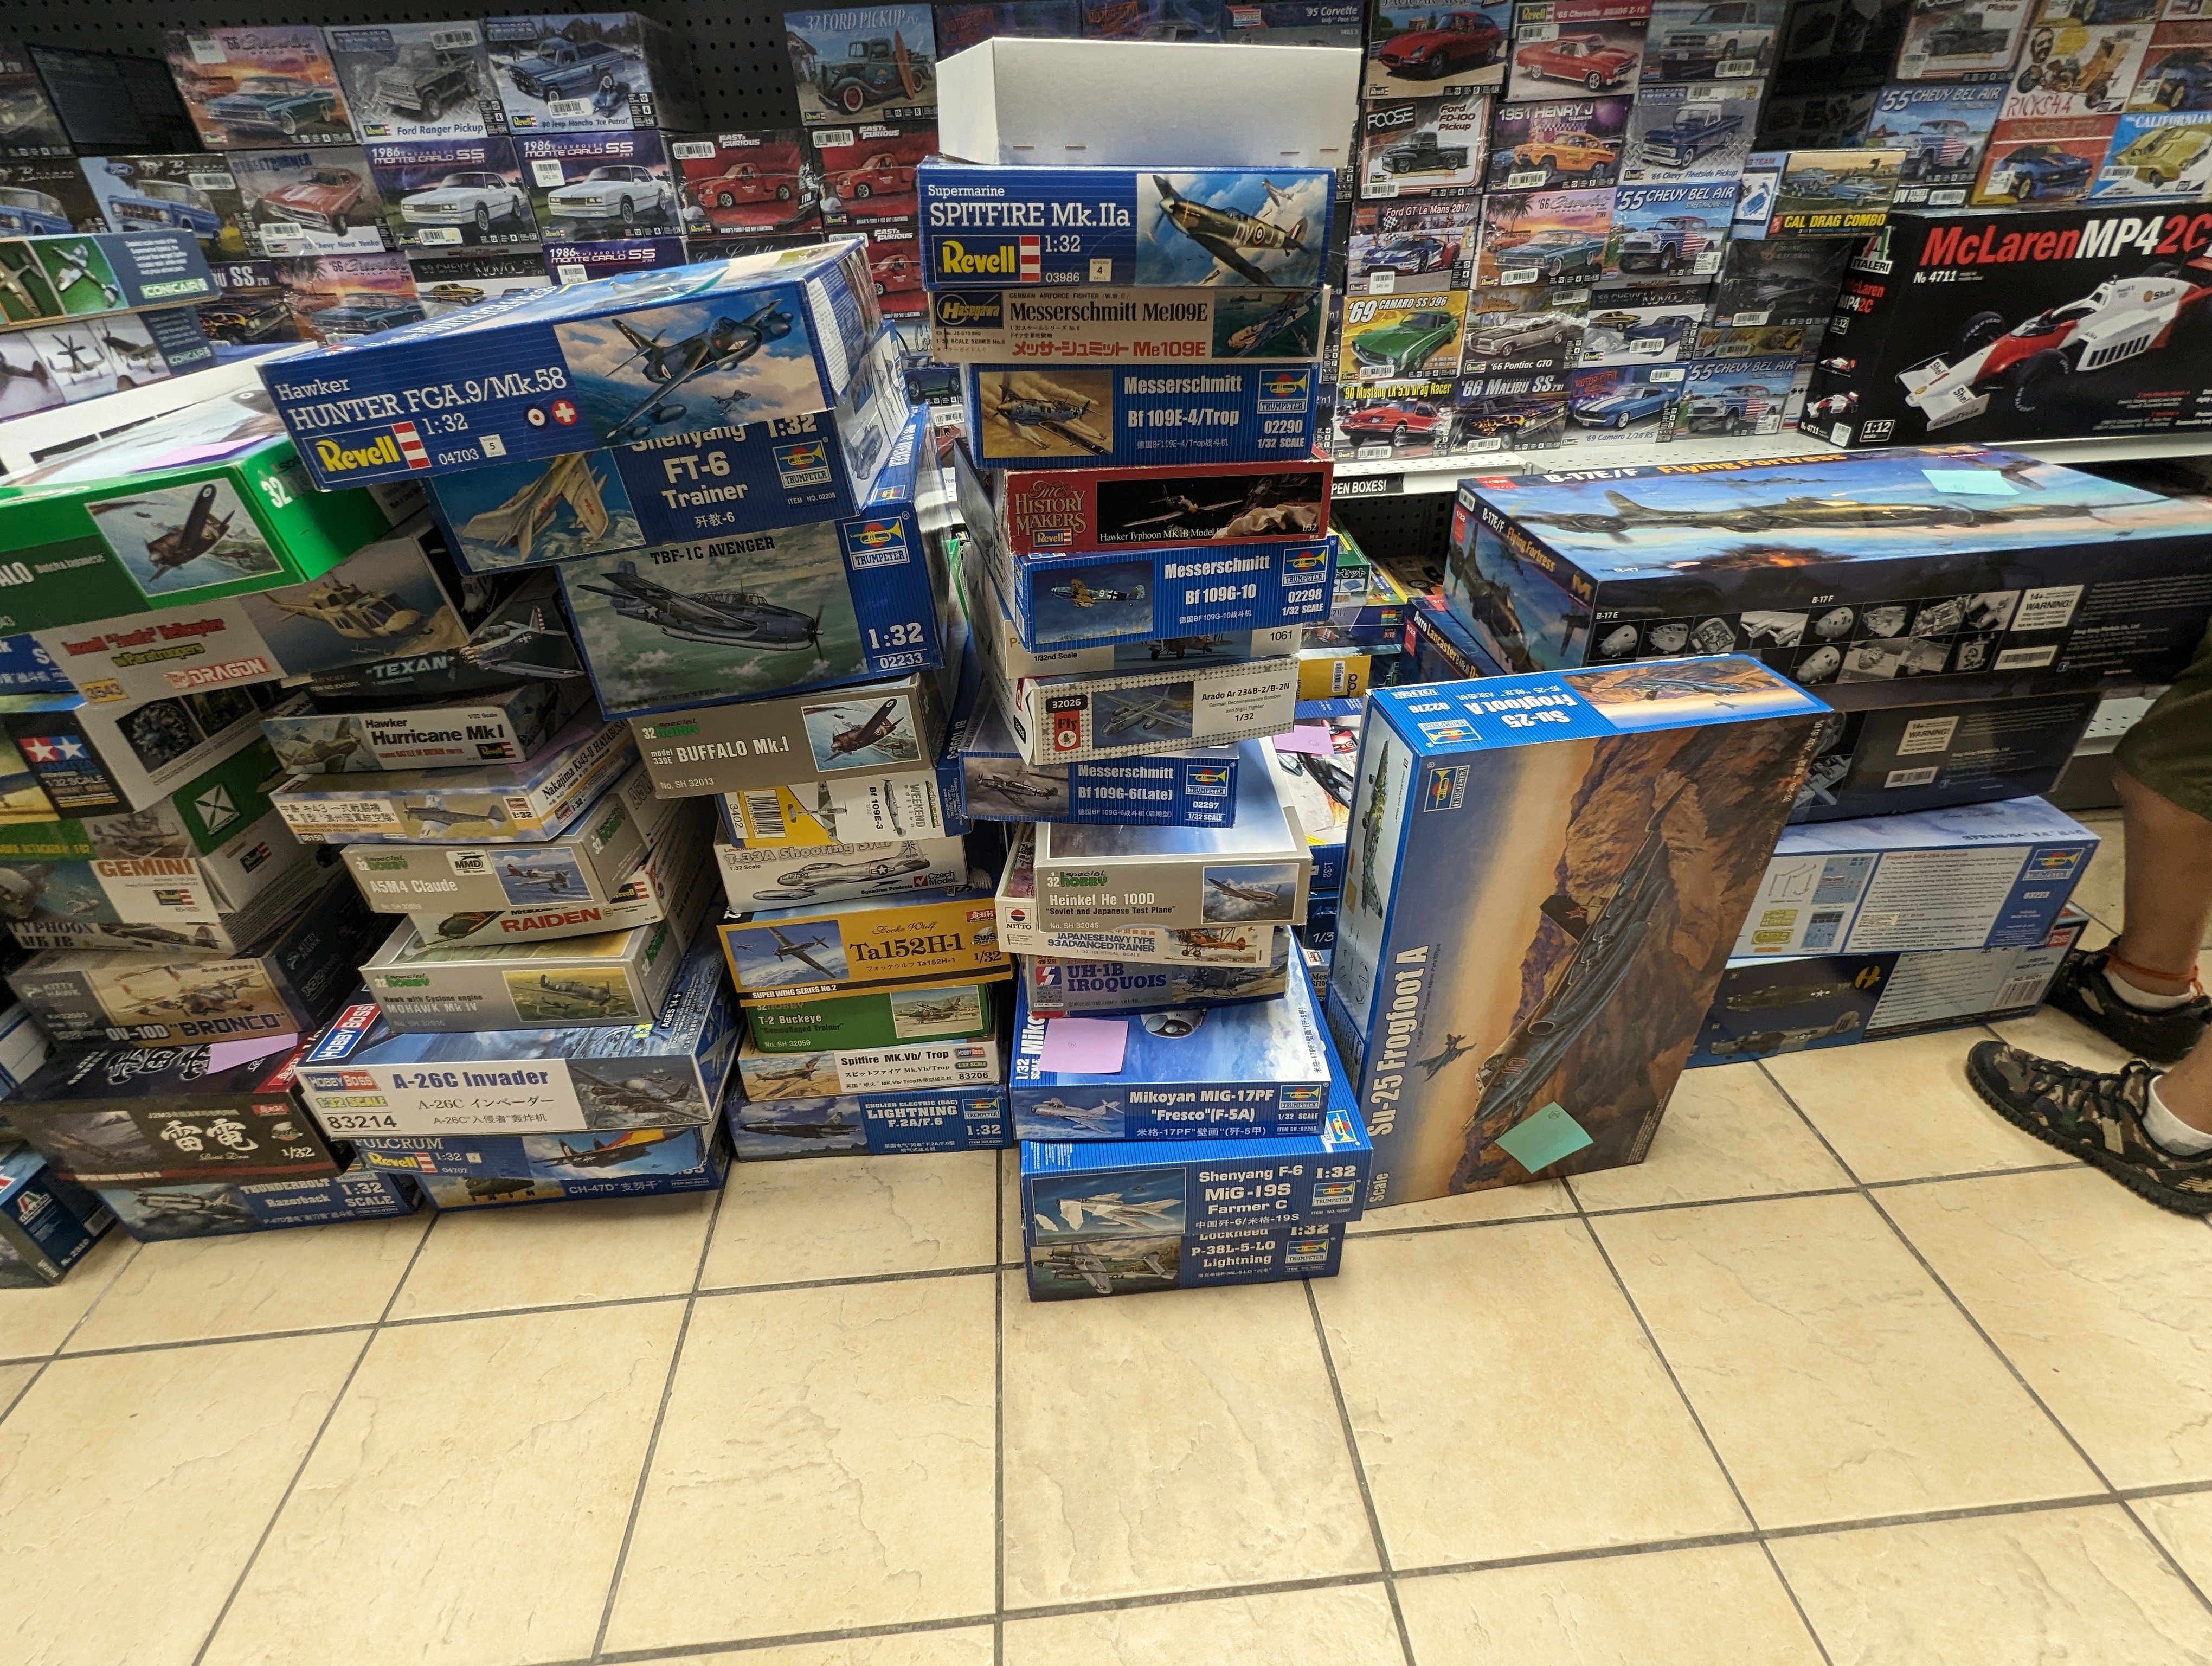
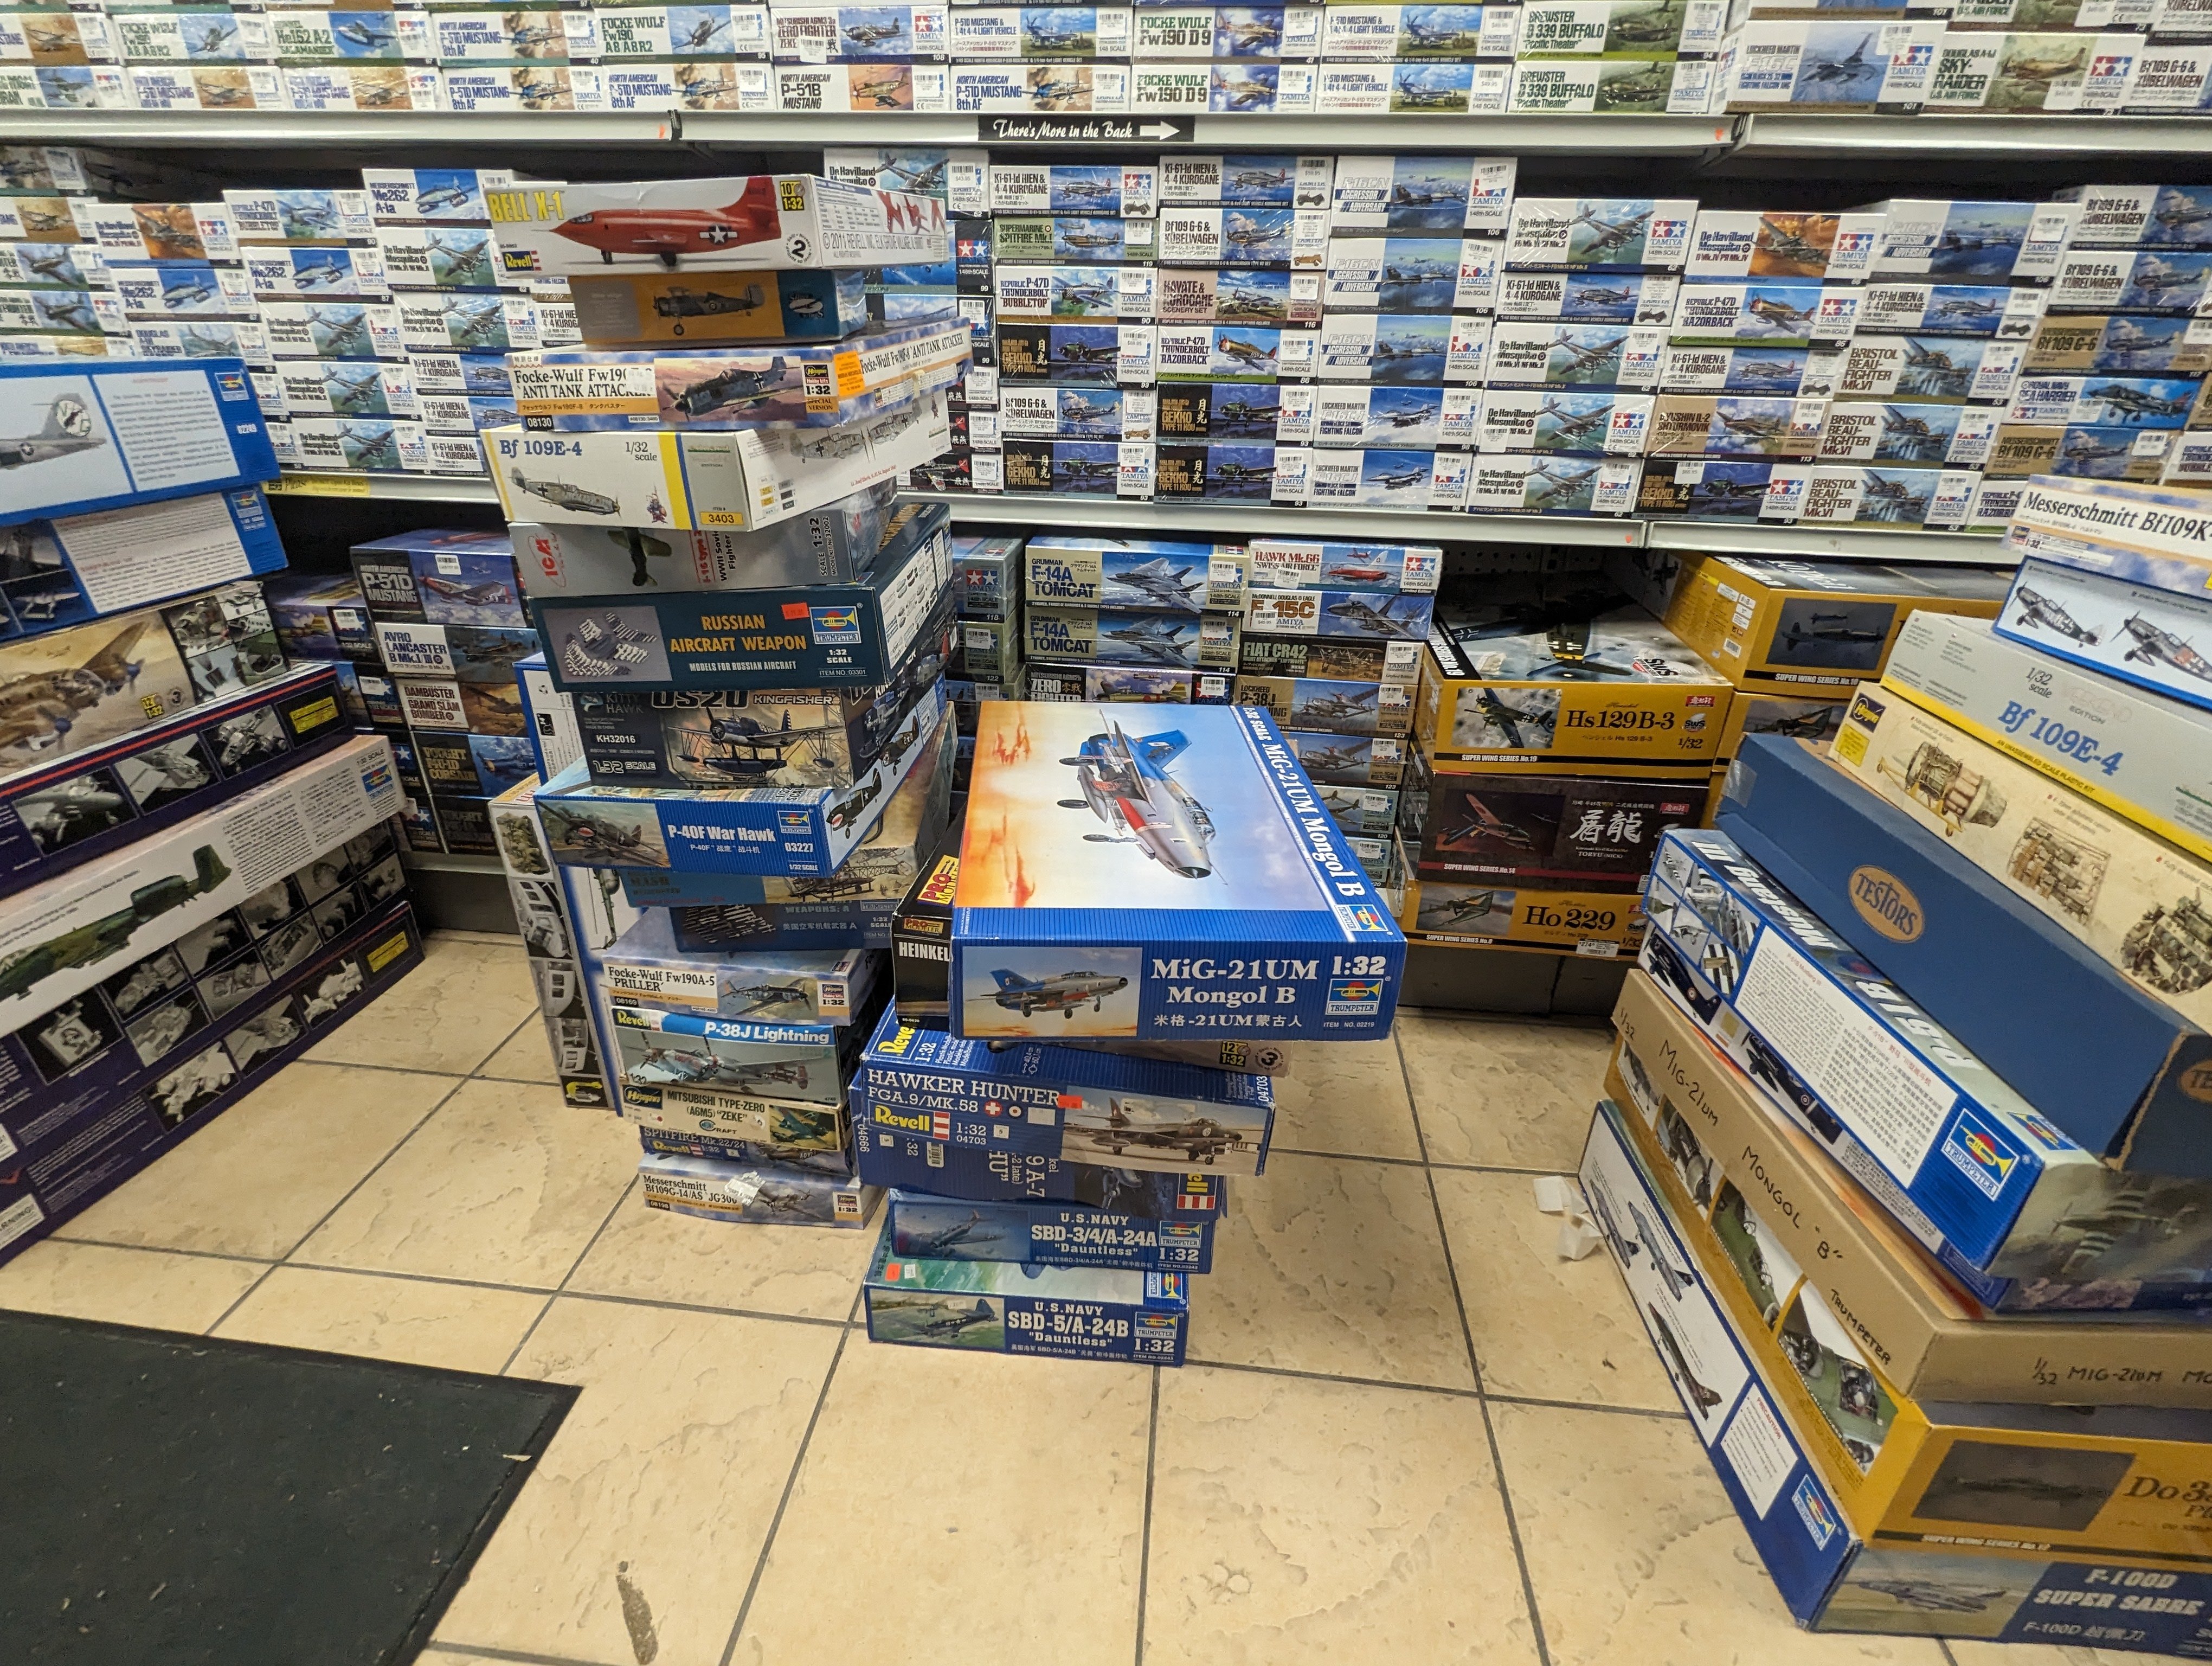
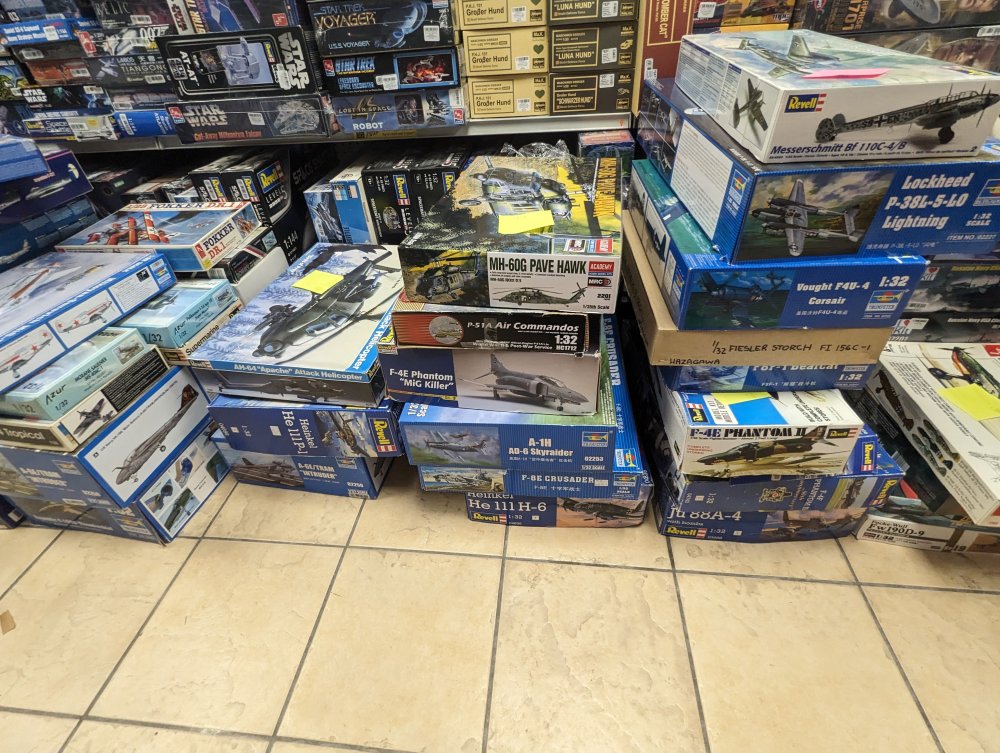
Here's the rest of the collection that came in. Turns out its not the 10,000 kit one but another that they picked up.


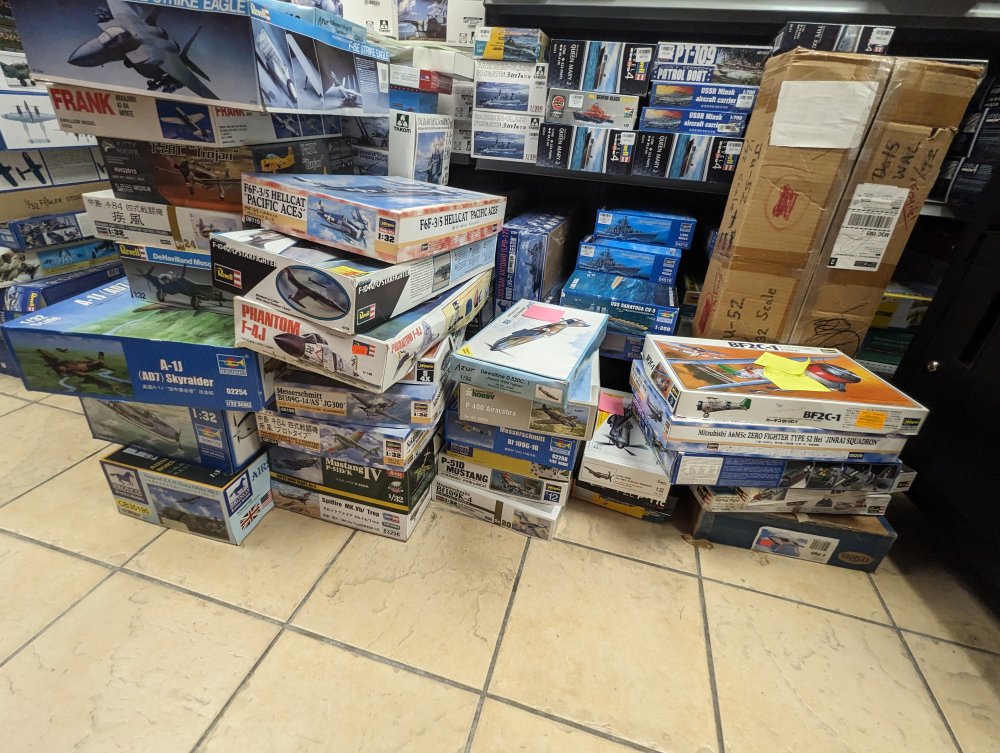


-
Anyone interested? The small box on top is an Meteor F8 conversion. No idea on pricing yet but I'll know soon enough.

-
Looks good Scott.
-
Another Tomcat, I know.
BlrwestSiR replied to BlrwestSiR's topic in LSM 1/35 and Larger Work In Progress
Peter, it turns out the fix for the rear seat was real quick. The resin seat had a moulded on hose on the back cushion. As soon as I clipped it off, the RIO fit correctly.
-
Not me. But I haven't seen everything that they're unloading yet.
-
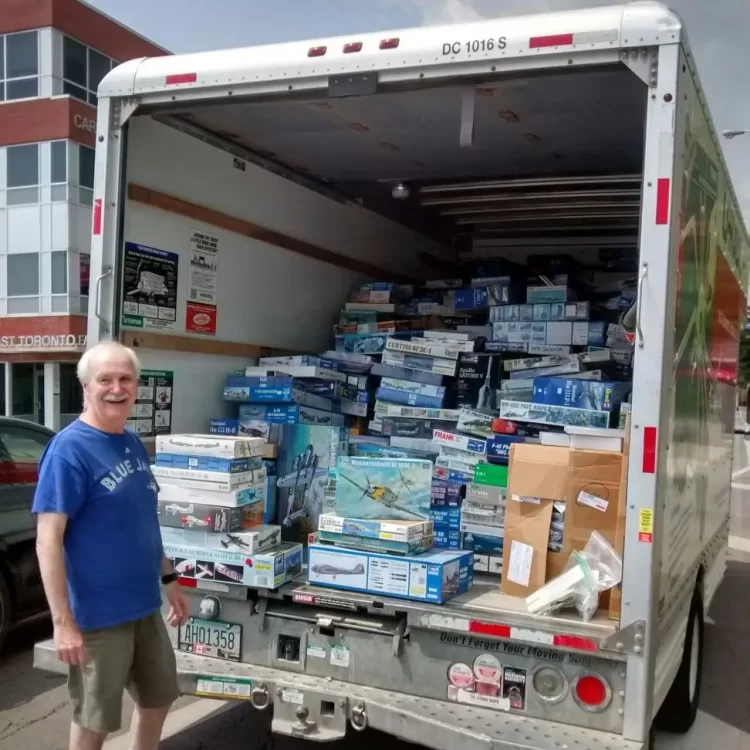
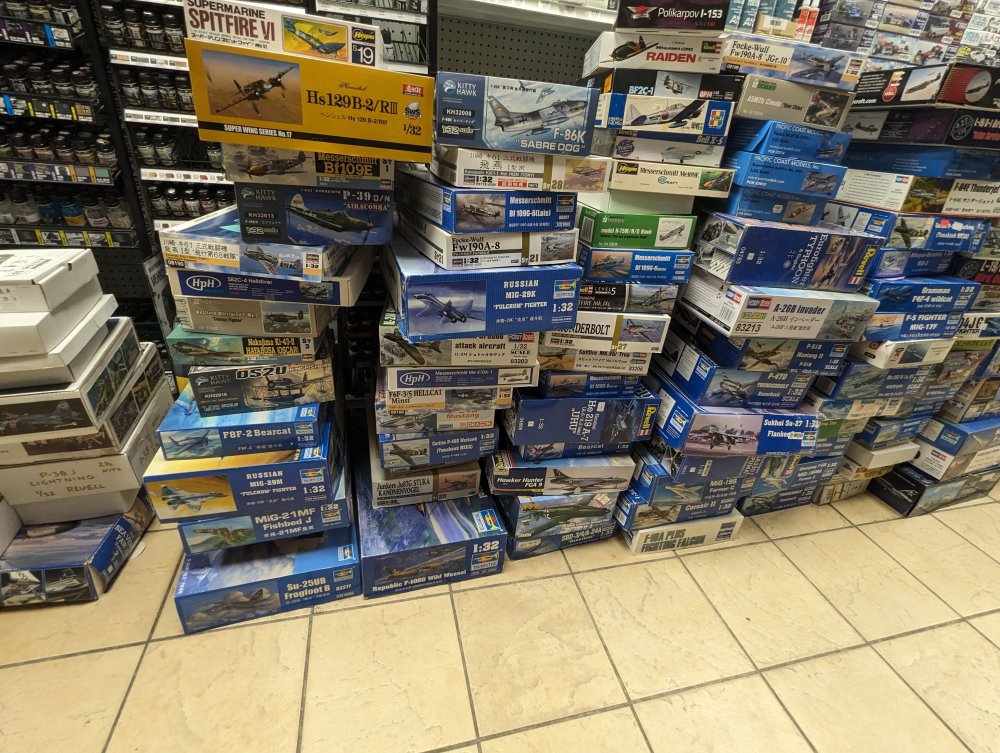
My LHS just posted this pic of a U-Haul they're unloading. It's all 1/32 kits from I believe the 10,000 kit collection they bought a couple years ago.