BlrwestSiR
-
Posts
9,138 -
Joined
-
Last visited
Content Type
Profiles
Forums
Events
Gallery
Everything posted by BlrwestSiR
-
Thanks Ron! I've never seen the kit contents so that's good to know.
-
Having just picked up the recent Andy's Tiger, I'd love a Firefly in 1/16 but that's about it. Maybe the Das Werk Stug III but they're almost double in price now for some reason.
-
Ron, you might be right. Which Sue may not be thrilled about b
-
If you're looking for a large scale Sherman with VVSS suspension, Dragon do some in 1/6. Needless to say, they're a bit (a lot?) bigger and a bit (a lot more?) expensive.
-

"Alert 1 to Eagle 1, splash the Zeros!"- Tamiya F-14
BlrwestSiR replied to BlrwestSiR's topic in Let’s Get Wet Group Build.
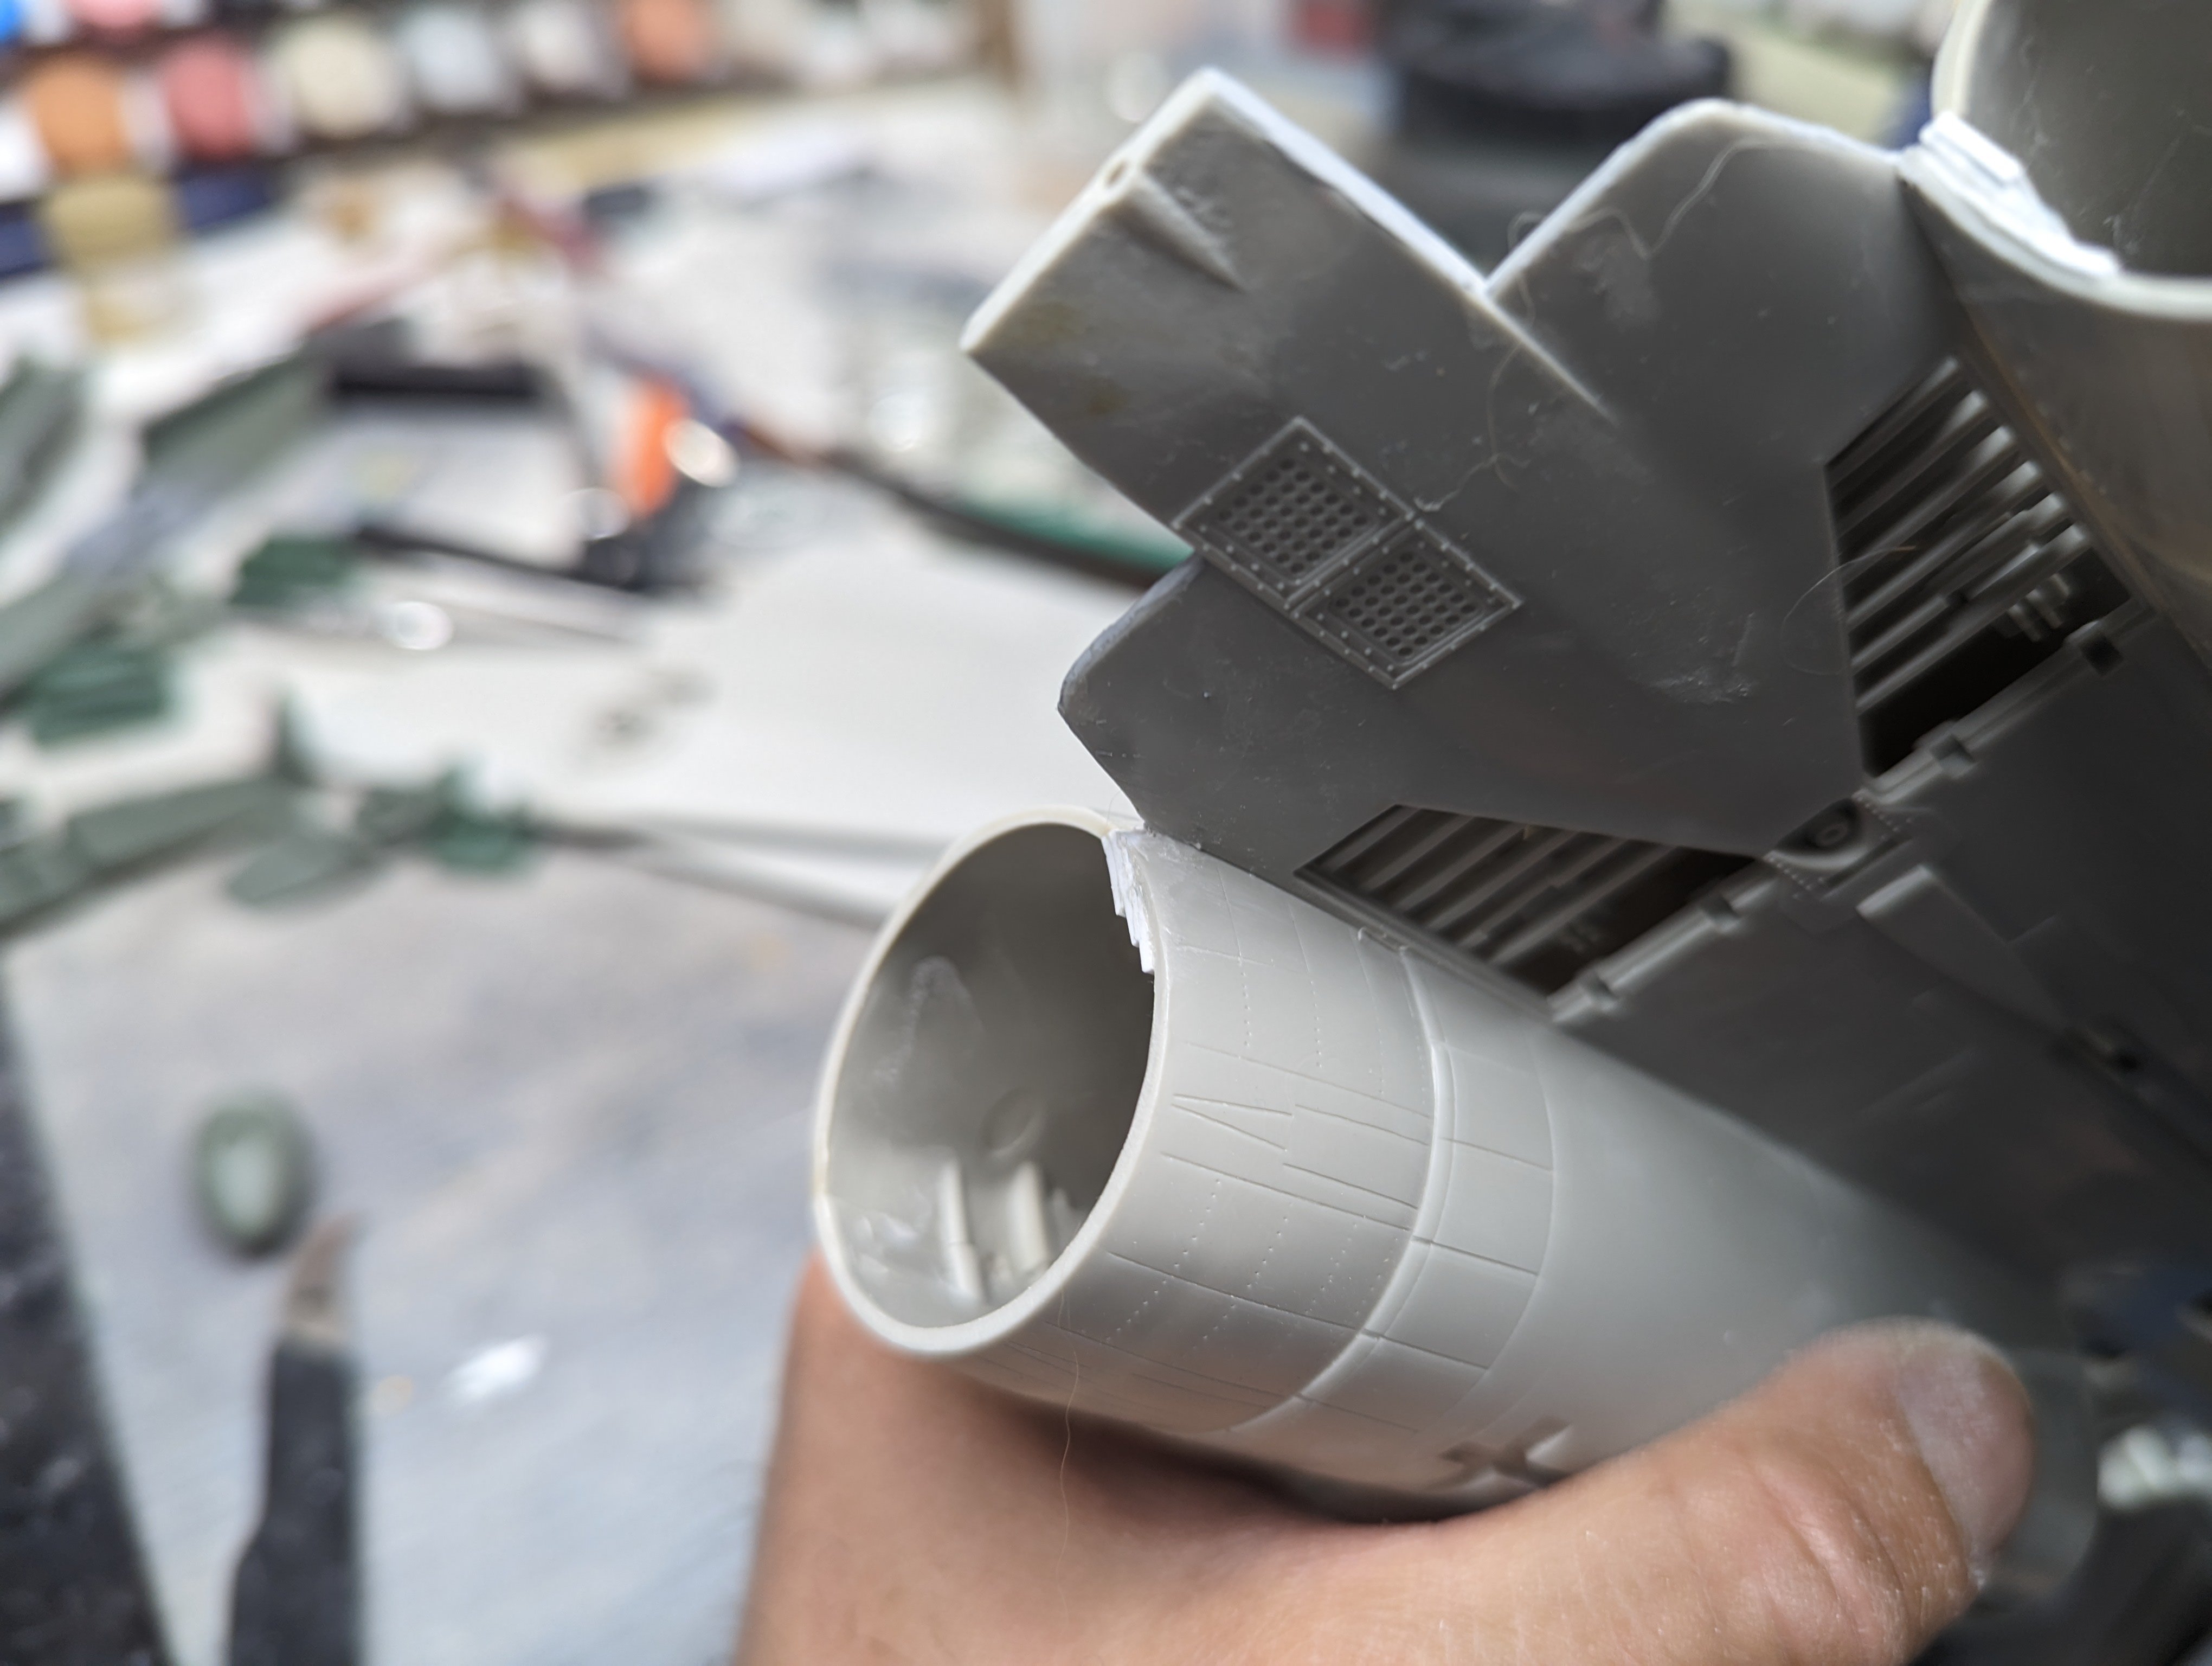
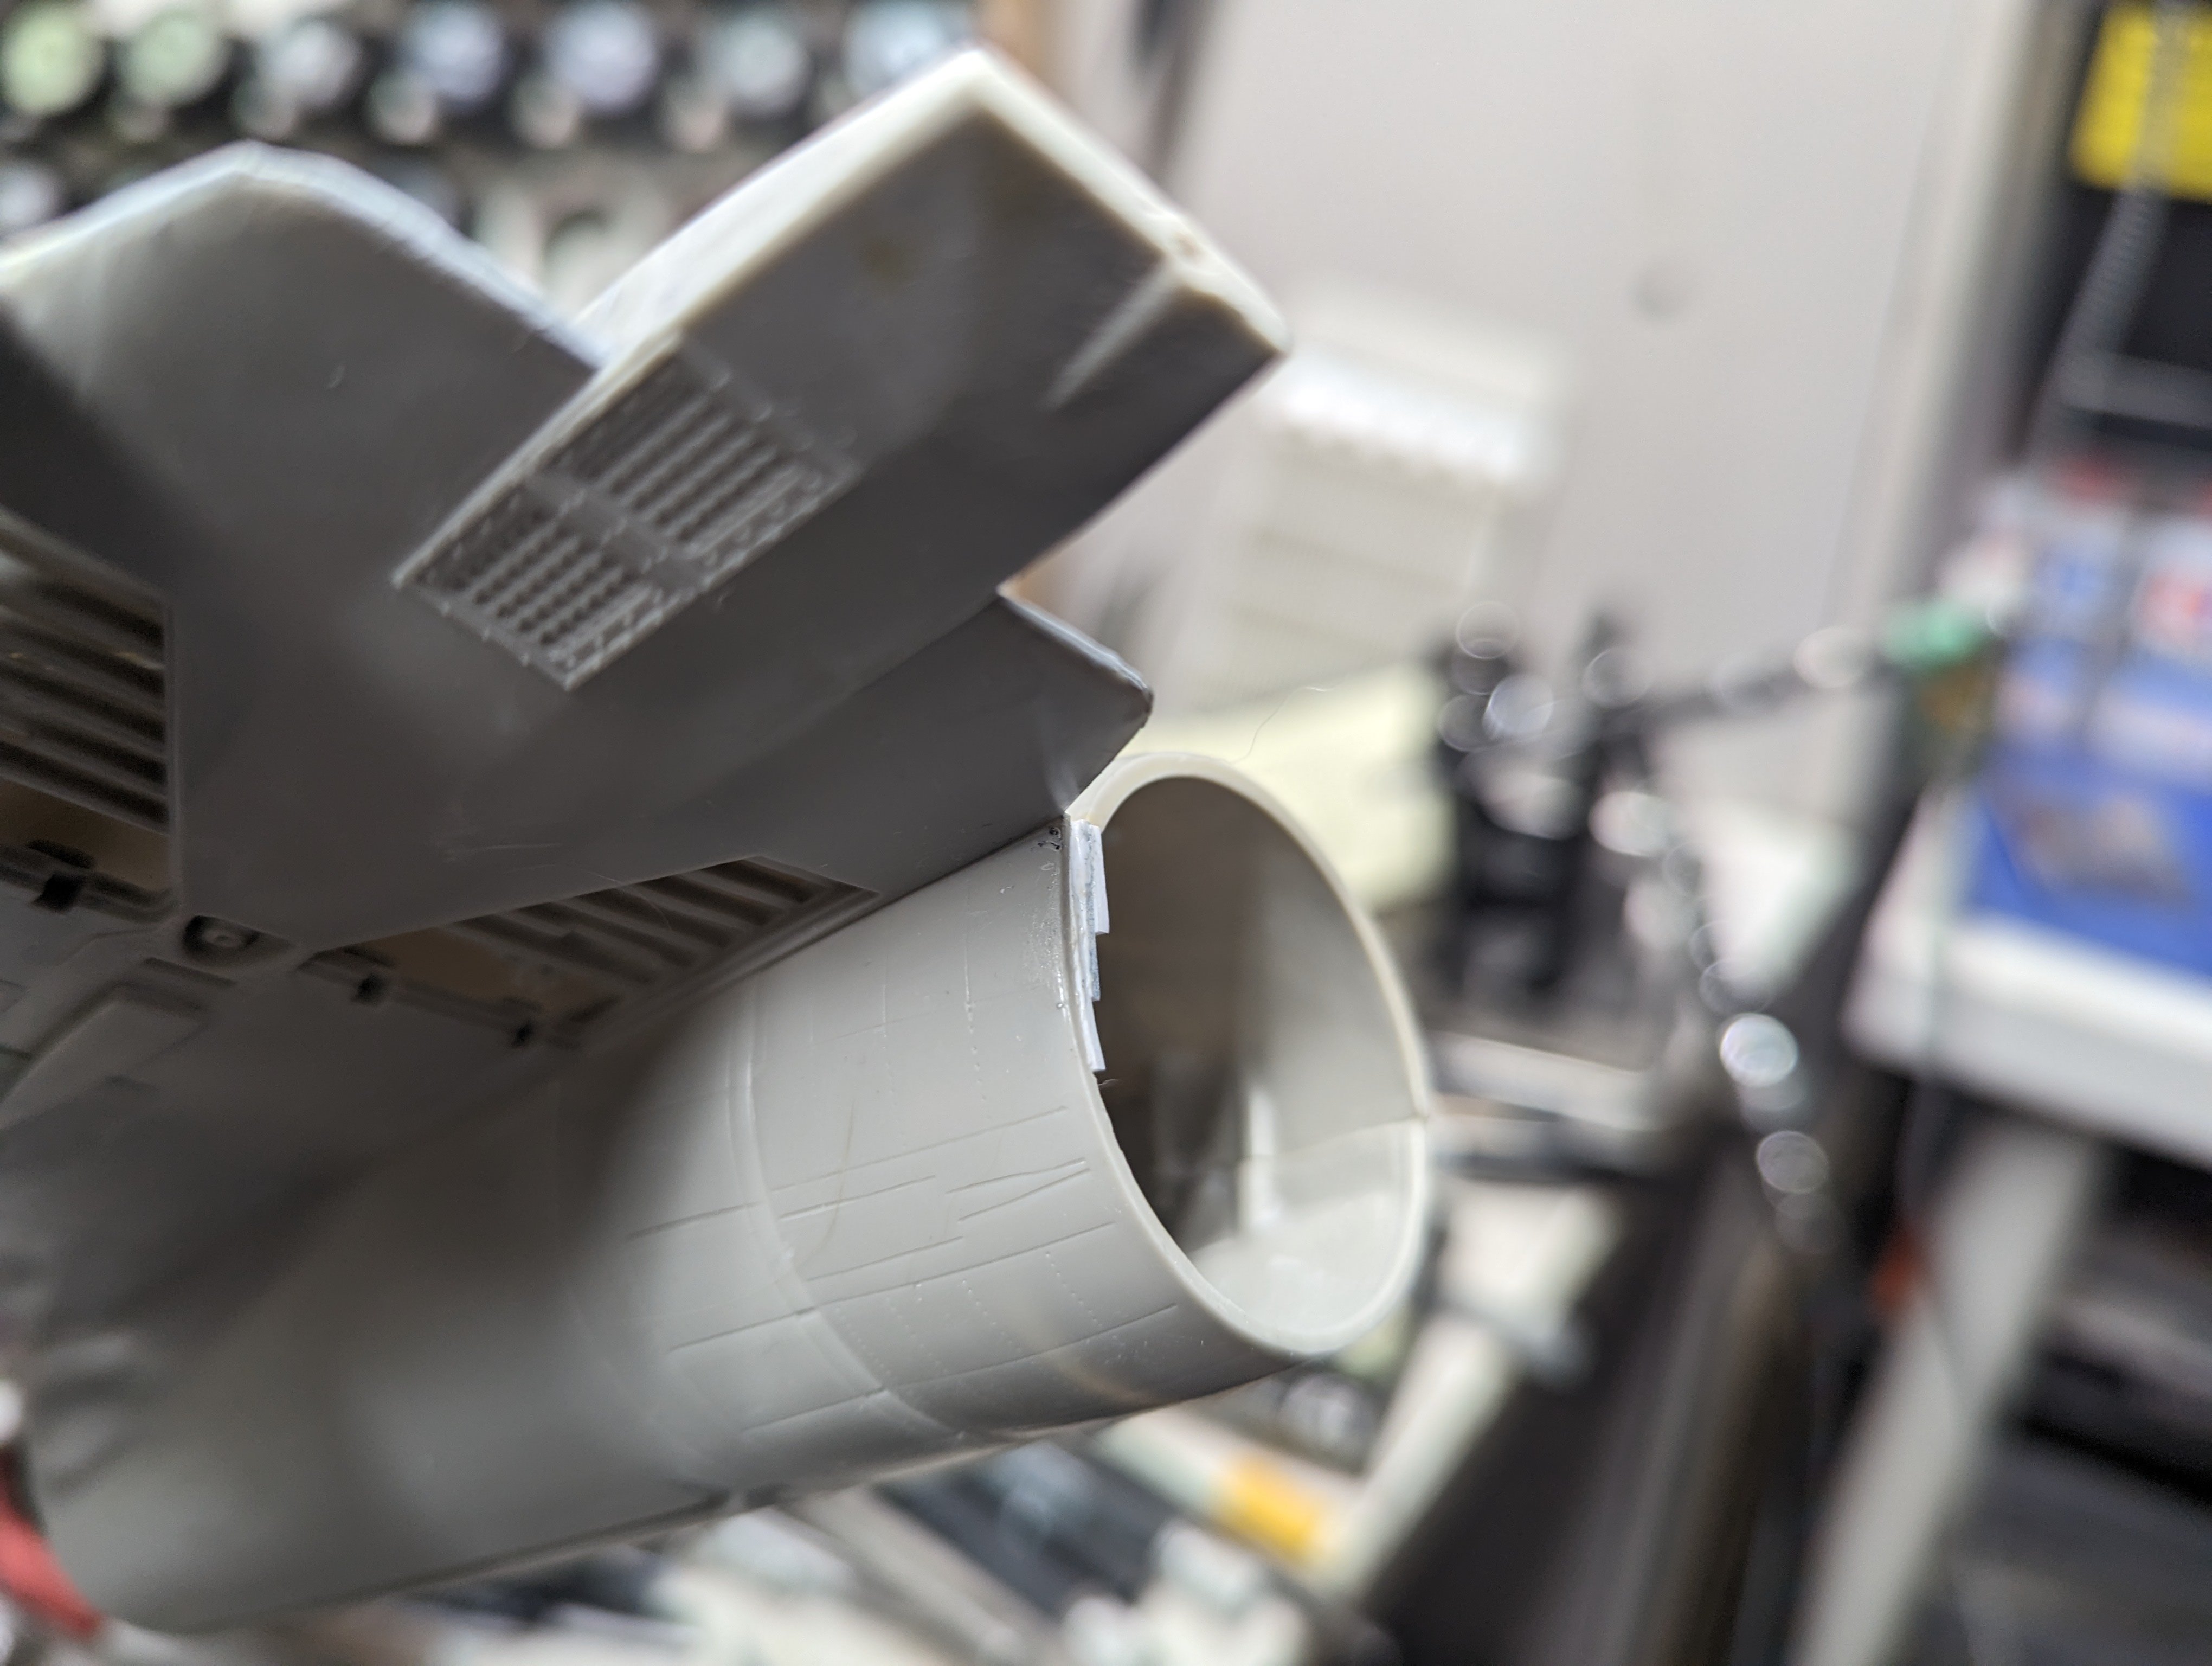
Some more progress. The wings and horizontal stabs are together. I've filled the seams and once I do some re-scribing, they'll be ready for paint. I've also done some work re-shaping the engine nacelles around the beaver tail. To do so, I added some strip styrene inside the nacelle to reinforce it. Here's one side done. Compared to the stock one.


-
The big problem is the boys are each starting their own stashes of kits they've bought themselves or.received as gifts. I think Edward has about 12 and Findlay 7-8. They need to build faster.
-
I just did a rough count and I'm under 300 but probably not by much. I didn't think it would be that high but I think it just crept up over the last while. Too many kits that have yelled "Buy me Now!!!" which I've seemed to have heeded. I suspect I may have to unleash the boys on some of them and thin the stash in a meaningful way.
-
F4U-1D Corsair - Tamiya
BlrwestSiR replied to denders's topic in LSM 1/35 and Larger Work In Progress
Great looking engine and cockpit. I find doing the wiring on the engine to be quite the challenge. Yours looks nice and tidy. -
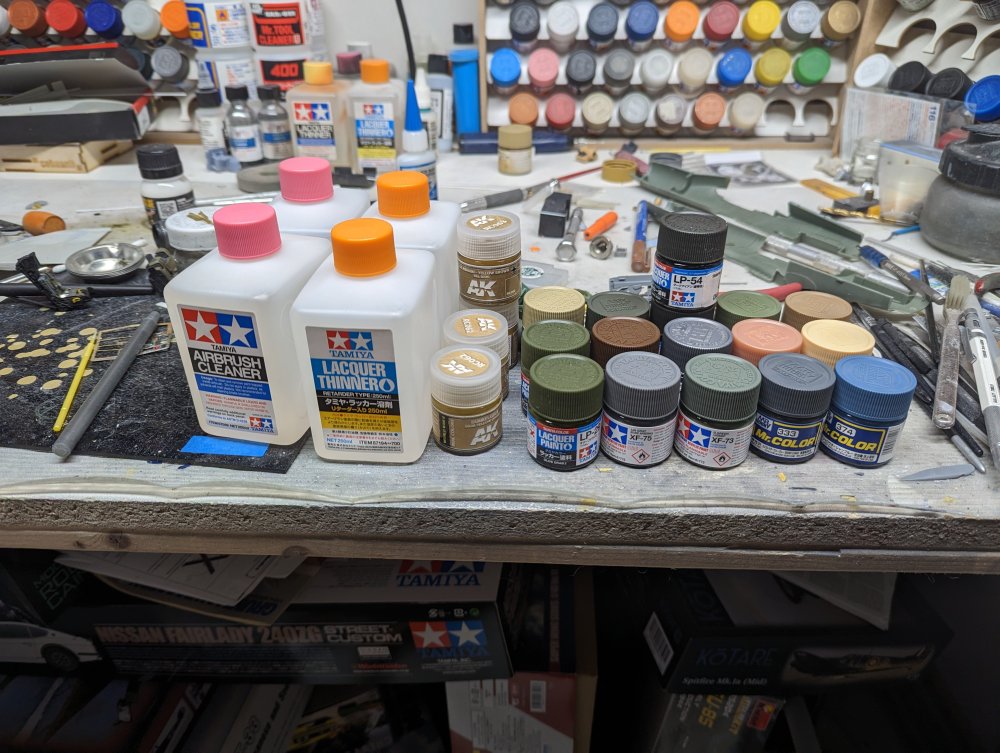
Yet another sale at the LHS so I picked up some more paint and thinner. This was after my recent paint inventory check so at least I don't have these already.
-
Helping to clean up my parents' garage today and these were stashed all the way in the back corner. I also found 4 gallons of 20% nitro fuel for RC cars. It's almost certainly gone off so I'll be taking that to the hazardous waste drop off.

-
Great article Martin. Nice to learn about the history behind the Enigma. Nice looking diorama there Rob.
-
Maybe for the bi-weekly Costco run...
-
No kidding. 2 isn't anywhere enough. Then when I ran out of wall space... There's two more hanging from the ceiling not in either pic. At one point I had 11, but living in a condo, it got tight so I pared it down to 7, one for very day of the week.
-
Arado 234 Nachtigall on Speed
BlrwestSiR replied to DocRob's topic in LSM 1/35 and Larger Work In Progress
I'm hoping that the glue came apart but I'll have to take a closer look at it. It's in the display case and I'd need to take it out. Also, the nose gear isn't completely accurate if you compare it to pics and diagrams. I ended up modifying mine to closer match the original. -
Arado 234 Nachtigall on Speed
BlrwestSiR replied to DocRob's topic in LSM 1/35 and Larger Work In Progress
Hasegawa makes a thin adhesive film that has some stretch to it. The mirror finish one is great for this oleos as you cut it size and apply it. It's much more durable than Bare Metal foil and almost as thin. https://www.hlj.com/mirror-finish-a4-hsgtf918 -
Great set of photos. The one of the Hellcat in flight is very impressive.
-
Arado 234 Nachtigall on Speed
BlrwestSiR replied to DocRob's topic in LSM 1/35 and Larger Work In Progress
The landing gear looks great. I was just looking at mine and the gear on one side has broken off. Which is odd as I used a wire to pin it in place. Might just be the glue gave out. -
ZM Bf 109G Hartmann
BlrwestSiR replied to Peterpools's topic in LSM 1/35 and Larger Work In Progress
Peter, that looks great. Nice work on the masks for the insignia. Comparing the one I started with yours and others, I have realized that mine isn't off like I thought it was and I'll need to get back to it. -
I haven't used tube glue in maybe 40 years? I might have to give the Contacta a try. John building faster would be like a timelapse film for the rest of us.
-
Those spiked wheels look impressive. For the Mr Surfacer, have you seen the Aqueous version? Basically it works the same but you thin it with Tamiya X20A thinner instead of lacquer thinner. It works just like the regular Mr Surfacer. It may be easier to get that sent through the mail as it isn't a lacquer.
-
The interior and IP both look great Bill. Are you going to weather them a bit or leave them as is?
-
What Martin said! Carl
-
1/16 scale Tiger VI Ausf E early build
BlrwestSiR replied to CrankyCrafstman's topic in LSM 1/35 and Larger Work In Progress
That's a good way to go about making the interior details. I've still got a few 1/35 Tigers in the stash but I could be interested in it when you're done. I don't have one with an interior yet. -
Arado 234 Nachtigall on Speed
BlrwestSiR replied to DocRob's topic in LSM 1/35 and Larger Work In Progress
Great work Rob. Such a sleek looking plane. -
1/16 scale Tiger VI Ausf E early build
BlrwestSiR replied to CrankyCrafstman's topic in LSM 1/35 and Larger Work In Progress
Apologies about the typo.