BlrwestSiR
-
Posts
9,197 -
Joined
-
Last visited
Content Type
Profiles
Forums
Events
Gallery
Everything posted by BlrwestSiR
-

RCAF Liberator GR Mk VI
BlrwestSiR replied to BlrwestSiR's topic in LSM 1/35 and Larger Work In Progress
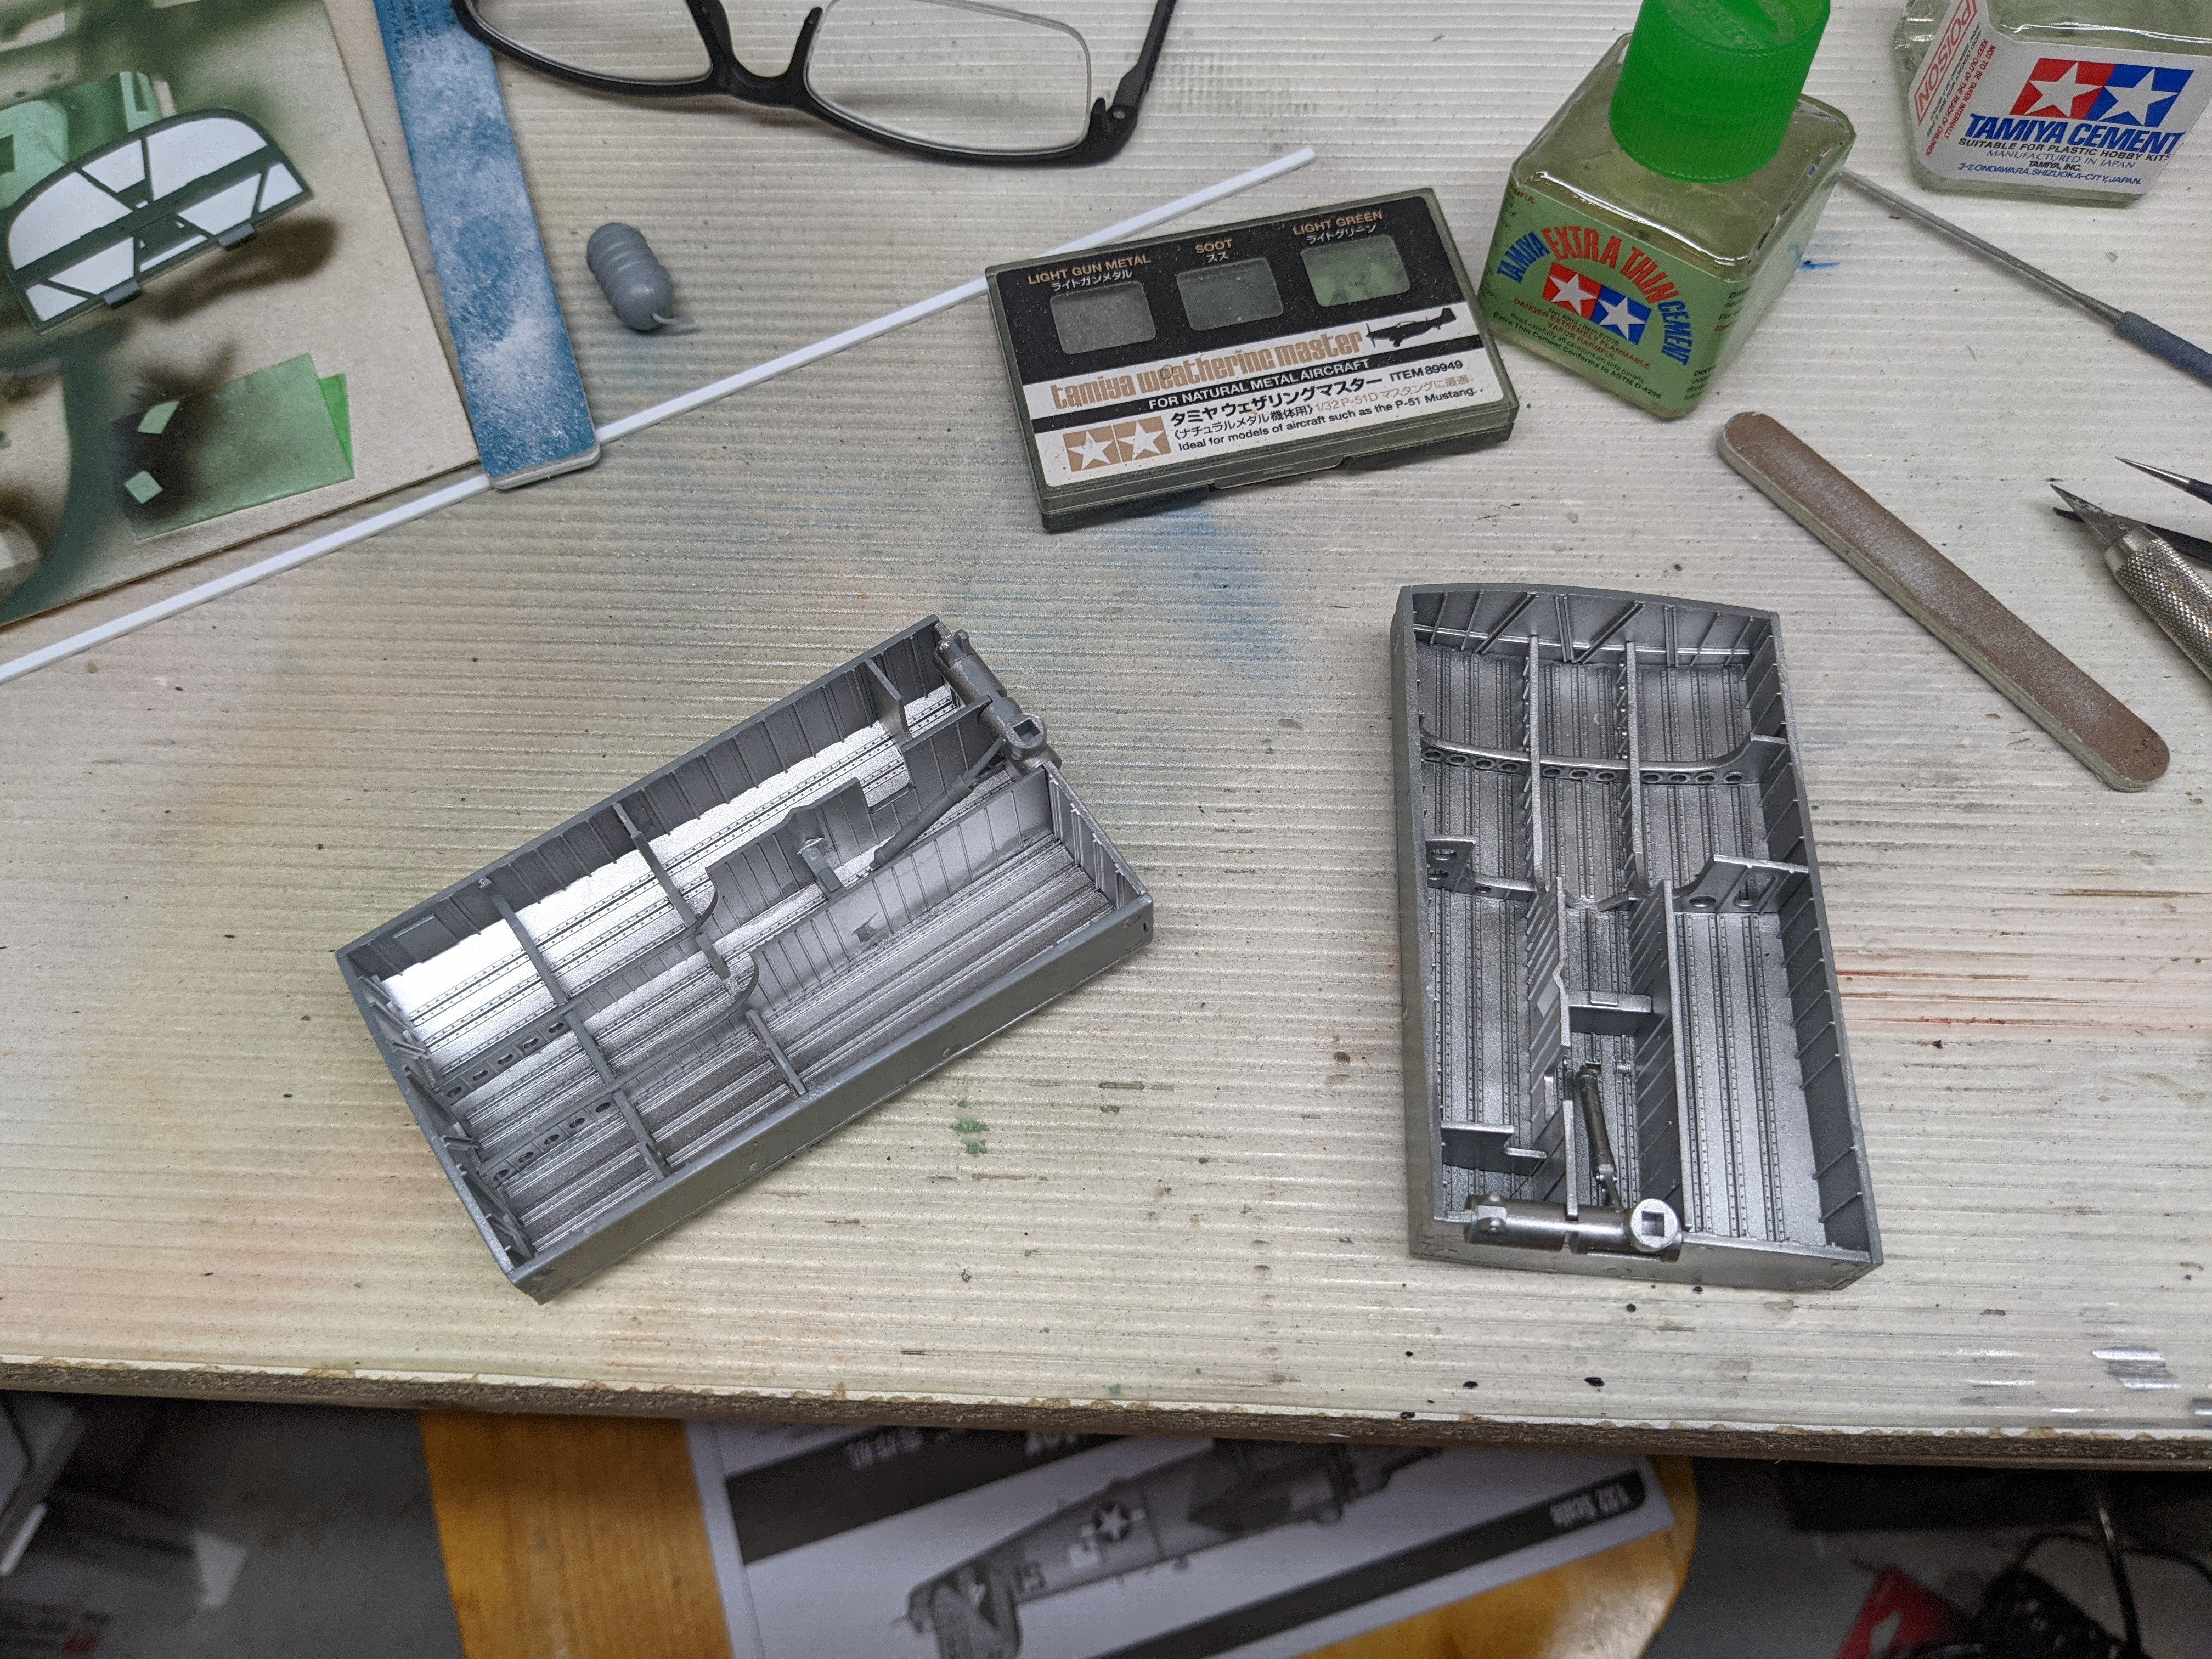
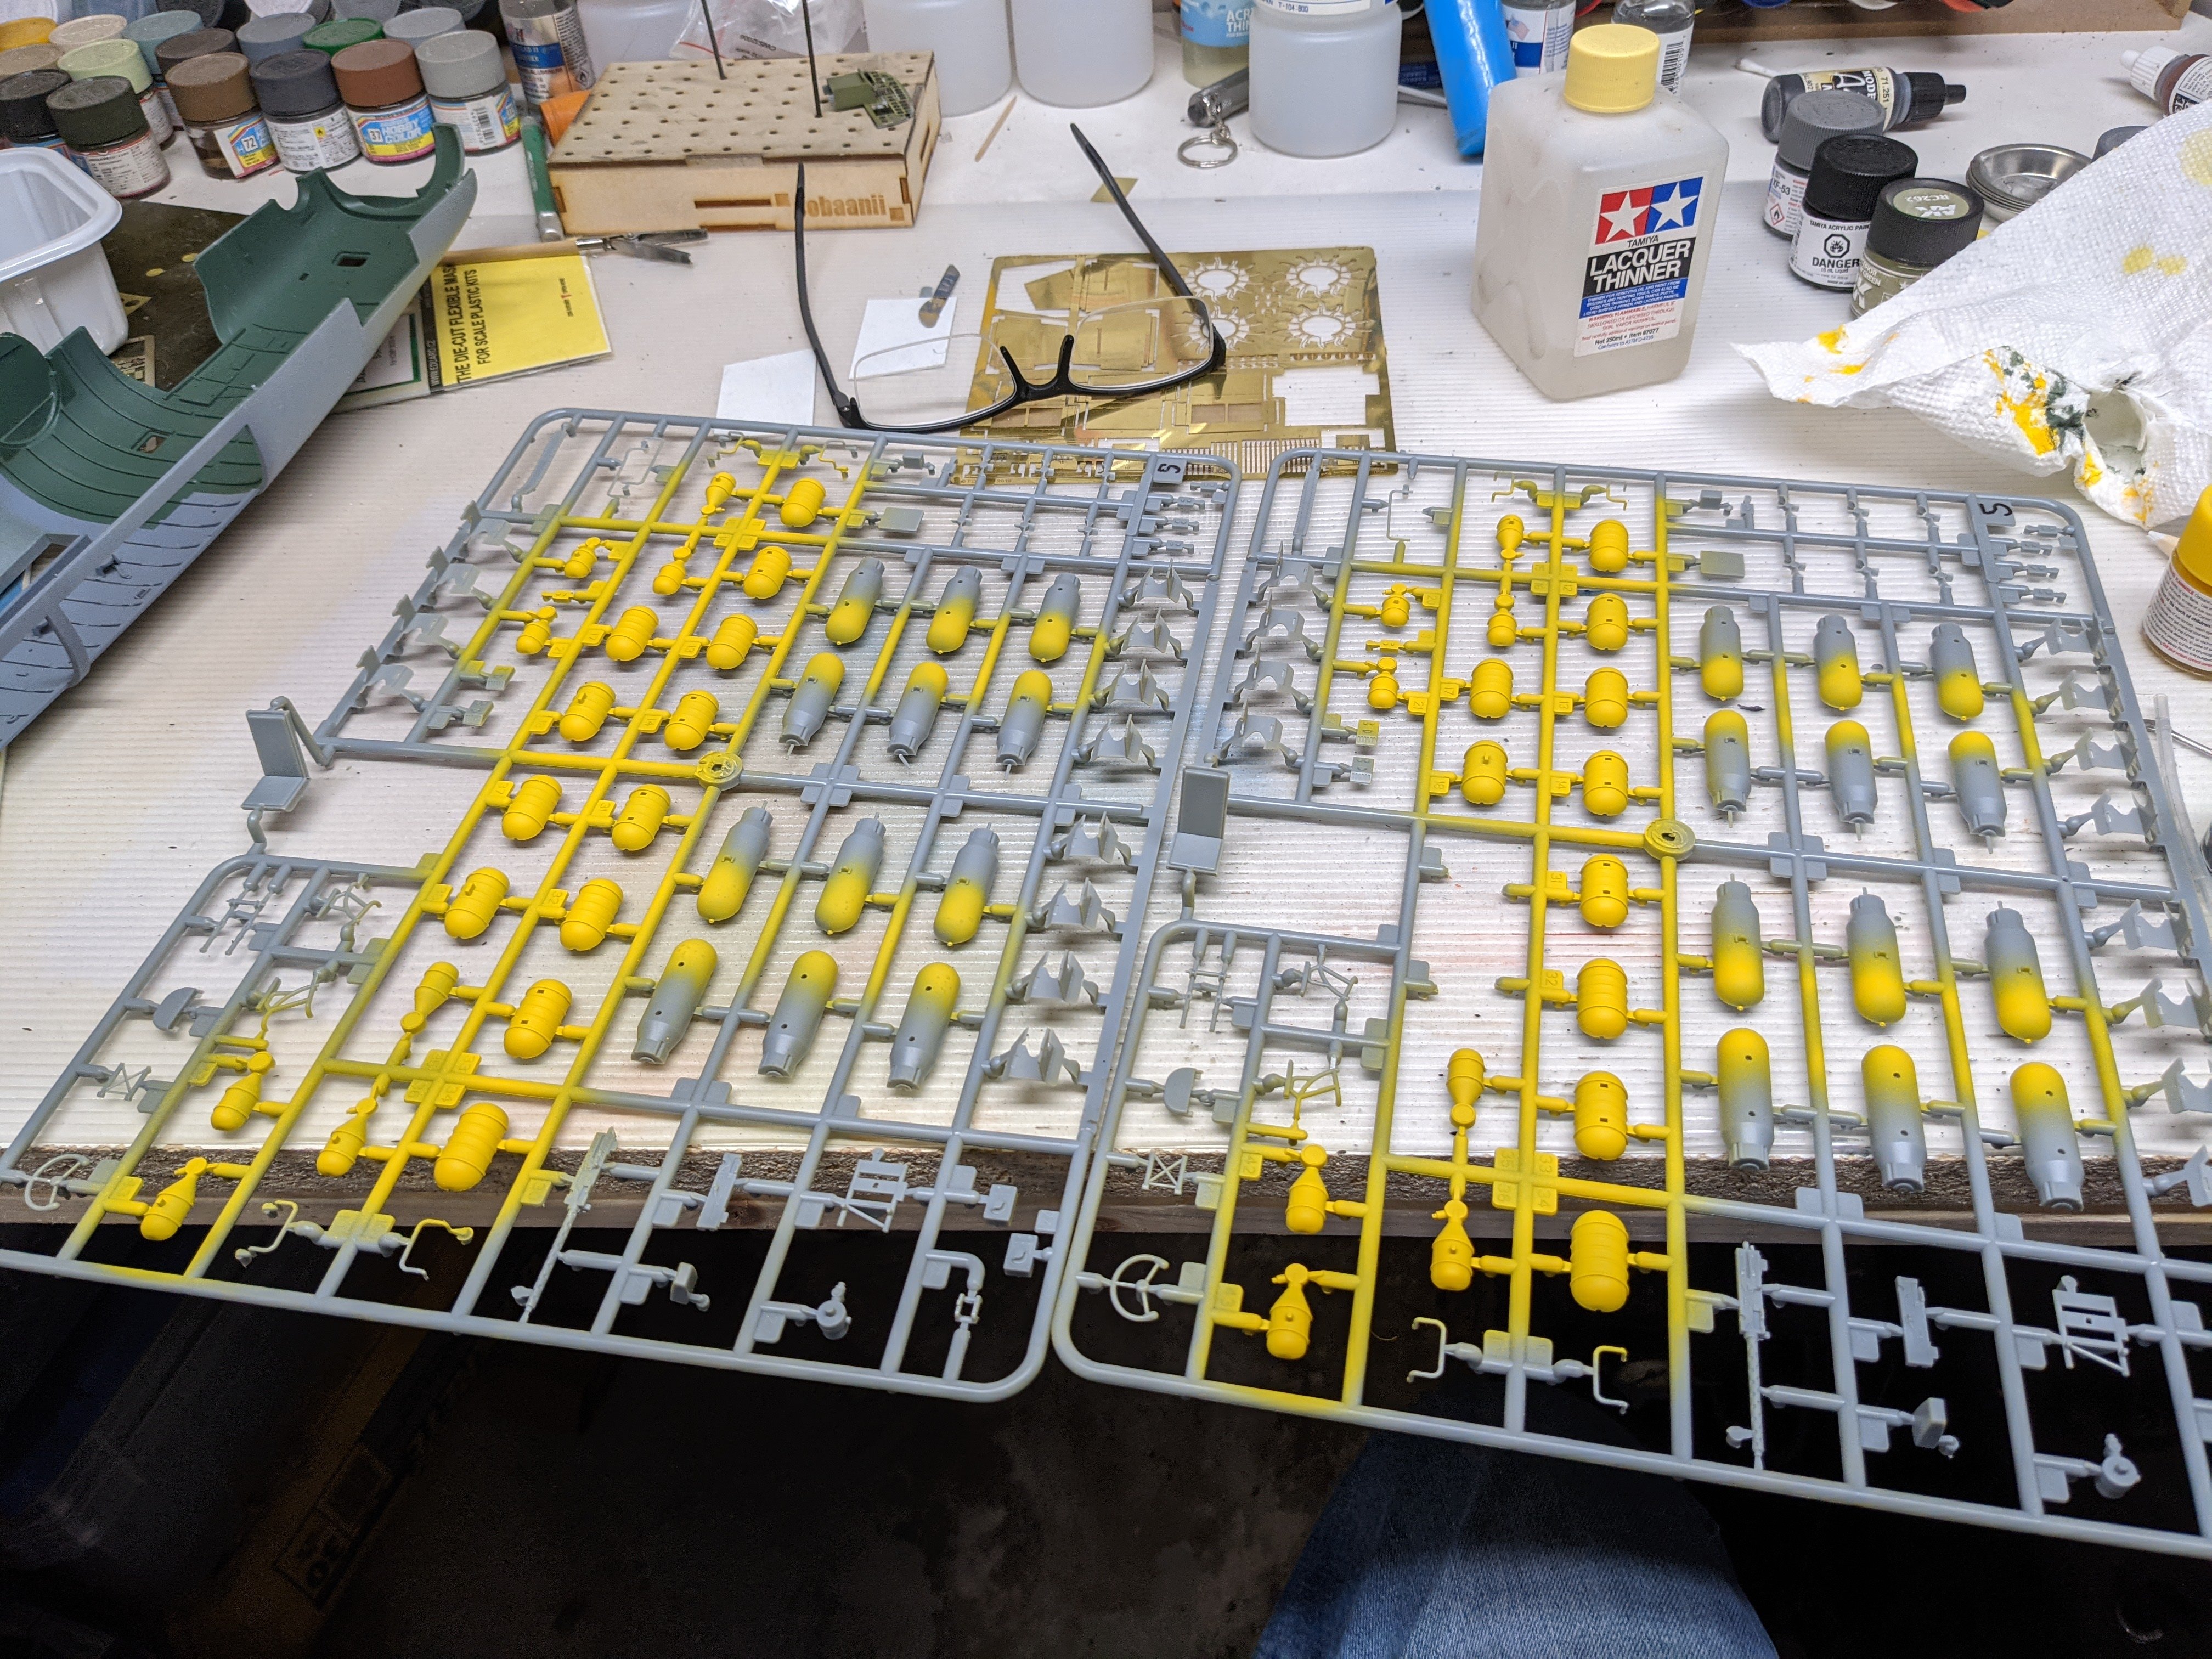
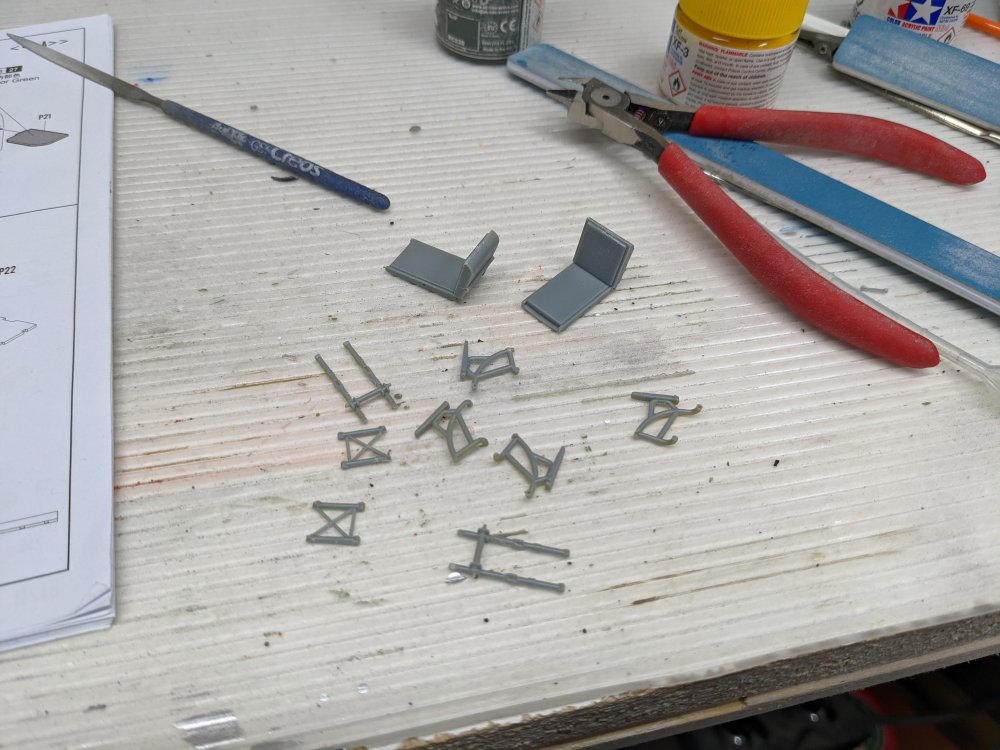
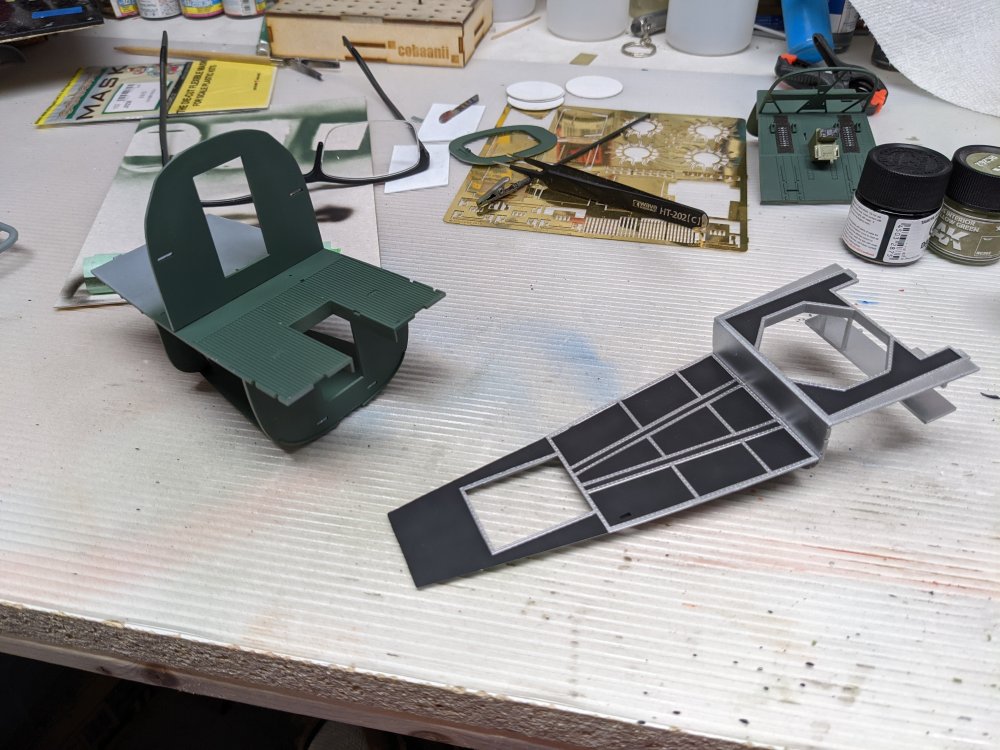
I got a bit of work on the interior done. I added some of the waist areas details. Nothing fancy, just OOB. The waist window hatches are in place too now. I then sprayed the O2 tanks in yellow. There's a lot of them. Then I realized that Hobbyboss gives you twice as many as you need. These were glued together and then installed into the fuselage halves. They will be barely visible so I didn't bother with the seams. I started on the pilots' seats. There's a fair number of parts for these. Lastly, the MLG bays are assembled.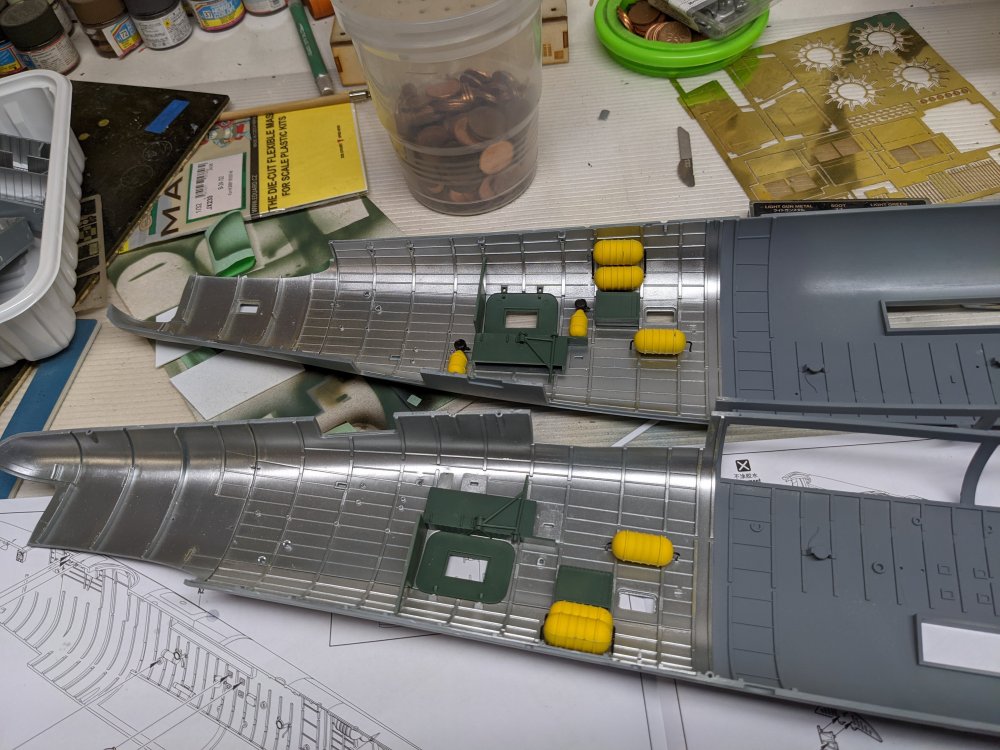


- 227 replies
-
- 10
-

-
RCAF Liberator GR Mk VI
BlrwestSiR replied to BlrwestSiR's topic in LSM 1/35 and Larger Work In Progress
Peter, it's definitely making things easier interior wise. So little will be seen I can take liberties with details. -
RCAF Liberator GR Mk VI
BlrwestSiR replied to BlrwestSiR's topic in LSM 1/35 and Larger Work In Progress
Phil, same here. This is my first Lib ever. Talk about jumping into the deep end. -
Arado 234 Nachtigall on Speed
BlrwestSiR replied to DocRob's topic in LSM 1/35 and Larger Work In Progress
The Tamiya scriber is nice and extremely sharp. However, it's also quite brittle so don't drop it or it'll shatter. I do like that they come in various thicknesses. I've also got some PE Scribner's but haven't tried those yet. -
That's a pretty decent custom pickup conversion. Knowing how short a Cube is, it makes the new Maverick look like a long bed. There's a company in the US that sells conversion kits to make Mk IV Jettas (Boras I think they're called outside NA) into pickups. Doesn't look too bad when done. Edit: found it! https://www.smythkitcars.com/
- 2,036 replies
-
- 3
-
-

-
- car related stuff
- anything about cars
- (and 6 more)
-
Arado 234 Nachtigall on Speed
BlrwestSiR replied to DocRob's topic in LSM 1/35 and Larger Work In Progress
Nice progress Rob. I'm not a fan of re-scribing either. I've got a pair of Tamiya Tomcats that will need to be scribed. One day. Carl -
What is on your bench right now ? Share a picture :)
BlrwestSiR replied to Martinnfb's topic in Modelling Discussion
Same here -
RCAF Liberator GR Mk VI
BlrwestSiR replied to BlrwestSiR's topic in LSM 1/35 and Larger Work In Progress
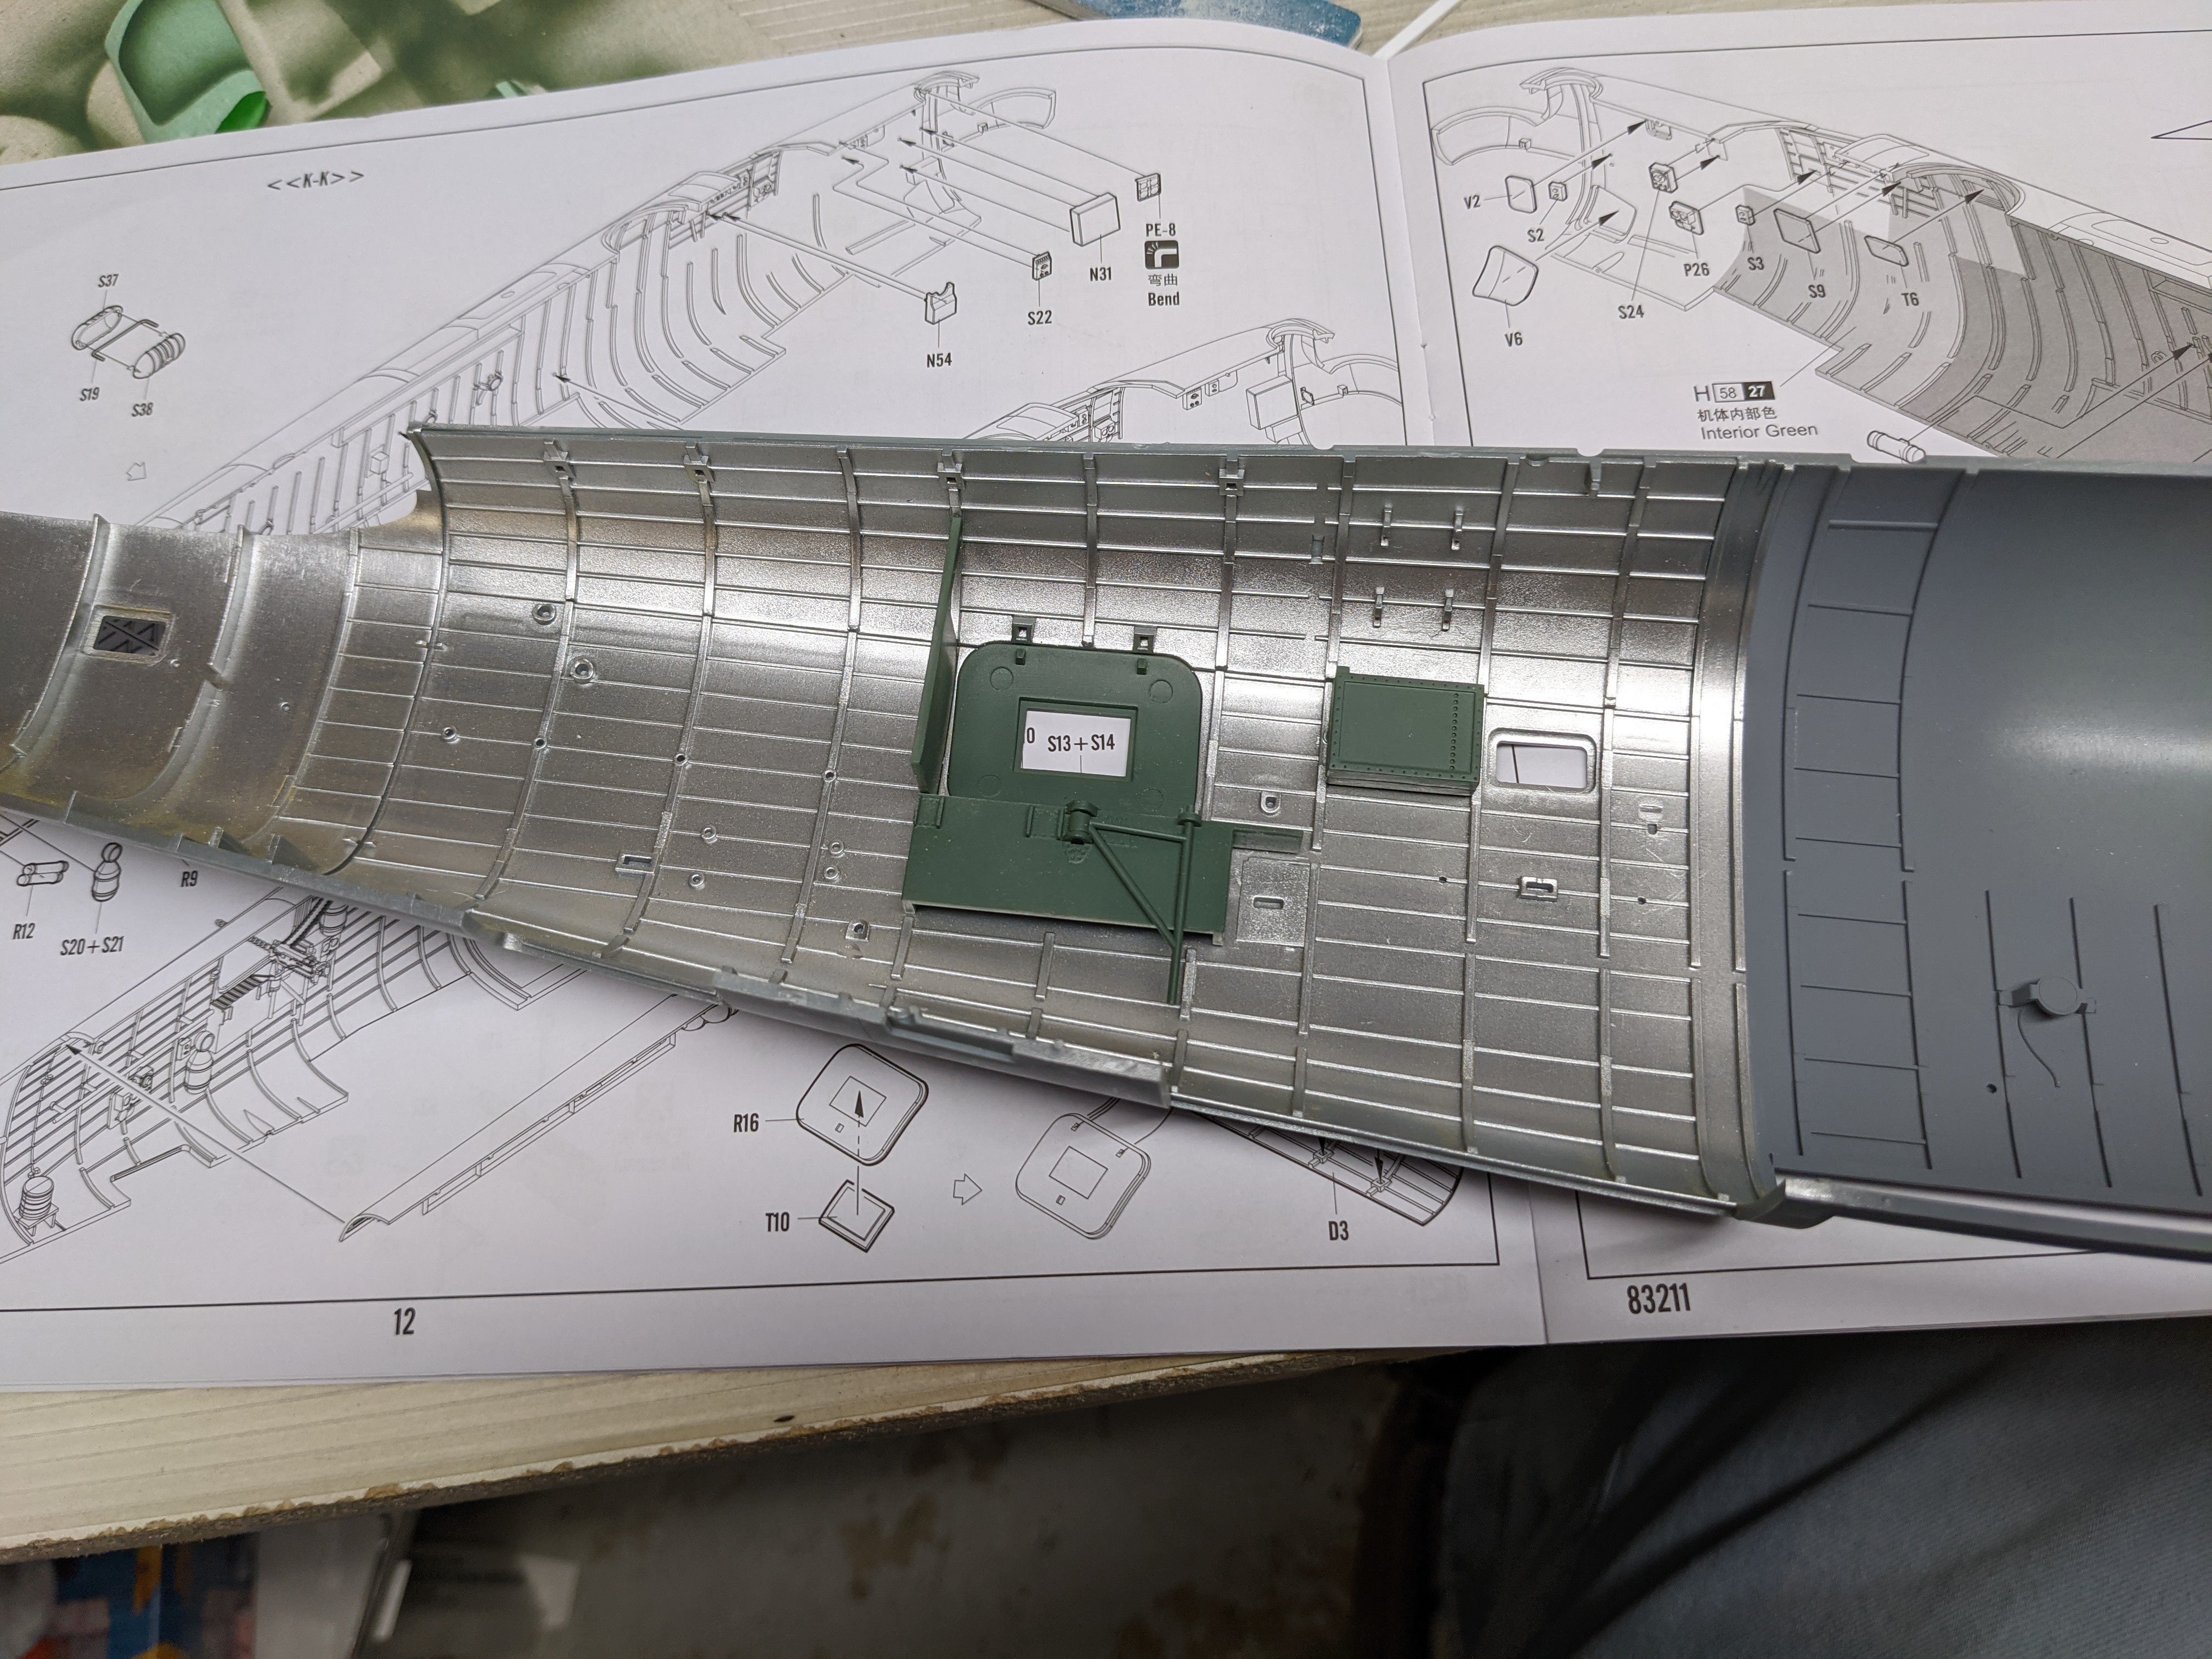
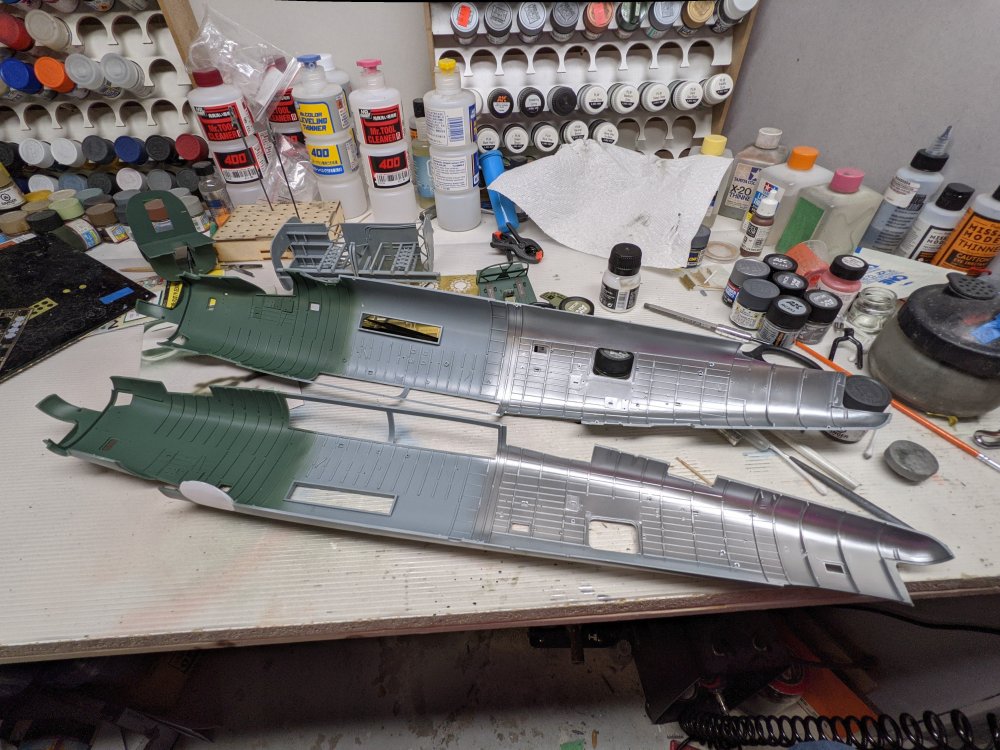
Looks like I'm doing fewer and fewer guns for this build. The waist gunners' windows are in place which makes sense since these planes would have been flying over the north Atlantic. The kit includes the window inserts thankfully and they're a great fit. This also cuts down further on how much of the interior is visible. I also painted the bomb bay in neutral grey.

- 227 replies
-
- 10
-
-
RCAF Liberator GR Mk VI
BlrwestSiR replied to BlrwestSiR's topic in LSM 1/35 and Larger Work In Progress
Nick, that sounds good to me with regards to the turrets. Glad to hear there's more AM starting to show up for the kit in general. -
Very nice John. Made me look in the stash at what Tamiya Spitfires I had left. I knew I had a pair of the XVIs but was surprised to find a IX too. Carl
-
I've lost most of the lids that came with my Iwata airbrushes. Would probably be a good idea to find them now that you've mentioned it.
-
Nice! You going to stick lights in it? My vote is for photon torpedo tubes. Carl
-
Great progress there Mark. What issues did you have with the DN masks? I've used their masks on other projects without any issues so maybe I can suggest a fix. Carl
-
RCAF Liberator GR Mk VI
BlrwestSiR replied to BlrwestSiR's topic in LSM 1/35 and Larger Work In Progress
I can't seem to find anything that shows definitively what the rear turret was. I'm going to stick with the regular one for my build. One thing I've noticed is the waist gunners' windows have the inserts in place so that means even less of the interior is visible and another pair of guns I don't need. -
Revell P-51D Mustang - 2nd time around
BlrwestSiR replied to Peterpools's topic in LSM 1/35 and Larger Work In Progress
Great start to the Mustang Peter. The Quinta stuff looks nice and I've finally ordered a couple sets after seeing your results and others using them. I've never understood those wing leading edge inserts either. The ones on the Tamiya Spitfire weren't much better either. Carl -
True, but it does help to have someone else to blame.
-
I'm going to be broke. Nothing new I guess. Carl
-
Arado 234 Nachtigall on Speed
BlrwestSiR replied to DocRob's topic in LSM 1/35 and Larger Work In Progress
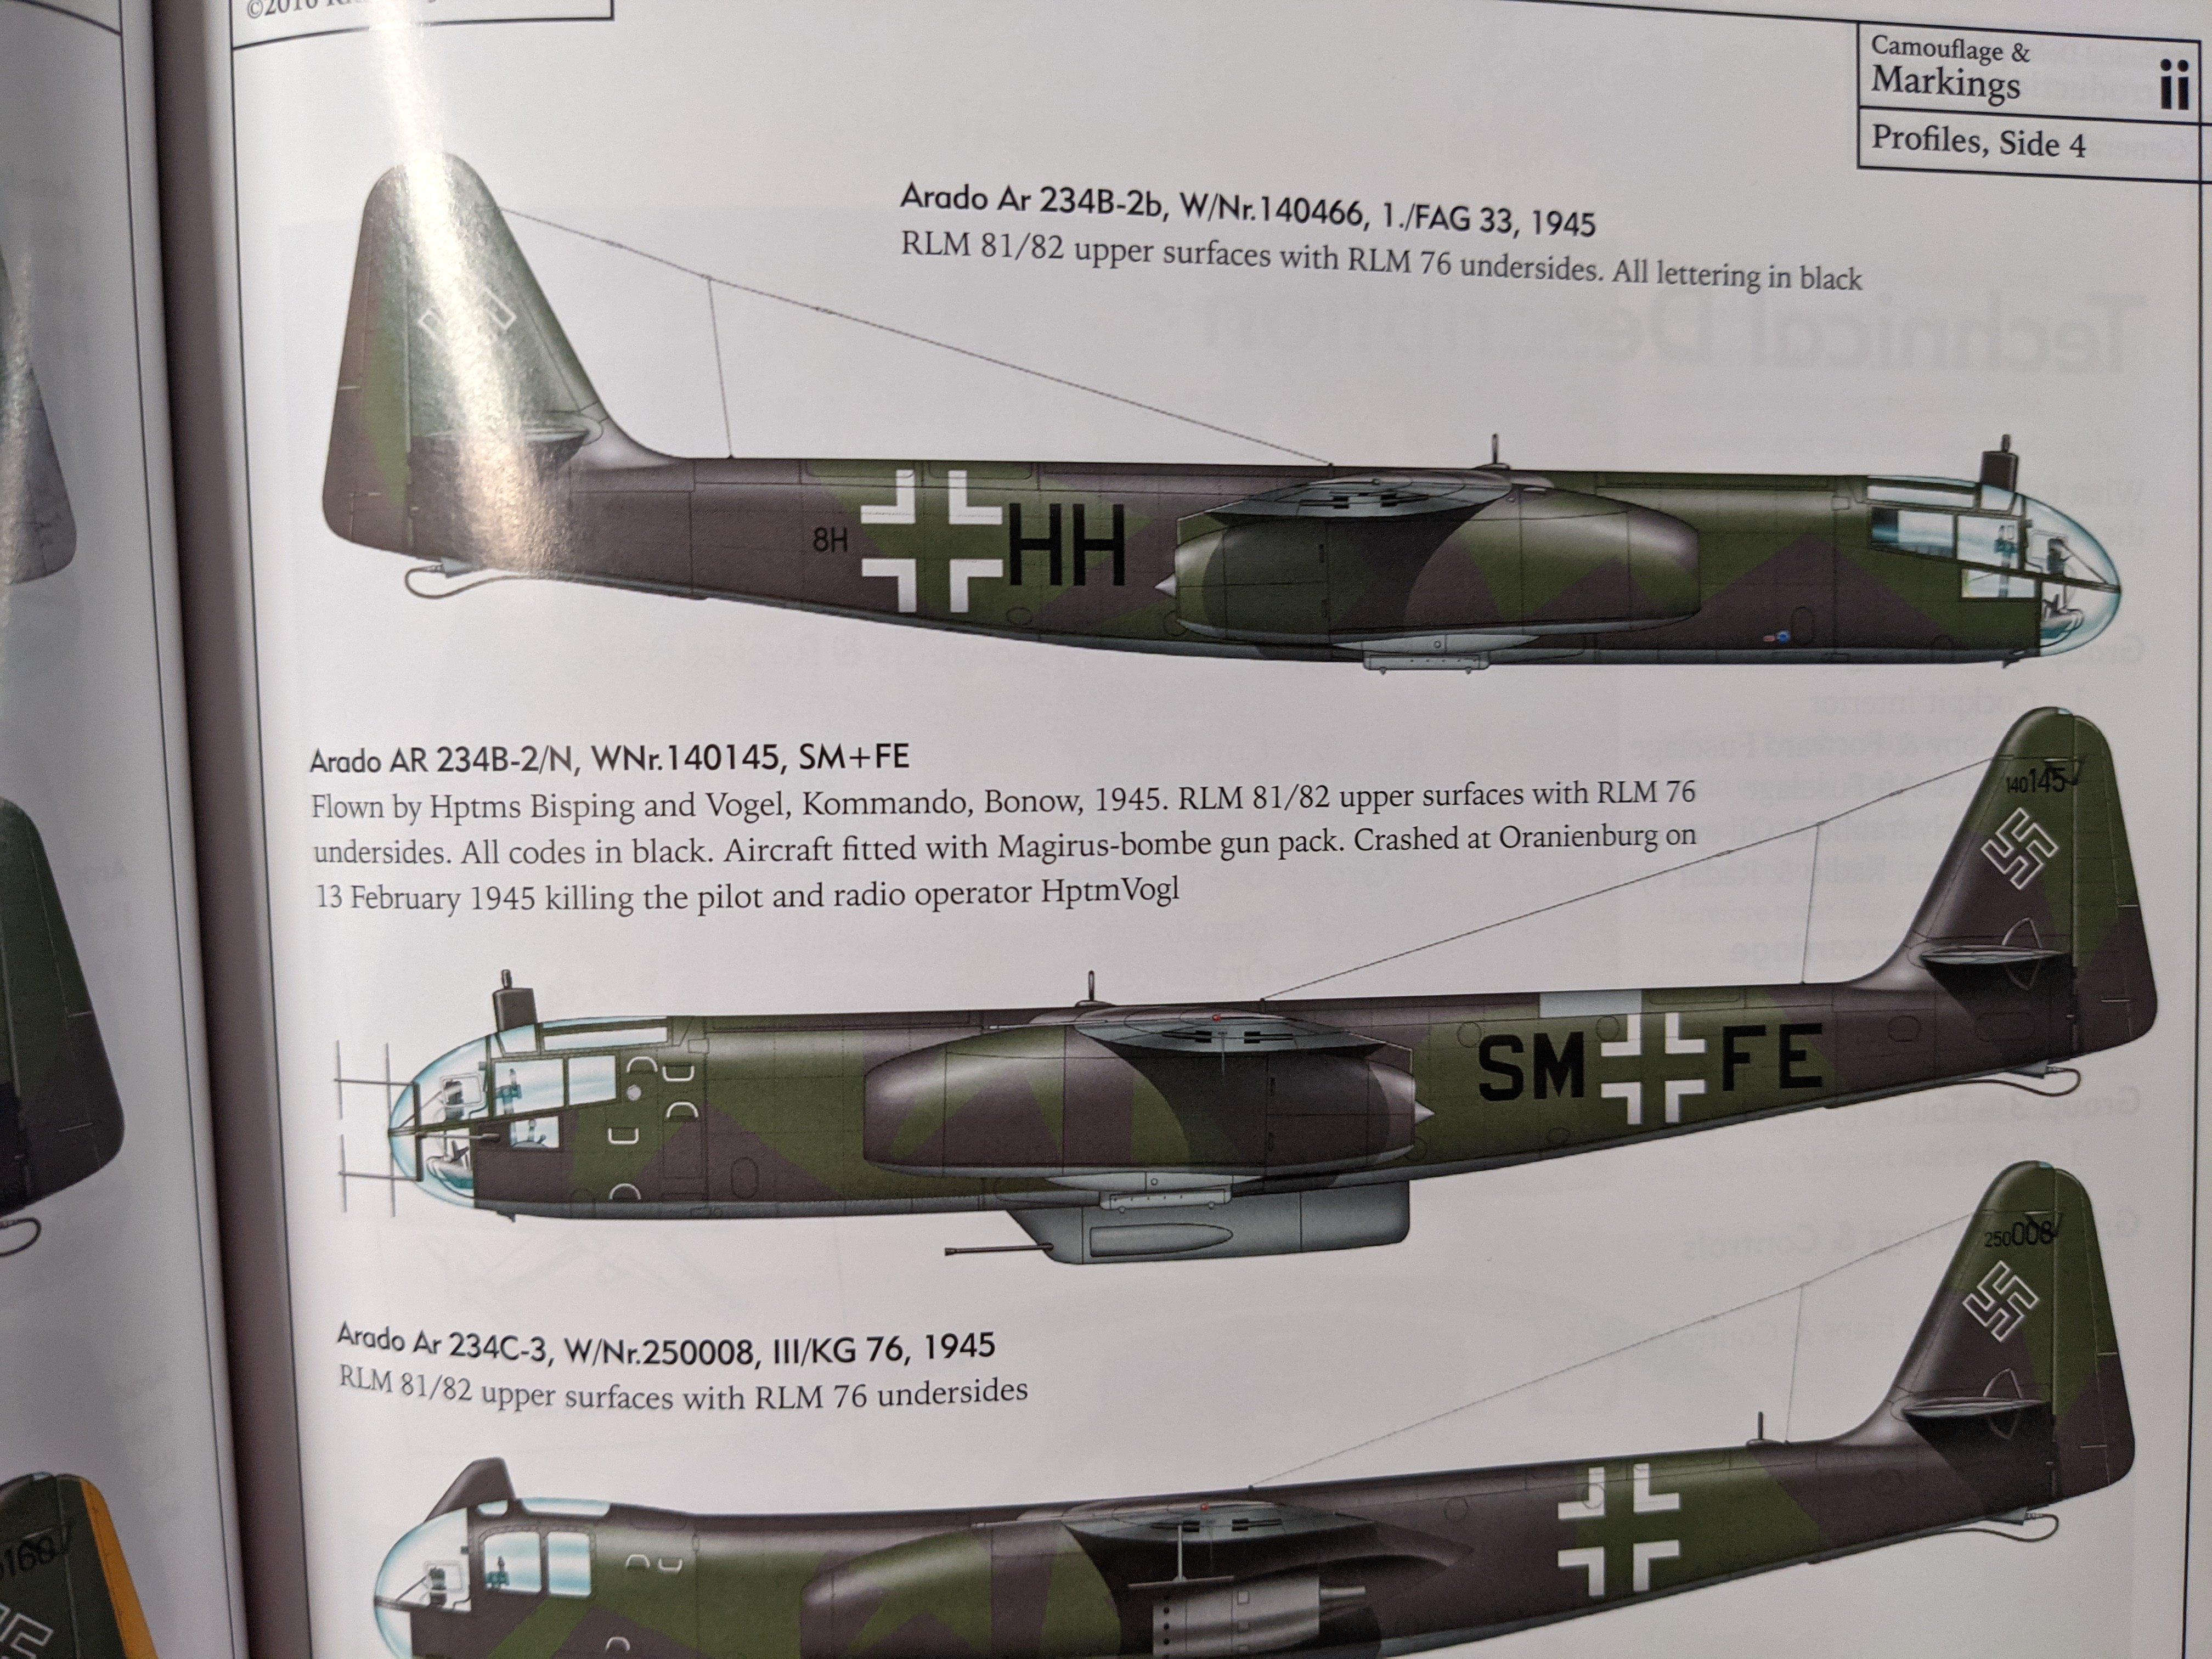
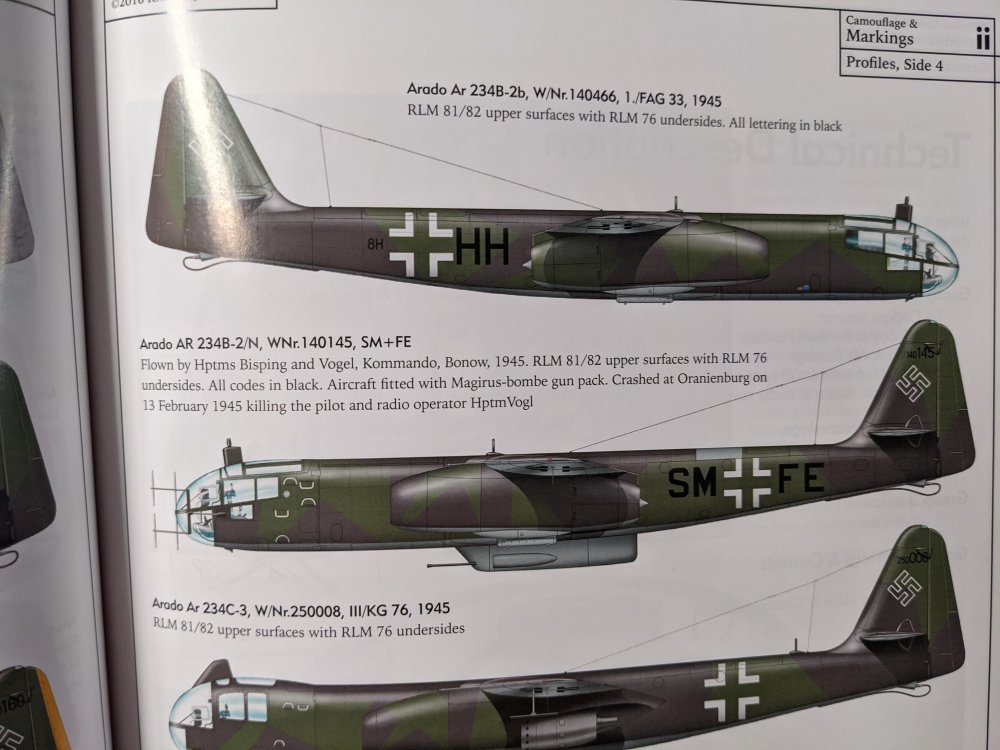
Rob, here's the most I could find in the Valiant Wings book. Everything else I have just seems to cover the recce and bomber versions.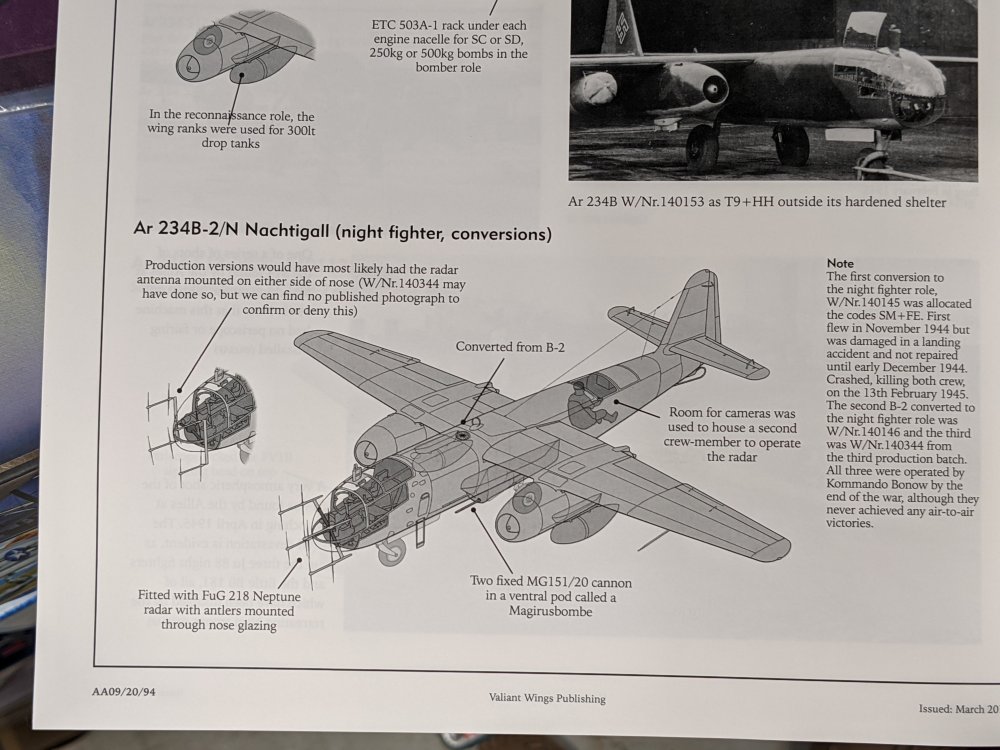
-
Arado 234 Nachtigall on Speed
BlrwestSiR replied to DocRob's topic in LSM 1/35 and Larger Work In Progress
Great to see this back on the bench Rob. I'll check my references and see if I have anything about the radar fit. Carl -
Lol, yup. Sue says I get to deal with the late night bathroom breaks. Meantime Zoe, our current dog turned 14 on Tuesday. Made her a birthday cake from 2 burger patties with mashed potatoe "icing".
-
RCAF Liberator GR Mk VI
BlrwestSiR replied to BlrwestSiR's topic in LSM 1/35 and Larger Work In Progress
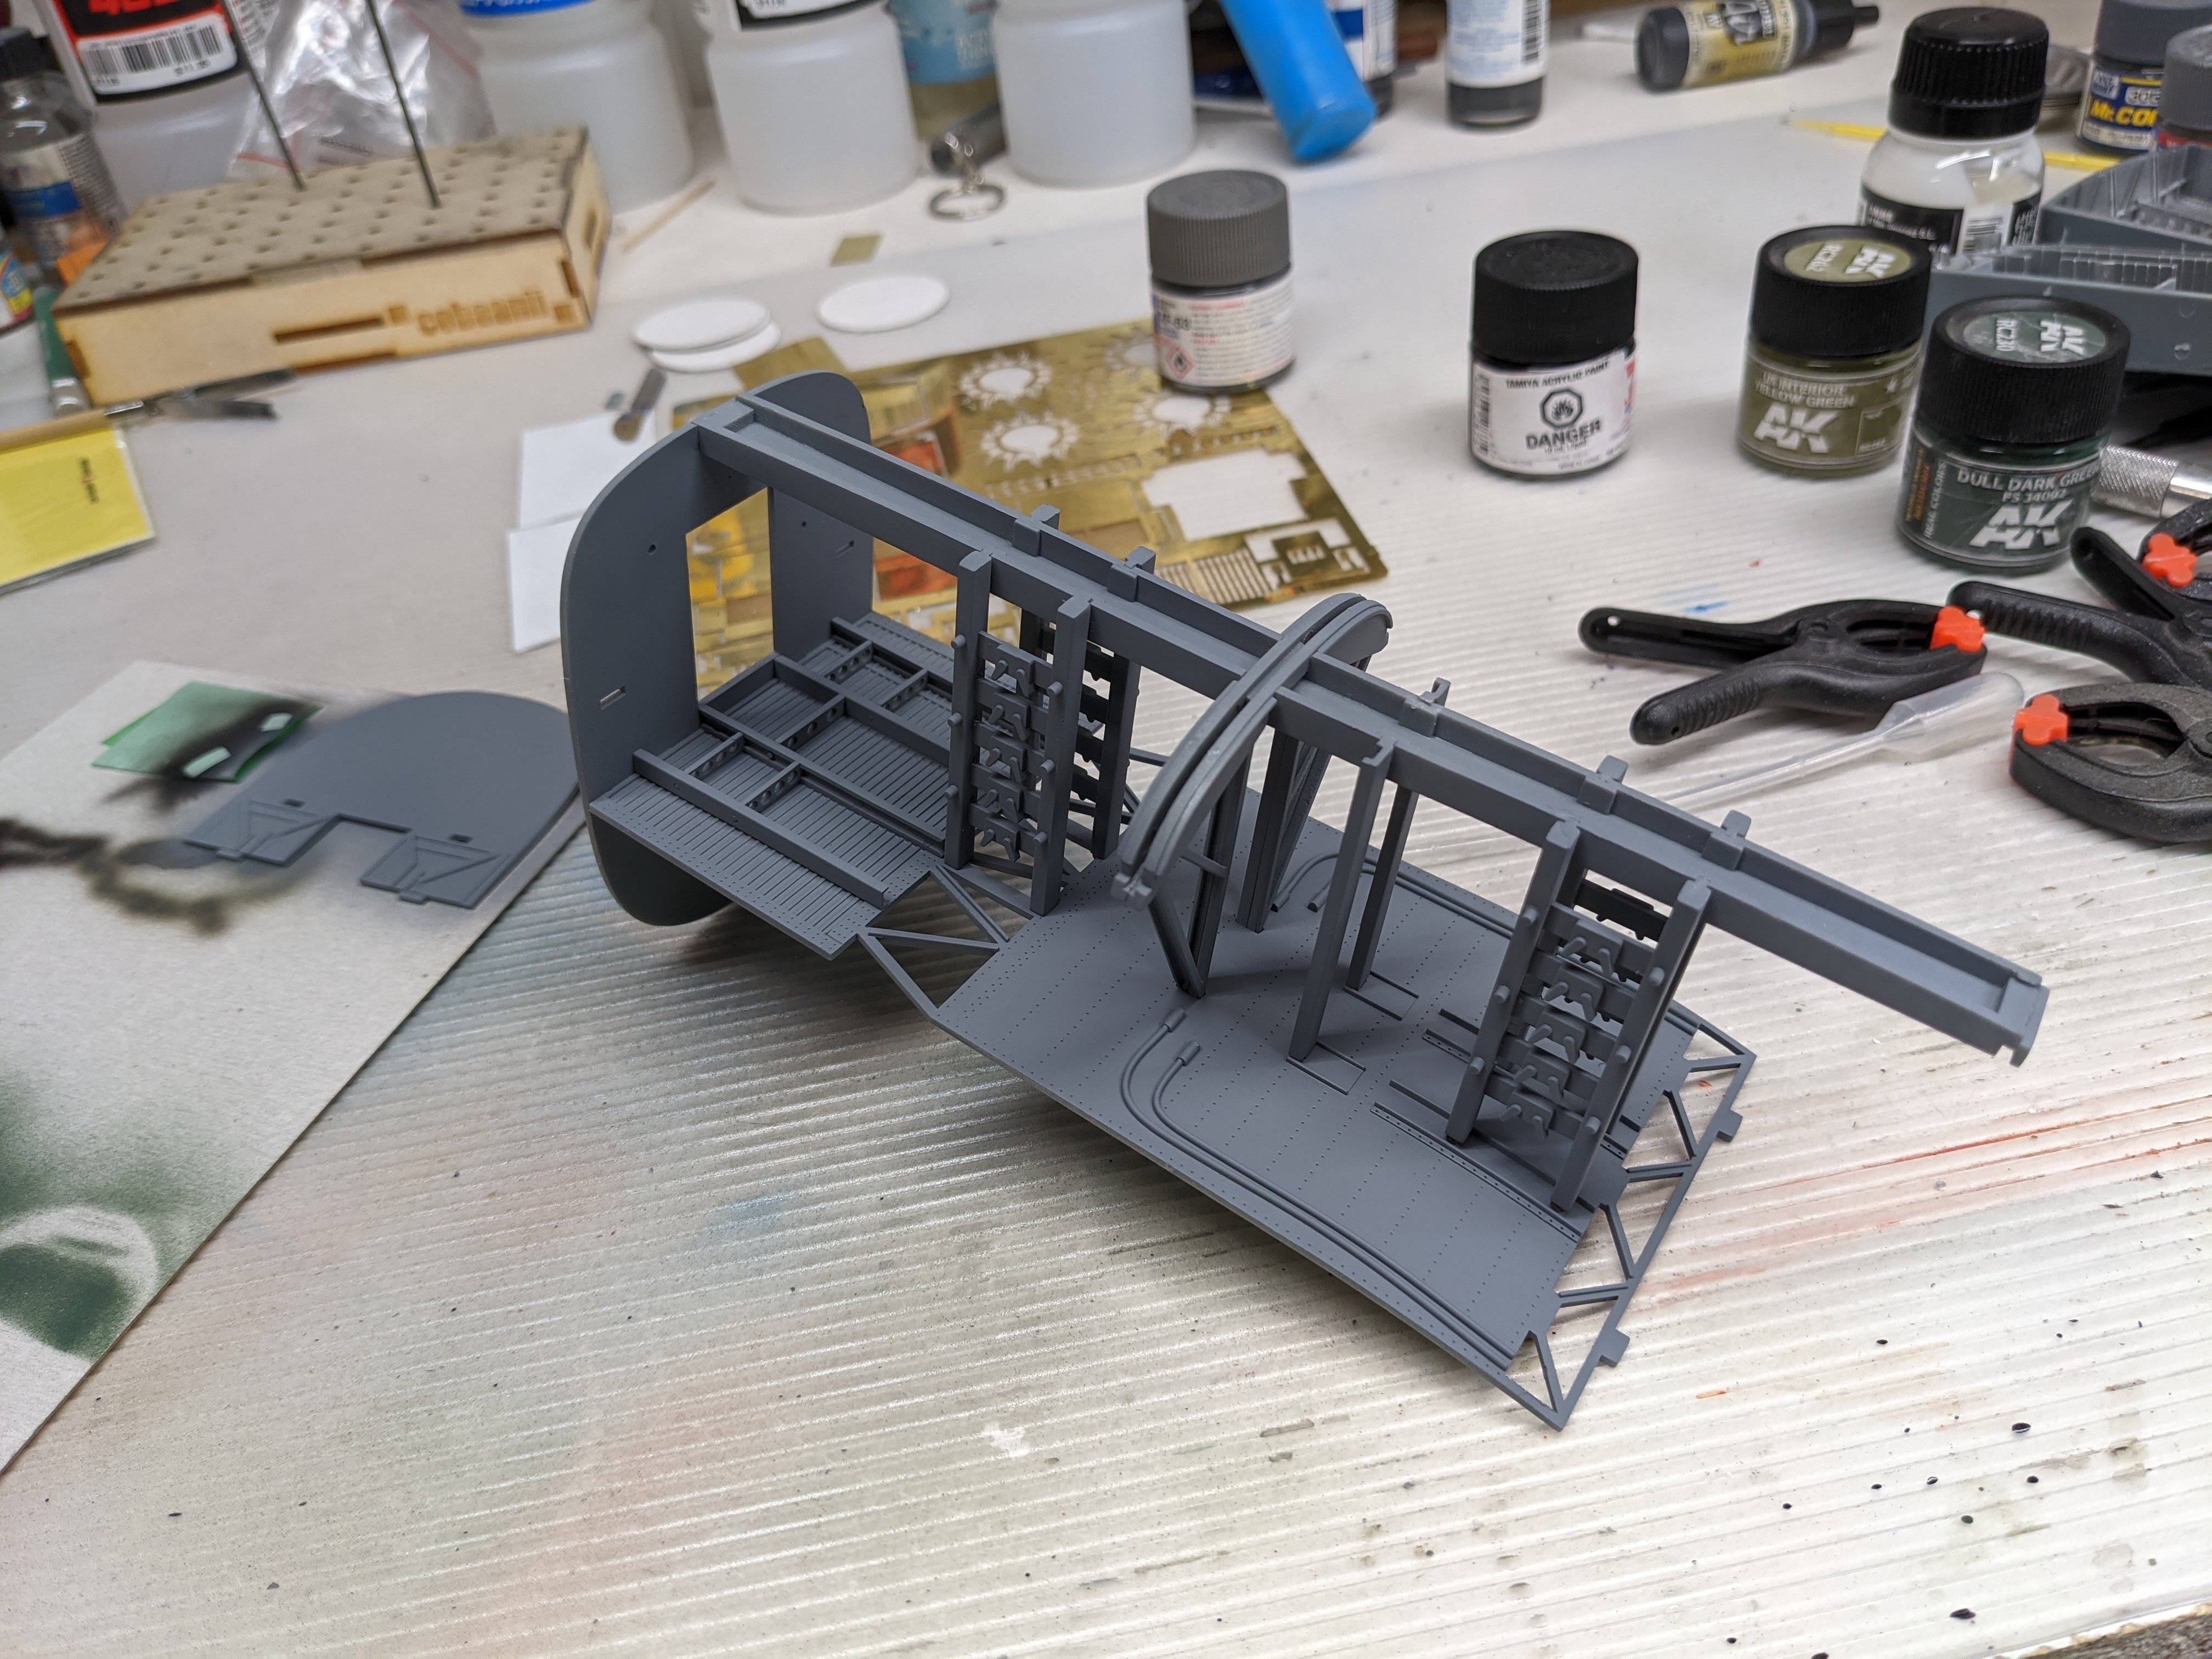
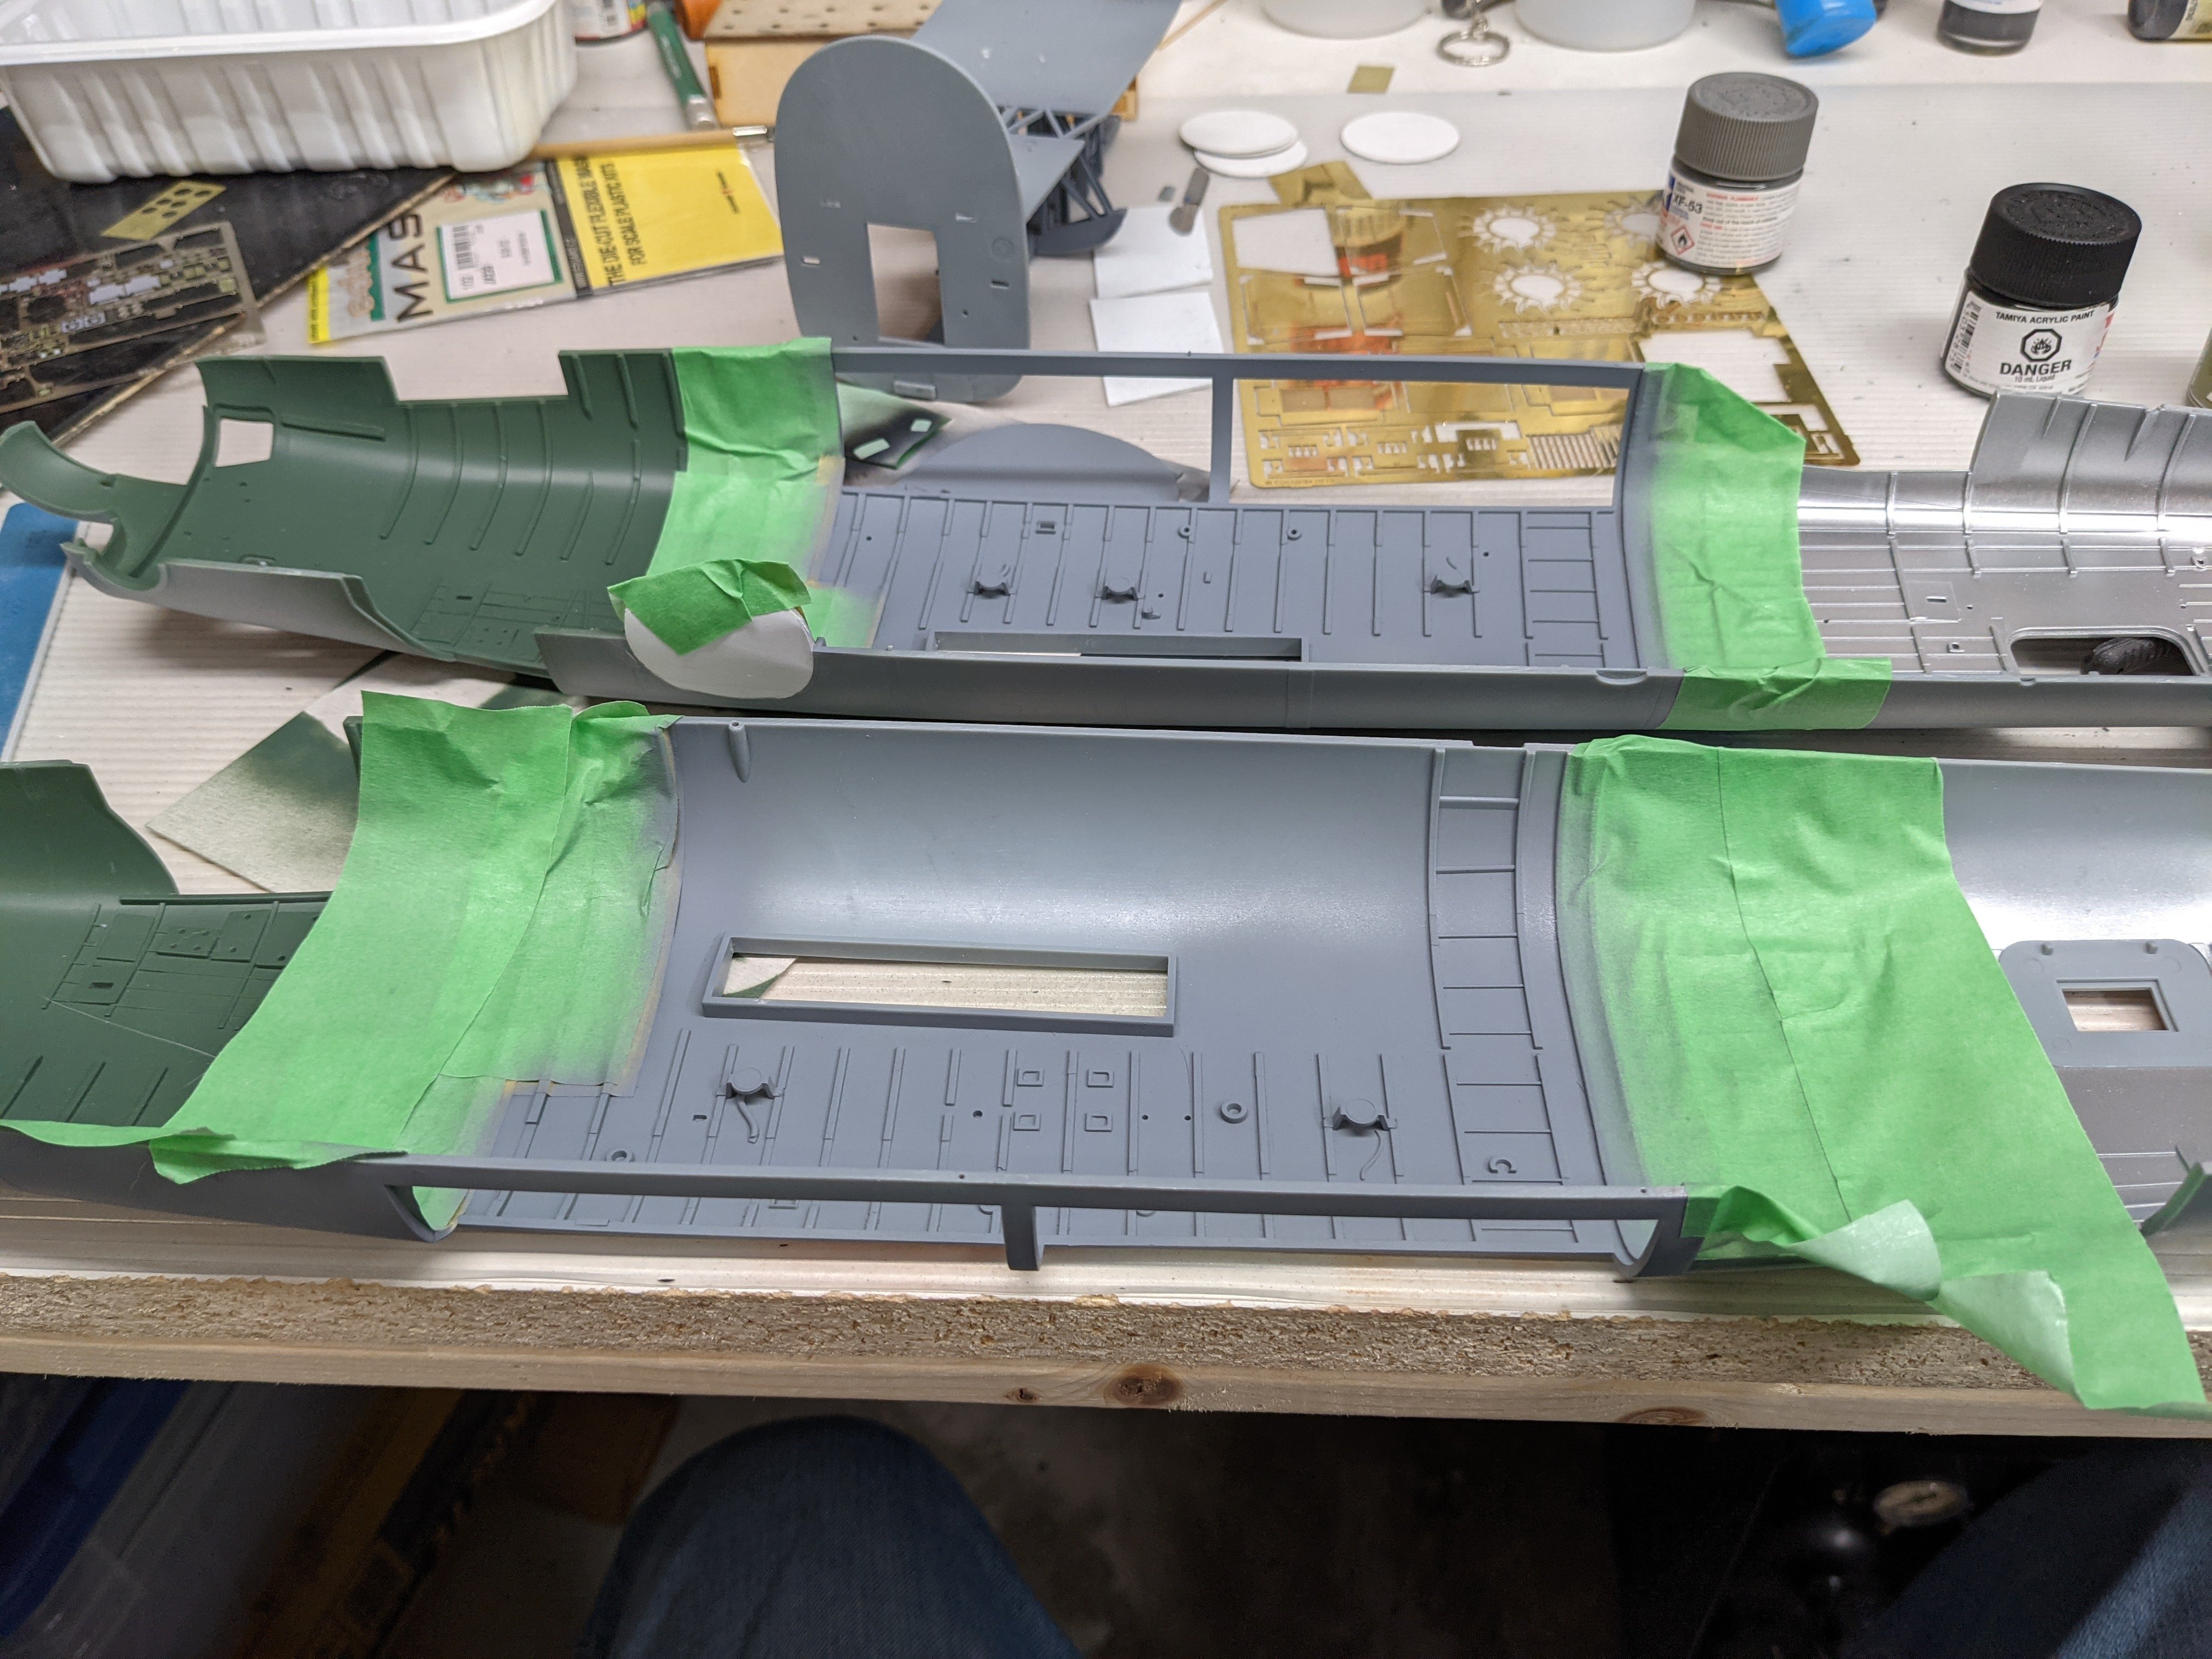
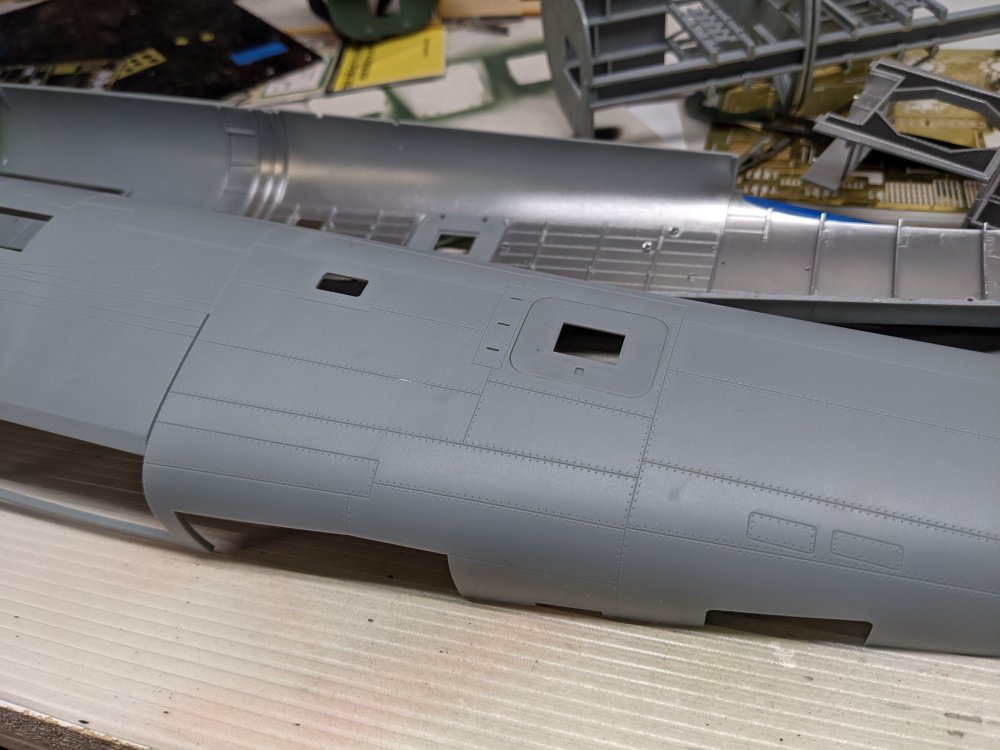
Small update. I've been working a bit on the interior. Got a start on the cockpit. Eduard used interior green on their PE bits instead of Dull Dark Green so it'll be a bit mixed and matched. I'll just blame it on the subcontractor not following the instructions I've also painted the waist gunners' section and the radio room. I haven't done the bomb bay yet as I'm still going a bit back and forth on the colour. I'm leaning towards Neutral Grey though. Lastly, I've started on the fuselage halves.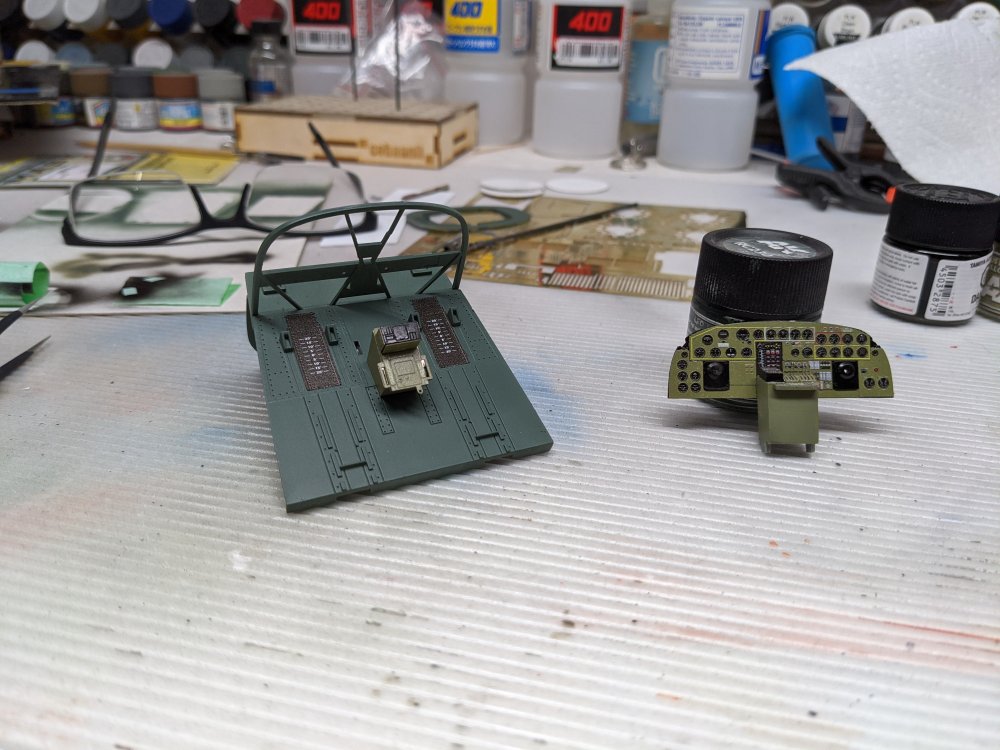

- 227 replies
-
- 14
-
-
-
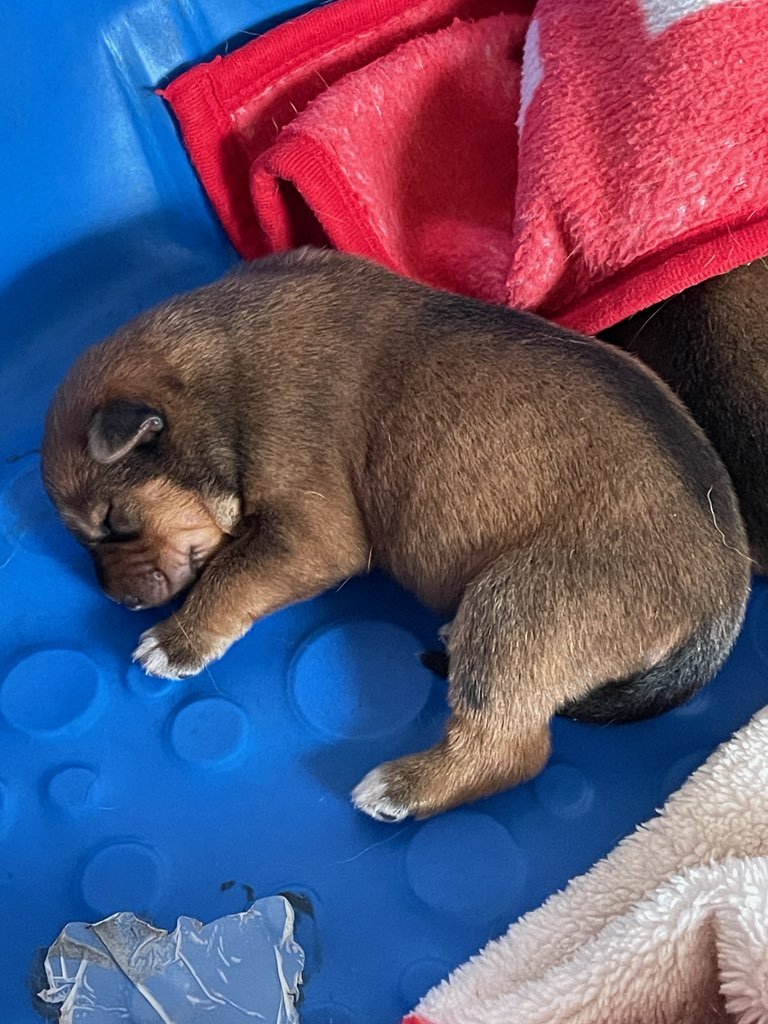
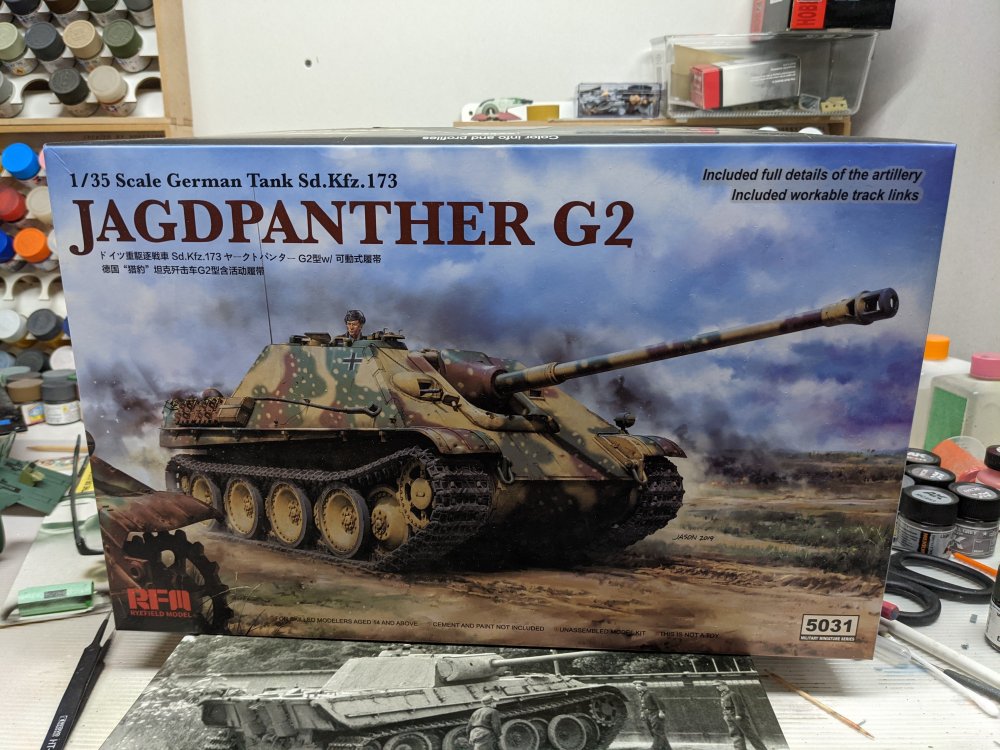
A big book on kitties. And a related kit to go with it. Although I don't have it yet, if all goes well I'll be bringing this guy/girl home in about a month's time. We're getting to choose which of the litter we want. Shepard/Huskie mix and about 3 weeks old is all we know at the moment. Carl

-
What is on your bench right now ? Share a picture :)
BlrwestSiR replied to Martinnfb's topic in Modelling Discussion
So Martin, how did you do this? I'm assuming you used the kit part as the master for the plaster but what resin putty did you use? May be simple but it definitely worked which is the main thing. -
617 Sqn Tornado Dambuster 70th
BlrwestSiR replied to Kaireckstadt's topic in LSM 1/35 and Larger Work In Progress
This will be fun to watch. Nice to see the themed pairing of the two builds. Carl -
Great job on the shark mouth and exhausts. The results from masks are so worth the extra effort. Carl