BlrwestSiR
-
Posts
9,183 -
Joined
-
Last visited
Content Type
Profiles
Forums
Events
Gallery
Everything posted by BlrwestSiR
-

What is on your bench right now ? Share a picture :)
BlrwestSiR replied to Martinnfb's topic in Modelling Discussion
Found it! Thanks, I forgot where it was. -
Nice! The 90hp bump is 30 more than my engine makes stock. Guess I won't be winning any drag races against you. Lol. Carl
- 2,036 replies
-
- 3
-

-

-
- car related stuff
- anything about cars
- (and 6 more)
-
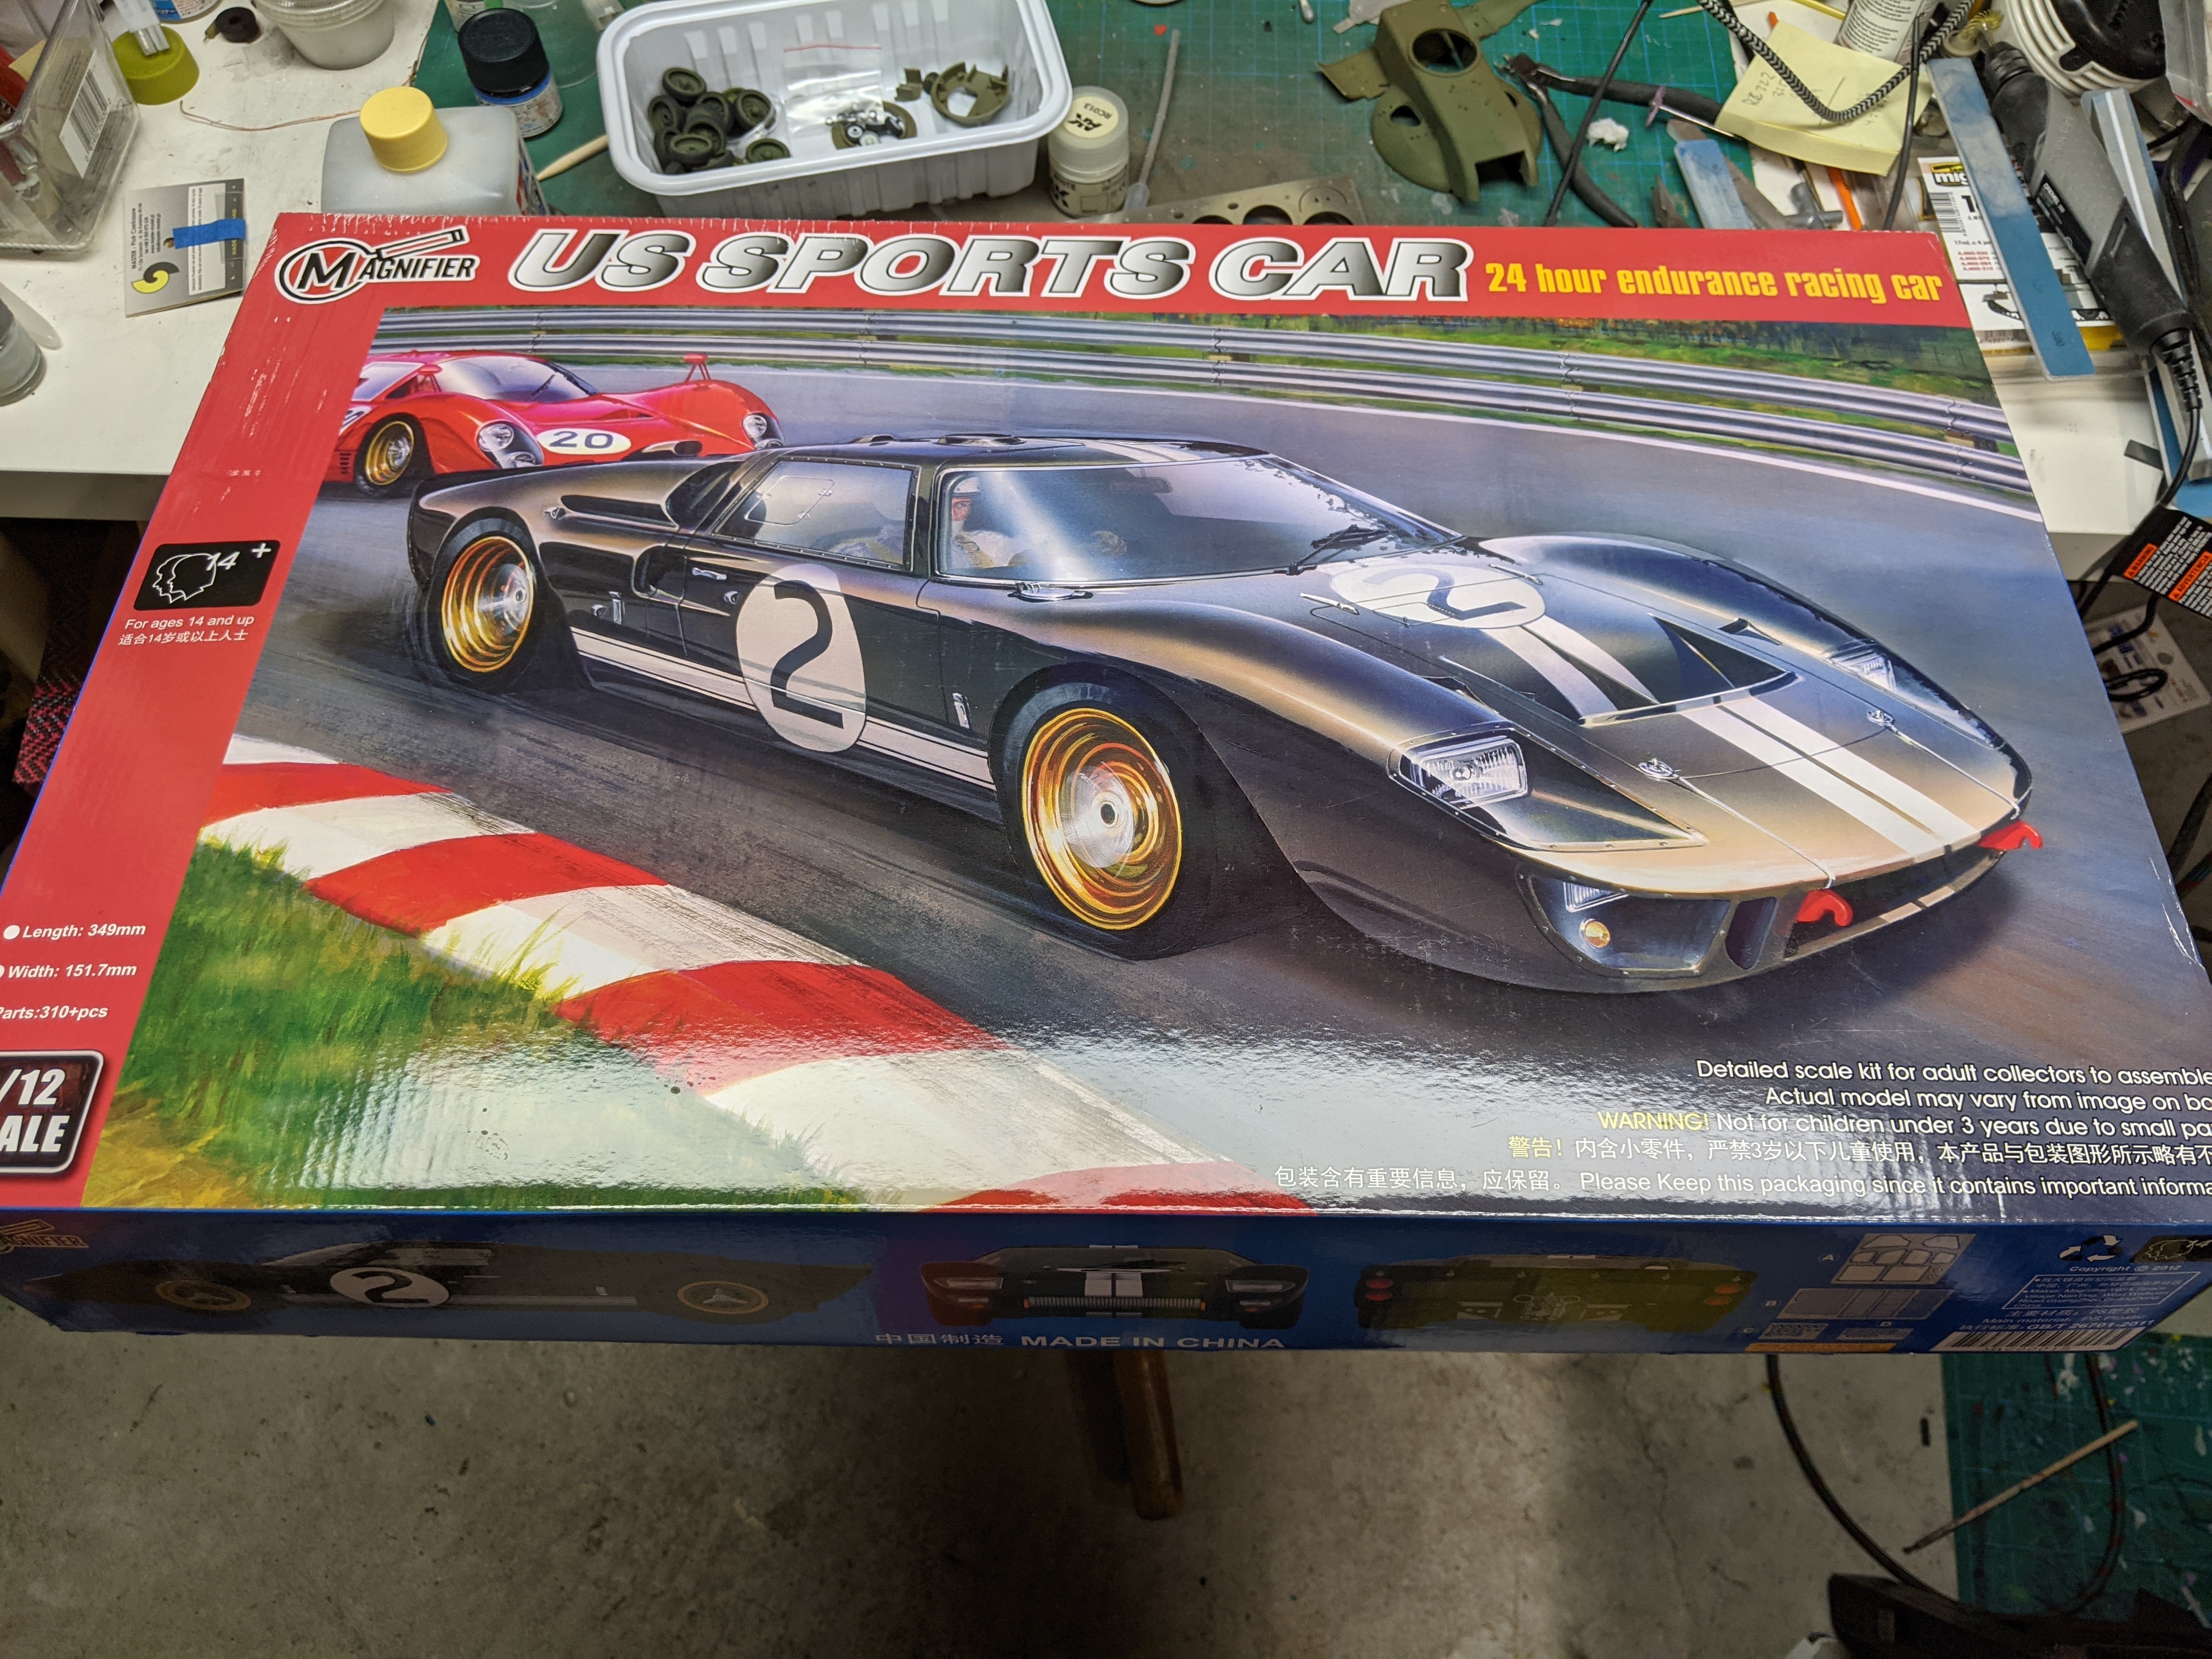
Well, it finally arrived. The shop I ordered it from is about 40 (60ish km) minutes from my place but I took advantage of their free shipping. It got to the post office fine and then went to Halifax, which is about 1,800 km away before they sent it back to the local post office and finally to my house in Toronto. But it's here and in time for Christmas.

-
What is on your bench right now ? Share a picture :)
BlrwestSiR replied to Martinnfb's topic in Modelling Discussion
I've got the same kit. It's my favourite WWI plane. I can't recall who but someone makes a template jig for getting the angles on the struts correctly. I think I have it. I can take a look if you want. Carl -
Phil, it's mostly from other folks answering the same questions I've asked in the past. I sometimes forget all the answers but no reason I shouldn't pass on what I do remember.
-
What is on your bench right now ? Share a picture :)
BlrwestSiR replied to Martinnfb's topic in Modelling Discussion
Thanks Martin! It definitely was a cool looking tank. -
What is on your bench right now ? Share a picture :)
BlrwestSiR replied to Martinnfb's topic in Modelling Discussion
That's the plan Phil. I'm trying to get at least a couple of these finished. Won't happen before the new year though. -
What is on your bench right now ? Share a picture :)
BlrwestSiR replied to Martinnfb's topic in Modelling Discussion
Too many? On the bench, there's the He219, the Stratos which is my main focus, the M60, Scammell and Grant. Under the bench is my KH Kingfisher and a Subaru WRX rally car. Behind the bench is a F-104J and a CF-104D and the Hawker Hart. At least I finished my Super Star Destroyer. A minute ago anyways.
-
What is on your bench right now ? Share a picture :)
BlrwestSiR replied to Martinnfb's topic in Modelling Discussion
Another started kit from out of the woodwork. AFV club's M60A2.
-
RR Spey powered RAF Phantom conversion
BlrwestSiR replied to Wingco57's topic in LSM 1/35 and Larger Work In Progress
I think the Revell ones might be an AIM-120 rather than an AIM-7. Which would explain the different length and fin shape.- 414 replies
-
- 2
-
-
- conversion
- phantom
- (and 1 more)
-
I've heard it a couple times but can't recall where from. It is very appropriate though.
-
Yeah, there's something very appealing about the Killer Egg. Gothic Serpent definitely could've gone better. I'm planning to do the Dragon kit as an MH-6 and the KH as an AH. The MH-60 is pretty cool too but I don't have the room for something with that rotor span as I found out with the Hind.
-
Forgot, the Hasegawa is a much earlier plane. Builds a decent A version from what I recall. One thing I didn't touch on is the landing gear. There's heavyweight and lightweight gear. Only the Tamiya T-bird kit has the lightweight gear. Primarily seen on planes up to Block 30.
-
Tamiya is the best in terms of fit and accuracy. No surprise. The CJ kit builds a large mouth GE powered Viper, so any block that ends in a -2. GT Resin makes the smaller intake and PW burner can so you can do a block -0 plane. The OOP T-birds kit has the small intake and PW burner can but they're hard to find and go for silly money. The Academy kit is the only 2 seater kit available. The intake has shape issues but otherwise it's a nice kit. The spine and conformal fuel tanks are optional so you're not stuck using them. They also do a single seater. AFV Club is a re-box of the Academy kit with some added resin details to make it closer an approximation to the specific variant they're representing. I built one as a ROCAF version a few years ago. This is even harder to find than the Tamiya T-bird kit these days.
-
I hear you on that one Harv. I just found out Model Factory Hiro is releasing a kit that's been on my wish list but it's close to $1200 CAD. Ain't going to happen unless I sell a kidney. Or win the lottery.
-
Much more organized than my stash. As much as I've tried to organize it, the primary factor is where space can I fit the kit into? Never realized you like the Little Bird so much Ernie. I've got the KH one and a Dragon one with the Black Ops conversion set. Carl
-
Don't worry, lots of folks here to help you fix that.
-
If you go the Tamiya route, CMK and Skunkworks make them. I may have a set leftover from my AFV Club re-box of the Academy kit.
-
Another "Where did this come from?" thread...
BlrwestSiR replied to ScottsGT's topic in General Discussion
The ones that have me scratching my head is the 2 complete extra sprues for Tamiya's F-4 kits. Plus an extra set of the MLG legs in a blister pack. I know I salvaged the canopies from my very first F-4J but that doesn't explain the second one. Or the gear. I've also got extra sprues of Tamiya Spitfire canopies. Again, I've never bought extra sprues. They have come in handy though. -
They are a can of worms with so many variants. F-16.net is a great place to go for variant specific details. Also Jake Melampy's book on the F-16 are excellent references.
-
Forgot, the Academy kit has the conformal fuel tanks if you want to use them. I'm leaving them off mine.
-
Poland bought the block 52 C/D model with the conformal fuel tanks. http://www.f-16.net/f-16_users_article15.html If you're building one from the Tamiya kit, you can use the C/J version but need the narrow NSI intake and P&W burner can. GT resin makes both. You'll also need a extended parapack tail. PWMP makes one or see if someone building an Academy F-16 has a spare. The dark grey bit is the PWMP parapack. The Academy kit has both intakes and the parapack tail but there are supposedly shape issues with the intake. Zacto models does a replacement intake for it. Model Maker makes masks and decal for Polish Vipers. I've used one of their sets on my stalled F-16 build and they worked well. Carl
-
Yup, 15,000 kits. My LHS bought a 10,000 kits collection a couple years. They've only had the chance to get it out of the seller's house and into storage. I'm still waiting for them to start cataloguing it and getting it into the store.
-
Another "Where did this come from?" thread...
BlrwestSiR replied to ScottsGT's topic in General Discussion
In a good way I hope. Or are you finding stuff your twin bought? -
I wonder if Ernie's looks like this guy's stash. Fast forward to around the 1:00 mark to see it.