KevinM
-
Posts
2,949 -
Joined
-
Last visited
Content Type
Profiles
Forums
Events
Gallery
Everything posted by KevinM
-
1/16 scale Tiger VI Ausf E early build
KevinM replied to CrankyCrafstman's topic in LSM 1/35 and Larger Work In Progress
Holy Crap!!! Ron I think I am down under at the Armory -
Someone is seeing day light looking good Jeroen
-
Look's like a good representation of a Sea Fury is about to follow.
-
She came out real Nice Ernie I was watching YT last night saw the build on there at the table for San Marcos.
-
Thanks Guy one day I will get to the way of you Tanker's on weathering. Thanks Gary still have that idea about a base buzzing in the head. It was a better save than was expected Scott thanks! Thanks Rob I keep trying to push that weathering envelope I have another one of these in the stash probably will be NMF.
-
Can you do me a favor..............some pics of the plastic?
-
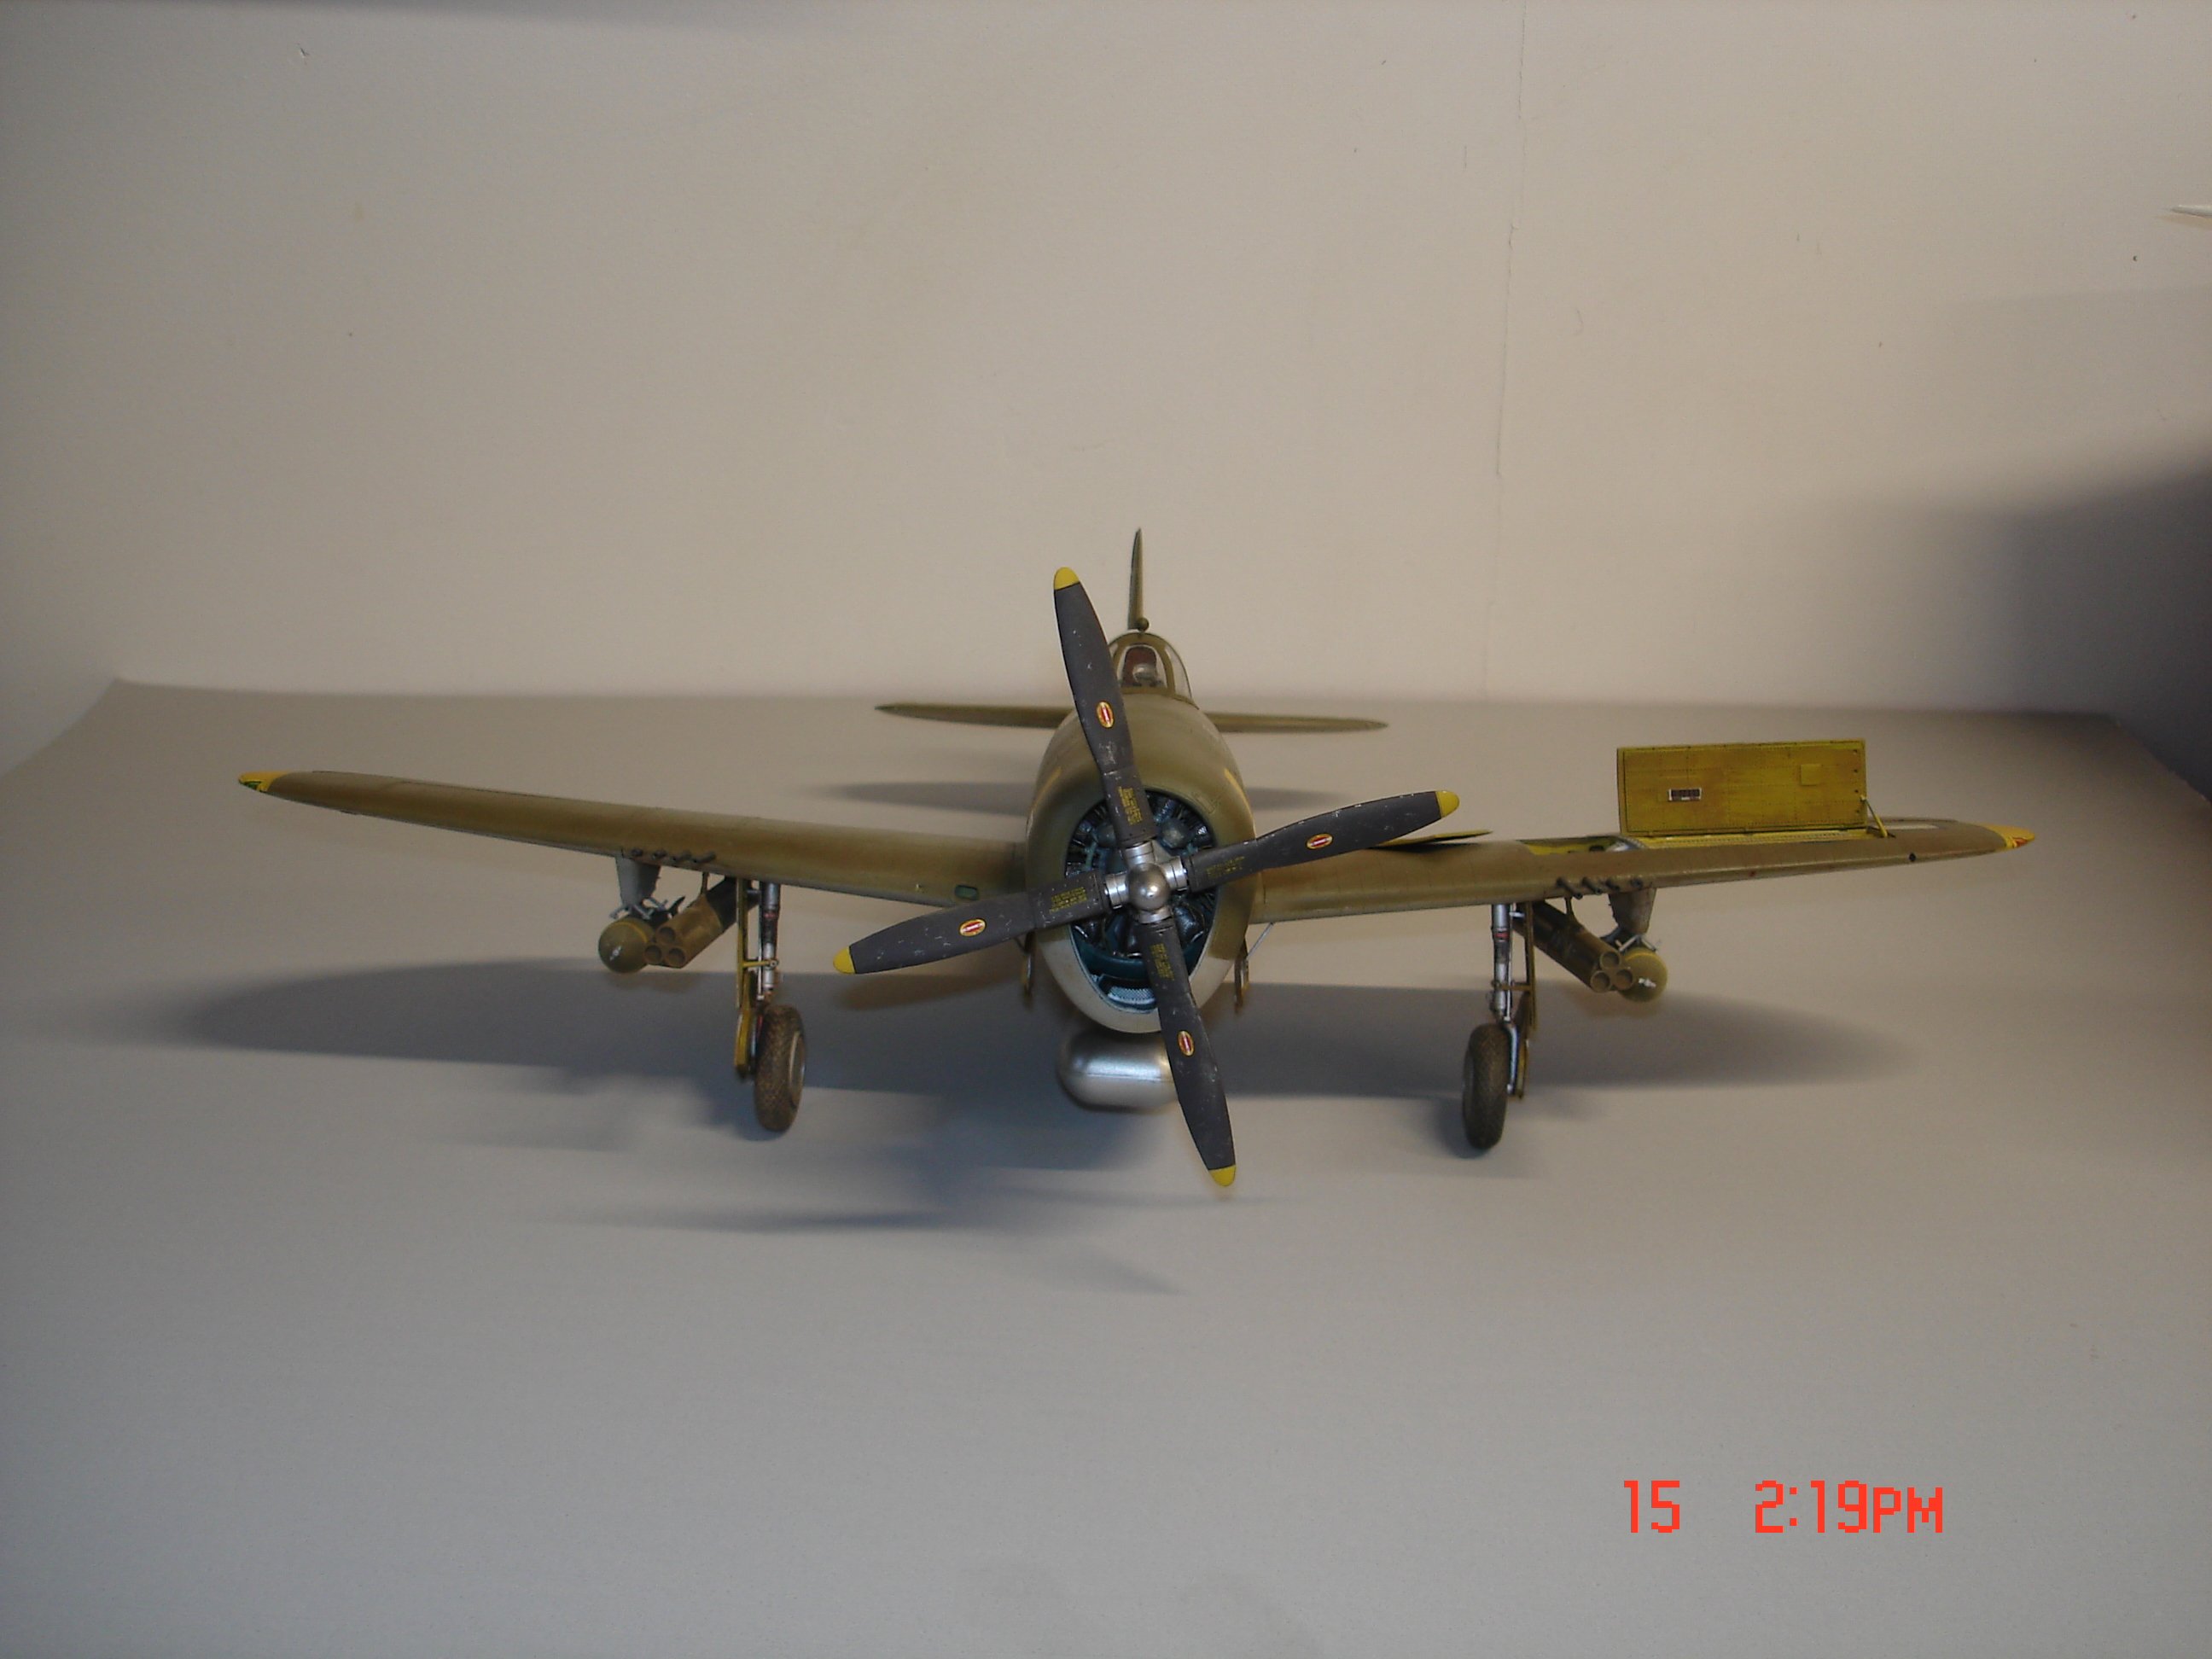
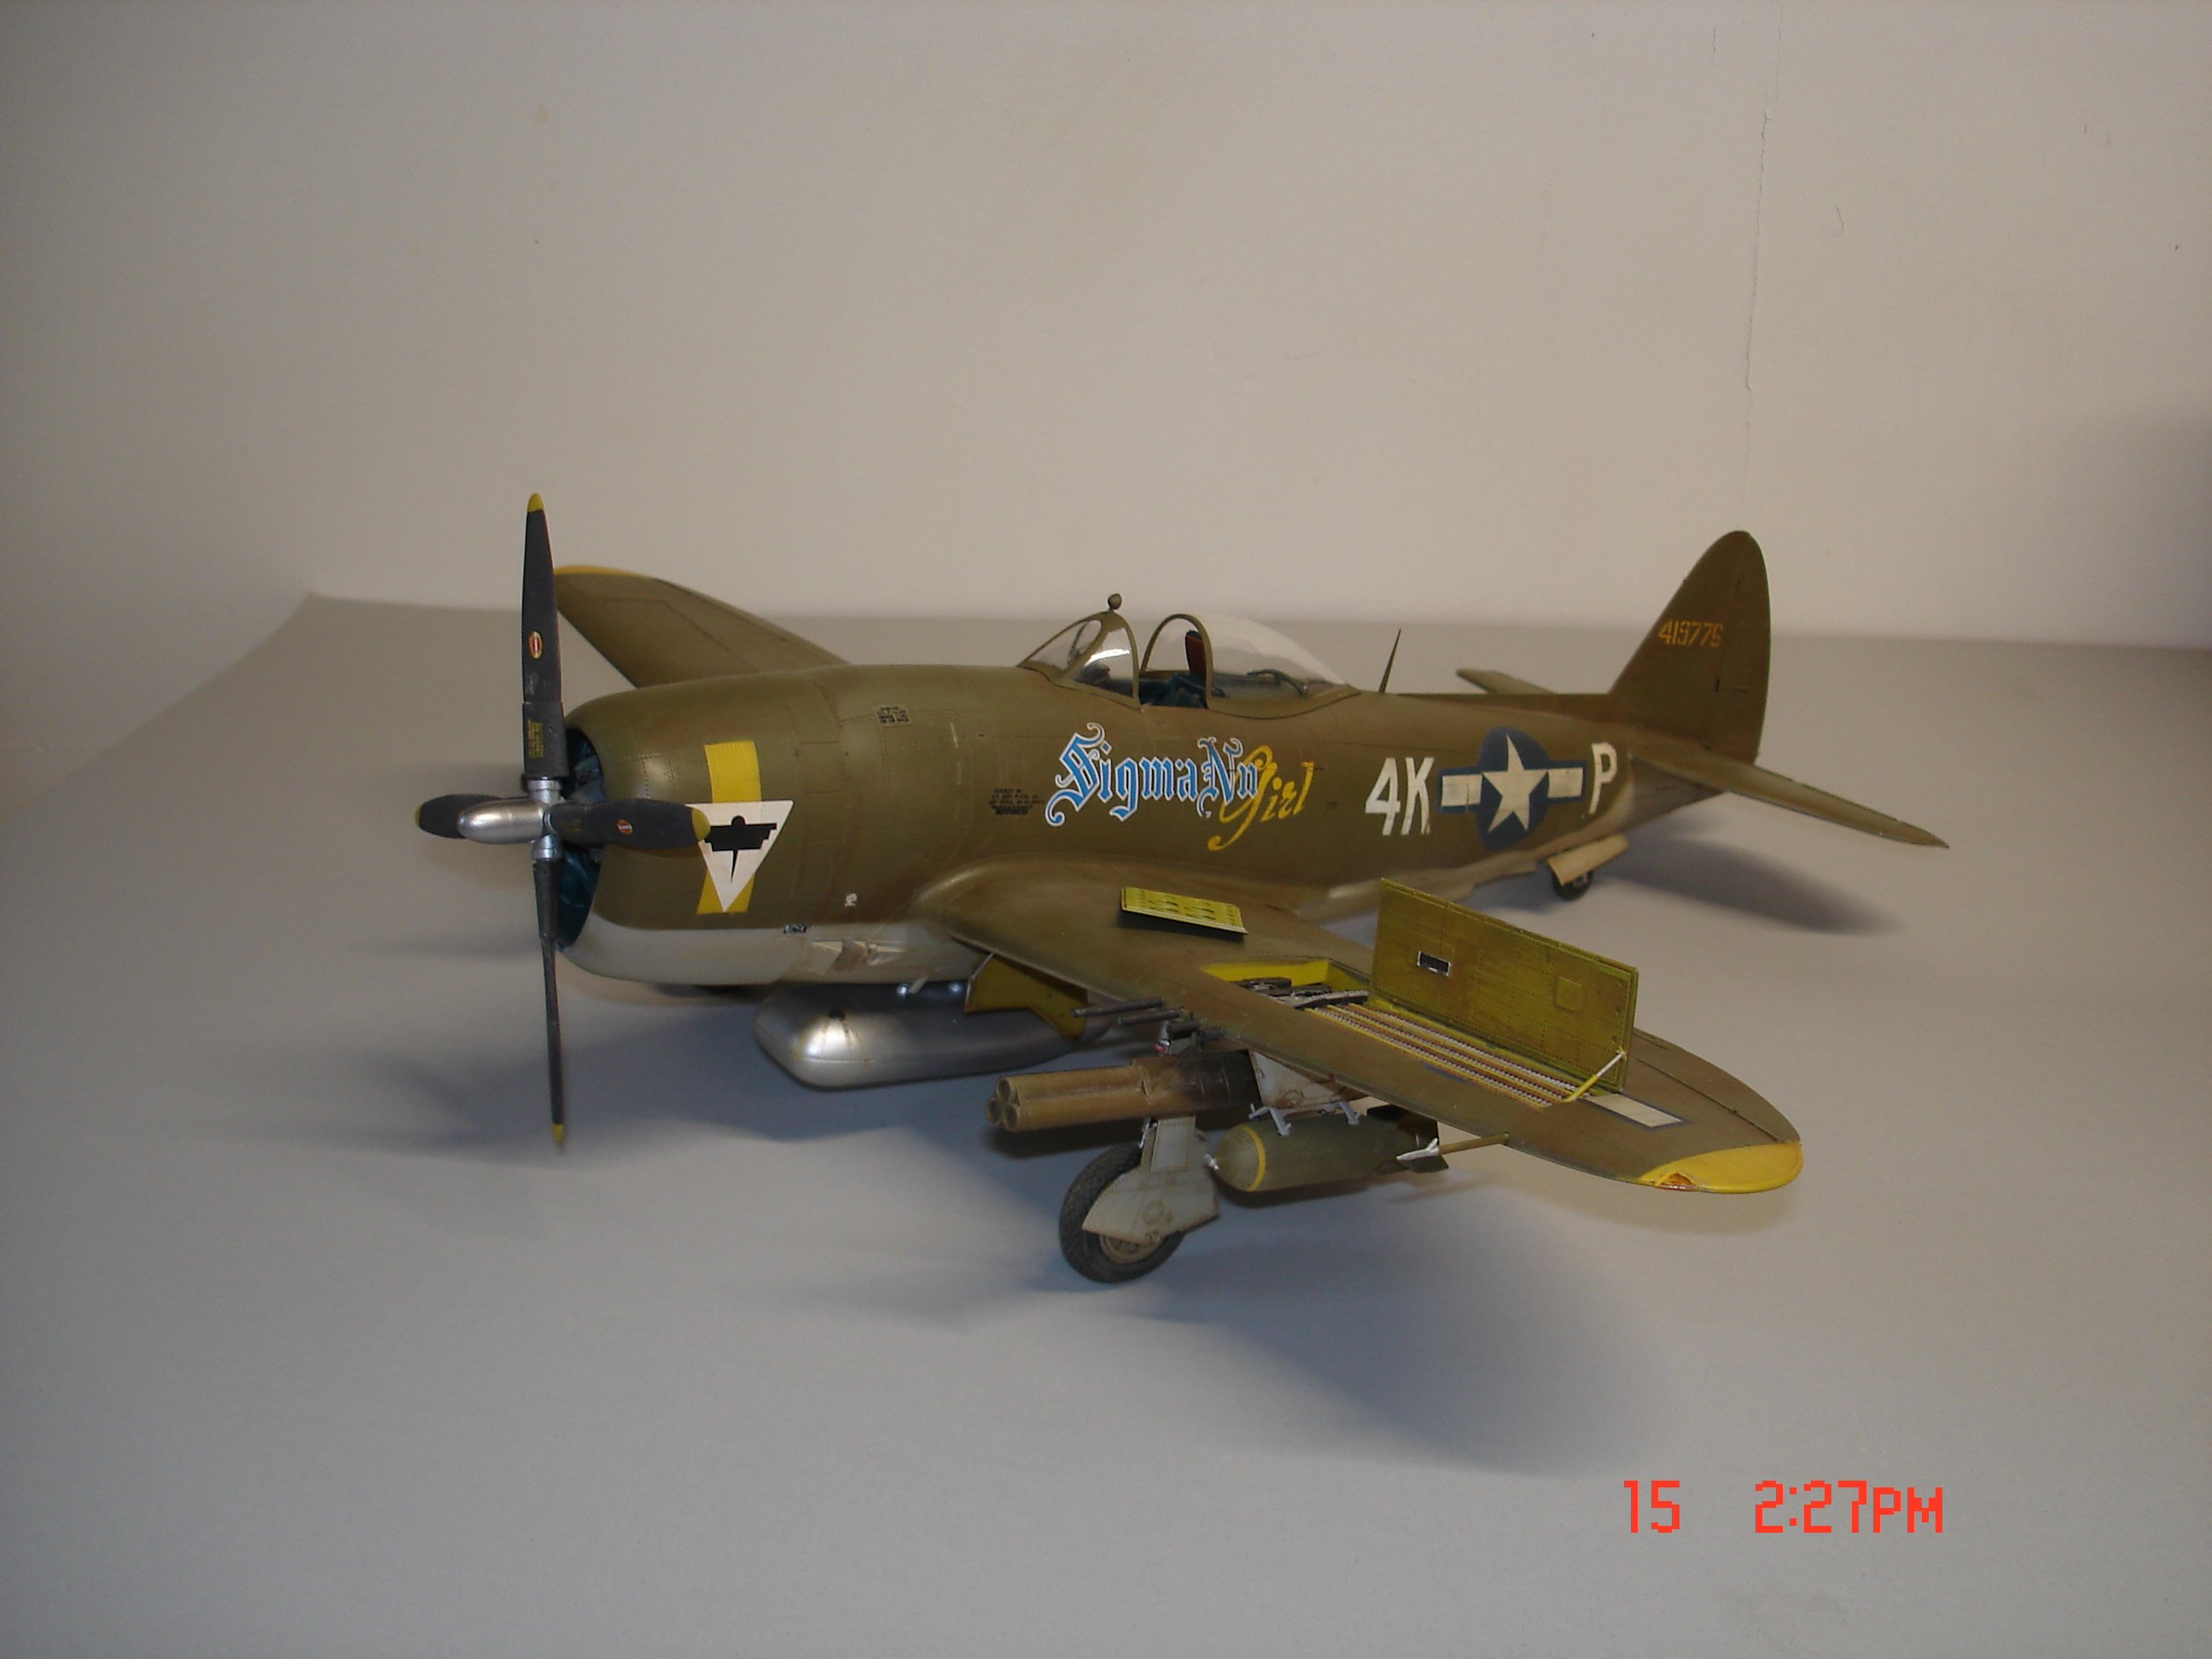
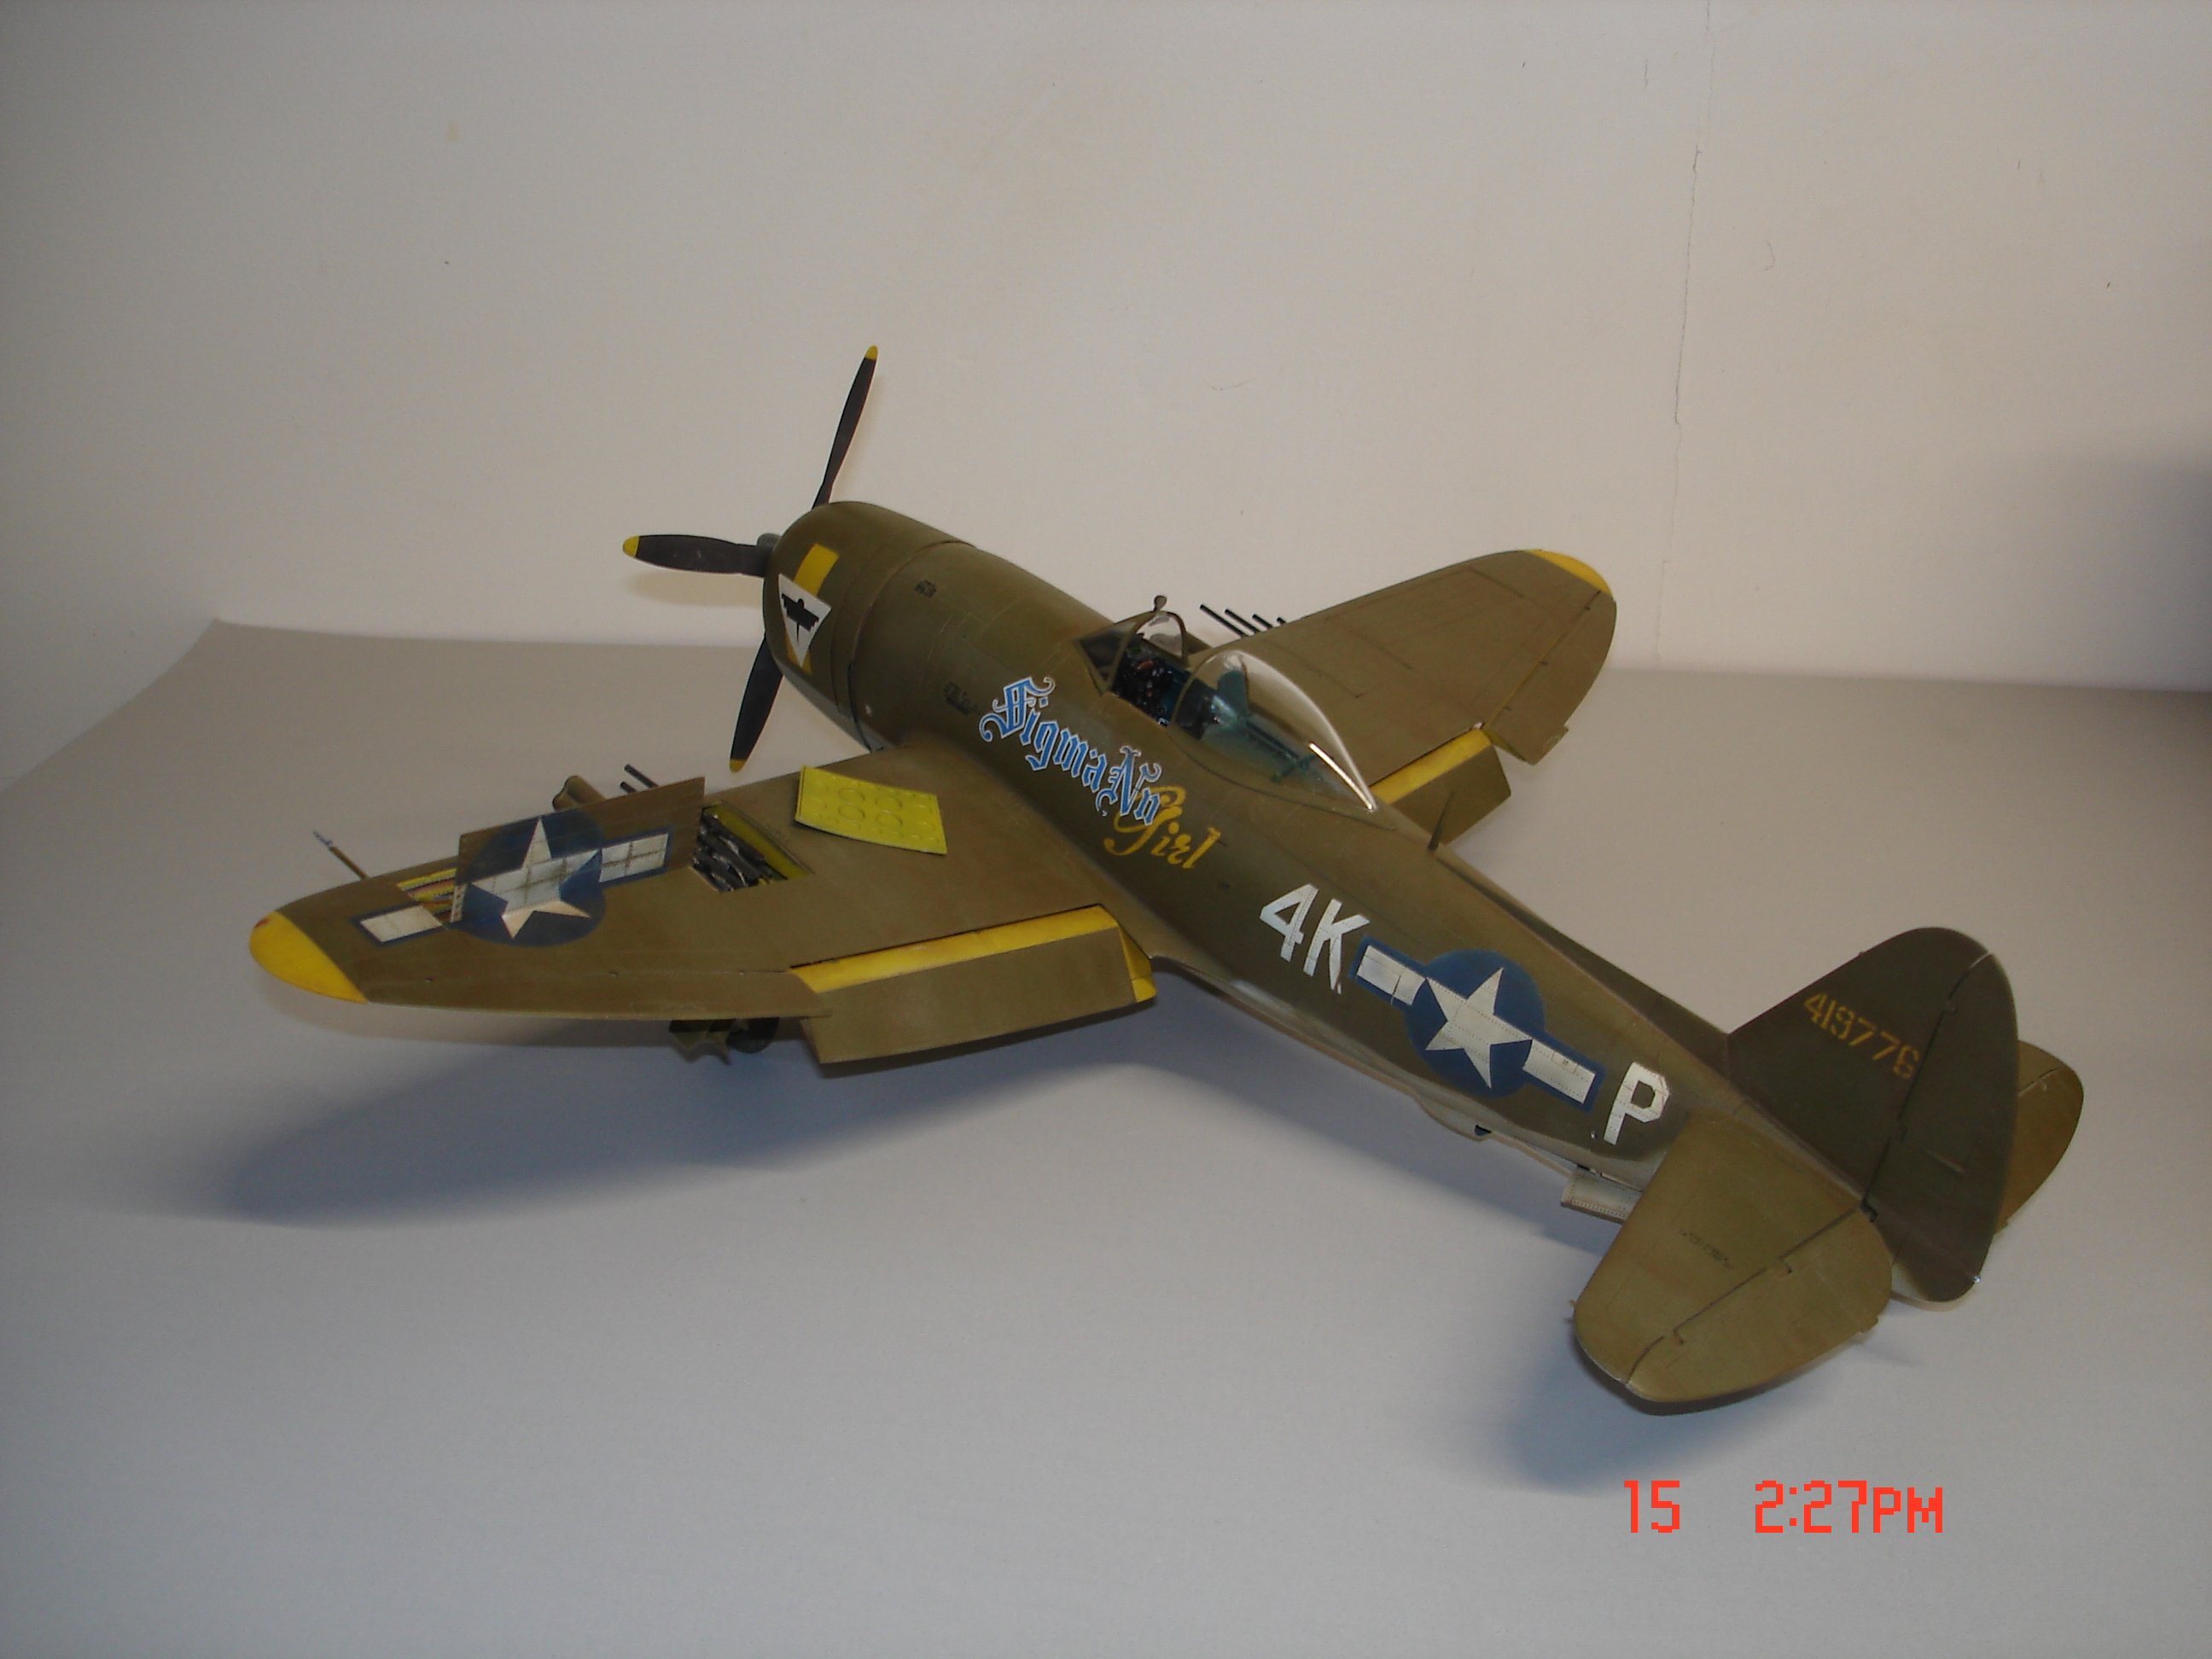
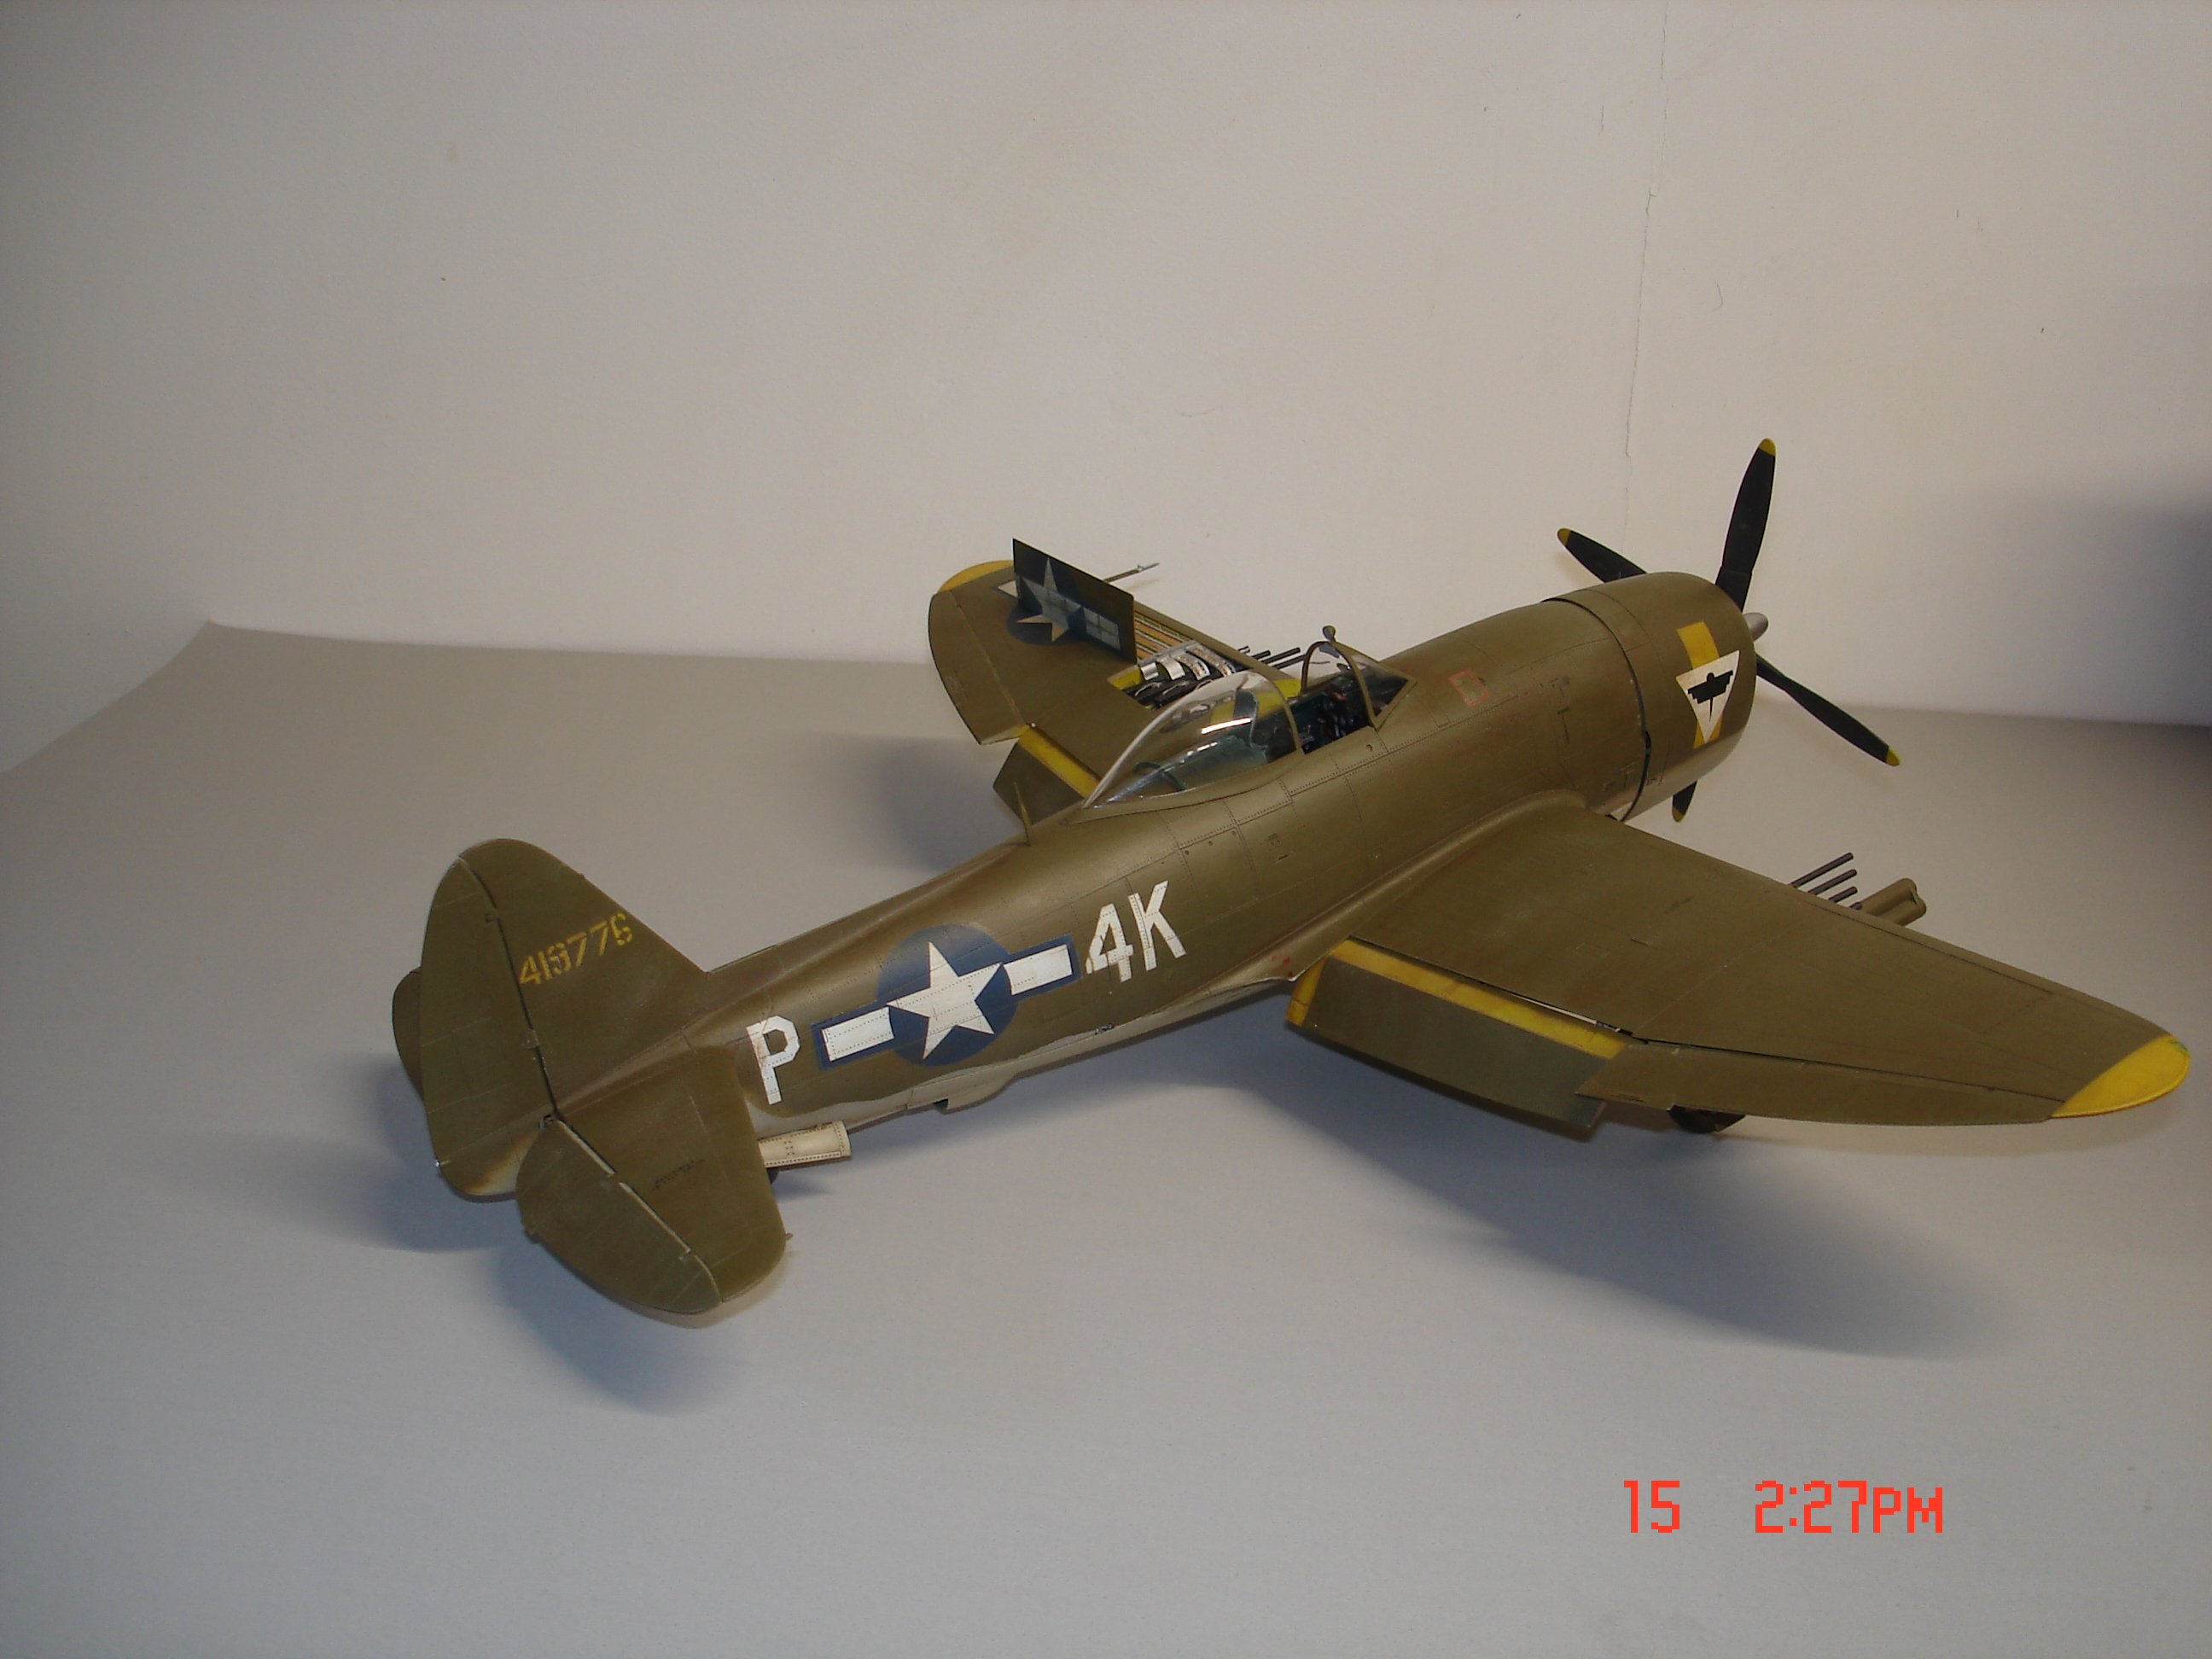
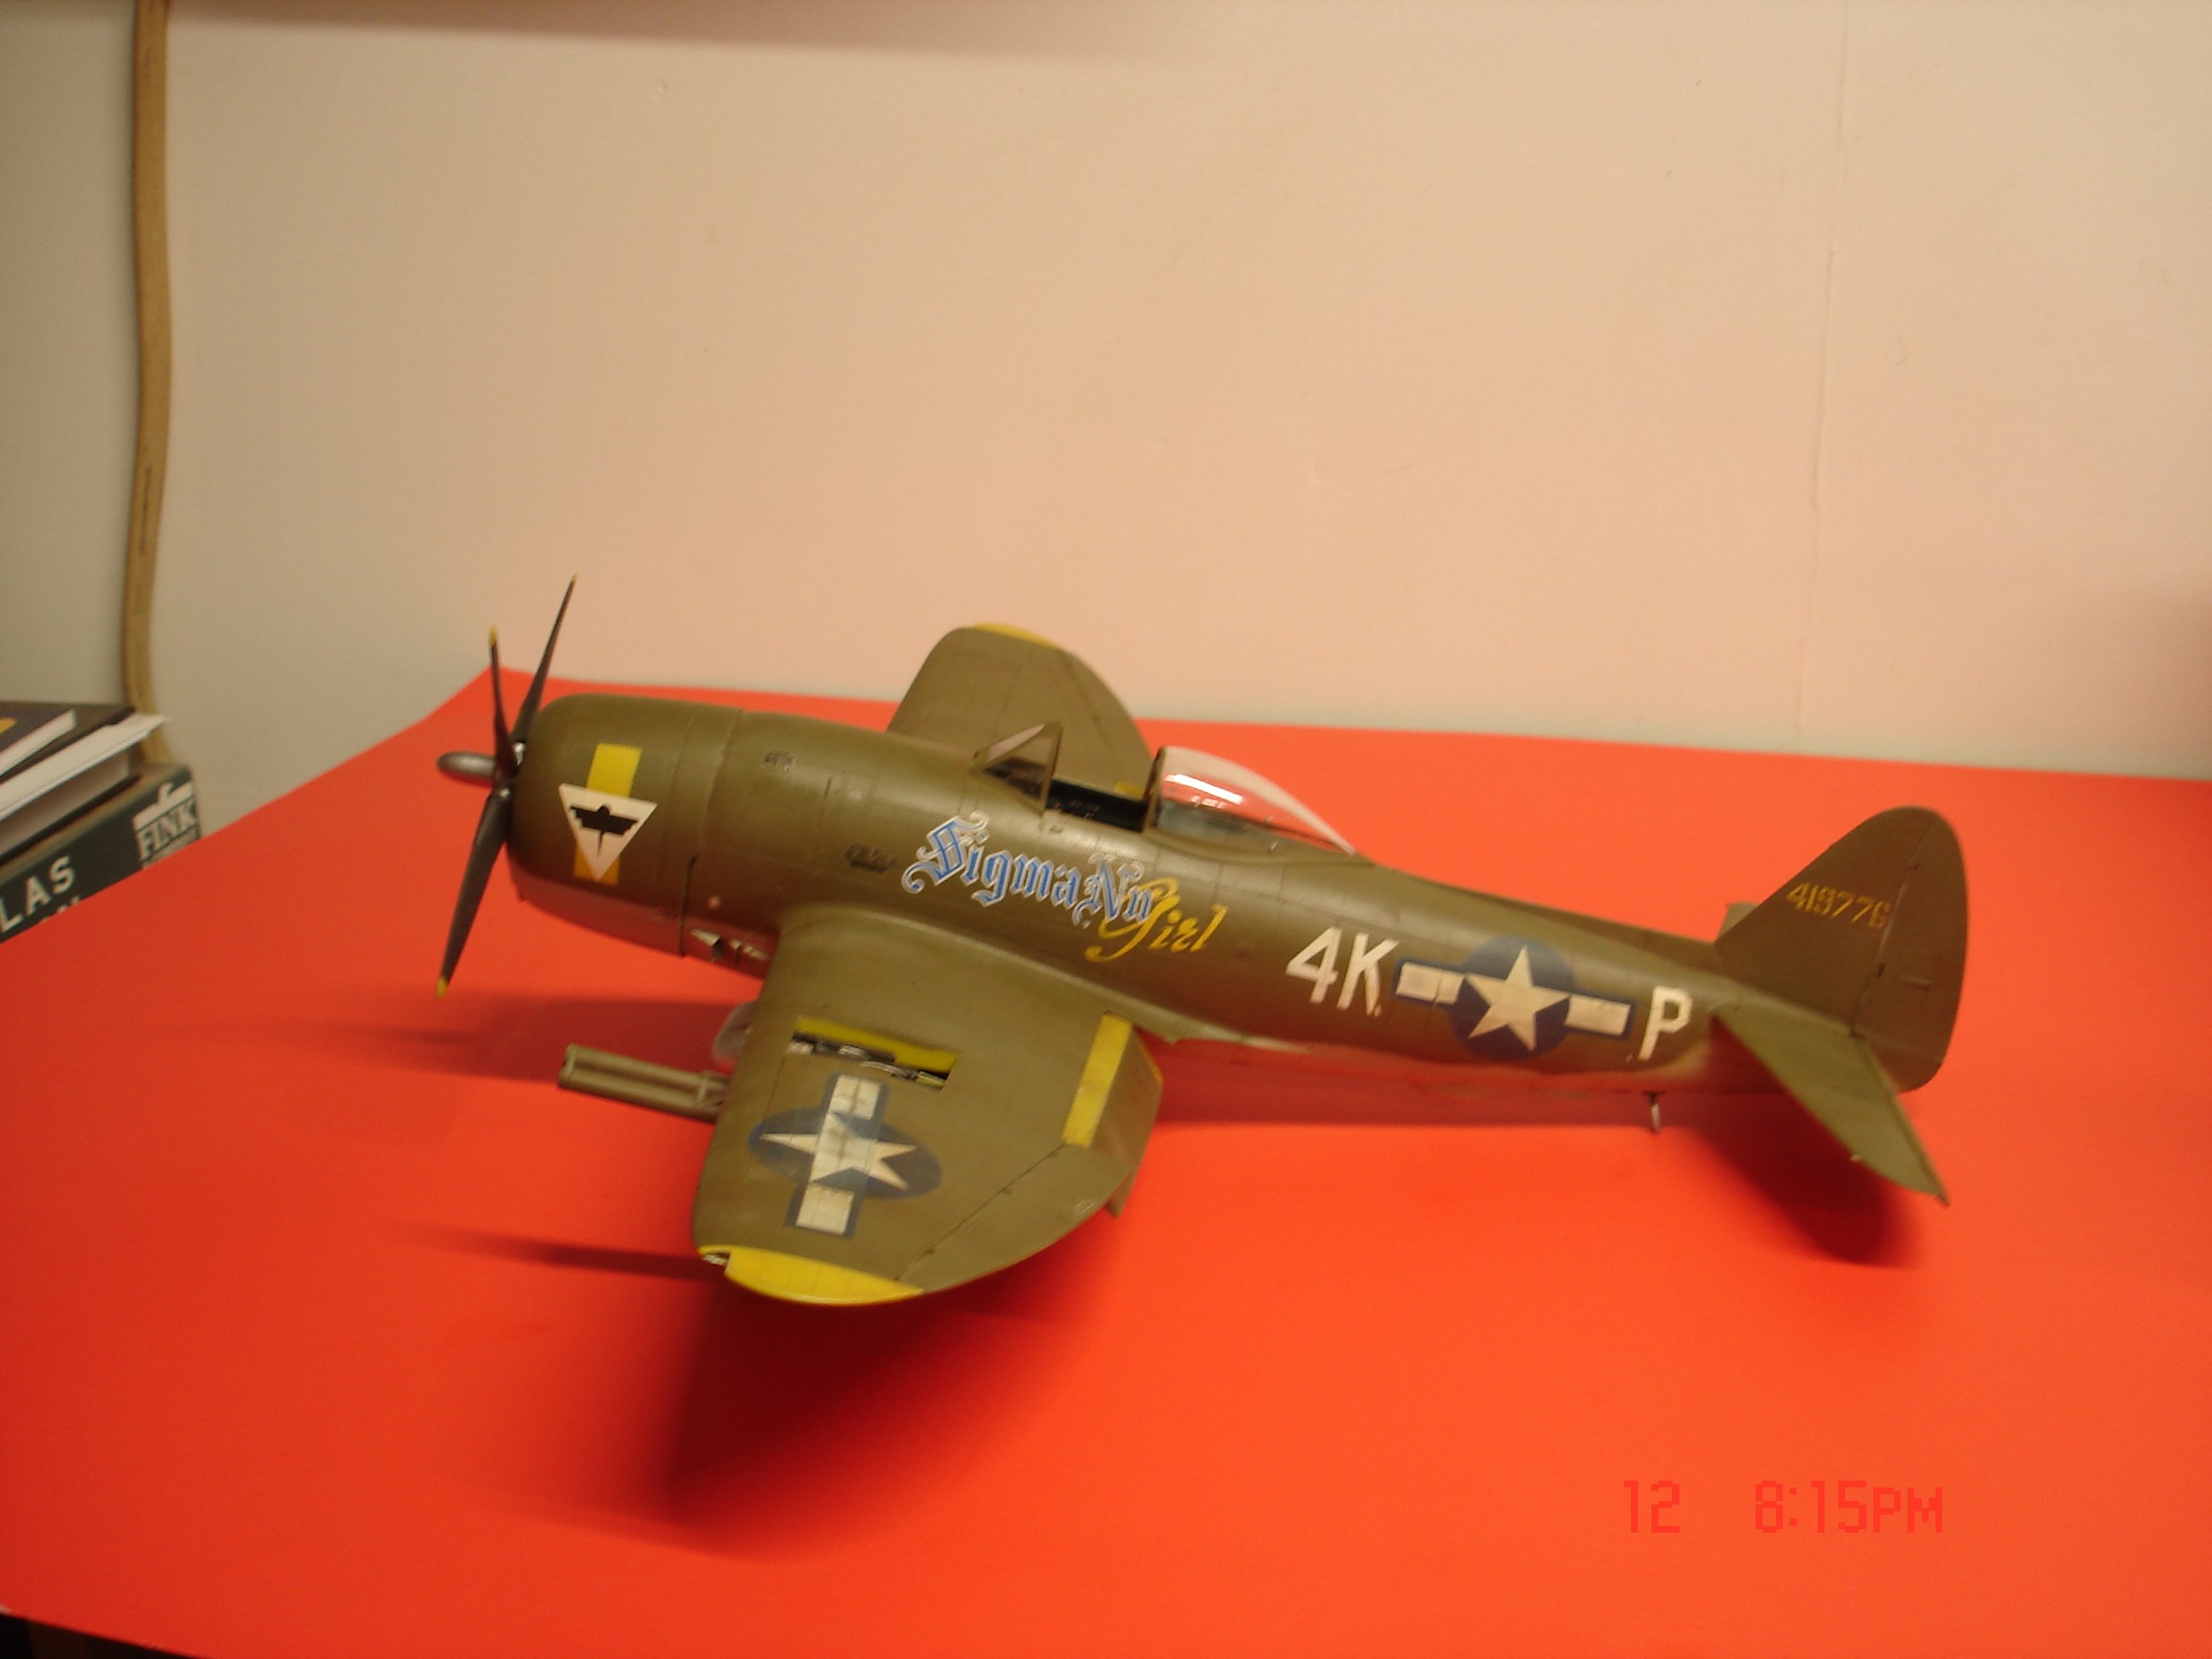
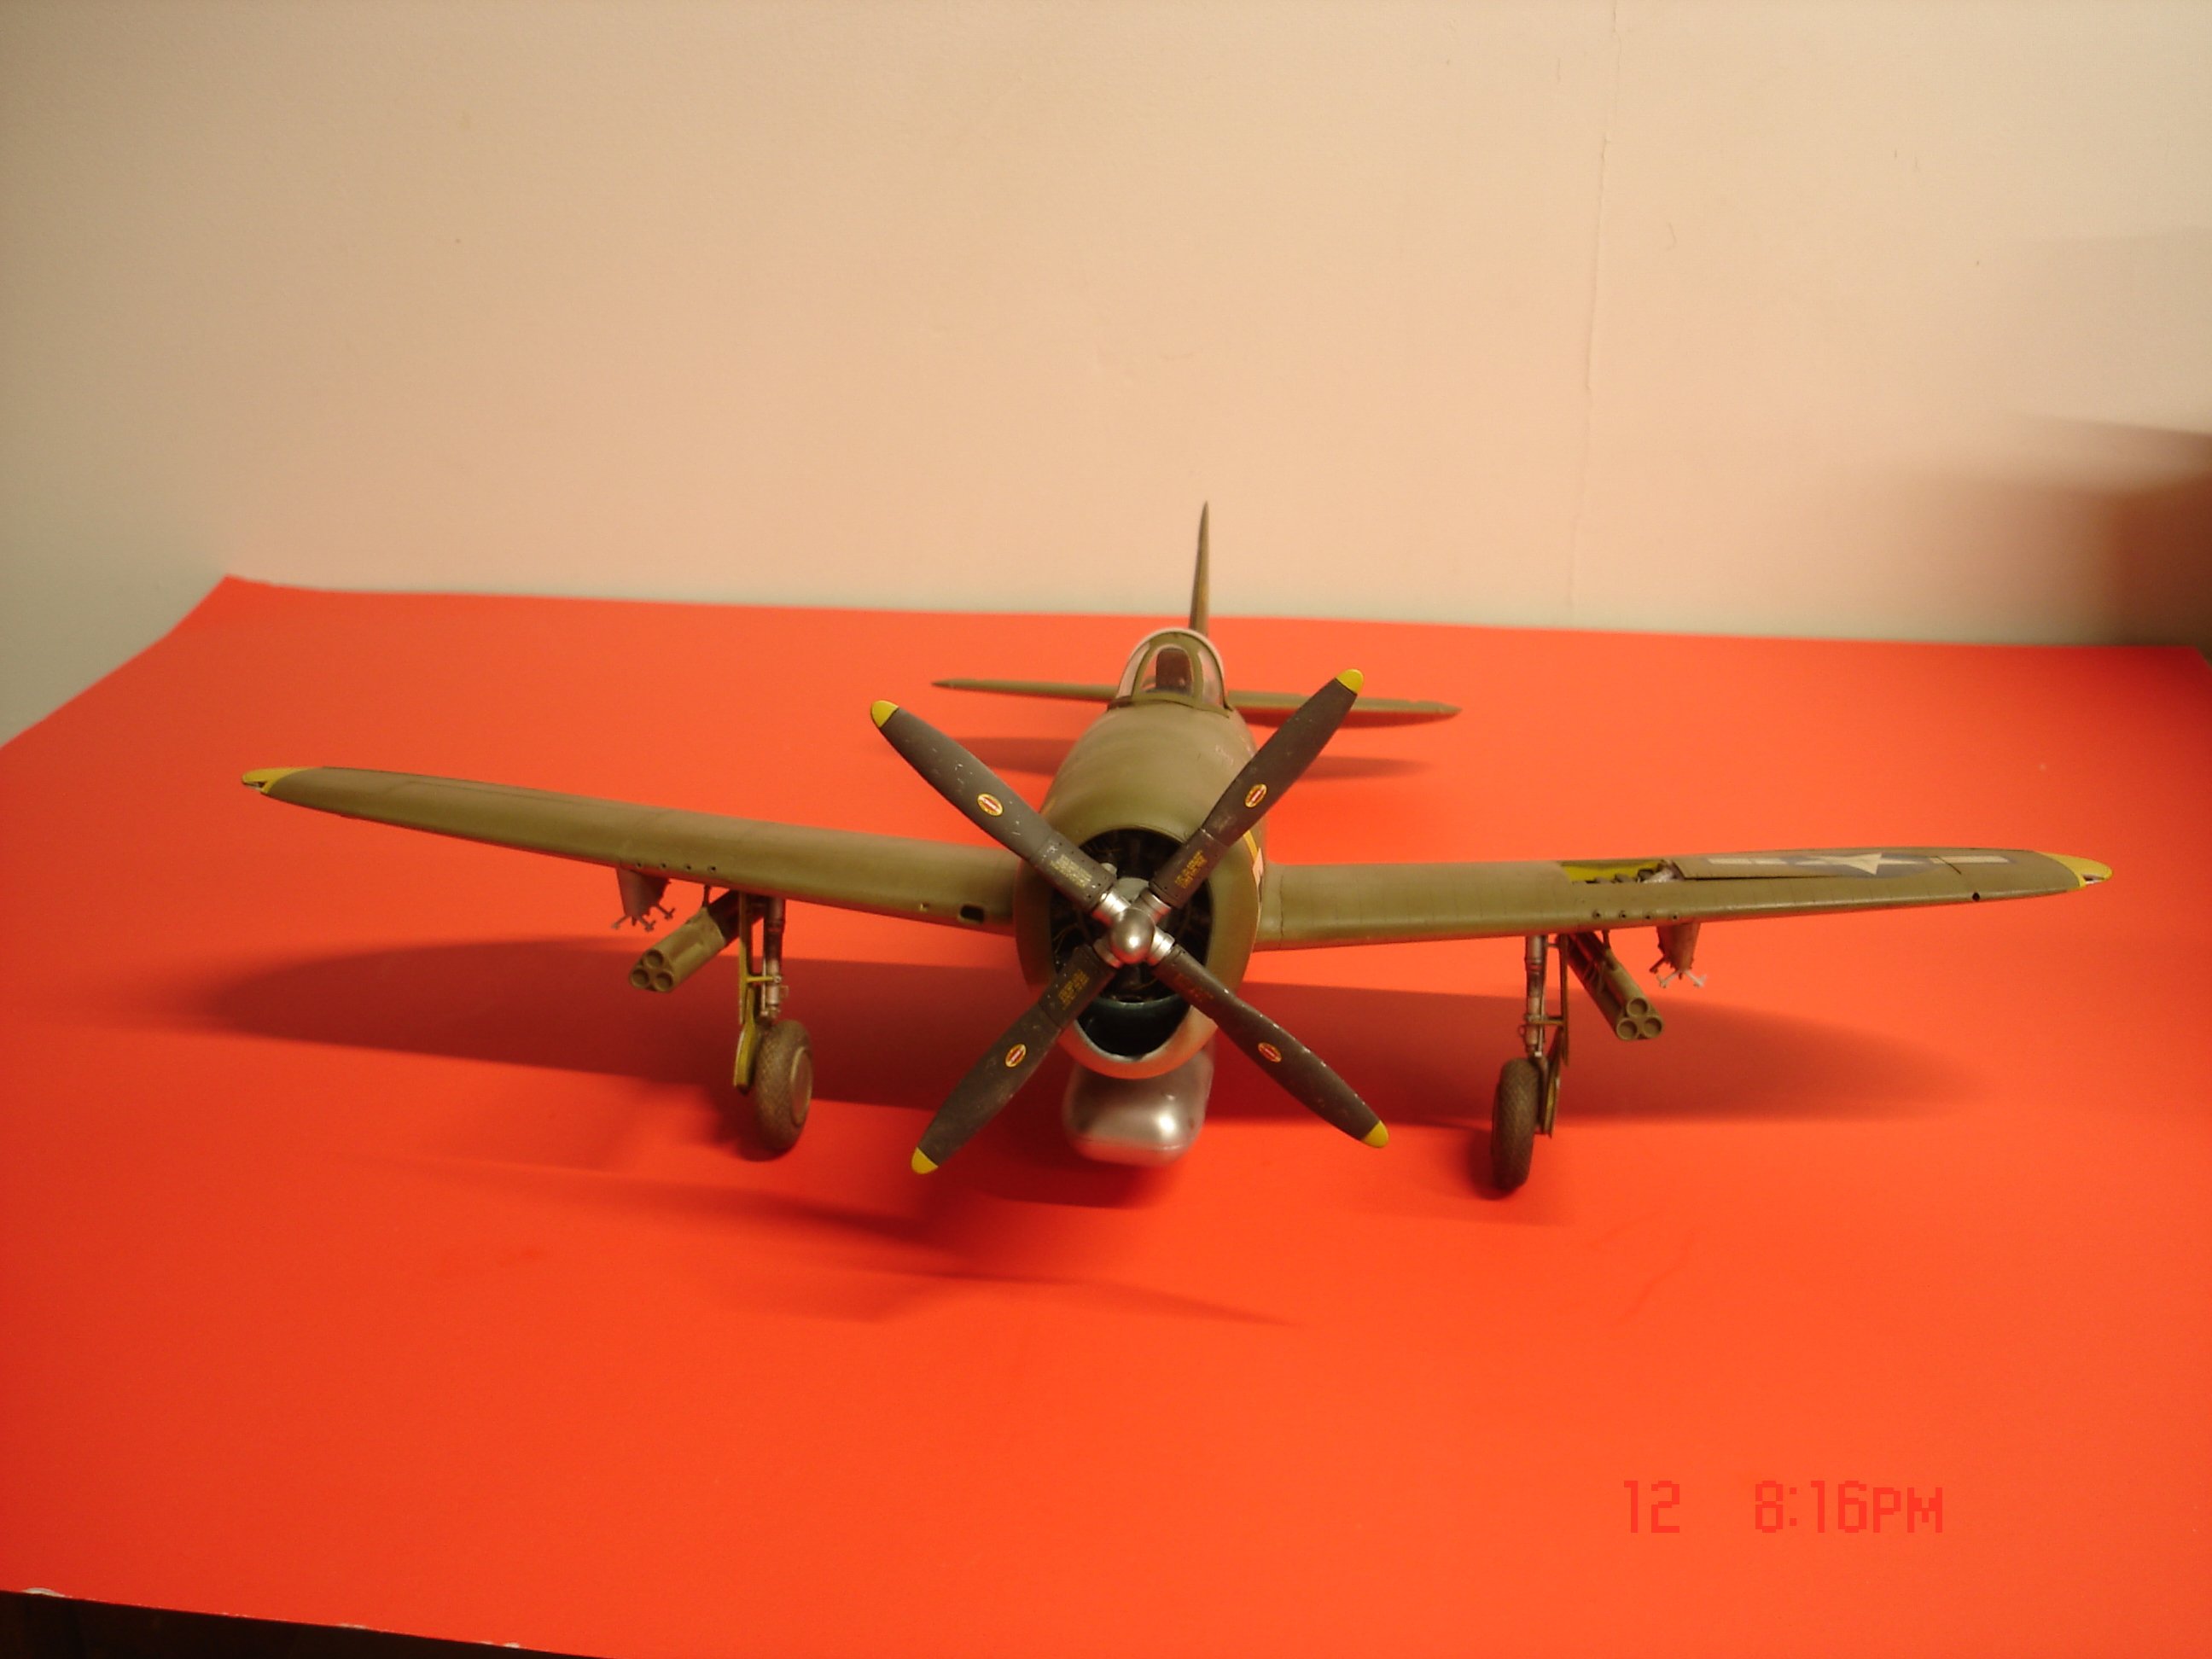
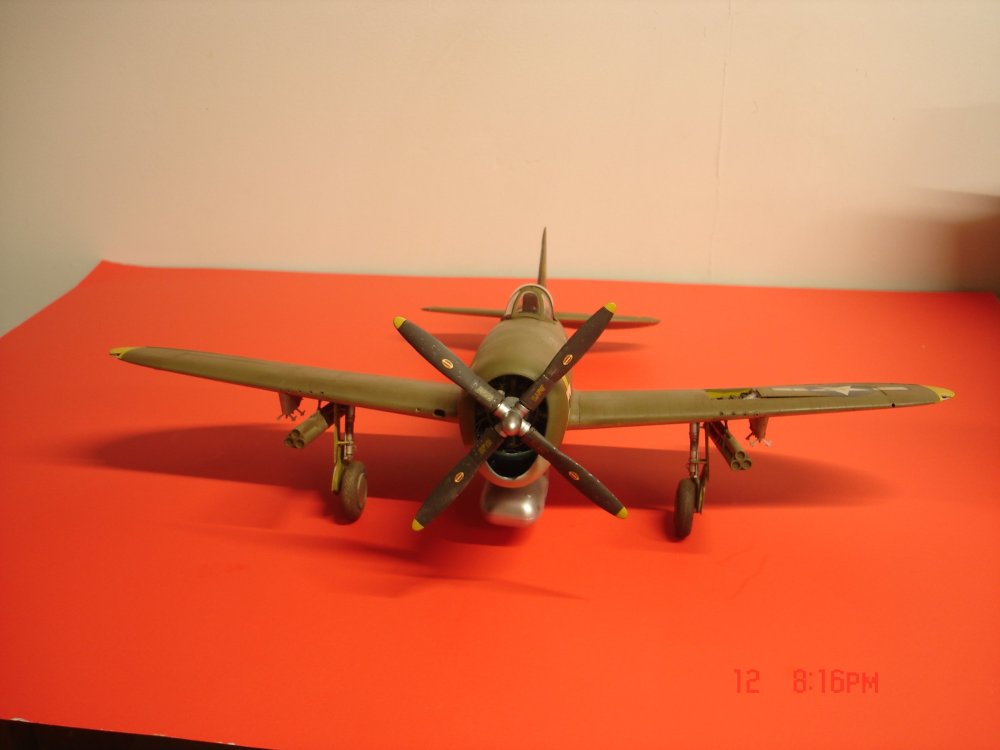
SOD Trumpter P-47 "Sigma Nu Girl"-Finished
KevinM replied to KevinM's topic in LSM 1/35 and Larger Work In Progress
Finished efforts can be found here........... -
I am ready to position this one in the cabinet feels good to get her finished!I learned a bit with this one using mask and more weathering I have like 8 more mask coming from Hannants.Thanks for looking in guys and the support along the way even a trumpter can look OK.


-
Tamiya Mosquito FB Mk VI 60326 - 1/32
KevinM replied to Bomber_County's topic in LSM 1/35 and Larger Work In Progress
Go to the very first post and change from there. -
Renault RE20 Turbo - Tamiya - 1/12
KevinM replied to DocRob's topic in LSM 1/35 and Larger Work In Progress
Don't kill yourself Rob it all looks good from here. -
Fiat CR.42 „Falco” 1:32 ICM
KevinM replied to Kriss's topic in LSM 1/32 and Larger Aircraft Ready for Inspection
That is a splendid representation of the Falco!! -
Hasegawa Fw-190A5 completed.
KevinM replied to GazzaS's topic in LSM 1/32 and Larger Aircraft Ready for Inspection
That came out Real Nice Gary!I have been thinking of doing some platforms for planes that are weathered you already shove them into that environment it does lend itself in that direction. -
Converting a Hasegawa P-40M to a L
KevinM replied to JohnB's topic in LSM 1/35 and Larger Work In Progress
The MTO theater is one of the more interesting for me John will keep an eye on this . -
Tamiya Mosquito FB Mk VI 60326 - 1/32
KevinM replied to Bomber_County's topic in LSM 1/35 and Larger Work In Progress
The pit is coming along Nicely Phil keep the hammer going! -
I'm in
-
SOD Trumpter P-47 "Sigma Nu Girl"-Finished
KevinM replied to KevinM's topic in LSM 1/35 and Larger Work In Progress
I always forget oils use them on WWI when I do those not often enough for an attempt at wood grain it's hit and miss.I like pastels that's why this go round once the pastels were laid I hit with MM Flat Clear low psi and from a distance so as not to saturate the layer build it up. Thanks Gary then had a SNAFU tonight got some Nato black on the side in the OD/grey area not much just going to weather the spot over again many layers save the paint. The bombs are on,windscreen glued in/gunsight,fuel tank and the landing lights.I should have her done buy next Friday. -
SOD Trumpter P-47 "Sigma Nu Girl"-Finished
KevinM replied to KevinM's topic in LSM 1/35 and Larger Work In Progress
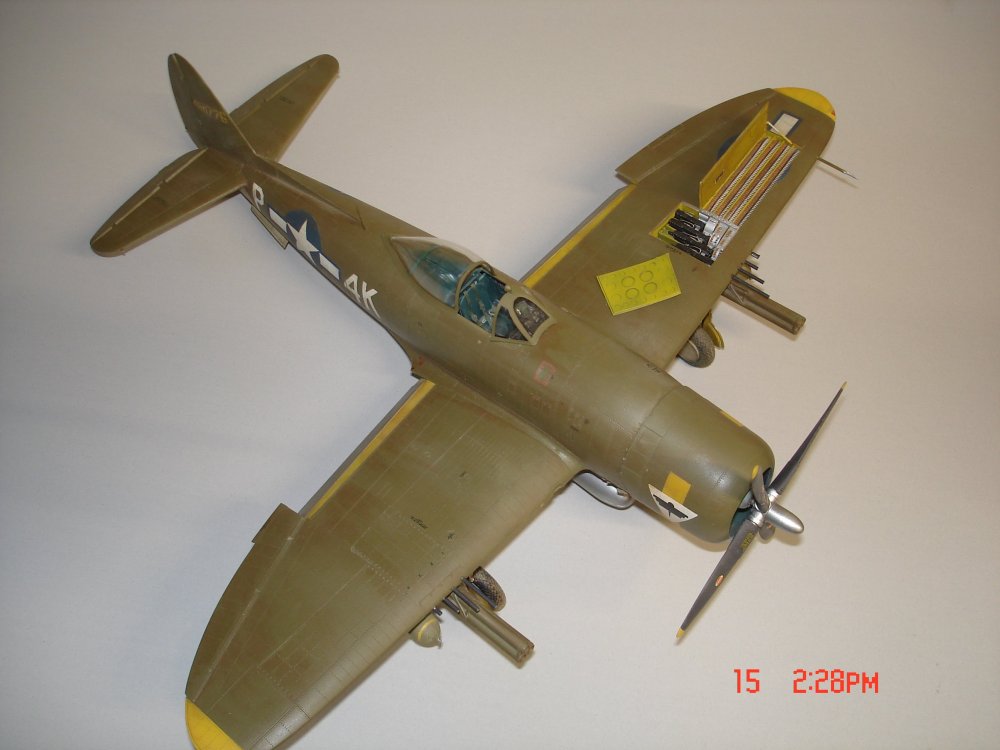
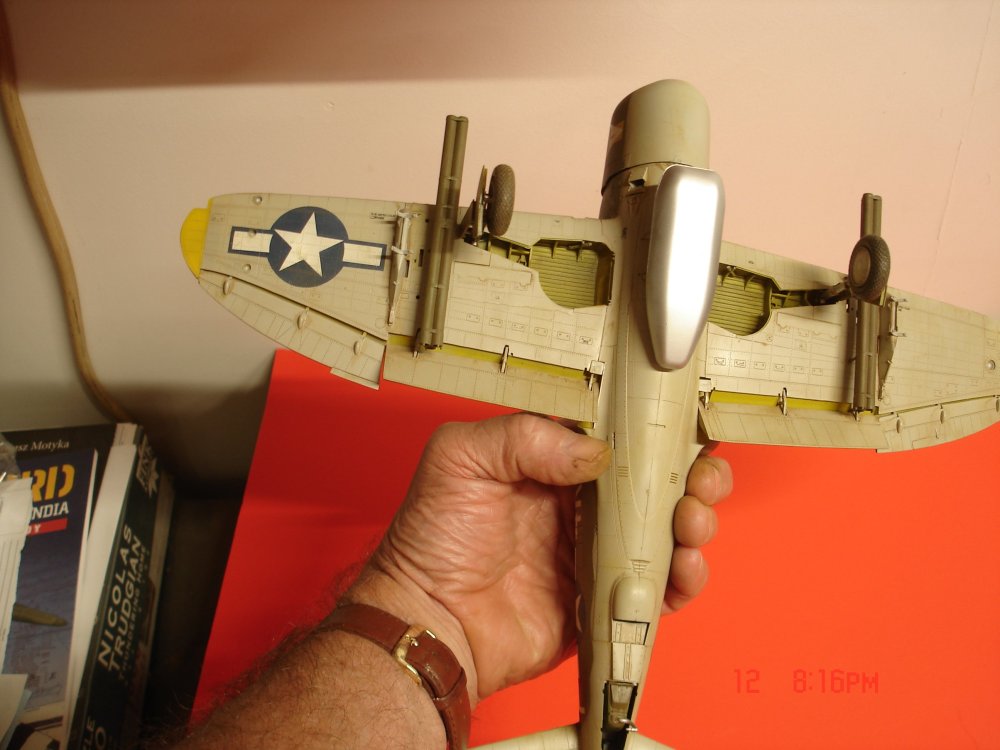
The stencils are decals on this one Guy this was my first attempt at mask. I will remember that for the future as a guide I had a hell of a time with the fuselage getting what I wanted and still not that good but hey it's the learning curve.I want to get more confident on the weathering side myself like you guys are in armor I smothered the girl in wash and played it back with the powders were I felt it was to strong it worked.I have another 1/32 started years ago in a box the Revell Me-110 Nachtfighter to which it seems I have about 50% pit done may be the next to hit the desk. PS: You see the stars/bars upper wing were I forgot to cover with future I went aughhh FFFF...........then I went oh well might still work. -
SOD Trumpter P-47 "Sigma Nu Girl"-Finished
KevinM replied to KevinM's topic in LSM 1/35 and Larger Work In Progress
Thanks Peter teaching myself some here trying to whip that fear factor on weathering. The stuff has already brought back a few bottles Model Master already. -
SOD Trumpter P-47 "Sigma Nu Girl"-Finished
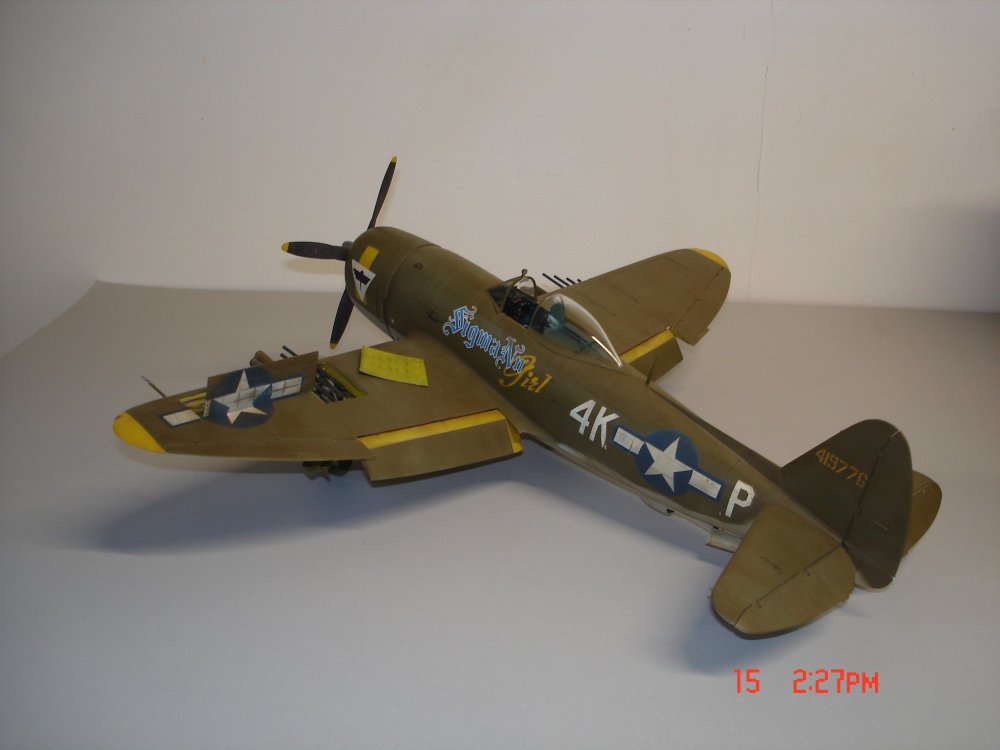
KevinM replied to KevinM's topic in LSM 1/35 and Larger Work In Progress
She might come out a good looking "Girl" after all?The canopy is not glued down and neither is the tank.The 250lb bombs are drying and need to be weathered .The whole model got covered with Tamiya brown wash with a 1/2" brush sit for thirty minutes and started the wipe.I then came back over that with Tamiya light dust on the upper surfaces and sand on the bottom.The flat clear went on very low pressure and light from a distance so as not to soak the pastels then you can lay it.The prop was painted silver way back and Nato Black very thin on top use a knife to chip.The wheels is the most I have ever gone after a set and think it will pass AK mud paint mixed with the Tamiya pastels from earlier thinking the mud was a waste here but needed to play with it.She's going to look the work horse when done!
-
Kitty Hawk 1/35 SH-60B Seahawk
KevinM replied to Peterpools's topic in LSM 1/35 and Larger Work In Progress
Take what you know Peter and go with it if still intent on entering something just jazz it up some and go for it.I enjoy the most at shows is the vendors and talking with like minds if you win/mention its a bonus,think about the Mustangs????Have Fun -
I am sorry but the verbiage almost sounds [AI]
-
Rye Field Sherman M4A3E8 build
KevinM replied to JohnB's topic in LSM 1/35 and Larger Work In Progress
Seems to be the order of the day John finish the incompletes looking now! -
Tamiya F4U-1 birdcage "Bubbles" finished
KevinM replied to JohnB's topic in LSM 1/32 and Larger Aircraft Ready for Inspection
I like this one John simple/effective -
Oh Yeah Like the looks of that John