crazypoet
-
Posts
826 -
Joined
-
Last visited
Content Type
Profiles
Forums
Events
Gallery
Everything posted by crazypoet
-
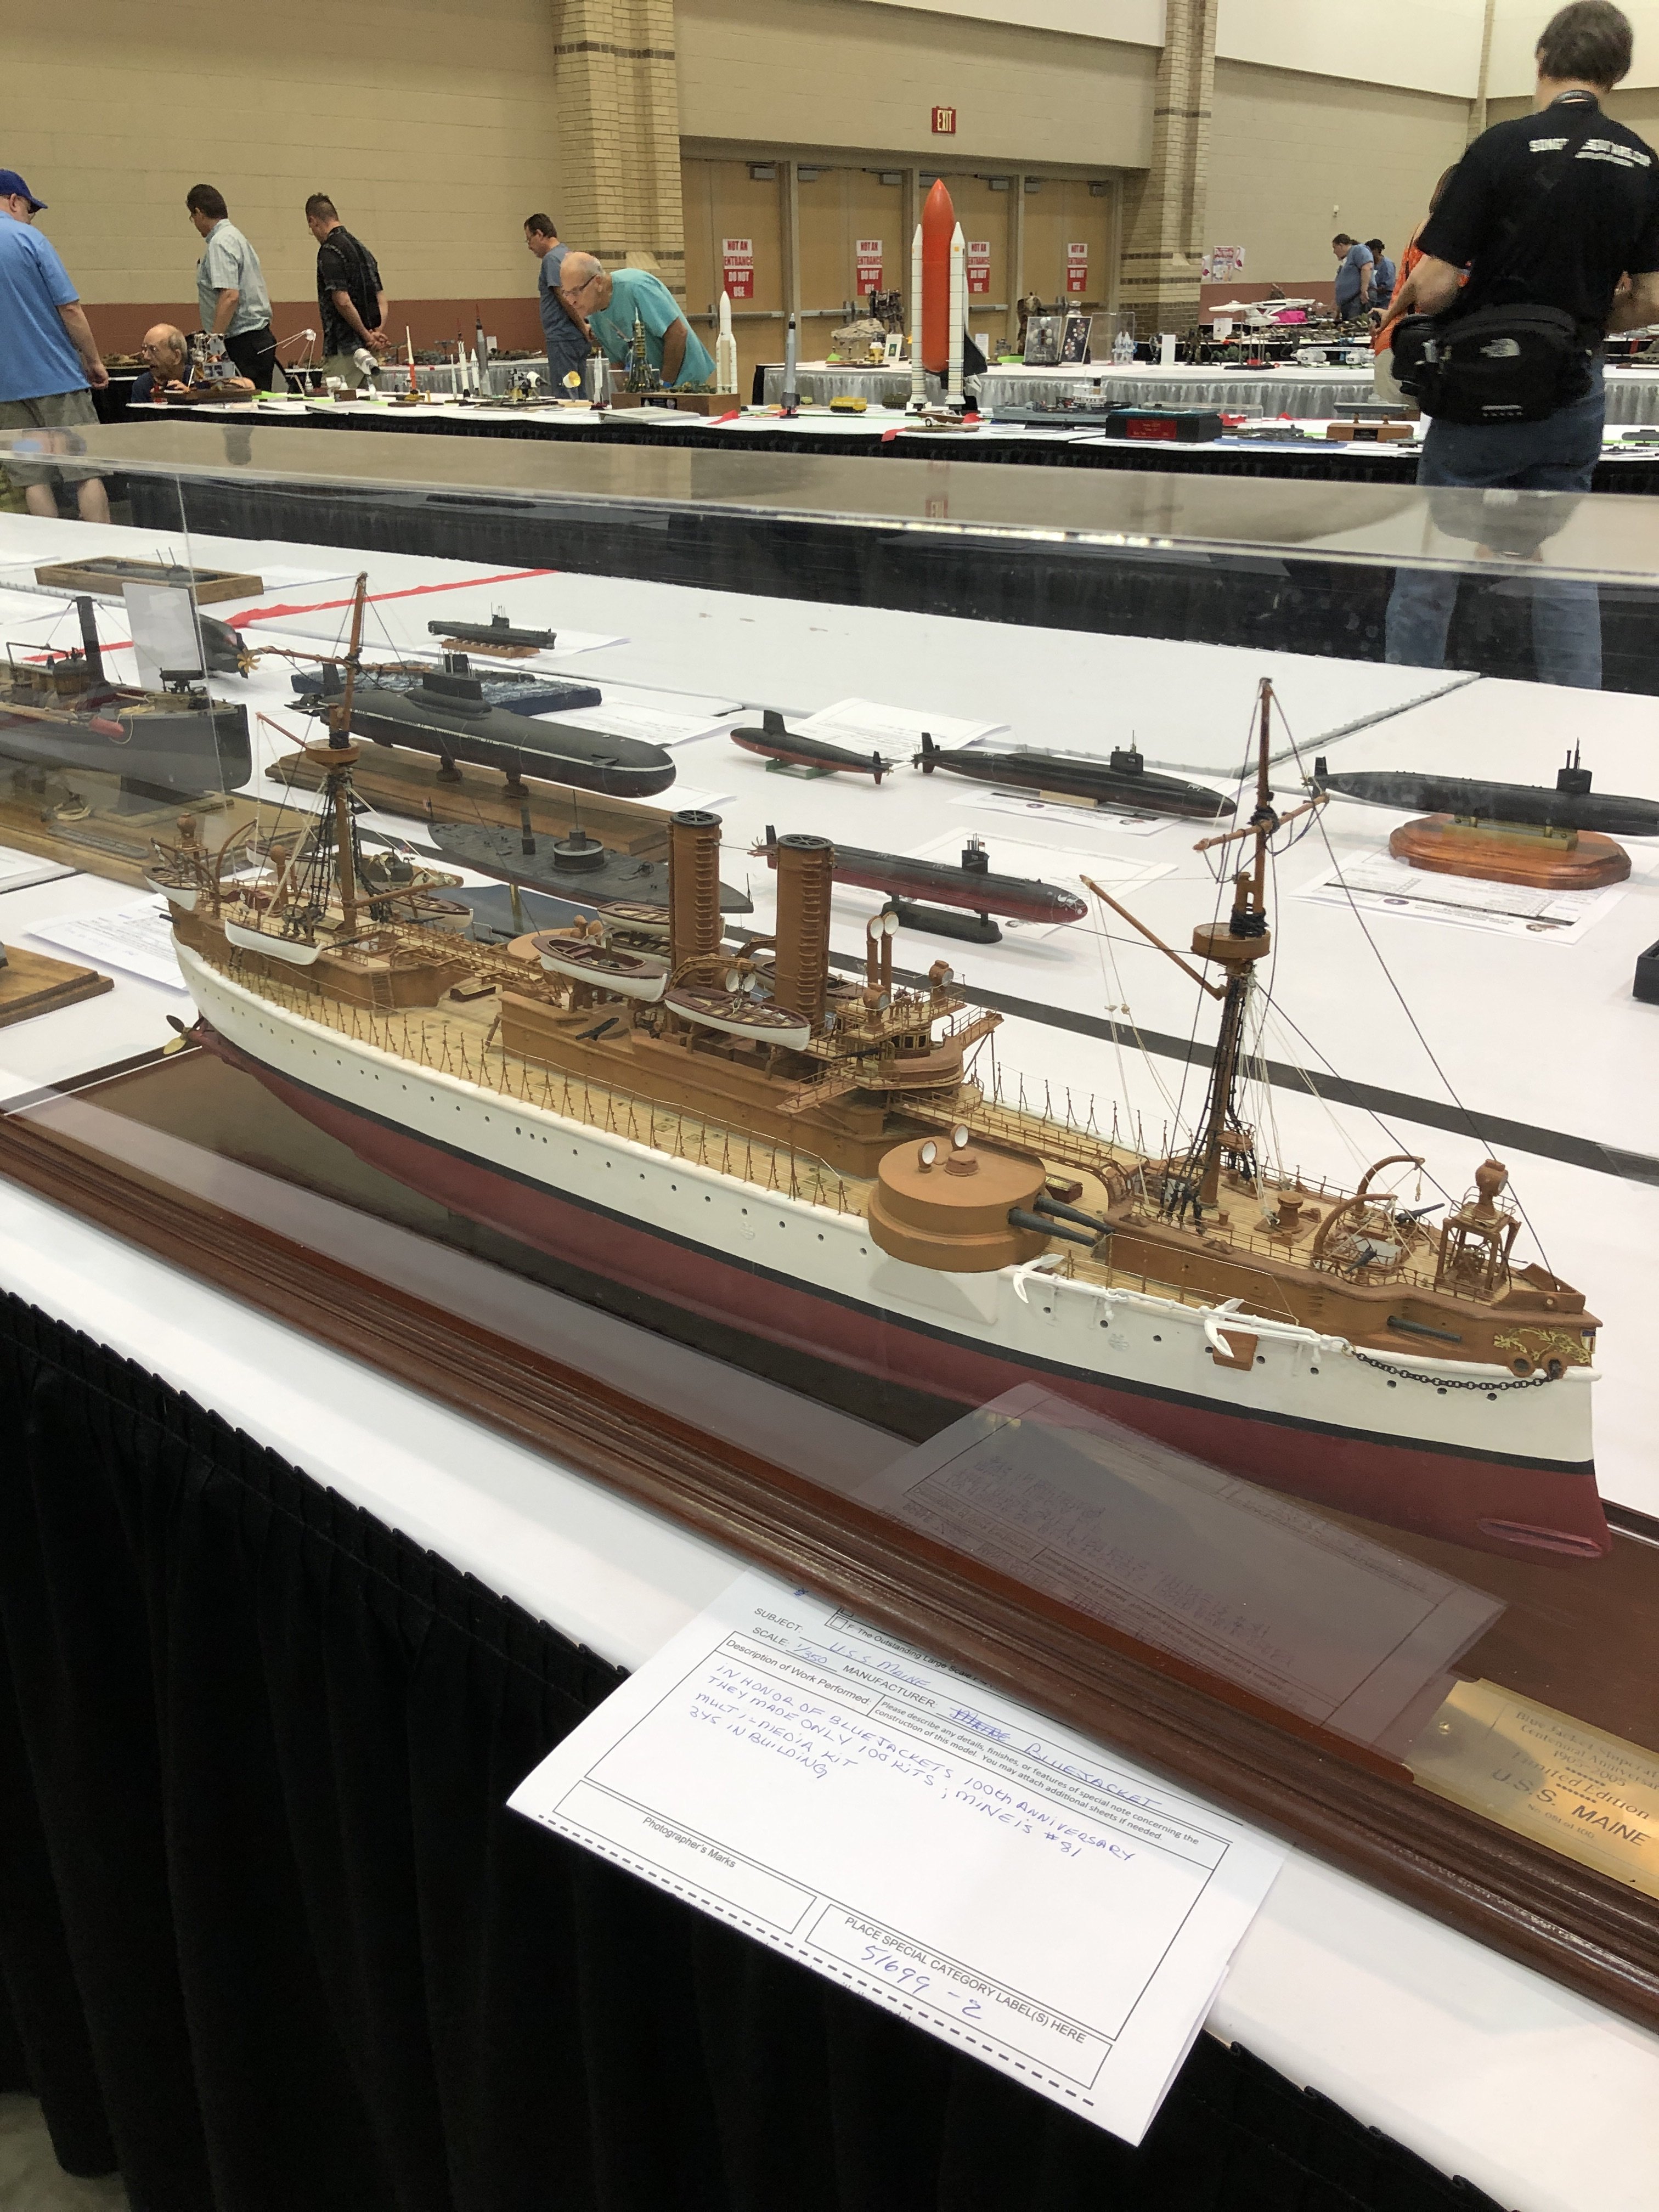
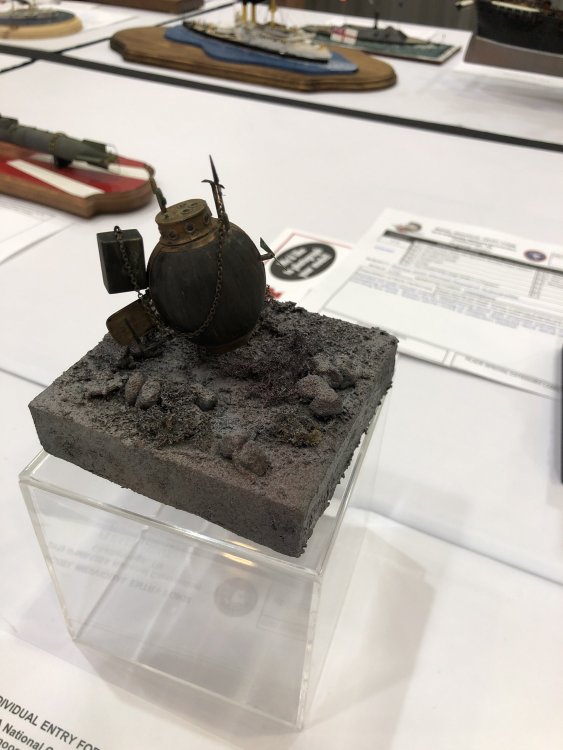
It’s nylon thread, which i’ve used in the past - it’s pretty tough stuff. i checked a bit ago, and the boiler was a bit loose where it’s pinned to the deck - it seems that it took a bit of a bump. Nothing that isn’t fixable - I just hope that it happened *after* the judges made their decision!
-

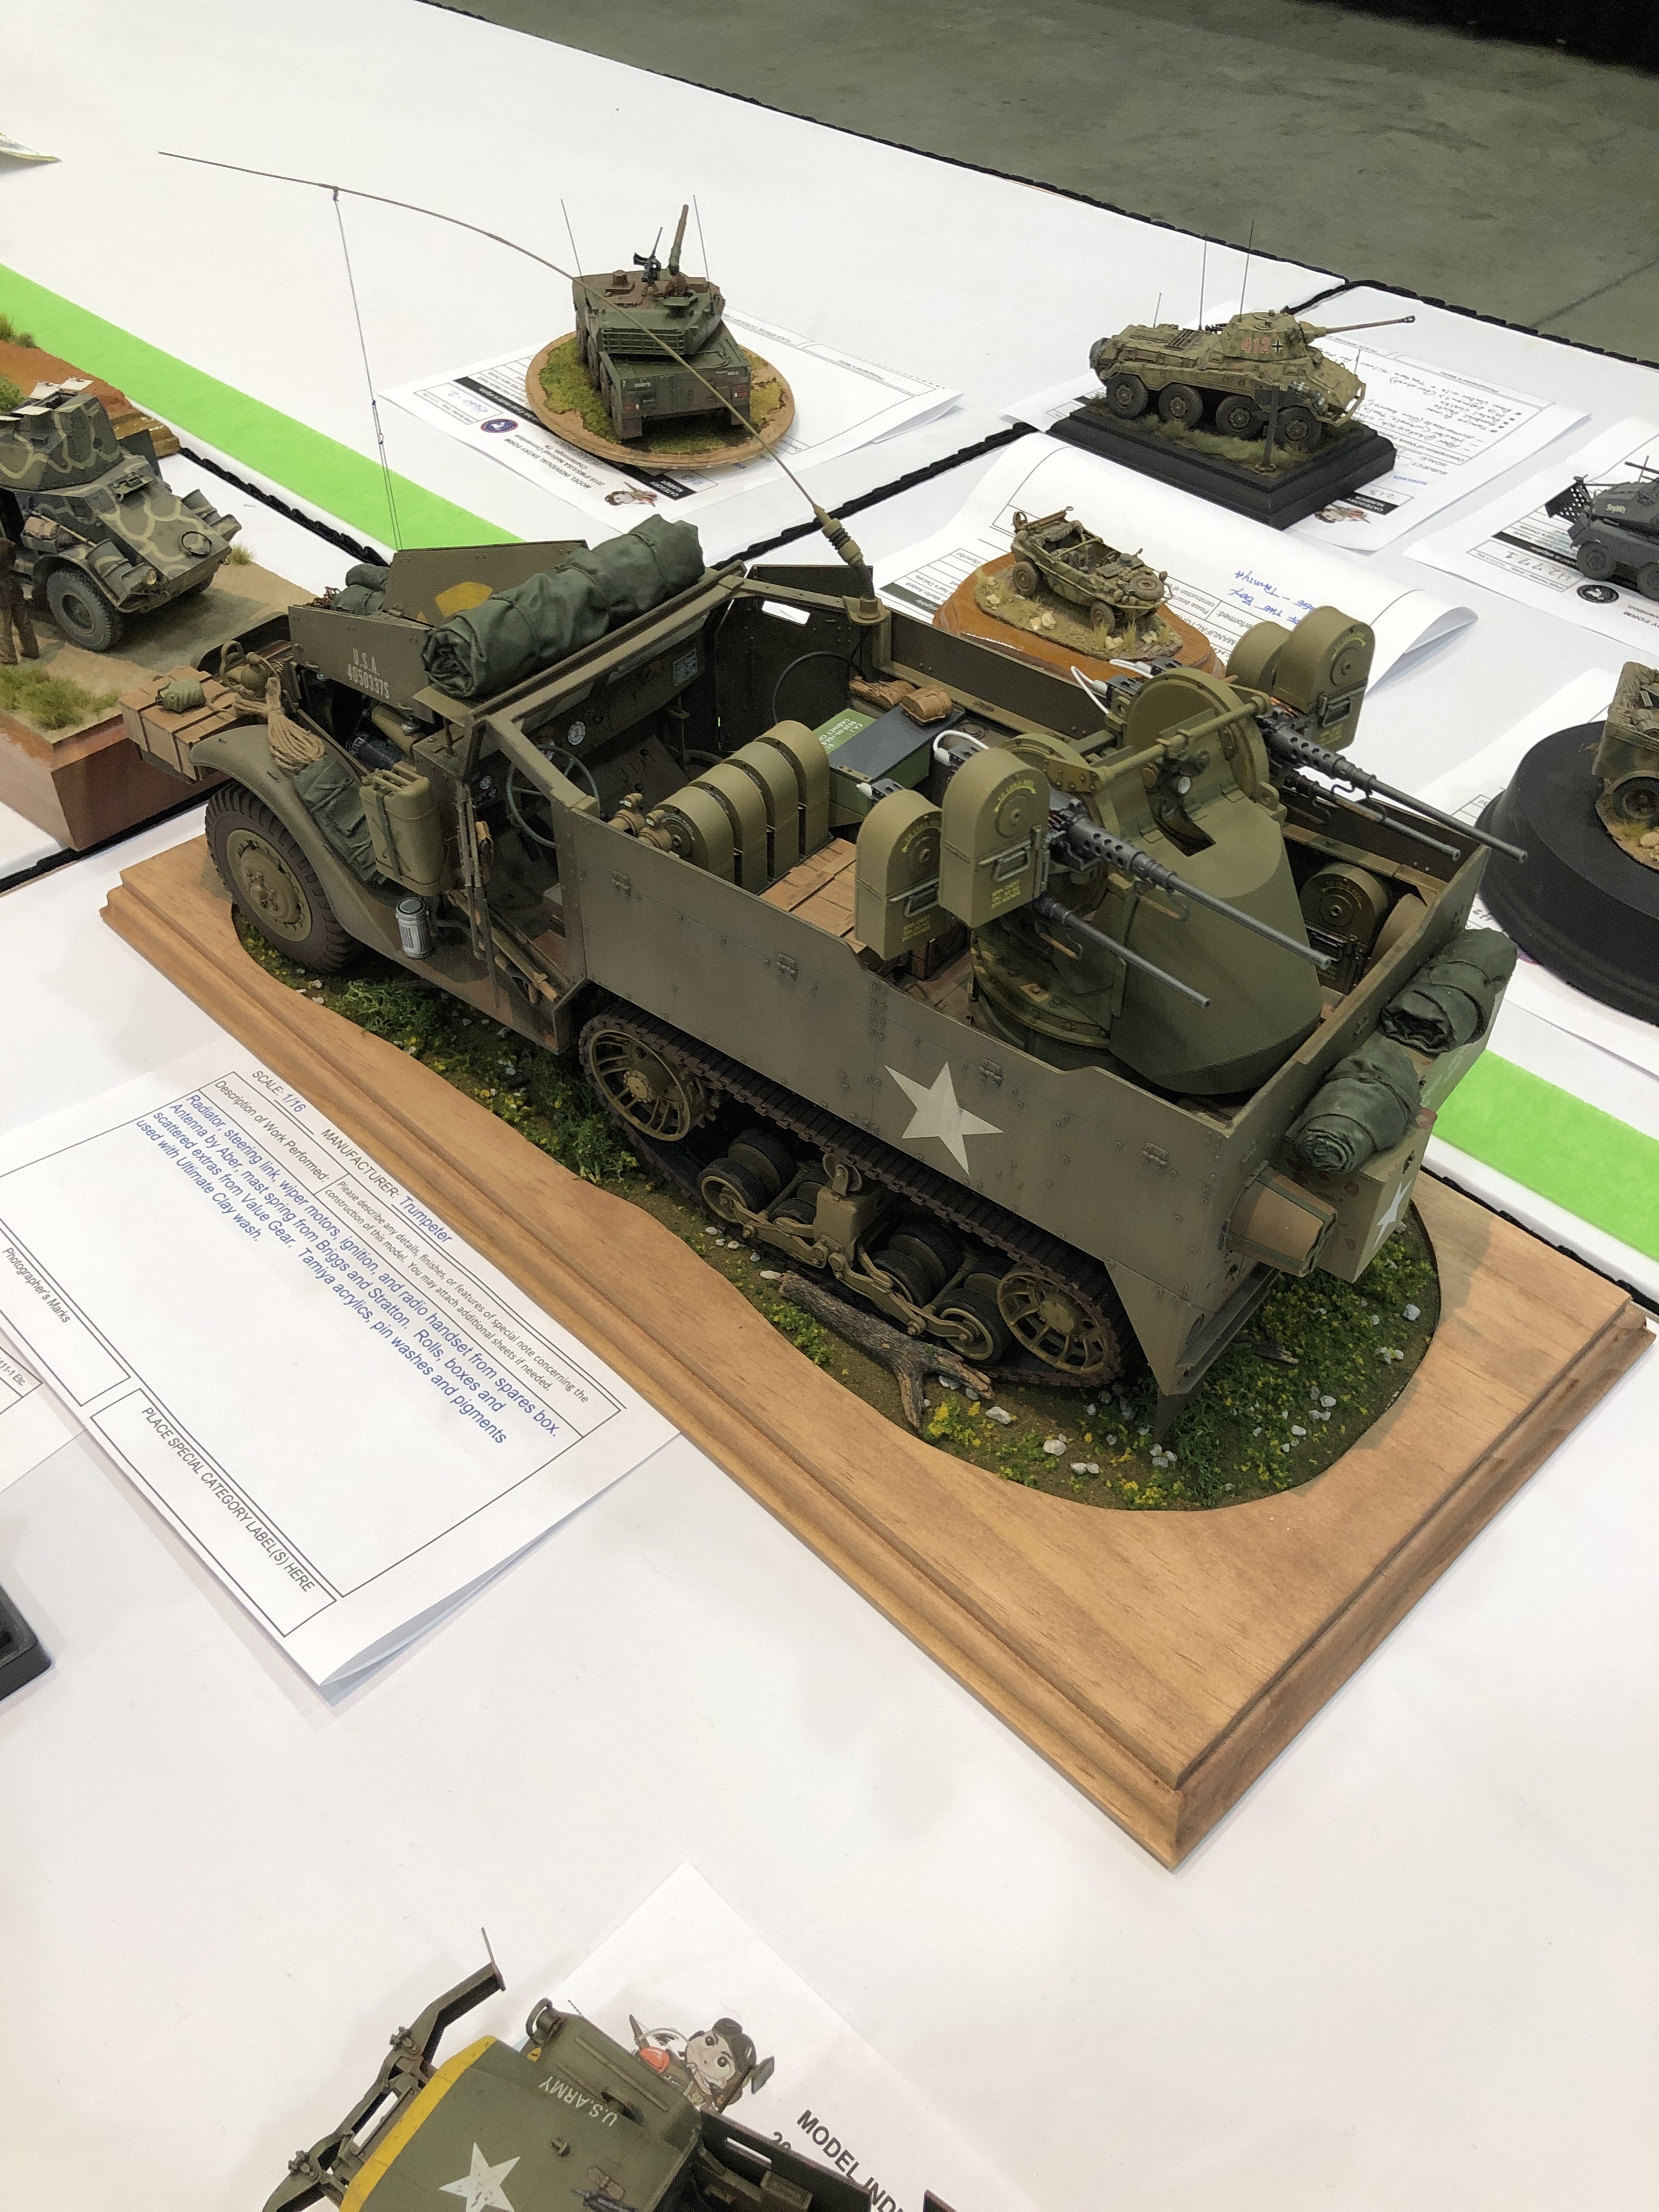
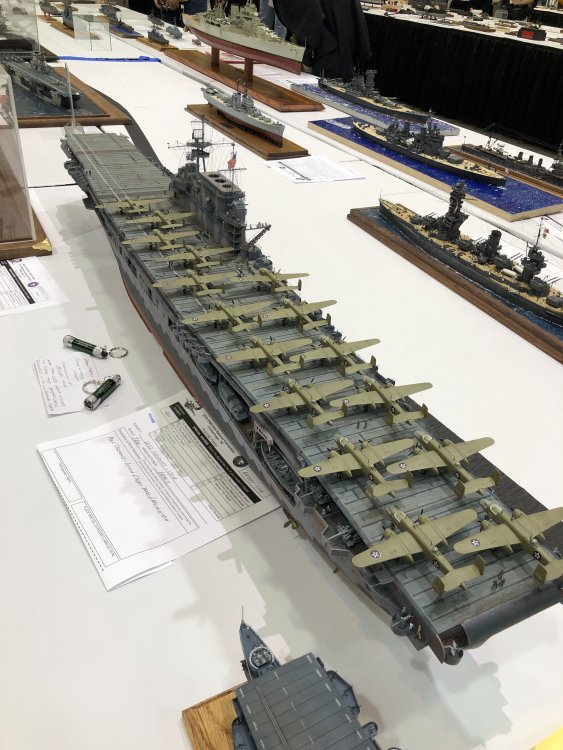
Show us your IPMS USA Nationals Haul
crazypoet replied to Clunkmeister's topic in General Discussion
...And I wore myself down and nabbed the Trumpeter 1:200 USS Arizona and a White Ensign PE set for same -
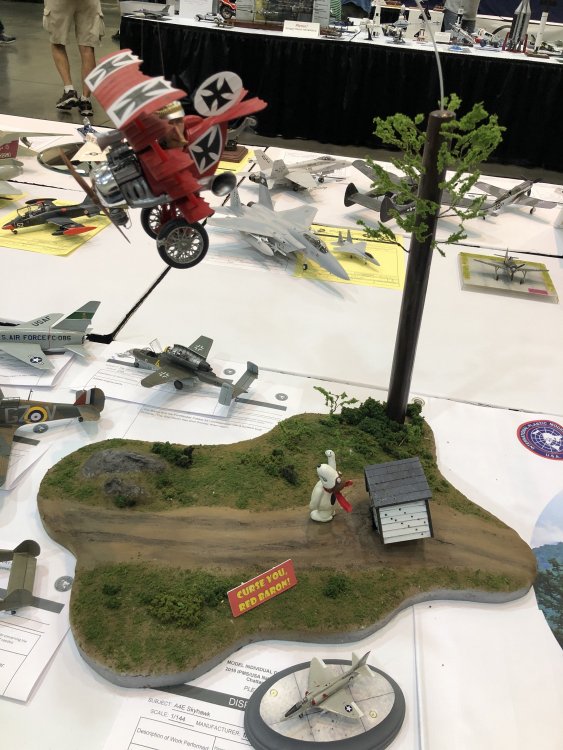
Don’t know how I missed this one yesterday... it’s fun!

-
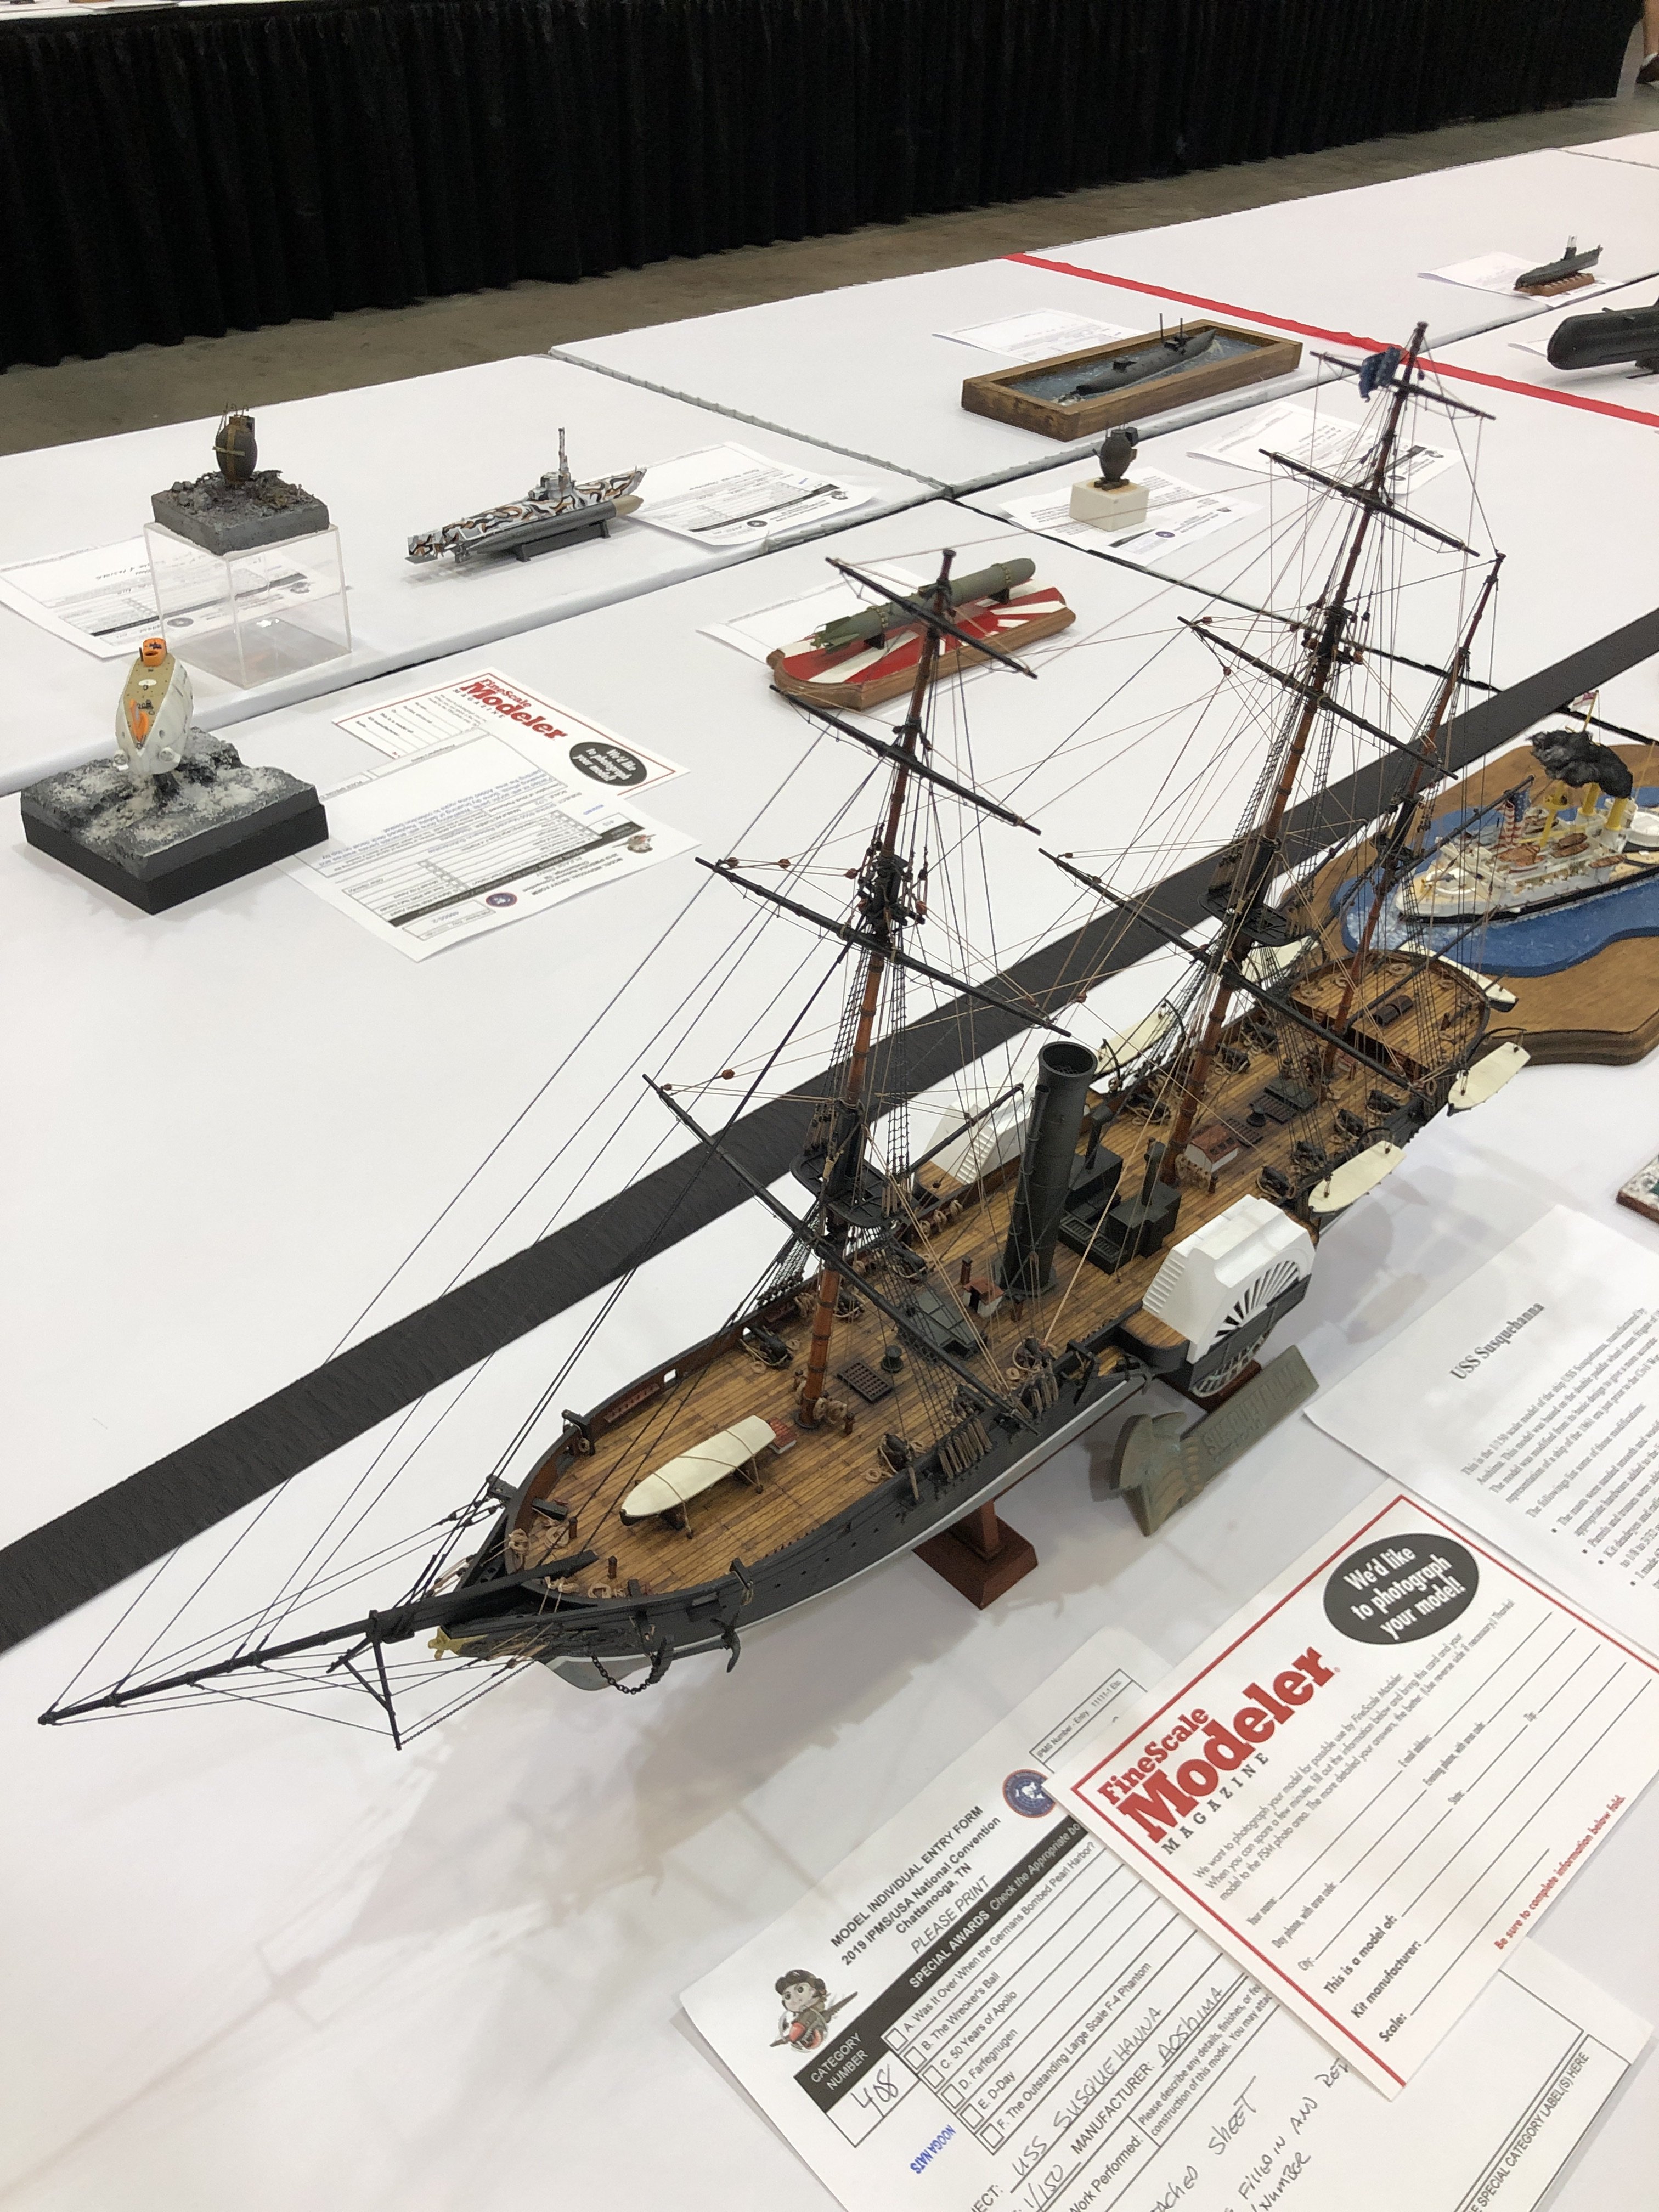
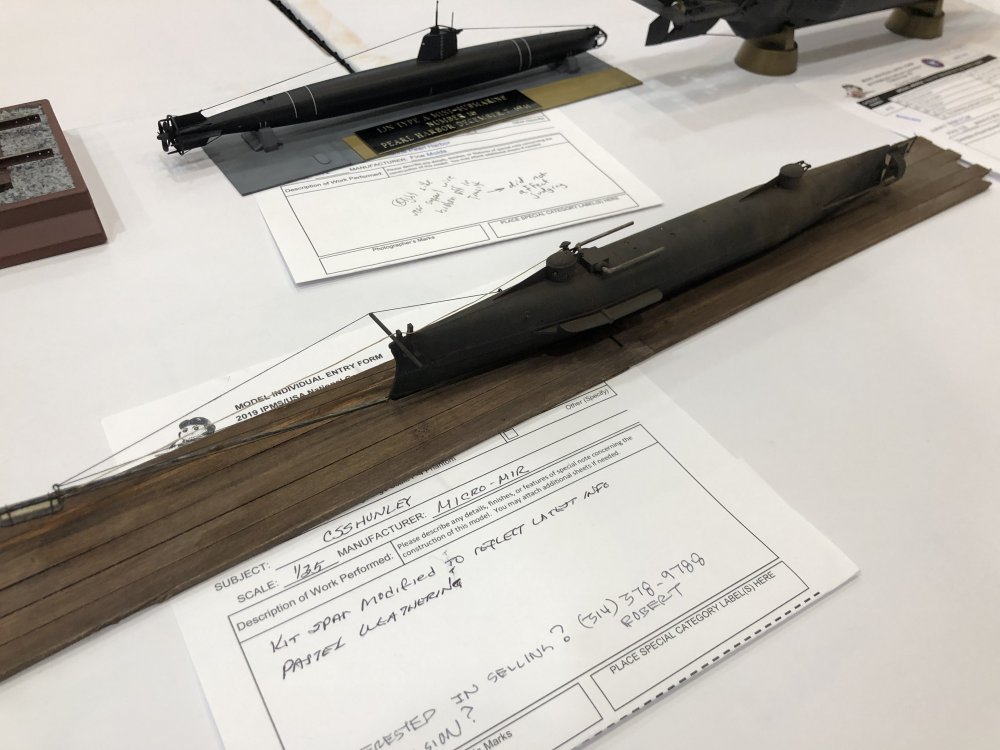
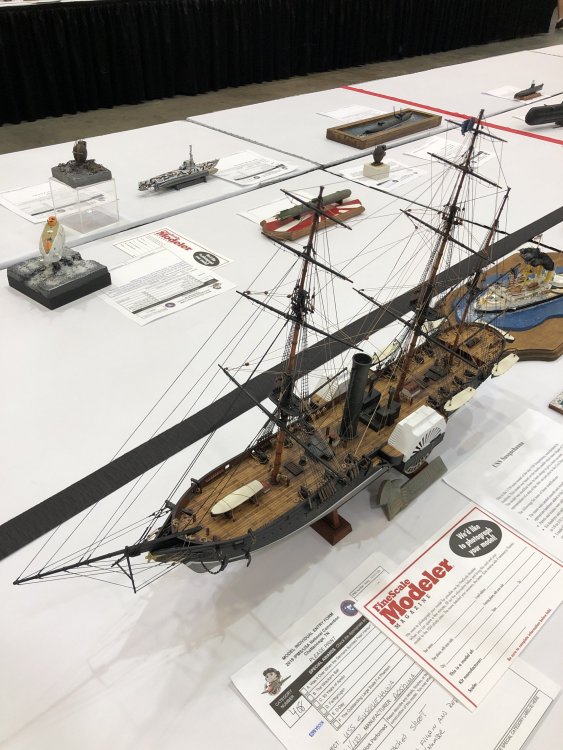
Somebody managed to stretch out my mast rigging, so i’ll have to do it over when I get it home my guess is that it happened while one of the judges was handling it - it looks like they bumped the rigging lines while looking at some of the interior details

-
Show us your IPMS USA Nationals Haul
crazypoet replied to Clunkmeister's topic in General Discussion
I kept it light - added a 1:32 Trumpeter P-40B and scored one of the Tamiya prototype P-38 in 1:48 unfortunately Eduard closed their booth before I could go hunting for P-40 parts - i’ll have to shop their after-party online, dammit!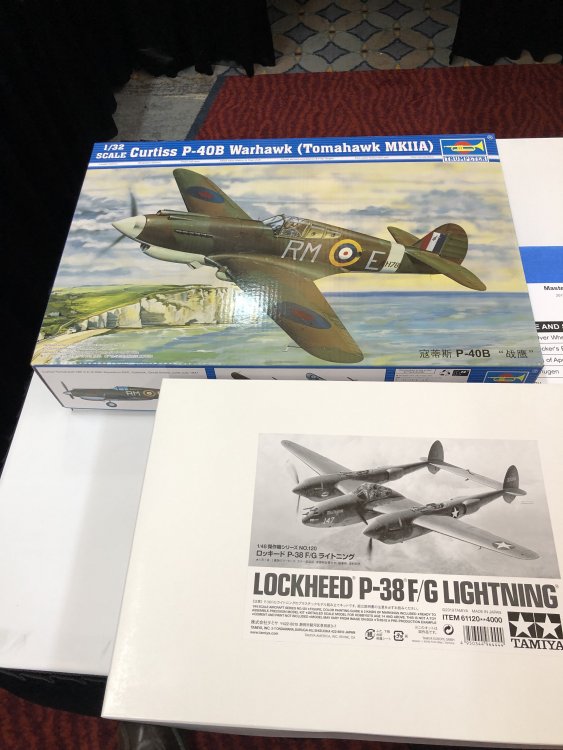
-
Some more awesome builds
-
Telford and a visit to Eduard are on my European bucket list!
-
Sorry to have missed you!
-
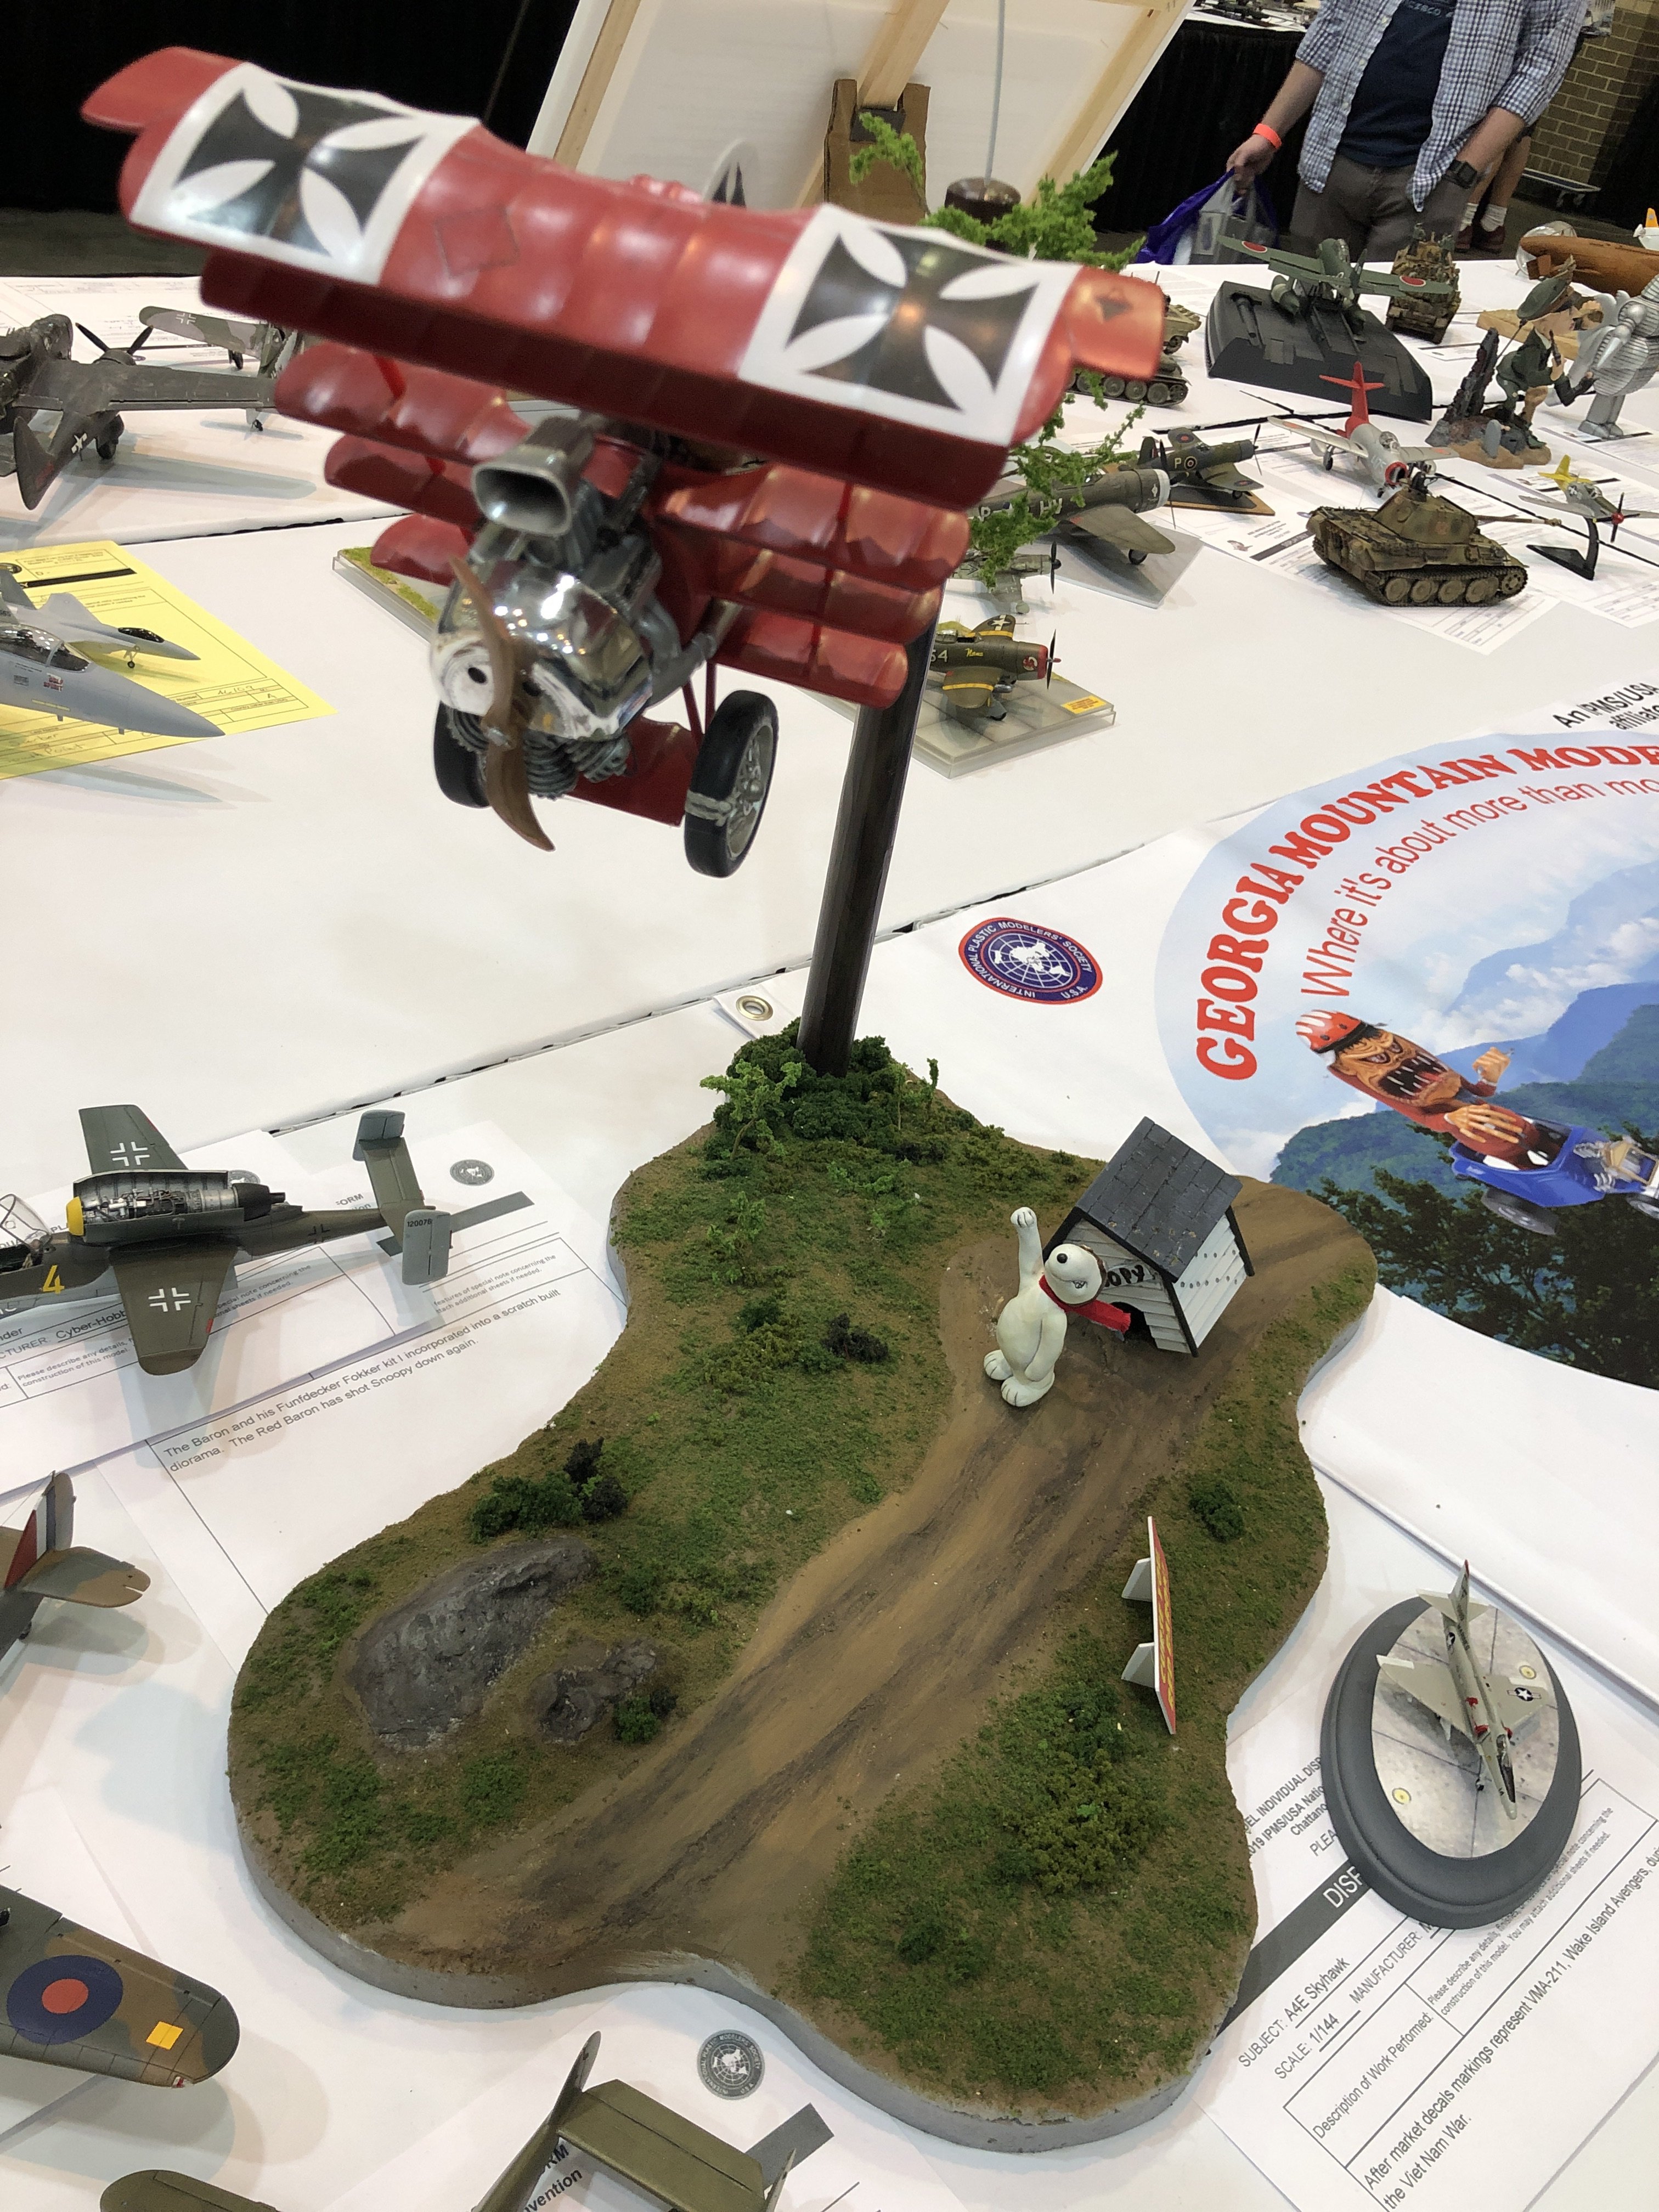
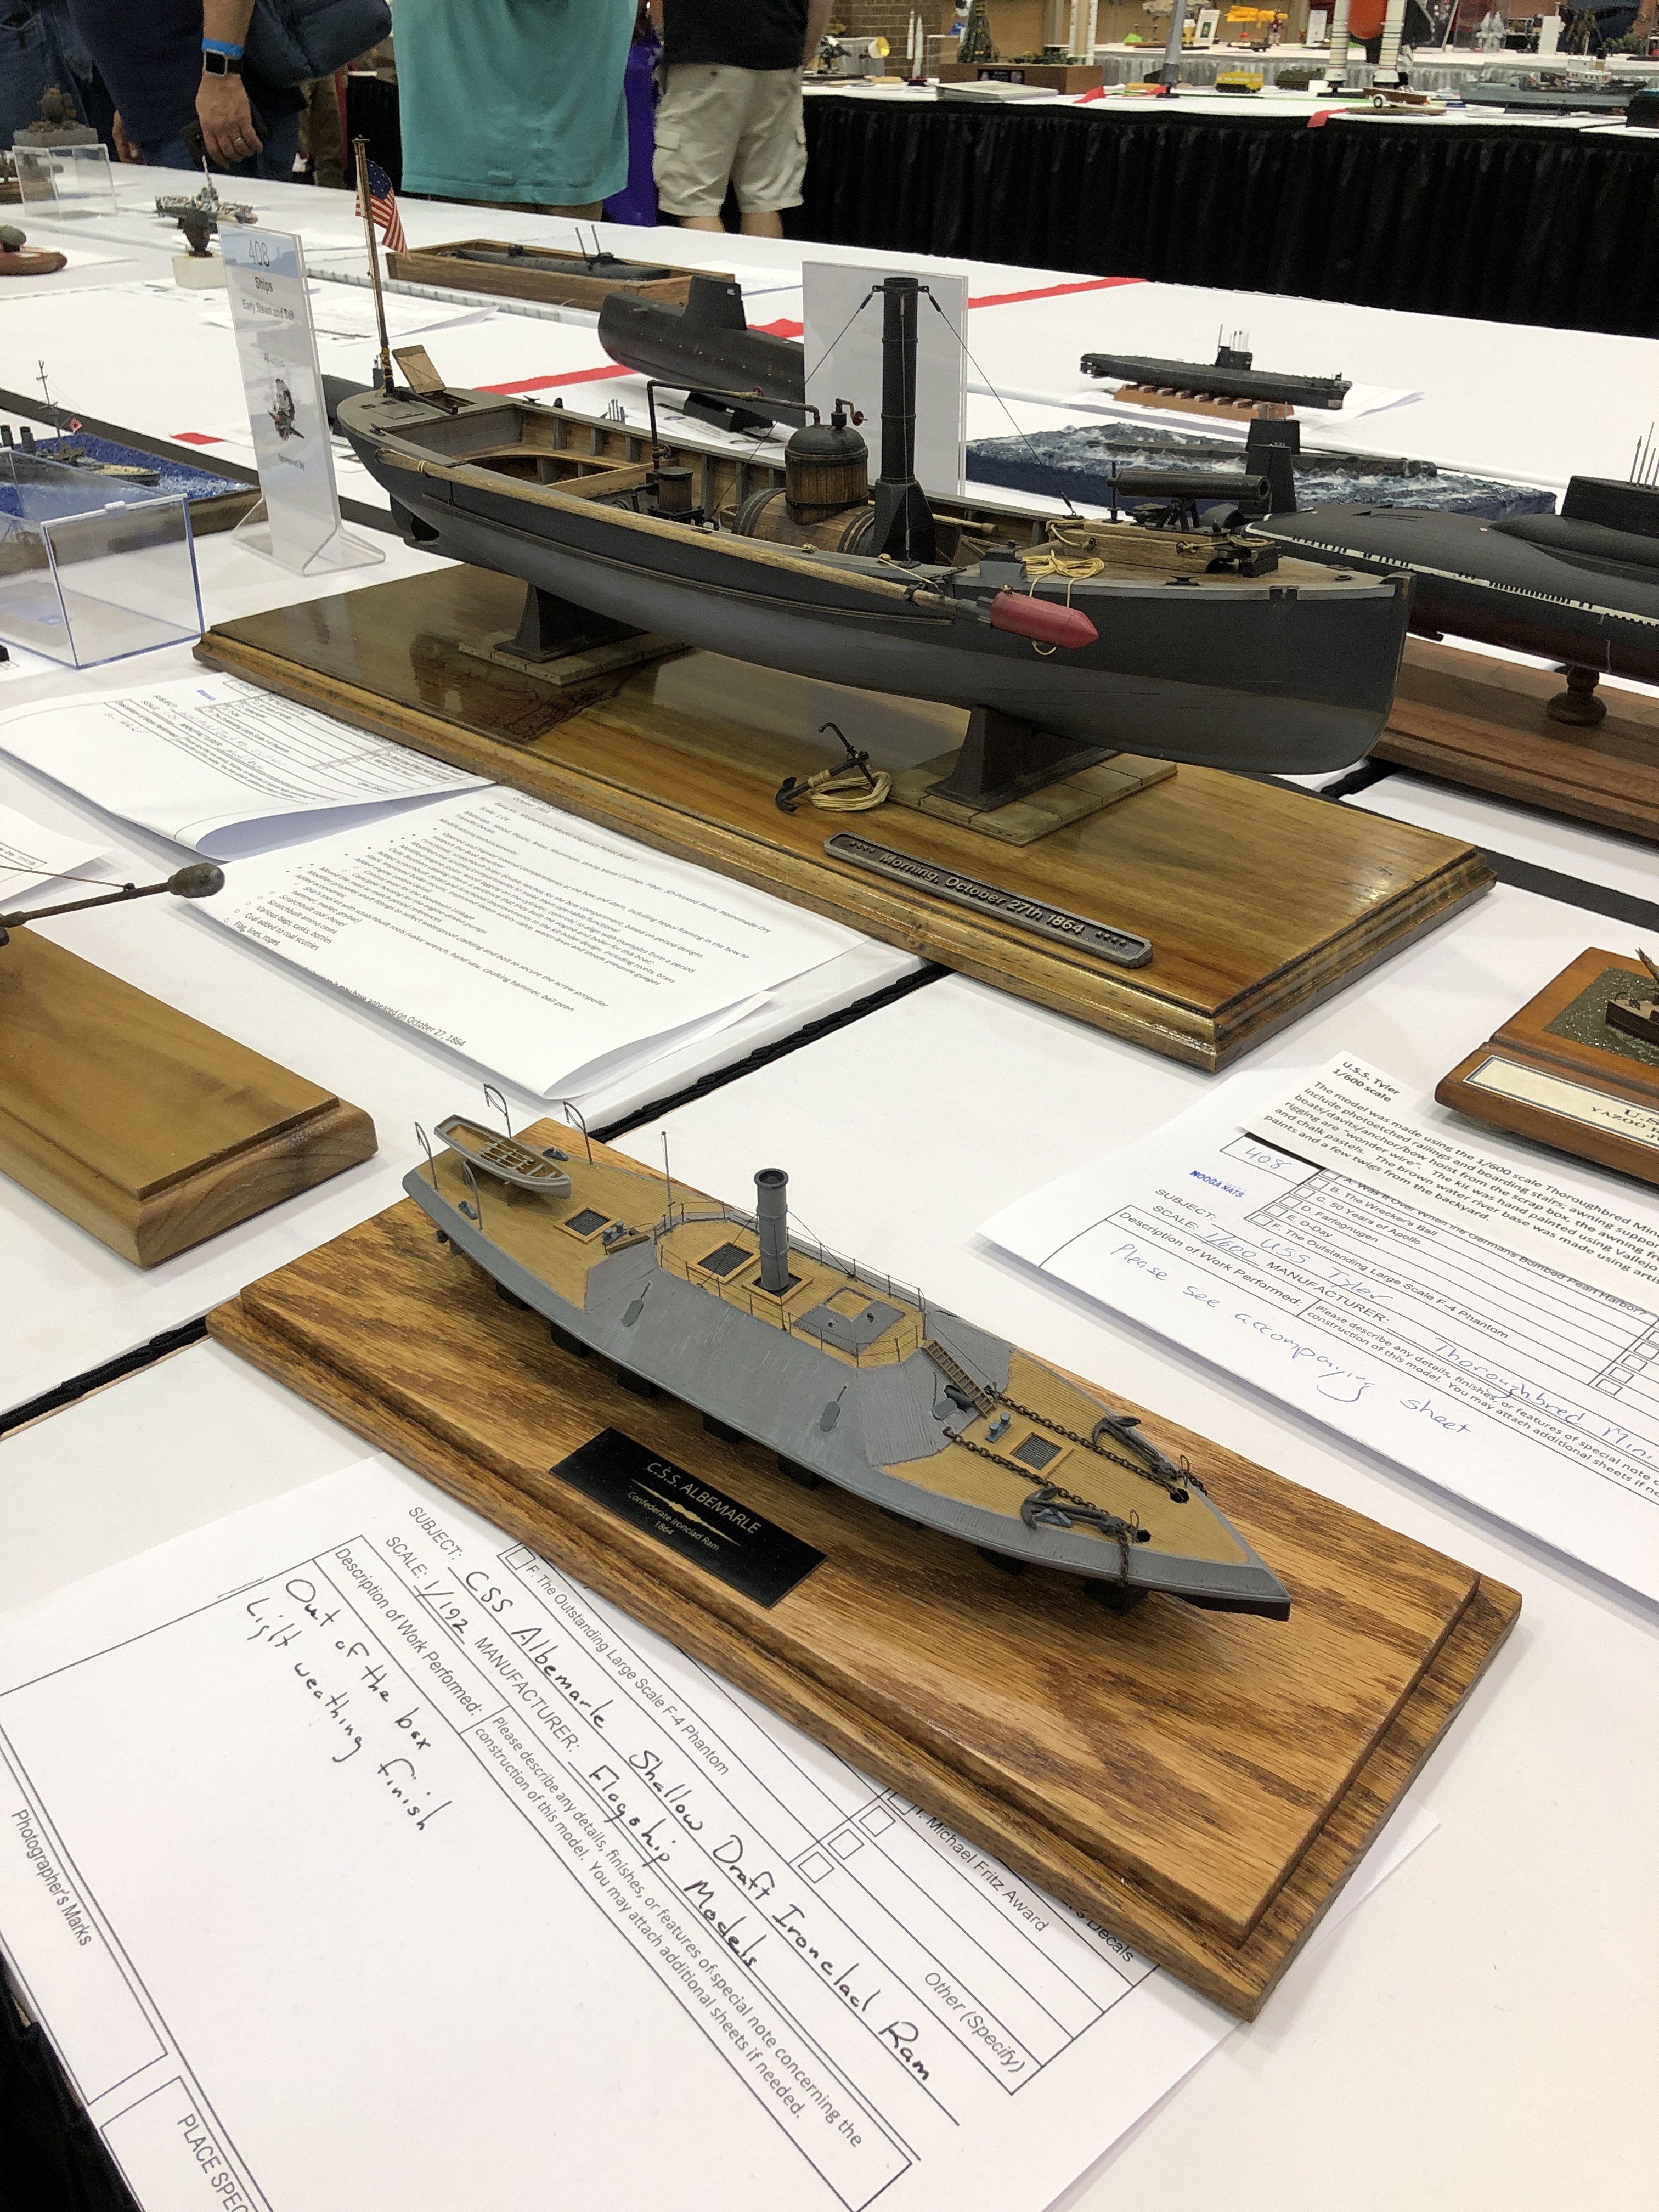
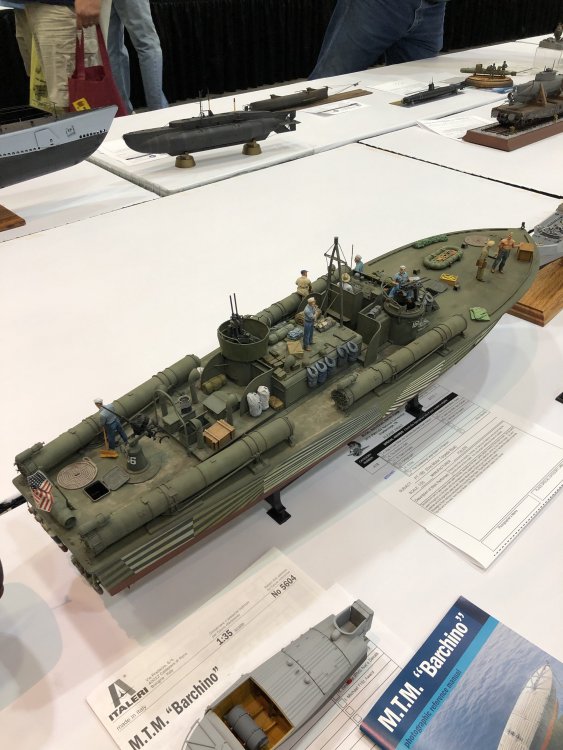
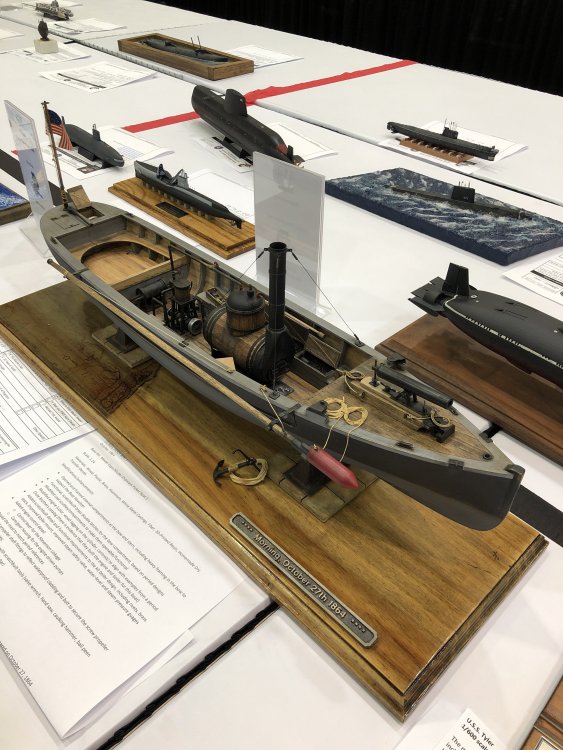
It’s fun seeing the Picket Boat and CSS Albemarle side by side...

-
The work i’m Seeing here, pretty much across the board, is simply stunning
-


-
-
Hey - you already posted most of the best stuff!
-
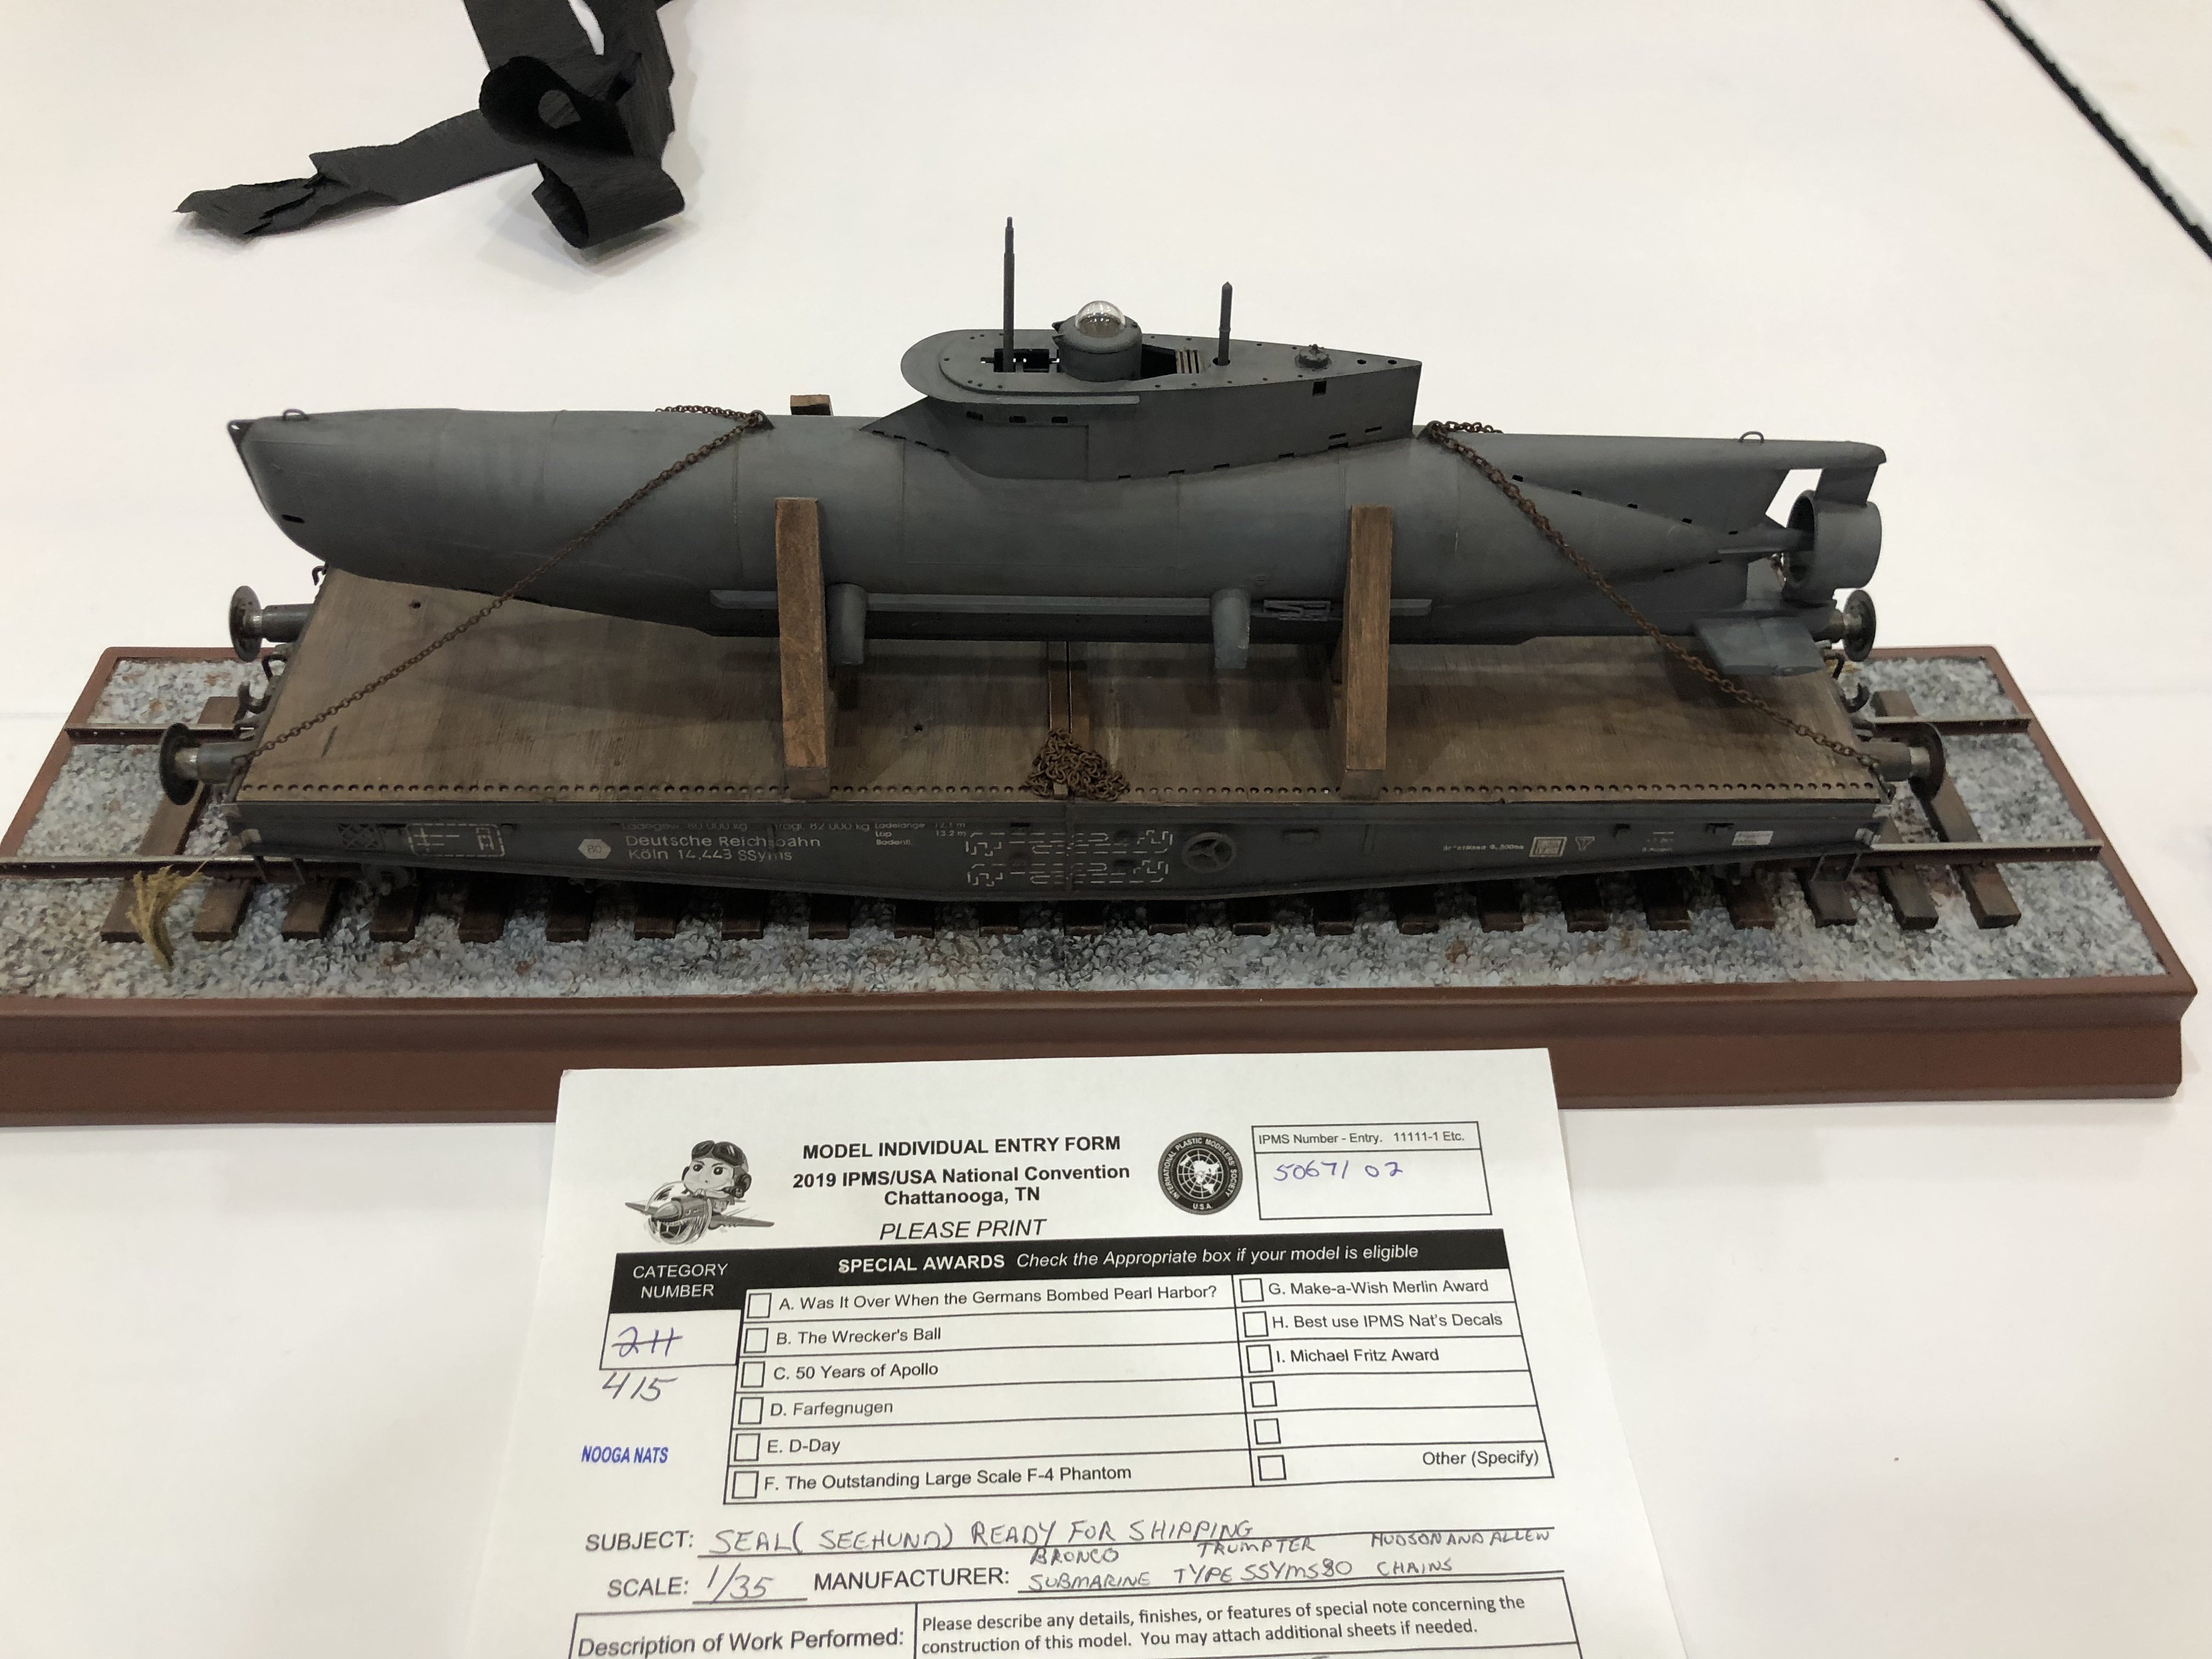
I took a deep breath and entered it - boats, transition steam... will be on the table in about 15 mins... i know most of the flaws - be gentle with me!
-
With that gorgeous Lanc on the table, it's at least going to be easy to find y'all! I printed up some LSM tags for anyone who wants to proclaim their identities, and I'm about to print a pair of table tags for us. See y'all 'round lunchtime, Picket Boat in-tow
-
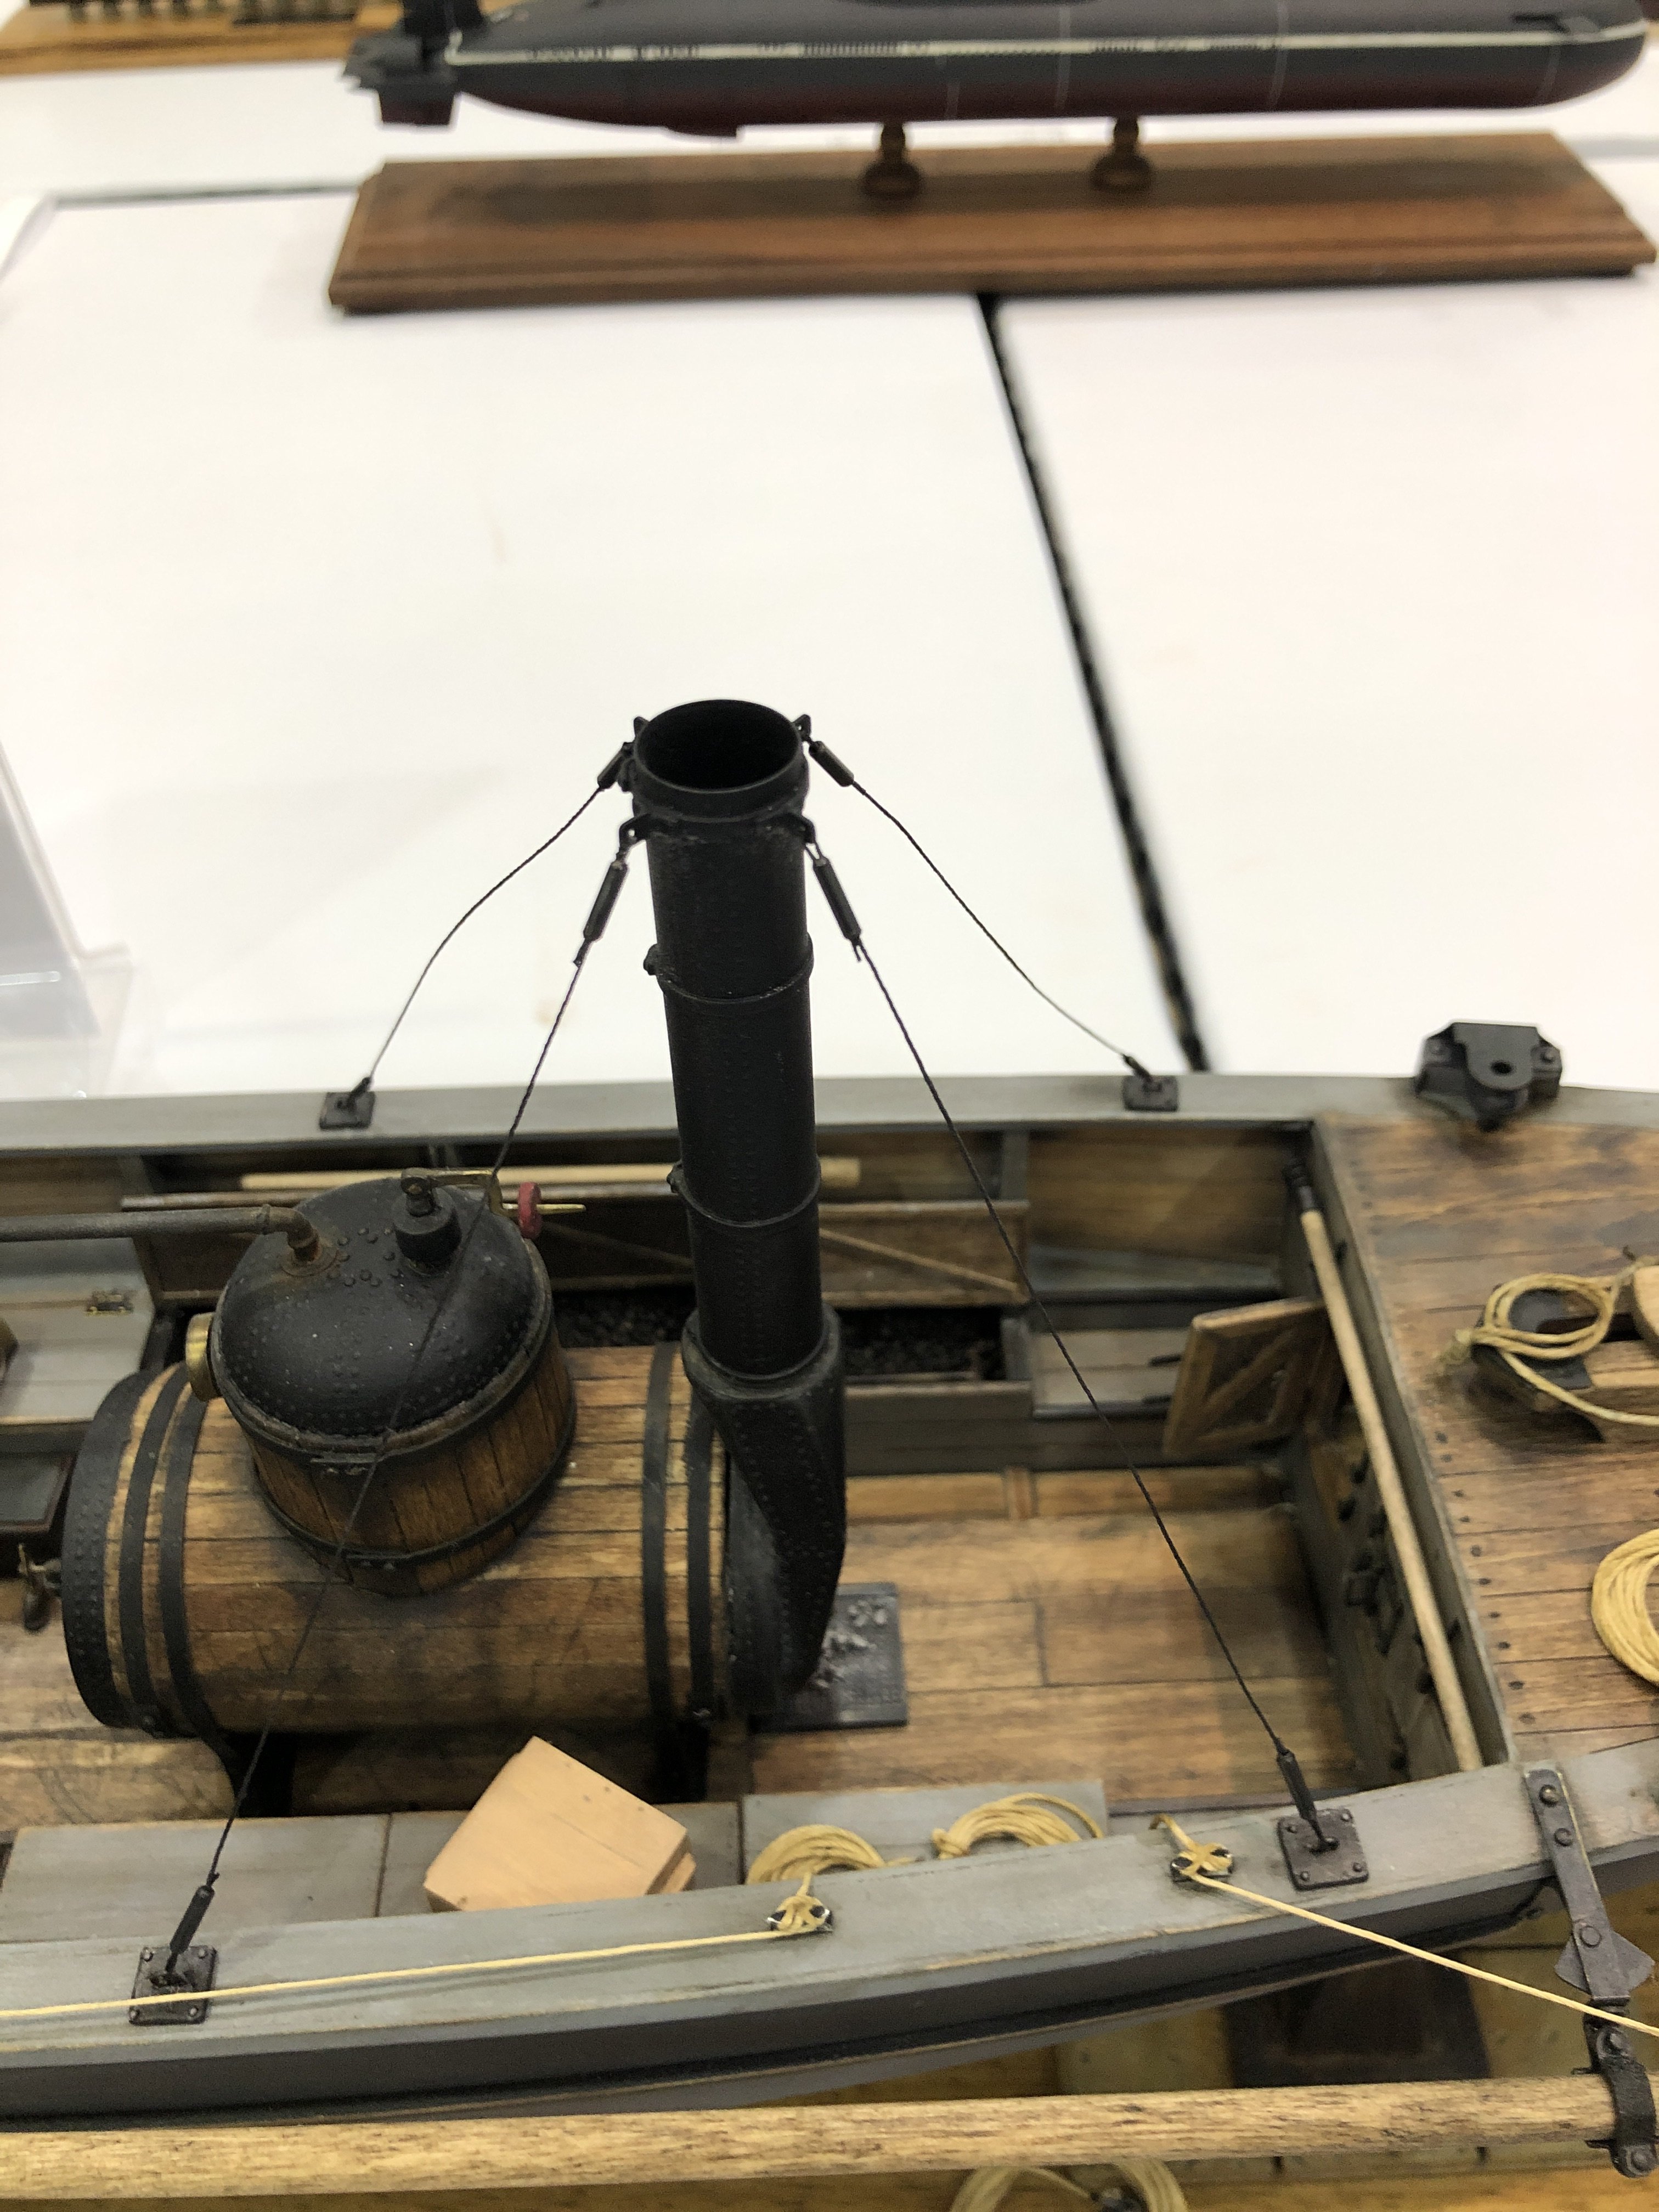
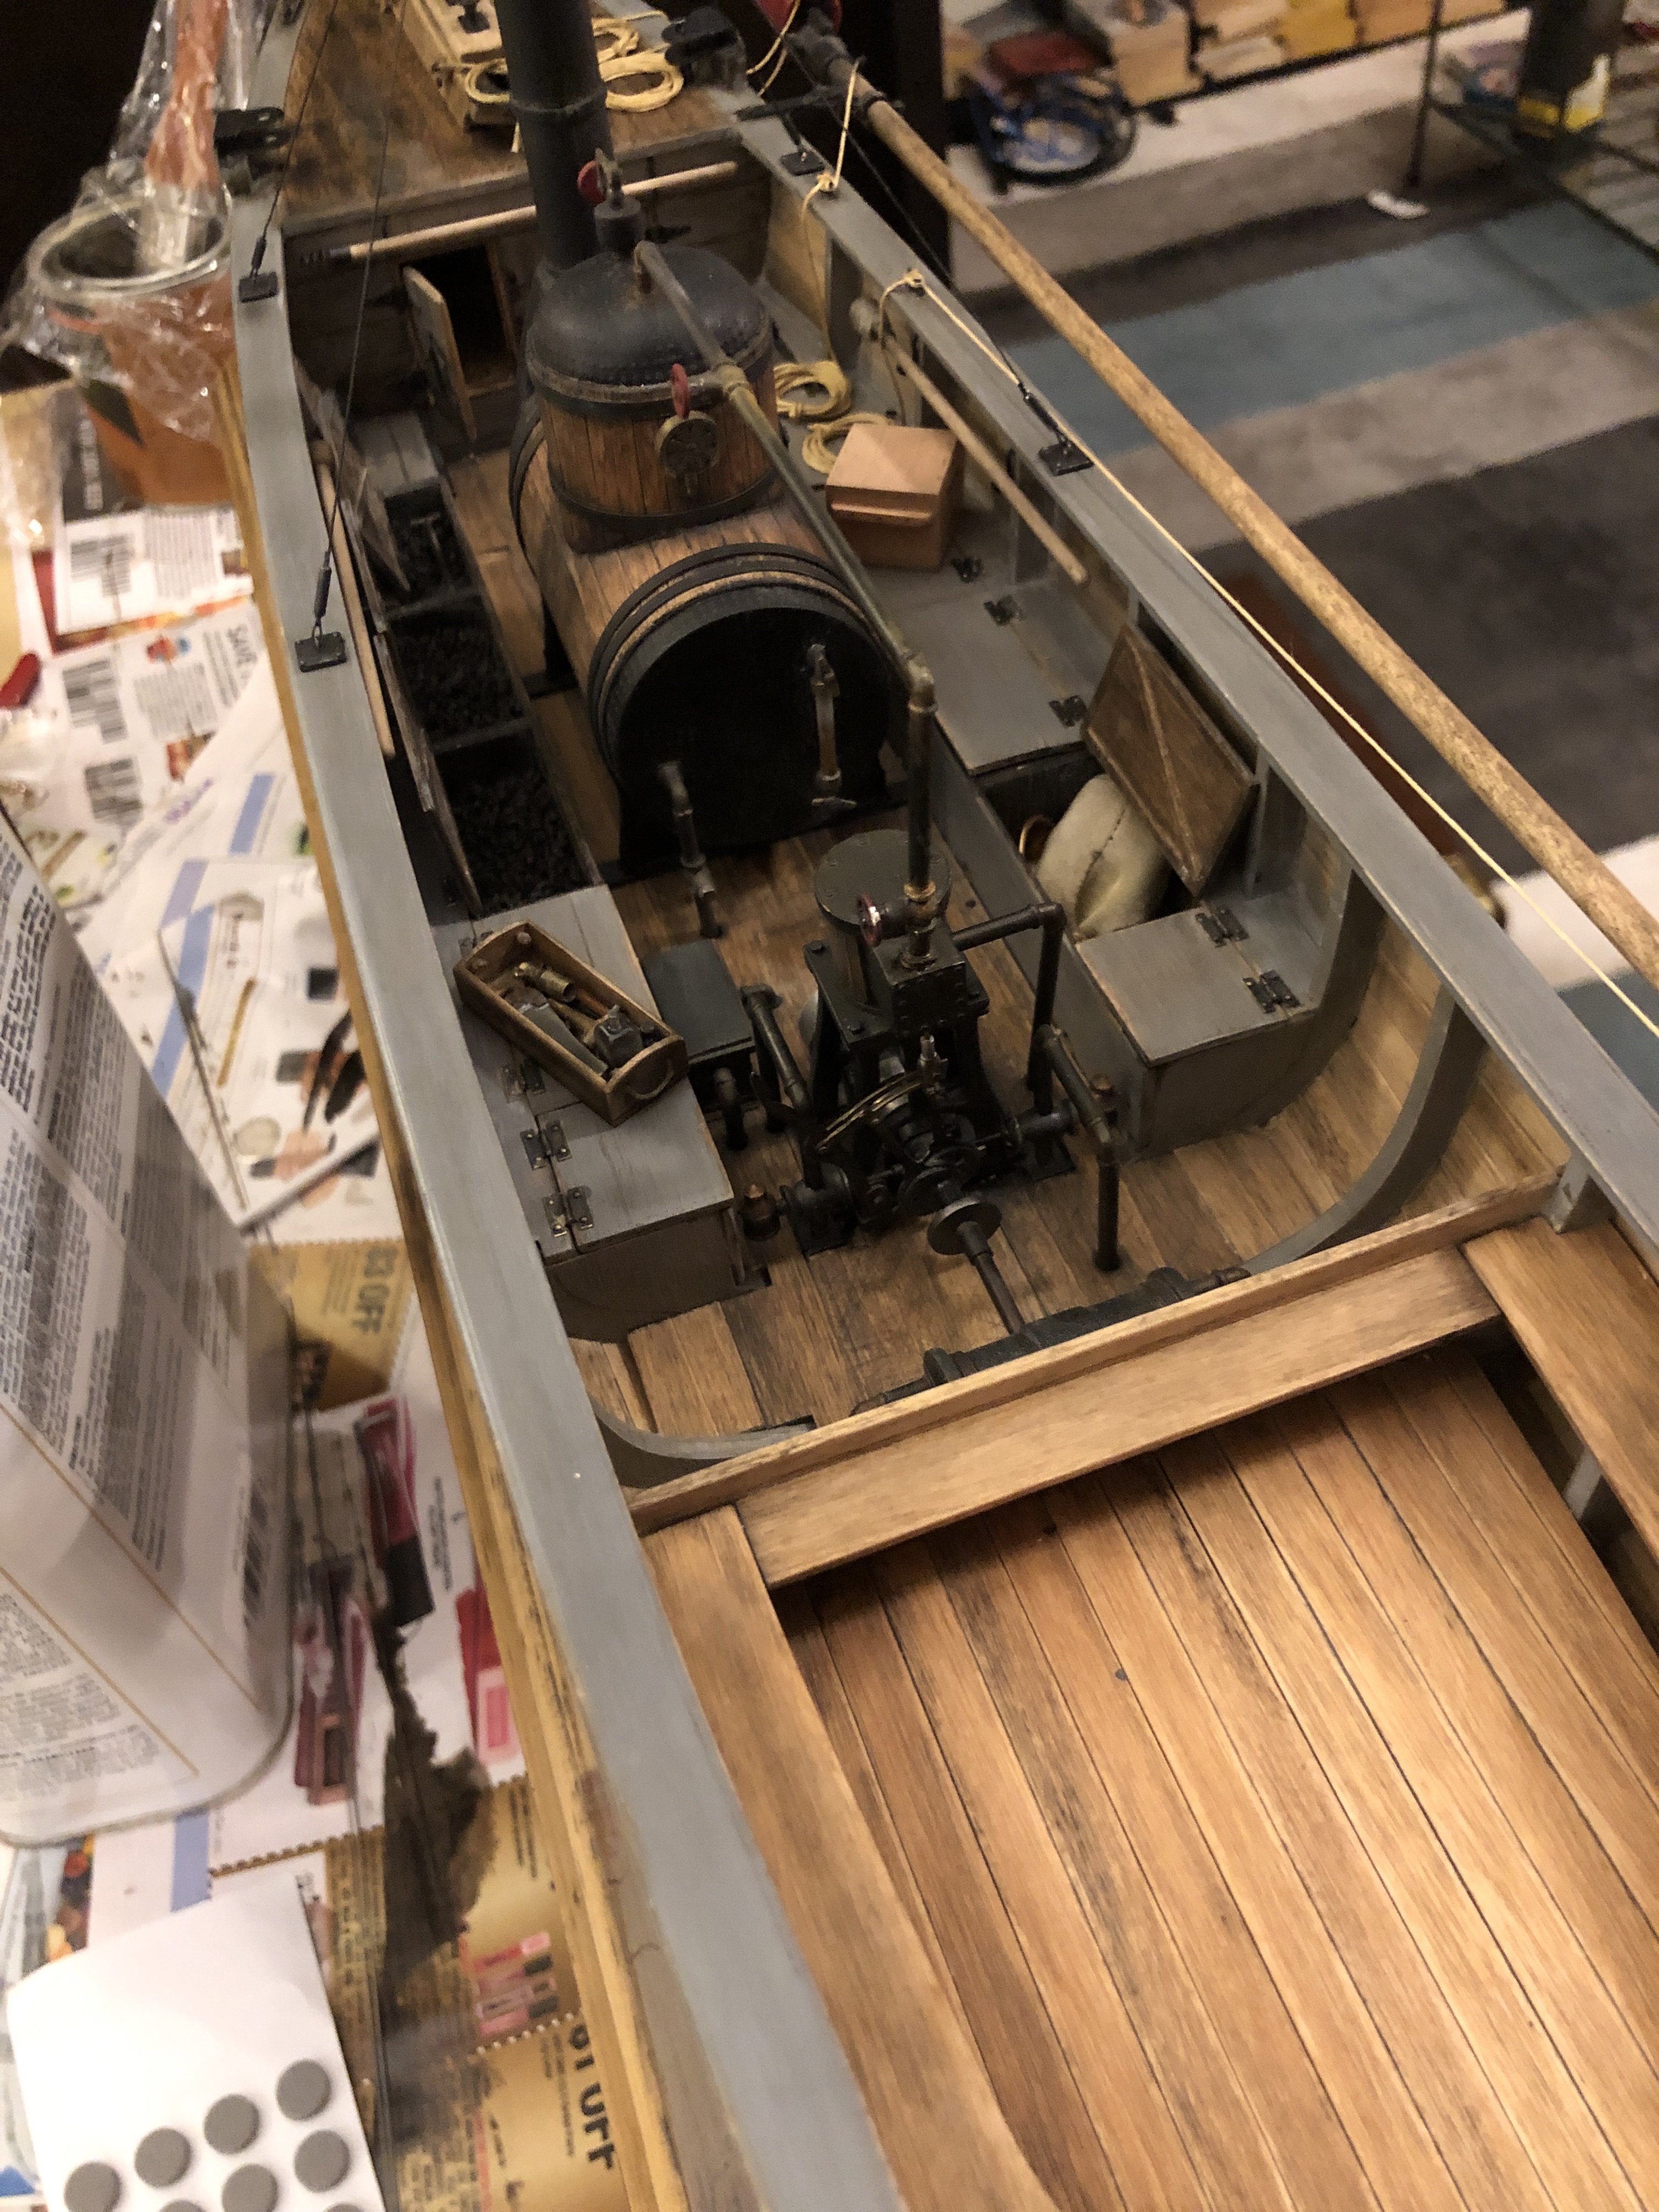
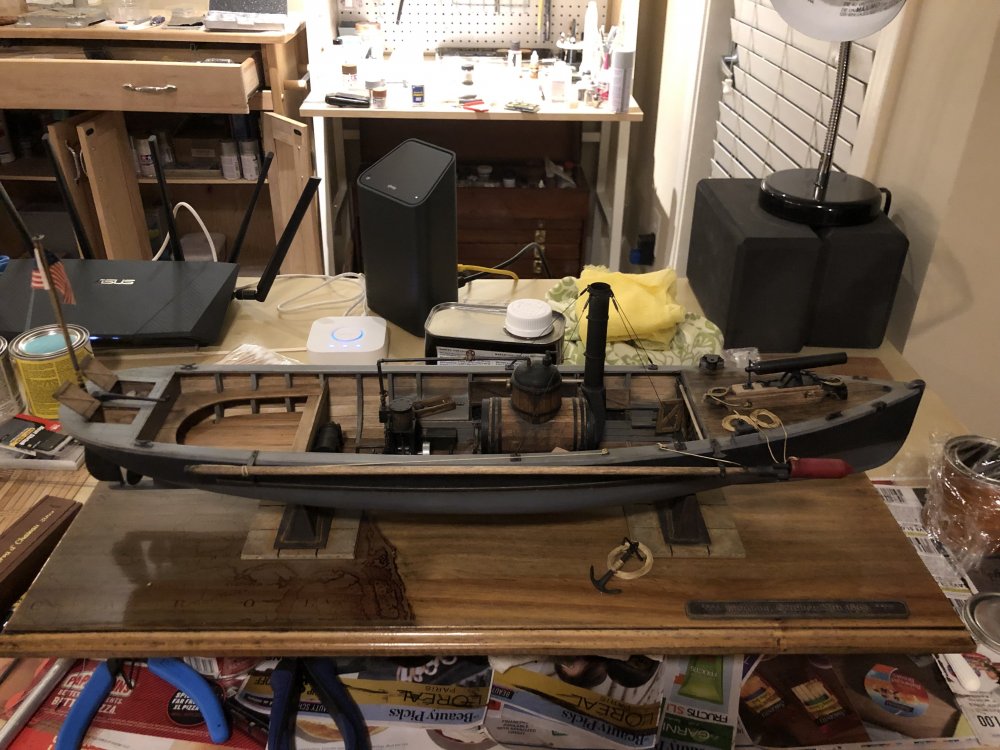
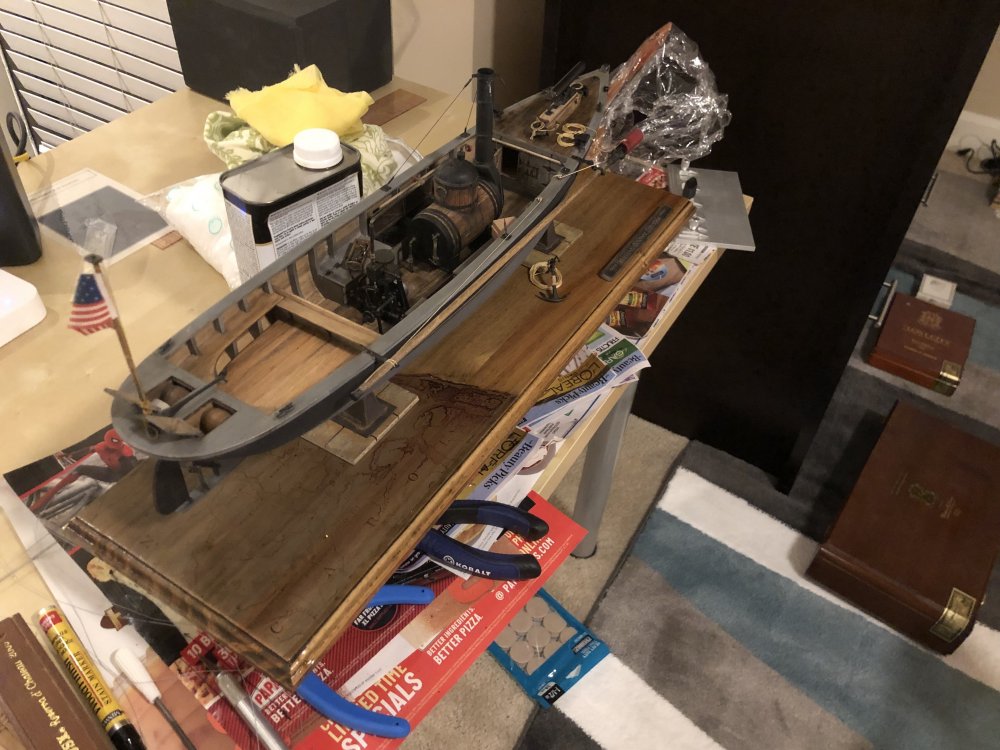
Some iPhone closeups...


-
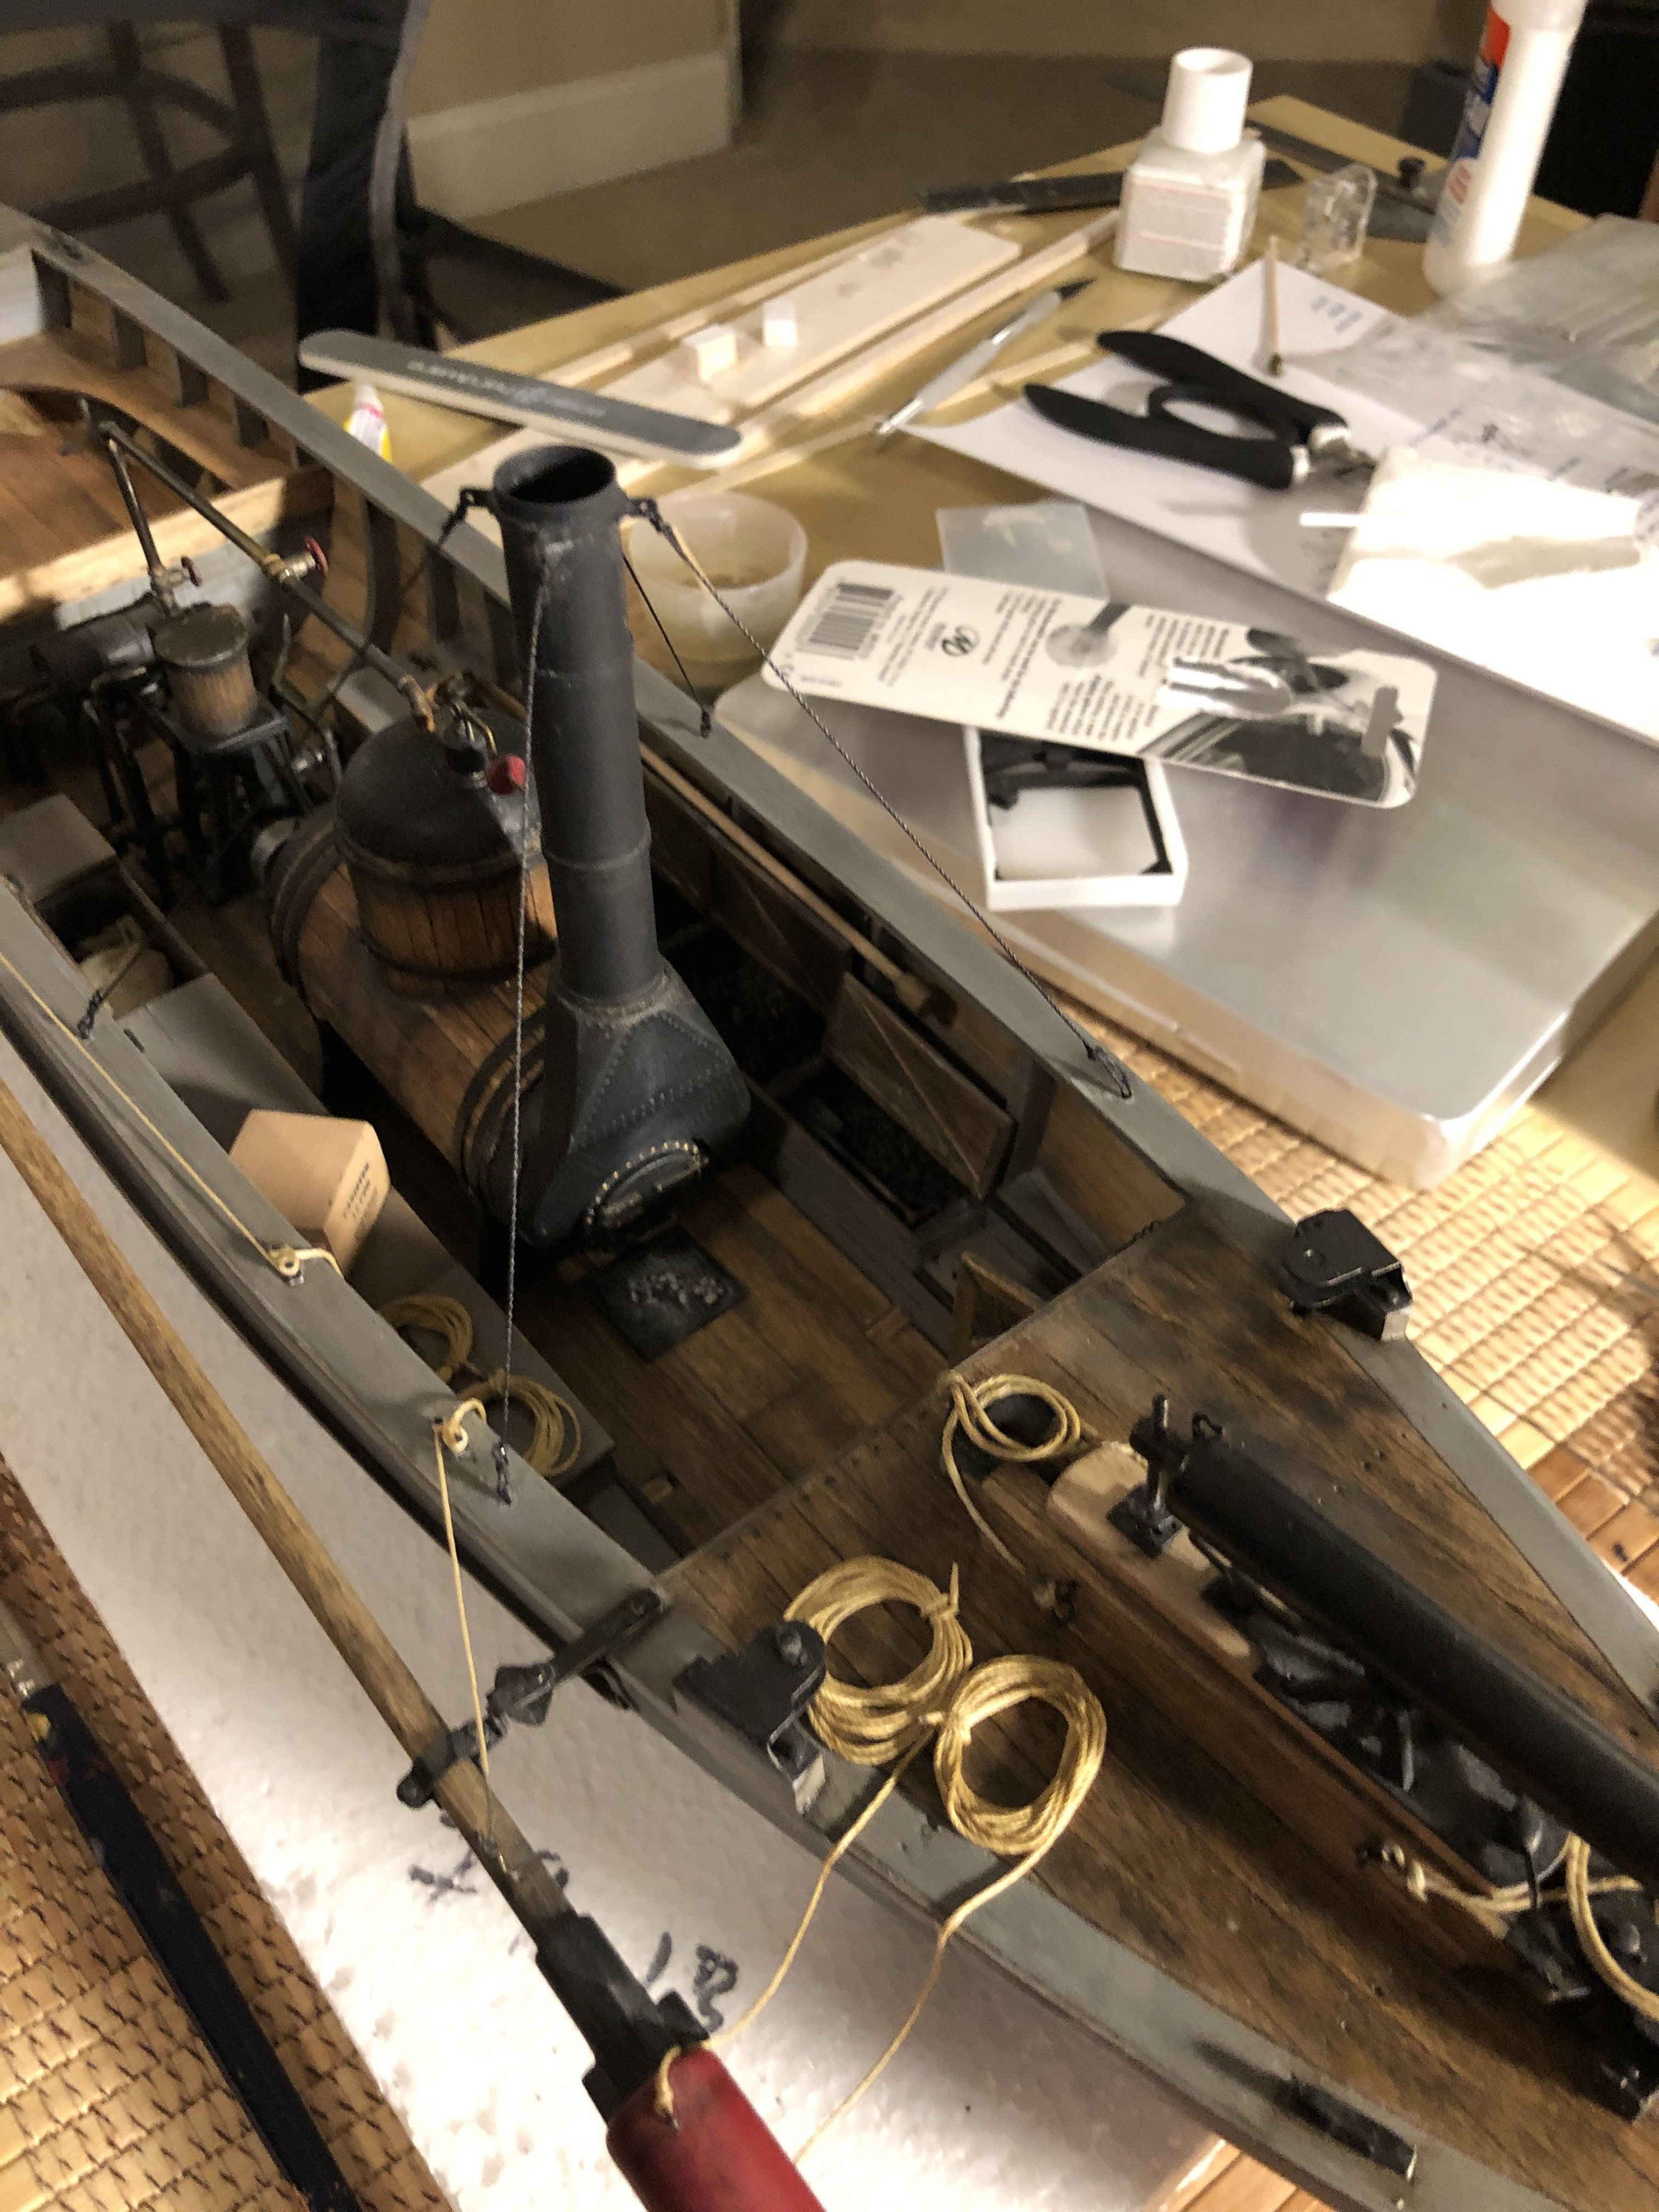
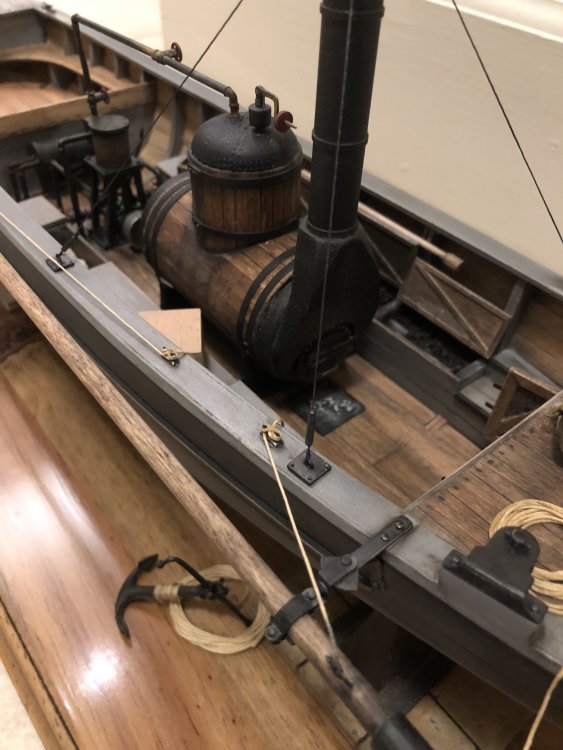
Calling this done...! At least for the moment I have a couple of buckets that still need a finish coat and handles, and two cases of carbine cartridges the need stencils... But those won’t be done before I hit the road for Chattanooga in the morning, so this will have to do. Overall i’m happy - I like the new rigging on the stack much better, and the base came together nicely. i still need to take some decent photos - so it has to survive the trip to the show. These will suffice for the moment though

-
Sweet! That gives me hope for my own future NMF builds...
-
CATCH-22!!!
-
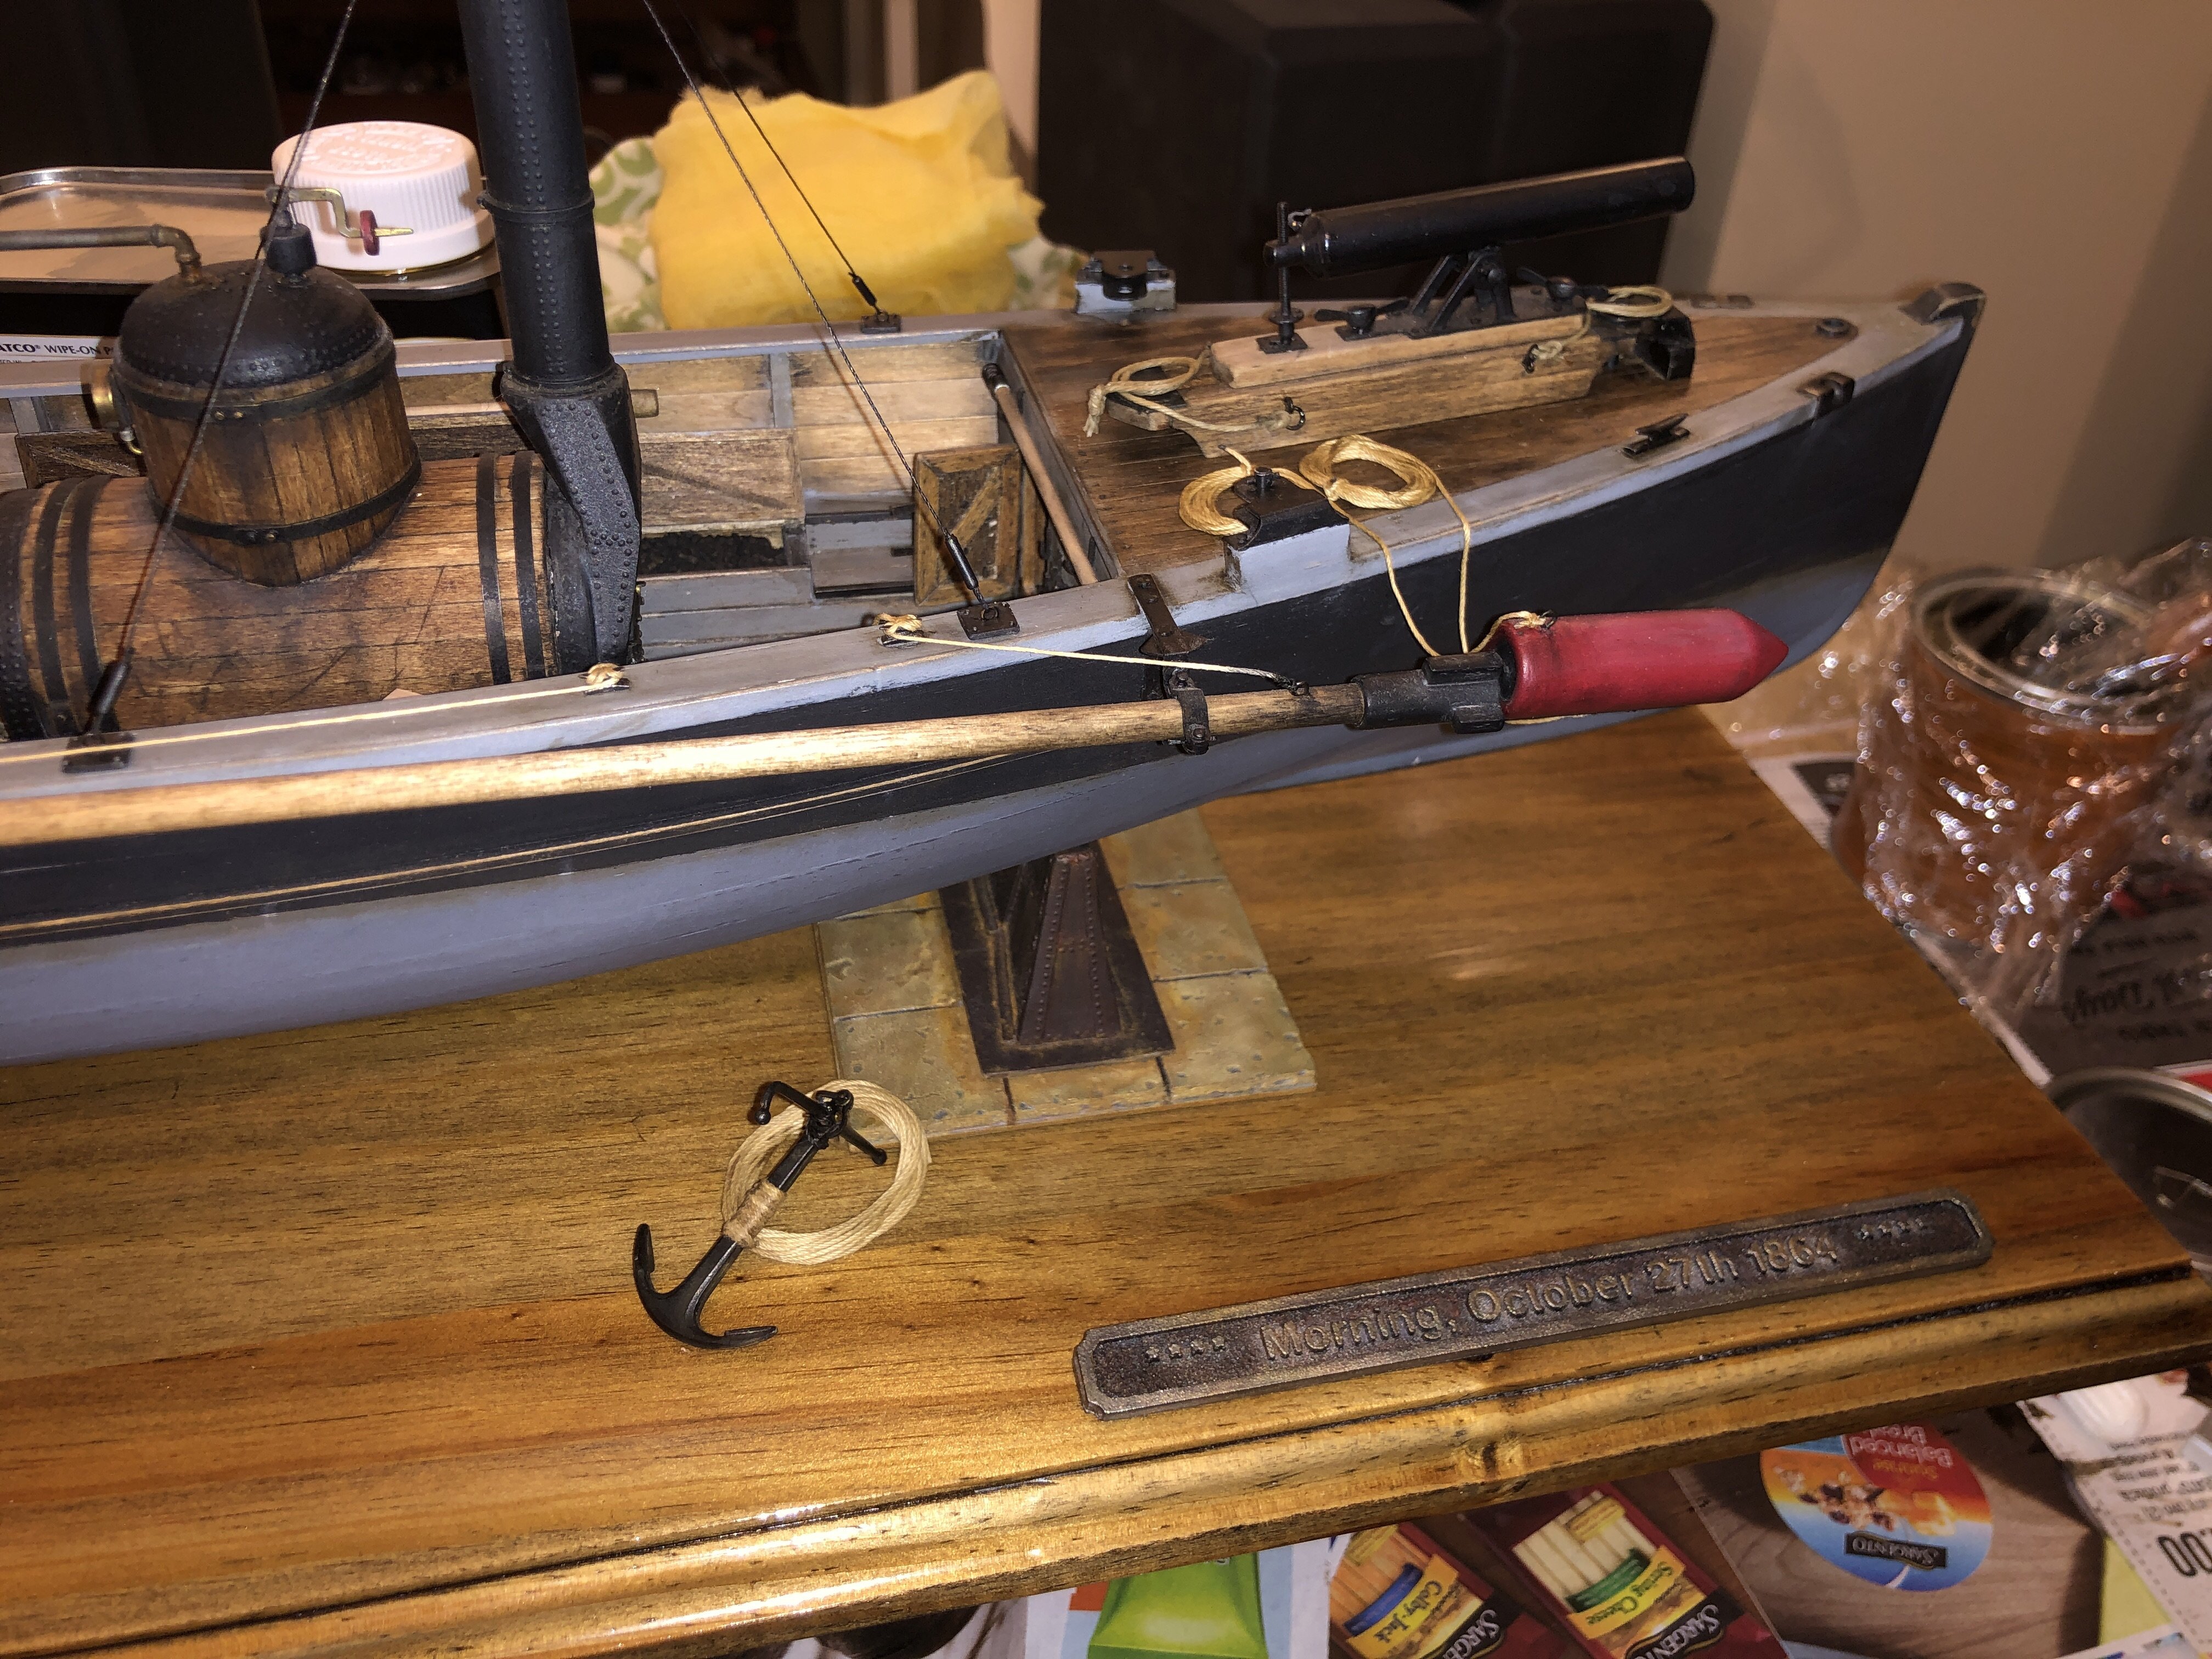
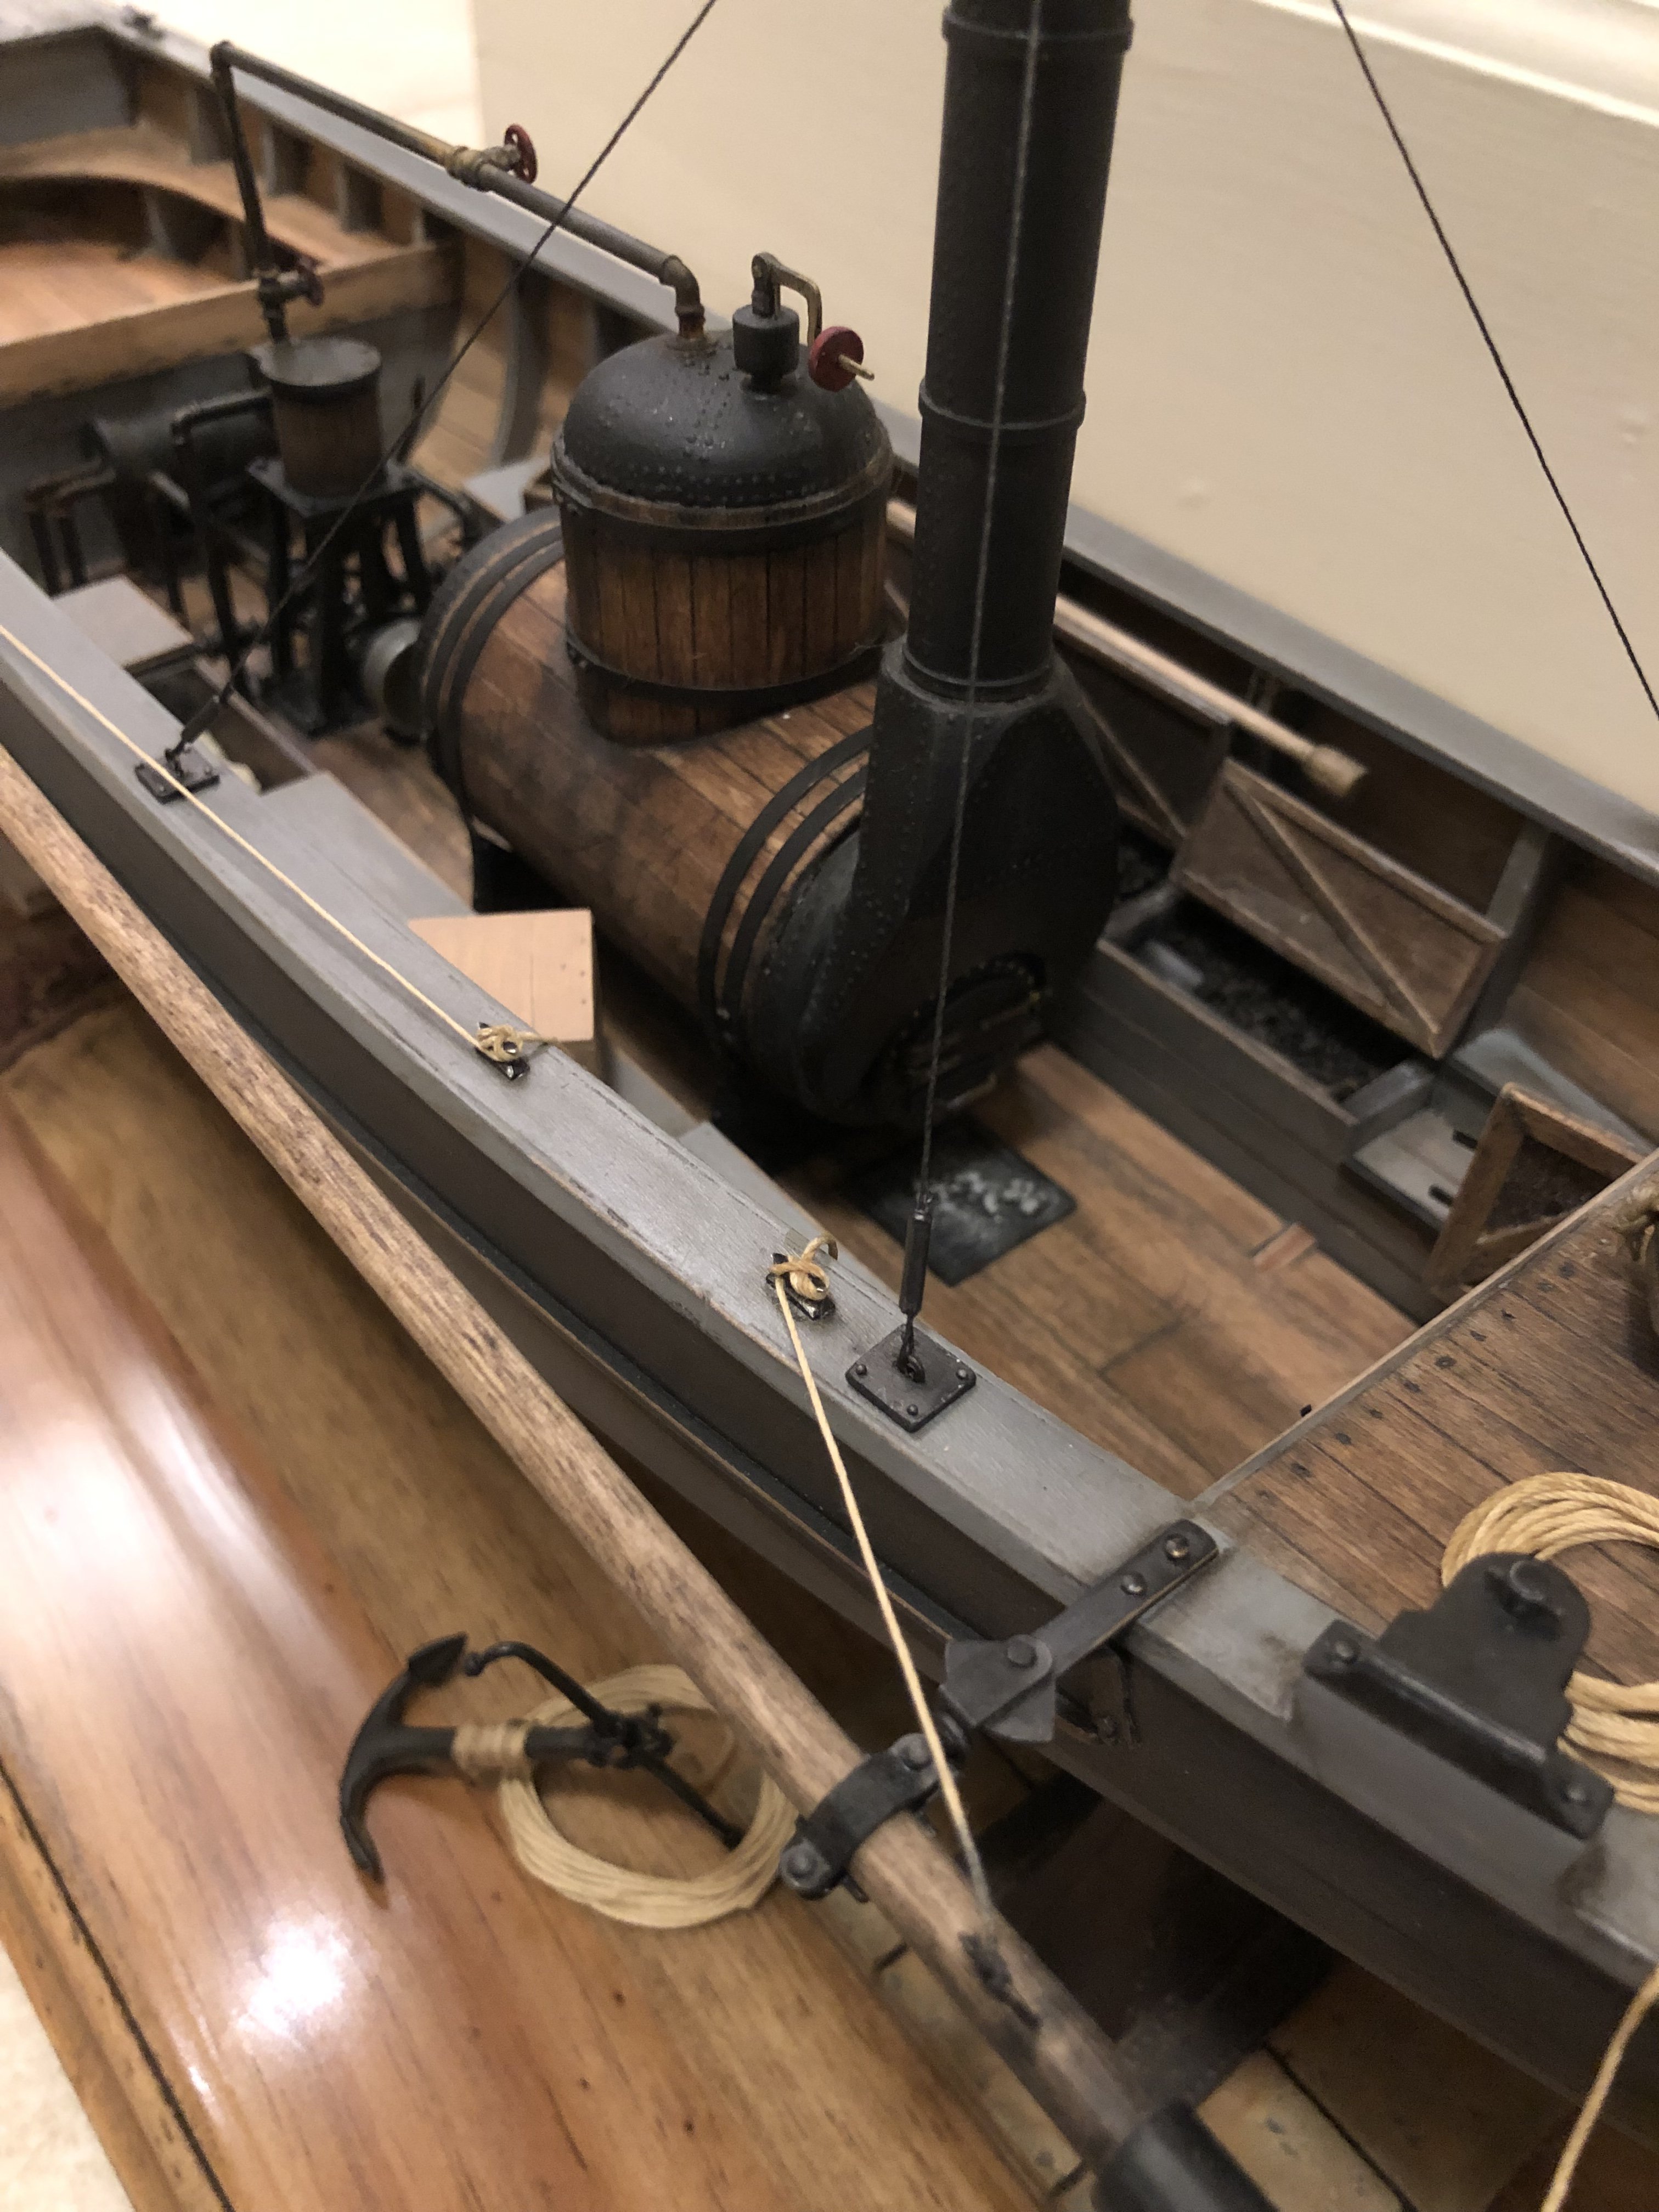
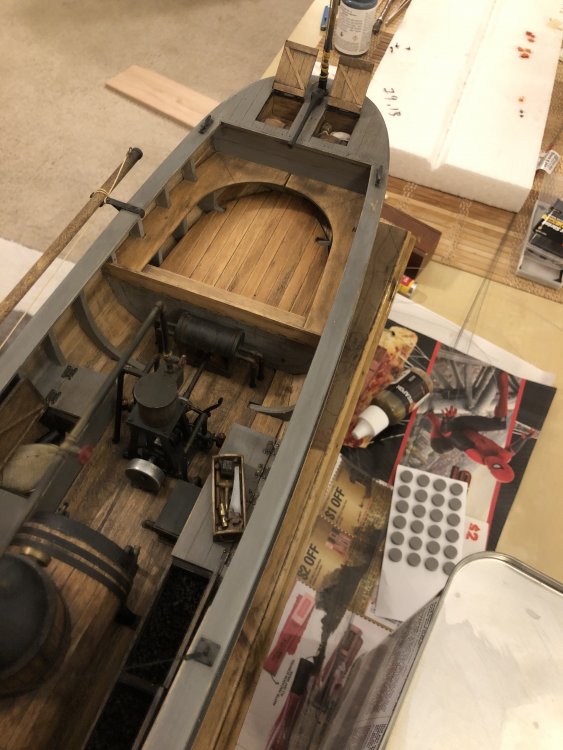
Finish coat of poly drying on the base and a good start towards the replacement rigging for the mast the kit approach was just an eyelet stuck in the gunwale. I went along with that because I was focused on other areas. The longer I thought about it, the less I liked it (and I was equally unhappy with the knots I used). so. New approach - iron plates and rings, with sleeved cables. I don’t know if it’s any more or less accurate - no records exist - but it should look better and i’m a lot happier with the idea. plates filled, primed, drilled and ready for a coat of liquid graphite, and the first new cable, also ready for graphite.

-
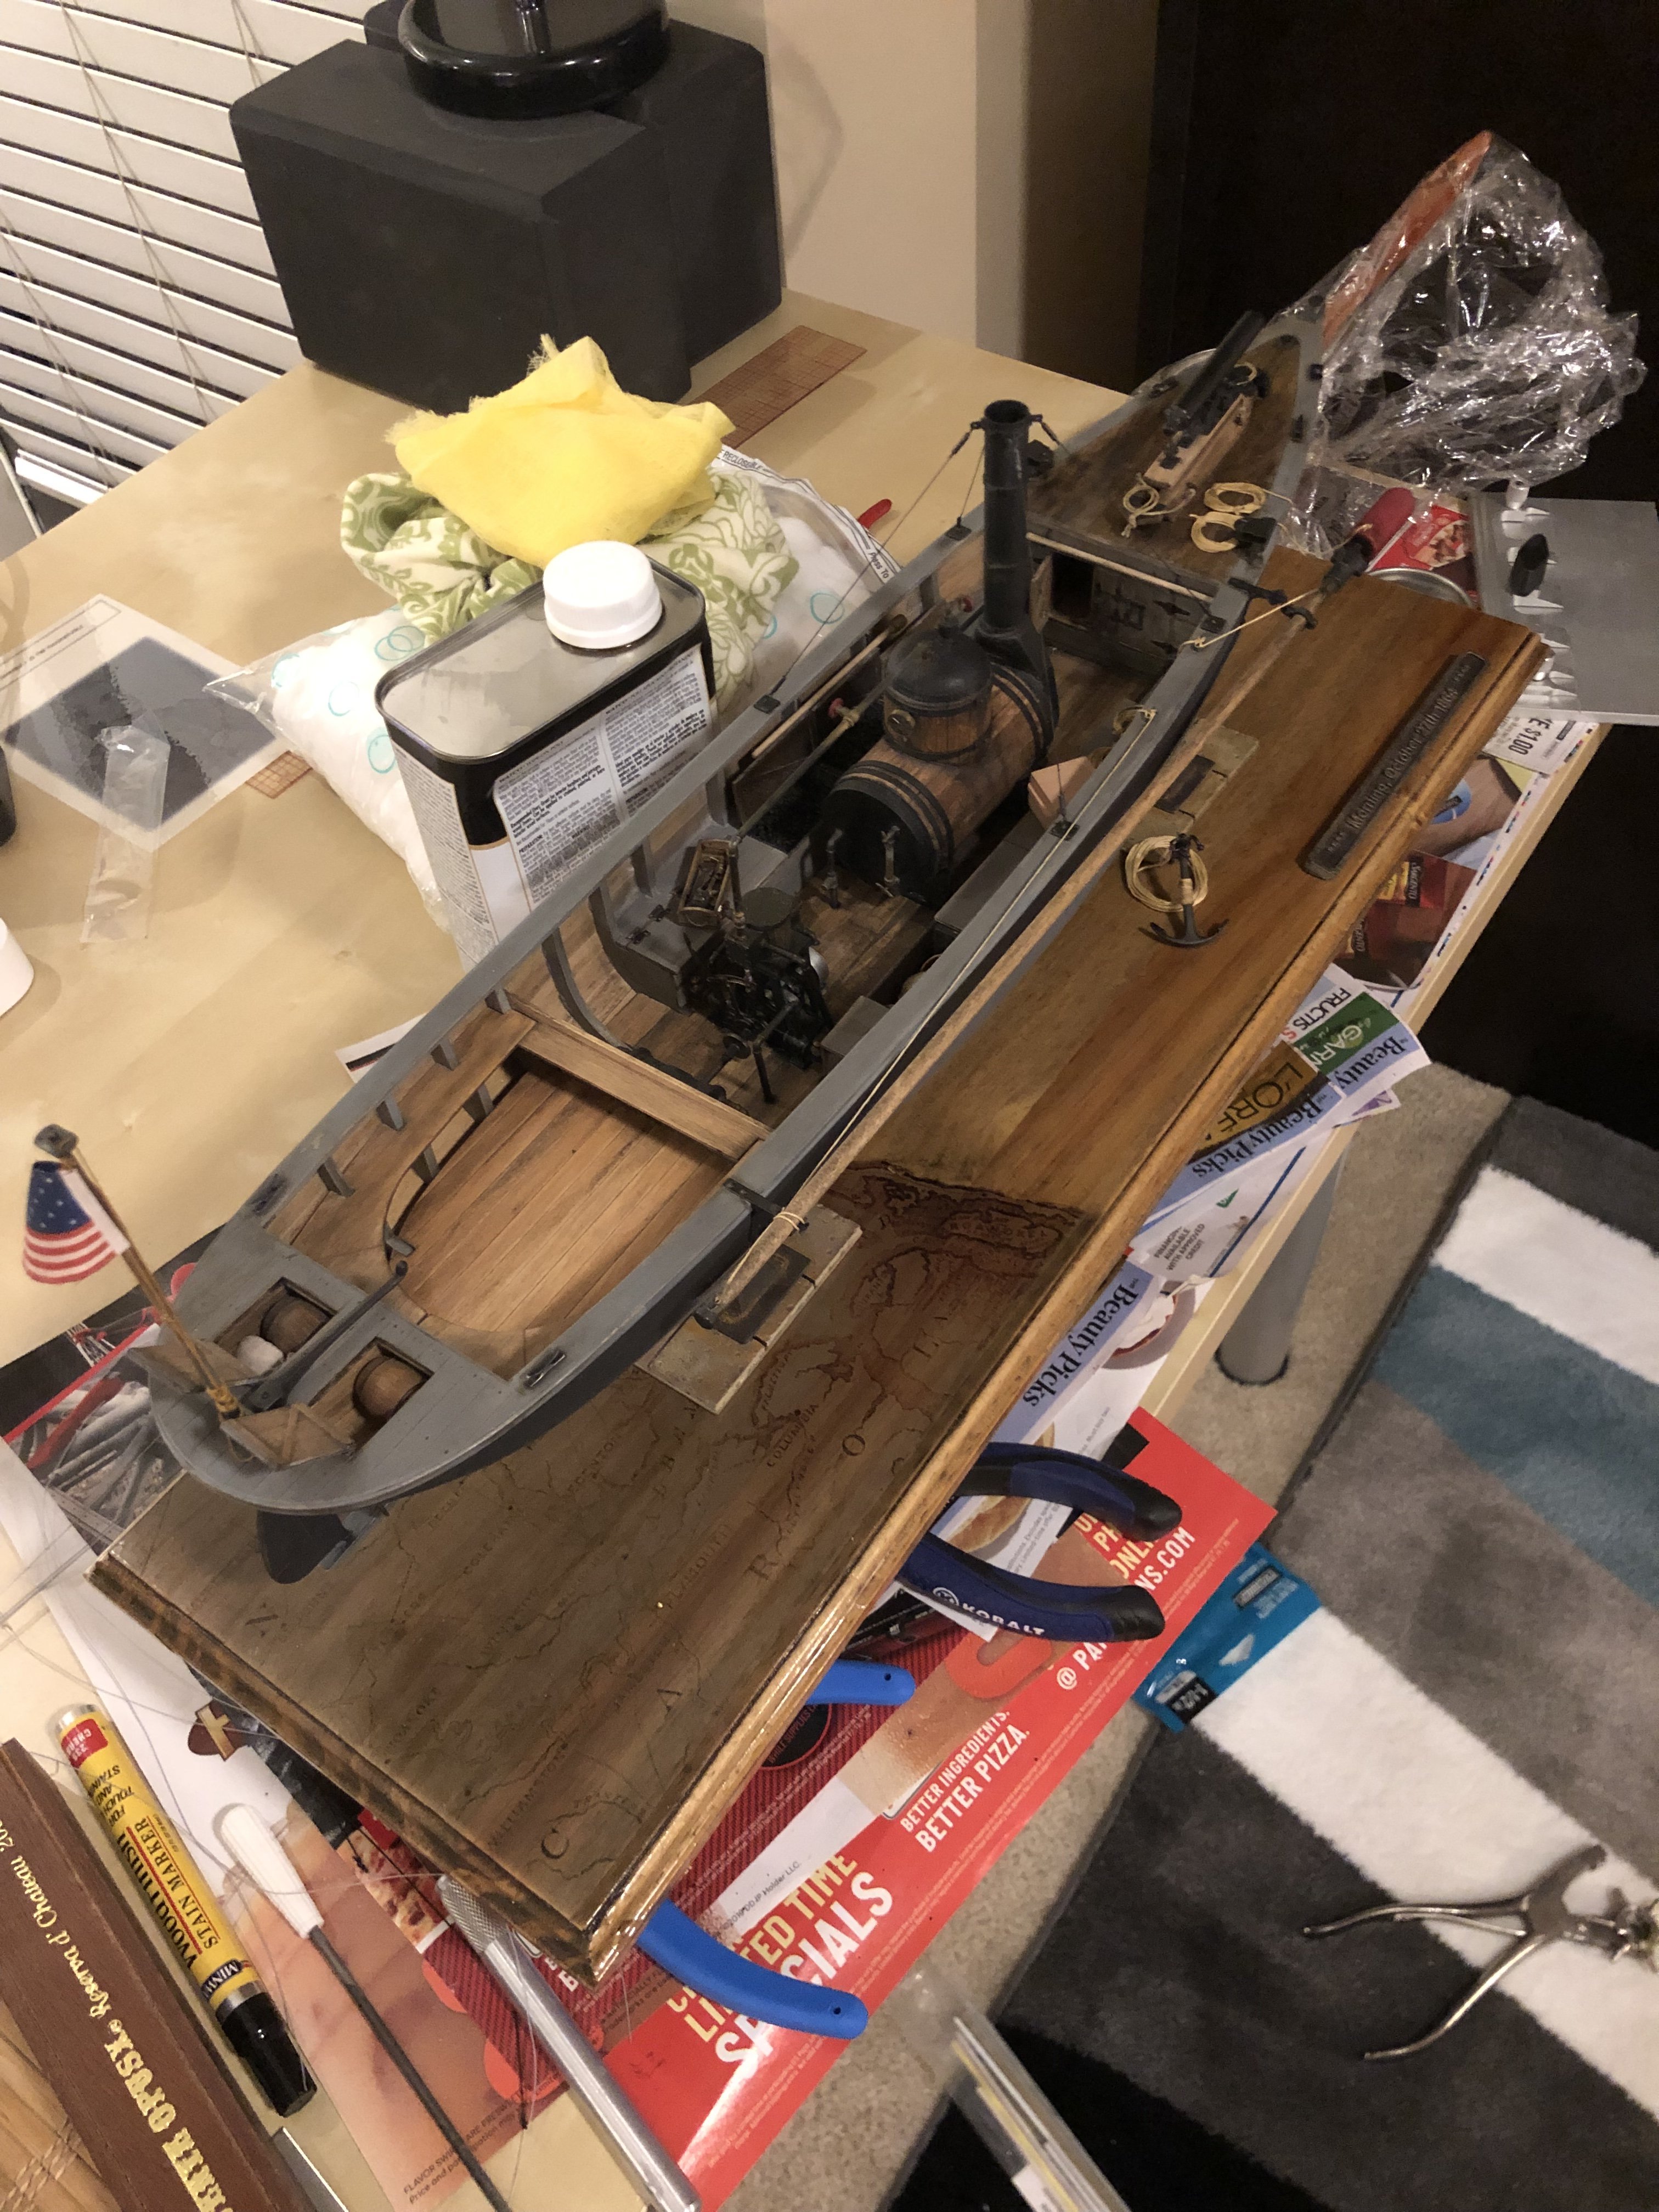
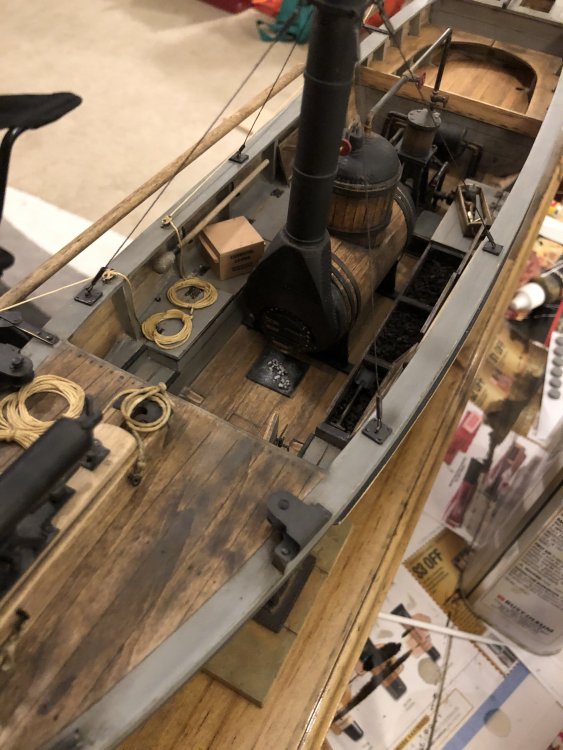
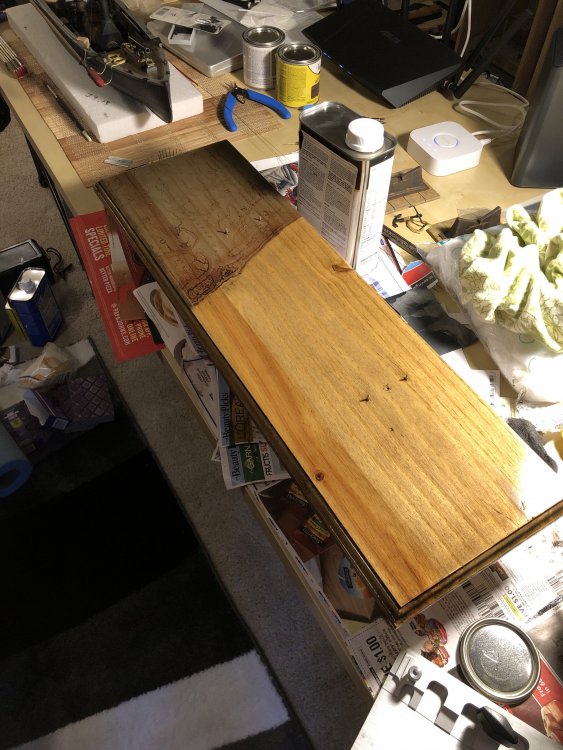
Disaster avoided - some careful trimming, sanding, and switching to a different poly seems to have done the trick. A few slight ripples where things really went pear-shaped in the first round will be mostly covered by the boat stands, nameplate and suchlike... i can breathe again, and finish the last details. i noticed yesterday that the rigging lines to the stack had gotten a bit slack in the two years since I first installed them, so have have to re-do them. I’m taking the opportunity to improve the look of the tie-downs while i’m at it - I never liked the kit approach, and this gives me a chance to scratch that particular itch. The rigging pic below is the “before” look. Assuming I don’t break anything else in the interim, i’ll post the “after” shot later today...

-
I think we have a theme going here...!
-
be careful what ya ask for!
-

-