BlrwestSiR
-
Posts
9,173 -
Joined
-
Last visited
Content Type
Profiles
Forums
Events
Gallery
Everything posted by BlrwestSiR
-
Bill, not sure if these pics help at all but here's my stalled out Kingfisher.
-

ProModeler 1/48 PBY-5A Catalina + Goodies, RFI
BlrwestSiR replied to CANicoll's topic in Let’s Get Wet Group Build.
Chris, you might want to cut the tail off before you glue the clear parts on. That way, if any cutting dust gets inside, it won't collect on them and you'll be able to get them out. Other than that, you're making great progress. Carl -
LSM Modelling News 2023 merged Fran and Artful69’s threads
BlrwestSiR replied to Fran's topic in Modelling Discussion
I read that and thought TB-2 in 1/35 would be absolutely huge. Of course I was thinking of this one: Whoops.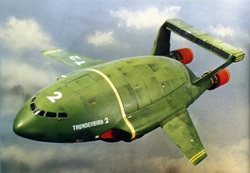
-
LSM Modelling News 2023 merged Fran and Artful69’s threads
BlrwestSiR replied to Fran's topic in Modelling Discussion
The sequel wasn't that great to be honest. -
LSM Modelling News 2023 merged Fran and Artful69’s threads
BlrwestSiR replied to Fran's topic in Modelling Discussion
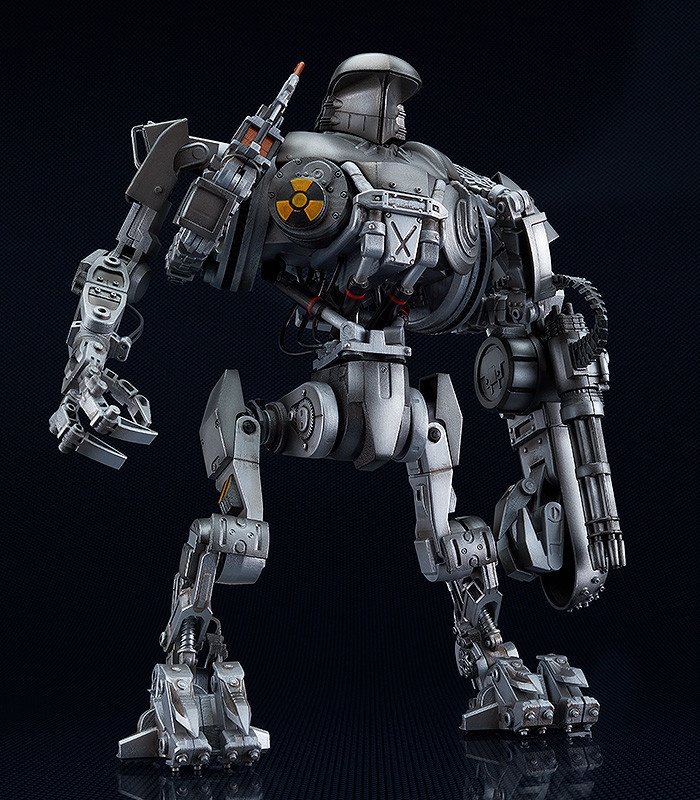
There's a 1/12 Cain coming out in March from Moderoid. It'll go nidely with their previously released ED-209.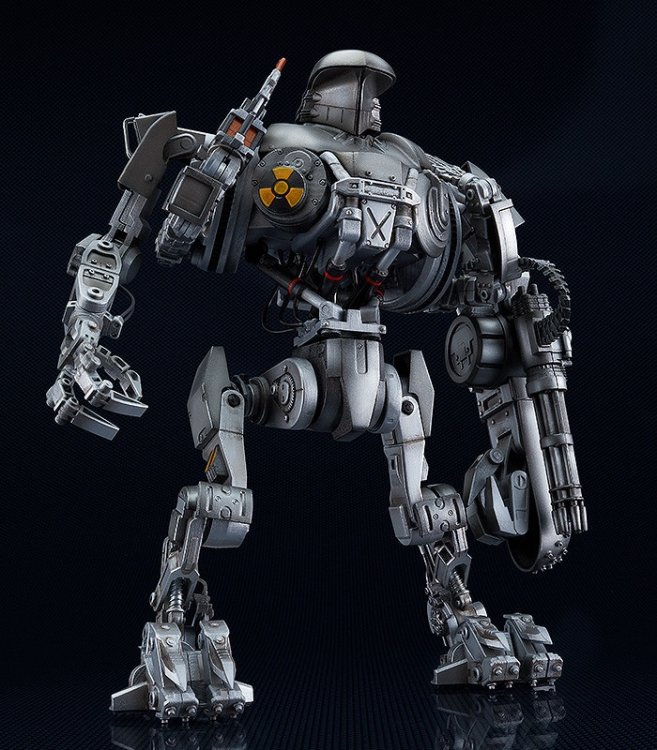
-
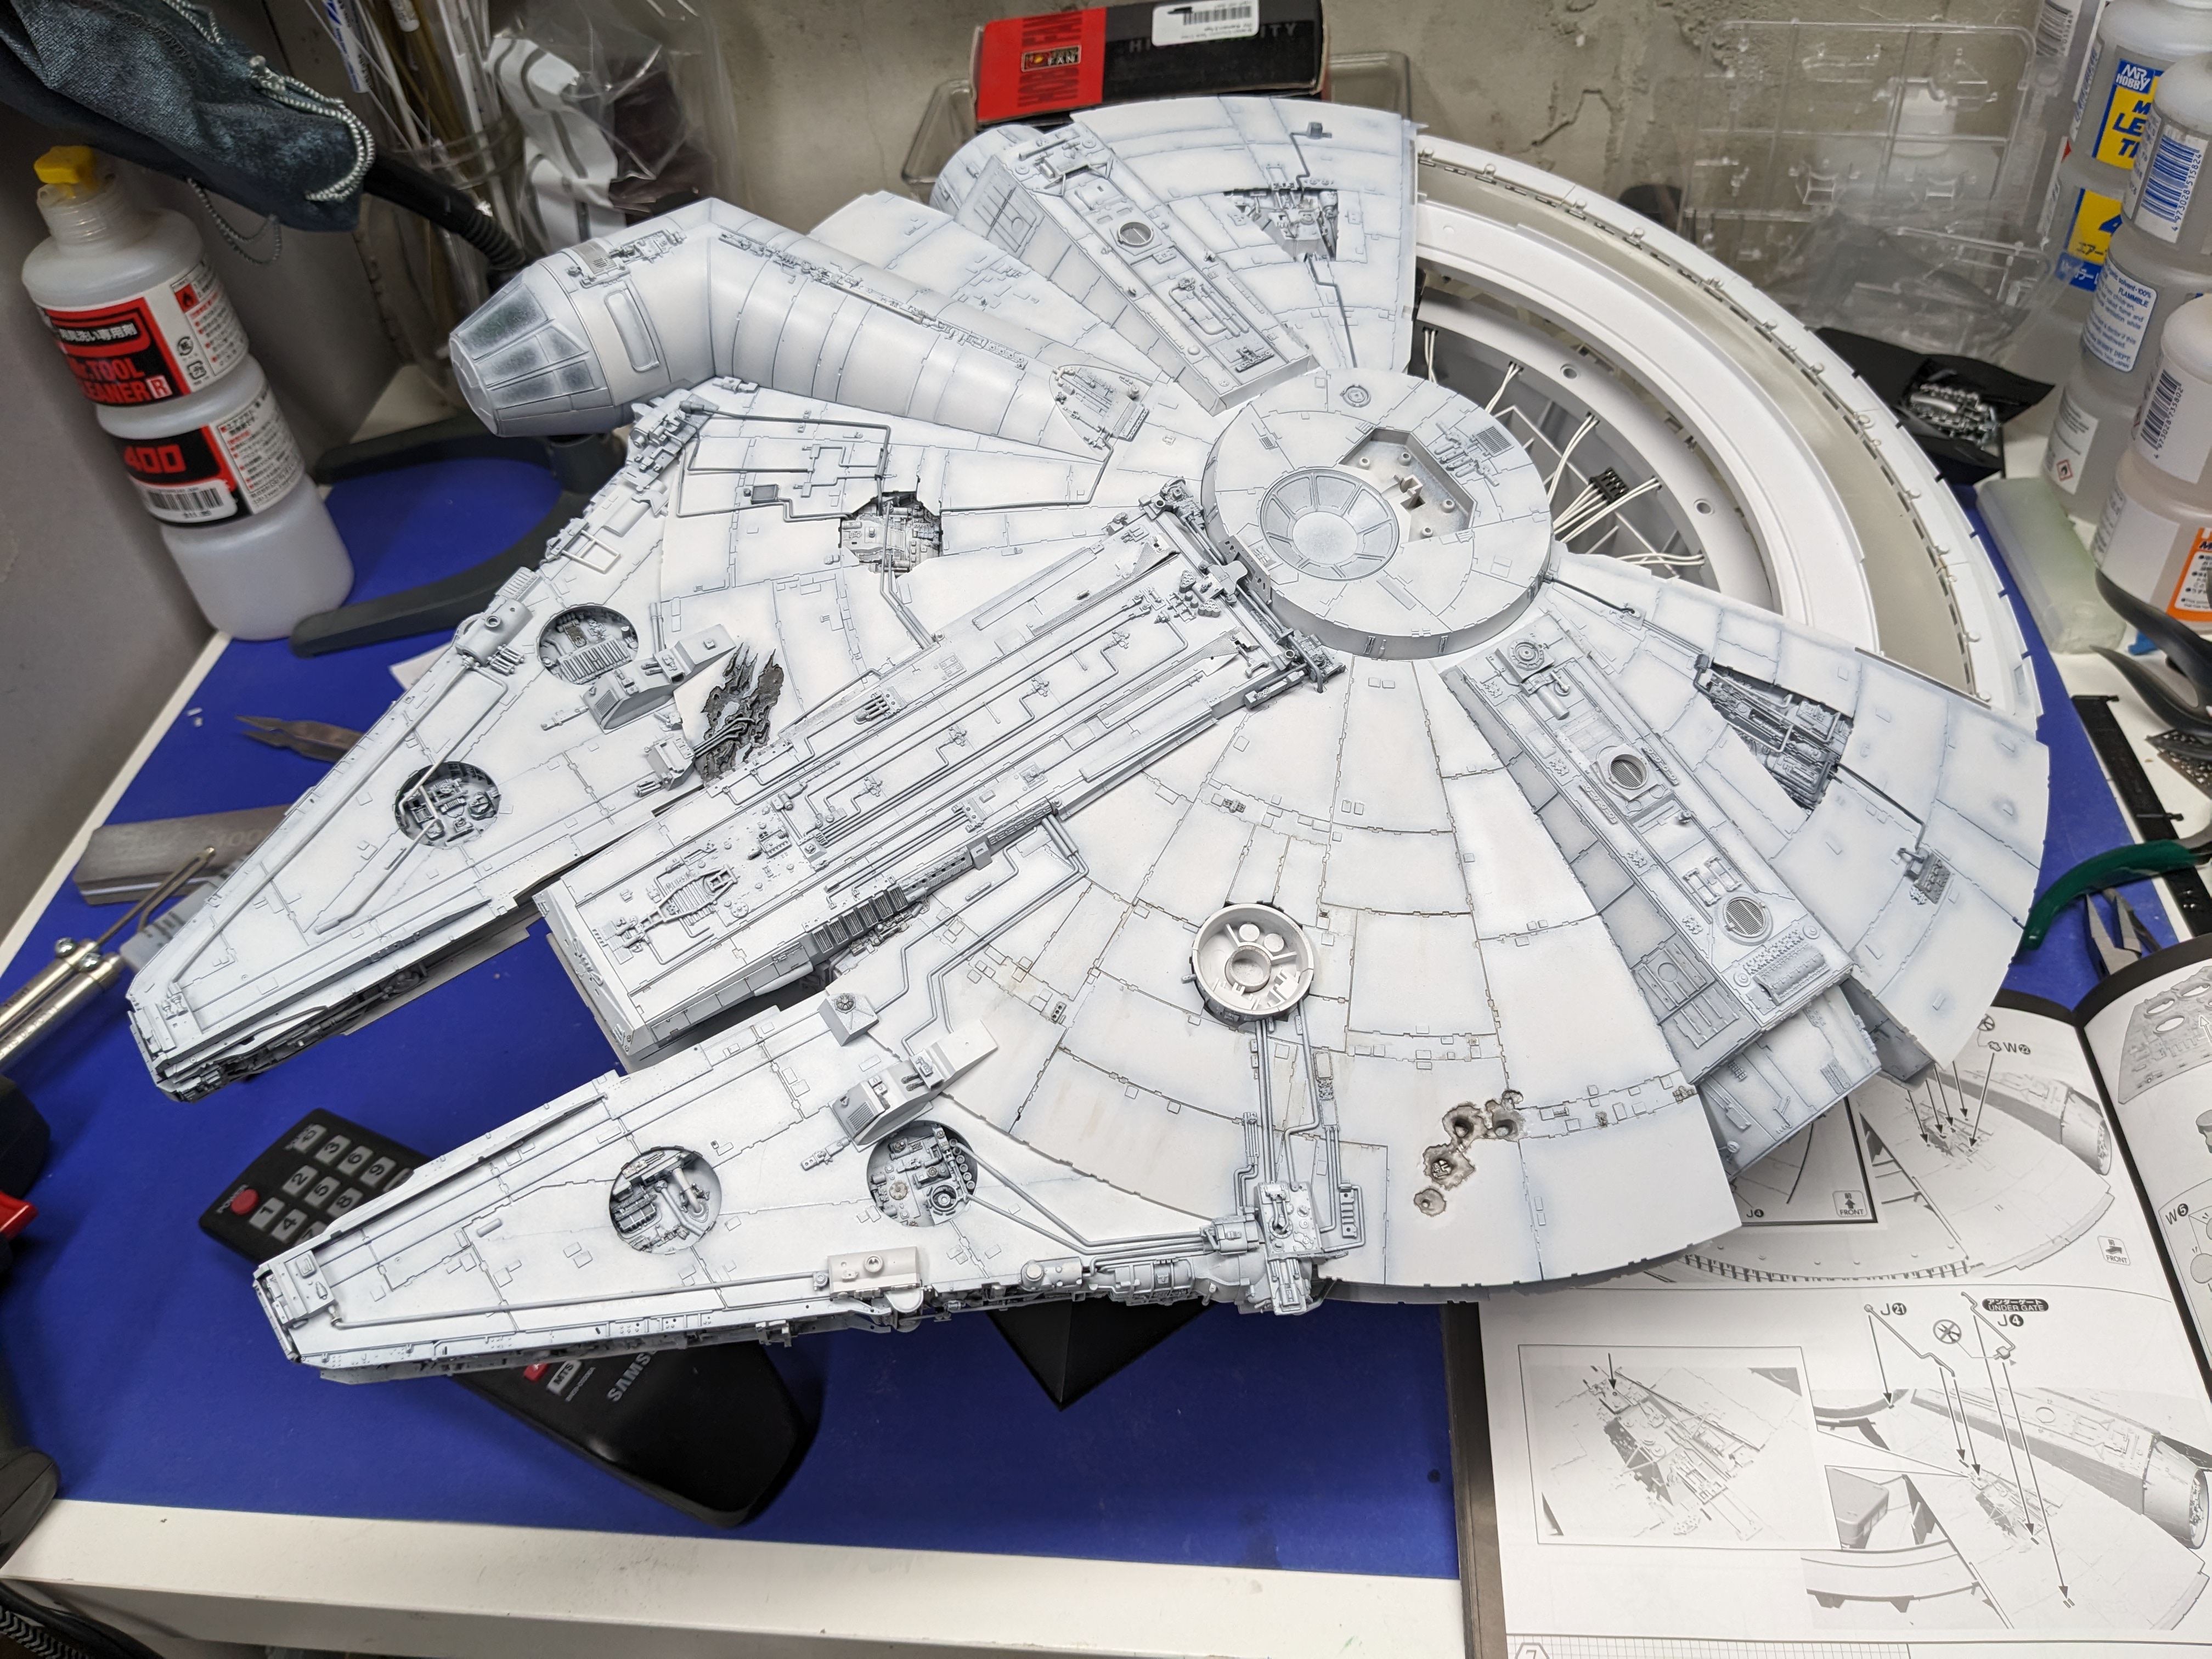
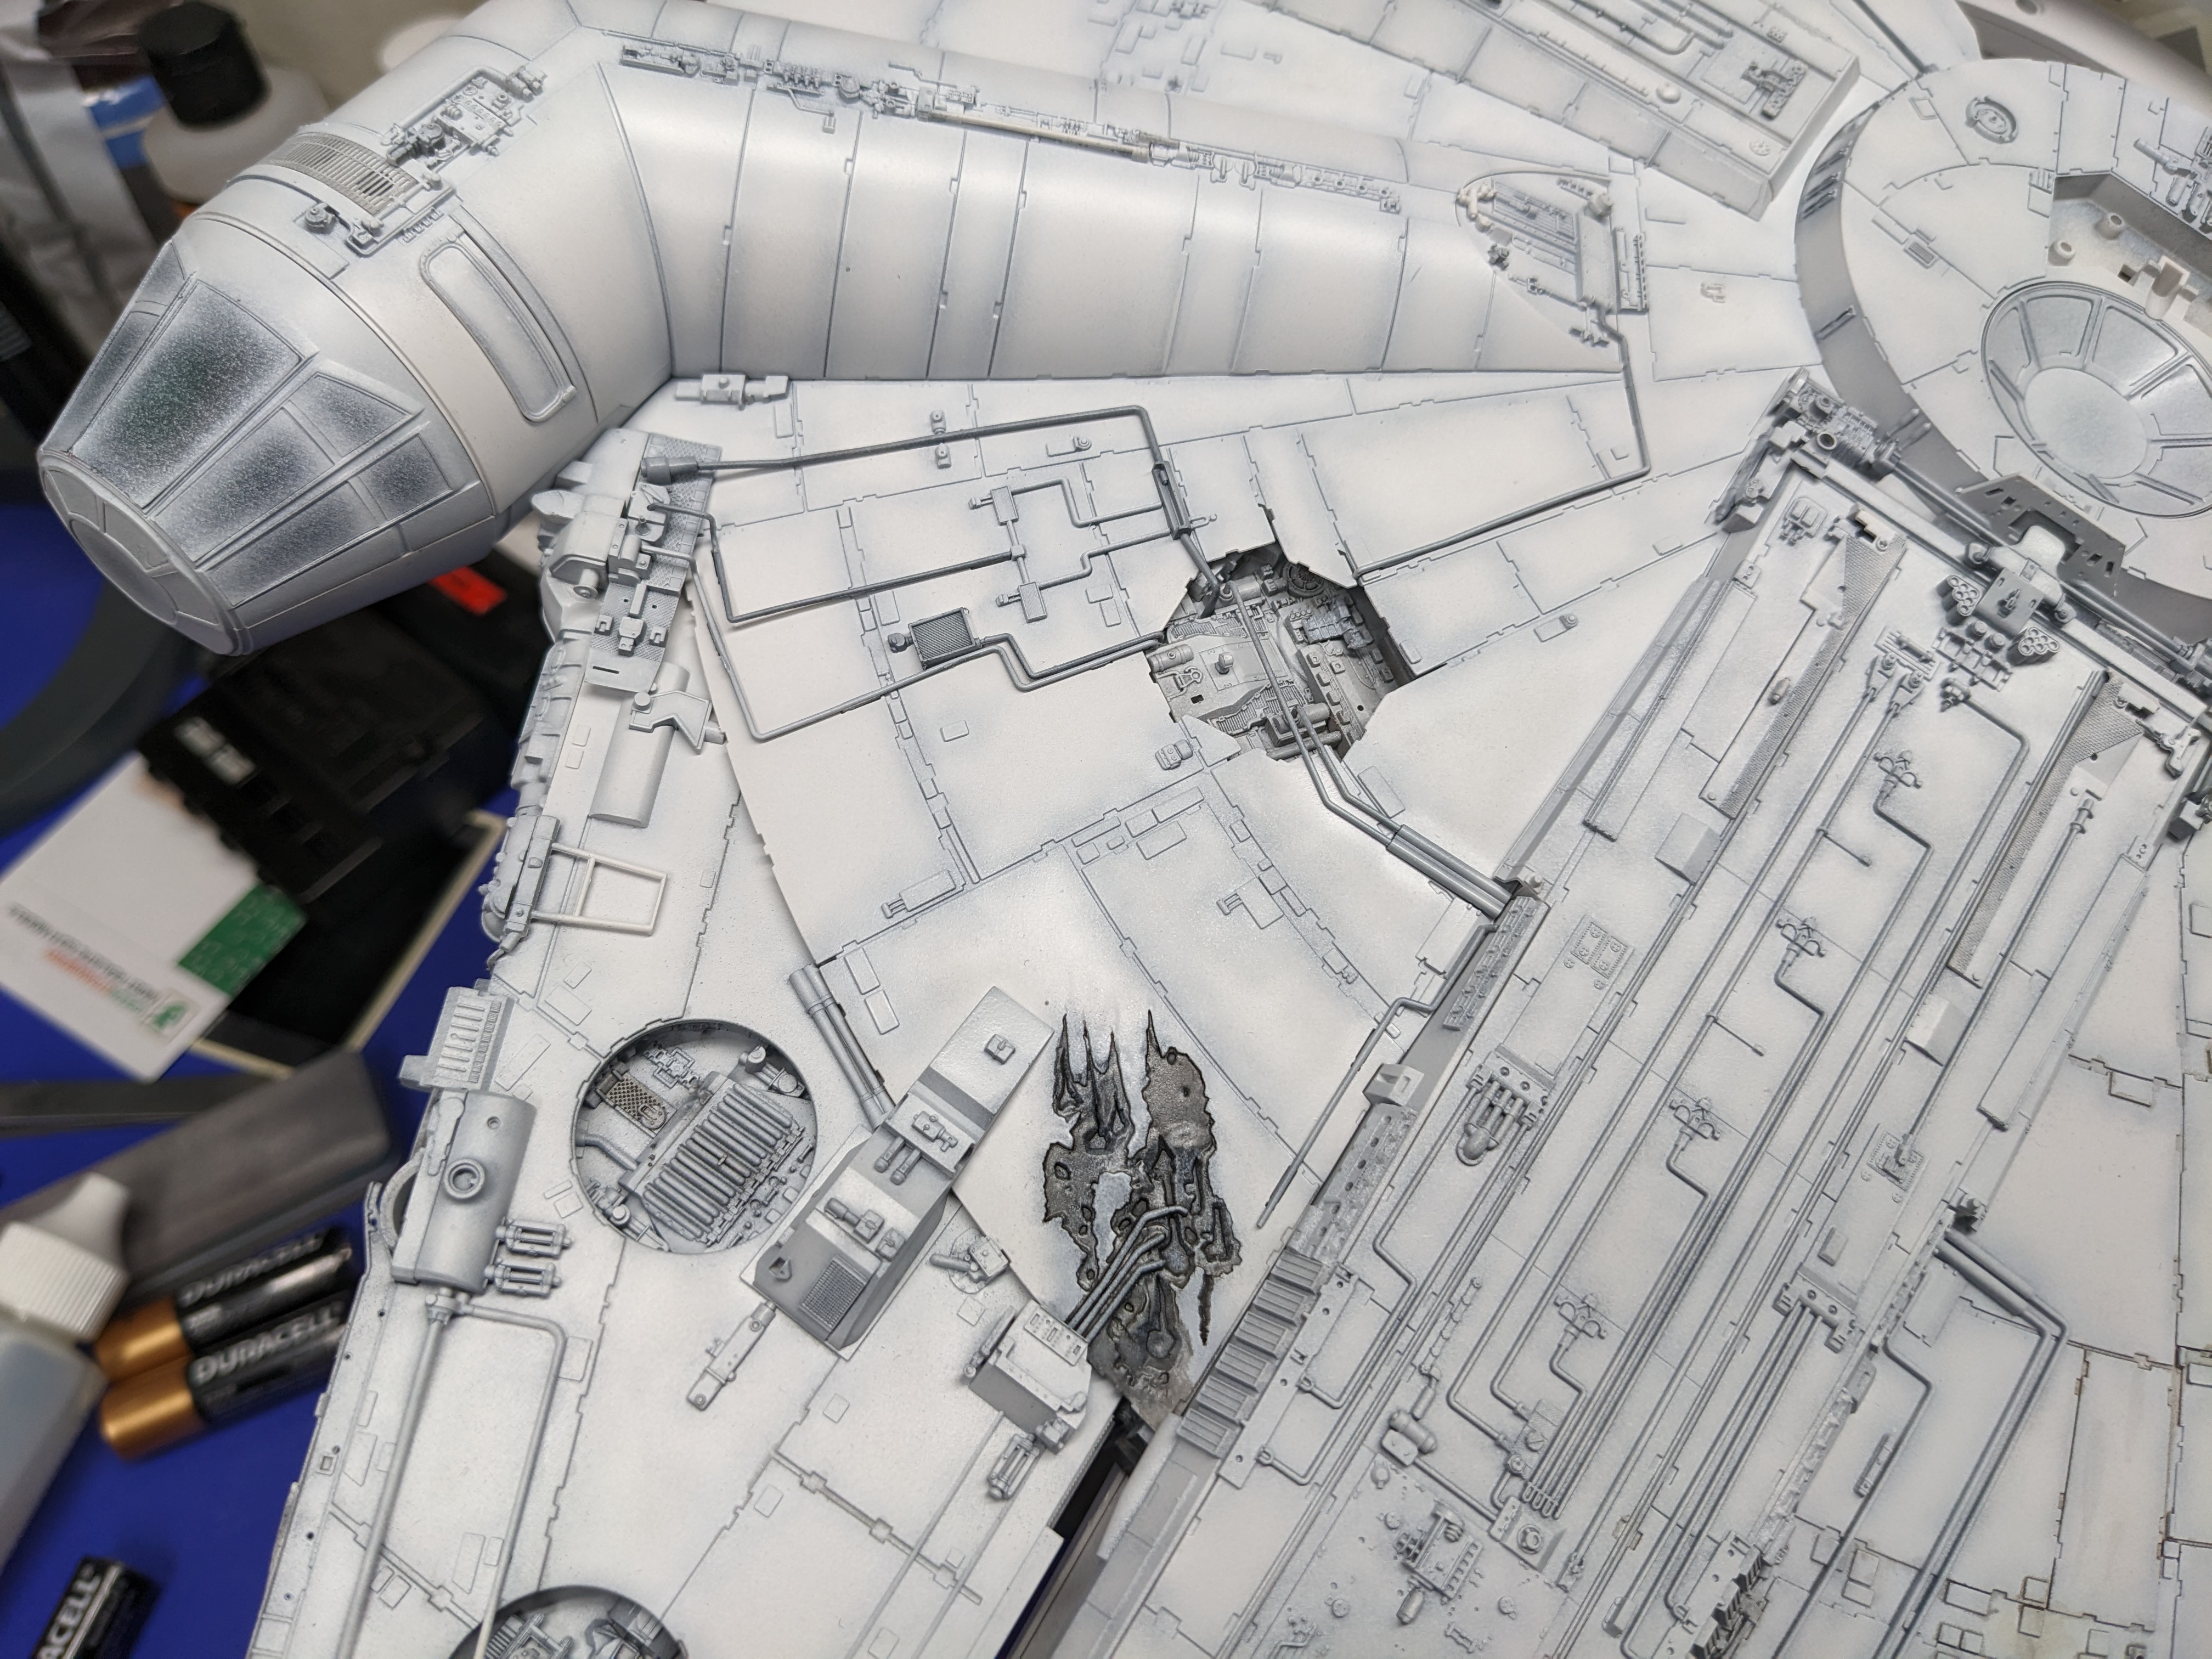
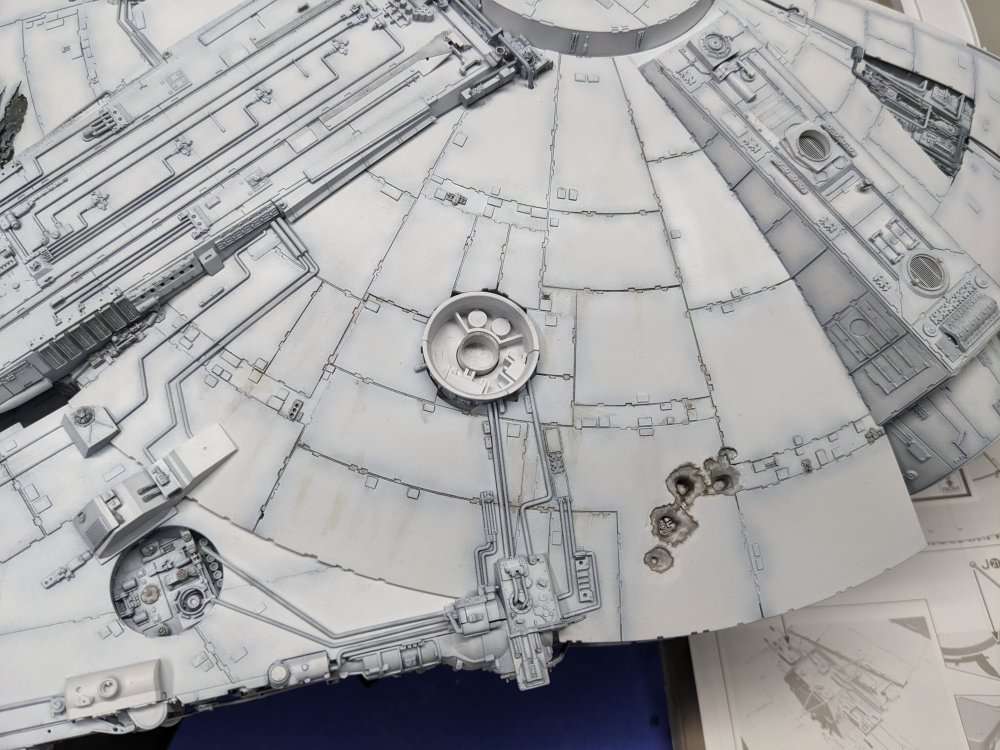
There's an R2-D2 in the model too. The mod makers loved sneaking thing like that in where viewers wouldn't notice them. In one of the city scenes from Blade Runner, the Millennium Falcon shows up as a building.
-
Small update. Work has been really busy and way more physical than usual. So I'm wiped out most nights coming home. Plus I've trying to finish a side job I started before Christmas. Anyways, I've been slowly adding the various piping and other small details to the hull. It's started to get suitably cluttered. I also tried some weathering on one section. I'm using a mix of Tamiya Panel liners in different colours to highlight the surface detail. Might be a bit subtle but it definitely shows up compared to the other sections.


- 115 replies
-
- 12
-

-

-
25' sounds about right for the Cameron Titanic model. It was only finished on once side so to film a pass down the other side, they would change some of the details so they were in mirror and then flip the image in post production. There's an even bigger Titanic model that was made for Raise the Titanic. It's 50' ft long and is still in Malta. If you're interested in movie special effects, there's a great magazine called Cinefex. It used to cover many of the visual effects used in various movies. I have some around somewhere.
-
Lots of work ahead of you Rob but I'm sure it'll be worth it with your skills. My boys are into capital ships but I haven't built one since I was their age.
- 329 replies
-
- 4
-
-
-
- uss arizona
- eduard
- (and 1 more)
-
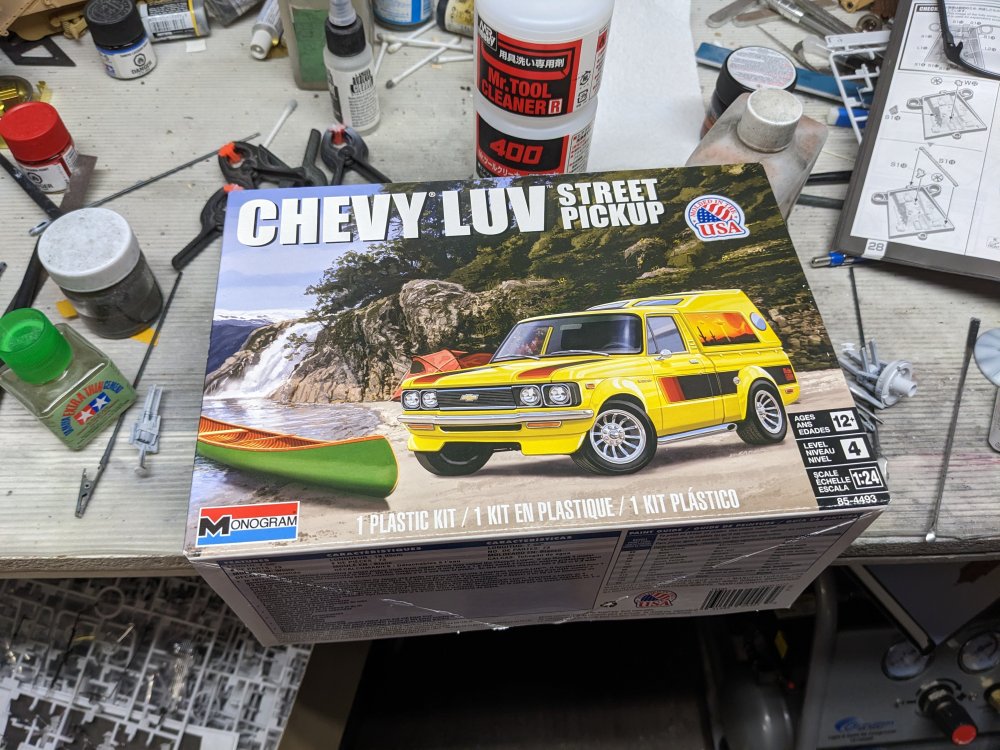
I stopped by my LHS and they had a sale on Revell car kits so I decided to go down memory lane and pick up a kit I built when I was around 8. Hopefully I do a better job this time and it doesn't keep falling apart on me like the original one did.
-
Thanks for the info. I'll try to find an AFV Club one since I technically have Taiwanese citizenship as well as Canadian. Carl
-
Sounds like you're making some progress there Rog. Sorry to hear about the lighting mixup. Hopefully it's not too much to have it done. I've been swapping out a bunch of incandescent pot lights ( I think that's what they call your down lights here) for low profile LED ones lately at work. They really do make quite a difference. Carl
-
I'm a fan of Coastal Command Mossies and the Banff Strike Wing ones myself. They used some interesting camo schemes. This is my first Tamiya Mossie in the Ad Hoc scheme which was a thin coat of Dark Sea Grey sprayed over the standard night fighter camo. There's also the MK XVIII Tse Tse with the 6 PDR which is what I'm planning to do with my second kit. Aviaelogy used to have some great decal sheets for Mossies that carried nose art but it may be hard to find.
-
Nice to see some Canadian/Commonwealth armour subjects. I haven't done a Cent yet. The Amusing Hobby AVRE version got my interest piqued though. And now AFV club have come out with one as well. Carl
-
Peter, just catching up on your build and it looks great. It's a great approach to just build it OOB and have fun.
-
ProModeler 1/48 PBY-5A Catalina + Goodies, RFI
BlrwestSiR replied to CANicoll's topic in Let’s Get Wet Group Build.
Nice job on the paint. It's sometimes easier to work on subassemblies and then maybe do touchups once they all come together. Which has been my approach on the Falcon. As for the black, check out the new Mr Color Aqueous Surfacer in black. It's got a satin finish and sprays on beautifully. Carl -
Nice start on the IP. That's a lot of AM for the kit. I guess it'll be all folded up. Not a bad idea since it'll take up less space.
-
ProModeler 1/48 PBY-5A Catalina + Goodies, RFI
BlrwestSiR replied to CANicoll's topic in Let’s Get Wet Group Build.
Nice progress Chris. Looks like the nose gear door might have some interference causing the fit to change. Should be an easy fix. -
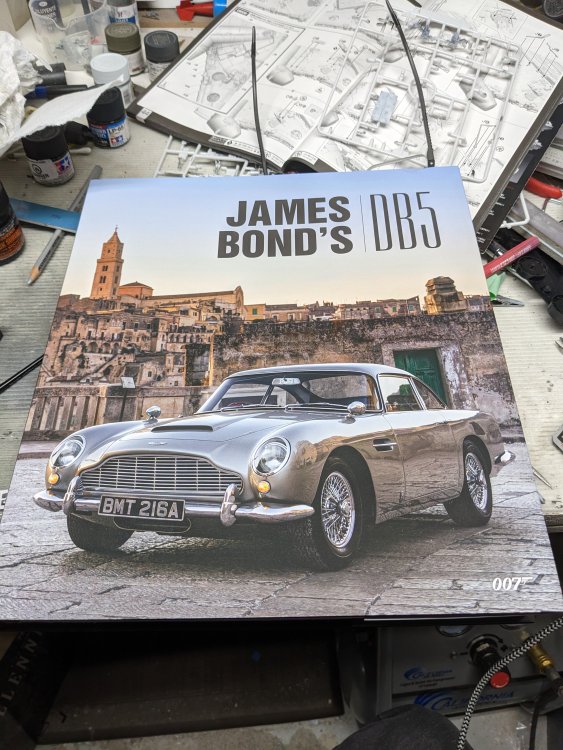
Martin... ....Aston Martin. A fun read on the history of the car through the films.
-
I've been using sprue goo for a long time too. Like others, I mixed it in a Tamiya Extra Thin bottle. I have it on the thinner side so that I can brush it on easier and it dries faster. Does mean I sometimes need more than one coat. It's good for those time you're scribing and the lines go awry. Carl
-
What is on your bench right now ? Share a picture :)
BlrwestSiR replied to Martinnfb's topic in Modelling Discussion
Mark, like the others, I haven't seen one of those built so it would be nice. Carl -
No kidding. Flu was bad this year. At one point, 1/3 of my youngest's classmates were home with the flu. Thankfully we'd gotten their flu shots so they dodged that bullet. I should use this with Sue when she asks me to do any manual labour. Mind you, she'd probably cuff me up the head and make me do it anyways. As for you Gary, keep the defense up and stay healthy. Hope your wife recovers quickly too.
-
Artizan Designs' WWII Painting and Camo Guide
BlrwestSiR replied to MARU 5137's topic in General Discussion
Thanks Maru! I'm still not the best at figure painting either so those should help. Carl -
Yup, just slightly harder to get than a Tamiya Thunderbird F-16.
-
Not sure what changes have happened. I think that it's probably volume more than anything. But, it got here and in one piece so I'm fine with it.