BlrwestSiR
-
Posts
9,209 -
Joined
-
Last visited
Content Type
Profiles
Forums
Events
Gallery
Everything posted by BlrwestSiR
-

What is on your bench right now ? Share a picture :)
BlrwestSiR replied to Martinnfb's topic in Modelling Discussion
It was HIGHLY recommended that we stop at two by not just my wife's OB but my father in law who is a retired pathologist. Actually, her OB's exact words were "You're done!" -
2nd Annual LSM Christmas raffle and winners list
BlrwestSiR replied to Clunkmeister's topic in General Discussion
The good news there is I'll hopefully have cleared off enough of my workbench to start on it once it does come out. Carl -
Good F-16 kit for a first time modeller
BlrwestSiR replied to Drifter's topic in Modelling Discussion
I'd agree that the Tamiya kit is probably the best option. The Hasegawa kit is good but over 30 years old now. The Kinetic is more recent but may be a bit more fiddly to build. Carl -
What is on your bench right now ? Share a picture :)
BlrwestSiR replied to Martinnfb's topic in Modelling Discussion
My reply to that was "IT WAS YOUR IDEA!!!" At least after the second one. Carl -
Tamiya now have the kit listed for an April release. A bit more expensive than the previous versions though. https://www.tamiya.com/english/products/60328/index.htm Carl
-
Cool! I've got the AIMS conversion to build this in 1/32 using the Revell A-4 kit. Carl
-
What is on your bench right now ? Share a picture :)
BlrwestSiR replied to Martinnfb's topic in Modelling Discussion
Congrats Tony! The mobile idea for the planes sounds awesome. Carl -
Nice ride Rob! I don't see many white Jeeps so different too. Carl
-
What is on your bench right now ? Share a picture :)
BlrwestSiR replied to Martinnfb's topic in Modelling Discussion
First coat of paint on the GT-R body.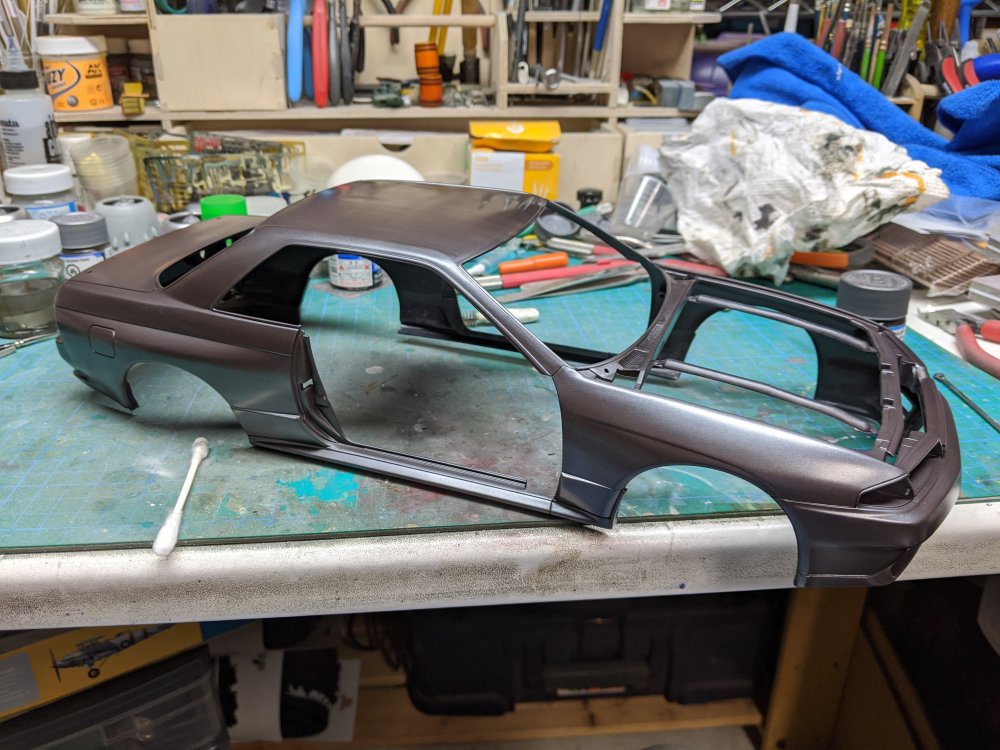
-
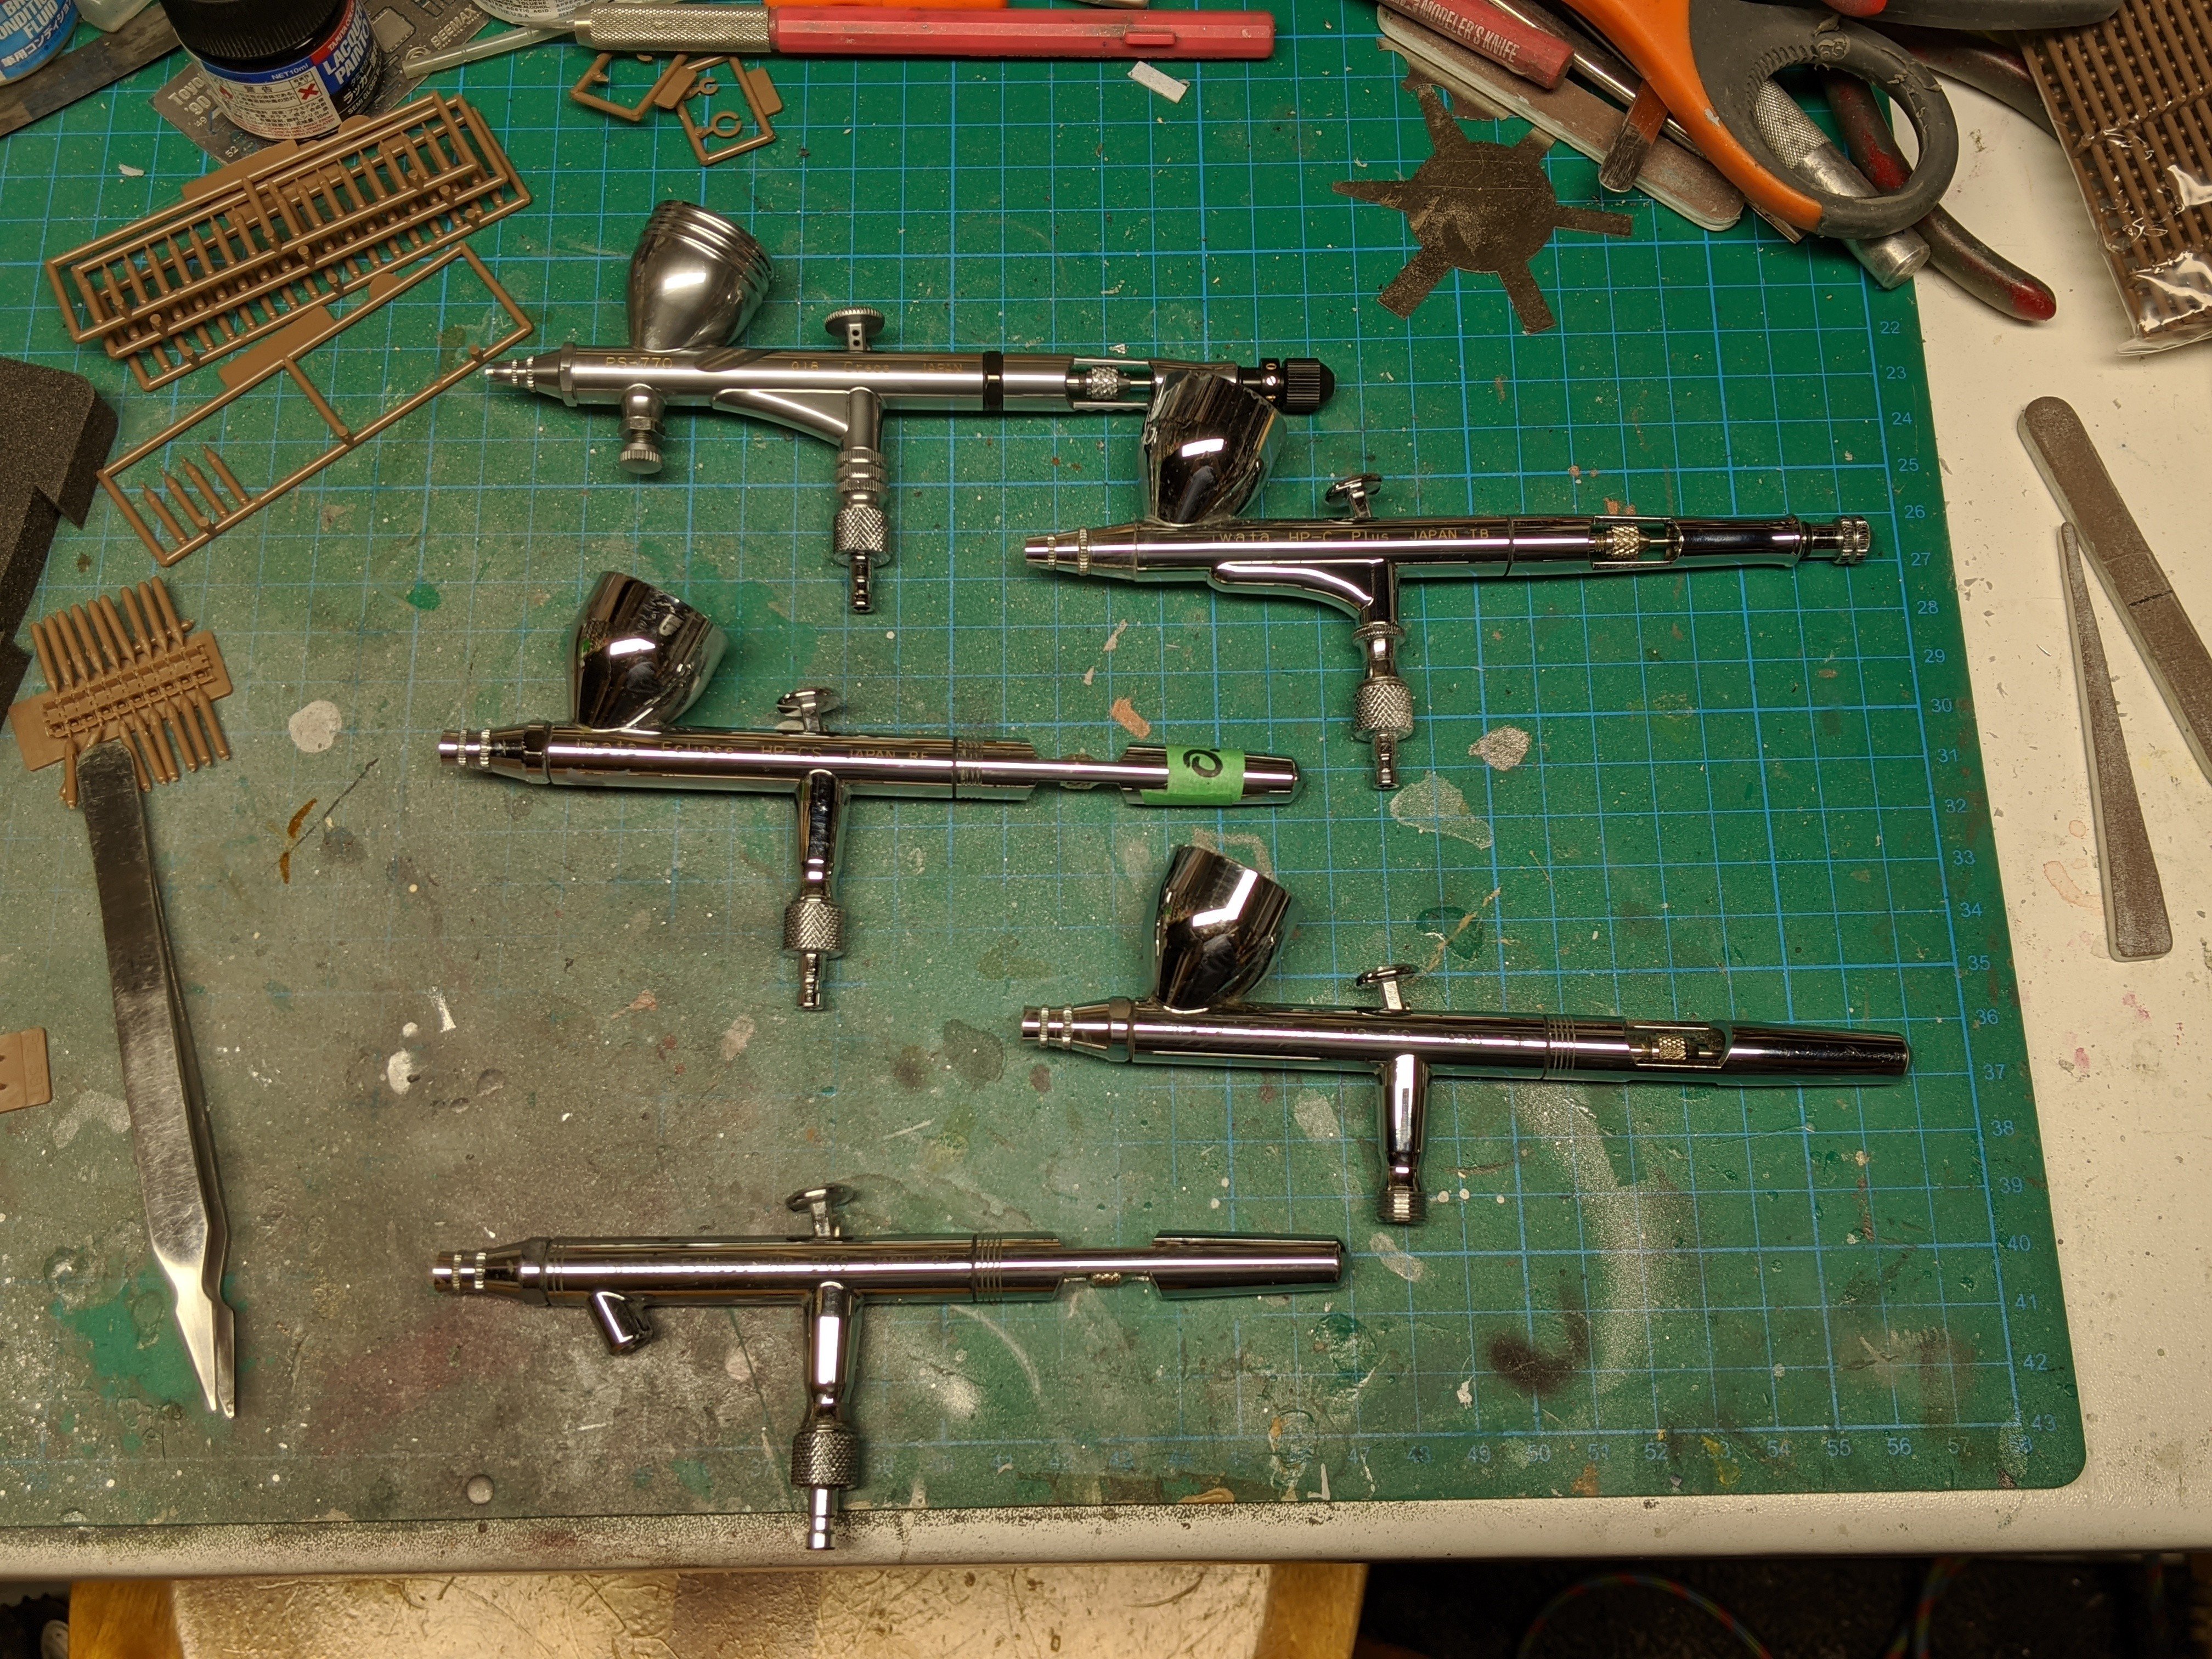
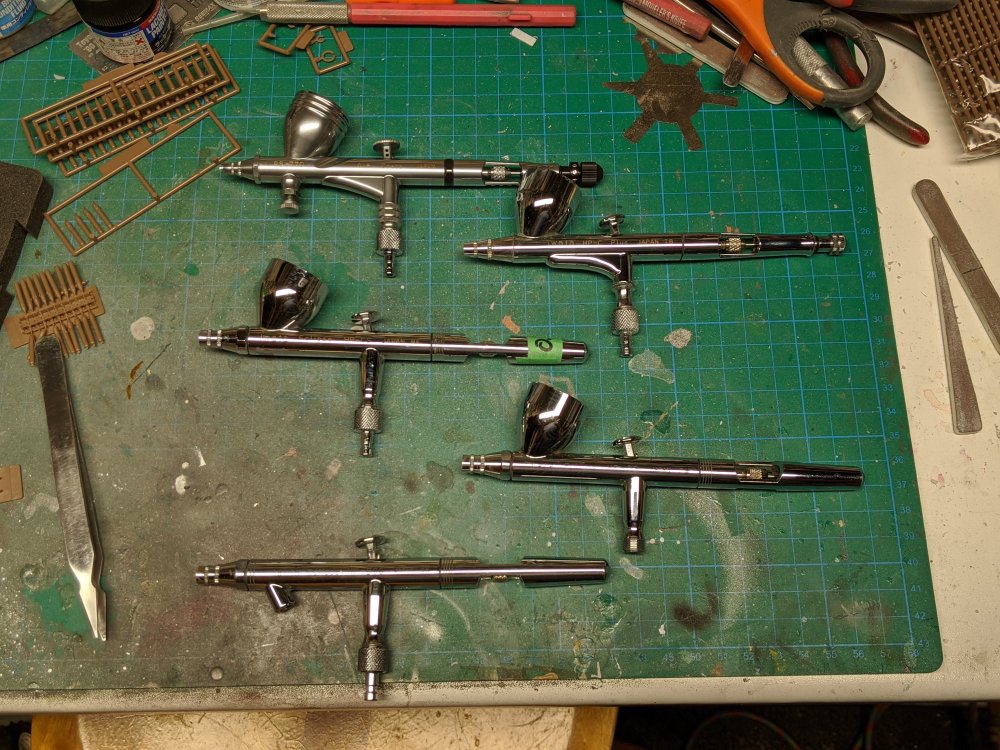
Here's the Procon Boy PS770 as they call it on top. I've got a HP-C as well along with three Eclipses. The Procon Boy doesn't have the front cutout like the Custom Micron does but otherwise is pretty close. It uses the same needle and tips too. That being said, you don't get the level of service that Anest Iwata provides. The Eclipse without a quick disconnect is the one my son now uses. Carl
-
They are great airbrushes. I have four myself along with one they make for Gunze. It's the same as a custom micron but was much cheaper. Carl
-
Just need to convince them to start doing some for jets. Carl
-
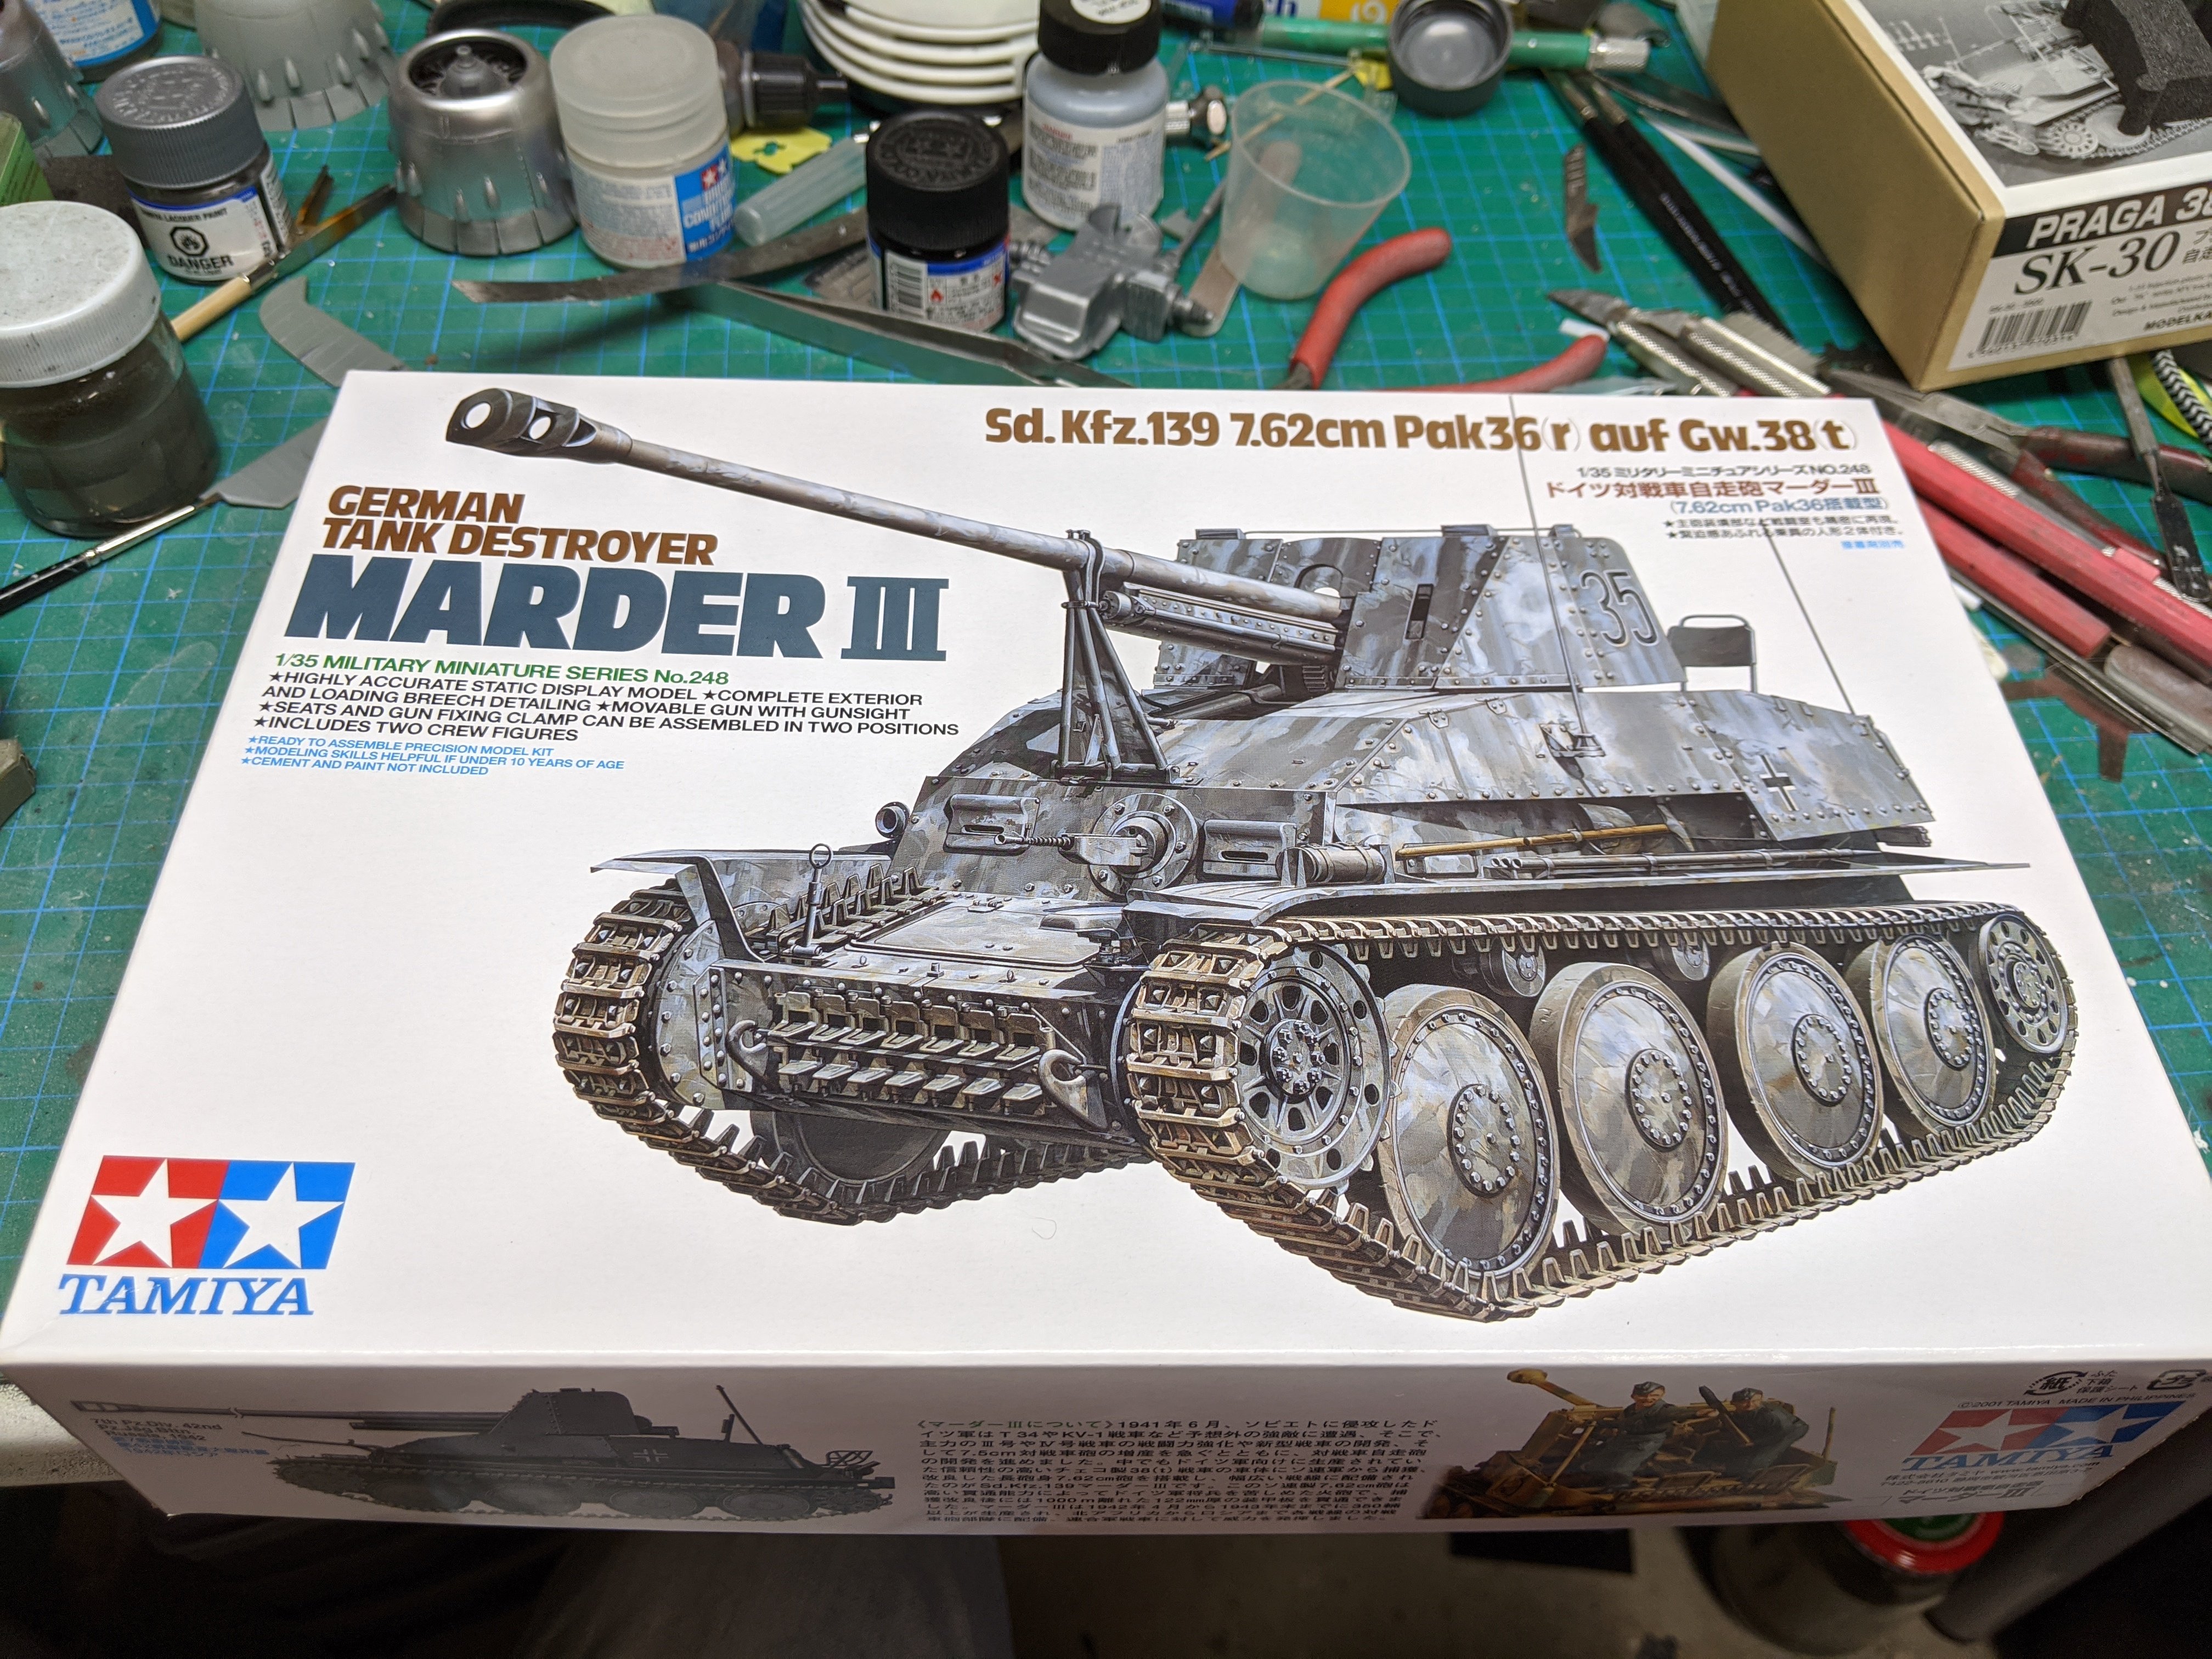
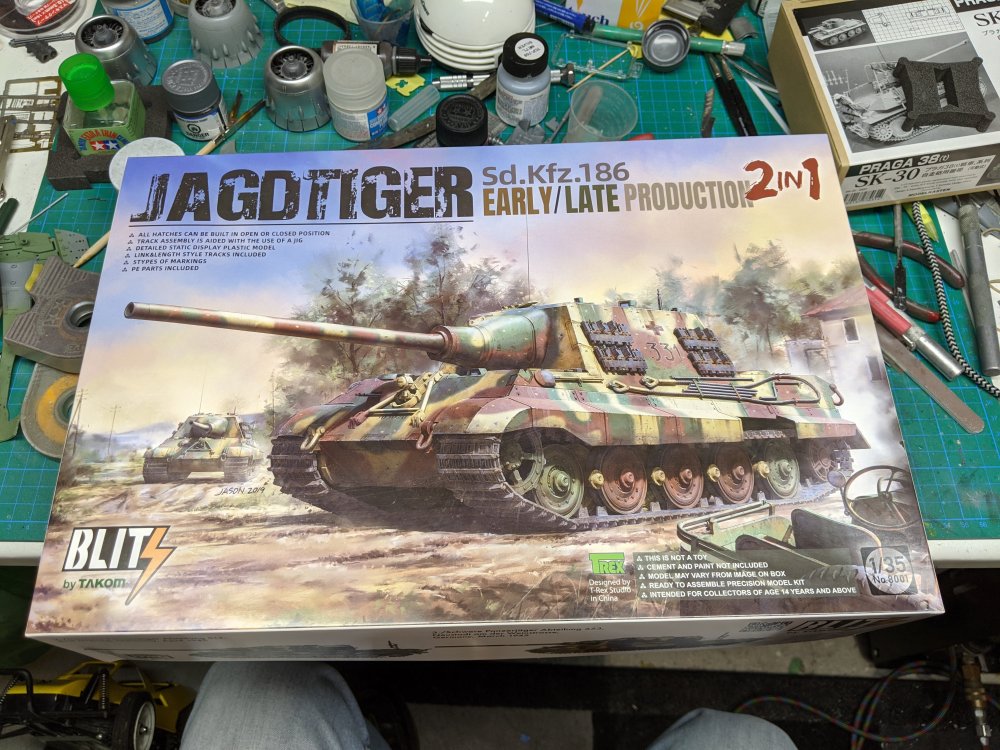
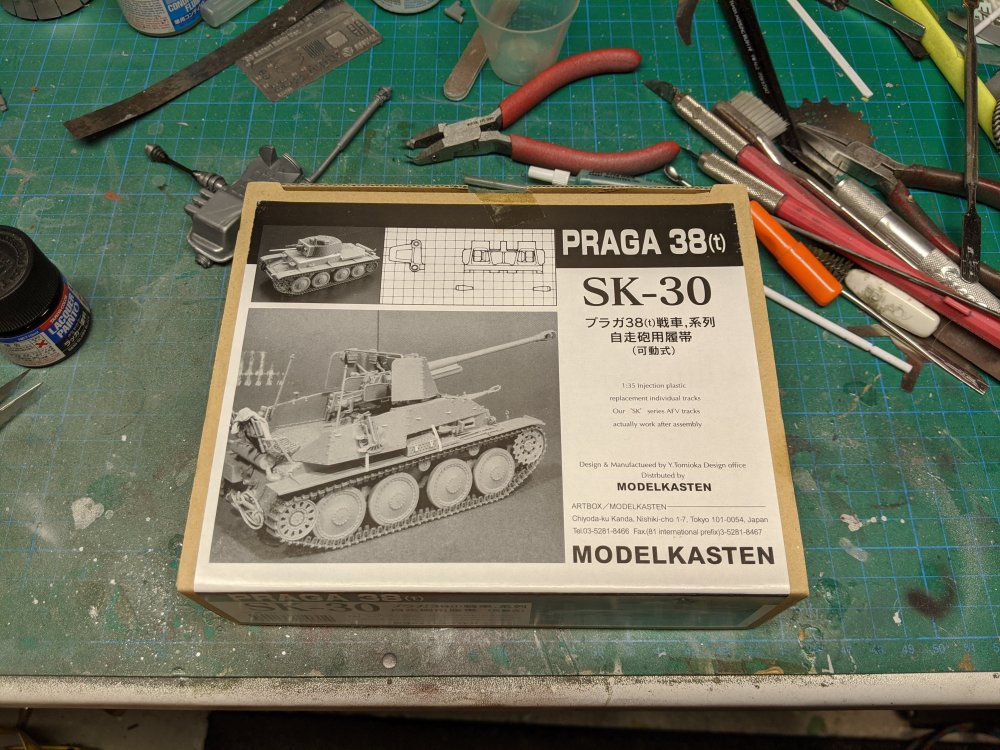
Got a couple of tanks. It was hard to pass up on a Jagdtiger for $33 CAD. Also picked up a Marder III. This thing is tiny compared to the Jagdtiger. As the Marder came with rubber band tracks, I got some Modelkasten tracks to go with it. Let's see how insane I go putting them together. Carl

-
I used one on my last Corsair build. I felt it was an improvement. It's definitely better than the Eduard one in my opinion. Hope that helps. Carl
-
Harv, that's the important part. Meantime, the interior is looking mighty fine. Carl
-
A nice mix of kits there Dale! Carl
-
What is on your bench right now ? Share a picture :)
BlrwestSiR replied to Martinnfb's topic in Modelling Discussion
1/12 RB26DETT from a Skyline GT-R. -
What is on your bench right now ? Share a picture :)
BlrwestSiR replied to Martinnfb's topic in Modelling Discussion
Well, another post, another different model.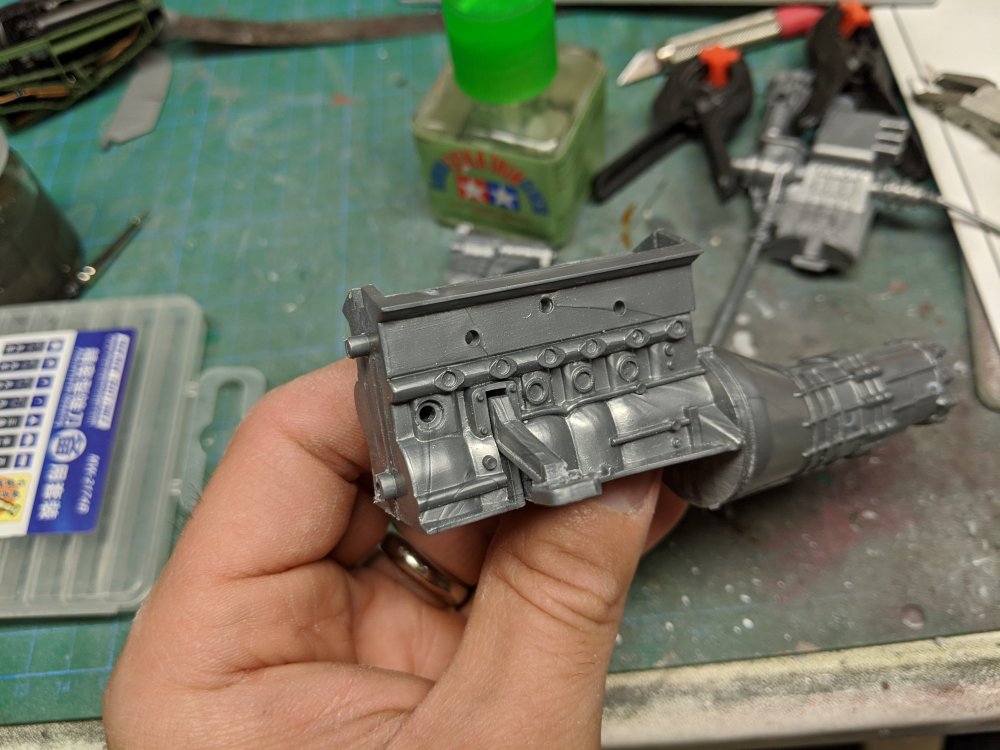
-
Fantastic looking Spitfire.
-
What is on your bench right now ? Share a picture :)
BlrwestSiR replied to Martinnfb's topic in Modelling Discussion
Ryan, which F-4 are you building? Any more pics? Carl -
What is on your bench right now ? Share a picture :)
BlrwestSiR replied to Martinnfb's topic in Modelling Discussion
Just to confirm, it's not one of our cats and here's a pic for proof of life: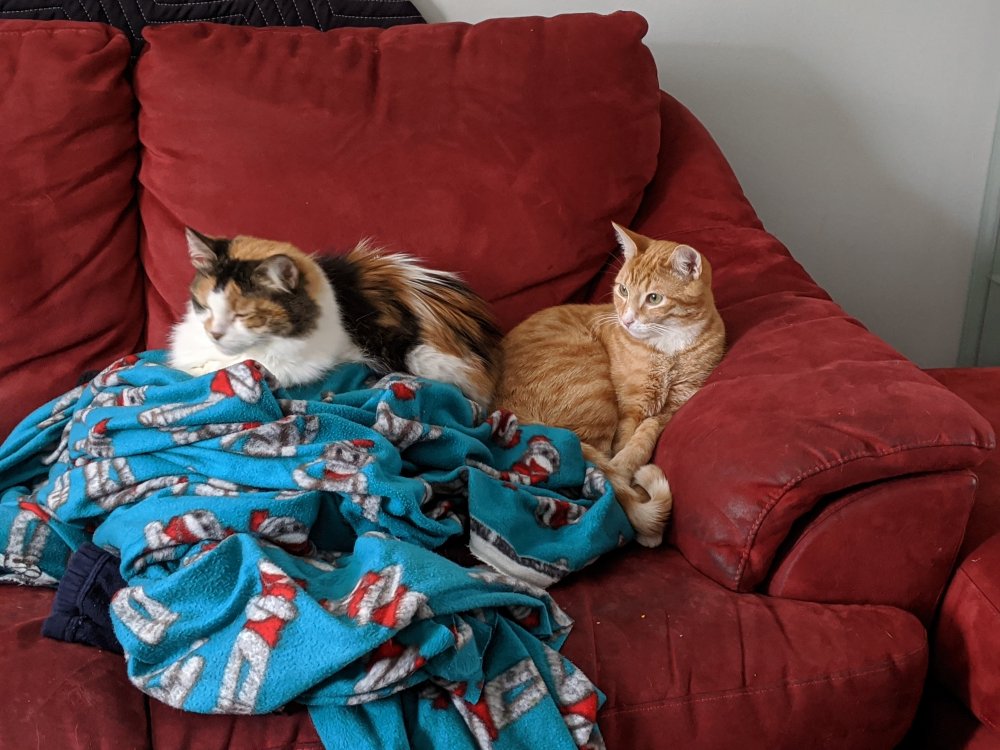
-
That is one big plane.
-
What is on your bench right now ? Share a picture :)
BlrwestSiR replied to Martinnfb's topic in Modelling Discussion
I think it's supposed to be a squirrel and that's its tail. But my chalk outline skills aren't that great so I could be wrong. Carl -
Happy birthday James!
-
I'd say so. At least it was on the ground so they didn't have far to fall.