DocRob
-
Posts
7,122 -
Joined
-
Last visited
Content Type
Profiles
Forums
Events
Gallery
Everything posted by DocRob
-

Duchess of Kingston - Beauty of the Seas - Wooden Sailing Ship 1/64
DocRob replied to DocRob's topic in Non LSM 'WIP
Thank you Gaz, building wooden ship is quite a change for me, but not completely new to me. I build a Billing Boats trawler in my twens and some wooden RC boats, when I was even younger. Some years ago, I started to build a wooden Kutter, but temporarily set the kit aside with the first planking finished. I have two 350 scale ships in stash a German Zerstörer and the Queen Elisabeth (the warship along with an Italerie 1/35 Vosper boat along loads of AM for all these kits, but shied away from ships until now. That's especially funny as I love the sea and all connected things. Last week, I thought about purchasing the new released USS Arizona from Eduard, which is old Hobby Boss plastic, but has lots of goodies added, which may leave only a wooden deck to desire. Cheers Rob -
Duchess of Kingston - Beauty of the Seas - Wooden Sailing Ship 1/64
DocRob replied to DocRob's topic in Non LSM 'WIP
Thank you Ernie, bummer with the Speedy's planking. I'm a bit afraid of the planking too, specially with the tapering and beveling of the second planking, in my case that's pear wood. Let's see about the decorations, which will be demanding and there is another part of the build, which is frightening me a bit. It's about the finish of the wood, where I might try shellac for the wooden appearance, but have to find a way to prime the wood properly for painting and airbrushing with colors. The Amati Fifie, which I believe is designed by Chris is on my list as well as the Sphinx, but only if I succeed with the DUK. Cheers Rob -
Duchess of Kingston - Beauty of the Seas - Wooden Sailing Ship 1/64
DocRob replied to DocRob's topic in Non LSM 'WIP
Thank you Hubert, I had the same thoughts about the comparison of the DUK-kit with Tamiya's finest, directly after opening the box then and even more now, when I started the build. I chose the Vanguard kit as the first attempt in wooden ships since a long time, as the perfection of it is absolutely helpful and the manual is full of good tips and hints. Cheers Rob -
I ordered my Kelik IP for the Gladiator three weeks ago, when there was (relative) peace in Ukraine and received it yesterday with the war ongoing. Strange times, where it feels harder and harder to concentrate on trivial things like modelling. Cheers Rob
-
...and that from the man, who once had SEVEN P-40's on the bench, along some other projects, I think you chicken out Carl . You'll love the MikroMir Fokker. I built it last year and it was one of the most satisfying builds ever. The kit isn't perfect and the build is demanding but rewarding all the same. Cheers Rob
-
Dragon Panther A with Zimmerit
DocRob replied to GazzaS's topic in LSM 1/35 and Larger Work In Progress
I hope you are feeling better now with your jab issues and that the flooding situation has become better too. I like your fashion show above with all the attention you put into the clothing. I really like to see, how everything comes together in the end. Cheers Rob -
You are cruising through this beautiful build. I like the cockpit and the riveting you applied. Cheers Rob
-
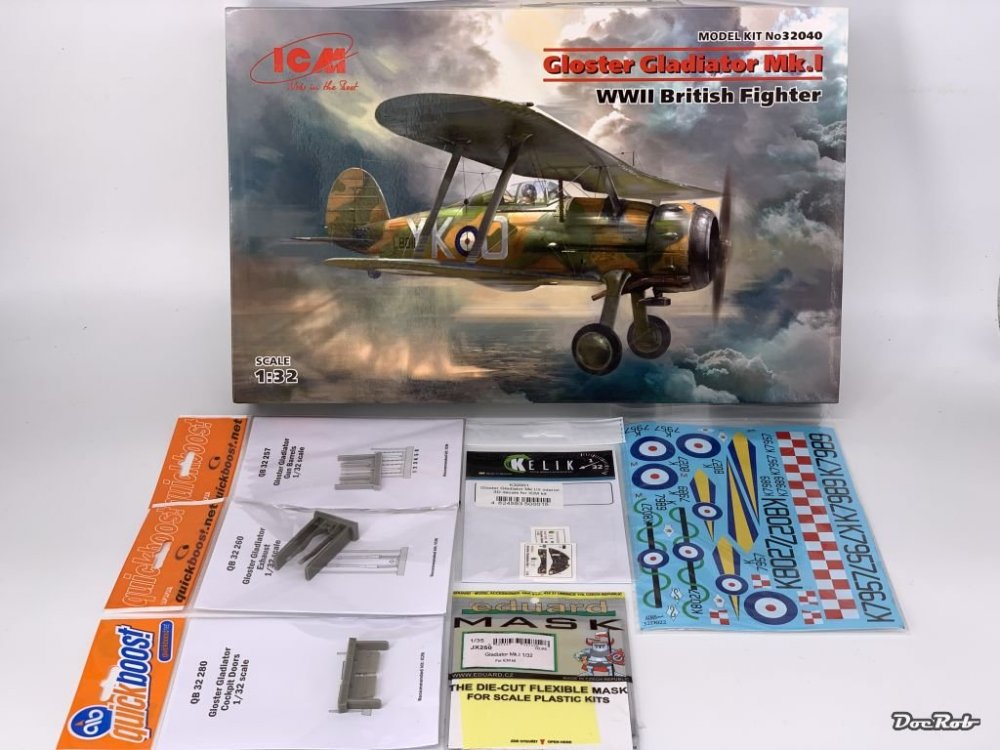
If I'm participating in the GB, it will not be with an 'involved' subject. I like to support the Ukrainian people and kit producers, if I take part. I have to check first, if I can realistically participate, because I've just started a wooden ship build and have to see, if there is enough space and willpower for a parallel build. The other thing is, that my absolutely first group build, I participated in was never officially ended. Not because there were no finished models, but because of lack of administration. That was the D-Day group build here. If I'm in, it will be ICM's Gladiator MK.I in silver dope finish (shiver, flat rigging ) along with some goodies like the Kelik IP, which is a co brand of the Ukrainian company Res Kit. Cheers Rob
-
Duchess of Kingston - Beauty of the Seas - Wooden Sailing Ship 1/64
DocRob replied to DocRob's topic in Non LSM 'WIP
Speaking of vessels, today arrived my largest surfboard by far. This supertanker is an inflatable standup surfboard. Today, I was too tired testing it as I had a long regular surf session in the morning in chaotic and demanding waves and run through the mountains yesterday. At least, it was an excuse, not to continue with my smaller unmanned vessel . Cheers Rob Unpacked Packed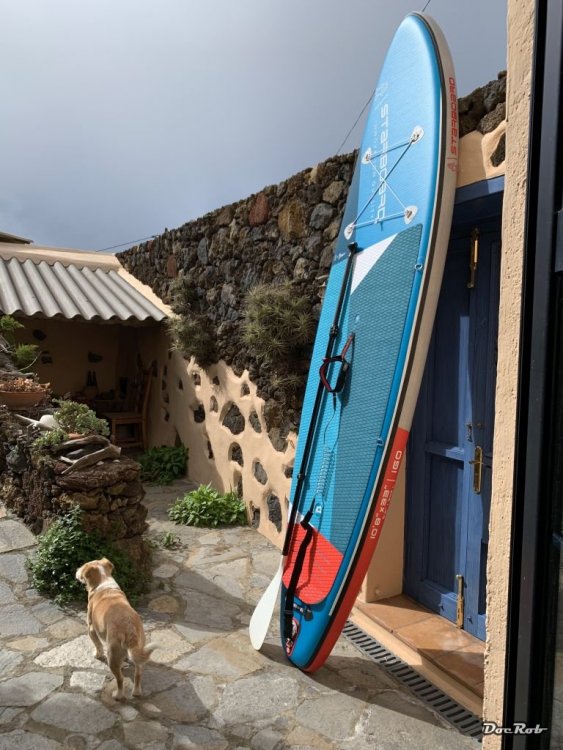

-
Duchess of Kingston - Beauty of the Seas - Wooden Sailing Ship 1/64
DocRob replied to DocRob's topic in Non LSM 'WIP
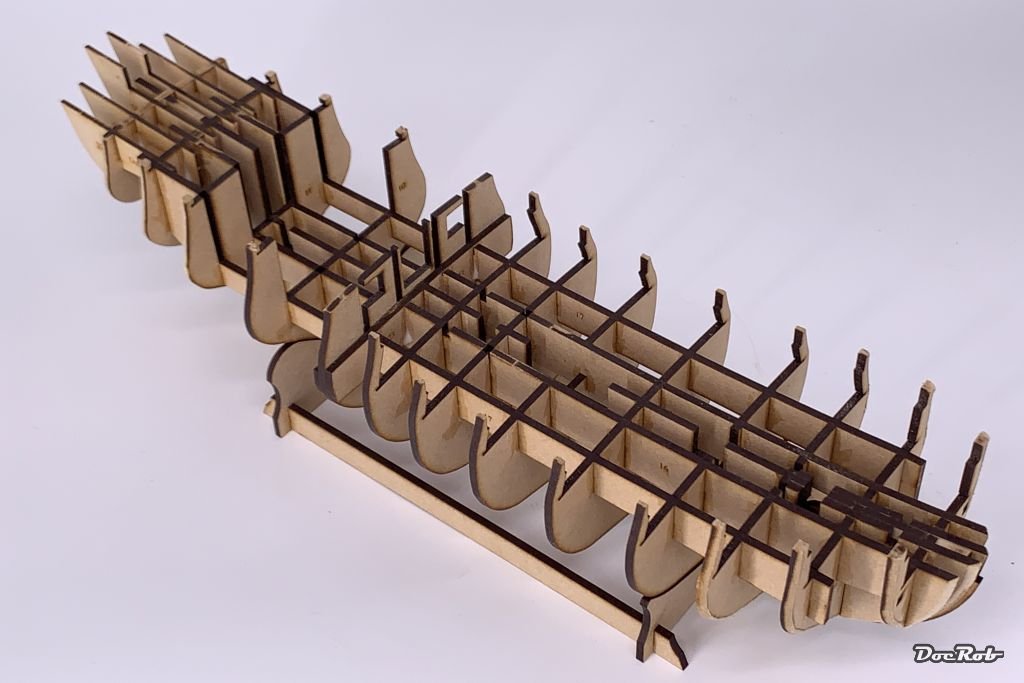
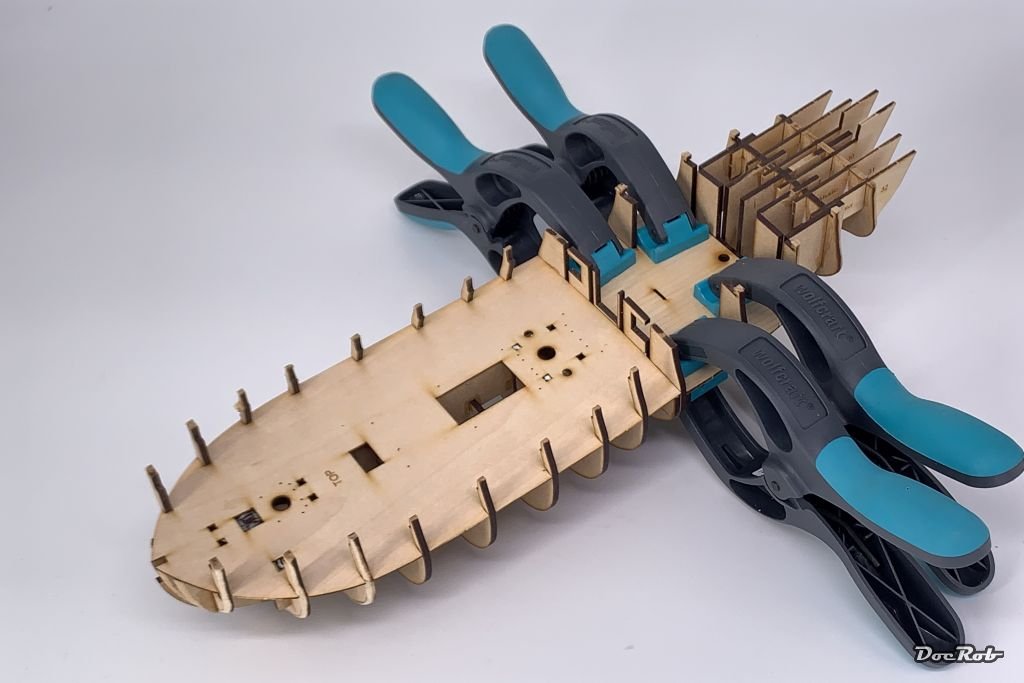
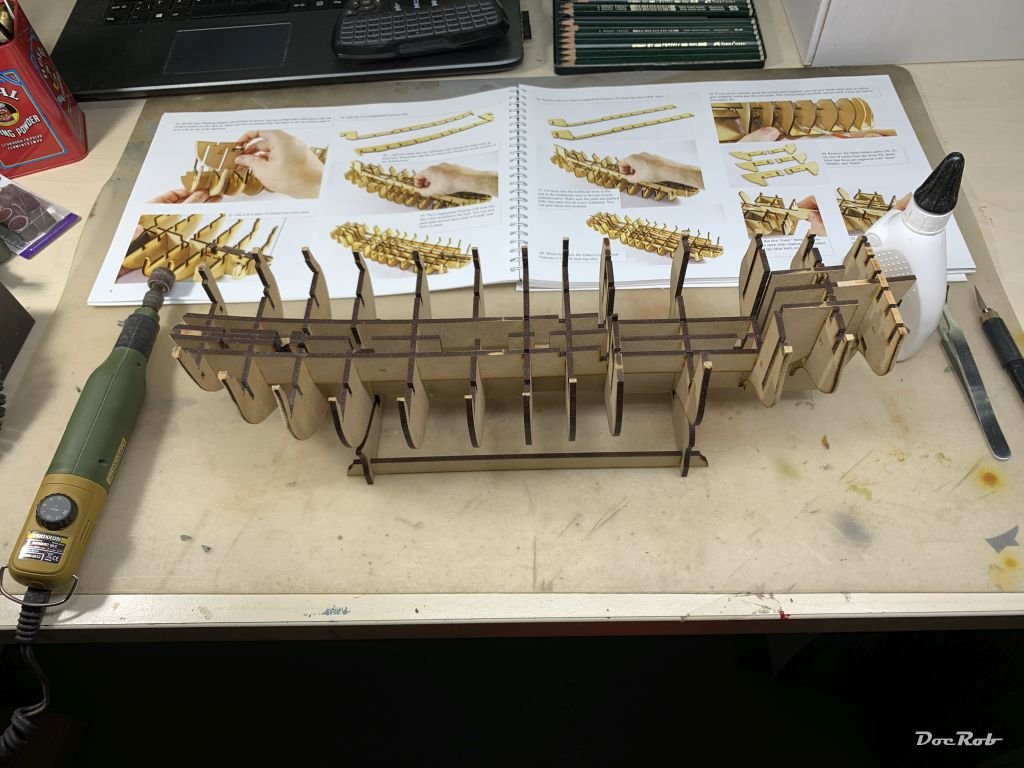
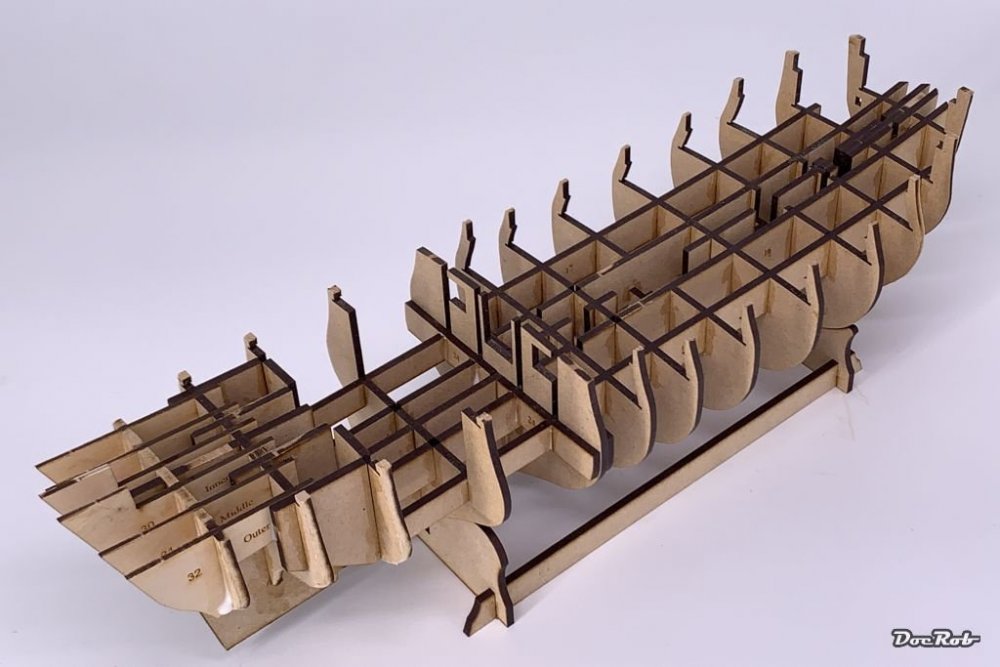
Since yesterday, I finalized the framework of spars and let the glue cure. As you can see on the pic, the aft spars are pre-bevelled and will be sanded to their final contour later, as a fitting bed for the planks. You will also notice, the part numbering and orientation, which helps a lot with the photo based step by step instruction. The framework, which is really sturdy looks like this, when finished. The wooden stand is only for the construction phase, there is another one made from transparent acrylic included into the kit. First decks are on and fittet like a glove. The main deck is only a base for a later to follow planked version on top of this one. You had to bend the plywood, to get it into position, but the wood is very flexible and nothing broke. The inner deck shows engraved planking structure, but will not be seen later as it is the cabin floor. It is slightly bended and therefore clamped down. Cheers Rob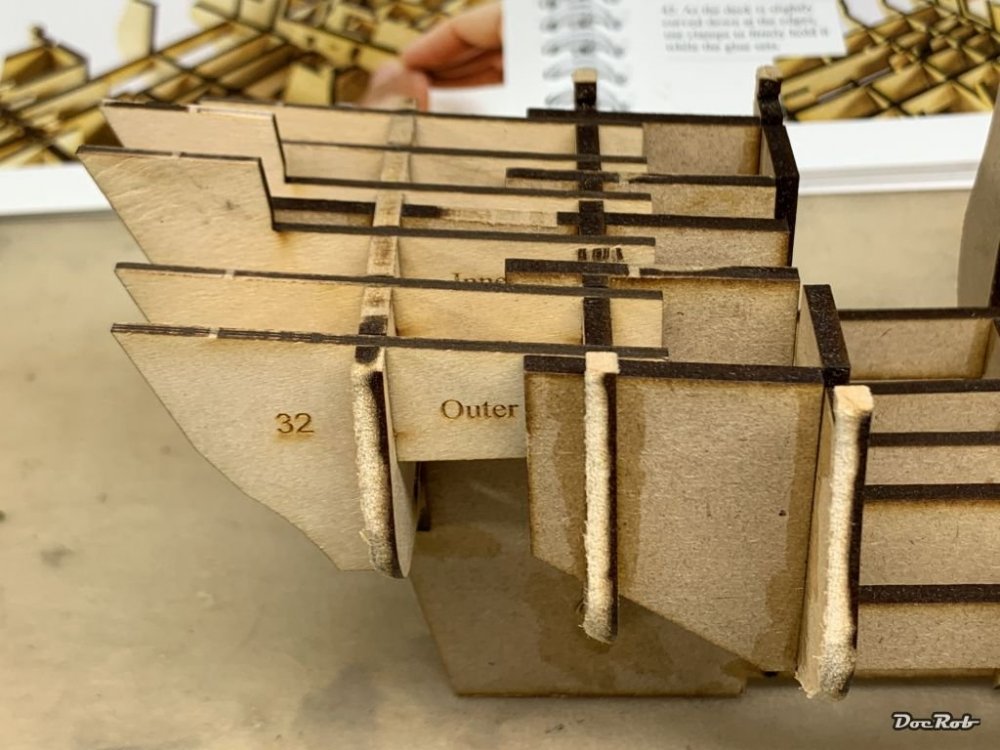


-
Duchess of Kingston - Beauty of the Seas - Wooden Sailing Ship 1/64
DocRob replied to DocRob's topic in Non LSM 'WIP
I thought about a membership of MSW as well, but decided LSM is the place to be for me, as I like to jump between my preferred subjects, but not so much like to be a member in different forums. There were not so many wooden ship builds here, so this might be a good place to attract a little attention here to this beautiful niche. There are some builds of the DUK on MSW and lots of great information, which I generally like to absorb on my way. Cheers Rob -
Duchess of Kingston - Beauty of the Seas - Wooden Sailing Ship 1/64
DocRob replied to DocRob's topic in Non LSM 'WIP
Thank you Peter, definitely no sprue cutters or Tamiya extra thin needed, but the whole journey seems to be a pleasure ride, with higher attention than normal, because of the used main material, wood, but until now, nothing to worry about. As you have moved out of your comfort zone with the Ford GT, maybe there will be a future wooden ship. If so, a Vanguard ship is the way to go, as the perfection of the kits and manuals helps to get used to the new surroundings. If I succeed with the DUK, I will buy the Sphinx kit, as I wanted to build a larger military sailing boat since I read the Captain Hornblower stories in my teens. Cheers Rob -
Duchess of Kingston - Beauty of the Seas - Wooden Sailing Ship 1/64
DocRob replied to DocRob's topic in Non LSM 'WIP
Muchas gracias, Señhores, only starting with the DUK means fun, and I'm prepared for more fun to come, along a steep learning curve. I'm way out of my comfort zone, but the kit is amazing and helps with quality and perfect documentation. Cheers Rob -
Duchess of Kingston - Beauty of the Seas - Wooden Sailing Ship 1/64
DocRob replied to DocRob's topic in Non LSM 'WIP
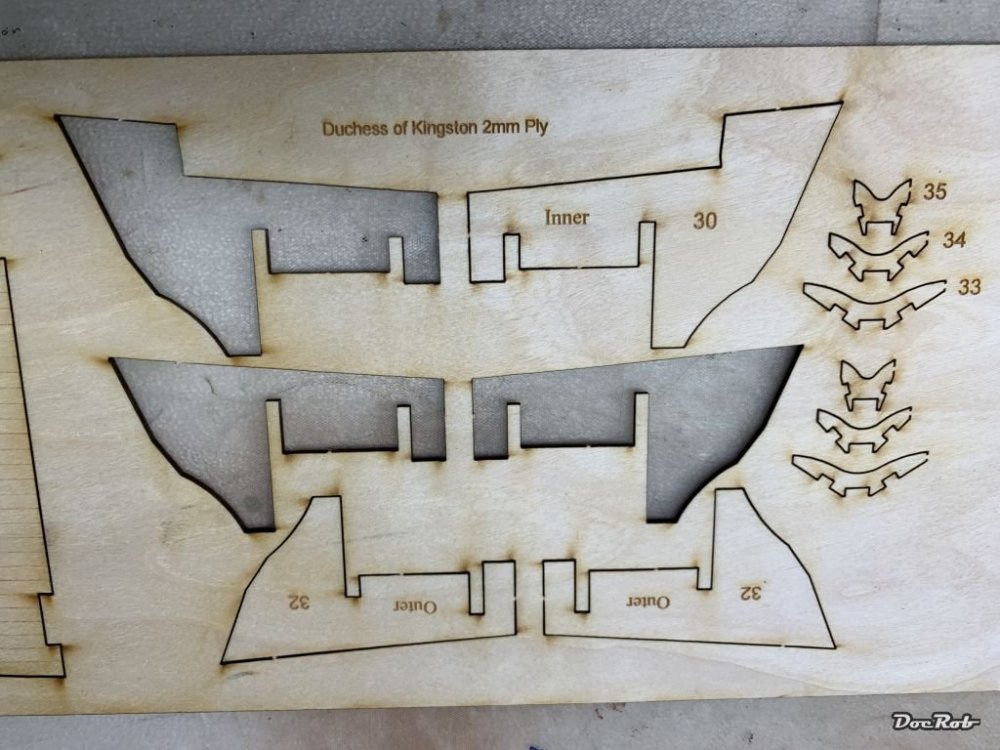
First steps were to prepare my bench for the Duchess of Kingston, which I will shorten to DUK for this WIP. I installed my disk sander and was ready to go. The parts I needed for the framework of spars on the false keel, were laser cut in MDf of different thickness. Cleanup is reduced to a minimum, due to the precise cutting and minimal attachment points, which are best cut with a sharp hobby knife and then sanded smooth. All parts are clearly marked and even the directions are printed on. I started with the basic framework, where the first three and the last three spars needed beveling, to give a smooth bed for the later to install planks. I did that with a rotary grinder on my micro drill. It is very important, to add all the frame parts exactly, like they have to be, as the fit is very tight. After putting the spars and keel and framing parts together, I applied thinned PVA with a brush, which is far more convenient, than applying glue onto all the intersections beforehand. Cheers Rob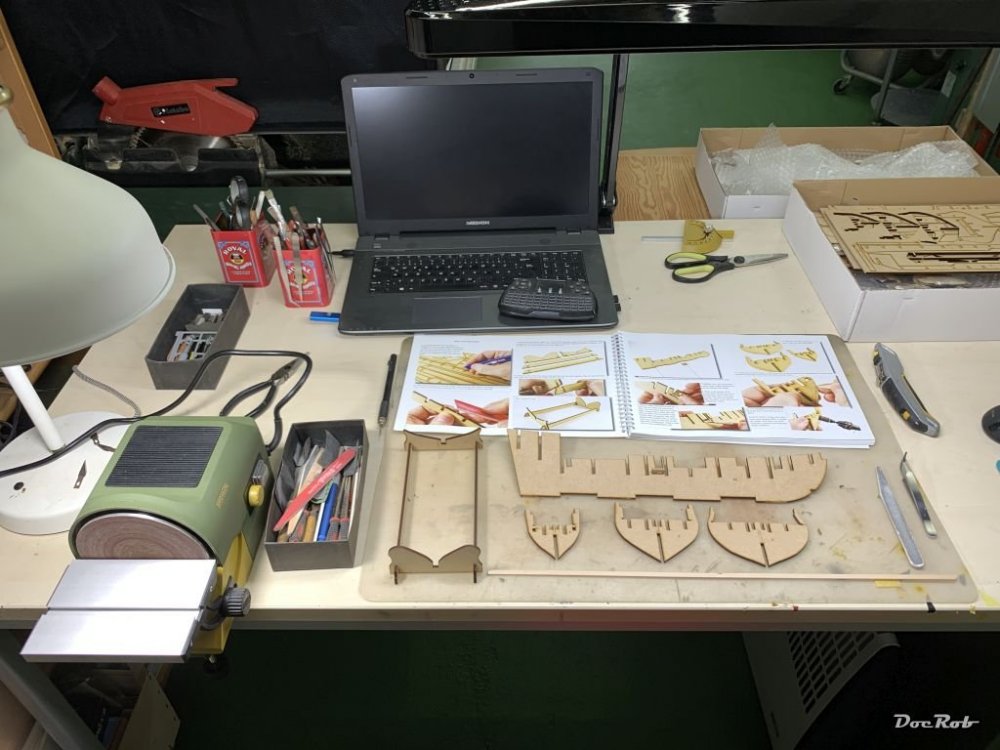

-
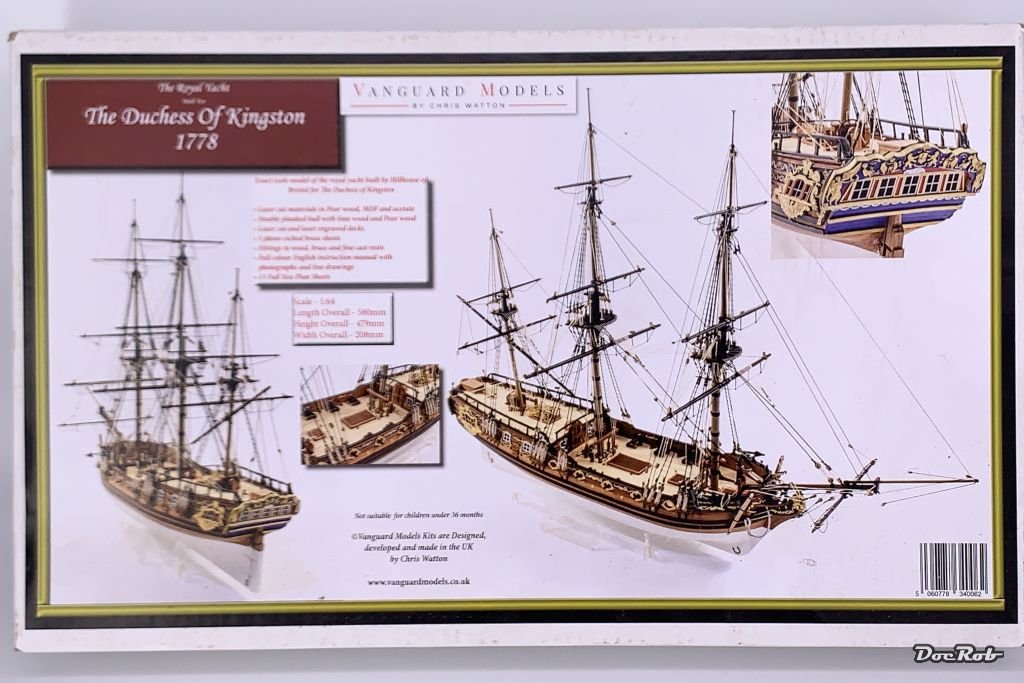
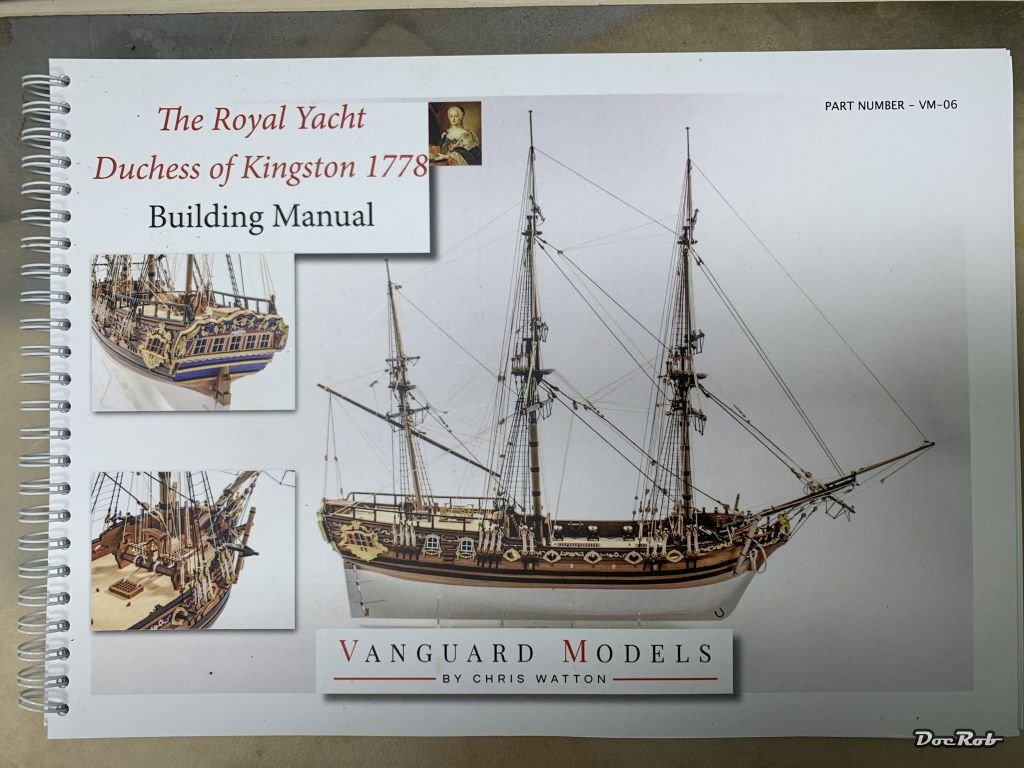
Buenos tardes marineros, it's time to leave the trotten shores and start something different. A year ago, I purchased a wooden sailing ship kit direct from Chris Watton's homepage, called Vanguard Models. It's a kind of Yacht in the typical scale for Chris's ships of 1/64. At first, I would have preferred a larger scale, but viewing the kit, it's amazingly detailed. Alert and Speedy, two military vessels, were on my list too, but I chose the Duchess of Kingston, because she has risen decks and great decorative ornaments all around. The kit is mainly wooden, but there are resin parts, photo etch and metal parts included as well. There is no need for aftermarket and the only things I added, were better blocks made from pear and a rowing boat, made from wood. Here is a link to the duchess of Kingston page on Vanguards website, where the complete manual (which is truly brilliant) available as PDF-file. Royal Yacht, Duchess of Kingston – 1778 – VANGUARD MODELS There is a build review available written by James Hatch on our fellow forum Model Ship World. Duchess of Kingston c.1780 by James H - Vanguard Models - 1:64 - FINISHED - - Kit build logs for subjects built from 1751 - 1800 - Model Ship World™ This is how the kit looks in it's appetizing box Cheers Rob

-
Very nice ME-262, I like the camo and have one in stash too. Nice teaser you built there Jerry. Cheers Rob
-
I started last year with bike/car modelling and had a lot of fun with the Tamiya Ford GT MK. II and the Ducati Panigale. The building process is quite different and the painting, decaling and finishing is another planet compared to armor or planes. I especially liked the motorbike build, as it was so much fun to replicate all the different materials, specially various metals. The larger scale of car and bike kits calls for a different approach and I always like to jump between different subjects. You will have lots of fun with the beautiful Ford, I'm sure. Cheers Rob
-
I hope I can continue soon with the Duchess of Kingston. After the renovation of my cave, we had the 'kids' visiting, and I expect to find some time after they leave today. For now, I will follow your progress with the cool Ford. Cheers Rob
-
The Rp-Toolz one is worth it, Best cutter in town. Cheers Rob
-
Cool project Peter, it will help to get rid off the reno dust. I love the old Gulf scheme, I would have chosen the same. With the LP colors, I'm not sure, but I think one of yours has a metallic sheen, I have to check tomorrow. With an also Spanish shop for car modelling you get some hits. There is also Zero paints, which I guess re hot colors. All products matching "ford gt40" | SpotModel Cheers Rob
-
What is on your bench right now ? Share a picture :)
DocRob replied to Martinnfb's topic in Modelling Discussion
After two weeks of working in my cave / workshop, where I started with wood protection on the ceiling, continued with painting the walls and finally repainted the floor, I'm more than ready to start something new. There was the 1/20 McLaren MP4/2 from Aoshima, the Minerva armored car from CSM, the Gloster Gladiator from ICM or the WNW AEG G.IV. BUT I decided to start something different. I picked the inviting box of my Vanguard kit of the Duchess of Kingston from the shelf, and like always, when I opened the box, felt the immediat urge to start building. I played a bit with the mdf parts, installed my sander onto the bench and if I stay with the kit, I will start a WIP, where I hope to receive a lot of input from you about this relatively new territory for me. Cheers Rob

-
Very nice work on a seemingly great kit. I haven't build an ICM kit yet, but have the Gladiator in my pipeline along with the ICM Cobra in it's Special Hobby boxing. I'm looking forward to your progress with the Falco. Cheers Rob
-
617 Sqn Tornado Dambuster 70th
DocRob replied to Kaireckstadt's topic in LSM 1/35 and Larger Work In Progress
Very nice and busy cockpit with all the detailing. Cheers Rob -
What is on your bench right now ? Share a picture :)
DocRob replied to Martinnfb's topic in Modelling Discussion
Switching in warp speed from kit to kit . Cheers Rob -
What is on your bench right now ? Share a picture :)
DocRob replied to Martinnfb's topic in Modelling Discussion
Scale thang . Cheers Rob