HubertB
-
Posts
3,001 -
Joined
-
Last visited
Content Type
Profiles
Forums
Events
Gallery
Everything posted by HubertB
-
 Nice build, Tom. Well done ! However, if I may, the LG legs are at a strange angle compared to the original. I’d say you have glued them too « vertical » viewed from the profile. Great result nevertheless ! Hubert
 -
I do not know which I am most flabbergasted at: your exacting devotion to detailing, or your figure painting skills ... Hubert
-
Fokker E.V / D.VIII Parasol Mikro Mir 1/32
HubertB replied to DocRob's topic in LSM 1/35 and Larger Work In Progress
She’s already a beauty, even without its wings. Hubert -
Outstanding. The structure for the rear sprocket wheel looks somewhat « flimsy » for such a heavy duty behemoth. Hubert
-
Stash stock take, I should be..........
HubertB replied to Bomber_County's topic in General Discussion
I can store two stacks of the smaller boxes on the 60 cms deep shelves ... Hubert -
Fokker E.V / D.VIII Parasol Mikro Mir 1/32
HubertB replied to DocRob's topic in LSM 1/35 and Larger Work In Progress
3M sell a repositionable glue (the one for Post-it) in a spray can. Maybe worth experimenting with thin paper ? It can be found in stationery and art stores (maybe not on your island, though, Rob) (Me, it’s a long time since I reached the masking/painting stage on a kit so I haven’t tried this idea myself ) Hubert -
Amazing attention to detail and flawless execution Hubert
-
Fokker E.V / D.VIII Parasol Mikro Mir 1/32
HubertB replied to DocRob's topic in LSM 1/35 and Larger Work In Progress
Good to see you saved the decals Rob. It certainly would have been a bummer after all the hard work you put into it. Hubert -
Cool choice for the mighty B-24. Certainly unique and eye-catching . Not a criticism of your choice for the build, but I cannot personally get over the kit’s wing totally weird airfoil and wrong incidence. This hurts my eyes 100 times more than any garish formation ship scheme . Hubert
-
Good to see your amazing build over here, Peter. Like others, I am in awe of your skills and persistence on this long-haul project. Hubert
-
Stash stock take, I should be..........
HubertB replied to Bomber_County's topic in General Discussion
Not that many, yes ... Although the stash is predominantly resin stuff (the white cardboard boxes you see) like Fisher, Aerotech, HPH, Lukgraph, Silver Wings, Montex and the like. Besides the Fisher ones, which have become rarer than hen’s teeth because of the Paradise fires, there are even rarer ones, like a Scratchbuilder Staggerwing .... Hubert -
Stash stock take, I should be..........
HubertB replied to Bomber_County's topic in General Discussion
Ok, since you asked ... Overall view ... And split views ... It fills a volume of about 1.3 cubic meter (3.6 x 0.6 x 0.6 ), plus a bit of overspill of ship kits above the wine cellar ... The "magic room" is actually also the attic and "machine room" with a bench opposite the shelves holding the various machines like 3D printers and ancillaries, metal lathe, vertical milling machine, CNC mini-milling machine, vac-forming one, etc.... So, the analogy with a ship is not far away : hold + workshop in one place Hubert -
Stash stock take, I should be..........
HubertB replied to Bomber_County's topic in General Discussion
I *just* have a few more than you, Phil (and will not dare to show a pic ). I still believe I will build them all, assuming I do not get sidetracked like now, where I am focused on designing and 3D printing the components of a 1/32 (of course) Travel Air Mystery Ship ... Hubert -
Outstanding piece of engineering, both the 1:1 subject and much more the 1/25 one ! Hubert
-
HK Models Do-335 A-12
HubertB replied to JeroenPeters's topic in LSM 1/35 and Larger Work In Progress
As per your usual standards, impeccably clean build ! Hubert -
Good « old-fashioned » scratchbuilding skills at play here, and in what a way ! Hubert
-
1:32nd scale Ansaldo A.1 'Balilla'
HubertB replied to sandbagger's topic in LSM 1/32 and Larger Aircraft Ready for Inspection
And another smashing result after following your build in an extremely enjoyable thread ! And I cannot repeat enough how amazed I am at your speed in turning out these masterpieces. In short, well done ! Hubert -
1/32 Scottish Fishing Boat.
HubertB replied to BigDan's topic in LSM 1/35 and Larger Work In Progress
Lovely ! Well-executed ship models have a unique presence compared to aircrafts, IMHO. And this one is definitely more than « well-executed ». Hubert -
Very nice Harley, Steve. And thank you for the compliment on my Nieuport. Hubert
-
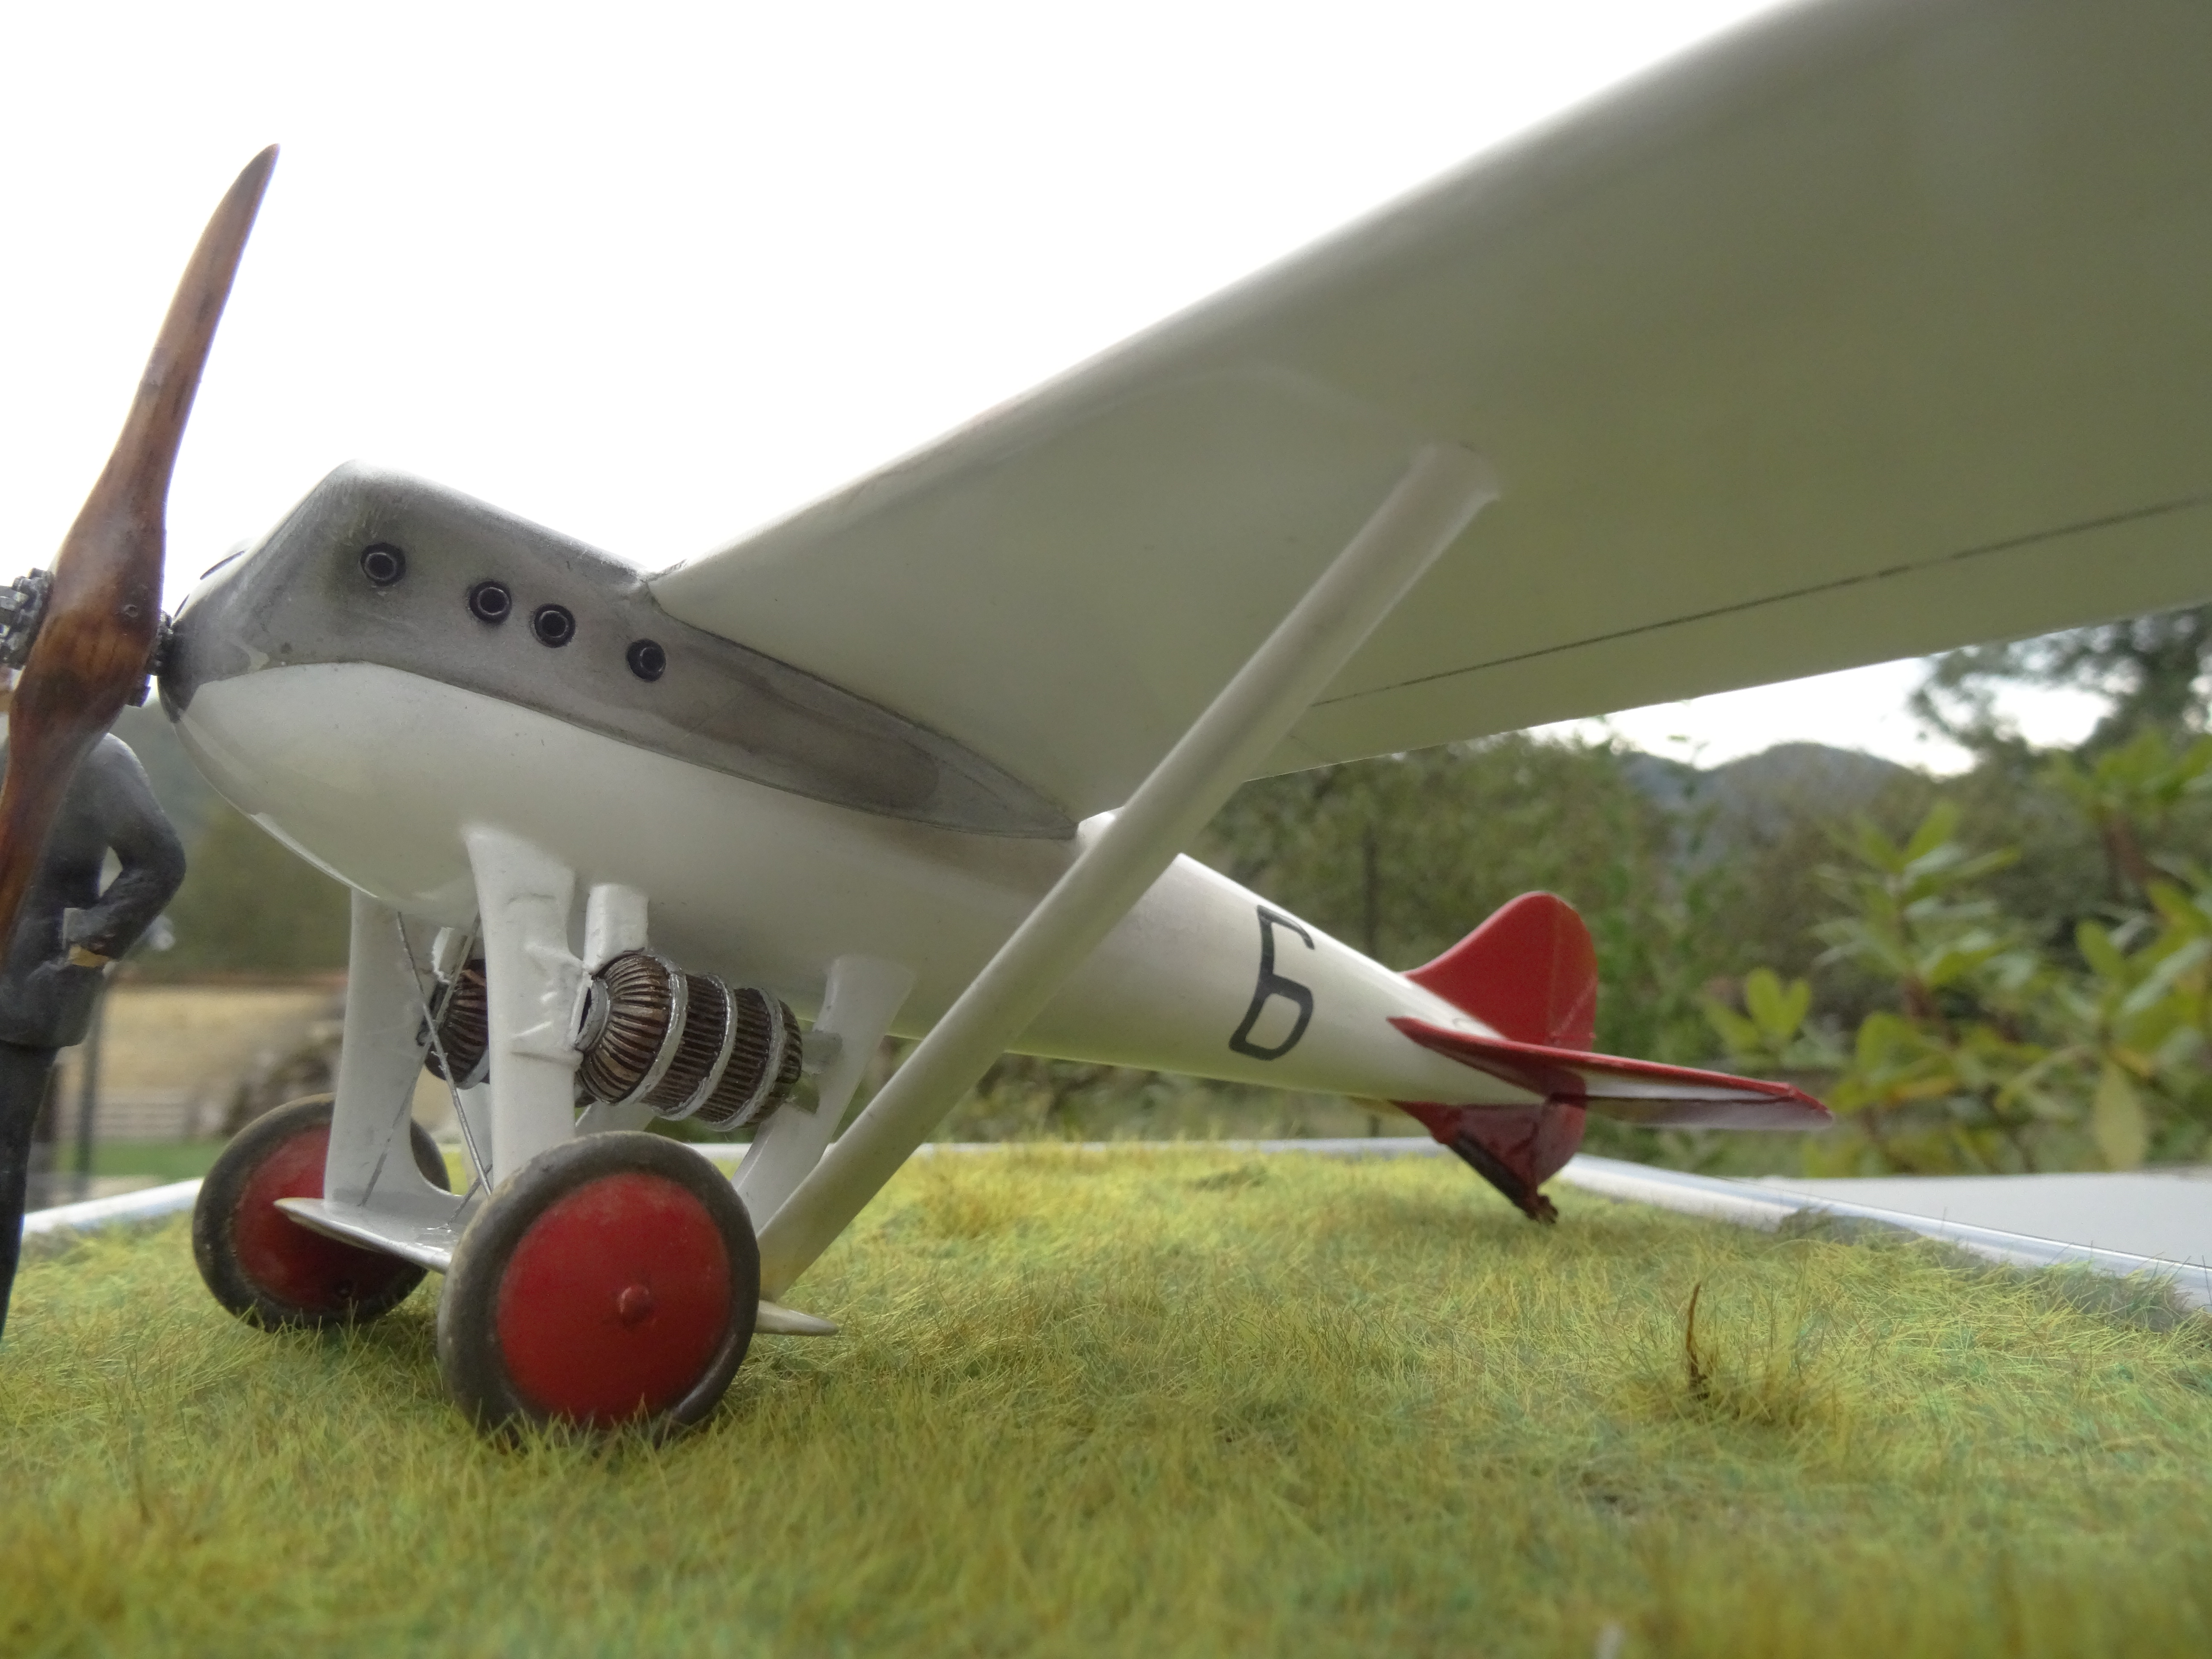
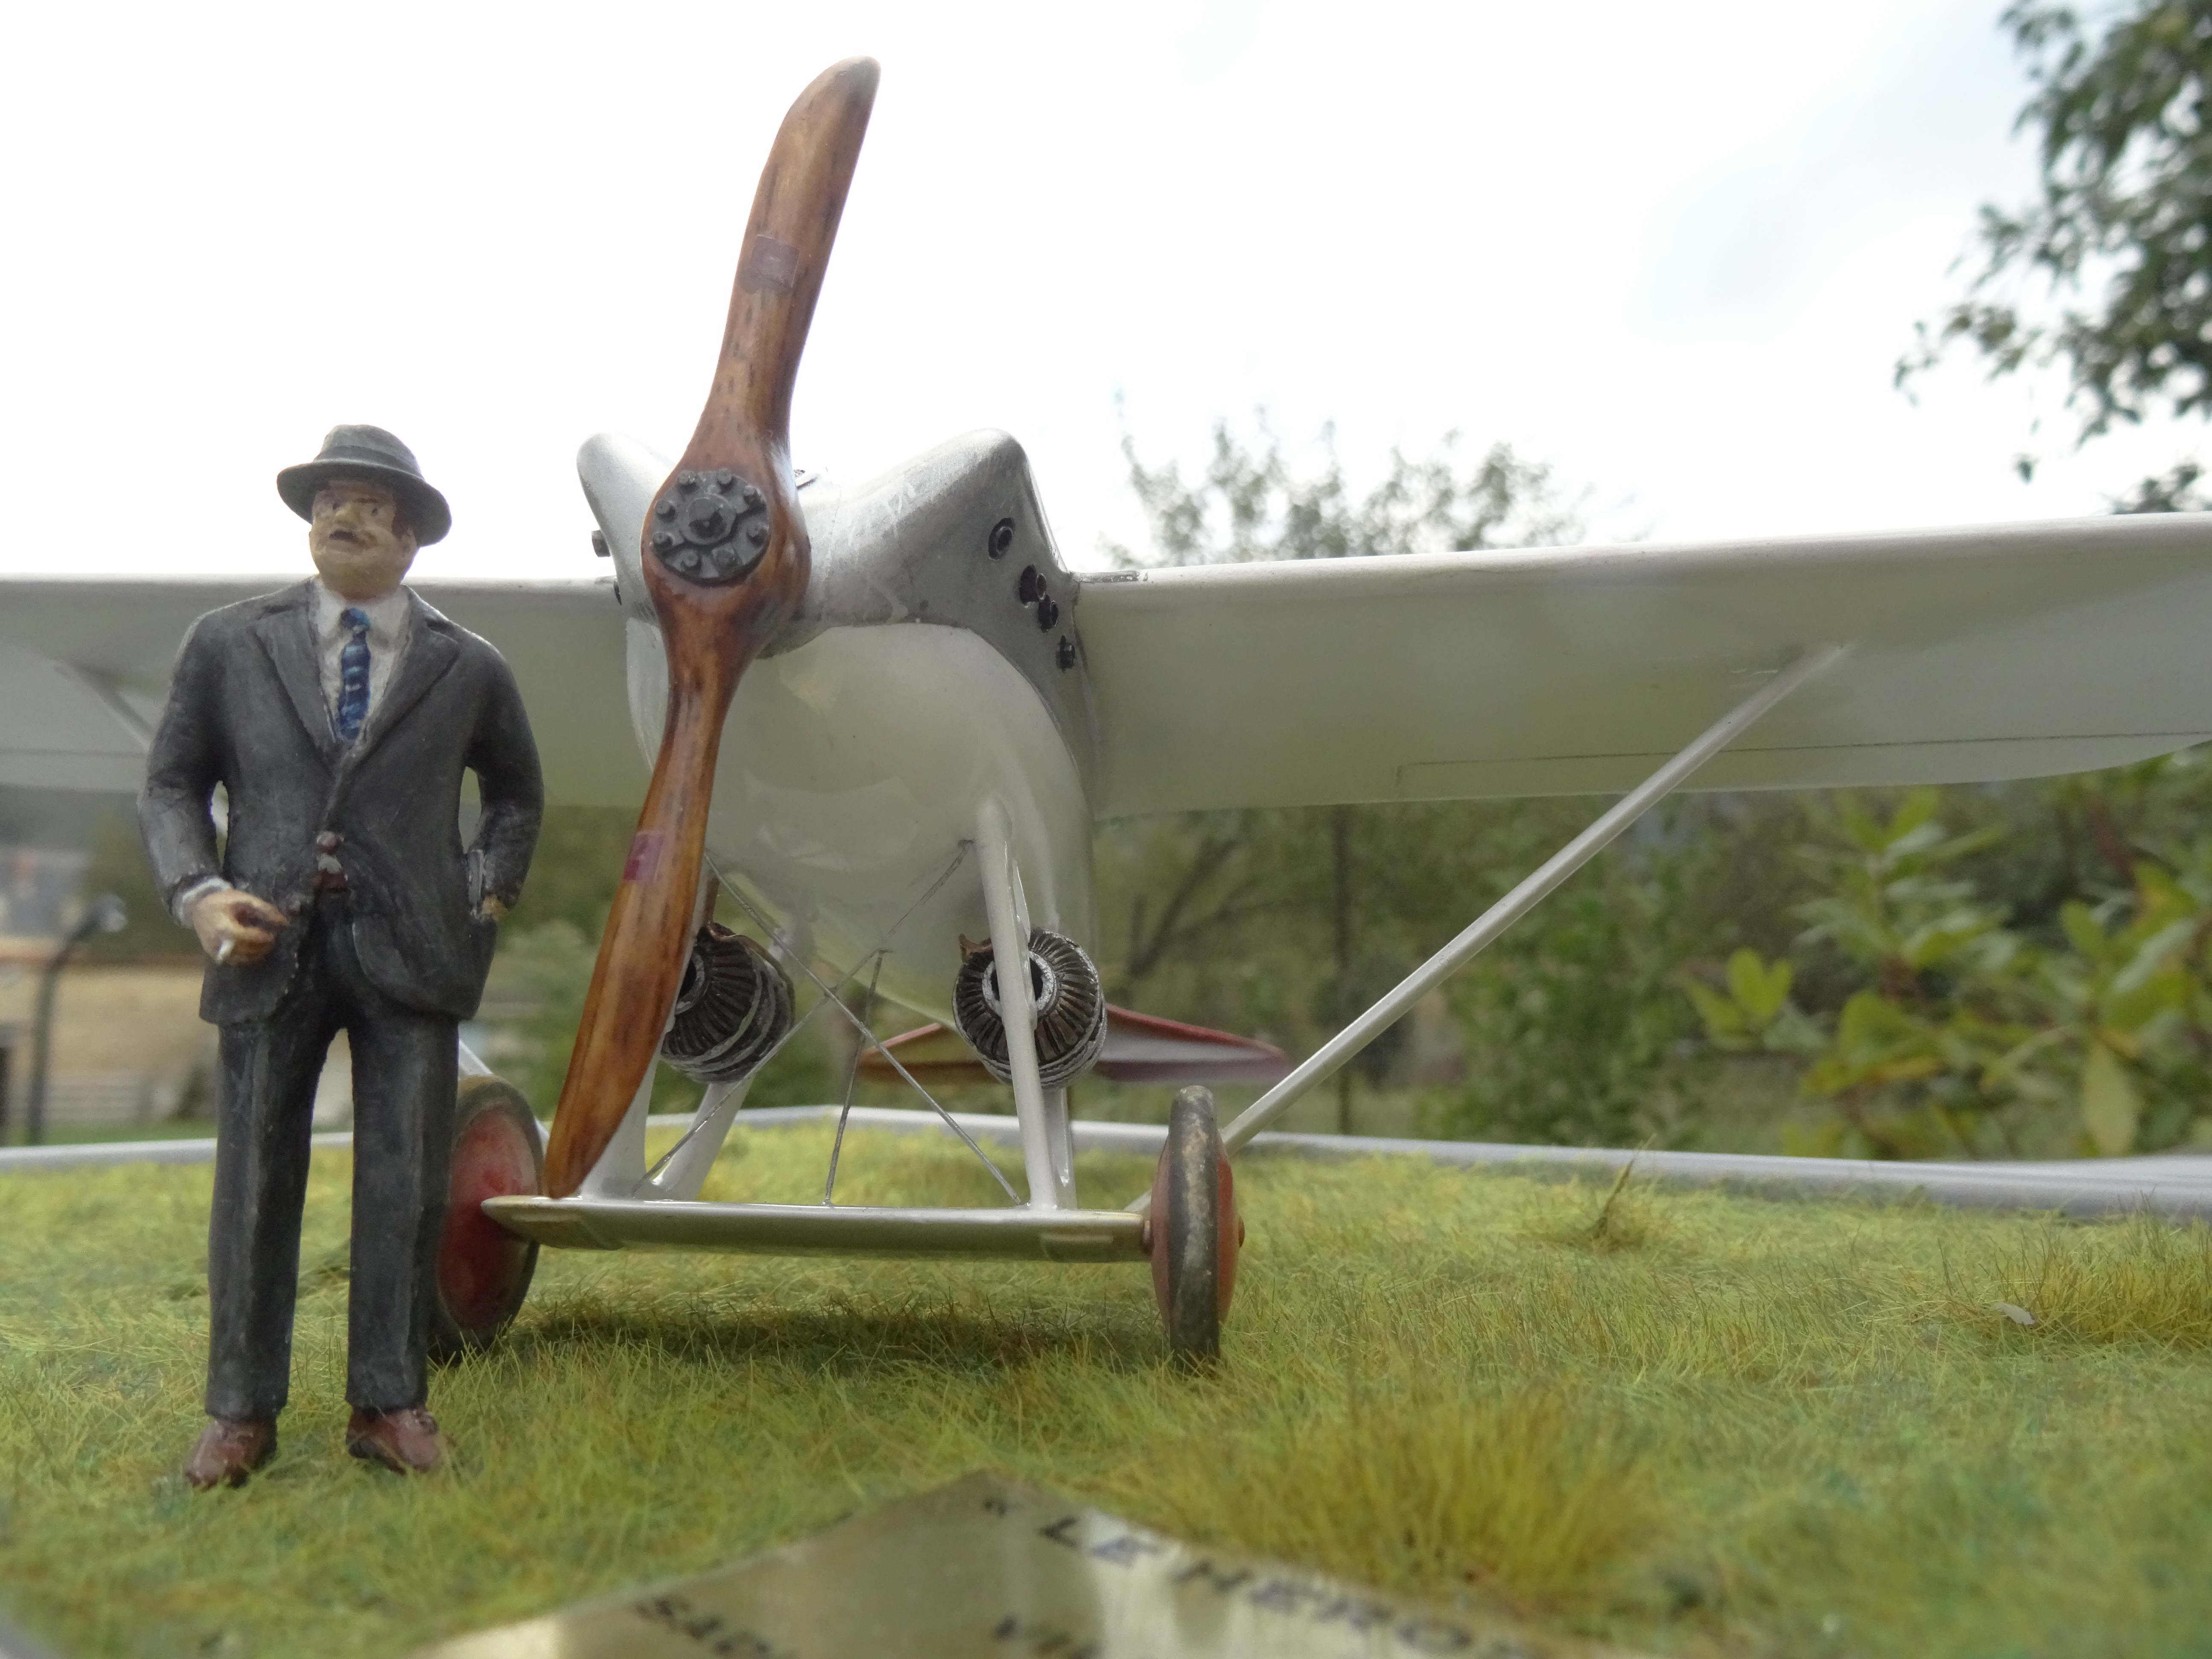
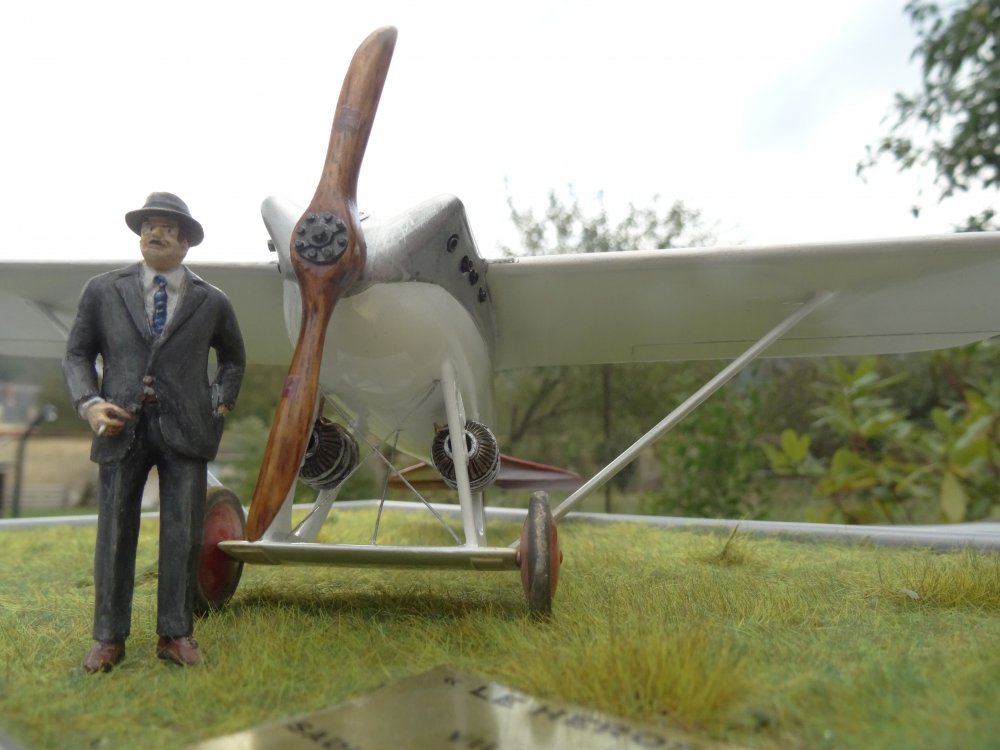
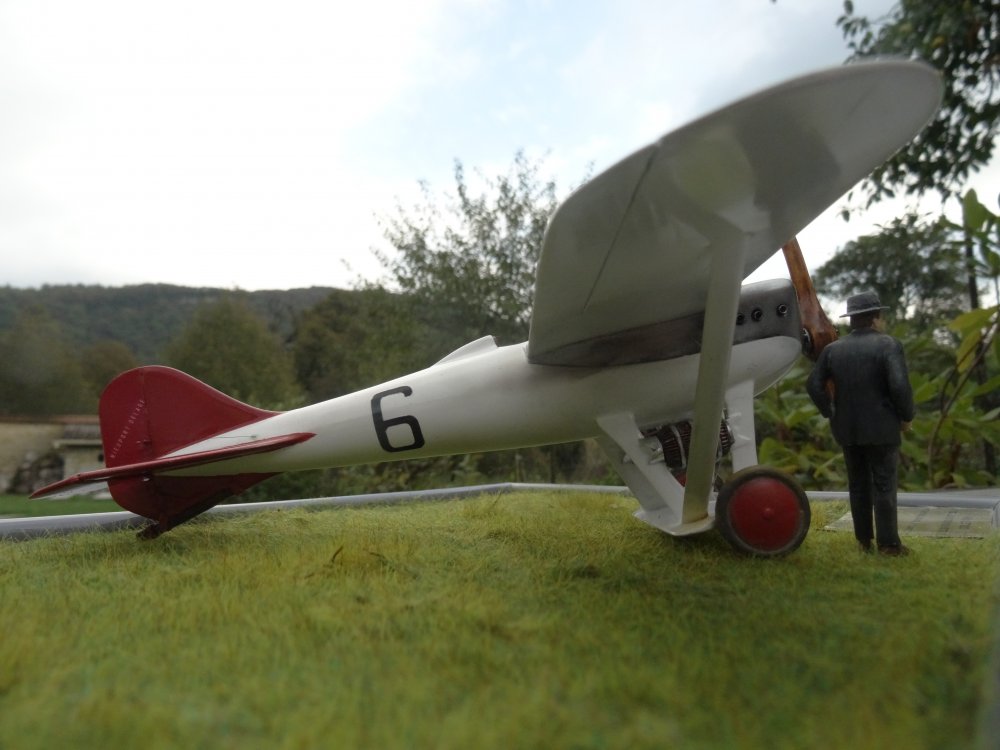
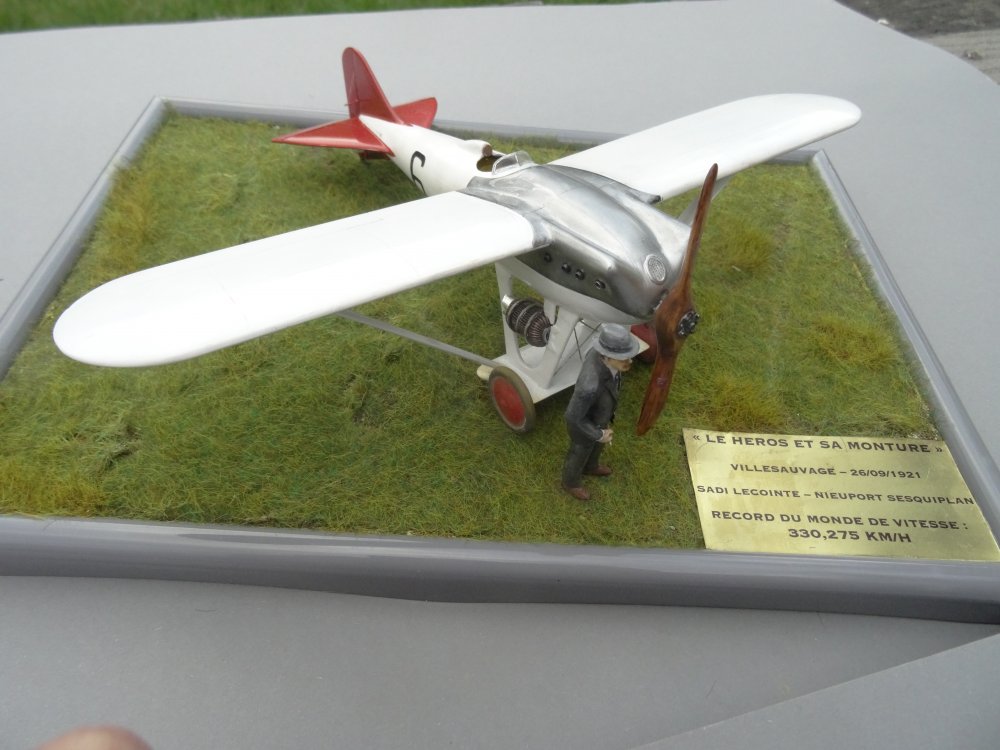
Well, I could say it has to be the next one I will finish . Besides, as I am builder rather than a collector, until very recently I had the habit of throwing away my finished kits afetr a few weeks or months gathering dust on the display shelves: a great way to solve the "where will I put it when finished ?" dilemna . Now I tend to keep my finished builds. Of those up-to-day survivors, the one I would want to show most is my Nieuport Sesquiplane racer. It is in my favourite subjects' league (Golden Age civilians and racers), it is a rare kit, it is also a high quality vacform - and thus a proof that vacform CAN be a great way to have a kit, when the manufacturer wants to put some efforts in selling something more reasonable than a mere blob of vague shapes on a plastic sheet. Here are some beauty shots I did just after finishing it. I hope you like it. Hubert


- 25 replies
-
- 14
-

-

-
Fokker E.V / D.VIII Parasol Mikro Mir 1/32
HubertB replied to DocRob's topic in LSM 1/35 and Larger Work In Progress
Fantastic ! Hubert -
1:32 scale Ansaldo A.1 'Balilla'
HubertB replied to sandbagger's topic in LSM 1/35 and Larger Work In Progress
Fantastic problem-solving, and idea duly bookmarked ! Hubert -
Outstanding detail work ! Hubert
-
Not at all. It would fit easily on the swimming pool ! Anyway, water was more the element of the original than air, wasn’t it ? One could even argue that the Do-X was the forerunner of the Ekranoplan ... Hubert
- 161 replies
-
- 4
-

-
-
- greatwallhobby
- italeri
- (and 6 more)
-
Very cool subject, just in my league, but I’m only in for 1/32 Hubert the narrow-minded
- 161 replies
-
- 5
-
-
-
- greatwallhobby
- italeri
- (and 6 more)