

Bill_S
-
Posts
990 -
Joined
-
Last visited
Content Type
Profiles
Forums
Events
Gallery
Everything posted by Bill_S
-
If you haven't seen this already, you really should take a look! https://forum.largescaleplanes.com/index.php?/topic/41924-wnw-amc-dh-2-7907-32-sqn-sept-1916-done/&page=1
-
I have this one in the stash; I look forward to watching!
-
Sorry for your loss, my friend. Remember him fondly.
-
-

What is on your bench right now ? Share a picture :)
Bill_S replied to Martinnfb's topic in Modelling Discussion
Starting work surface... Ending work surface... I don't think the box will stay on the bench... -
Thanks, Ernie! One of the projects I need to finish before I can start on the Lanc!
-
I like mine grounded as well - I $uck at painting figures. I've often thought of how I could paint realistic afterburner flame on the inside of a clear acrylic rod...
-
That camo is astounding!
-
A coat of paint on the cockpit... I tried to use the cockpit decals, with no luck. They look really bad. Off they came; they're in the paint shop right now. I finished the gun bay instead. Not much done to the egines thoer than assembly and paint. But those intakes... ugh. Resin ones would be a worthwhile addition. I cut a piece of 0.010" styrene sheet and cemented it to the lower fuselage half. When I can, I like to attac the wings prior to assembling the fuselage. This allows me to apply good pressure to the joint as it dries, minimizing gaps at the wing root. Not perfect, but it's close. It's tough to see in the photo, but you can't see the gear bay boxes any more.
-
HK Models 1/32 Lancaster Hints, Tweaks and Tips,
Bill_S replied to NigelR32's topic in Modelling Discussion
Nige, I took my wings out of the box today to check fir of the tips. It's small, but there is a parting line present on the hidden mating area of the main wing. An enlargement of your picture shows the effect... There is no parting line internal to the wing tip. My kit has similar issues - particularly the "step", but I hit that parting line with a sanding stick and it was vastly improved. -
I won this kit in the LSM Christmas raffle (thanks again, 1to1scale!) and upon opening the box, it looked so nice I felt compelled to start it. I'm aware of its shortcomings - particularly in regard to the cockpit. I hope to make this a quick OOB build. I'm unsure of markings at this point. I'm quite pleased with the level of detail on this kit. Panel lines are not overly done, and the molding is crisp. I started with the front office; I cut off the starboard side console and turned it around. I just love those half ejector pins... Everything fits like a glove in the fuselage. I had a little interference in the gun bay. Not the cleanest of cuts, but it shouldn't show. I'm assuming this bird will need some nose weight. Plenty of space to put it, and pretty far forward, too!
-
A great job on a very good kit!
-
HK Models 1/32 Lancaster Hints, Tweaks and Tips,
Bill_S replied to NigelR32's topic in Modelling Discussion
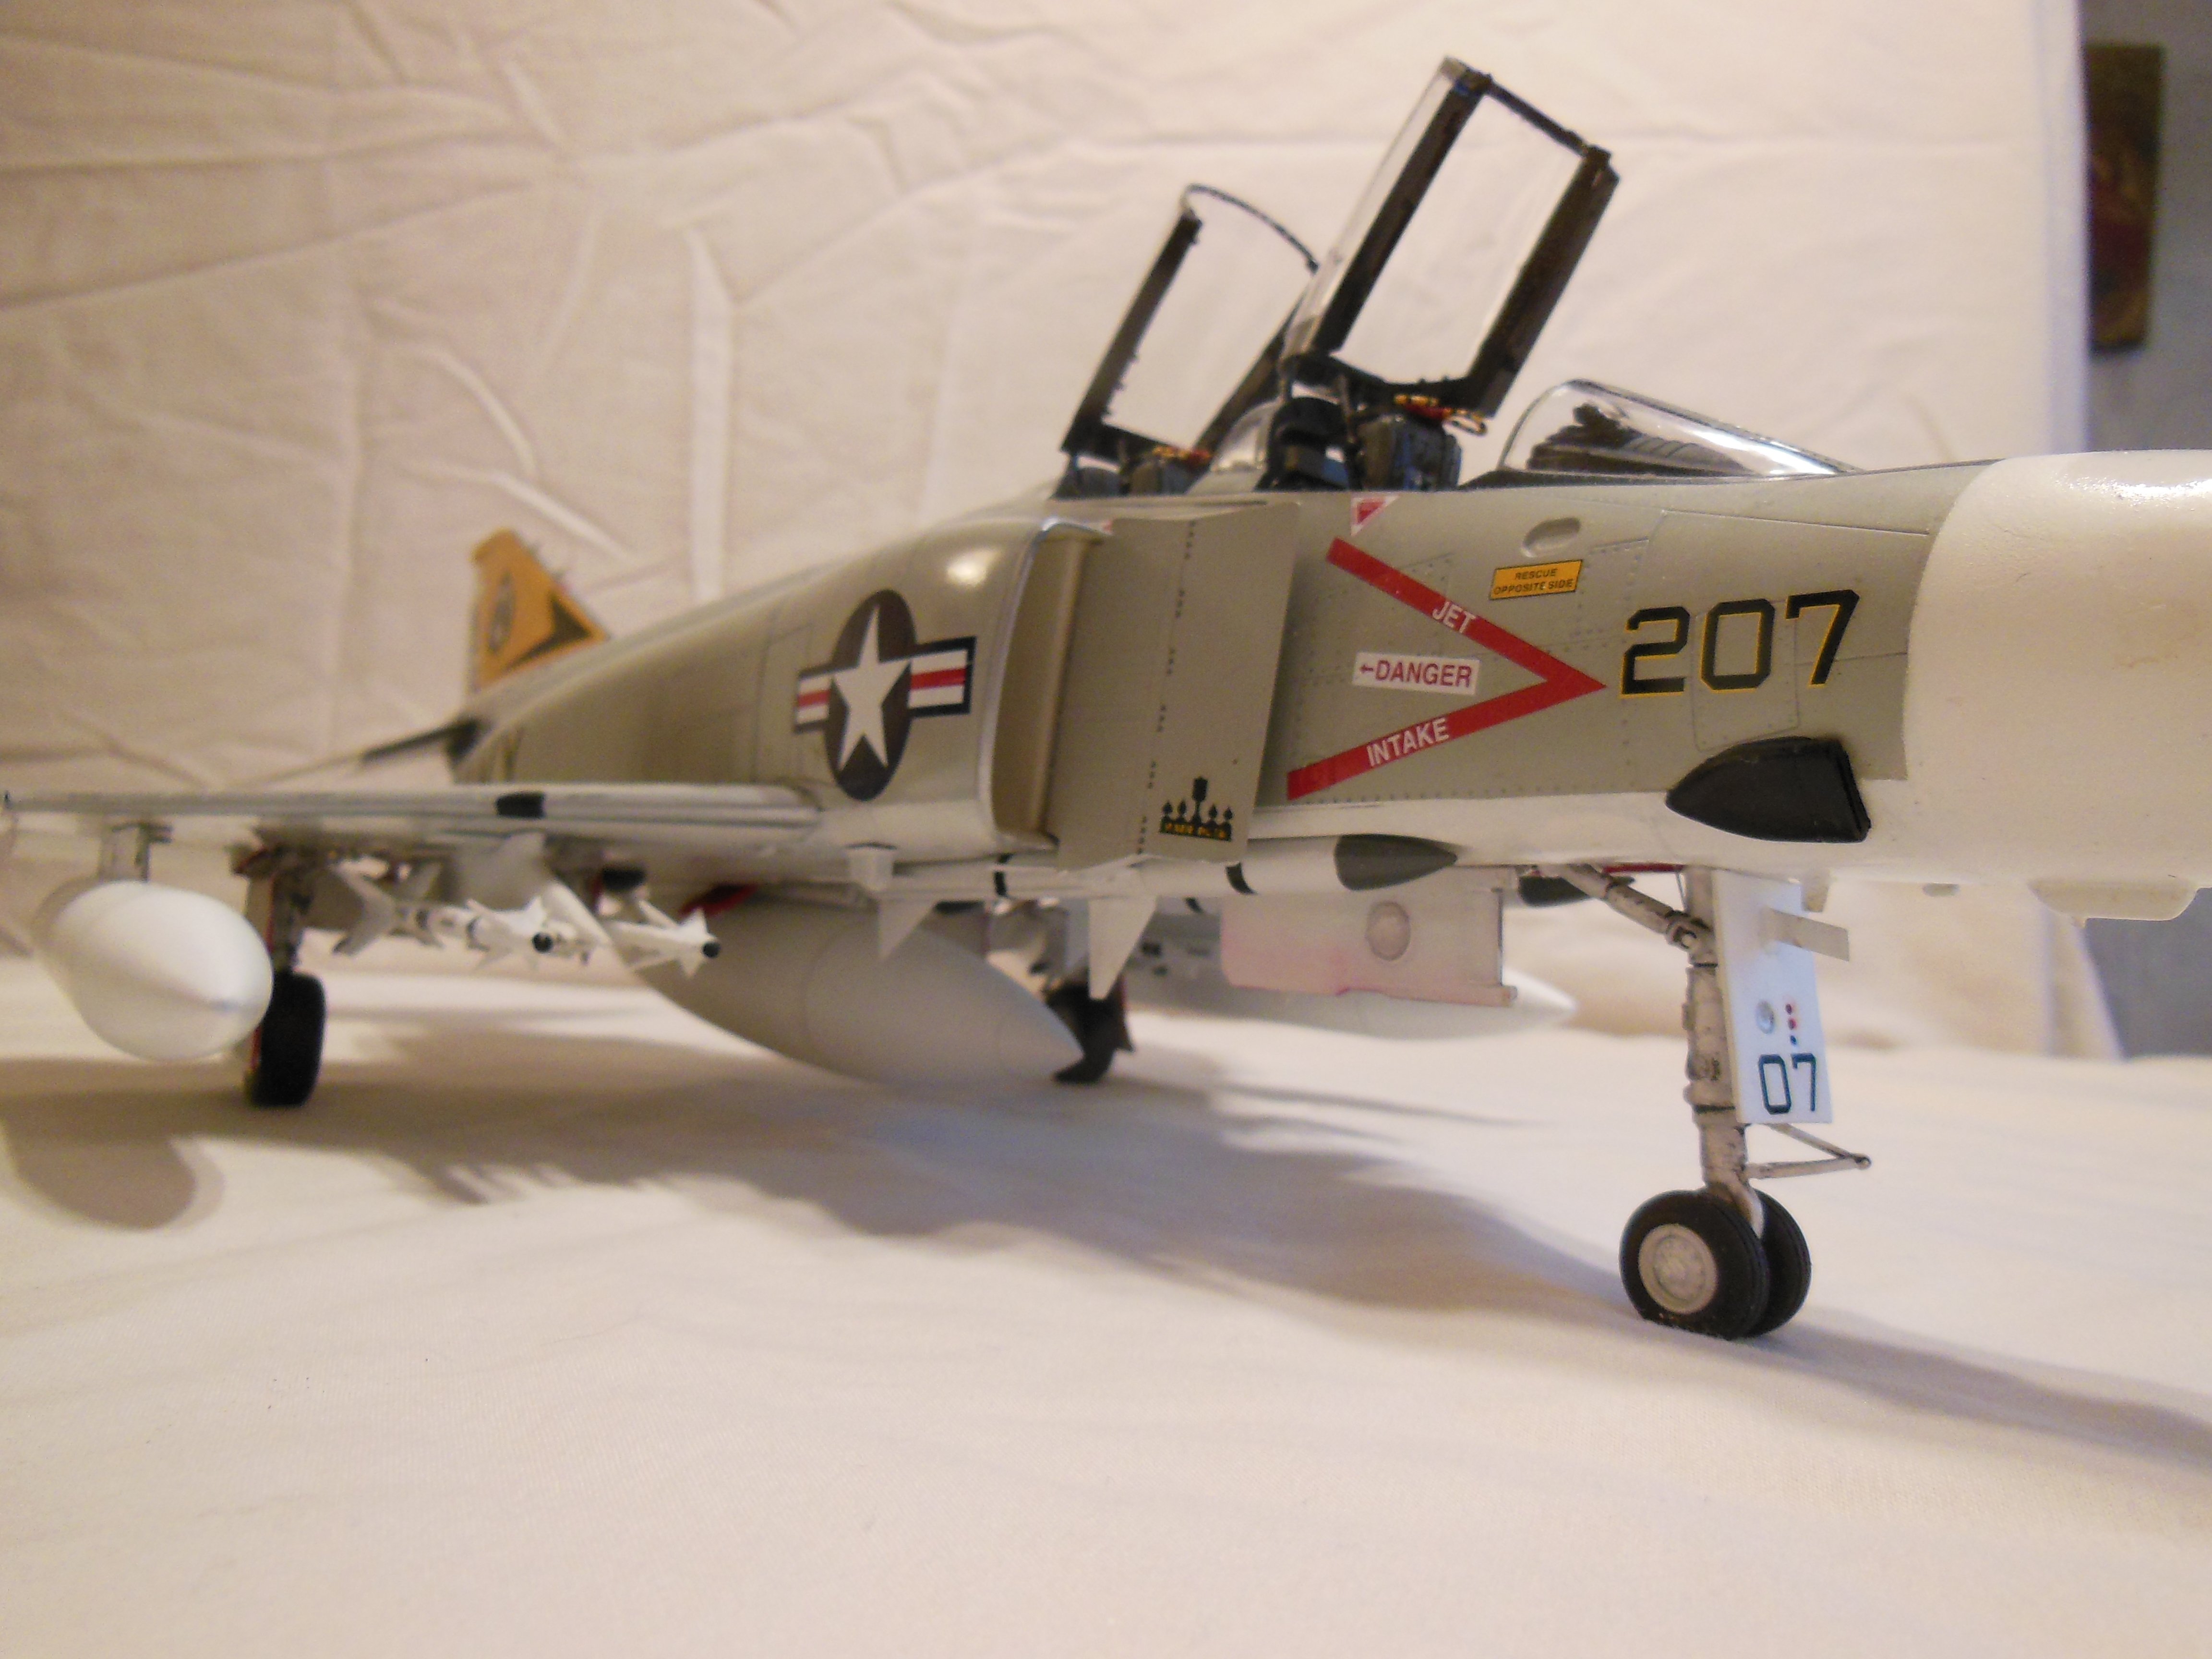
I've yet to unpack my kit, but this reminds me of something I used to spread the fuselage on my Tamiya Phantom to minimize wing to fuselage gap. I stuck a balloon inside, then inflated it until the part expanded to where I wanted it. The balloon applies even pressure over the entire area. Given that the wing tip is more rigid than the main wing, it should minimize this gap too. -
As Hubert says, magnet polarity is critical. I built a master unit to check all others against. As for installing the magnets, I apply a little liquid dish soap to the hole with a cotton bud. With lubricant, you can push the magnet into the hole. And watch for glue seepage at the joint interiors - it can cause interference when installing the drawers. DO NOT glue the dividers in!
-
Contrary to popular belief, HobbyZone units will not put your stuff back in their proper place.
-
You certainly can spend a small fortune on these, but for me they were well worth it. Give it some thought before you order! Personally I prefer the stacked drawer modules over the side-by-side drawers - they can fit larger things, and they come with dividers to separate smaller items. Drawer units in corners didn't make much sense to me; there's a lot of wasted space inherent in them. Consider a stand alone tools and brushes holder. Save the top shelf for paints! I would highly recommend some units without drawers. You know you're going to have some larger things you'll want to get out of the way at times. If you're like me, you will have more paint bottles than available spots to put them. Years ago, I built this unit from pegboard and aluminum angle. It's mainly for overflow. I built these "HobbyZone-like" units for my Model Master paints, too. The containers hold a number of bottles - I've got them separated into greens, grays, RLM, IJN/IJA, RAF metallics, and "primary colors" - the ones I use most often.
-
The 36mm racks fit the smaller Tamiya paints; you'll need the 41mm rack for the larger bottles
-
What is on your bench right now ? Share a picture :)
Bill_S replied to Martinnfb's topic in Modelling Discussion
It's about due for a cleaning... -
What is on your bench right now ? Share a picture :)
Bill_S replied to Martinnfb's topic in Modelling Discussion
I'm ashamed, but here goes... Revell George Revell George with Rex conversion Revell Ar-196A Z-M Shinden Z-M Do-335 Tamiya Corair Tamiya A6M2 with Rufe conversion Tamiya Spitfie Mk IXc Copper State Nieuport 17 Trumpeter F-105D Kitty Hawk F-5E -
Mitsubishi A6M2 correct cockpit color?
Bill_S replied to CrankyCrafstman's topic in Modelling Discussion
Get the MDC Rufe conversion, and you won't have to worry about it! -
Lancaster Dambuster conversion now available.
Bill_S replied to James H's topic in Modelling Discussion
Got mine on order! -
This is looking great! I have the A-0/A-2 version in my stash, and I can't wait to start it.
-
Welcome to LSM, Ryan!
-
Thanks, Mikester!
-
Some more wood effects... I still have to add some cross bracing wires once the back panel is attached, then thread the control cables through tiny holes drilled in pulleys.