BlrwestSiR
-
Posts
9,218 -
Joined
-
Last visited
Content Type
Profiles
Forums
Events
Gallery
Everything posted by BlrwestSiR
-

What is on your bench right now ? Share a picture :)
BlrwestSiR replied to Martinnfb's topic in Modelling Discussion
That doesn't look like a 66 Mustang. -
Hobby Craft Sea Fury
BlrwestSiR replied to ScottsGT's topic in LSM 1/32 and Larger Aircraft Ready for Inspection
Great job on a pig of a kit. Sorry to have made the easy build hard for ya. @Martinnfb is trying the same thing on me with the P-51A I bought for $16. -
Here you go. Hasegawa G6 with most of the Cutting Edge resin bits thrown at it.

- 90 replies
-
- 7
-

-

-
- zoukei-mura
- 109
- (and 1 more)
-
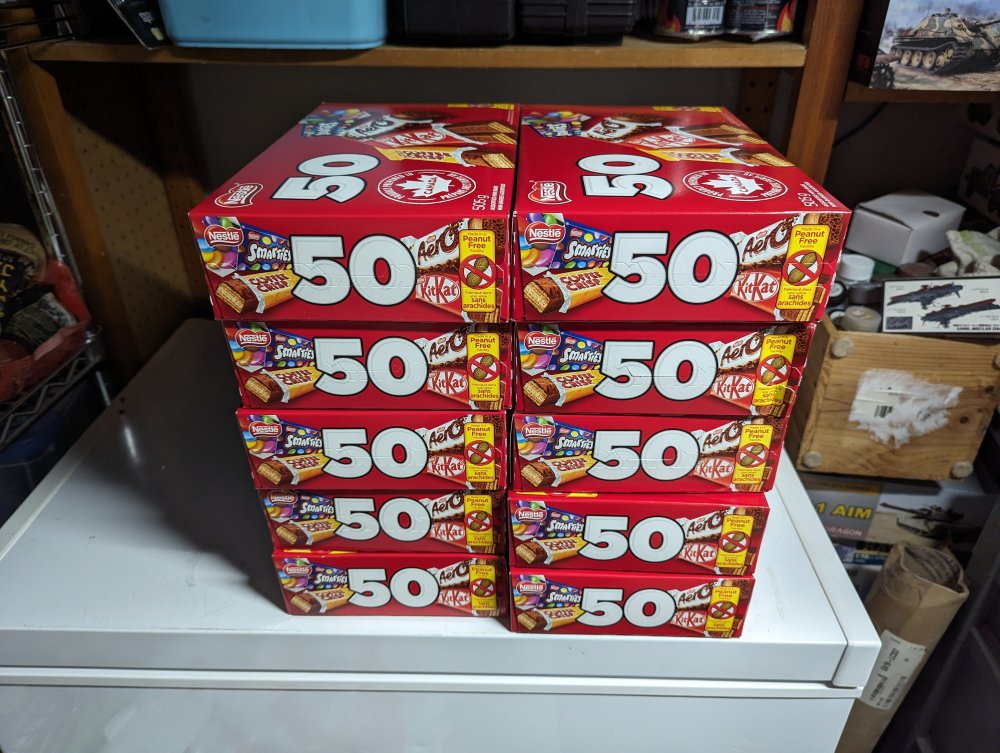
The latest additions to the stash. Just kidding Getting ready for Halloween. Our street is the most popular in the neighbourhood. Last year we gave out close to 700 treats.
-
Tamiya P-51D "Happy Jack's Go Buggy" is next
BlrwestSiR replied to JohnB's topic in LSM 1/35 and Larger Work In Progress
That's a different approach to the wing rivet issue. The only 1/32 P-51 I've built has been the Dragon one. Those rivets were pretty deep. -
Peter, I usually get them from HLJ and just grab them when I have an order to ship from them. My LHS Wheels and Wings had them in stock for a while but I don't see them at the moment. If you want a couple to try, let me know. I've got a couple sets here and could drop one in the mail for you.
-
Tamiya P-51D "Happy Jack's Go Buggy" is next
BlrwestSiR replied to JohnB's topic in LSM 1/35 and Larger Work In Progress
One of those Mustangs I hear about but I think yours will be the first I've seen. -
Here's my most recent 104: RCAF Triple Six, it as she affectionately known Triple Sick.
-
Chris, the seatbelts are made by Wako from Japan. They're much cheaper than HGW ones, about $8 for a set of the High Detail ones. The basic ones are even cheaper. Either comes with 2 sets of belts per pack. On the High Detail sets, Wako has layed out the buckles in such a way that you can thread the belts through them before cutting them off the fret. They also include instructions that are very detailed as to how the belts go together including how the buckles go. The one drawback is that the buckles are plastic and not metal. I have broken the odd one but if you're careful, it's not too much of an issue. Hope that helps.
-
I built that when it first came out. I think I may still have it at my folks'. It's a nice kit and I don't recall any issues with it.
-
Takom 1/16 scale Panzer III Ausf N DAK
BlrwestSiR replied to CrankyCrafstman's topic in LSM 1/35 and Larger Work In Progress
Great start and nice idea on making the return rollers workable. -
I painted as many of the cockpit parts in interior grey green at the same time as I did the fuselage insides. Then it was seatbelt time. Why? I dunno, just made sense at the time. Of course I made it a bit harder by doing three different sets at the same time. The Feelings set requires painting but I think they're still my preferred belt sets. The shoulder belts all together. For the seat, I'm using a Barracuda resin one. I was a bit surprised that the casting wasn't as clean as I'm used to from Barracuda. Easy enough to fix. I did up a spare just in case. While I was at it, I started on the Sea Fury seat as well as the one for the Whirlwind. The shoulder belts were attached to the bullkhead and then I added the seat.
- 36 replies
-
- 10
-
-
-
Time for a very belated update. The hatches are all done. I chain drilled the perimeter and then after popping the centre out, filed them to shape. I then repeated the above with the port side. The interior was then painted with TruColor Metallic Silver.
-
1/16 scale Tiger VI Ausf E early build
BlrwestSiR replied to CrankyCrafstman's topic in LSM 1/35 and Larger Work In Progress
The buff overspray sounds like a good idea. Maybe as a mist coat over the whole tank and possibly slightly heavier on the running gear? If you do it before the clear coat, I'd do it lightly first as I've found clear coats tend to darken everything. -
1/16 scale Tiger VI Ausf E early build
BlrwestSiR replied to CrankyCrafstman's topic in LSM 1/35 and Larger Work In Progress
Ron, the camo looks great. For the weathering, I would probably do the wear on the running gear first, then add the weathering after that. The drive sprockets and idlers would definitely have paint worn off by the tracks underneath any weathering. For the rest, I'm in the same boat as you as what to do first. -
That looks cool.
-
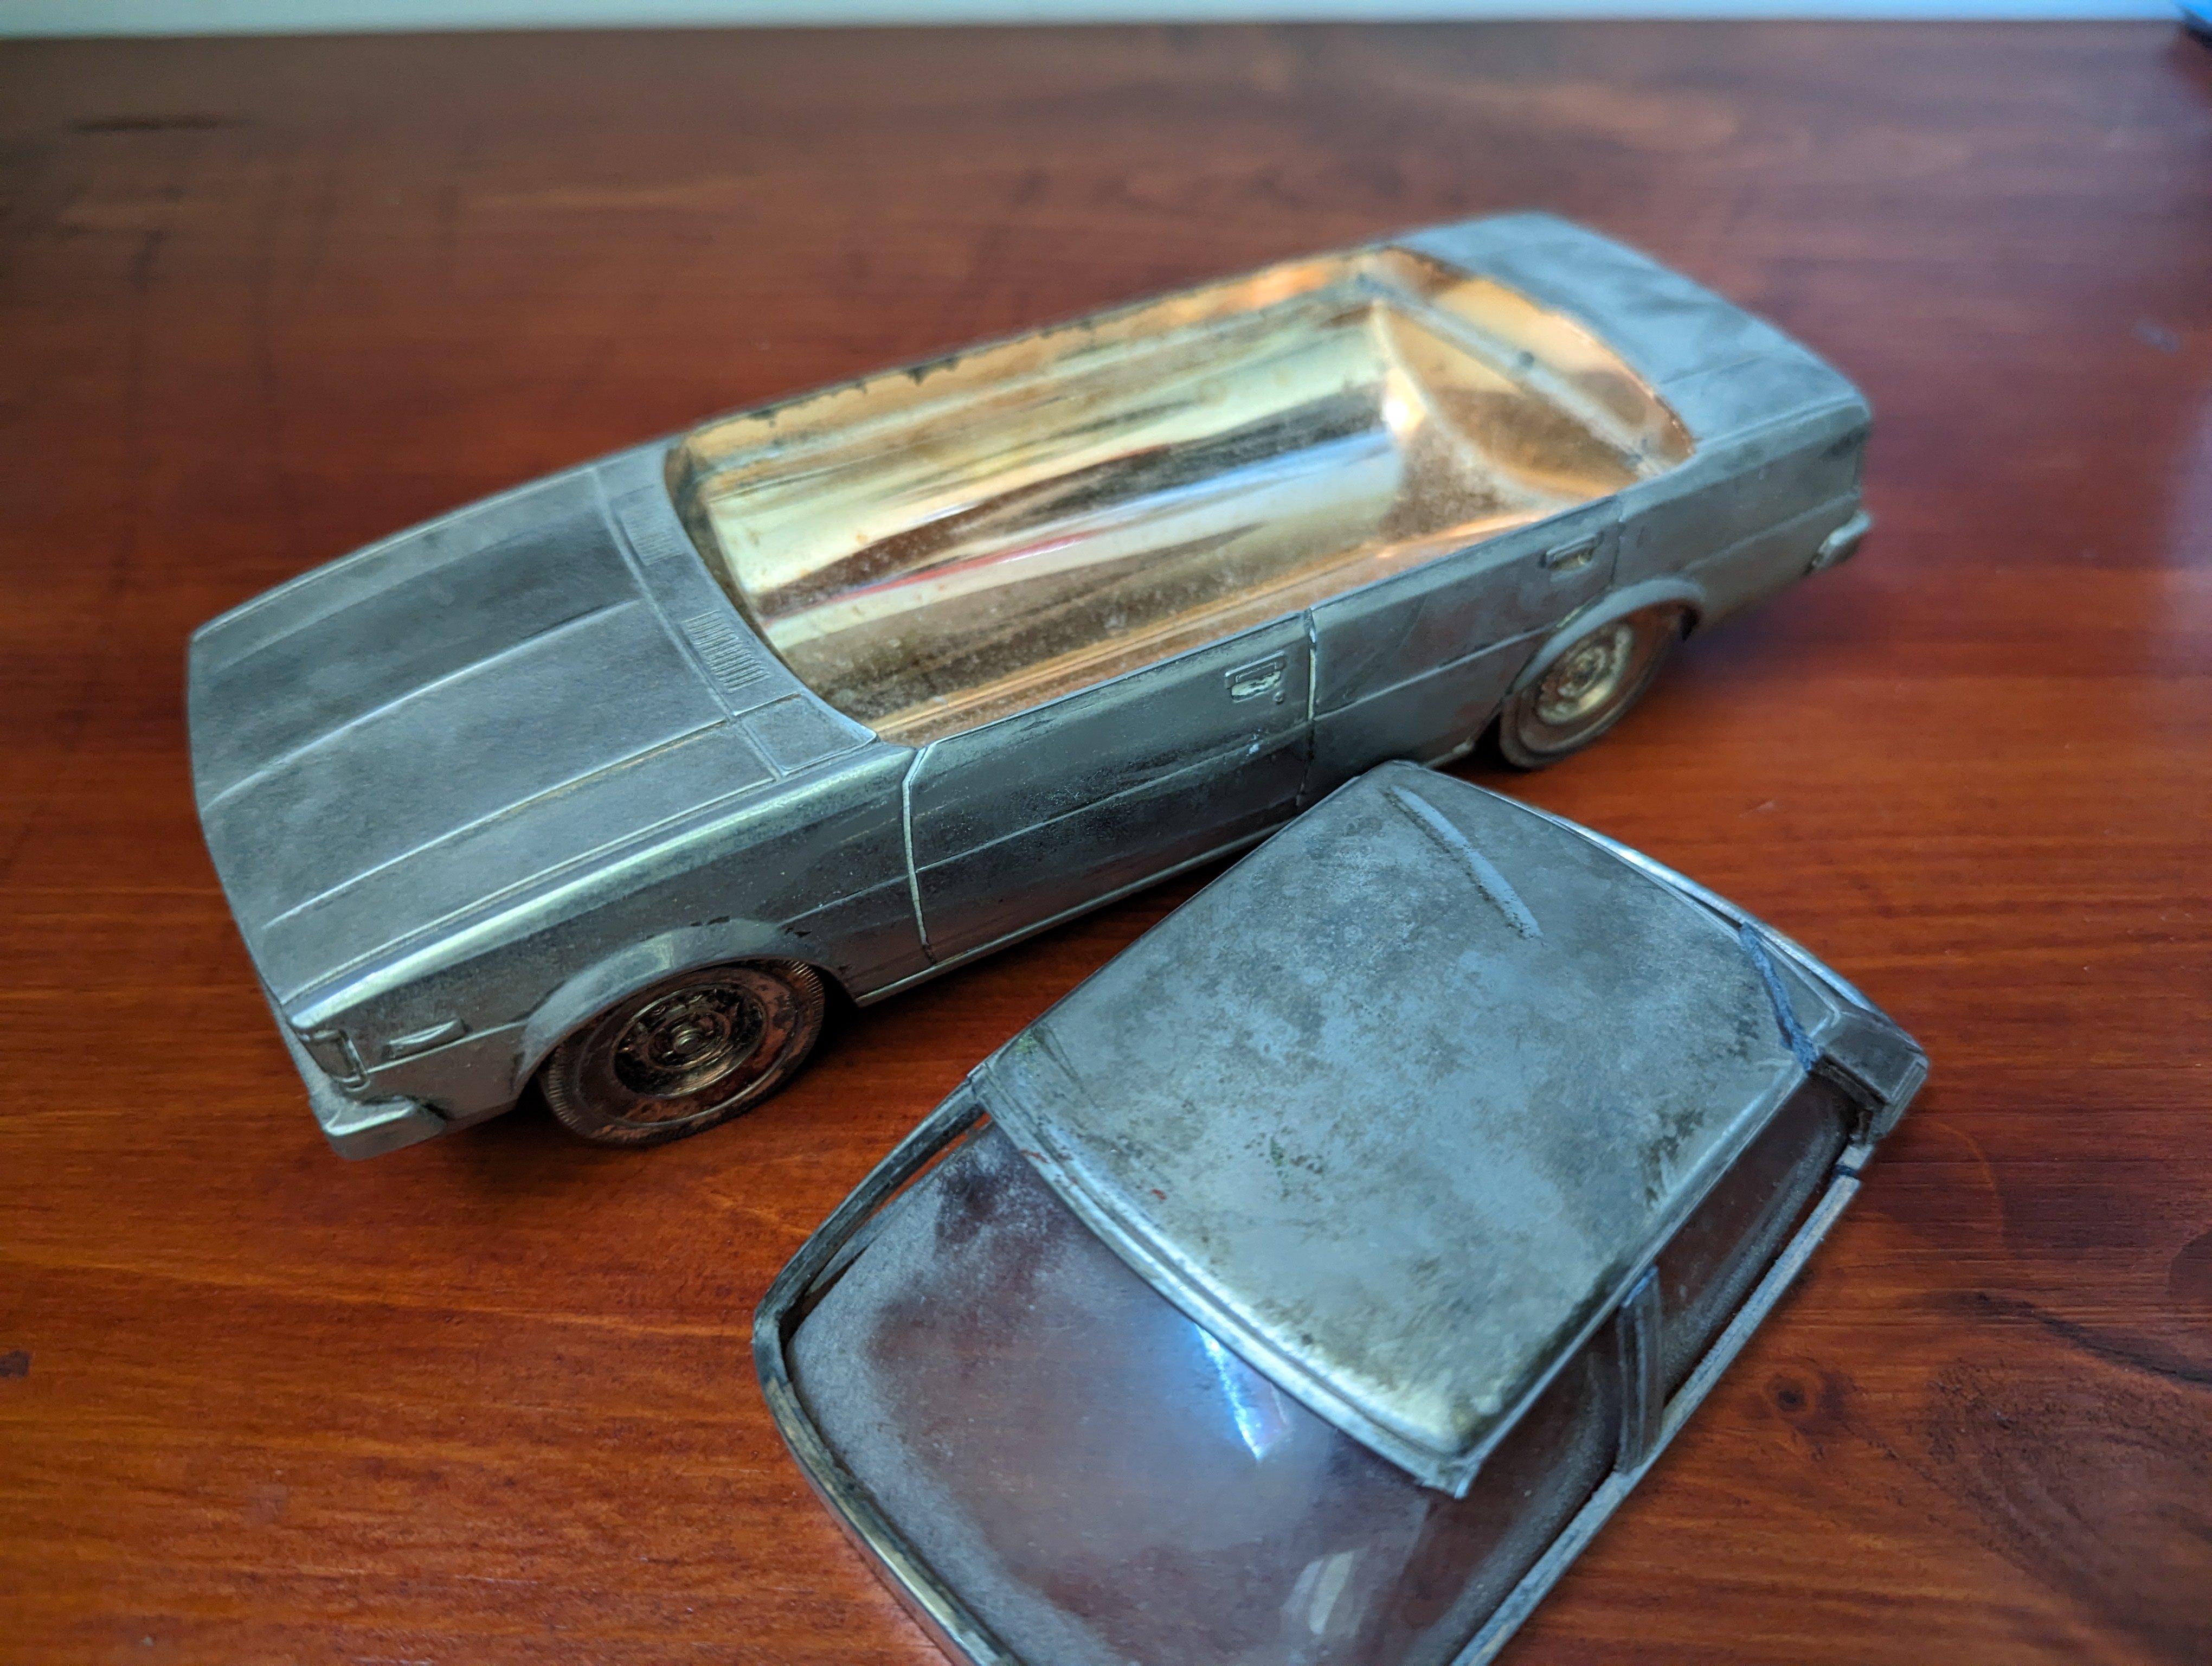
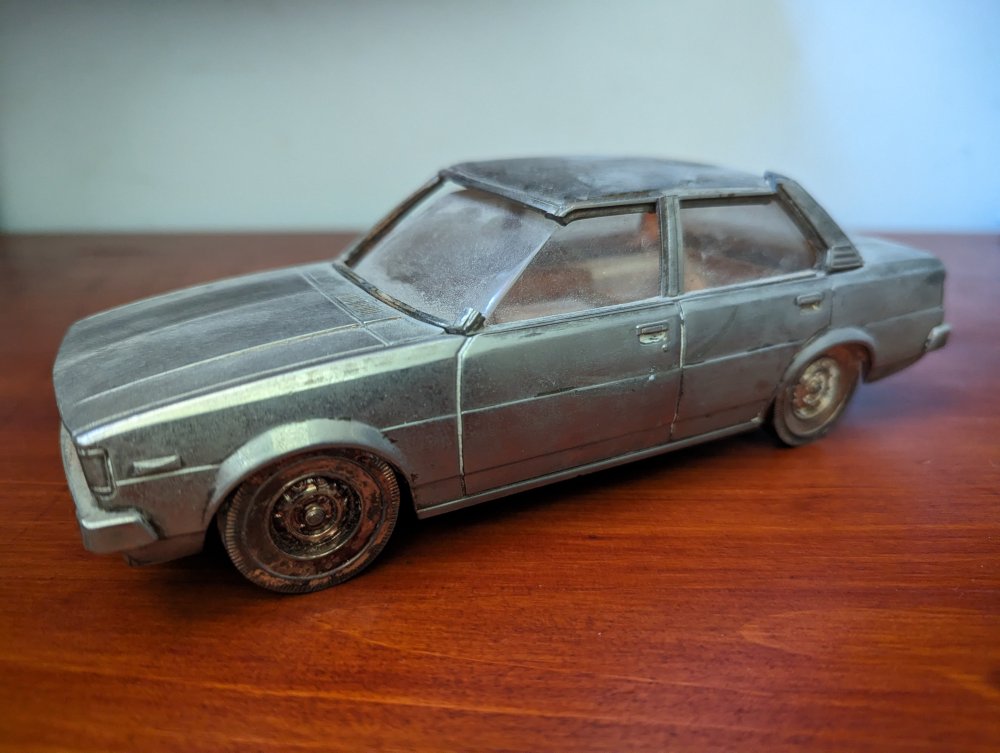
Something I haven't seen in a very long time. This is a solid brass Toyota Corolla that my aunt gave me back in 1980 when I was 9. She worked for Toyota Hong Kong at the time and was the secretary to the VP there. It's certainly seen better days but it brings back memories. The funny thing is it's a cigarette holder. The top lifts off and the cigarettes sit inside.

-
Talk about a large scale model!
-
Thanks for sharing the pics. Some lovely looking planes there.
-
Third generation Ford Mustang with a 302 (4.9 L) V8 engine. The chassis was called Fox by Ford so most Mustang enthusiasts call them Fox bodies. You should listen to how Honda fans talk about their cars. EF, EK, B16, K20.
- 2,036 replies
-
- 2
-

-
-
- car related stuff
- anything about cars
- (and 6 more)
-
Glad to hear you still it. I thought you might have traded it in for the Jeep.
- 2,036 replies
-
- 1
-
-
- car related stuff
- anything about cars
- (and 6 more)
-
Fox body with the 302?
- 2,036 replies
-
- 1
-
-
- car related stuff
- anything about cars
- (and 6 more)
-
RFI Airfix Ferret 1/35
BlrwestSiR replied to PanzerWomble's topic in LSM 1/35 and Larger Work In Progress
Wow, that's fast. Great job on the build and paint. -
Kotare I'd having a sale on their Spitfire 1 (mid) kit. It's 20% off to celebrate Battle of Britain Day. https://www.kotare-models.com/products/k32001-132-spitfire-mkia-mid
-
- 4
-
-
How are Belkits Rob? I haven't built one before and am curious to the quality. There's a 1/12 RS available too. It's 3D printed and €169 but comes with an engine. The guy offers both the rally and race versions.