DocRob
-
Posts
7,048 -
Joined
-
Last visited
Content Type
Profiles
Forums
Events
Gallery
Everything posted by DocRob
-
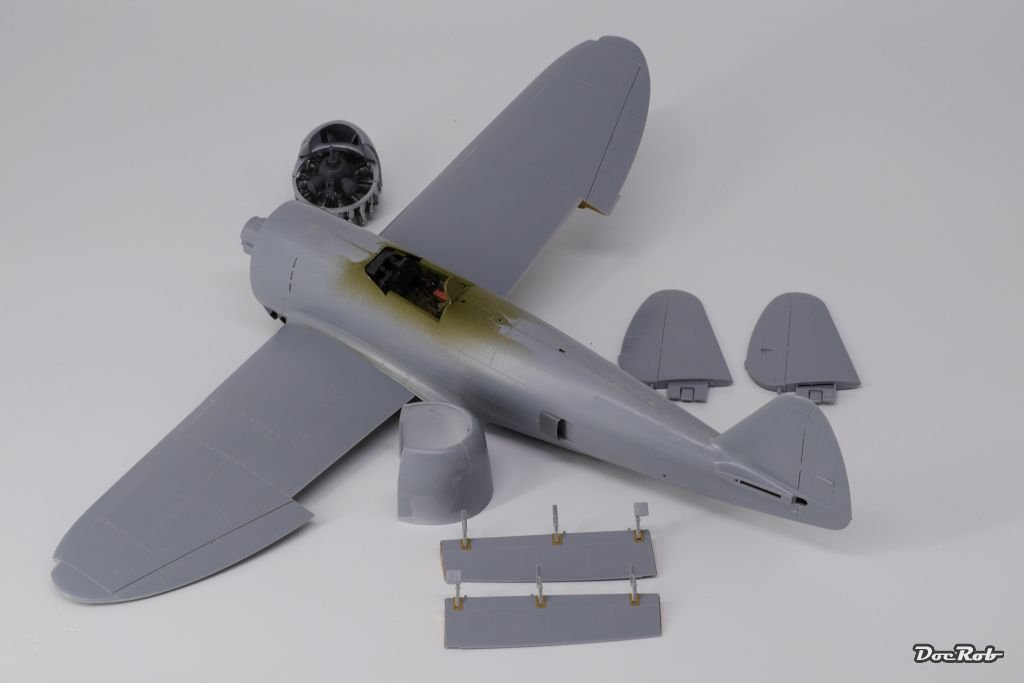
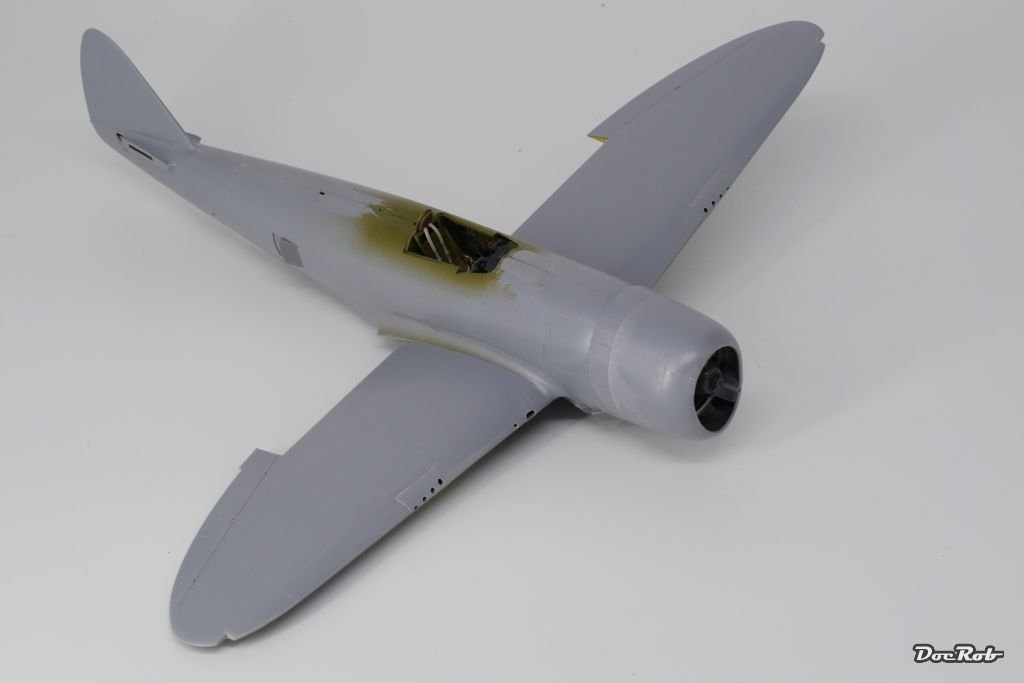
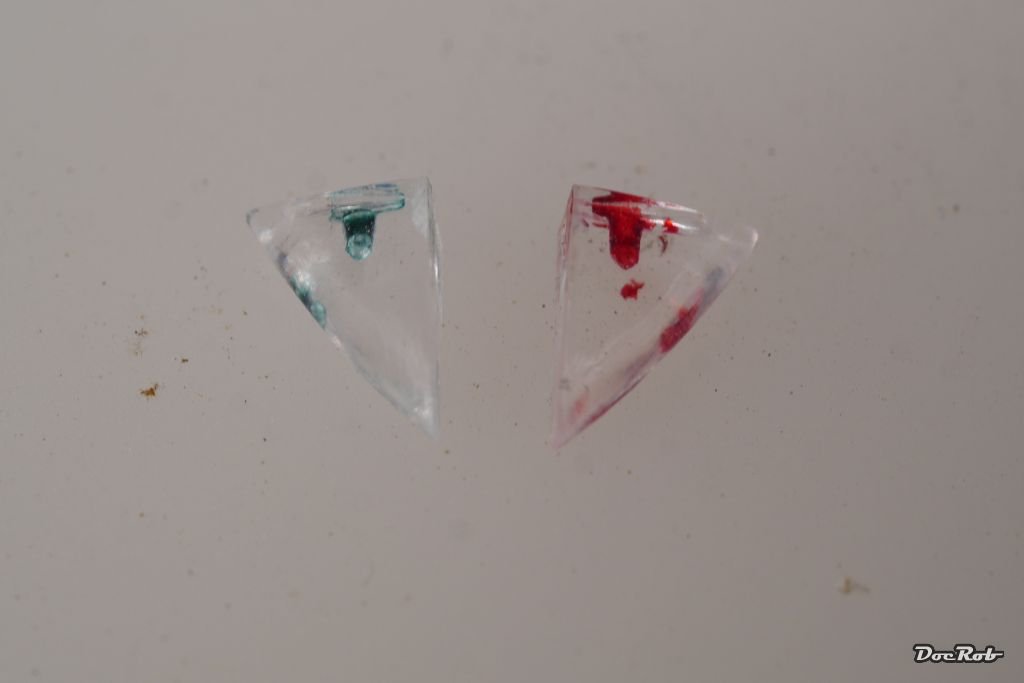
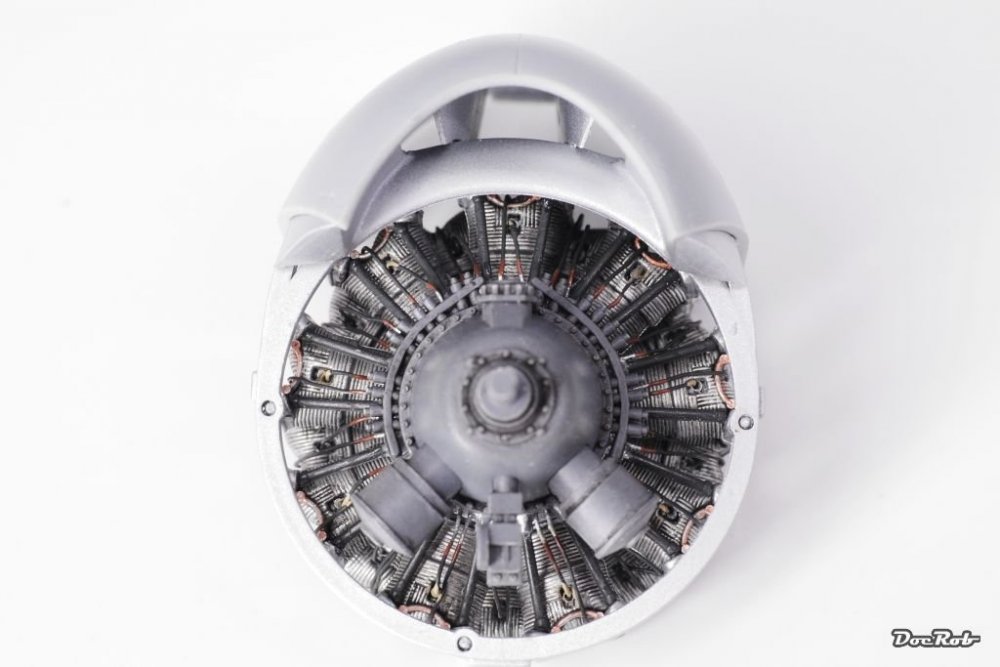
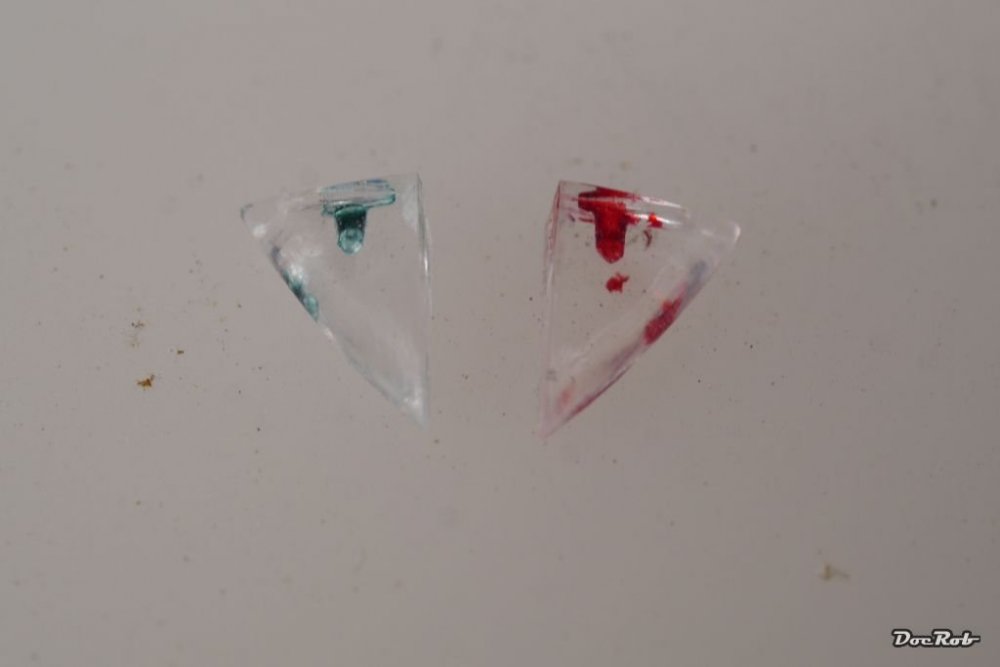
Feliz Año Nuevo Señhoras e Senhores, due to summeresque conditions outside, my pace has slowed a little, but some progress on this very pleasurable build is made. Most of the sub assemblies are done and painted. I cut and grinded the places for the navigational lights, to fit in the transparencies. These were drilled and the holes where filled wit transparent red and blue-green. After touching up the engine it was installed in the lower cowling part and the other three cowlings where glued and sanded on the front lip. All the cowling part, the cooler and cooler ring plus the engine where glued in situ, to be able to align everything properly. So far no problems, fit is very good. Same goes for the wing Attachement, nearly no gap here. before gluing together I sanded the leading edges of the wings and fuselage connections with lots of patience, because I think good preparation is the best way for a good NMF. One question for the experts: What is the purpose of the leading edge hole close to the fuselage on the right wing? I found no clear part and photos I took from the original don't show glass either, so it seems to be a vent opening. The smaller square hole beside that one has to be a gun cam, am I right here? Cheers Rob The navigational lights look much better in reality, the Colour dots are just refractions, which will reduce with a silver background


-

Tamiya F4U-1D Corsair: Update: 2/1019
DocRob replied to Peterpools's topic in LSM 1/35 and Larger Work In Progress
Nice progress Peter, painting stage not to far ahead. On my Birdcage F4U I used the Brassin wheels without problems, the gap was perfect to my eye, but I've heard about that problem with the gap between wheel and hub in other places, so maybe Eduard altered something while producing. Cheers Rob -
1/18 P51C Mustang "Lopes Hope 3rd"
DocRob replied to airscale's topic in LSM 1/35 and Larger Work In Progress
That's definitely not sprue cutting and gluing together, this is awesome scratching at it's best. Cheers Rob -
That's what I call burning rubber Cheers Rob
-
1/35 Harley Davidson WLA
DocRob replied to JeroenPeters's topic in LSM 1/35 and Larger Work In Progress
Looking great, but painting will not be an easy task, lots of tiny parts and seemingly no sub assemblies, you sure like the challenge. Cheers Rob -
My First Heartbreak 27/Jan/19
DocRob replied to GazzaS's topic in LSM 1/35 and Larger Work In Progress
He sure looks a little weird, but that seems to be caused by the plastic not the paint job. Luckily you can't see the screws on the side of the head, because of the leather helmet . Cheers Rob -
Kitty Hawk F-5F done.
DocRob replied to Clunkmeister's topic in LSM 1/35 and Larger Work In Progress
Nice progress on that nearly binned kit. Let your magic work. Cheers Rob -
I use a lot of Vallejo Air with mixed results. Some are great and some colours don't seem to flow very good on the surface, thinned to different grades. I never liked the retarder though. AK Colours seem to be a little bit better for my liking, better adherence and finer spray. I never use these colors without a good coat of primer (Smelly Tamiya rattle can is simply the best). Never tried MRP or MMP but will follow here to gain from your experiences. Cheers Rob
-
hk models Lancaster B Mk.I, R5868, PO-S (S-Sugar)
DocRob replied to JayDee's topic in LSM 1/35 and Larger Work In Progress
Looking mighty good, great job with the inner fuselage painting and the IP looks fantastic. You almost convinced me to get rid of my self casted spell about staying away from these four engine behemoths, almost…………….. Cheers Rob -
With your speed of building my not very shallow stash would dry out fast. Great to see, that you don't sacrifice quality for quantity. Are you going to rebuild that scene as a dio? Cheers Rob
-
Sounds like an interesting Project Rick. Somewhere I have seen prepainted 'blurred' plexy glass discs, which simulate rotating propellers without the necessity of an engine. Cheers Rob
-
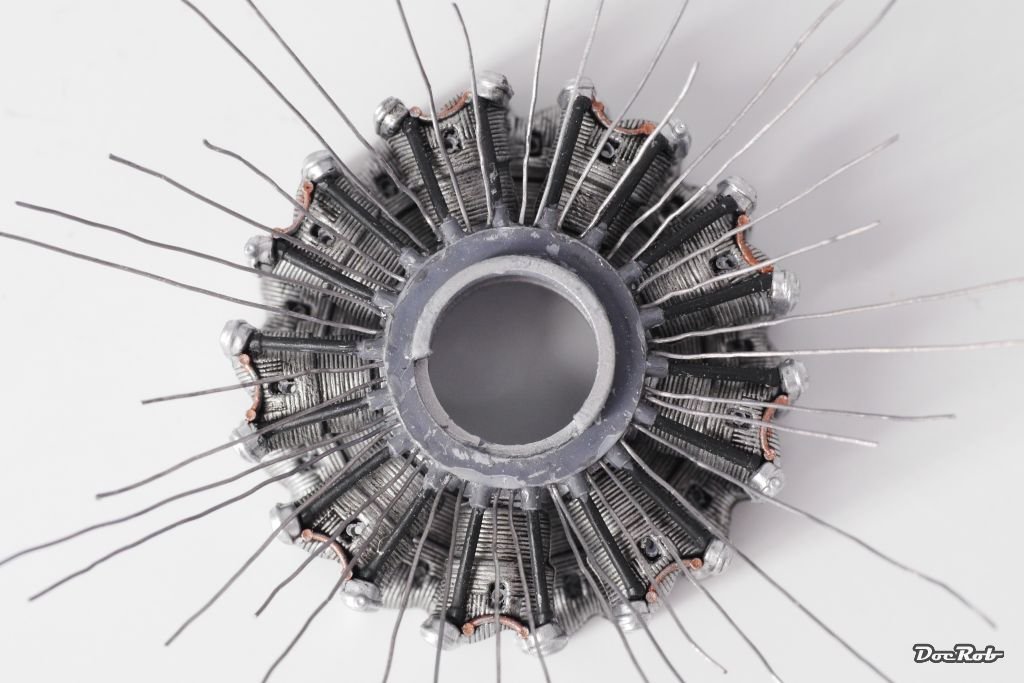
Thanks Peter, I thought wiring is tougher than it really is and is taking no more than three or four (intense ) hours. The most difficult part is the drilling of the ignition ring, because the part is thin and holds the steering tubes for the valves as obstacles. Copper or lead, I think booth are good, but for different reasons. Lead is easier to bend, where copper has a better stability once glued. Cheers Rob
-
Thanks Phil, can't wait to see your P&W 2800. Wiring is easier than thought. Should have known by the time I built my Birdcage Corsair with a Brassin engine and the enclosed (soso) PE-wiring. Cheers Rob
-
Welcome to LS, I'm sure you found the right place, seeing what you've done with that Fury. The finish looks great and setting and photos are as well. Make yourself comfortable here . Cheers Rob
-
Thanks Gentlemen, until now this is a real pleasure build and a good time to test some new (at least to me) stuff like wiring a radial engine. Cheers Rob
-
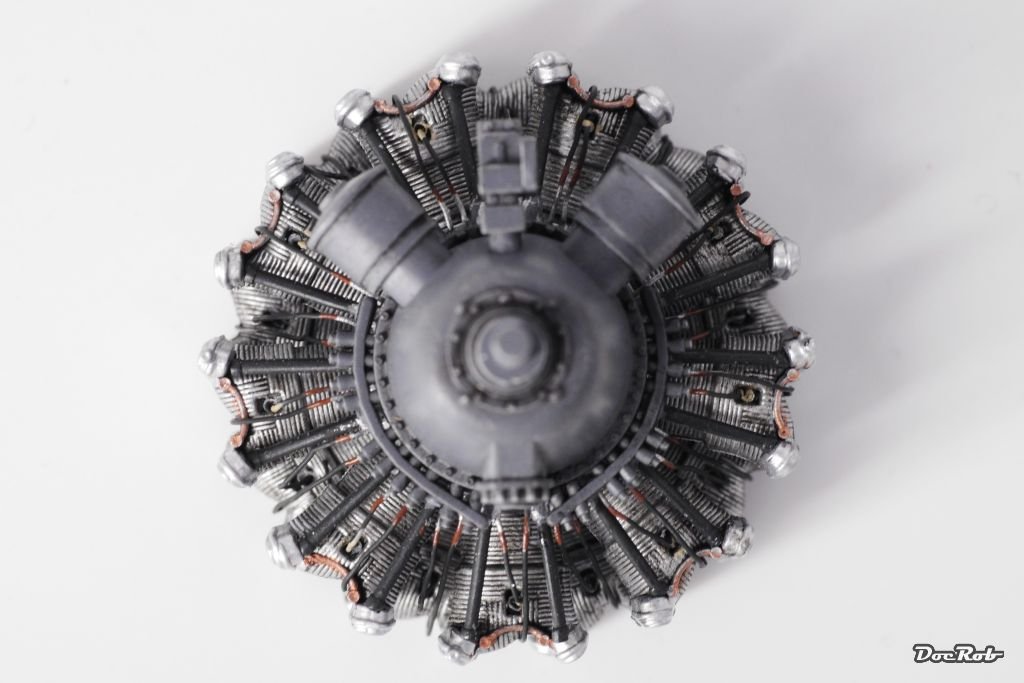
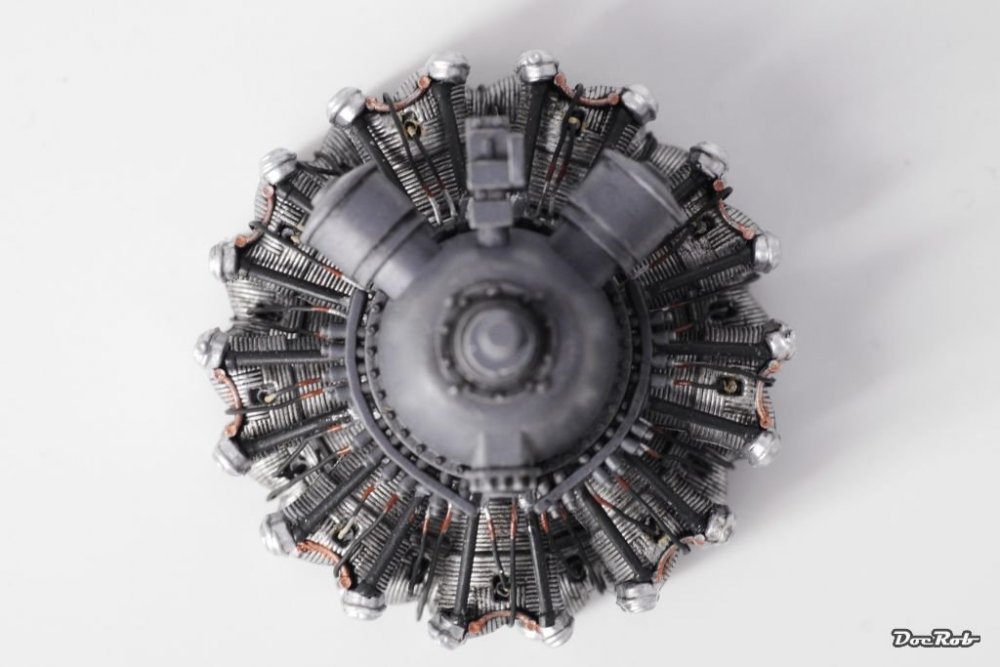
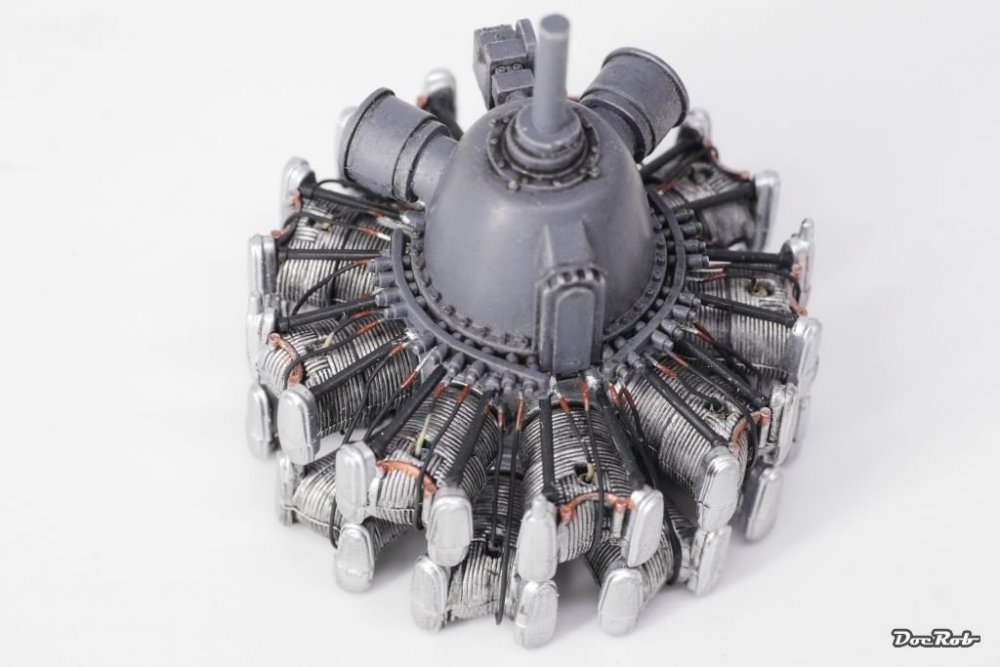
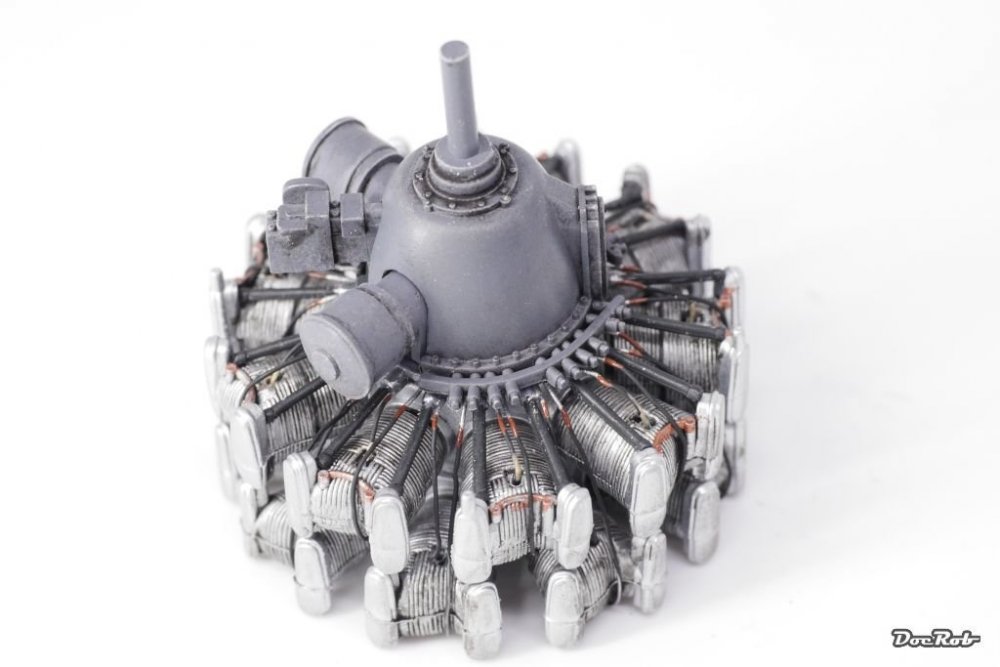
Almost there with the engine. I added a dot of buff color to resemble the spark plugs and will do ones more to alter the diameter of the wire where the plug is. After some touch ups I call the engine done, shame that I have no P&W logo left. Cheers Rob
-
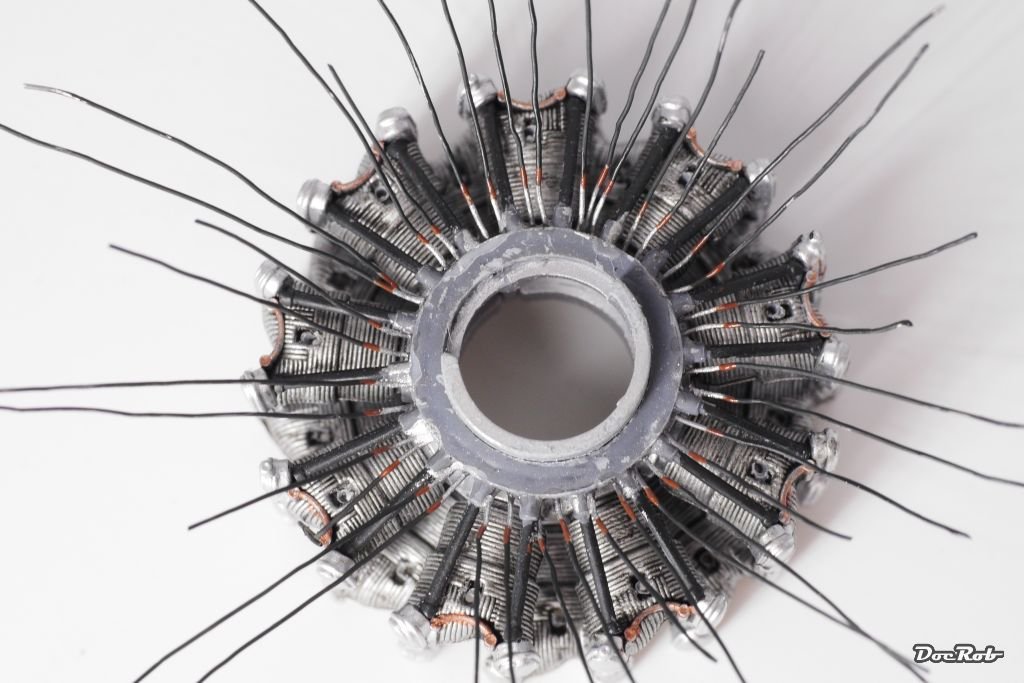
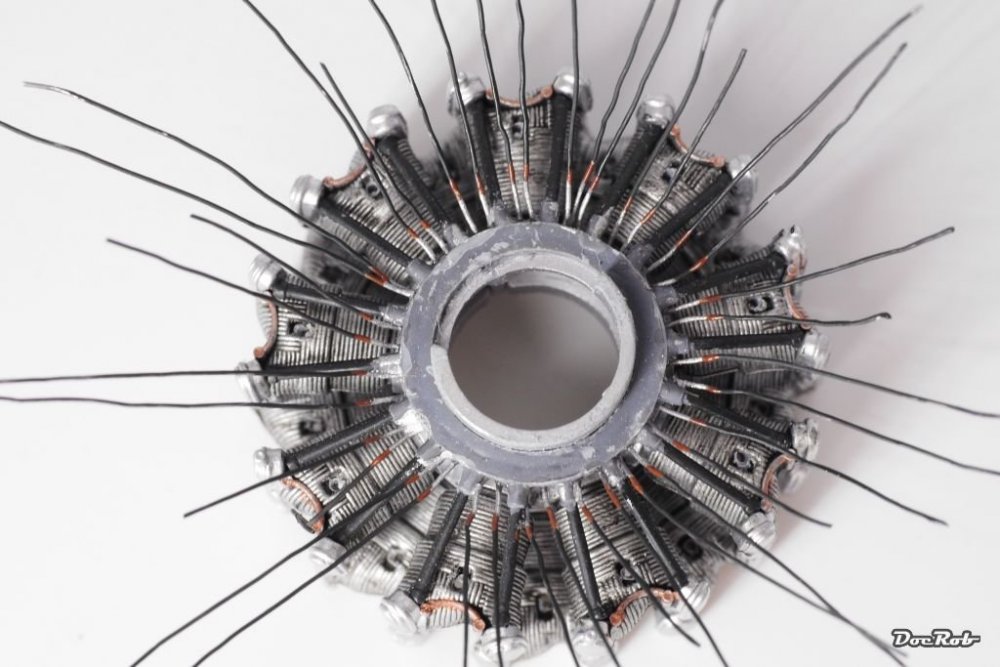
Phew, done for the day. Even with a magnifier optic it's quite a task to wire that engine. In all the wiring takes maybe two hours and it actually works, but afterwards you should give your eyes some rest. I used CA glue to attach the pre cut wires to the ignition ring, added some CA with the tip of a toothpick, just to be sure and pulled on every wire to stretch and to test the bond. With pulling the wires a little to the frontend, it was possible to pre paint them. I hope the Colours will stay in place while attaching the loose ends to the spark plug holes. Cheers Rob Bad hair day for the engine without paint With blackened wires hull red connectors and chrome silver attachment points

-
I can tell you, here in Spain they have the coldest light ever emitted on that planet. It seems that the average kelvin rating is about 20k , you are instantly frozen just by looking at. It took us a while to import all the necessary LED bulbs with 'luz caliente' (warm light). Cheers Rob
-
Brummbär! I beg your pardon! 27/Dec/18
DocRob replied to GazzaS's topic in LSM 1/35 and Larger Work In Progress
Great Gaz, I like that brick-wall-camo, but what will disguise them in a forest ? Concerning the mufflers I'm not an expert, but was an engineer and on places where heat, water and dust meet steel, the paint will have a hard time to stay in place and corrosion is about to start. Don't want to be smart mouthed, but I'm German (heel click ) and have to tell you its only a Sturmpanzer without the dots on the 'u'. Cheers Rob -
For the not so gifted ones there is an alternative, but it is no match to yours Kent, by far. https://www.artesanialatina.net/en/heritage-collection/57262-wooden-model-fokker-dr-i-red-baron-airplane.html Cheers Rob
-
A Wee Project: 1/24 Cardoor Tiffie
DocRob replied to Uncarina's topic in LSM 1/32 and Larger Aircraft Ready for Inspection
Great build, great result. The finish is exceptional and mouth watering. Have to open the box of mine, juuuust open... Cheers Rob -
Guys you're killing me and my provision from big T , I wonder what you have in mind when I recommend their great magnifying glasses . Cheers Rob
-
Hi David, like your car top set up a lot and the results are good too. The Lanc is looking great with that light of the setting sun, very natural and the shadows look convincing. The second has a bit too much foreground for my liking and the colours are fading a little to the gray side. It has it's atmosphere, but a little more colour saturation wood enhance the picture, maybe with the help of some spot metering. I as a nearly livelong available light and landscape photographer found it really hard to adopt to modelling photography. I still haven't mastered to get good photos and because of that I'm toying with the thought to start a thread for those of you who want to enhance your photo skills with the critique of the fellow LSM crowd. It should not be about the quality of the model, but the image. But I have to think about the concept a little further. I use a Lumix as well, combined with lots of different lenses, but my main piece of glass is a 90 mm (45mm in Micro 4/3) macro lens, because you get pretty (ugly in times) close and the focal angle is almost distortion free. Cheers Rob
-
Watch out Ernie, we had quiet some Kalima (Hot storm from the African desert with lots of sand in it) the last three days and lost some trees in the garden, but I had a great surf with my son, because of the big waves. Stay safe and avoid flying obsacles. Cheers Rob
-
Quite a year you had, nice output and nice photos too. Compared to you I seem to be to easy to distract from the workbench. Cheers Rob