BlrwestSiR
-
Posts
9,193 -
Joined
-
Last visited
Content Type
Profiles
Forums
Events
Gallery
Everything posted by BlrwestSiR
-
It really is isn't it? Nice to see other manufacturers get into the game.
-

Lancaster ND644 in 32nd scale
BlrwestSiR replied to FME erk's topic in LSM 1/35 and Larger Work In Progress
Nice job on improving the gear legs Ian. I'm wondering anyone has compared the length of the recent brass gear legs that Aerocraft came out with to see if they're shorter. They filled in the voids in the HK legs. Kai, I believe the Canadian built Mk X Lancs had the square rad openings and corresponding rad shape depicted in the kit. -
HGW had them in-stock back in October. I picked up mine from them for 20% off then. I think it's pretty much the only way to get the Dragon kit currently at a reasonable price.
-
Definitely a cool diorama. Must be huge too as that looks to be the 1/48 Eagle which is 22" in length.
-
The Minibase Su-33 is almost ready for release. There's a test build up on The Modelling News that looks stunning. I'm really tempted by this kit since I doubt we'll see an Su-33 in 1/32. https://www.themodellingnews.com/2021/01/test-kit-dry-fit-review-48th-scale.html?m=1
- 161 replies
-
- 2
-

-
- greatwallhobby
- italeri
- (and 6 more)
-
EF-105F Thunderchief YGBSM
BlrwestSiR replied to Clunkmeister's topic in LSM 1/35 and Larger Work In Progress
Lots of splicing and dicing there Ernie. Nicely done too. I don't always remember the measure thrice, cut once rule myself. Carl- 41 replies
-
- 4
-
-
- zotz decals
- barracudacast
- (and 9 more)
-
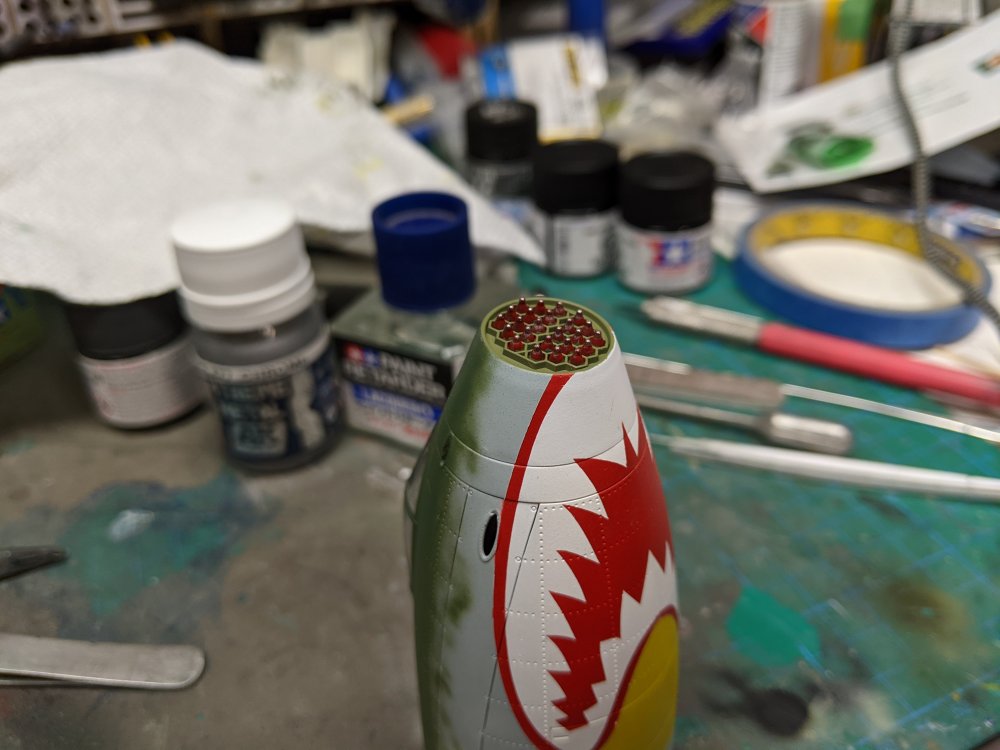
Focke Wulf.... Triebflugel.
BlrwestSiR replied to BlrwestSiR's topic in LSM 1/35 and Larger Work In Progress
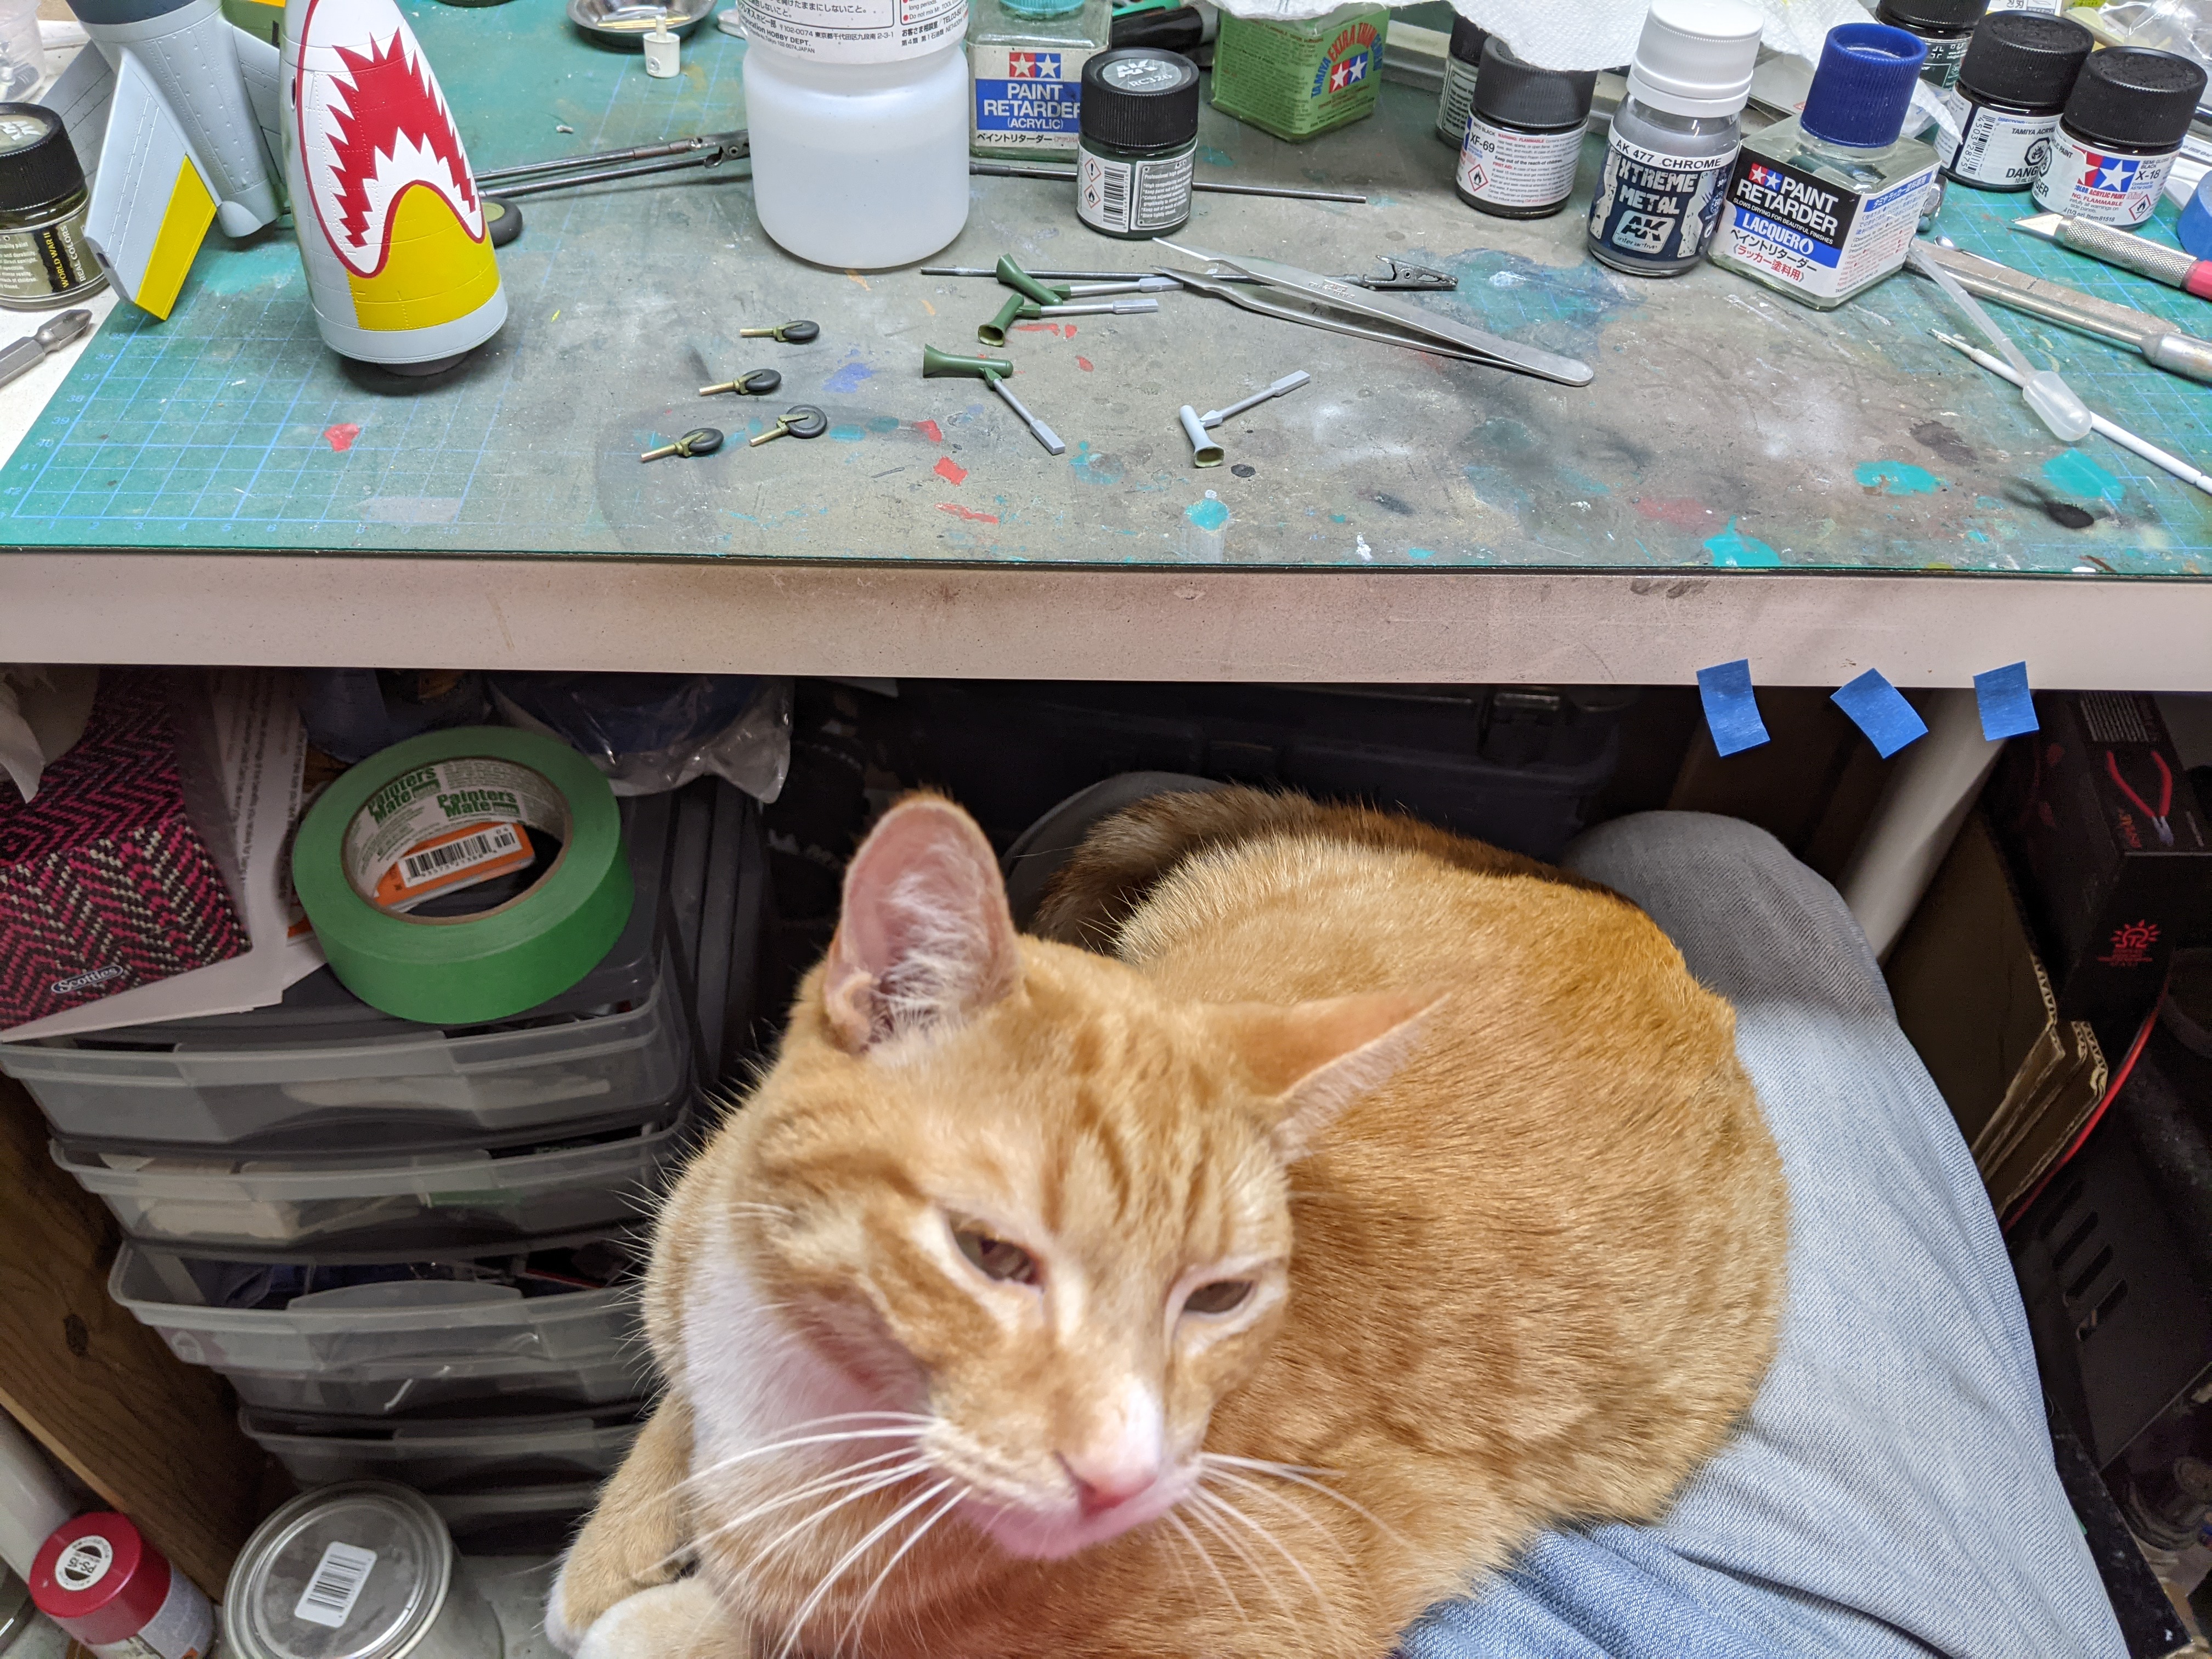
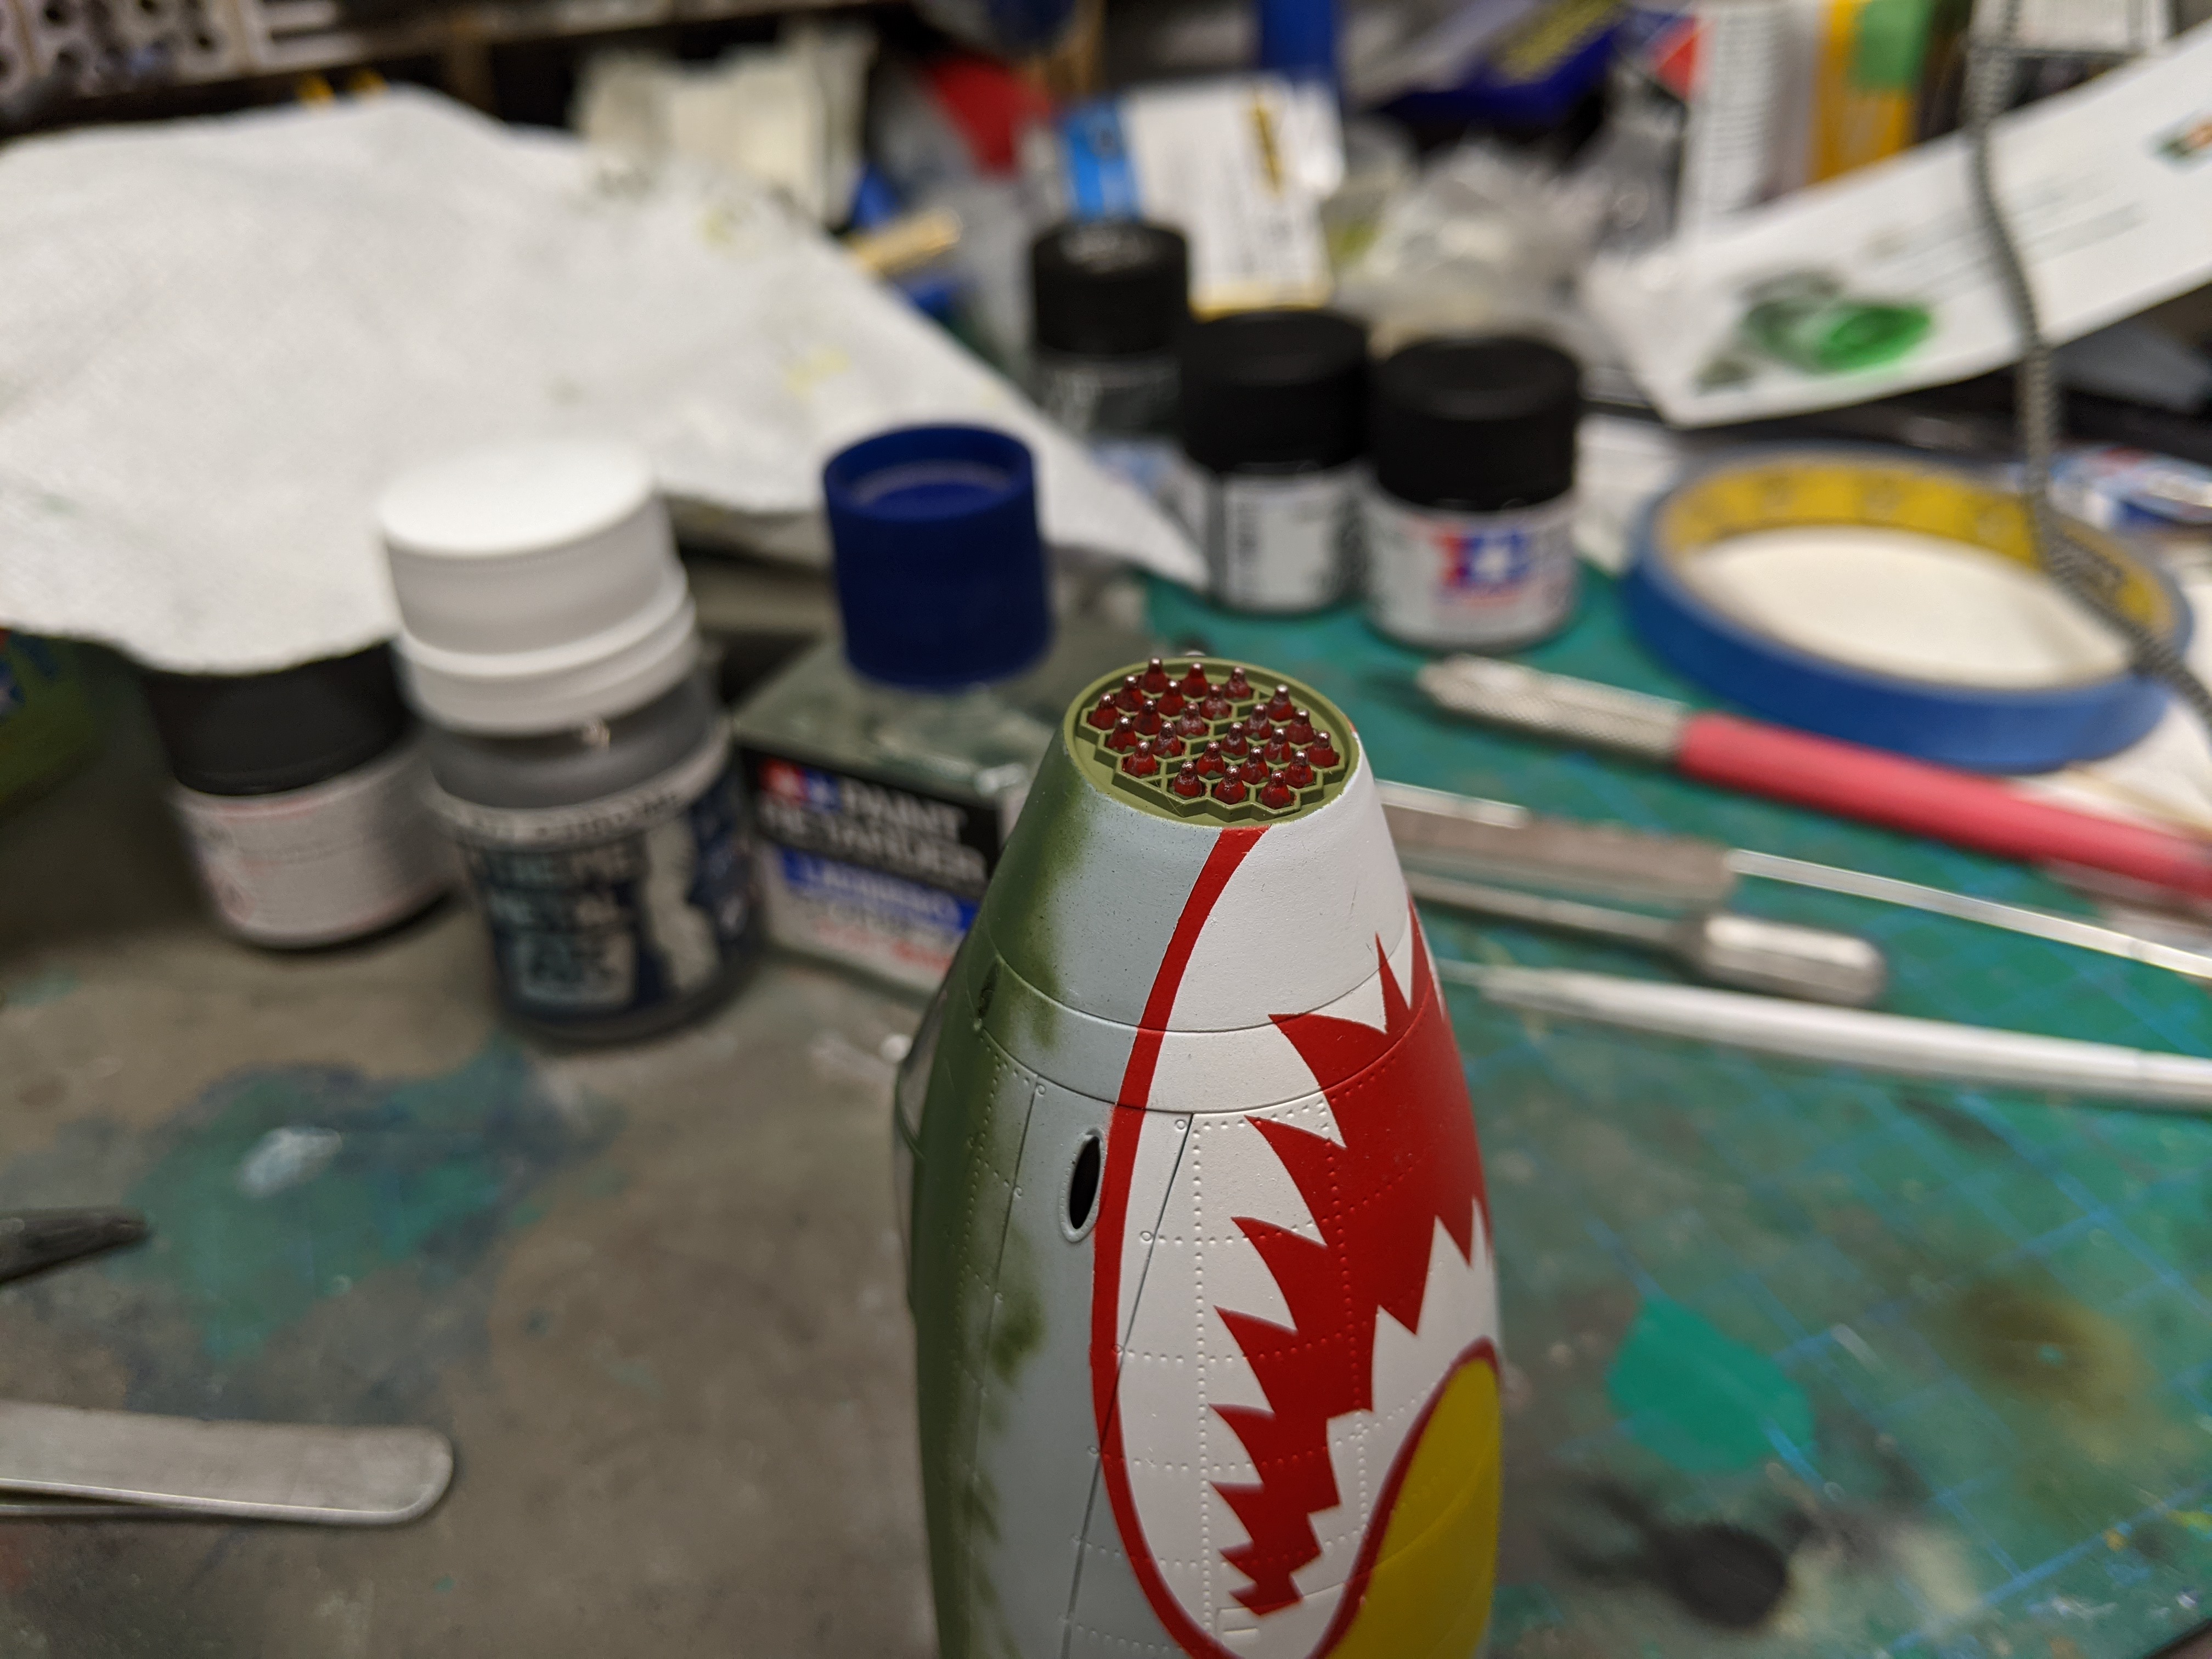
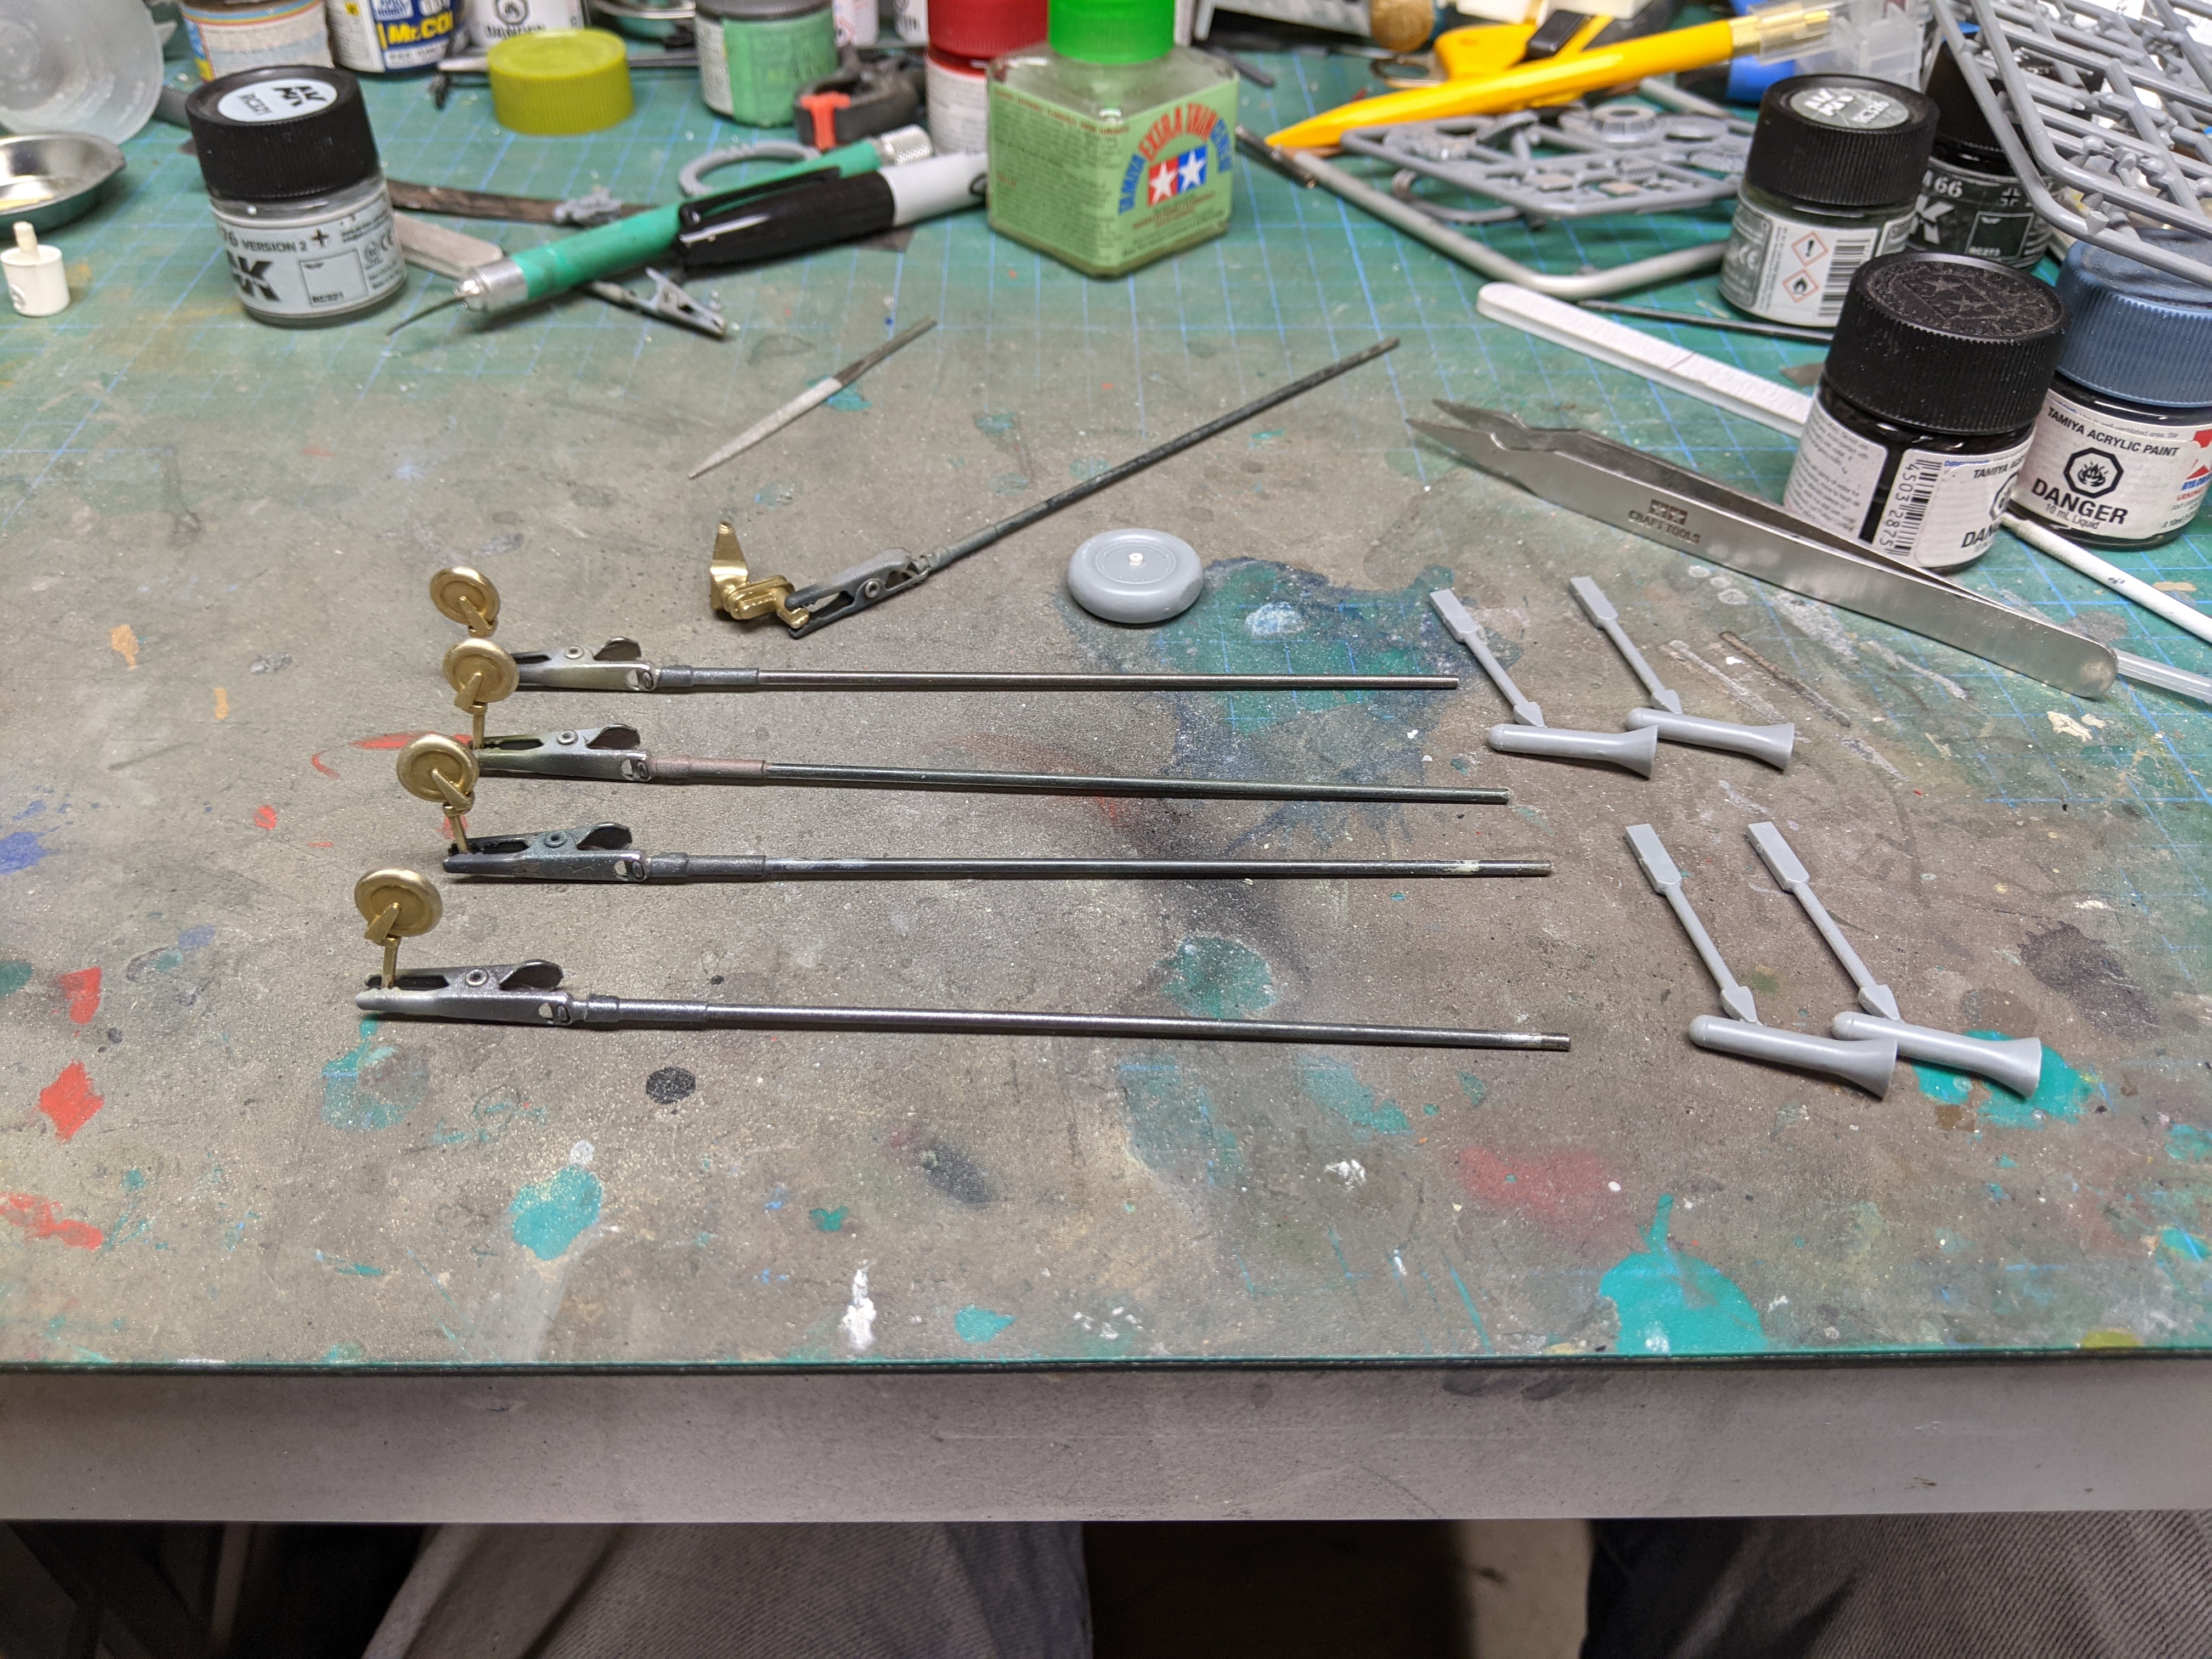
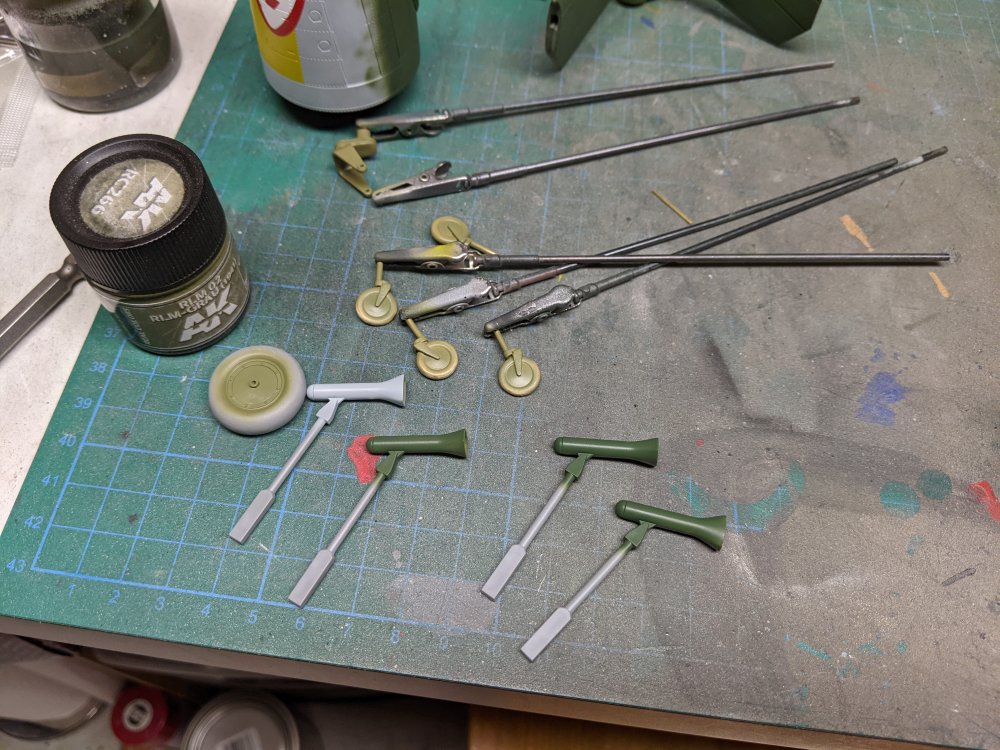
I got a bit more done on the landing gear. The retraction struts are in silver now and I painted the tires on the outriggers. I had some extra challenges in getting them done. The rockets in the nose are now done as well. Red with a silver tip.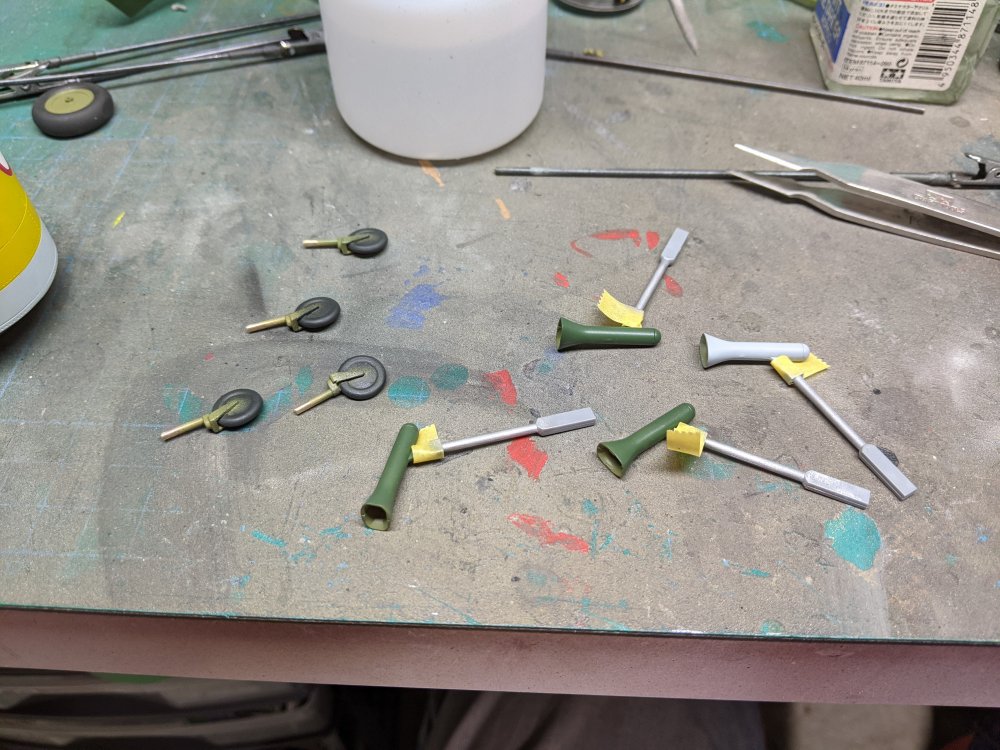
-
And in for a rest before carving.

-
It's only 11 lbs so a couple high school boys at most. Thankfully mine aren't there yet or I'd be having to sell off parts of my stash.
-
Lunchtime update. Still has 4 hours to go...

-
I think Scott likes F-16s the way JohnB likes Corsairs...
-
As I was typing out my reply above, I had a package arrived from Canada Post. Stay on target.... Another parts donor. Just kidding, I bought it for the decals.
-
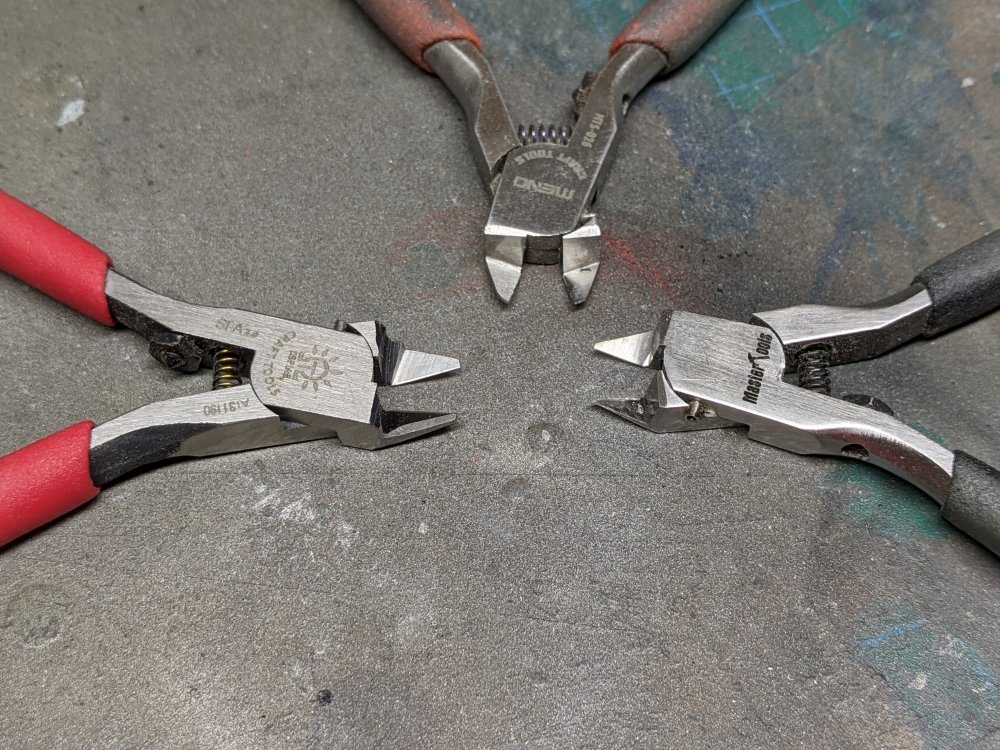
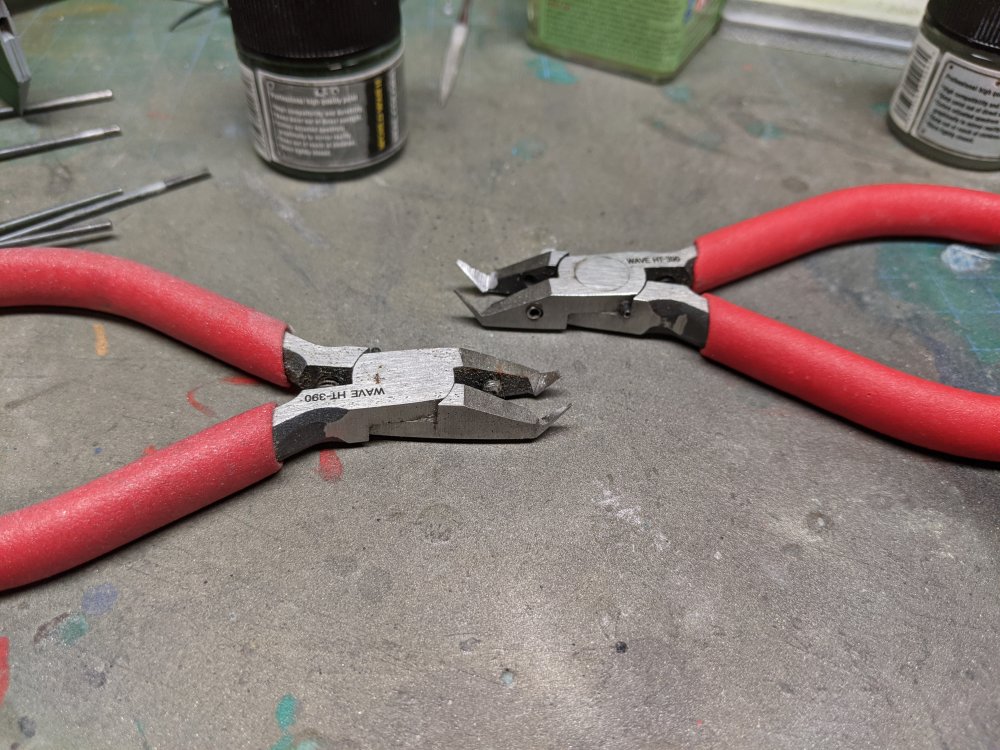
The Trumpeter ones work really well for the cost. What I've found is that each brand seems to have slight variations in blade shape and some work better in certain situations. Some have a thinner profile so are easier to get into tight spaces. Others are a bit longer so can cut a larger piece of sprue. Dspiae has changed their blade shape and is currently on version 3. I've got Version 2 and 3. They've also sold them under the Meng brand so may/may not be cheaper that way. The Dspiae ones are on the left and middle. The Trumpeter is on the right. My original Dspiae ones (in the middle) I broke the tip off from dropping them. To make them usable, ground off the the unbroken tip and made them equal length. Now they're usable but only for shorter cuts. I also have a couple of the Wave single edge cutters. These are great for really tight spots due to the way they angled the blade. Again, just don't drop them...
-
RR Spey powered RAF Phantom conversion
BlrwestSiR replied to Wingco57's topic in LSM 1/35 and Larger Work In Progress
Looks great with the decals on. Really ties it together. I had that happen on my Hind. One of the cabin windows popped and fell in. I can hear it rattle inside but no way to get it out much less glue it back in place.- 414 replies
-
- 4
-

-
-
- conversion
- phantom
- (and 1 more)
-
Zoukei-Mura P51D Mustang SWS No 4.
BlrwestSiR replied to Bomber_County's topic in LSM 1/35 and Larger Work In Progress
Very nice cleanup on the torque arm. It makes a huge difference. -
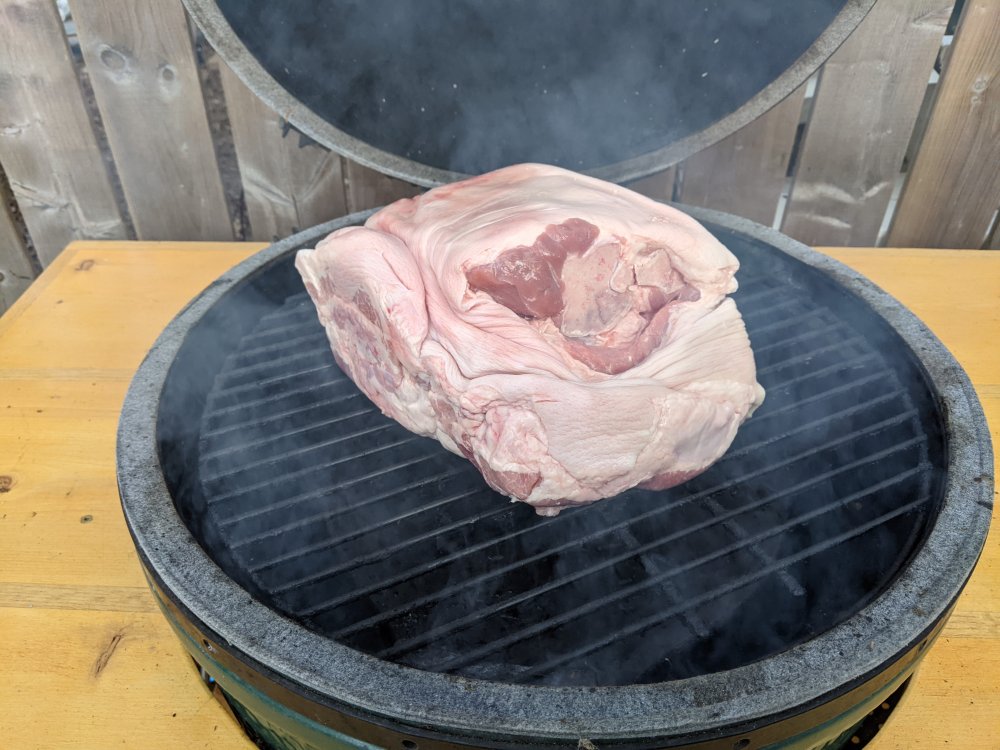
Ok, as of 830 this morning it's on the grill. I'll update you all this afternoon. Carl
-
Lancaster ND644 in 32nd scale
BlrwestSiR replied to FME erk's topic in LSM 1/35 and Larger Work In Progress
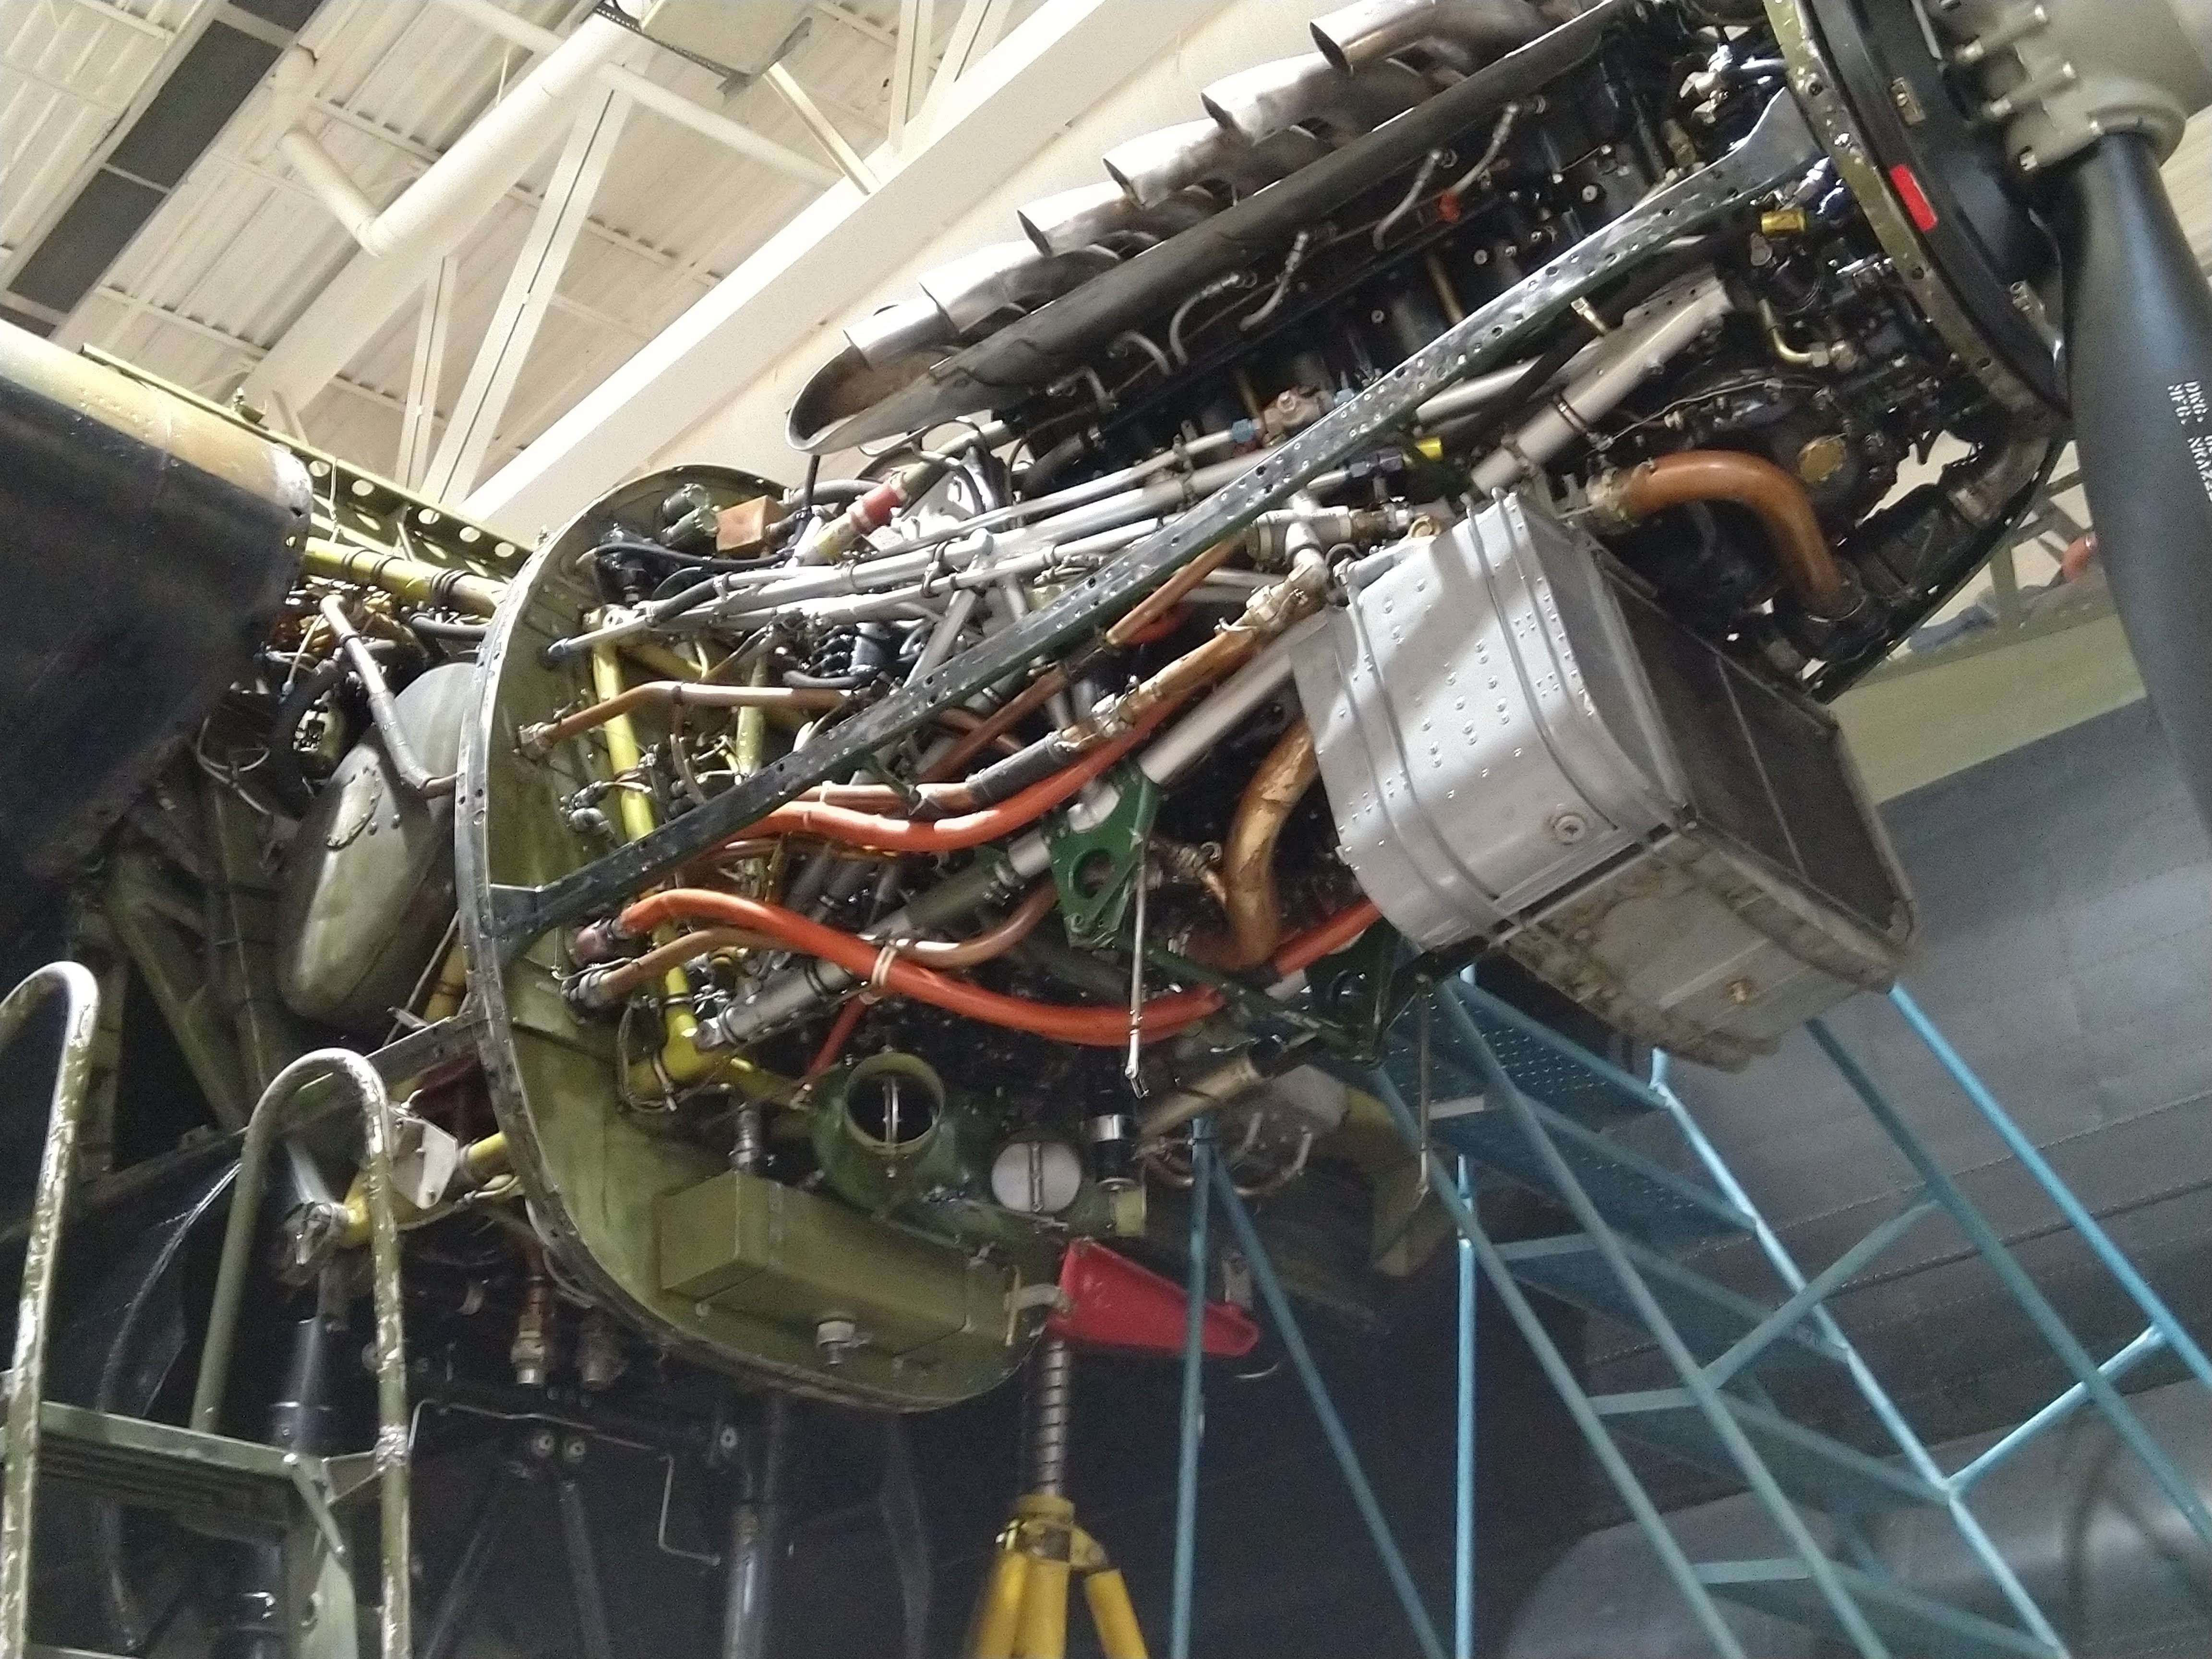
Nice idea on the cowling flaps. I may have to do the same. I have some pics of VR-A when she was getting her engines serviced but oddly enough, missed the gear.
-
Focke Wulf.... Triebflugel.
BlrwestSiR replied to BlrwestSiR's topic in LSM 1/35 and Larger Work In Progress
Thanks folks! I started on the landing gear. I forgot I'd bought some brass outriggers from Aerocraft so those were primed first. Oops, forgot the second pic.
-
The kit you bought comes with the large mouth intake so you're good to go there.
-
Gotcha. I may have to do some scratch building myself.
-
Looking good there Harv. Tiny reflectors on that gunsight. I'd have lost at least a half dozen to get those two in place.
-
Focke Wulf.... Triebflugel.
BlrwestSiR replied to BlrwestSiR's topic in LSM 1/35 and Larger Work In Progress
@belugawhaleman, it is a very nice kit. Simple, but a fun build. There's a couple options as far as "variants" go and markings are up to your imagination. Carl -
Focke Wulf.... Triebflugel.
BlrwestSiR replied to BlrwestSiR's topic in LSM 1/35 and Larger Work In Progress
Uh, patch a pair of jeans? I was banned from trying to fix my jeans at my old clothing factory after breaking too many needles. The sewers offered to fix them for me instead. Probably for the better. -
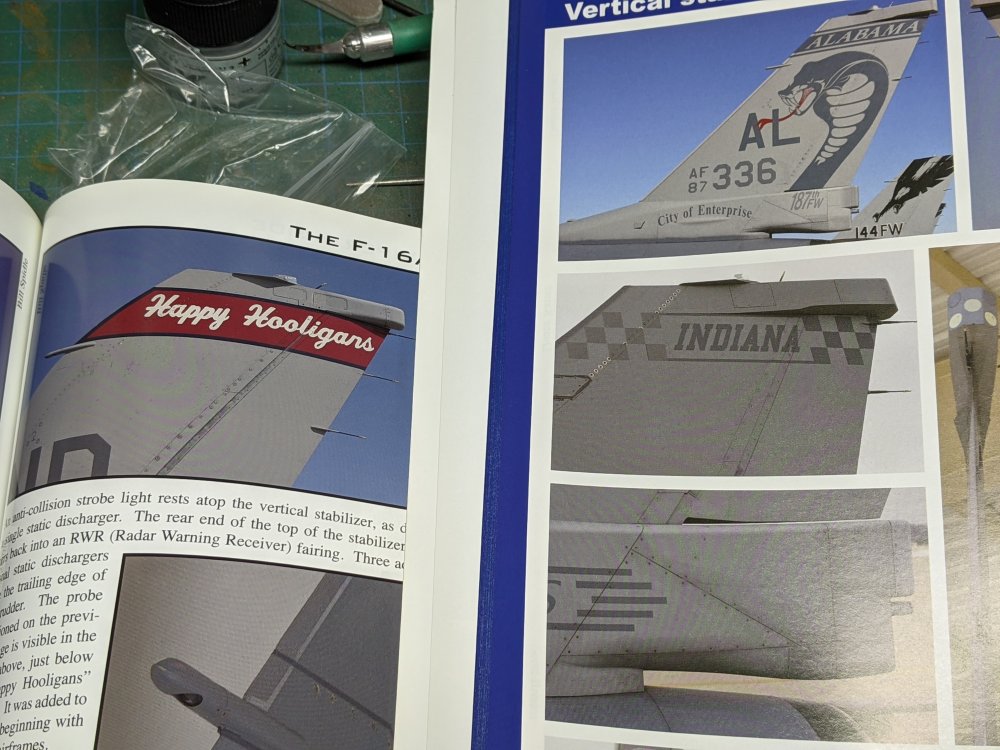
Hopefully this will help a bit. The MLU tail is the left pic. The C tail is on the right. Both are from Jake Melampy's books on the Vipers. The big changes are the top of the vertical tail.
-
Fokker E.V / D.VIII Parasol Mikro Mir 1/32
BlrwestSiR replied to DocRob's topic in LSM 1/35 and Larger Work In Progress
Really great looking interior Rob. The seat too looks fantastic. Carl