DocRob
-
Posts
7,109 -
Joined
-
Last visited
Content Type
Profiles
Forums
Events
Gallery
Everything posted by DocRob
-
Thanks for the info, but I plan to use the Cartograph decals, if this doesn't work, I have the DN-masks in mind . The glitter blue would be hard to mix with an airbrush. Cheers Rob
-
Hehe, I like, what Tamiya is doing to us. They've developed an image, where they come away with flaws, because everybody thinks, they made the mistakes themselves . That's where quality pays. The message is, even Tamiya kits are not perfect, but the are up to a very high standard, as I could see with my KI-61 build and the recently finished Ford GT. Anyway, your painted finish looks ultra smooth and clean and will look perfect in the end. As you said, the burnt NMF parts will be fun, I look especially forward to this part with my soon to start Kai-Phantom build too. Cheers Rob
-
Why not airbrushing, more humidity means less dust mostly, guess how I know. Cheers Rob
-
Good to see you back on the Marder Gaz. After the maybe disaster with the 109, it should be good for some breathing room. There seem lots of tiny parts involved and being open topped, there will be lots of detailing, but going through it will pay in the end. I like the Blue Tack idea and use sometimes adhesive tape for the same reason, which works even better with PE-sheets, where tiny pieces also have the tendency to go airborne while cutting. Cheers Rob
-

1:32nd scale Junkers D.I
DocRob replied to sandbagger's topic in WW1 1/48 and larger Ready for Inspection
Again an exceptional build Mike, the Junkers looks great in NMF and the figures bring life into the scene. You chose exactly the same plane, I planned to build, because the natural aluminum finish, is the only way to show the appearance of this revolutionary design properly. Only a few were built, but this plane was ahead of it's time by far and a milestone in plane design and construction. I can't explain, why I waited for some time to buy the kit, but was lucky enough to score a 'last minute' purchase when WNW ceased to exist. Thanks for the tutorial, which I will download and read in preparation for my build, when time comes Cheers Rob -
Looks really good. These are brass barrels, right? Cheers Rob
-
Summer project Kawasaki KI-61, Tamiya 1/48
DocRob replied to DocRob's topic in LSM 1/48 Work in Progress
Gracias Hombres, today I masked and glued the canopy (The HGW Kabuki masks fitted mostly for a change) and built the well engineered belly radiator, which means, I'm closing in at the fuselage painting stage in NMF. I hope the best for the camo wet transfers, if they don't work, I'm in deep trouble and have to spray a million tiny blobs . The IP is really not that great, hidden under the closed canopy, it will be sufficient. I build up the kit supplied one with decals and it wasn't looking too bad, but needed more work to finish it. I like the Quinta stuff and PE-IP's from Yahu, these are all better than Eduard printed ones or Löök resin. Cheers Rob -
Thanks Phil, as I have all the AM, I plan to use, I wouldn't need that list . Cheers Rob
-
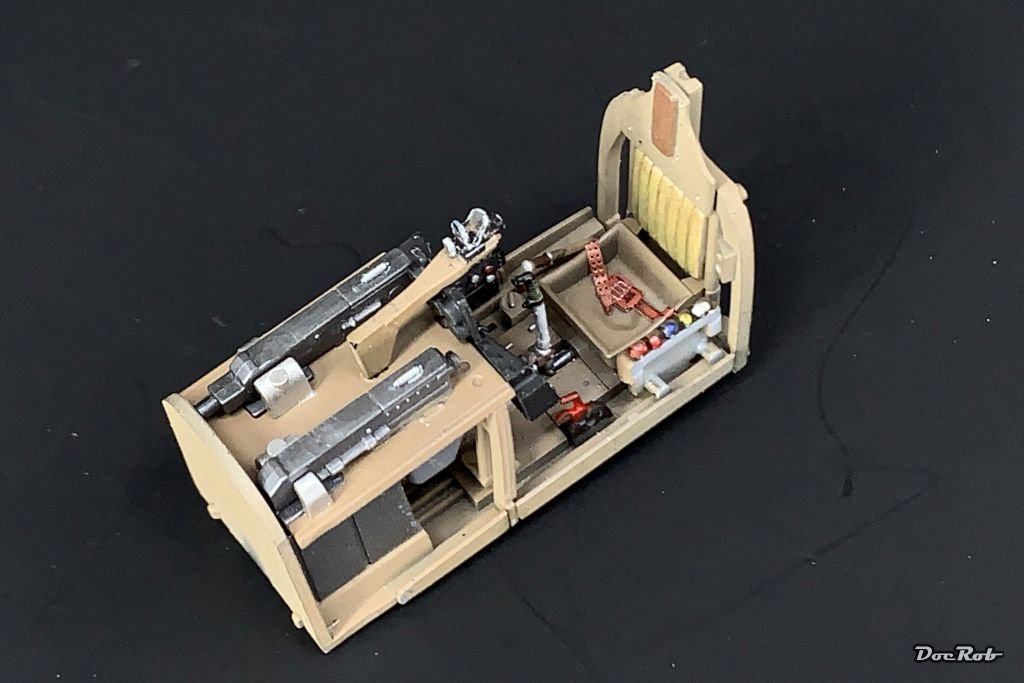
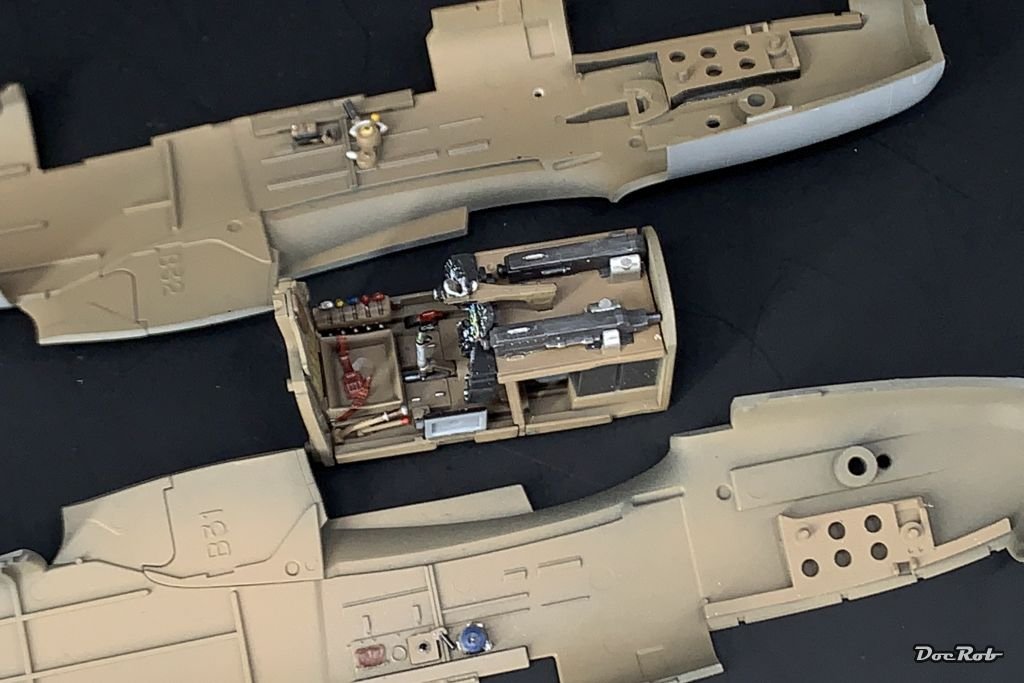
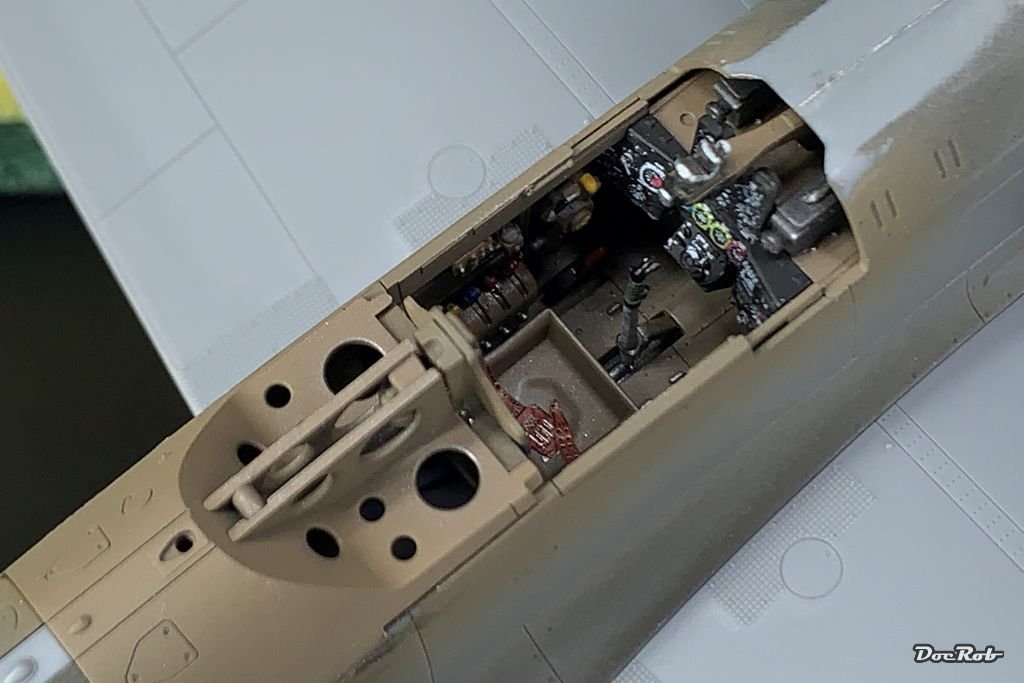
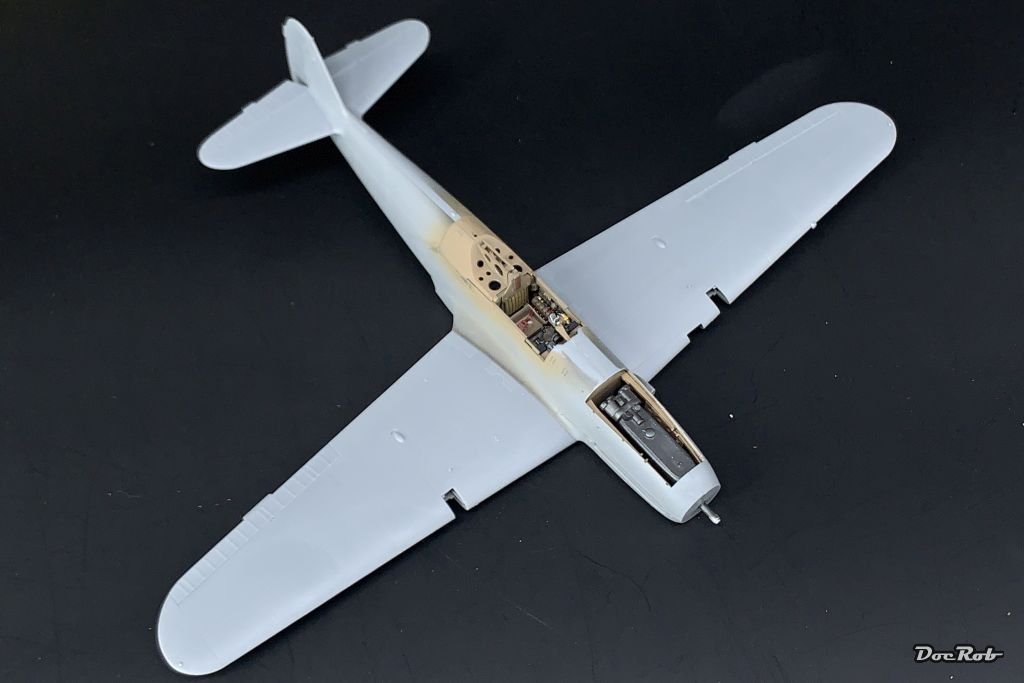
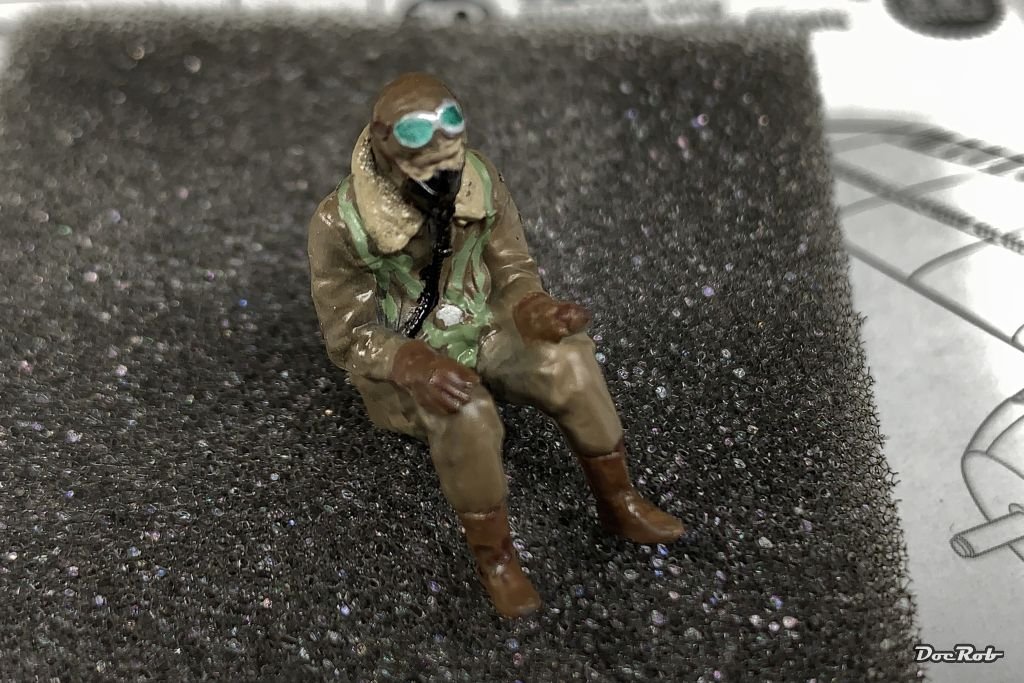
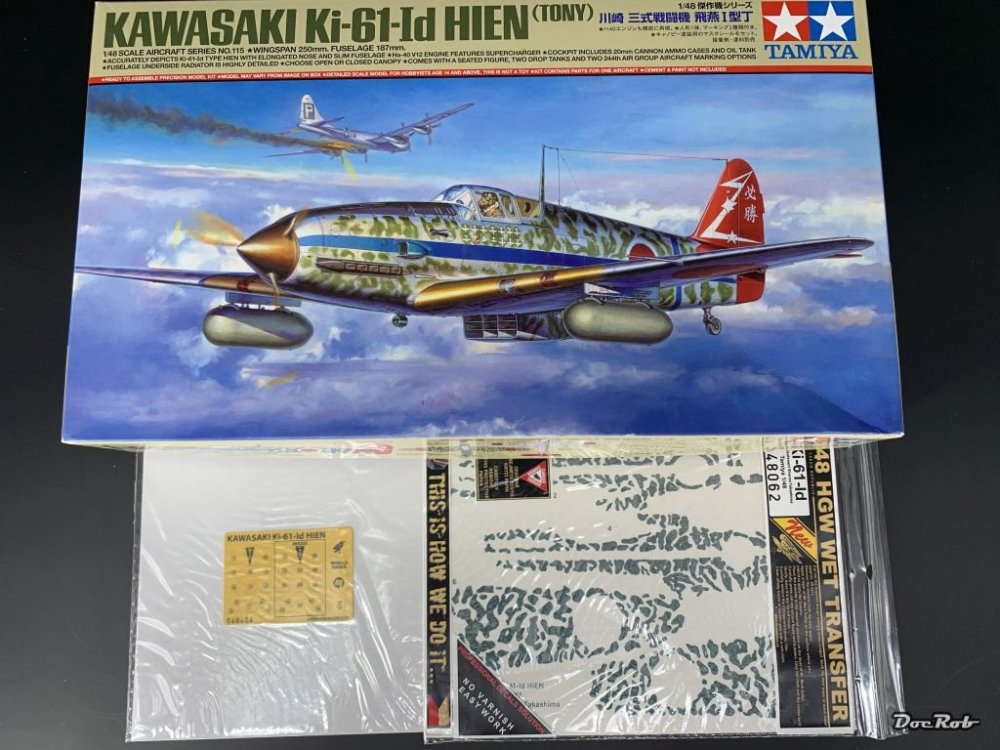
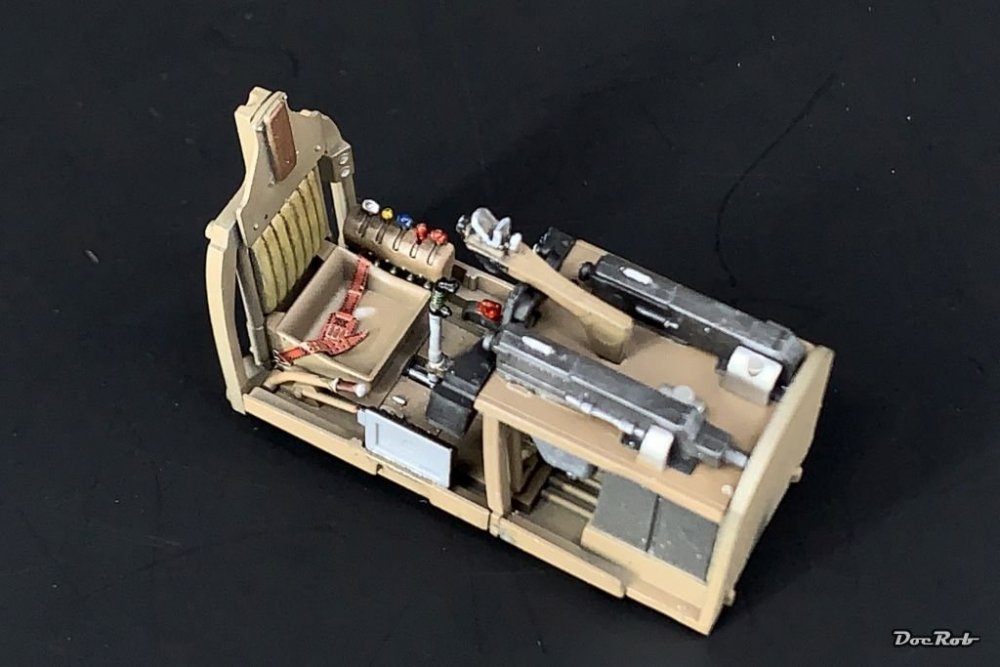
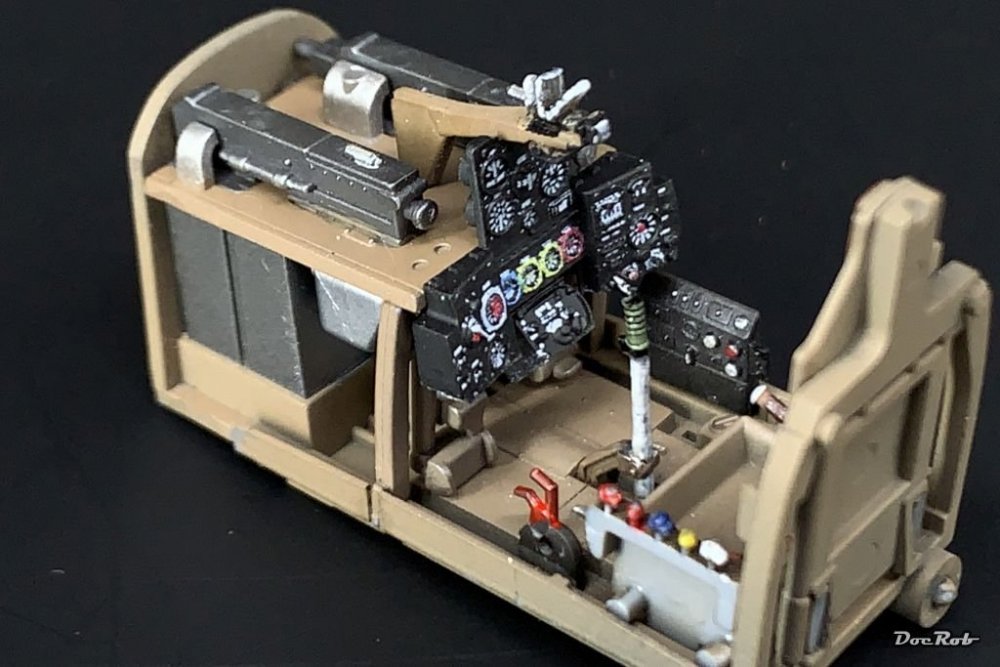
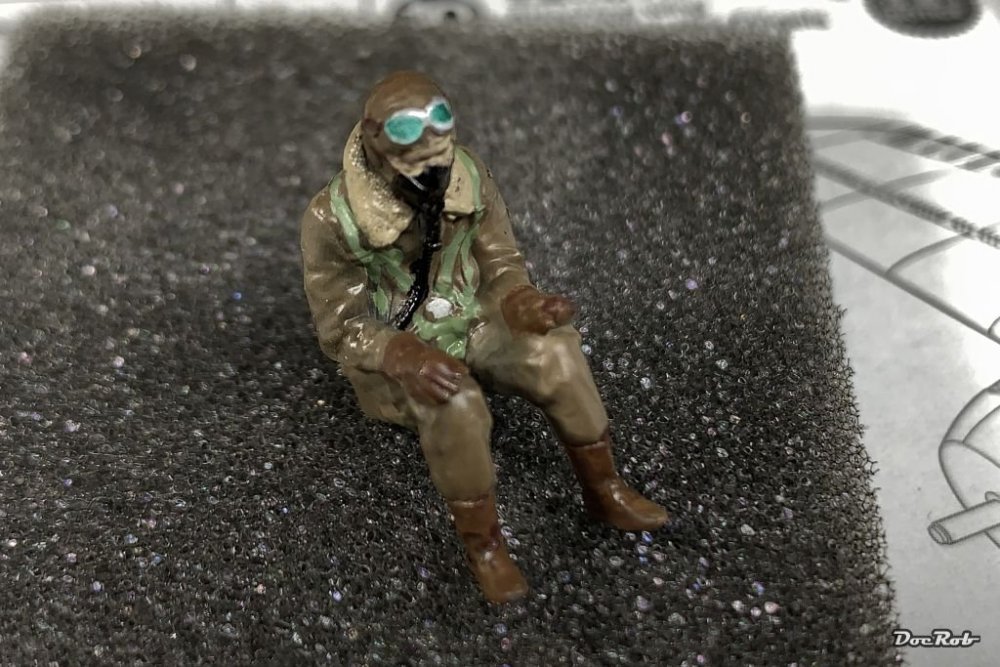
Hola Señhores, last week, I had enough from all the summer distractions, like work in the house and garden, having friends visiting me, barbecues, swimming and used some rainy days, to start a hopefully fast in- between project, the Tamiya 1/48 KI-61, added with some Kabuki masks from HGW, Brassin barrels, which got lost , an Eduard Löök resin IP and seat belts and last but not least, HGW's camo wet transfers, which I want to try with this build. After some enjoyable hours, I finished the cockpit, which is a lot brighter, than the dull German fighter pits. The fit was Tamiya like, flawless and I really liked the seemingly new designed seatbelts, made from printed PE, which came with Eduard's Löök instrument panel. The PE is ultra thin, compared to other sets, I used in the past, folds almost like paper and have tiny holes in the belts, très cool. The IP itself, is color printed on cast resin and looks a bit toyish for my liking, but as I planned to have the canopy closed, with the pilot sitting in, I decided, it's good enough. I managed to close the fuselage, with the simple engine inserted, which will not be seen with the cowling closed, so it got only a coat of black and an iron pigment rub. The whole cockpit is inserted, after gluing together the fuselage halves from the underside and fitted without problems. I added the wings and the tail in a breeze, with no gaps to fill and no extra work needed. After the detail painting of the cockpit, everything is speeding up with this build, exactly what I hoped for. The only letdown, is the pilot figure, which I intended to use. After some basic painting, I stopped, when I couldn't find the eyes in that blob like face and decided to put no further effort into that bownish smurf, oh my, Tamiya, what have you done with this figure. Cheers Rob


-
Good to see her in color Phil. It's such a beautiful plane and your OD looks spot on. I have the Academy boxing with a lot of extras from Brassin and the Tamiya one, so I'm naturally interested, how both of them build up. Cheers Rob
-
Good to see you back on this one. It's a beautiful plane and should look great in your skill full hands. Cheers Rob
-
Interesting clinic for the use of oils Nick, thanks for that. I use oils more and more, be it for figure painting or weathering effects. I even plan to paint a plane exclusively with oils as an experiment. Your dabbing techniques are the way to go, mostly. When it comes to panel accentuation (like your spent charges panels), I use a slightly different approach. I dab on the darker oils only to the borders of the to pronounce panel and draw the oils inwards with a synthetic flat or saw brush until I get the desired effect. The benefit is, a clear visual separation of the panels. Cheers Rob
-
Wolf beat me to it. These German engineers had their ways to get the planes turn tighter . If there is no way to remove the cowlings, without colateral damage, I would drill a hole from the underside, where the engine mount should be, big enough, to insert a glue brush. Filling the hole is the easier part then. Cheers Rob
-
Mengnut Wings Fokker Dr. 1
DocRob replied to Wolf Buddee's topic in LSM 1/35 and Larger Work In Progress
The result is well worth the temporary twitch of an eye Wolf. Bummer with the rigging nightmare, but luckily there isn't a lot of it on the DR.1. Your Fokker looks so good, that I'm tempted to pull my Roden one out of the shelf, congratulations. Cheers Rob -
RFM Panzer IV Ausf H (Early)
DocRob replied to Bomber_County's topic in LSM 1/35 and Larger Work In Progress
Excellent progress Phil, the interior should not be closed, as it looks absolutely real. You should consider at least a n engine maintenance dio, hint.... Cheers Rob -
Great work Mark. I sometimes spend a lot of time on some never seen again inner details, with the argument, at least to have some pics afterwards. Honestly, I have never viewed the pictures except, when questions arose here on LSM. It just feels good to do things right. Cheers Rob
-
Gottfreid Weiroster Bf 109G6 R6 Revell 1/32
DocRob replied to GazzaS's topic in LSM 1/35 and Larger Work In Progress
I like the look of the figure, no strange hue on the pics to be seen, at least to my eye. Colors tend to change a lot under different lighting conditions and even more when photographed. There is no digital true or false to it, it's always an interpretation. Cheers Rob -
Israeli Mirage III C with Atar9C
DocRob replied to Kaireckstadt's topic in LSM 1/35 and Larger Work In Progress
Wow, the Mirage is looking great Kai. Are you planning a panel wash? I could imagine, a heavy black wash could give a bit too much contrast. Cheers Rob -
What is on your bench right now ? Share a picture :)
DocRob replied to Martinnfb's topic in Modelling Discussion
Sweet, Happy birthday Carl. Cheers Rob -
I had this this in my shopping basket many times, but than I saw Sharks build here. It still attracts me, but... Cheers Rob
-
You are too diverted for serious modelling, Bill . Honestly, for me it's the same in the moment. Short vacations, visiting friends and construction working around the house, I have to rethink priorities . Cheers Rob
-
Share how COVID-19 Quarantine has affected you.
DocRob replied to 1to1scale's topic in General Discussion
I'm completely pfizered since more than a month and a half and a bit astonished, that they vaccinate so slow in Oz. On my islands, they start to jab kits above twelve now, with 70% of the inhabitants having at least their first shot. But that's maybe, because it's summer and the government has a vital interest in having secure tourism with Delta spreading. Cheers Rob -
Gottfreid Weiroster Bf 109G6 R6 Revell 1/32
DocRob replied to GazzaS's topic in LSM 1/35 and Larger Work In Progress
I think the Werfers look great as they are and like Kai, I think a five point glue join should be sufficient. When unsure, you can tab carefully with a cotton swab onto the finalized Werfer-Rohre, with something spongy beneath, in case of. I bet, they wont separate. In general, I appreciate the sense of security. I like my builds robust, and hate, when after closing the canopy some tiny part inside the fuselage come loose and rattle inside. It's a habit, maybe from my engineering background. Fragile is not good enough . Cheers Rob -
Israeli Mirage III C with Atar9C
DocRob replied to Kaireckstadt's topic in LSM 1/35 and Larger Work In Progress
Beautiful result, adding contrast with the nose cone painting and decaling. I always wonder, why, and not only in this case, air forces of all times bother with camouflage, only to top it with vivid colored markings. Cheers Rob -
HB F-84E finished
DocRob replied to JohnB's topic in LSM 1/32 and Larger Aircraft Ready for Inspection
A very nice plane with a beautiful and striking paintjob, like taken out of a Buck Danny comic book. Great work John. Cheers Rob