The Great LSM Twins Group Build ends July 3, 2024
×


DocRob
-
Posts
5,918 -
Joined
-
Last visited
Content Type
Profiles
Forums
Events
Gallery
Everything posted by DocRob
-
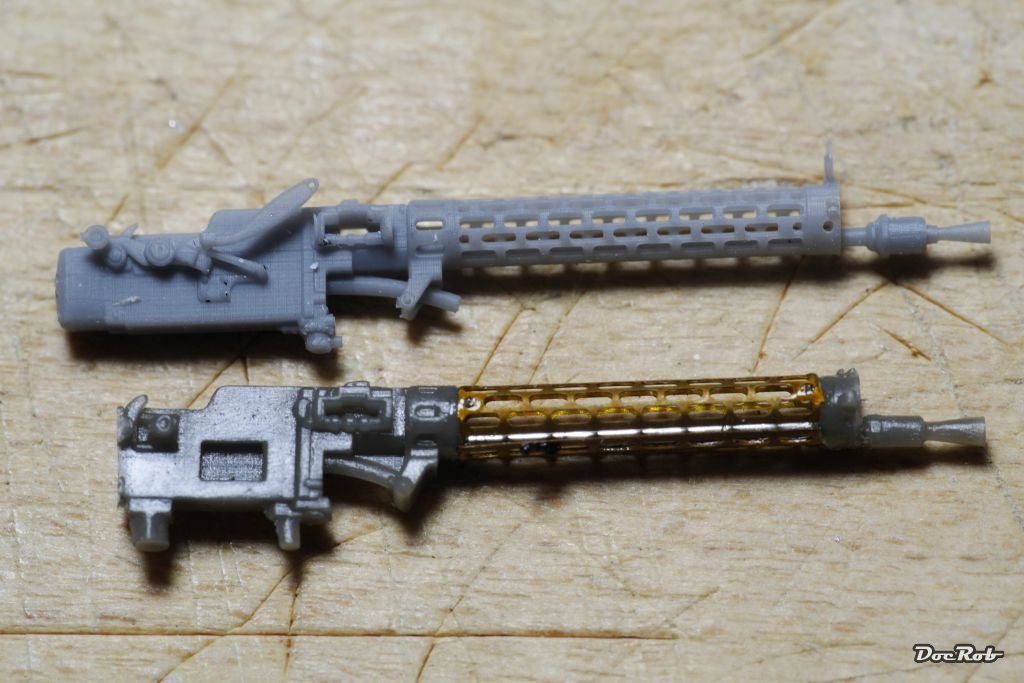
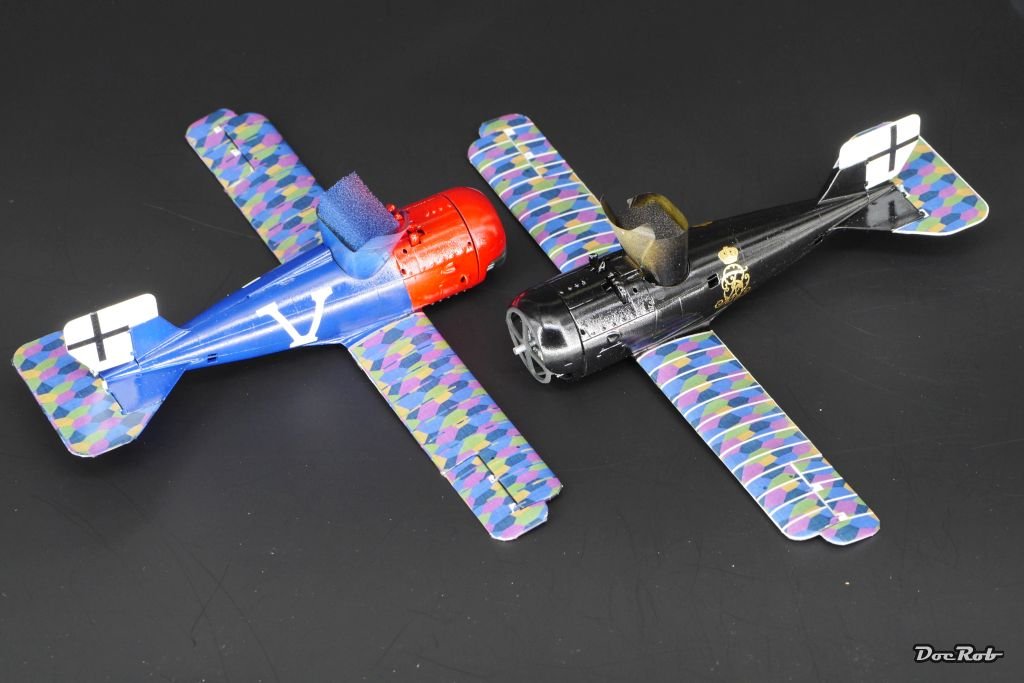
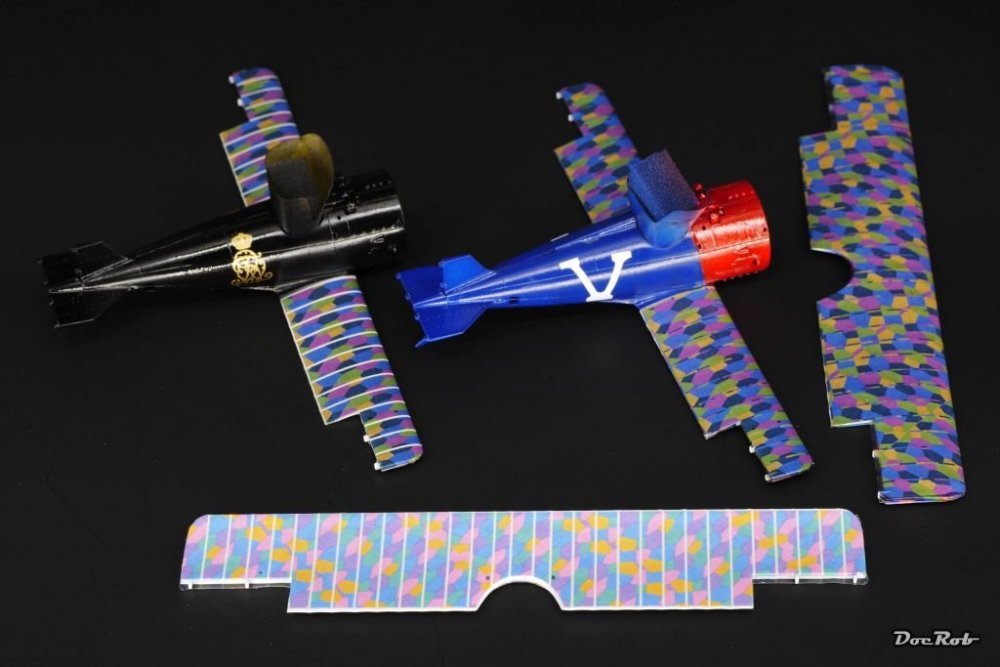
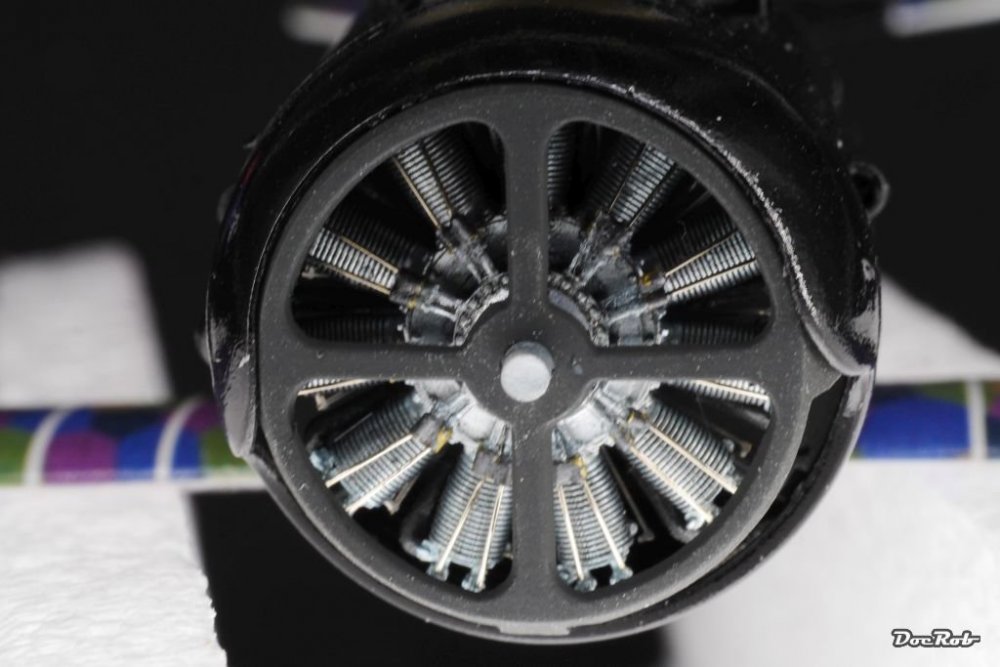
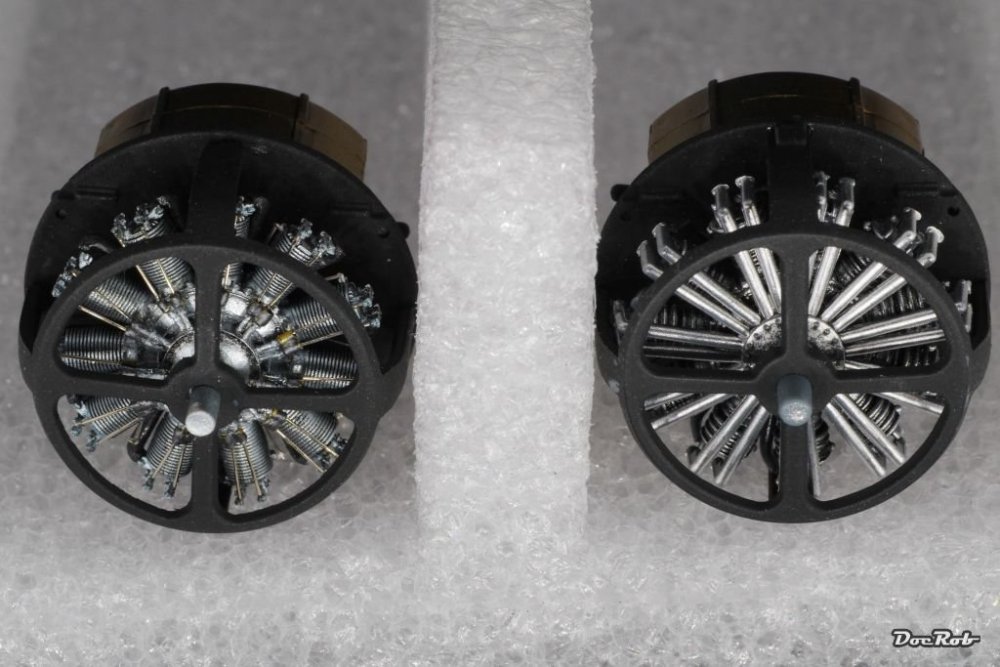
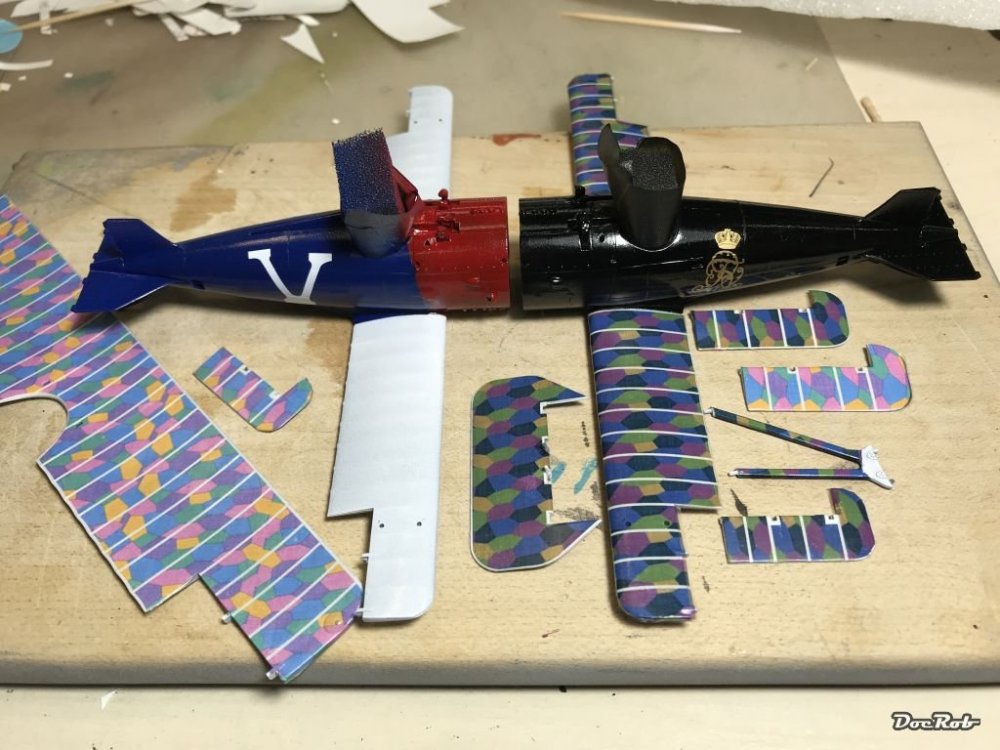
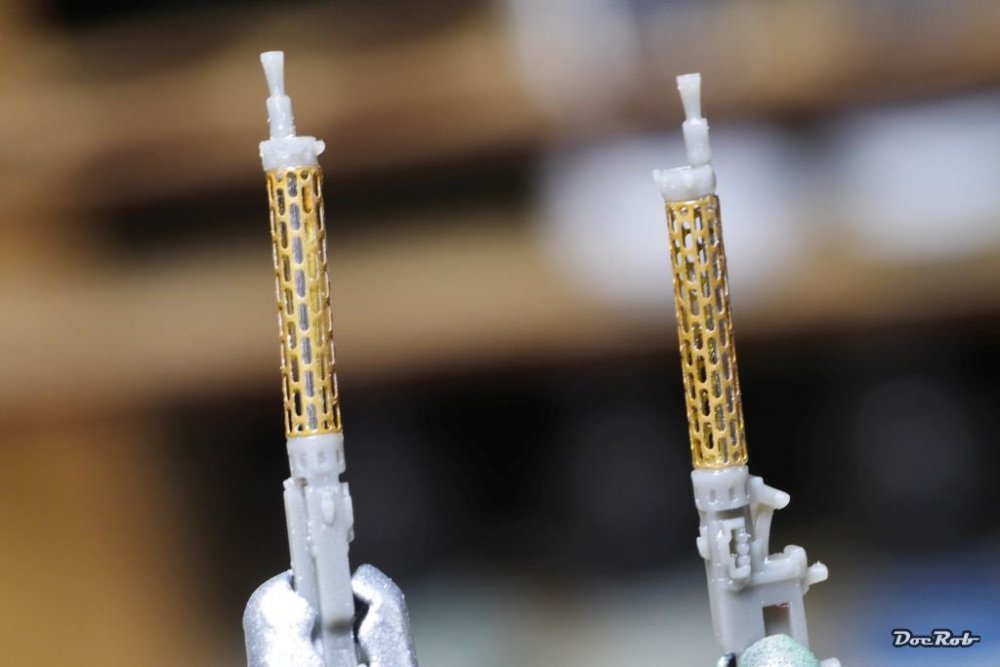
Decals, decals, decals,... , but it's mostly an enjoyable process. The Lozenge was applied first to the undersides and after drying overnight received the the upper sides today. I used only warm water for the Aviattic decals and after they settled, hit the corners with Micro Sol. I think, the Clou with Aviattic transparent decals is perfect preparation and a high gloss surface underlying. At first I wanted to pre shadow one plane with 0,5 mm rib tape and then misted over with the airbrush before decaling, but decided against it, because while sanding away the overdone stitching detail, it proved hard, to get the tape strips aligned correctly on the wings. Because I had two kits, there were four decals for the golden crest and I needed all of them. Twice I had to remove them, because they were unmovable when on the plane and every try to get them moved destroyed the decals . Now all the Lozenge is applied, phew. Note the different coloured rib tape. The rudders and engine covers are installed, the cowlings just for dry fitting. That is how perfect the Aviattic Lozenge works, perfect wrap around the struts. Brassin engine vs. kit engine. Yes it should be the same engine . The engine and how it will look in the cowling Today my Gaspatch 08/15's arrived, so I made a little comparison, between the (not finished, lacking some details) Brassin with PE cooling jacket and the Gaspatch carefree one. Unbelievable what Gaspatch does with the resin cast, it's so fine and even the sights are casted on. You have only to insert the barrel into the cooling jacket, done. Cheers Rob

-
Good to see you back on the Uhu. Nice fix with the broken wingspar. Cheers Rob
-

What is on your bench right now ? Share a picture :)
DocRob replied to Martinnfb's topic in Modelling Discussion
A clear wow to your research and your paintjob as well. Cheers Rob -
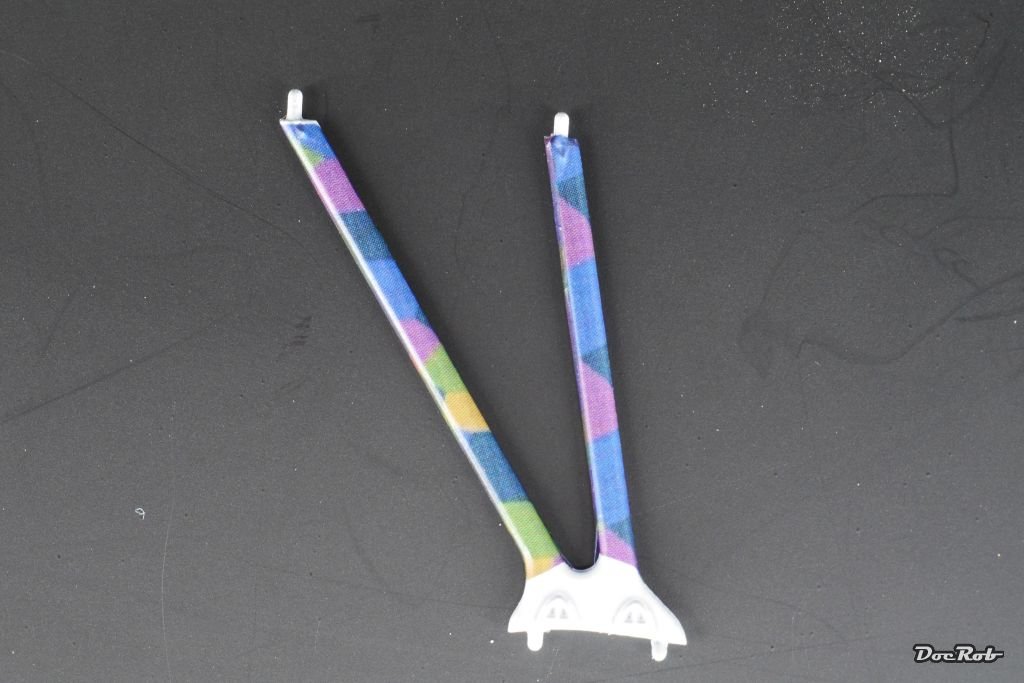
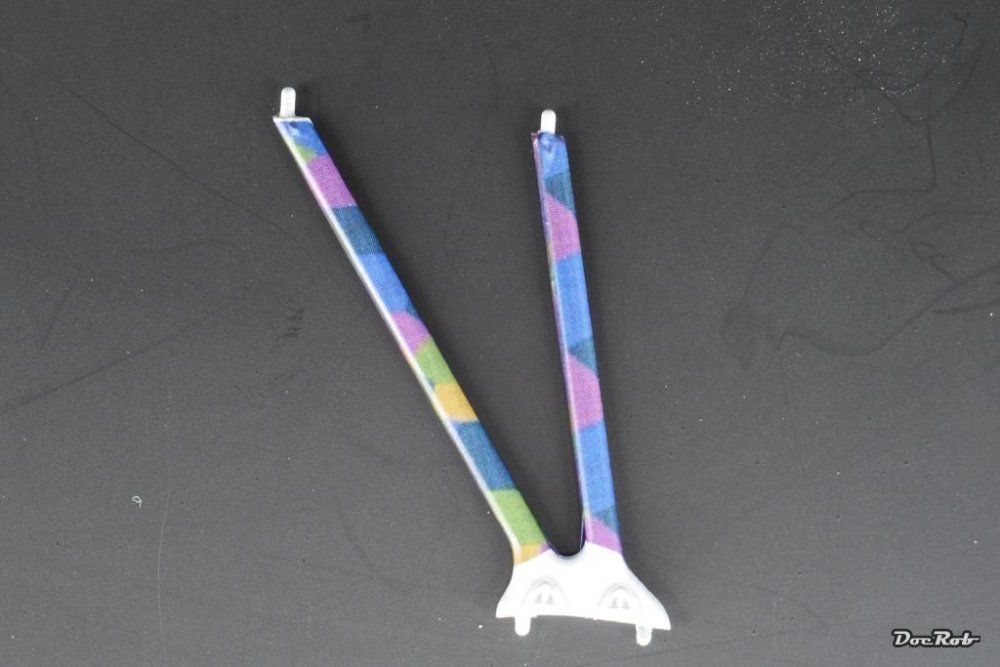
Decaling is up, stuff of lots of nightmares, me and decals is a story of fierce antagonists, but I have to say, these Aviattic Lozenge decals behave great and are a pure joy to work with. They are described as 'cookie cut', but that's not true, you have to cut them yourself with a sharp blade, in fact they are cookie print'. No big deal though. To apply the Lozenge decals on the gloss white surface is perfectly easy. I let the wet decal soak for about half a minute, apply it onto the lukewarm water dampened surface. The decals are strong and even the bigger ones don't stretch easily. The pre-printed shape fits perfectly and after rubbing out a few water bubbles with swabs and a flat brush, I let them dry a little and then hit the corners with some Micro Sol, to get them follow the rounded contours easier. To my biggest amazement this worked well even on the tiny rounded wing struts you can see in the picture, wow. The downside is, there are only strut decals for one plane, where this decal set is made for two planes, but the strut decals are on a correction sheet and there is only one included. Then the decaling monster hit me again, yesterday I tried to apply the gold crests on the black plane and it was complete failure. While trying to position the decal, it crumbled and fell into pieces. I removed the remains, sanded everything, airbrushed some gloss black and then some Future to start again. Today, I tried my luck again very carefully and was not able to move the decal again, but this time, I managed not to break it. The golden crests are unmovable now, and it looks terrible, but I'm out of ideas. The white 'V' on the blue and red machine was equally problematic, but somehow I managed to get a better result here. Even one of the crosses for the rudder broke. These decals are not the usual Cartograph stuff, but homegrown Eduard and they behave absolutely terrible. I have to say that I really hate bad decals. They make a fun project painful in the late stages, where everything starts to come together. To solve the encountered problems, you have to put a lot of unnecessary extra work into the project, always with the high risk of ruining everything. Lessons learned, I will stay away from Eduard decals whereever possible. Cheers Rob
-
Thanks Harv, the blue and red one is looking only half as good to be honest, that makes it only 1,5 good's Cheers Rob
-
1/18 Focke-Wulf Fw190C V18 'Känguruh'
DocRob replied to airscale's topic in LSM 1/35 and Larger Work In Progress
Amazing work and I can't tell were to start the praise. Therefore I keep it a general Chapeau . For RLM 66 I mostly use AK's version (AK 2004). It's a little lighter than yours, but not more blueish. I used it here on my Nachtigall build and yes; I know, it's always hard to judge Colours from pictures. It sprays very fine and looks good to me. Cheers Rob -
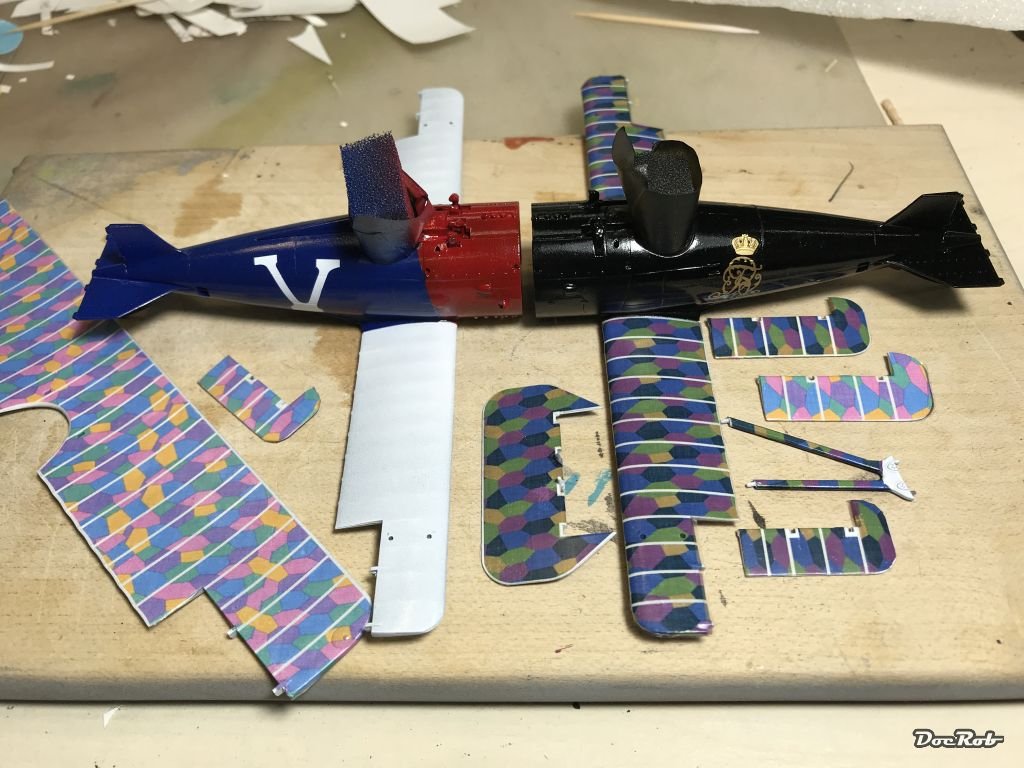
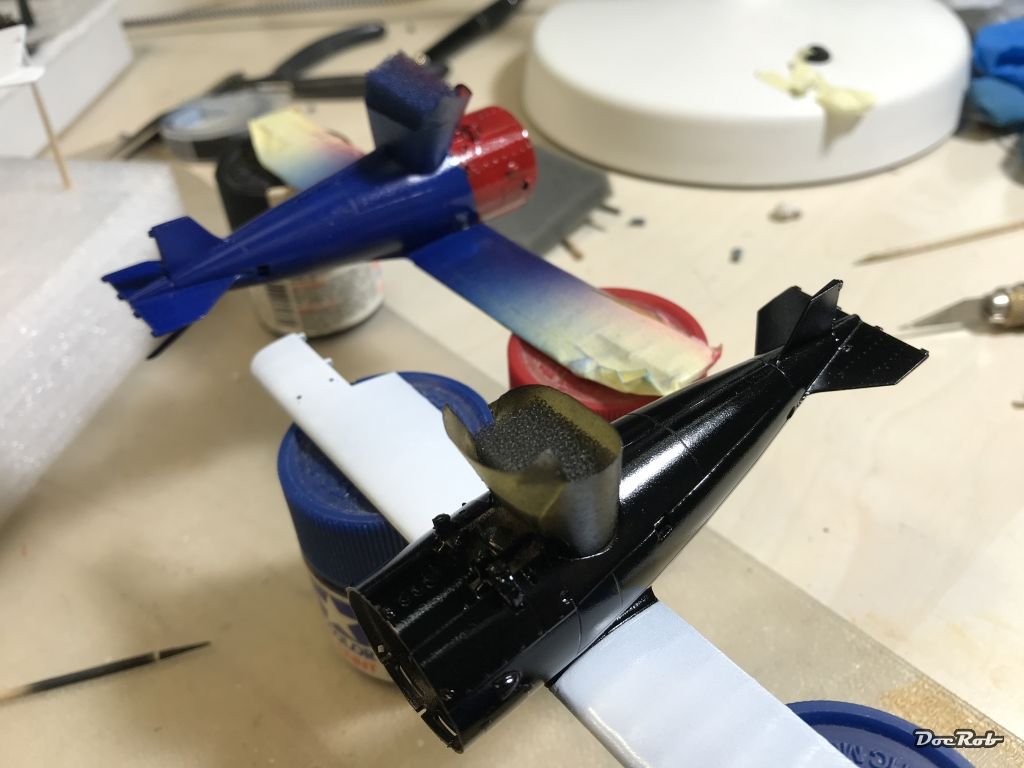
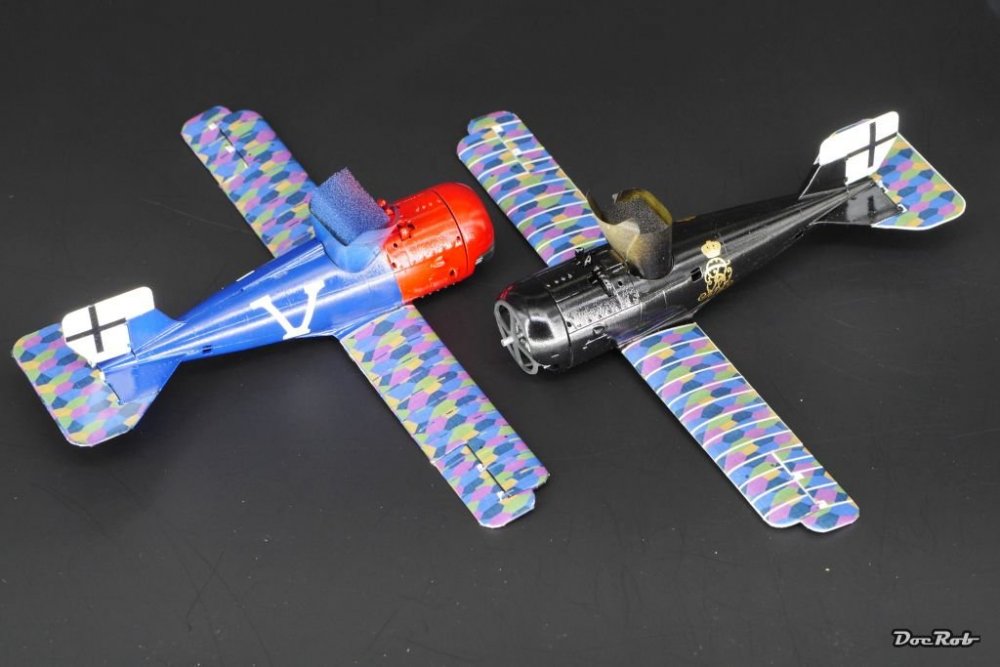
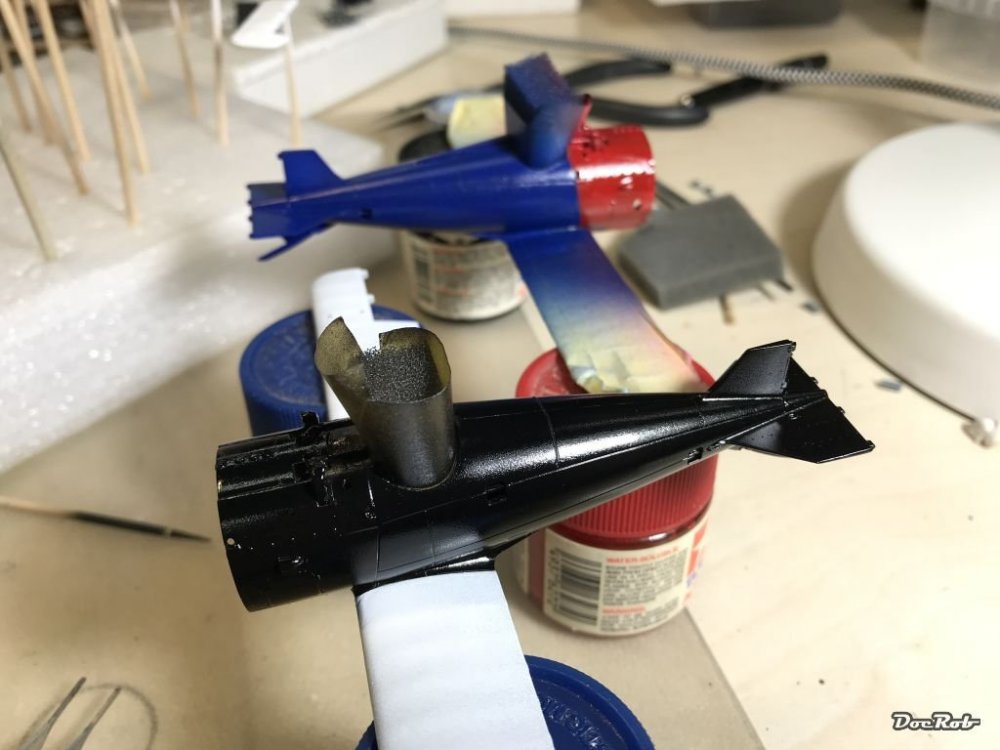
Today I painted the base Colours. Dembowskys plane received a gloss black fuselage, which is the preparation for the decals, before matting down the shine again. The Jasta 15 was painted gloss blue and red, but the red is looking terrible. All Colours are Tamiya gloss. Tomorrow I will decide, if I strip the red and blue one again or use it as the planned testbed, that it was supposed to be. Cheers Rob

-
Apart from your description everything looks fine Phil. The surface you want to have for the decaling job should be gloss finish, to reduce silvering possibilities and to blend in the carrier film of the decals better. Try it on a dummy, if you just mist the very liquid Klear, it dries a little grainy, if you carefully flood the surface, it should be glossy in the end. Carefully means, no running noses and not so much, that you loose surface detail after drying. I use Pledge (in my case) for everything that has to be varnished clear. For the final coat, I matte it down with Tamiya's flat base. That has to be done very carefully too, if you use too much of the flat base, it looks terrible, like frosted or salted. I found a blog entry by the talented Designer and modeller Fichtenfoo some years ago, which is a good guideline. http://fichtenfoo.net/blog/clear-coats-with-future-floor-acrylic/ Cheers Rob
-
Harv, don't tell me something about Sahara dust, if you haven't been in it . That is how a proper Kalima looks like, here on the Canary islands. It's a wind directly from the Sahara desert and travels hundreds of kilometers. After a Kalima everything is sand covered. There is an international air pollution index, which is normally very good here with a value around 20-30. With bad Kalimas it can raise up to 500, which means extremely hazardous with high risks of infections. You should stay at home these days and of course no airbrushing . This year it was not that extreme, but we had Kalima for a very long time, I think for about two month since October in total. Last year, we had one like this and it ripped off our power connection and fell a tree in the garden. Dusty Cheers Rob
-
Just one colour today and it was white, Tamiya's gloss white to be specific. I never liked the use of Leveling thinner, too many of my prefered colours went lump, but I have to admit, it works well with Tamiya acrylics, the spray is fine and results in a glossy surface. The white underlay will be my base for the Aviattic Lozenge decals. In case of the front SSW, I sprayed the fuselage too, because this plane will be in red and blue of Jasta 15, the one behind will get a black paintjob for Heinrich Dembowsky's plane.

-
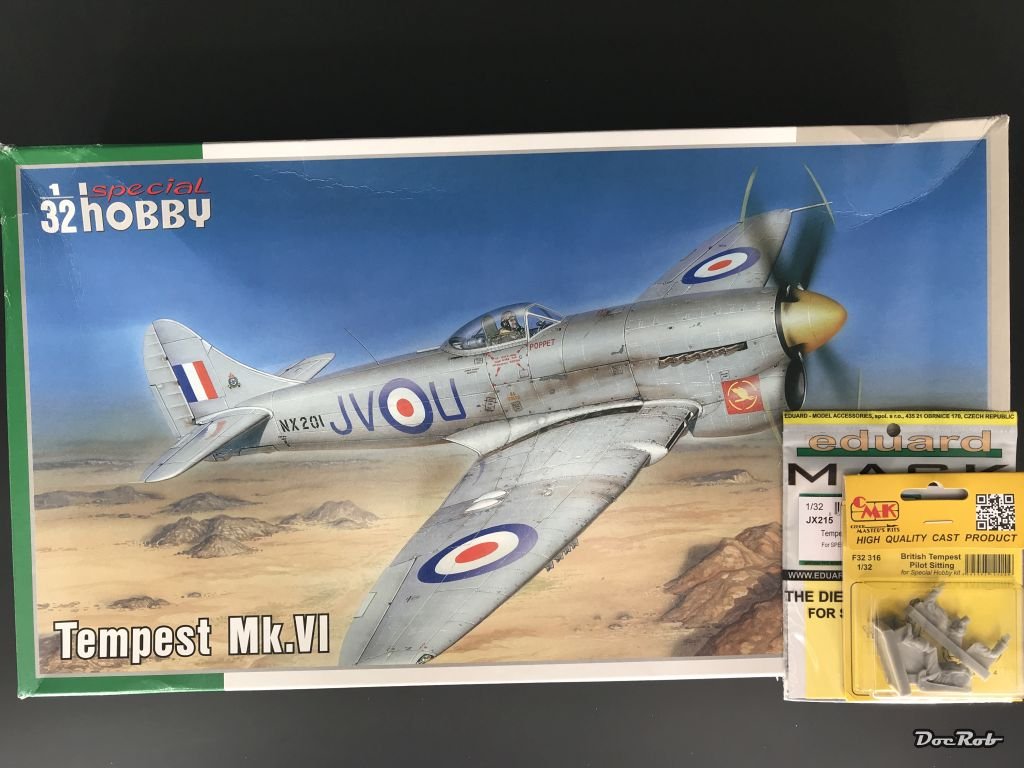
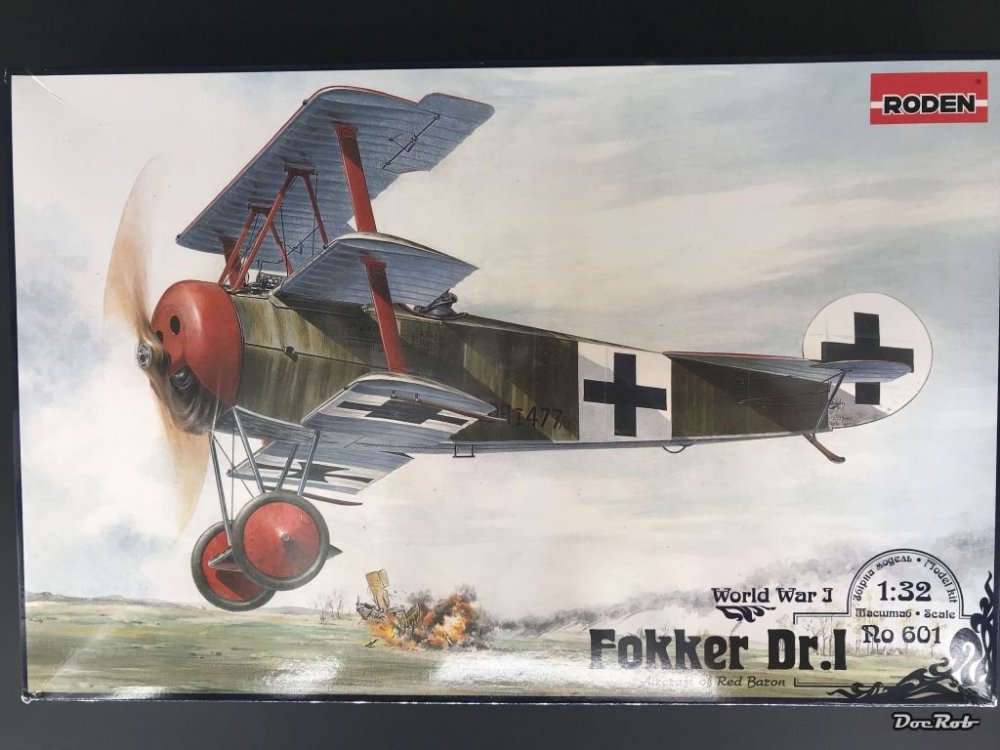
Just received this couple. The Tempest will be mostly build oob, except for a seated pilot. I think about NMF, because I have the big Airfix Typhoon and this will be camoed. The box got a little deformed on it's long way, but inside everything looked good, except for the loosened canopy parts. They were not scratched fortunately. As I got it really cheap, I'm not complaining. Was there a rumor of a GB? The DR.1 I bought, because some years ago, I gave away the F.1 and were free of triplanes. As the Roden kits are really cheap in Germany, I ordered one and will use masks for the paintjob. The sprues look very good, so for me there is no need for the Mengnut Wings DR.1 Some PE for the seatbelts and other details are ordered and no, it will not be a Richthofen plane. Cheers Rob

-
You may lost your challenge, but you produced a little gem with a quite unique paint scheme. 30 days for a 1/72 equals to 60 days in LS or is it only 15 . I have only three 1/72 kits, one finished and two unbuild, but, I'm tempted more and more to get some more and build them. Less occupied space on the bench and fewer knocked over paint bottles . Cheers Rob
- 20 replies
-
- 1
-

-
- 1:72
- club group build
- (and 2 more)
-
That's a true iconic racer you got there. Do you know if there is a connection between your Magnifier (never heard of that company) and the announced Meng one? Cheers Rob
-
HMS Speedy, 1/64 scale Brig/Sloop by Vanguard Models
DocRob replied to Clunkmeister's topic in Non LSM 'WIP
Cool, you reached an important milestone. Take your time sanding everything smooth for the second planking. From now on, I will follow even closer, as it's exactly where I am with my Kutter, which will hit my bench again soon. Cheers Rob- 49 replies
-
- 2
-
-
- vanguard models
- wooden ship
- (and 1 more)
-
Very cool looking FT-17 Harv, love the camo and the weathering. Got new tracks recently, did it ? As your first tank, you chose the first real tank and I have to say, that I really like the steam punk look of these ancient vehicles. I have to pull my Meng FT out of the shelf and take a look at the tiny thing. Cheers Rob
-
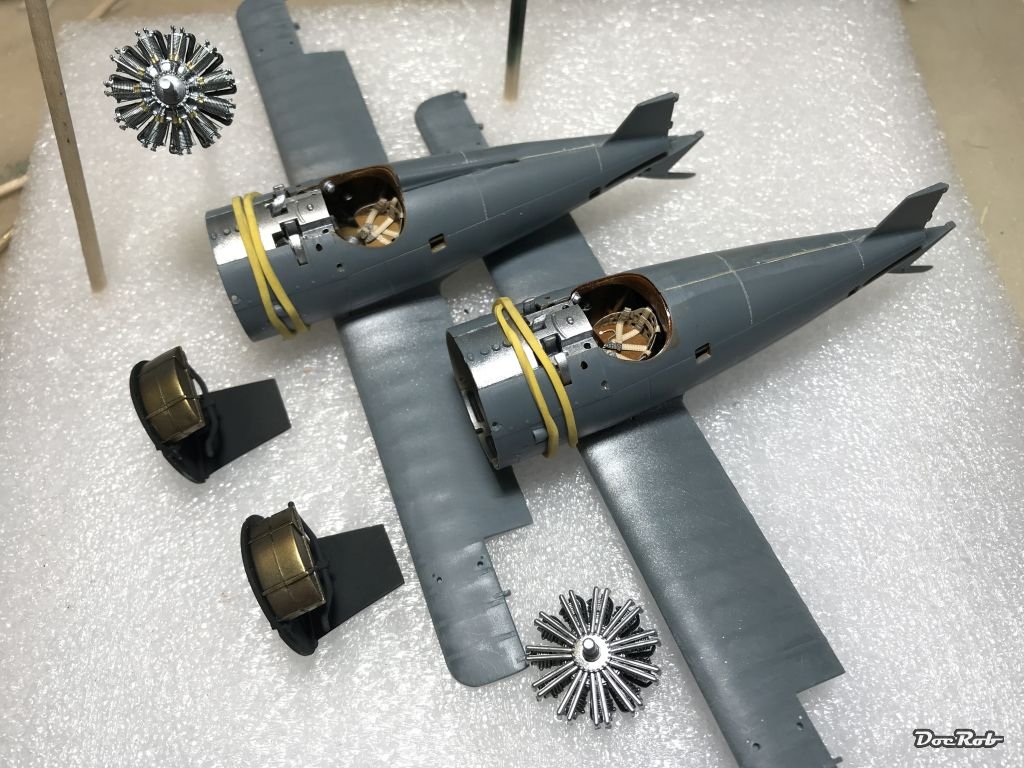
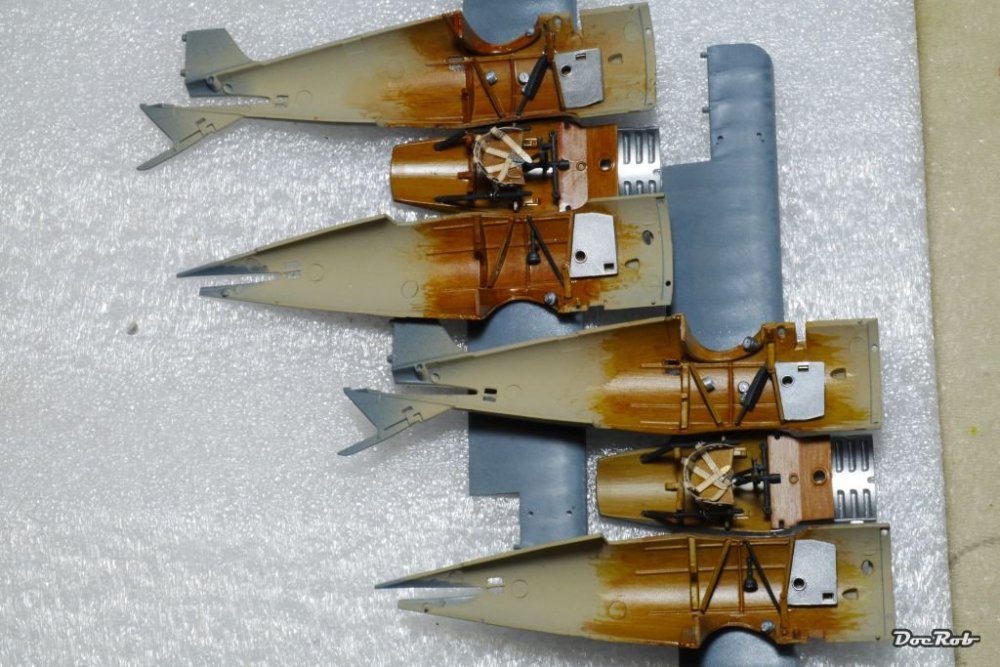
Today I closed the fuselages, after installing the gun mounts and other internal stuff. The prepared engine mounts were used as a template for the correct form of the front fuselage. On the back of the fuselage, I needed to rescribe a few panel lines. Now, with the main components prepared or assembled, I'm close to paint ant decals. By the way, I spent some thoughts about rigging. Generally I don't like flexible thread that much, but intend to use it here, combined with PE eyelets and buckles. I may make live a little easier, with the threaded buckles glued into the lower wing and pull the elastic thread through pre-drilled holes in the upper wing and glue them stretched with a drop of CA. After curing, I sand the upper side of the upper wing and put on the final Lozenge decals. With this method, I don't have to fiddle the line into tiny eyelets and secure it, between what little space there is, between the wings of the tiny twins. Cheers Rob

-
I was shamed acquiring modeling supplies yesterday.
DocRob replied to ScottsGT's topic in General Discussion
Maybe flexible rubber gas tubes for propane/butane bottles are a solution. Here in Spain you can get these everywhere. Cheers Rob -
Got my Roden DR.1 yesterday and while browsing through the sprues have to say, it looks pretty decent. With some add-on's, like an Aviattic cowling and some spare Wingnut seatbelts, accompanied with Montex Masks for Rudolf Klimkes bird, my urge for a DR.1 ends here. Cheers Rob
-
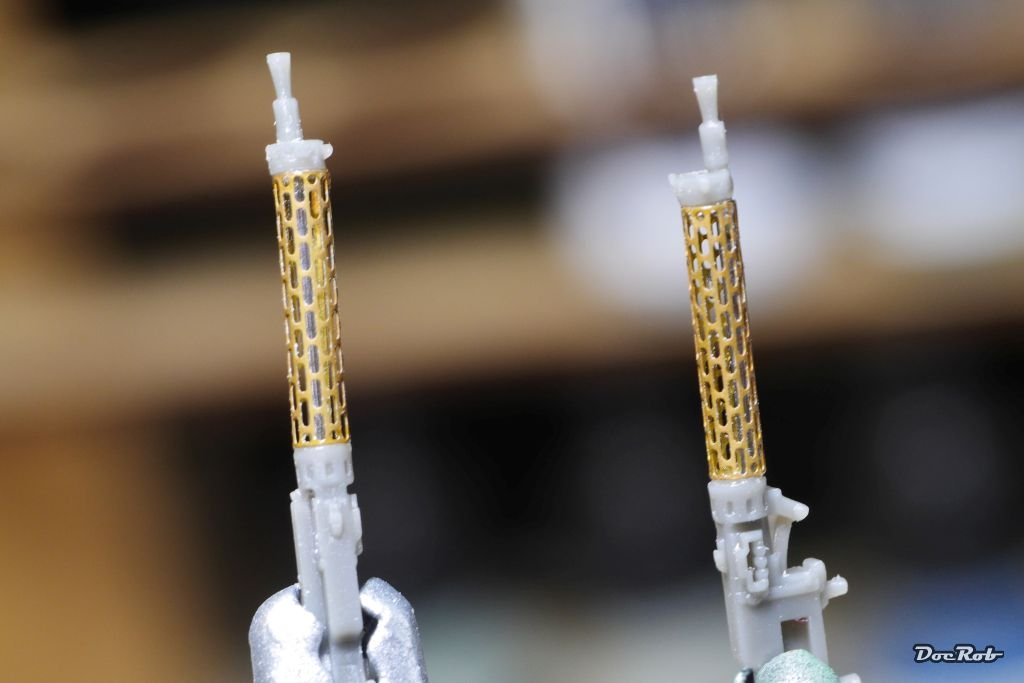
Not much done today, other than preparing the Brassin 08/15 guns with barrels and rolled PE cooling jackets. The jackets have a diameter of 1,8 mm. Details like levers and sights will be added, when the CA has cured. Working on those tiny 1/48 SSW's makes you feel that LS is the scale to go. The other SSW will receive a set of Gaspatch 08/15's when they arrive. Cheers Rob
-
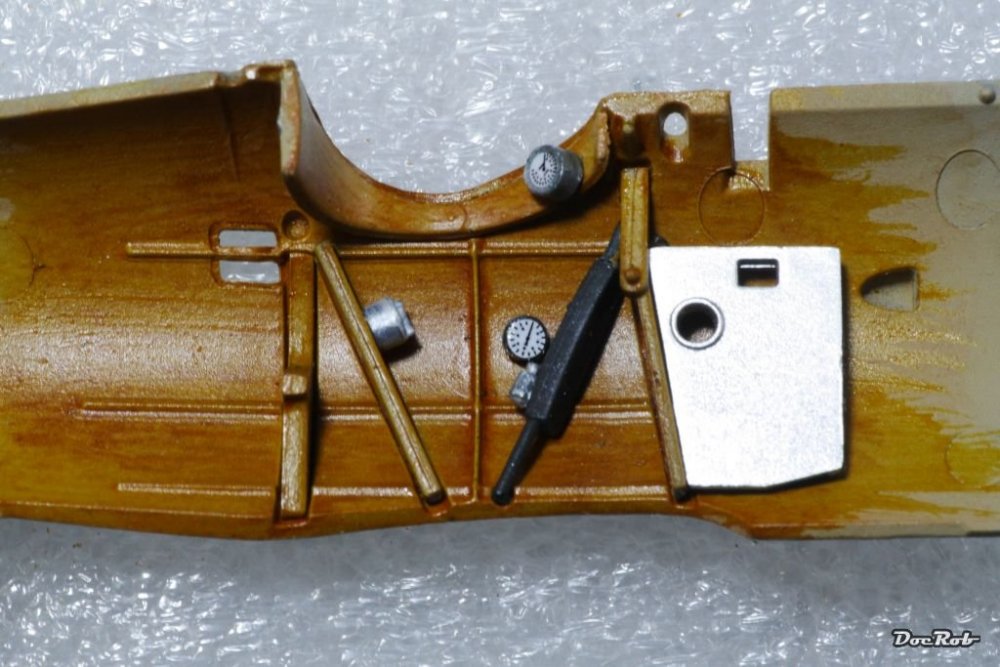
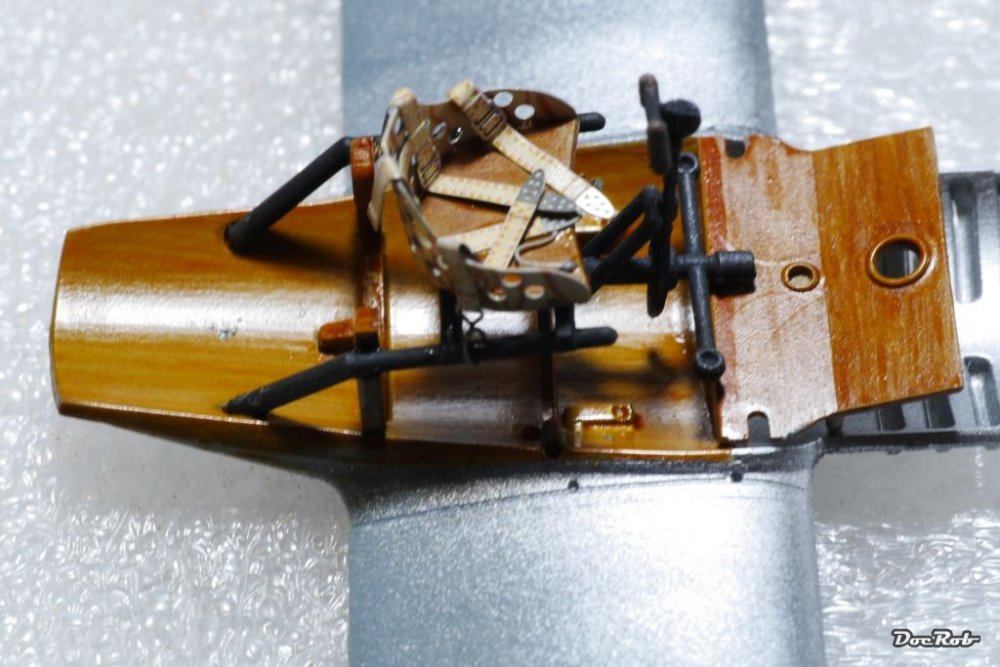
The Interieurs are ready, the instruments were decaled and sealed with a drop of Future. I decided against internal rigging for the moment, but will check, before I close the fuselage. Now I have to wait for my Gaspatch 08/15 and prepare the Brassin 08/15 for the other plane. With the MG's installed onto the upper front fuselage, it will be time to close the fuselage. May I start to prepare the wings for the Lozenge decals in the meantime with some Tamiya gloss white. Cheers Rob Cheers Rob
-
Wingnut Wings Roland C.IIa
DocRob replied to Umlaufmotor's topic in WNW and WW1 Ready for Inspection'
Great display of skills, love the result and admire the attention to detail. Cheers Rob -
Spitfires!
DocRob replied to BlrwestSiR's topic in LSM 1/32 and Larger Aircraft Ready for Inspection
Nice triple, chapeau. Cheers Rob -
Seems there are some left at some places. Here in Europe Modellbau König of Germany has some. https://www.modellbau-koenig.de/Hersteller/Wingnut-Wings Cheers Rob
-
What is on your bench right now ? Share a picture :)
DocRob replied to Martinnfb's topic in Modelling Discussion
My aunt back in Berlin used to have one of these. It had a black body and white top and was always in perfect original condition. She sold the car some years ago, when she was to old driving it. The Karman Ghia fitted her perfectly, because she had always the appearance of a 60's movie actor, even in her older ages. Sometimes we drove down the Havelchaussee, a beautiful Berlin road on the Lakeside in the middle of the forest, just to enter the western city center a quarter of an hour later. Cheers Rob -
Because you missed one step between *goes and *returns When you pass the kiddie section near the entrance, where there is a pool full of plastic balls in it, you were exposed to some 'willing to buy' enhancing drugs. So the missing point was *brainwash. Seems to happen to everybody, it's the Ikea system . Cheers Rob
- 42 replies
-
- 3
-

-
-
- ikea
- display case
- (and 1 more)