DocRob
-
Posts
7,043 -
Joined
-
Last visited
Content Type
Profiles
Forums
Events
Gallery
Everything posted by DocRob
-
I like the setting a lot, you made them look 'heavy', especially the T-34. The burn effects do look very good. I would place more dust on the tank, maybe a bit more on the T-34. Cheers Rob
-

Volcano eruption on La Palma, my neighbor island
DocRob replied to DocRob's topic in General Discussion
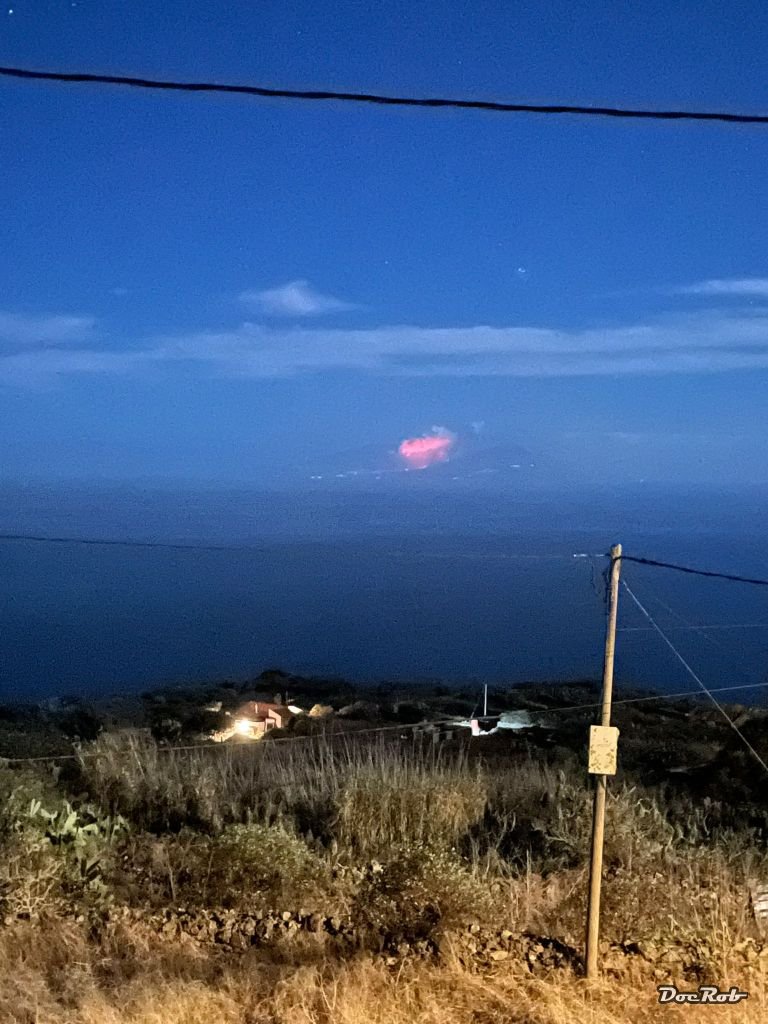
It is terrible Peter and there is no end in sight. One man lost his life in an accident so far. The roof, he was freeing of the ashes collapsed under him. A fear which is growing now, with a rain forecast for the next days. On Saturday night, I took out my camera, tele lens and tripod and made some pics with the very clear weather, we had then. You can see traces of the lava stream, most of them hidden by mountains from our angle. Cheers Rob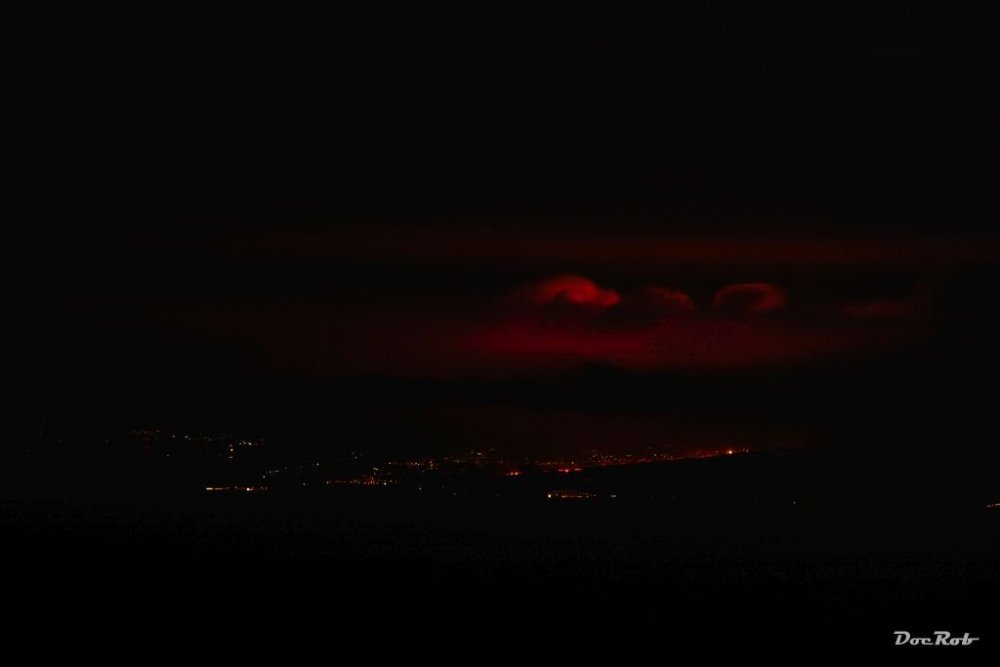
-
You put a lot of work into the Henschel with all that riveting. The result looks great though. I bought the same kit not the least, because of yours and Gazza's build here, but I don't know, if I will go your way, or easier camouflage missing surface detail with a pre war splinter scheme. Cheers Rob
-
Nice, I like the mud residues. Seeing your figures, I had the spontaneous idea, why not simulating wear on knees and elbows with a lighter chalky tone. will try this in one of my next figure related projects. The framework looks decent, but those plastic thingies . Cheers Rob
-
Volcano eruption on La Palma, my neighbor island
DocRob replied to DocRob's topic in General Discussion
After a week with a slight reduction in volcanic activity, everything is back to full go since two days. Because there are only a few new lava streams, there is not so much new damage to houses or plantations. Several lava streams have arrived the Atlantic Ocean and form a new peninsula. By doing so there it develops a huge amount of sulfur dioxide. I read last weak, that the SD emission up to now equals the amount of the same gas produced by all European countries in 2019. What the people of La Palma fear most in the moment is rain, which would soak the sometimes meter thick ash on the roofs and will lead to collapsing buildings. The other fear is concerned to seismic activities. Up to now, the strongest earthquakes were about 5,0 and you could feel these on my island too. Cheers Rob -
Volcano eruption on La Palma, my neighbor island
DocRob replied to DocRob's topic in General Discussion
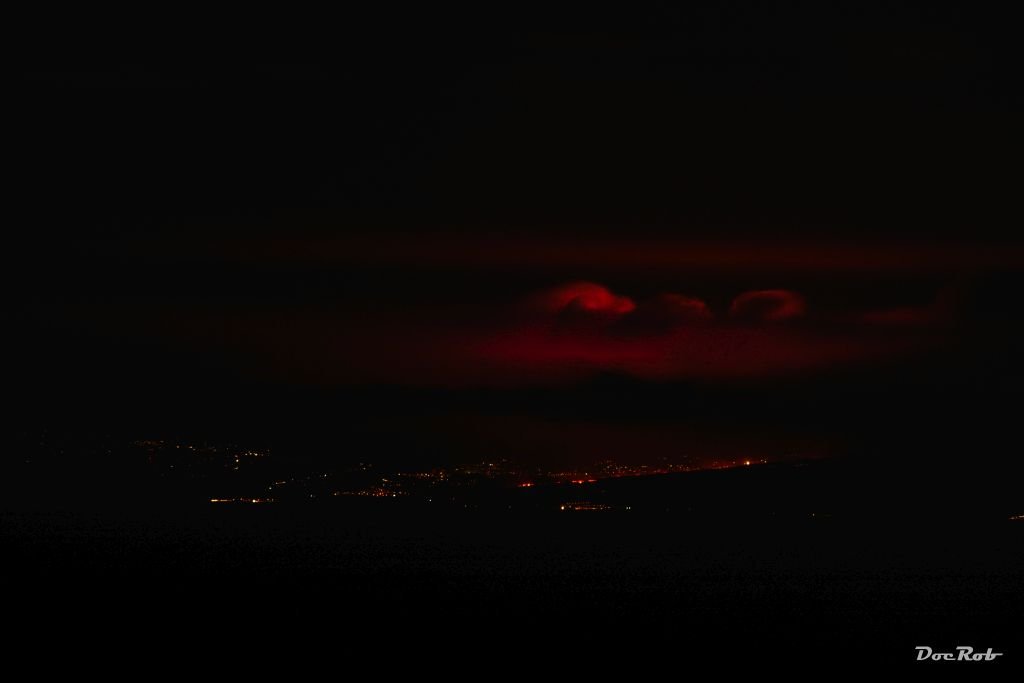
The volcano hasn't lost a beat over two months of eruptive activity. Yesterday was the first time, we could see the sky glow red from the lava. This was caused by very clear weather conditions and a very untypical light wind from the west. The picture was taken during black nighttime, but the phone cameras automatic up leveled the lighting. Maybe today, I try a shot with a decent camera and a tripod. Cheers Rob
-
Fw190A-8 3/JG1 crash Vreeland
DocRob replied to JeroenPeters's topic in LSM 1/35 and Larger Work In Progress
Good to have you back here Jeroen. I missed your stylish approach to modelling. Nice house by the way. Nothing better than to live, where you really feel at home. Cheers Rob -
617 Sqn Tornado Dambuster 70th
DocRob replied to Kaireckstadt's topic in LSM 1/35 and Larger Work In Progress
You guys are magnificent tacticians. You pick a slow developing build to satisfy your uncontrolled popcorn consume and then blame the thread starter about the calories . Bring the Tornado on Kai, I can't stand that much Martinis . Cheers Rob -
What is on your bench right now ? Share a picture :)
DocRob replied to Martinnfb's topic in Modelling Discussion
Not the nicest of all Mustangs, but interesting, never heard about that one before. Looks a bit like a Frankenstang with the nose of a FW-190 D and you definitely need to drill out the enormous exhaust . BTW: Have I ever mentioned, that I like subject off the trotten pathes. Cheers Rob -
What is on your bench right now ? Share a picture :)
DocRob replied to Martinnfb's topic in Modelling Discussion
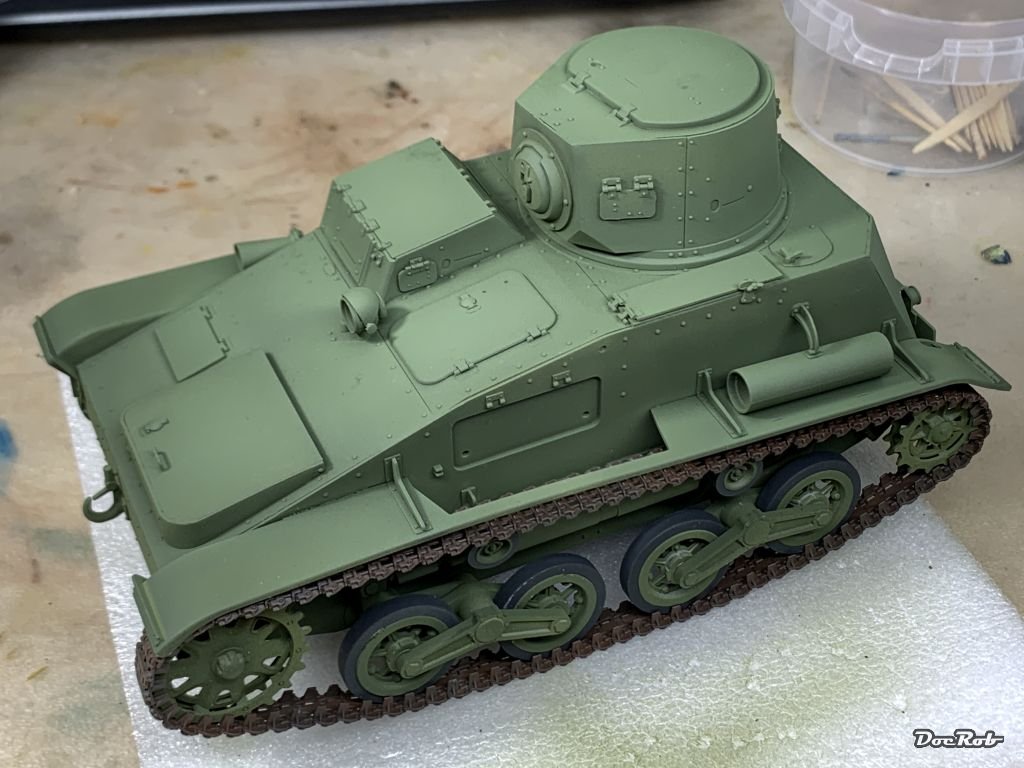
Thanks a lot, until now, the tracks seem to be pretty robust, but due to the suspension, there is some tension on them. I do not trust the rubber material, but hope for the best. Cheers Rob -
Your Steppe develops nicely, Gaz. I like the layout of the base and like the others said, it will look good with the figures on. Cheers Rob
-
What is on your bench right now ? Share a picture :)
DocRob replied to Martinnfb's topic in Modelling Discussion
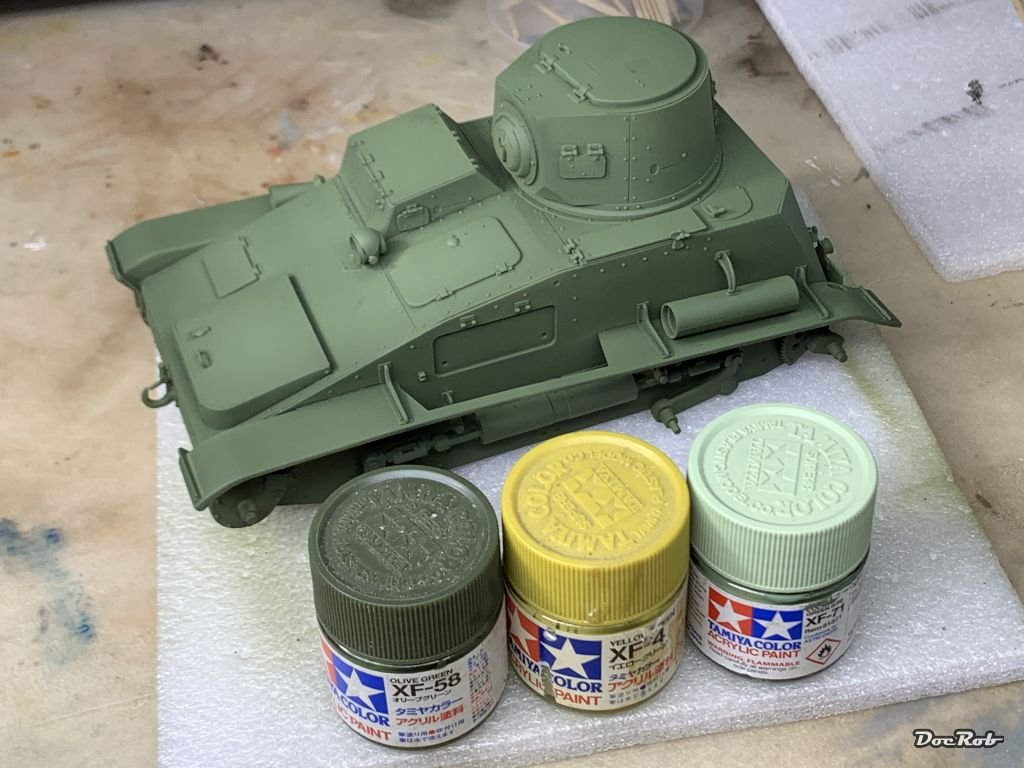
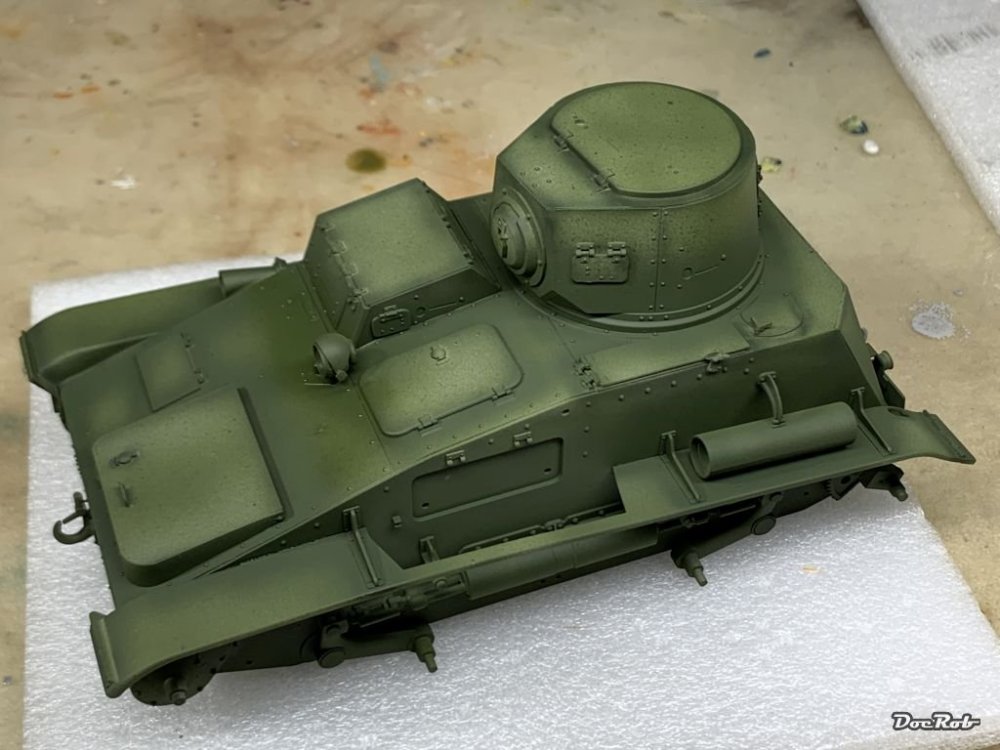
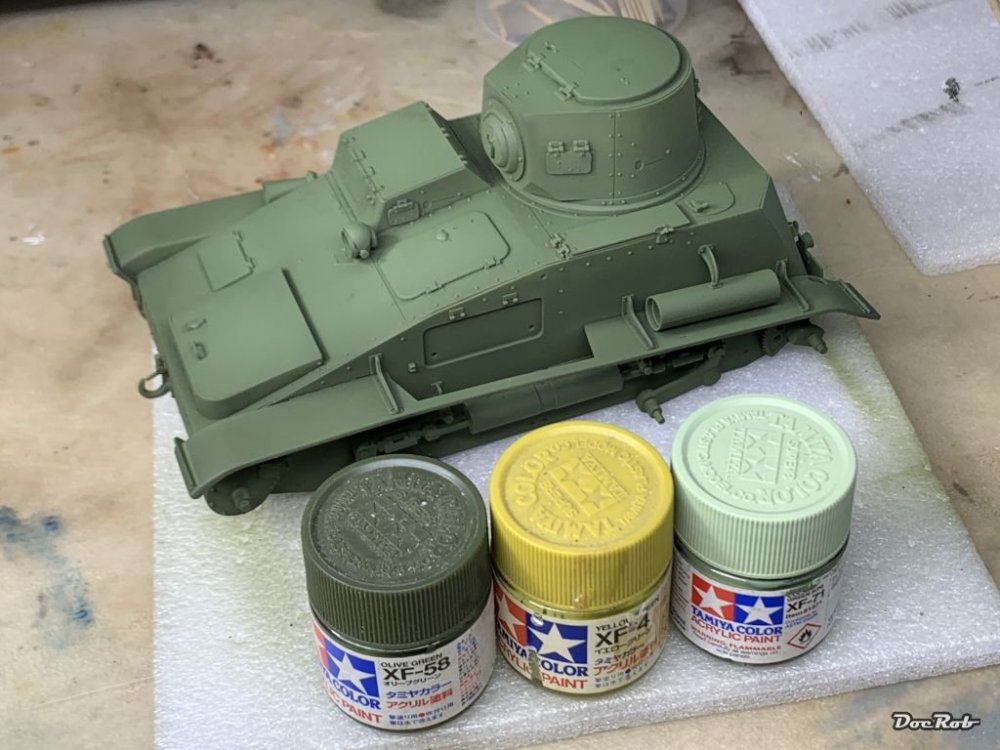
In the moment there is little time for modelling, therefore I shelved the Arado momentarily, which I wanted to build with full concentration and continued with the Chinese Tankette, which is a much simpler affair. The primed parts where accentuated and modulated with Nato black. Then a transparent coat of olive green, which was used pronouncing the darker areas. Then a lighter mix with some drops of yellow green, followed by an even lighter mix with IJN cockpit green, sprayed on the lighter pars of the mini tank and from above. I than added the running gear and made a mock up with the prepared tracks, only to see if the vinyl stuff fits. It does and has a really spongy working suspension. Cheers Rob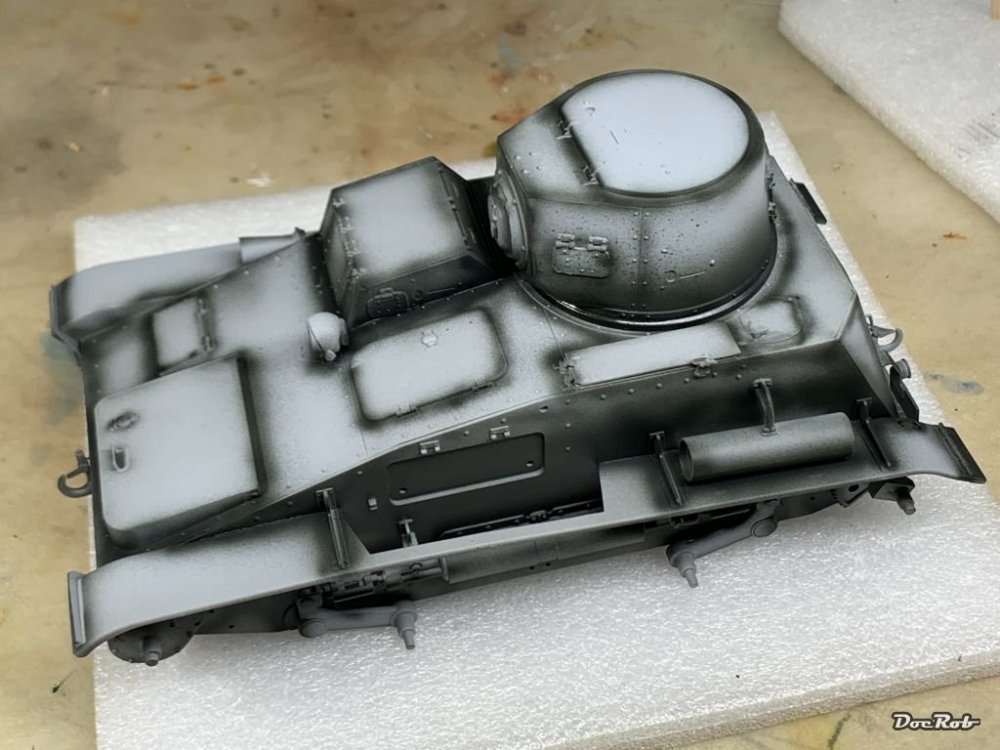

-
Yours look like a wooden deck with some abrasion, Harv. Is it really wood with the Wessex?
-
Trumpeter 1/16 T 72
DocRob replied to belugawhaleman's topic in LSM 1/35 and Larger Work In Progress
This super huge beast looks mighty good. I take the heavy duty plastic as a good sign, given the size of the tank. A sagging deck wouldn't look too realistic . Cheers Rob -
Islamic Republic of Iran Air Force F-4E Phantom tank killer
DocRob replied to BradG's topic in Non LSM 'WIP
Very nice, as Martin said, looks extremely well, especially considering the tiny scale. Cheers Rob -
Revell P-51D Mustang - 2nd time around
DocRob replied to Peterpools's topic in LSM 1/35 and Larger Work In Progress
I have the Do-17 boxing called 'Kampfstift' in 48 scale. The decals and separate stencils are dated 2021, so they should qualify. Cheers Rob -
I like your very subtle layering weathering technique a lot. It leads to a very realistic looking and well blended paint- and weathering job. Almost perfect, I'd say, but I don't like the fuel stains. When there is spill fuel, it would be more prominent in the lower middle of the cap, by gravity means and then maybe dragged a bit with the airflow. BTW: which was the color of the fuel? I'm nitpicking here, I know, but that's the way it happens when 99,9 percent look absolutely gorgeous . Cheers Rob
-
Revell P-51D Mustang - 2nd time around
DocRob replied to Peterpools's topic in LSM 1/35 and Larger Work In Progress
Thank you Peter, for going through all the hazzle, to keep us in the loop. Your way of methodical working through the process and document it for us is precious. I will benefit from your results, as I have an Eduard kit with new decals in stash, which I plan to build soon. I hope all the gained expertise will transform to a show stopping P-51 in the end. Cheers Rob -
Revell P-51D Mustang - 2nd time around
DocRob replied to Peterpools's topic in LSM 1/35 and Larger Work In Progress
Just another thought Peter, Micro Sol is normally applied to soften the decal, to let it melt into the surface. Maybe it would be better with these decals to leave the Sol away until you removed the carrier film and then hit the rest of the decal with Sol. I can imagine, that soften up the carrier film, could make it more difficult to get rid off it. Cheers Rob -
Revell P-51D Mustang - 2nd time around
DocRob replied to Peterpools's topic in LSM 1/35 and Larger Work In Progress
Ayayayyyyy, that sounds not very promising Peter, but if I remember it right, Eduard claimed to let the decals dry for 24 hours. Maybe you were driven by understandable impatience. Cheers Rob -
Fantastic, I'm blown away by the sheer beauty of your Mig. Detailing, painting and weathering is exceptional and you are absolutely right, the Czech markings fit perfectly to the elegant lines of the plane. Cheers Rob
-
Tamiya F4F-4 built as FM-1 Wildcat - 1/48 - FINISHED
DocRob replied to Landlubber Mike's topic in Non LSM 'WIP
Your Wildcat is very eye catching with all the opened panels and the not too often represented North Atlantic scheme. Cheers Rob -
Revell P-51D Mustang - 2nd time around
DocRob replied to Peterpools's topic in LSM 1/35 and Larger Work In Progress
The results should be very interesting Peter, not only considering the decals, but also for the NMF finish. BTW: Do you know about these panel masks? I nearly bought them a while ago for my ZM Mustang, but they are made for the Tamiya kit and I'm not sure if they fit. P-51D MUSTANG - SURFACE PANELS MASK - 1/32 - MIR/32008 (hgwmodels.cz) Cheers Rob -
Great progress with the highlighting Gaz, I only never liked the pure black for belts and boots too much. Cheers Rob
-
Great Phil, time for some colors now. The Ju will look mighty fine. Cheers Rob