DocRob
-
Posts
6,685 -
Joined
-
Last visited
Content Type
Profiles
Forums
Events
Gallery
Everything posted by DocRob
-
 Thank you Carl, these Xtreme metal Colours make life a little easier with NMF. The durability is a clear plus against Alclads. As I'm not prepared to foil a kit at the moment, it has to be airbrush and Colour. To make a well worn NMF is not a big deal, but a high shine reflective one is hard to achieve. I will do further testing in the future and may try it on a P-38. Cheers Rob
 -
Looking great, I like the newish, but used look, not easy to achieve. New is relatively easy, abused too, but the way you did it is the hard way. Me like. Cheers Rob
-
Without your hand it would almost look real or is that hand of yours out of scale? Cheers Rob
-
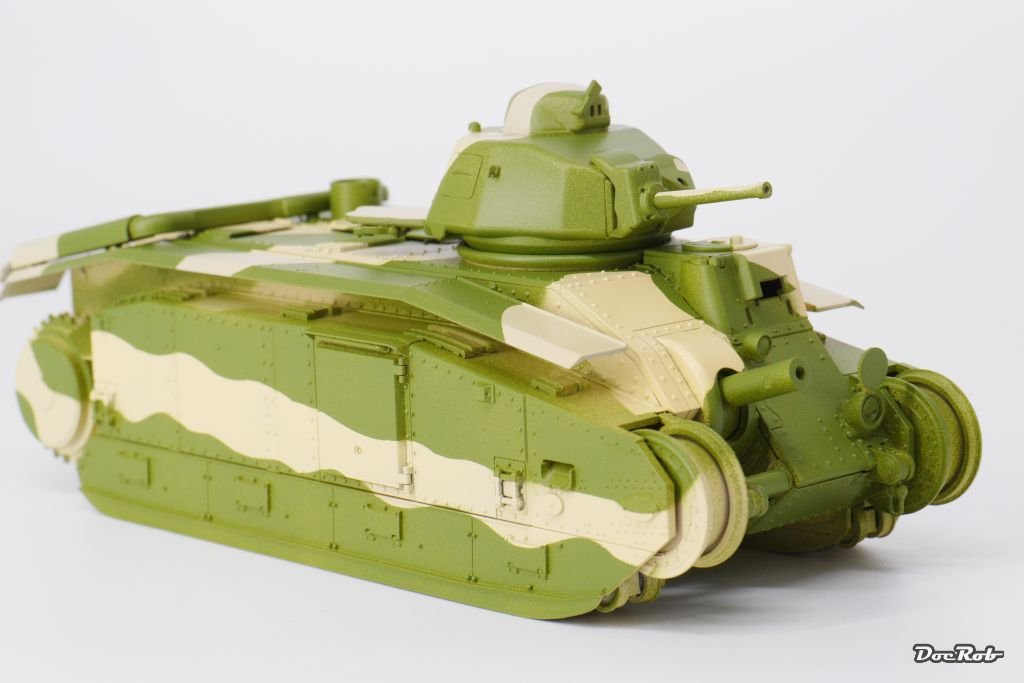
Renault Char B1 - French heavy Hitter
DocRob replied to DocRob's topic in LSM 1/35 and Larger Work In Progress
Hehe, haven't thought about Indy. What I had in front of my imaginary eye was the Char sans tracks as a kind of gondola for a steam powered Zeppelin. The whole thing would have been made of copper and brass with lots of patina. And then there were these tempting French camo styles... Cheers Rob -
Thank you Senhores, some kits make it easier to achieve a good result and Dottie is definitely one of them. Cheers Rob
-
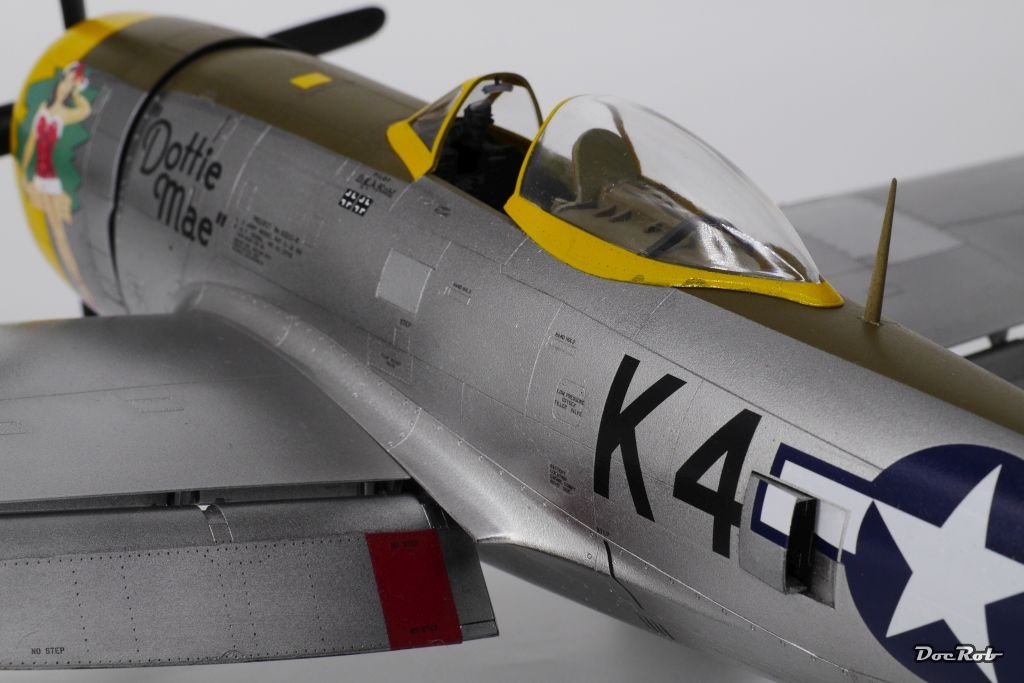
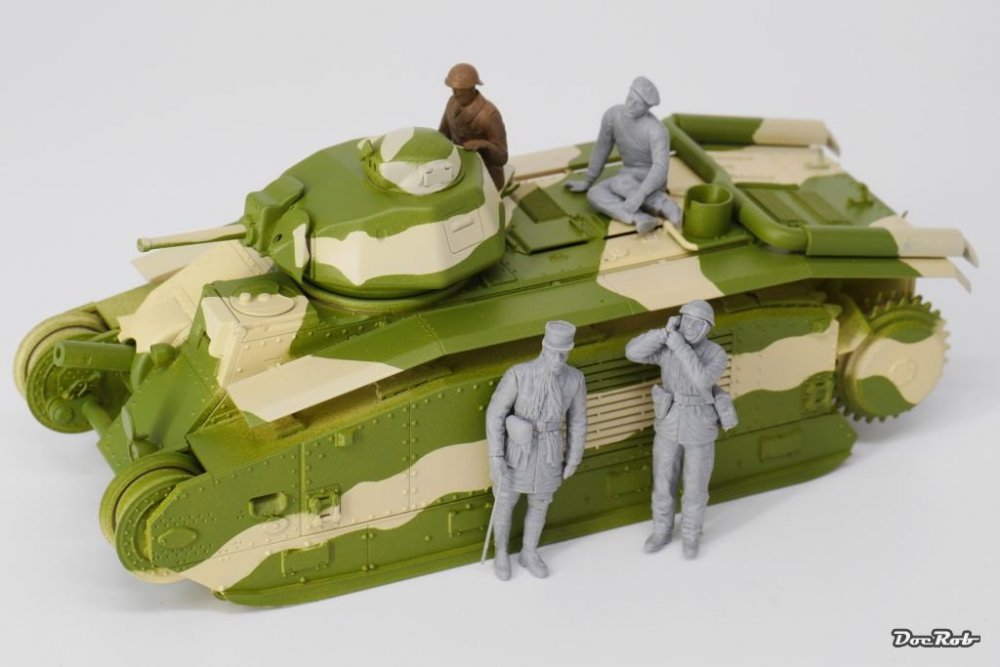
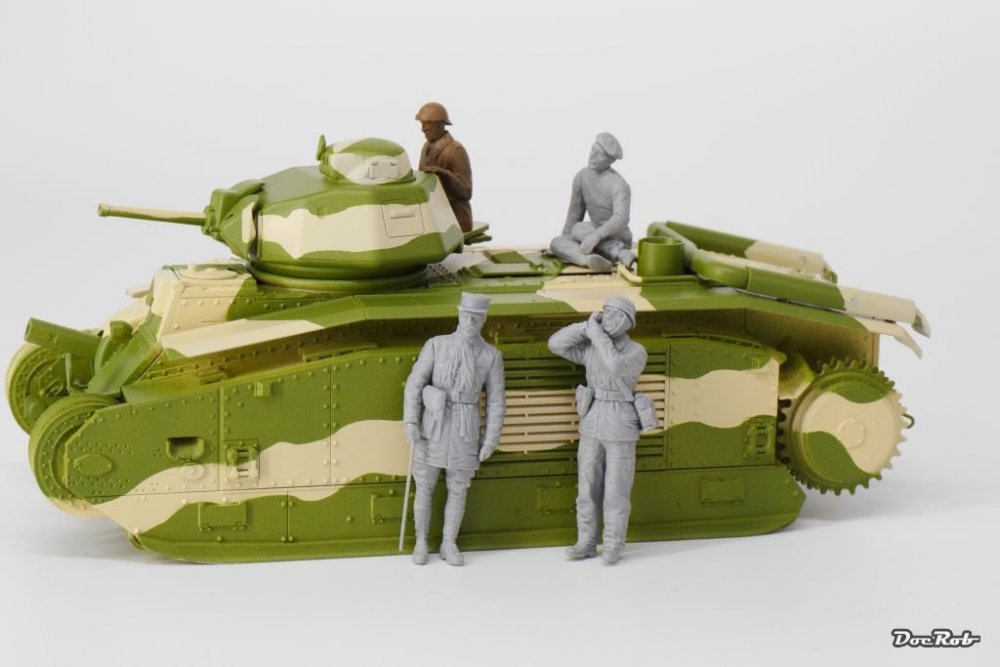
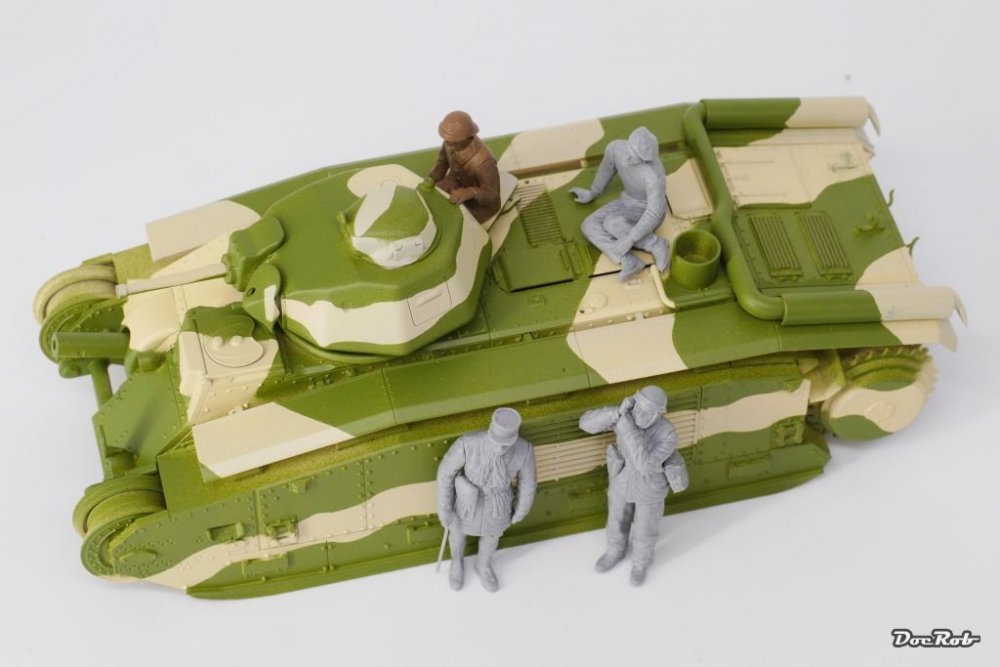
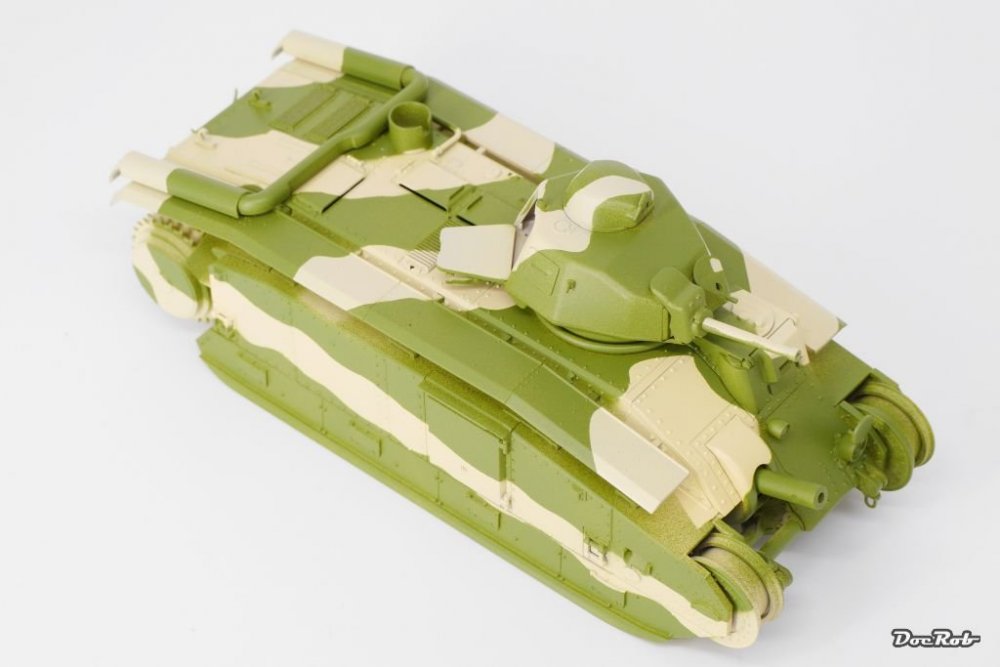
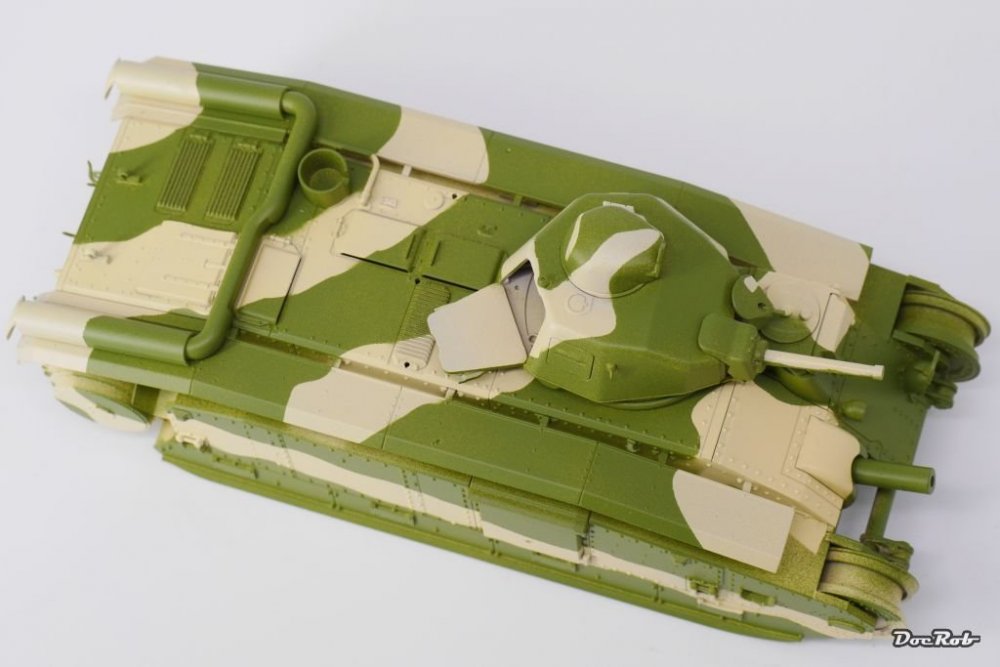
Salut les messieurs, get your Gauloises between your lips and enjoy some Camembert with some vine rouge , its time for some French feelings with the build of this early war beast. After finalizing my Dottie Mae, I decieded that it is time to finish some kits which where lurking in their boxes for a long time. Some years ago, back in Berlin, I build the Char B1 and it was completely tamiyaesque, meaning great. What makes the kit even better than most others by the brand, are the single link clickable tracks, which are fully moveable and durable enough for painting and weathering. The Char B1 to me has a special attraction, it looks like a beast from another time and has a little steampunk attitude in it. I was thinking more than once, that a conversion to a steam driven 'landship' would have been appealing, but then there are the great Colour schemes for French tanks, they clearly have a knack for that. For a start I sprayed the whole tank with 'Warm Sand' from the Mig range and added masks from J's Work for the camo. These mask sets are great for hard edged camo on flat, detail free surfaces. They are precut in Kabuki and adhere good. The second Colour, 'Pale Green', also from a Mig set was then applied. And that's where I am know with that French colossus. The figures might be used for a little Dio, but that's not already decided. Cheers Rob

-
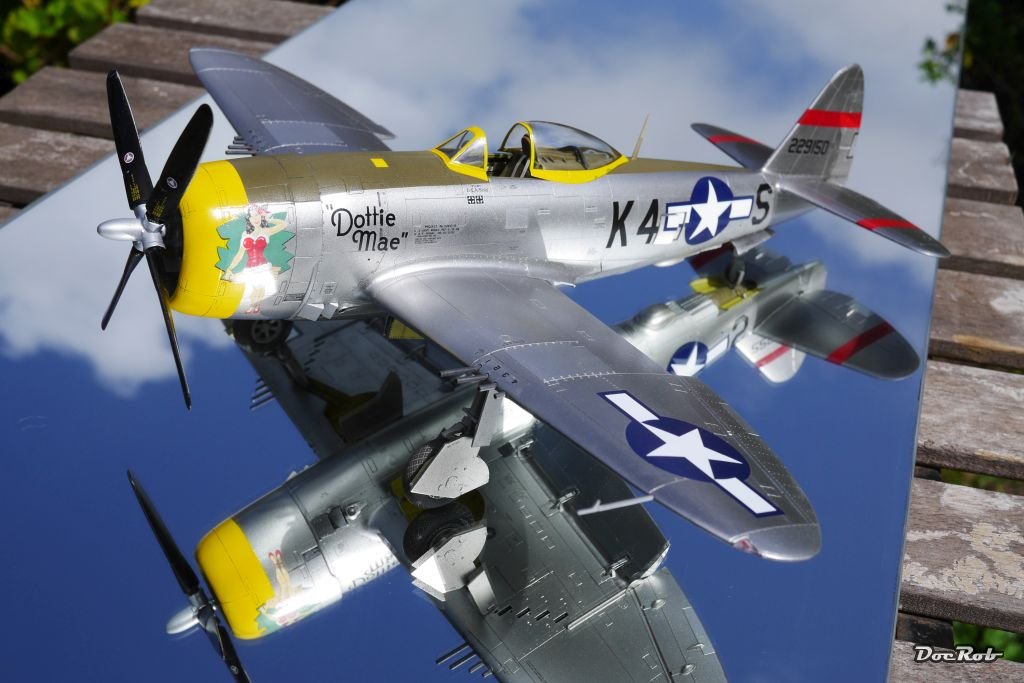
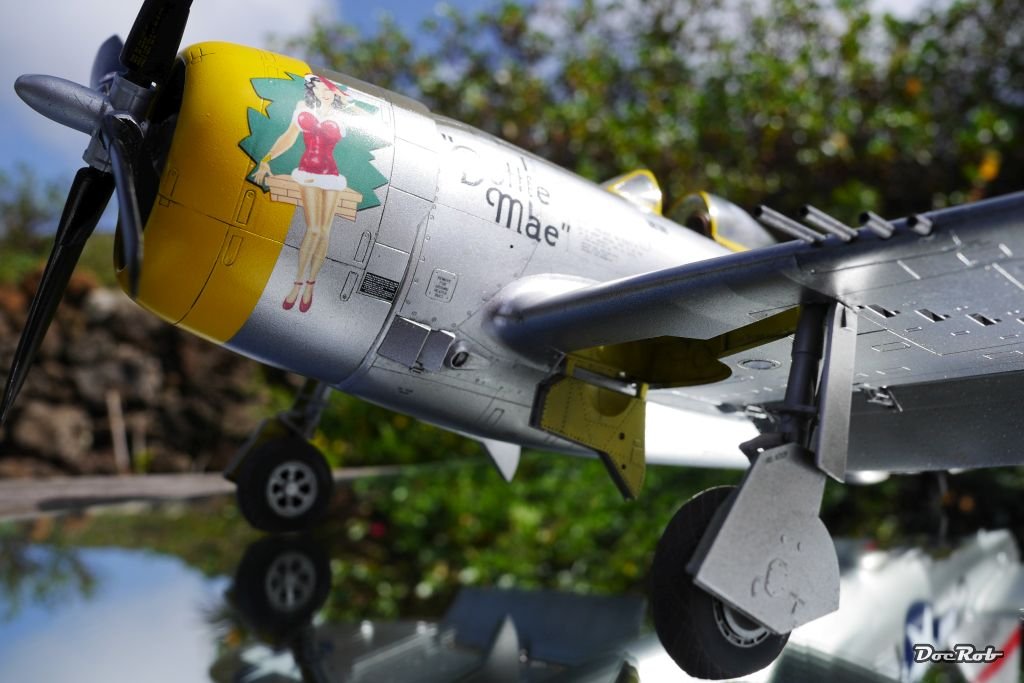
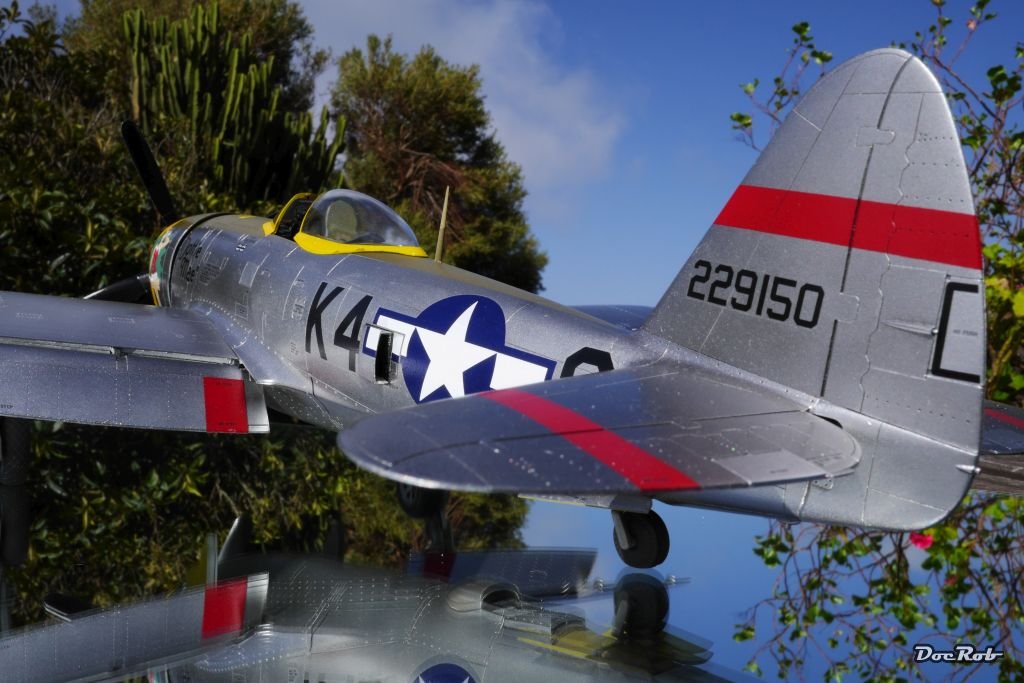
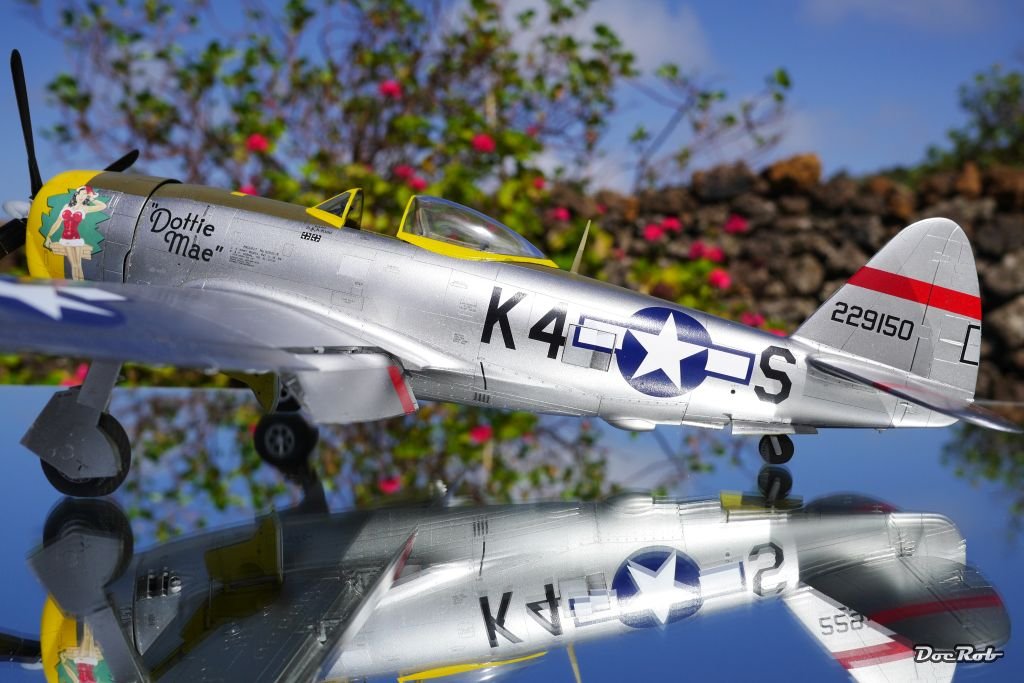
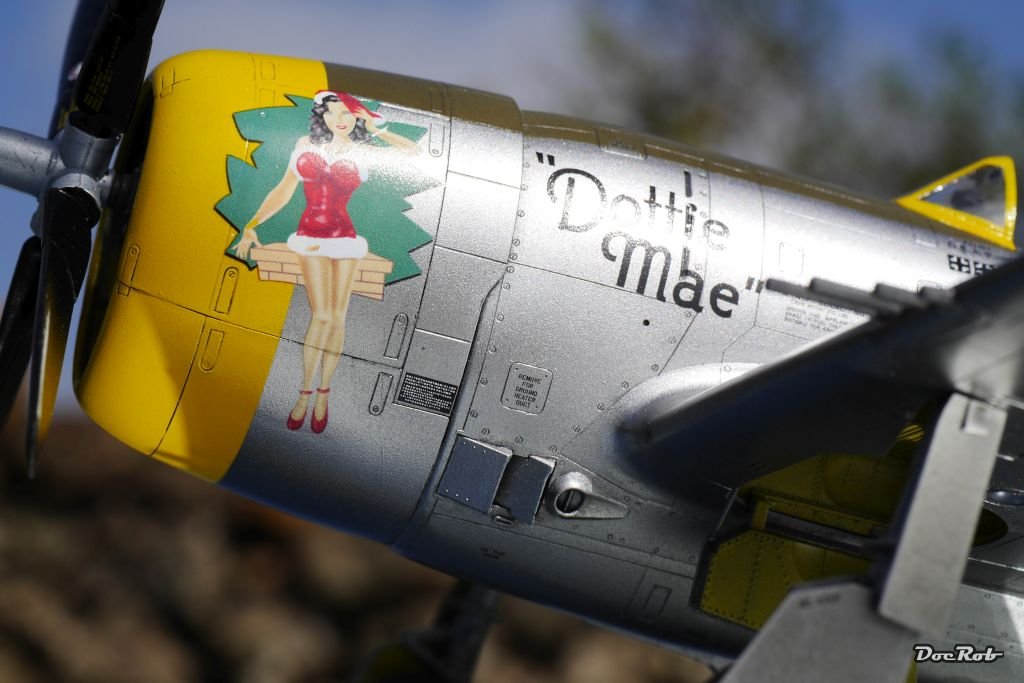
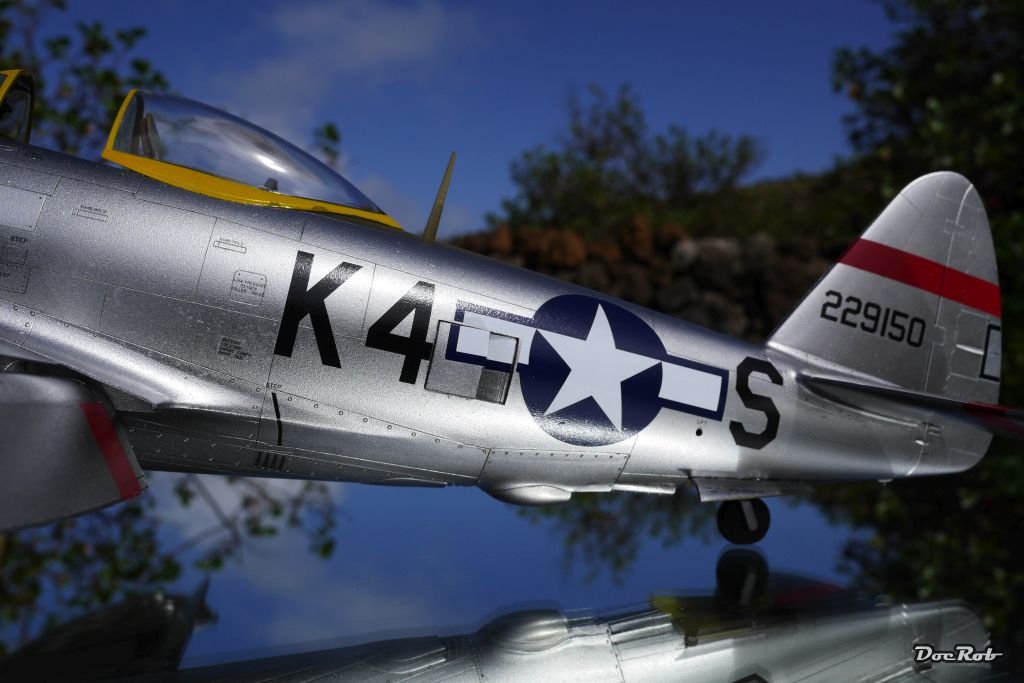
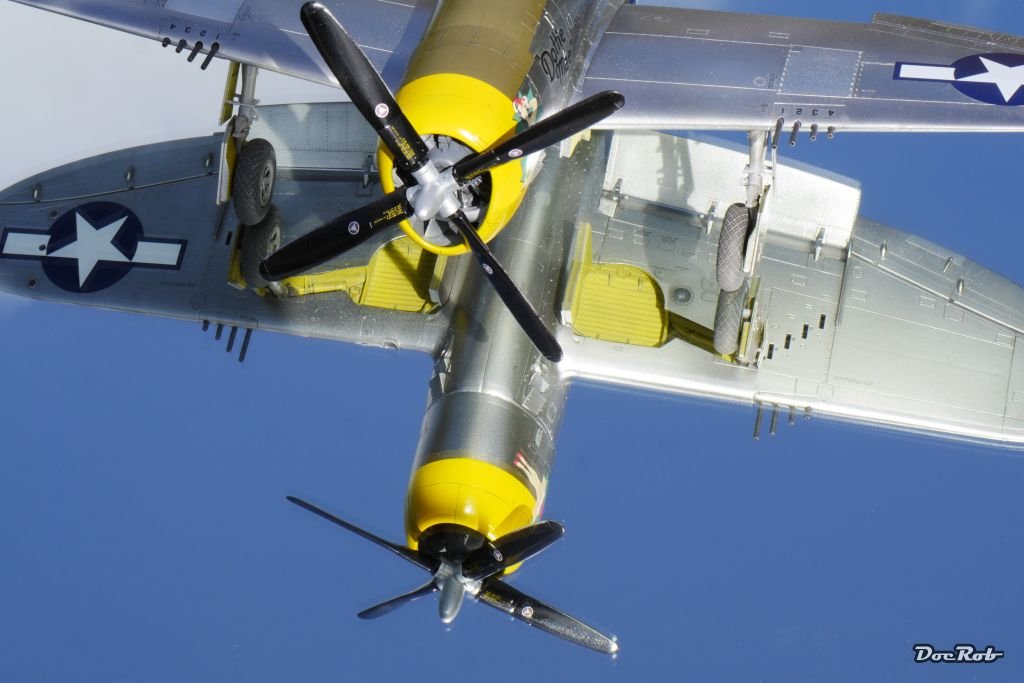
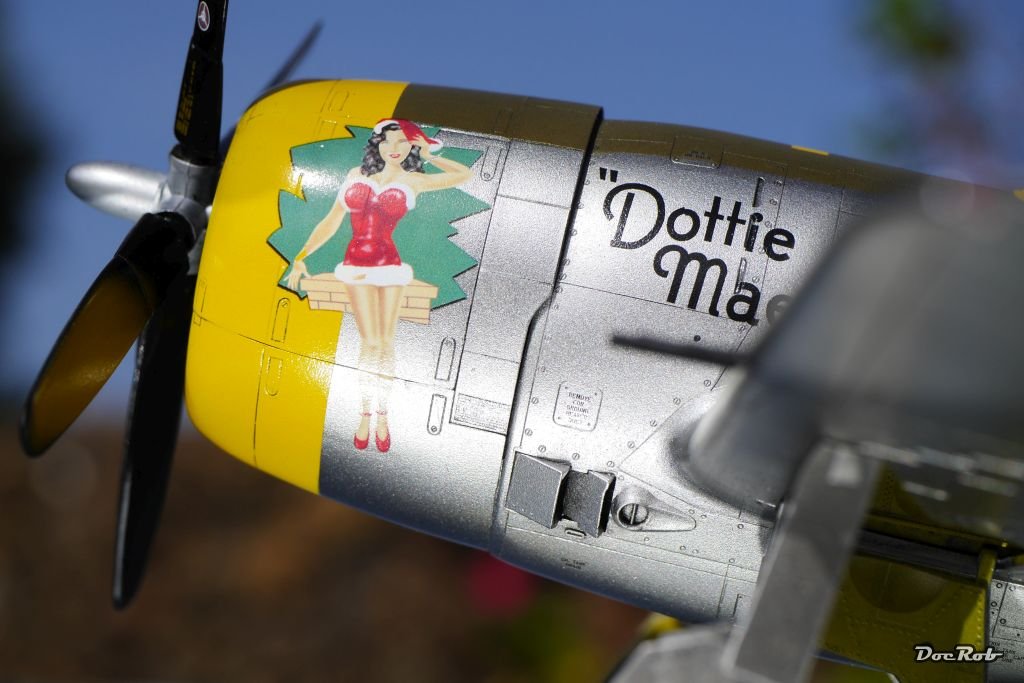
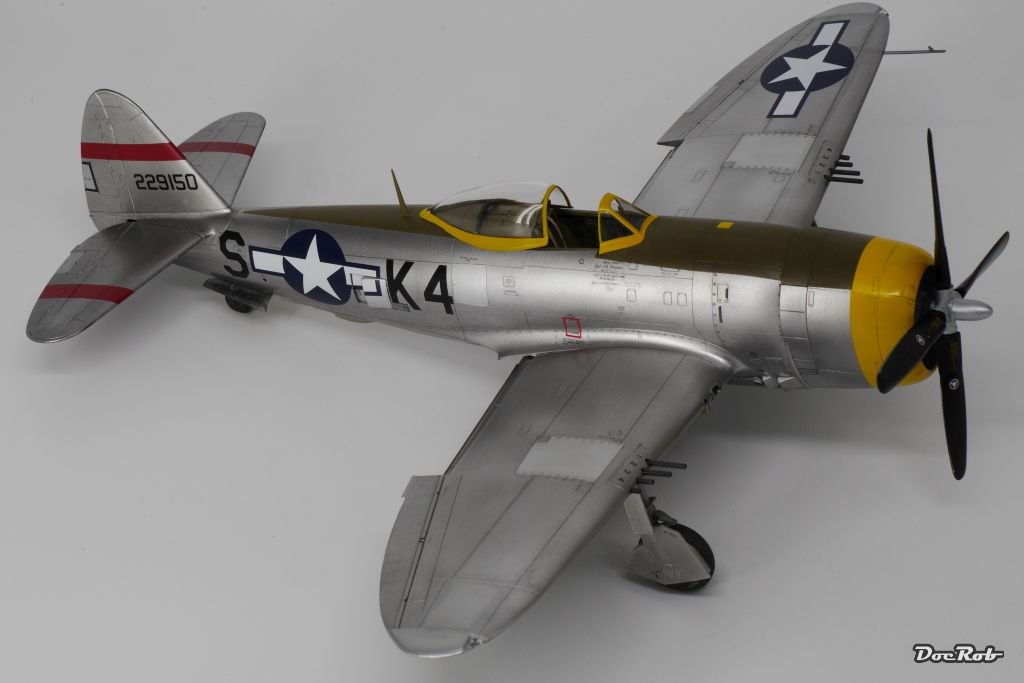
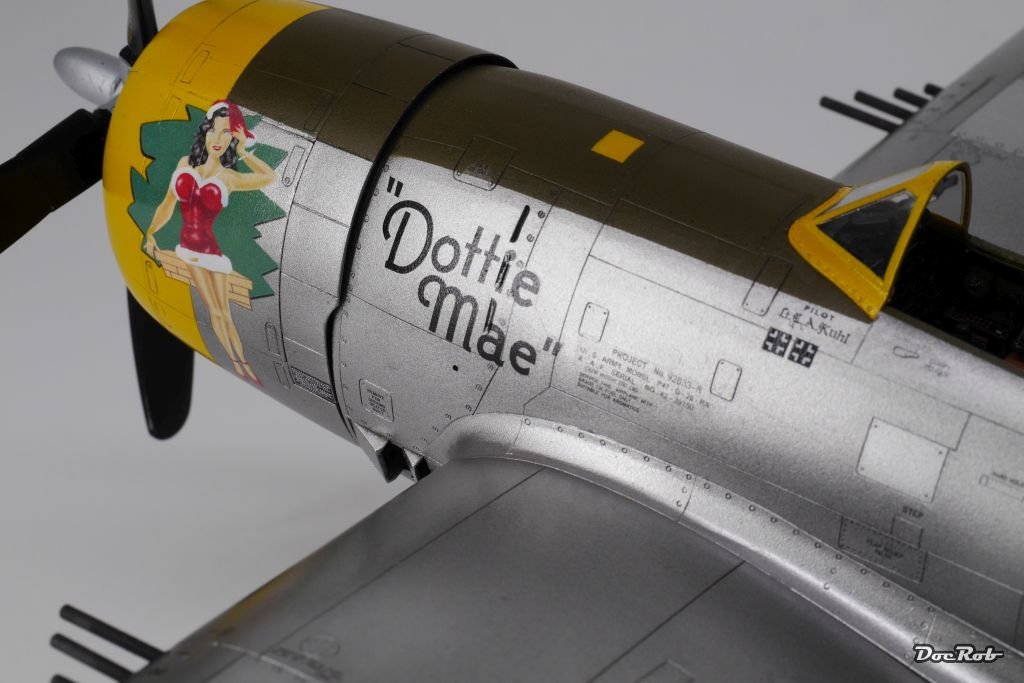
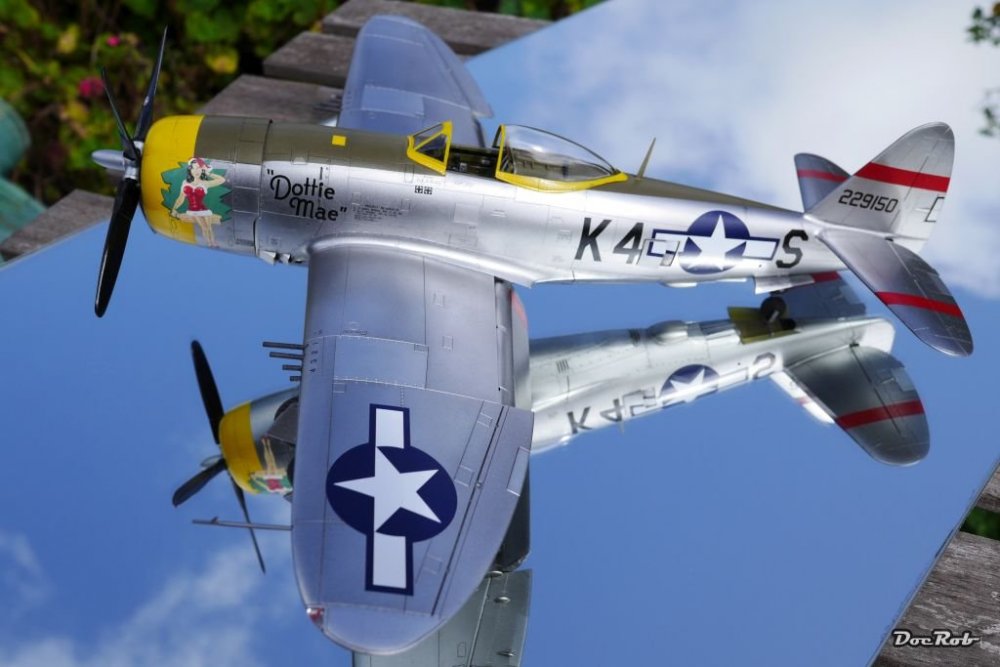
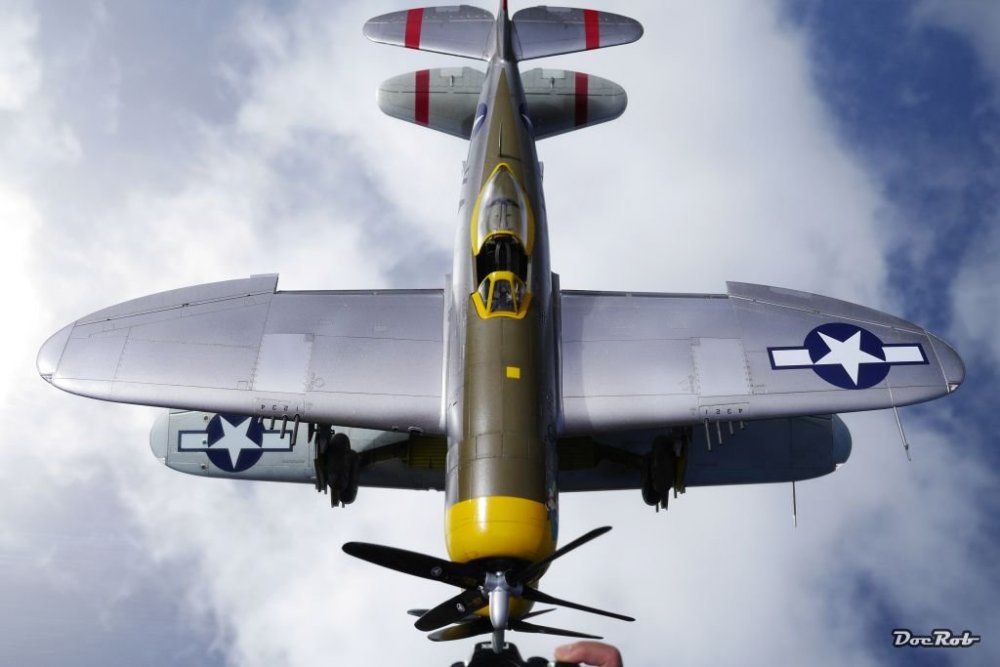
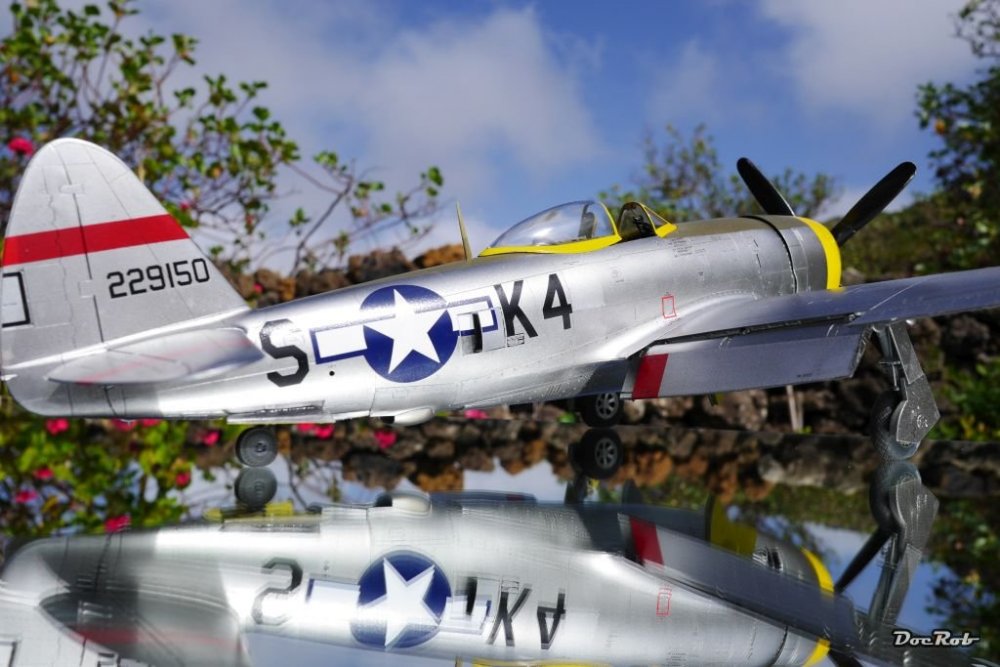
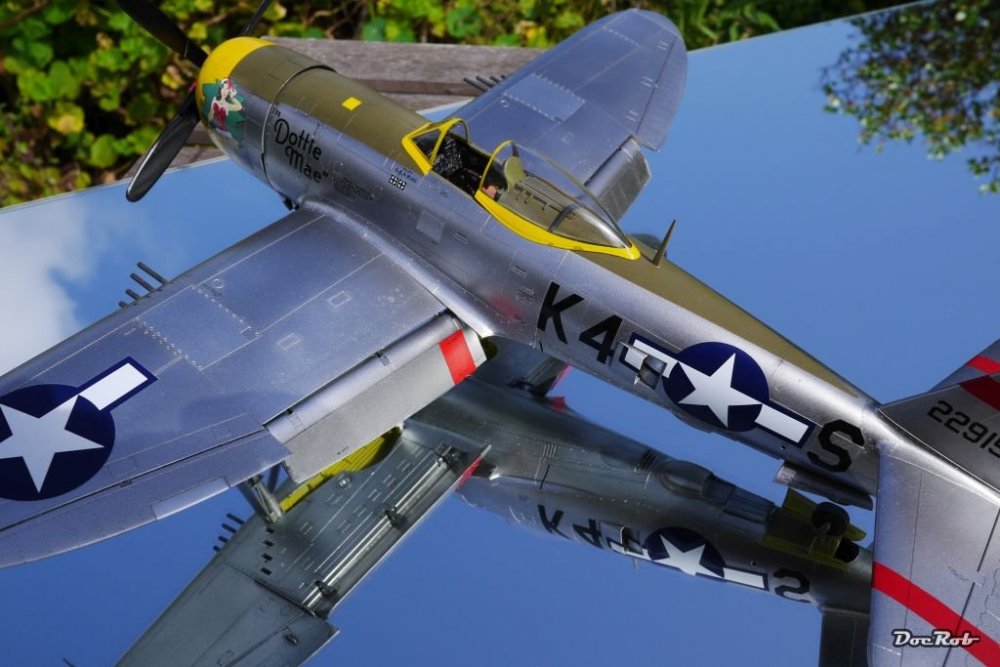
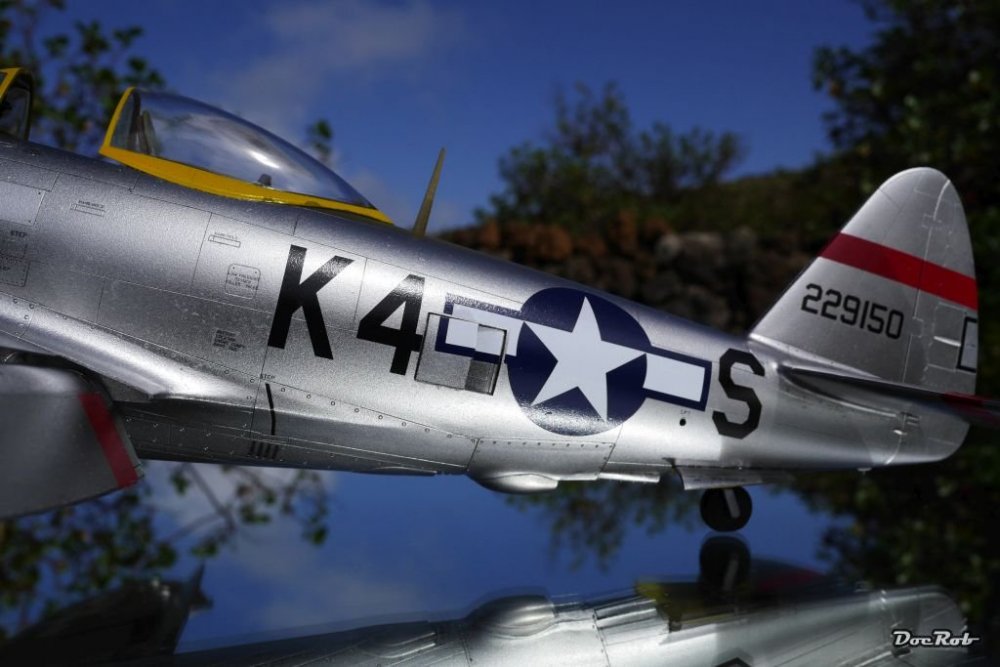
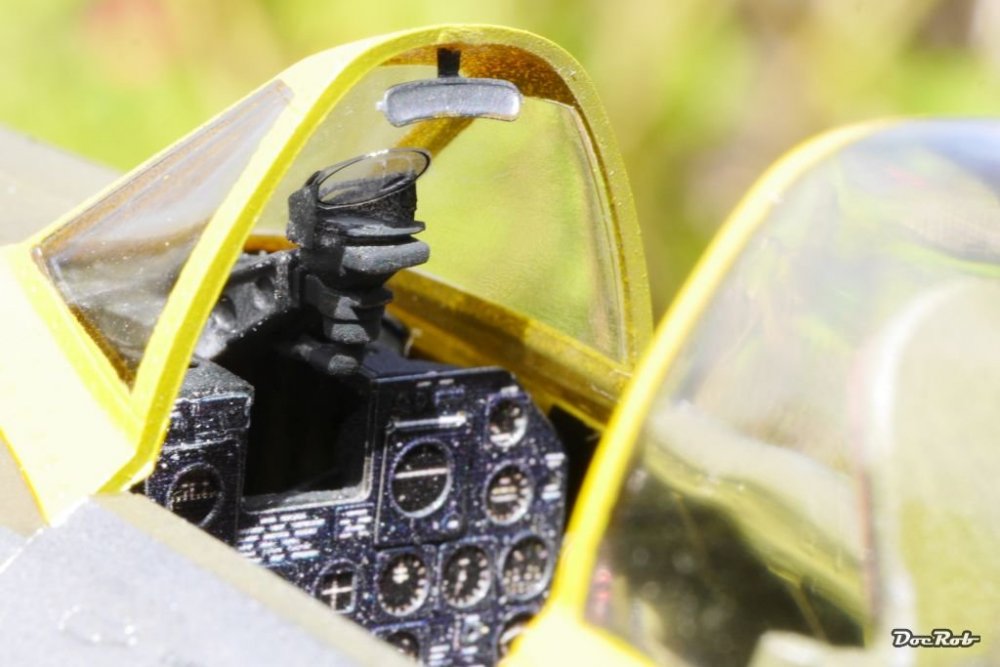
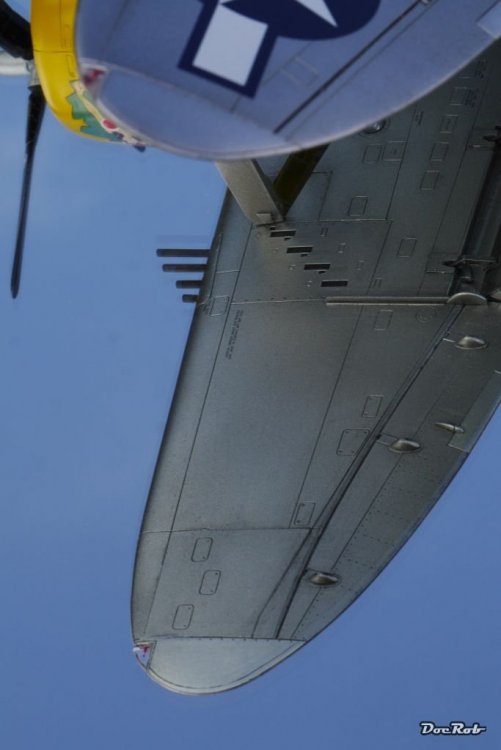
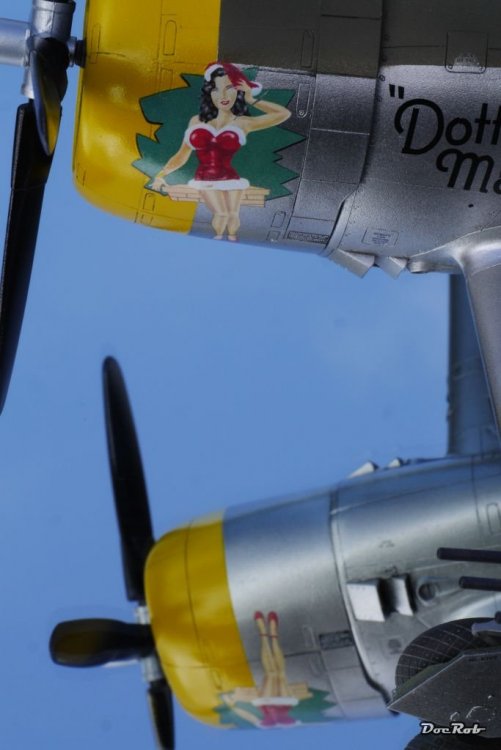
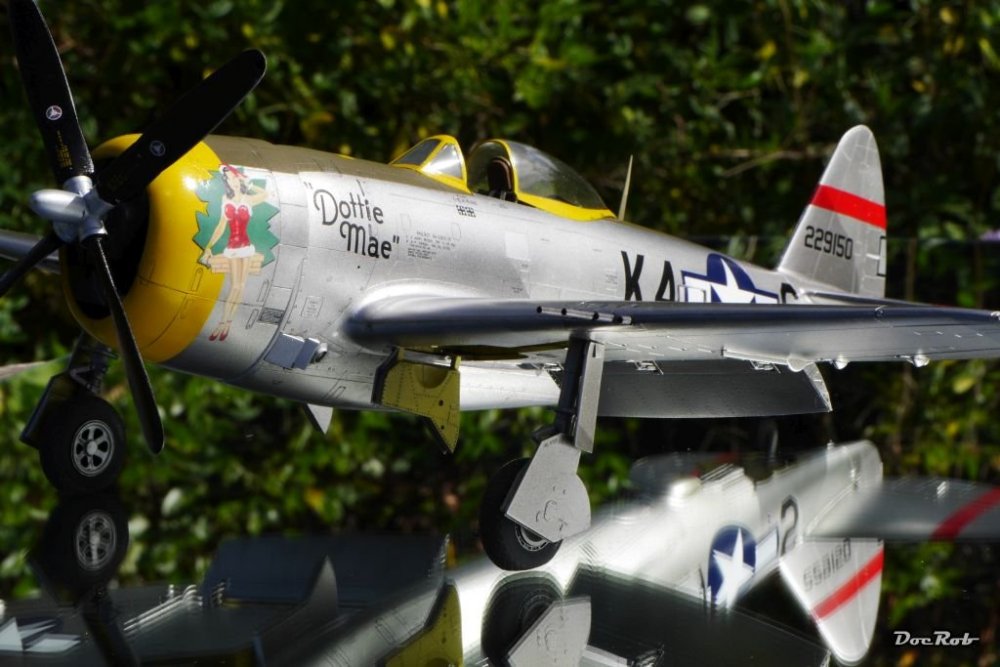
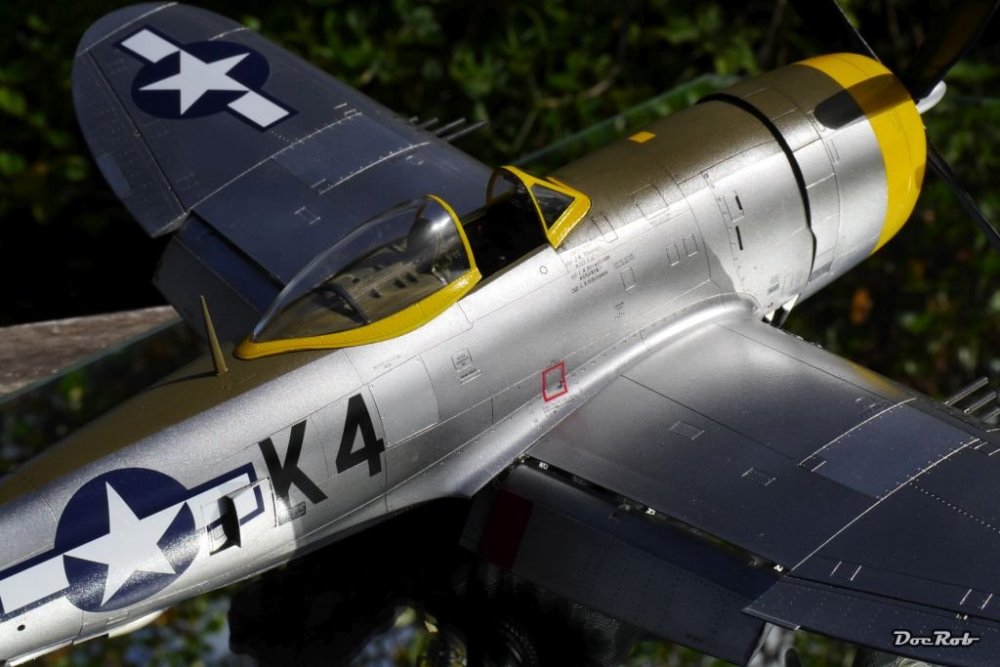
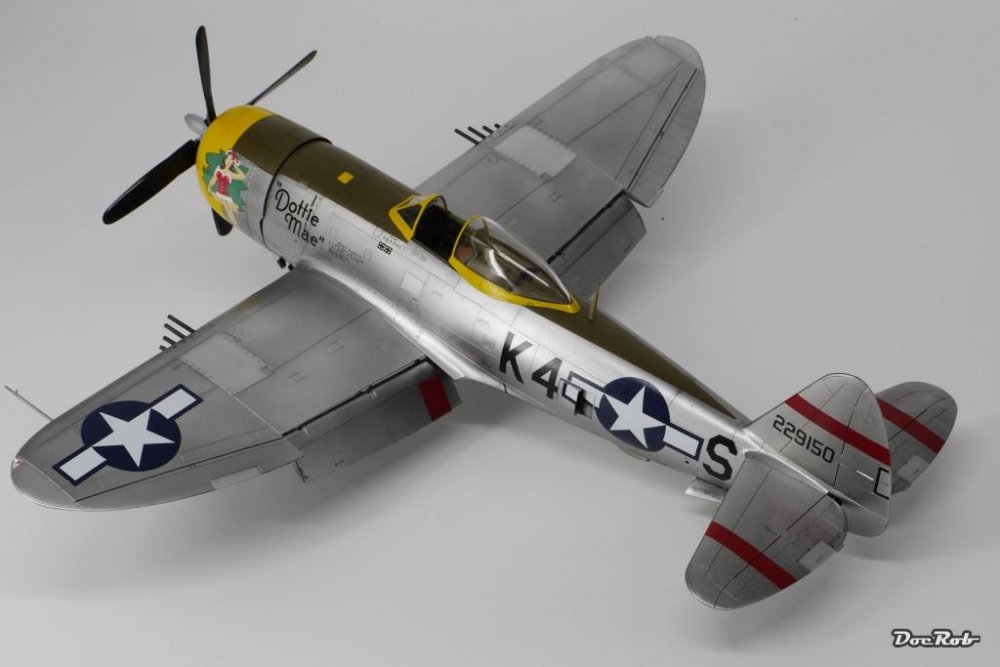
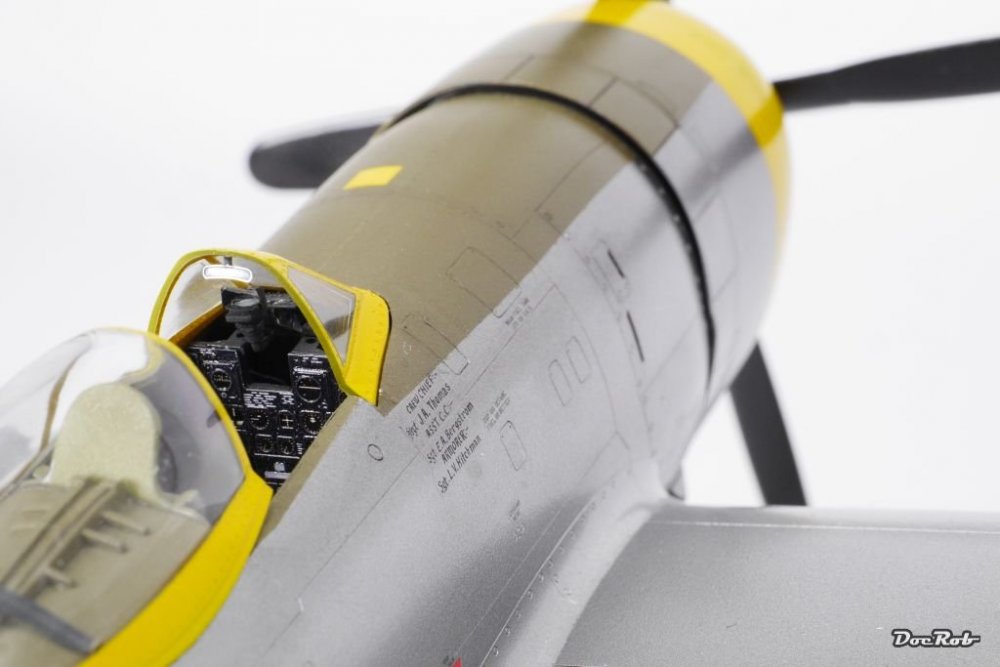
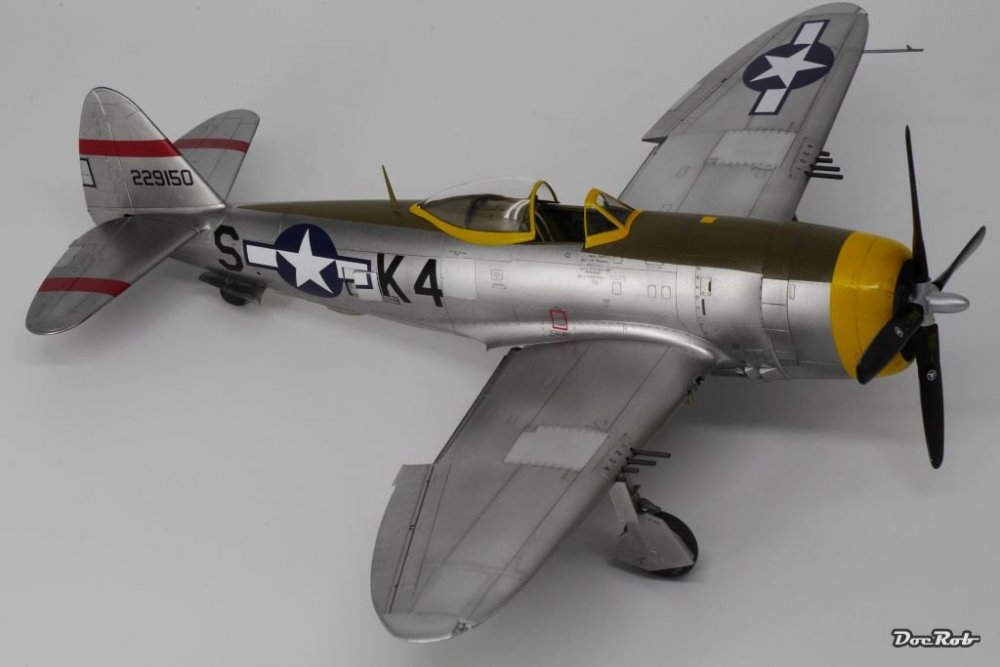
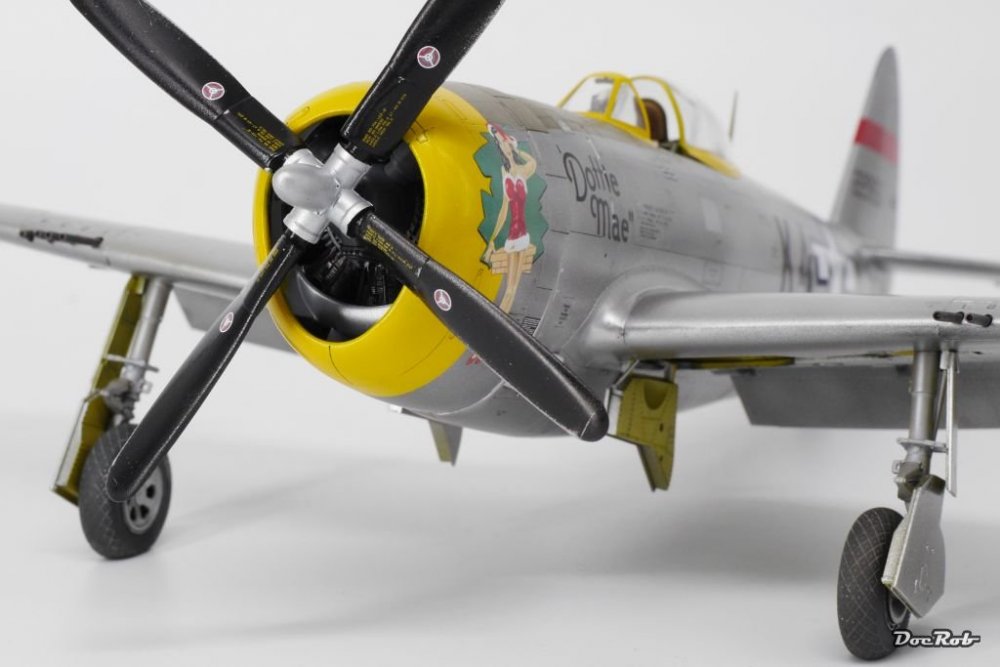
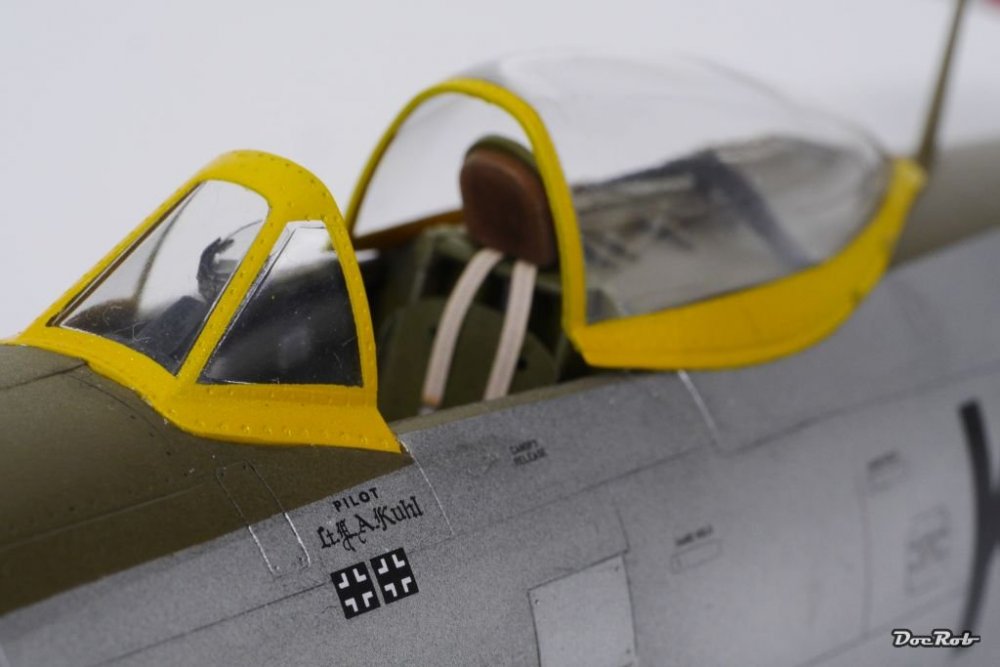
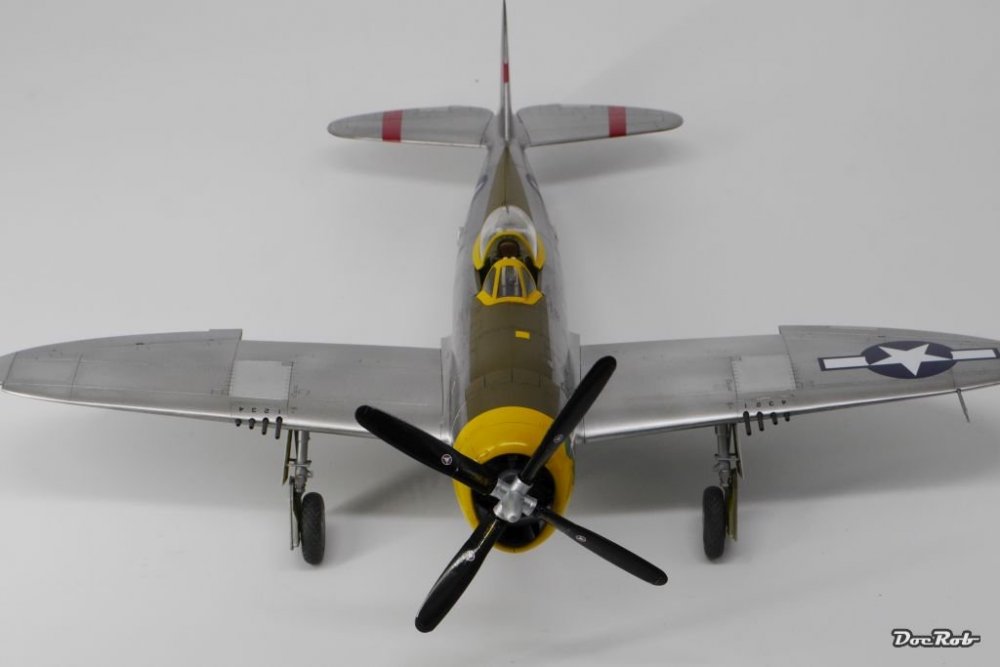
Hola Señhoras y Senhores, after centuries in an Austrian lake Dottie Mae surfaced again some years ago and underwent restauration and now after all these years is able to get in her natural element again. When Eduard announced their version of the Hasegawa kit, it was instantly clear to me, that I have to build one and it turned out to be a pure pleasure experience. The addition of PE and some Brassin wheels is great and enhances the kit by far, specially in the cockpit. The only aftermarket used, where Master gun barrels and 0,3mm lead wire for the ignition of the engine and wiring in the cockpit. All in all it took me a little bit more than two month to complete Dottie and this is pretty fast by my standards. I added some plastic strips on the fire wall in the cockpit to get a look of corrugated metal and wired the Instrument panel. Both is nearly invisible after finishing the kit, but it was fun. Same goes for the wiring of the engine. I used lead wire for that task and wouldn't miss the experience. The lady was painted mainly with AK's Xtreme Metal Colours, like polished, pale and dark Aluminium on Tamiya rattlecan primer and Alclad gloss black primer with a heavy dose of sanding to get rid of imperfections in between coats. The metal Colours behaved well, with a little to much grain for my liking, but that might have been my fault. Shininess is great as you can see and these Colours are very durable with masking and are sealable with future. You have to be careful with removing of panel liner. I nearly ruined my build while removing access panel liner. The other Colours used where from AK, Tamiya and my beloved Livecolour set of blacks. Right, I bored you enough with the details, its showtime! Cheers Rob


-
Thank you Senhores, it was a pleasure to build after my temporary stalled Komet. Cheers Rob
-
Tres cool. Cheers Rob
-
Hi Gaz, there are many influences causing different shades in snow covered landscapes. There could be blues, greys browns, even pinkish tones and, er yellow. Don't get fooled with photos. Normal light metering systems of cameras are prepared for a light gray 'norm light' and therefore have to be manually corrected to give snow the right look. Cheers Rob
-
Revell fw 190 A8/R11 to "R2 Sturmbocke"
DocRob replied to coolboxx's topic in LSM 1/35 and Larger Work In Progress
Love your weathering style, your dirt looks dirtier than other dirt , especially on wheels and struts and that prop saw quite some action. Cheers Rob- 62 replies
-
- 3
-

-

-
- 1 32 fw 190 a8
- willi maximowitz fw 190 a8
- (and 1 more)
-
1/16 Takom Imperial Japanese Army Type 94 Tankette
DocRob replied to Dave J's topic in LSM Armour Finished Work
Nice, love it, but what about the Dio? Cheers Rob -
Looks good to me, you can add more later and more appropriate to the scenery if needed. I have the same process ahead with my mud, snow and ice covered T-90, so I'm in your footsteps. Cheers Rob
-
Splendid, love your Nieuport. The Soviet scheme is very attractive and as much as the decals lead to alcohol subjects, the Nieuport seems to be a little oil leaking. Cheers Rob
-
Thanks Dave
-
Thank you Gentlemen, with better weather I will try to do some outdoor pics. Cheers Rob
-
Yet another Tamiya Corsair Birdcage 1/32
DocRob replied to spliffsecond's topic in LSM 1/35 and Larger Work In Progress
Hi Free, nice and convincing weathering. This bird looks well used. One question on the way. the underside of the wing seems to have received some dust colored stains/panel lines and there seems to be none of it on the upper side. Is that proposed or just an effect of light and photography? Cheers Rob -
hk models Lancaster B Mk.I, R5868, PO-S (S-Sugar)
DocRob replied to James H's topic in LSM 1/35 and Larger Work In Progress
Some superlatives about that build and I mean not only the size. Cheers Rob -
Another masterpiece on it's way Cheers Rob
-
Very nice looking Nieuport. Love the scheme and weathering. For a WW1 plane it seems easy to rig, I haven't noticed that until now. Who produces the decals? Cheers Rob
-
Hola Senhores, Dottie is done. Today I added the prop, the canopy, the guns and antennas and the gunsight. I hope you enjoyed the build like I did. It was a trouble free experience. The kit is great and the Eduard extras are as well. I will try to get some decent photos for the 'finished-section'. I want to thank everybody for support and comments Cheers Rob


- 124 replies
-
- 10
-
-
Tremendous work on the Hip. The riveted surfaces will look great under some flaking paint. Can't wait to see how your project turns out. Cheers Rob
-
You sure do some magic here. I love the internal wiring and the Lozenge effects. For my to build Fokker D.VII, I planned something similar, with the use of Aviattics Fokker figure, but without the stripped D.VII. Cheers Rob
-
Thank you Peter, I like the look too, it looks definitely more metal than other colors and application methods I've tried, but there is still room for improvement. There is a 1/48 P-38 in my stash….. Cheers Rob
-
Thanks Rich, I'm trying hard to get at least decent photos of my builds. Being an almost lifelong landscape and travel photographer, adopting macro photos with artificial light isn't my comfort zone and it's a steep learning curve. Cheers Rob