BlrwestSiR
-
Posts
9,183 -
Joined
-
Last visited
Content Type
Profiles
Forums
Events
Gallery
Everything posted by BlrwestSiR
-

HobbyBoss' 1/32nd B-24D Liberator
BlrwestSiR replied to ThomasProbert's topic in LSM 1/35 and Larger Work In Progress
The interior looks spectacular. Carl -
RFM Sherman Firefly
BlrwestSiR replied to BlrwestSiR's topic in LSM 1/35 and Larger Work In Progress
Thanks @Bomber_County! I can't recall if it was Patton or not but definitely heard that before. I think the Germans tried concrete armour too. -
What is on your bench right now ? Share a picture :)
BlrwestSiR replied to Martinnfb's topic in Modelling Discussion
Gaz, I feel your pain after just having finished building effectively two sets of tracks for my Firefly. -
RFM Sherman Firefly
BlrwestSiR replied to BlrwestSiR's topic in LSM 1/35 and Larger Work In Progress
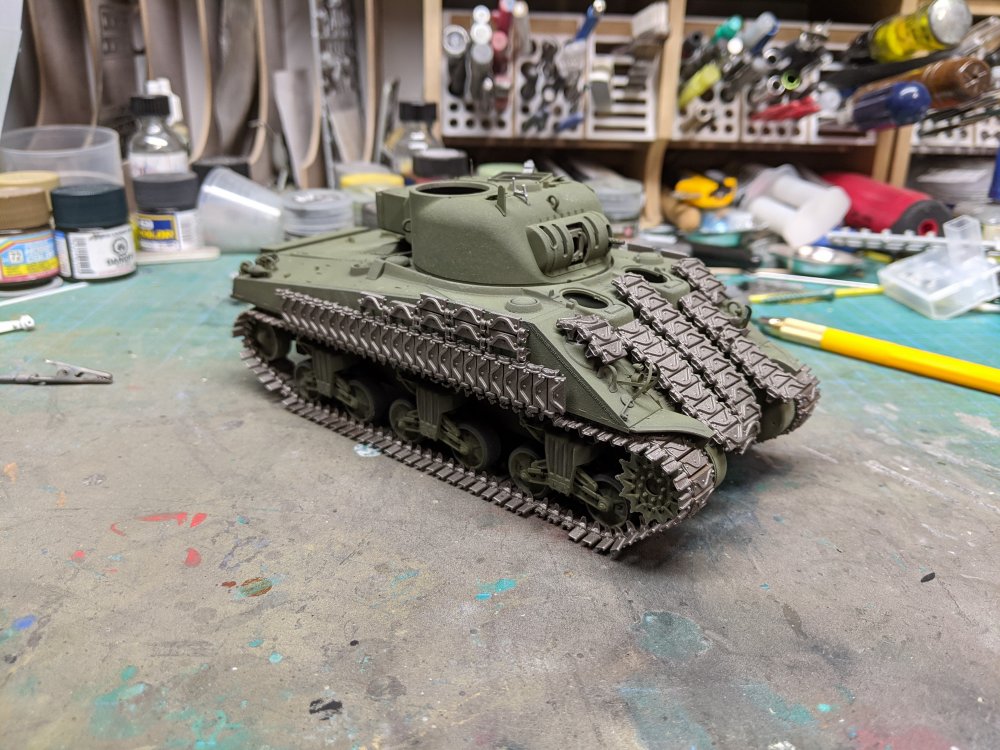
Well it took a couple nights at the bench but the tracks are done. Once I got into a rhythm, it went fairly smoothly, if a bit repetitive. I left off a few random duckbills as they tended to get knocked off and you can see the odd one missing in pics.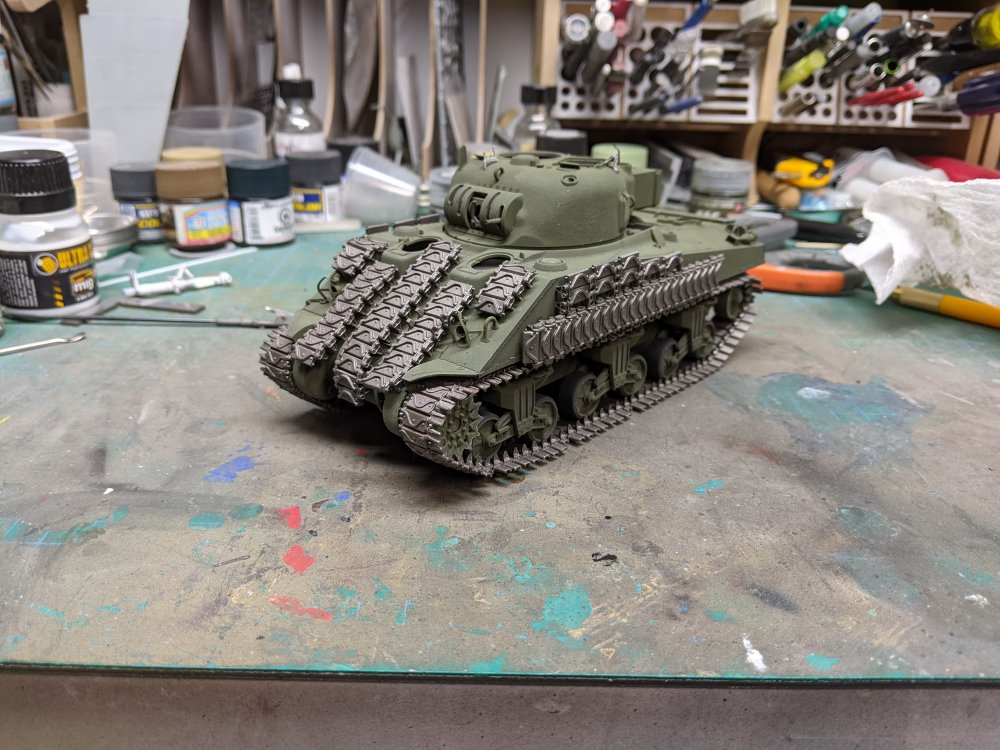
-
PCM Focke Wulf FW 190 A-1/A-2/A-3
BlrwestSiR replied to GazzaS's topic in LSM 1/35 and Larger Work In Progress
Looks good Gaz. Nice surgery work on the doors. Carl -
Fw190A-8 3/JG1 crash Vreeland
BlrwestSiR replied to JeroenPeters's topic in LSM 1/35 and Larger Work In Progress
Nothing like a good distraction. Can't wait to see this. Confession time. I've yet to build a 190 in any scale. -
What is on your bench right now ? Share a picture :)
BlrwestSiR replied to Martinnfb's topic in Modelling Discussion
Rob, is that a Wave MaK kit? How do you like it? Carl -
RFM Sherman Firefly
BlrwestSiR replied to BlrwestSiR's topic in LSM 1/35 and Larger Work In Progress
Peter, the newer sets of individual link tracks go together much easier these days. A bunch let you put several together at the same time and include jigs which speeds things up. For example, the Rye Field Panther tracks have the pins all evenly spaced so you glue in several at once. The kit tracks aren't bad from an assembly point. It's just they don't have the duckbills on the end. At least I can use them on an Achilles. -
Fokker E.V / D.VIII Parasol Mikro Mir 1/32
BlrwestSiR replied to DocRob's topic in LSM 1/35 and Larger Work In Progress
Stunning looking Razor. Thanks for describing how you do the prop too. Carl -
RFM Sherman Firefly
BlrwestSiR replied to BlrwestSiR's topic in LSM 1/35 and Larger Work In Progress
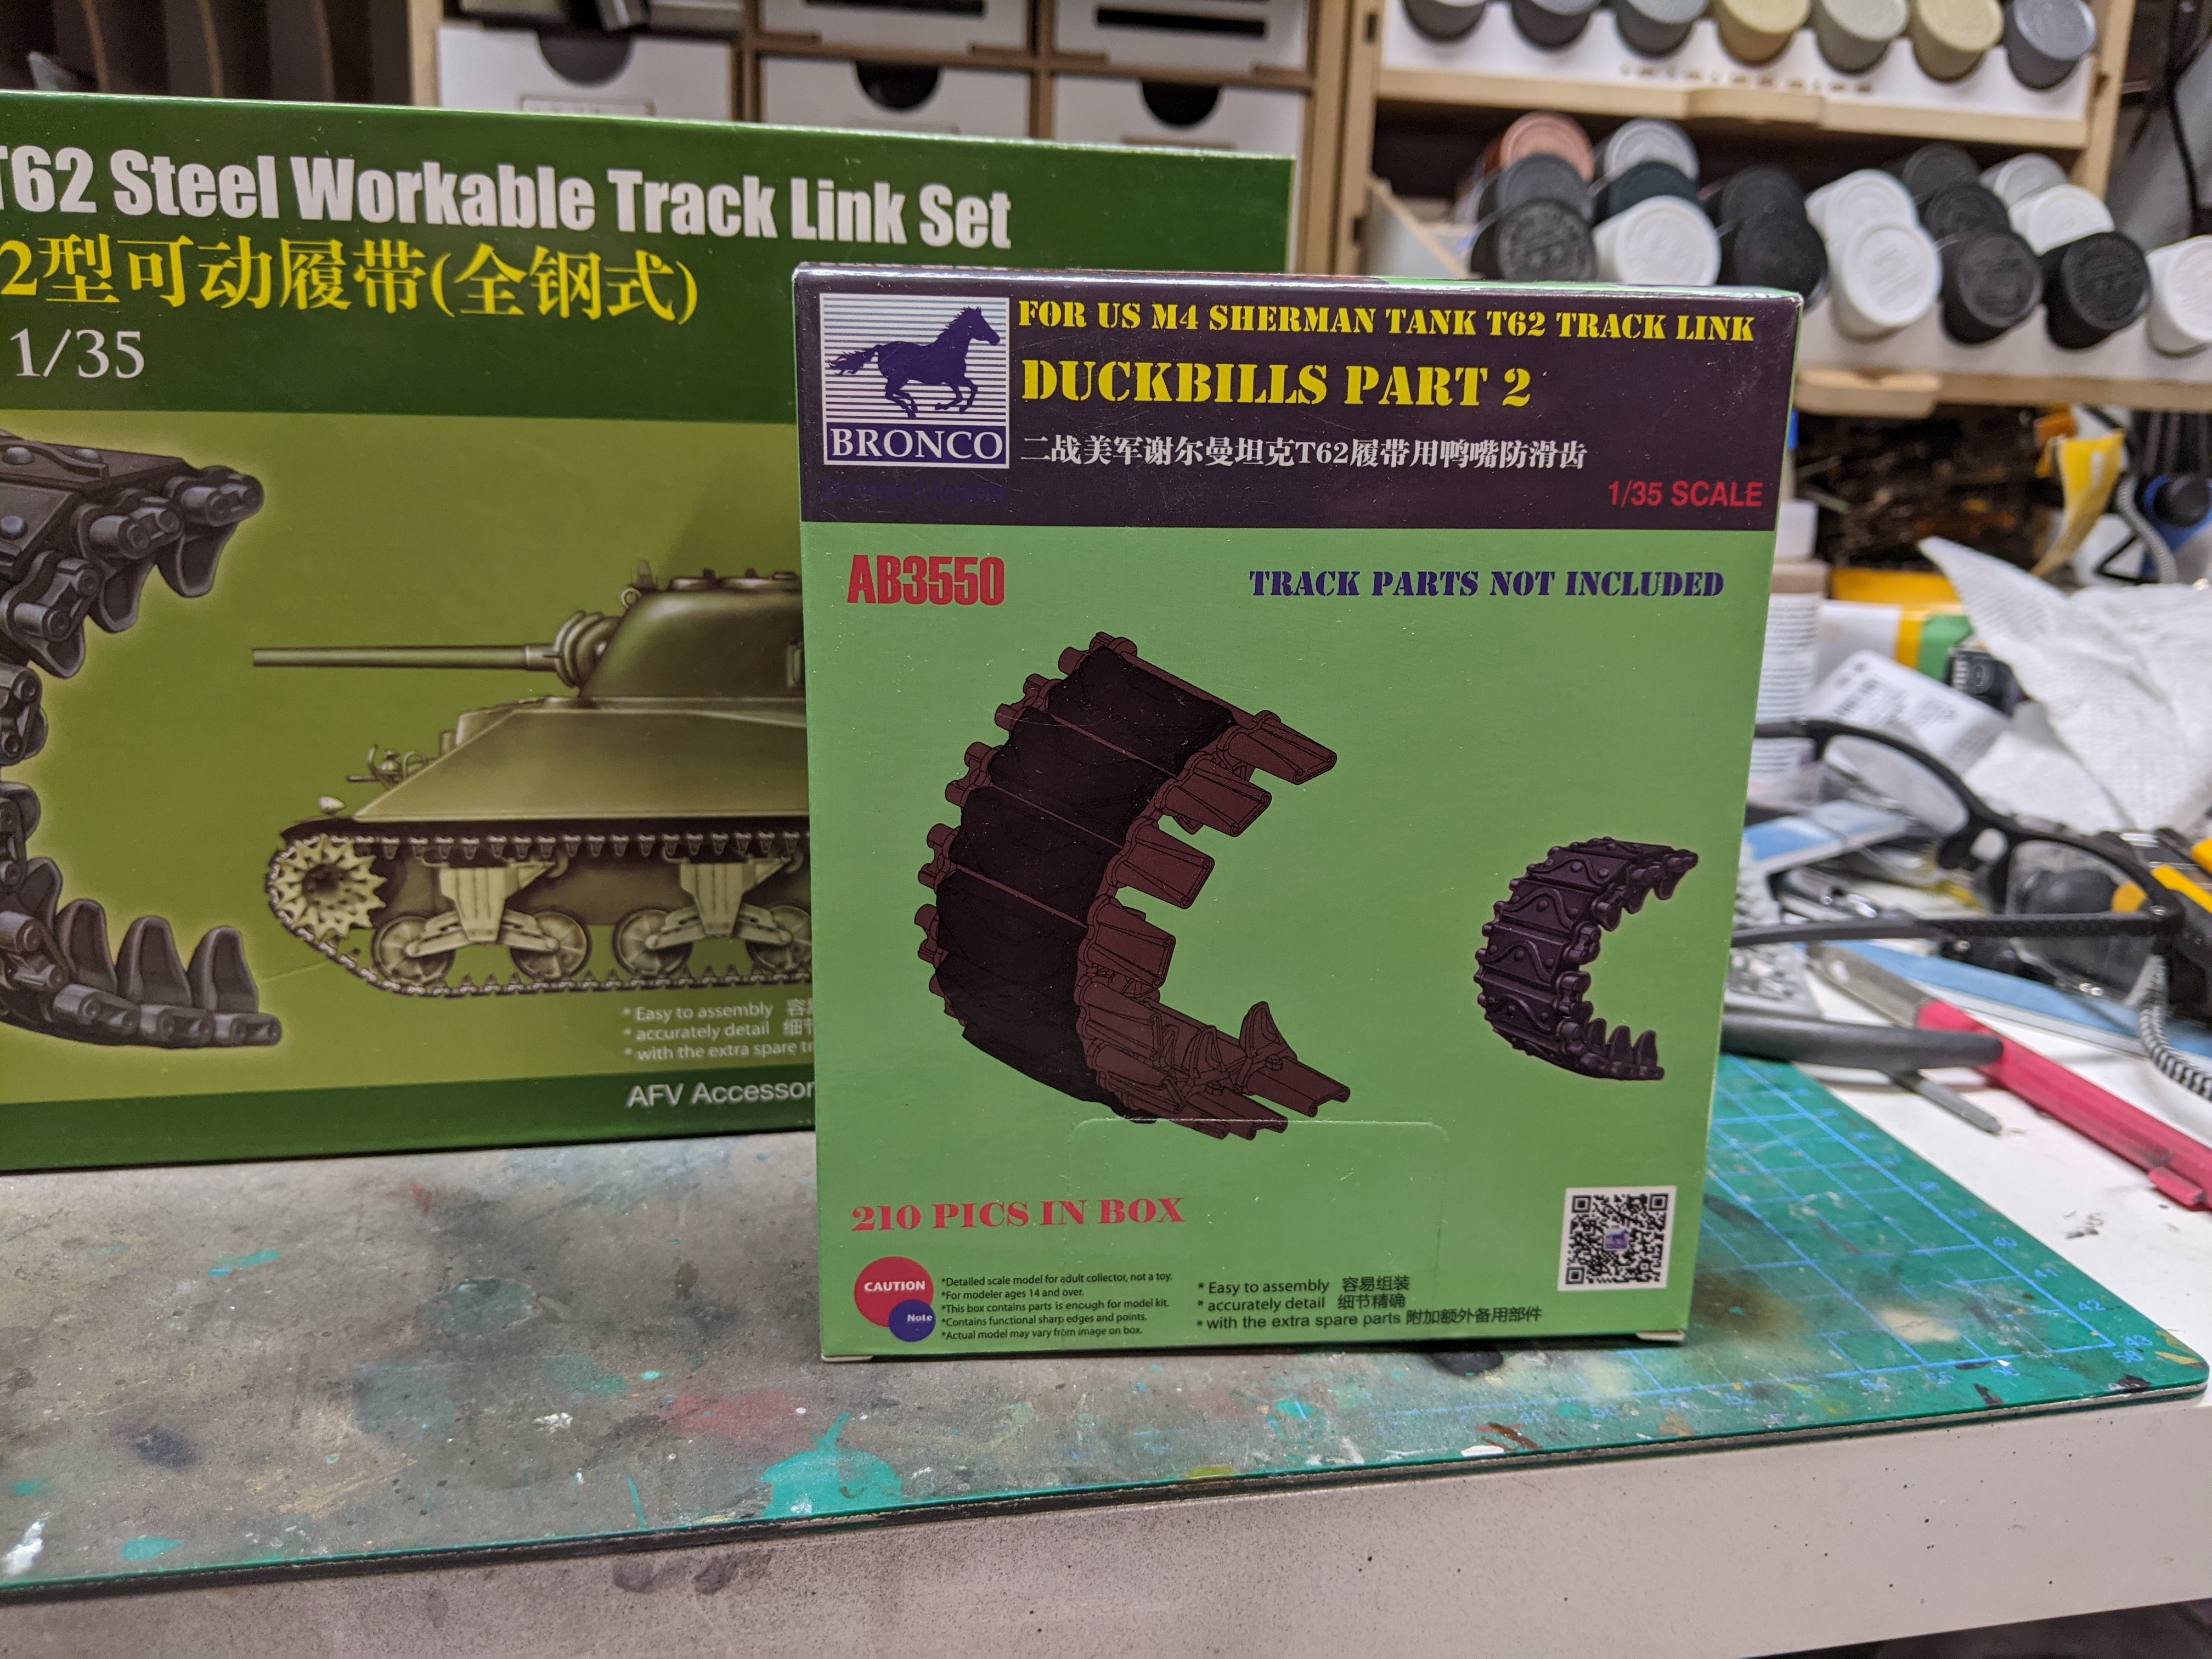
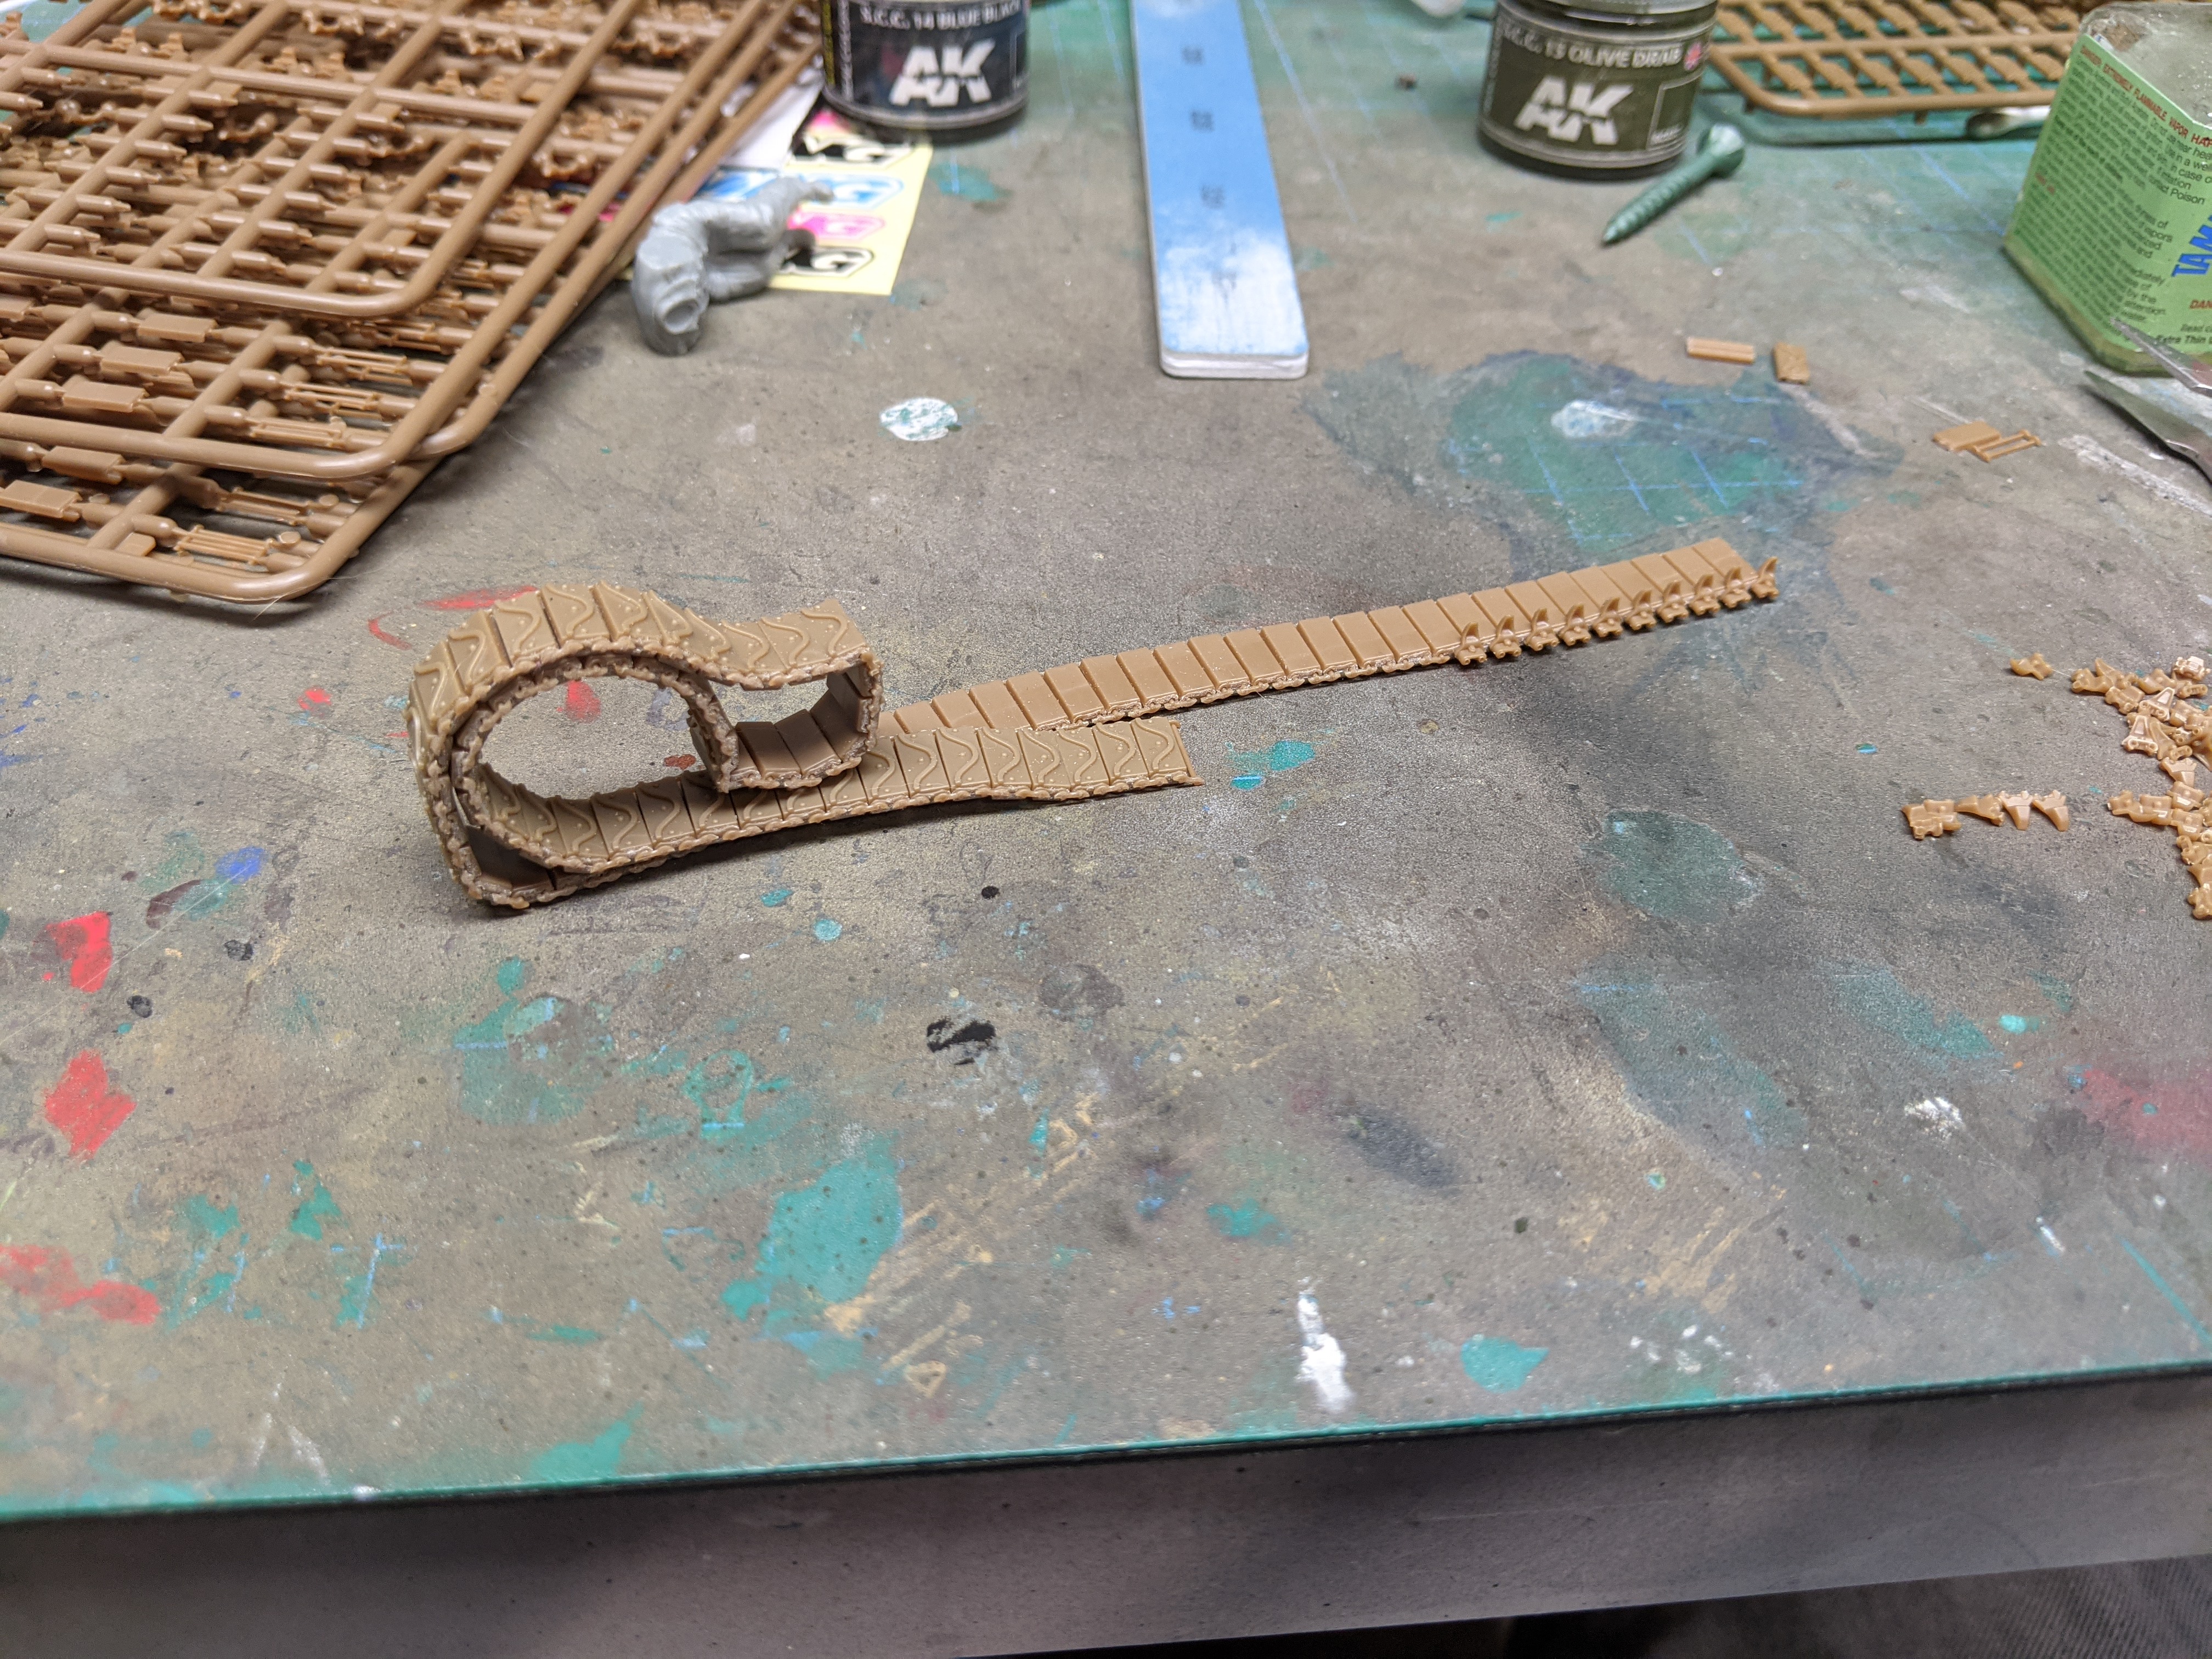
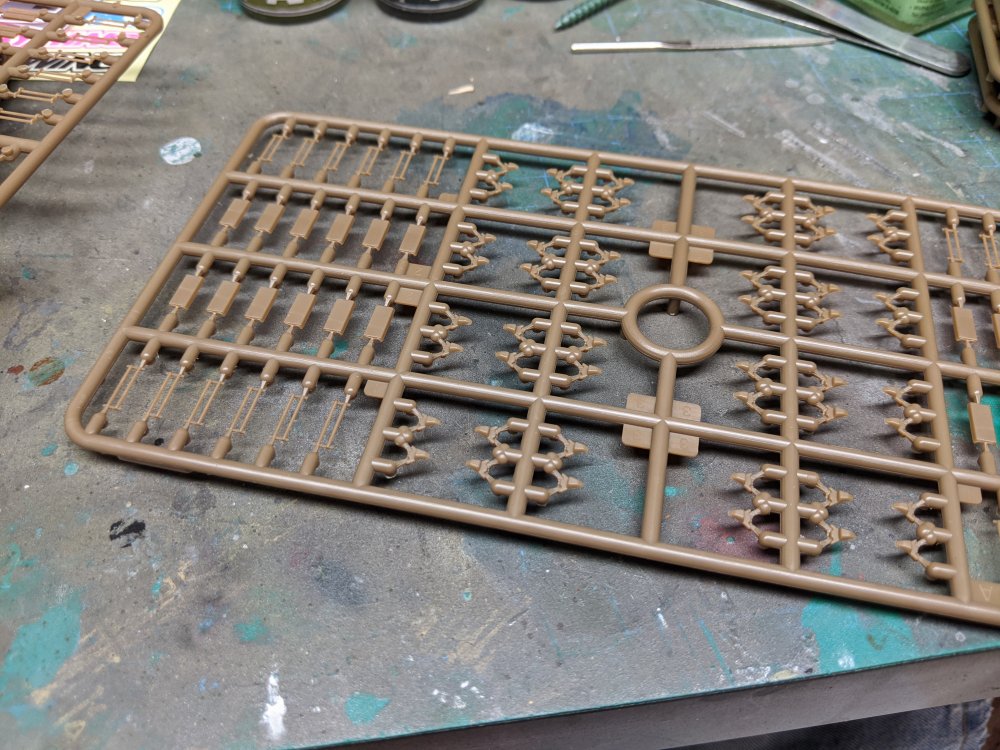
The duckbills arrived yesterday. As expected, they're made to fit Bronco tracks only so fortunately I had the foresight to grab a set of those at the same time. The Bronco tracks are more pieces than the Rye Field ones with 5 parts per track- front and back pads, one pivot, two end links. The duckbill set replaces one end link and they're keyed to fit the ends of the pivots. I ended up assembling the pads and pivots first so everything stays flat and then adding the end links on after. So far after 4 hours, I've got one side almost done.


-
RFM Sherman Firefly
BlrwestSiR replied to BlrwestSiR's topic in LSM 1/35 and Larger Work In Progress
Thanks @Peterpools! The extra tracks aren't too bad to assemble. Just a bunch of cleanup mostly. -
Indeed, fantastic news.
-
Yea, it was the only perk I got while I was in. Everyone else told me I was too young to be in there. I think they meant I looked too young.
-
Hmm, I didn't get a weight put on it. They had an attractive intern put pressure on it for me. I was too distracted to really pay attention except when they checked if the artery had closed and it hadn't yet. I know because I saw my blood hit the ceiling light. Oops.
-
Fokker E.V / D.VIII Parasol Mikro Mir 1/32
BlrwestSiR replied to DocRob's topic in LSM 1/35 and Larger Work In Progress
Same here, a great build of a challenging kit. -
What is on your bench right now ? Share a picture :)
BlrwestSiR replied to Martinnfb's topic in Modelling Discussion
It's much clearer in the more recent photo. Thanks for sharing Hubert. -
Stay strong Harv! Sounds like when I got my angiogram. They started one in my wrist (SOP) then decided on a second one in my groin after what they found wasn't what they were expecting. At least they have the back up plan ready and are thinking ahead.
-
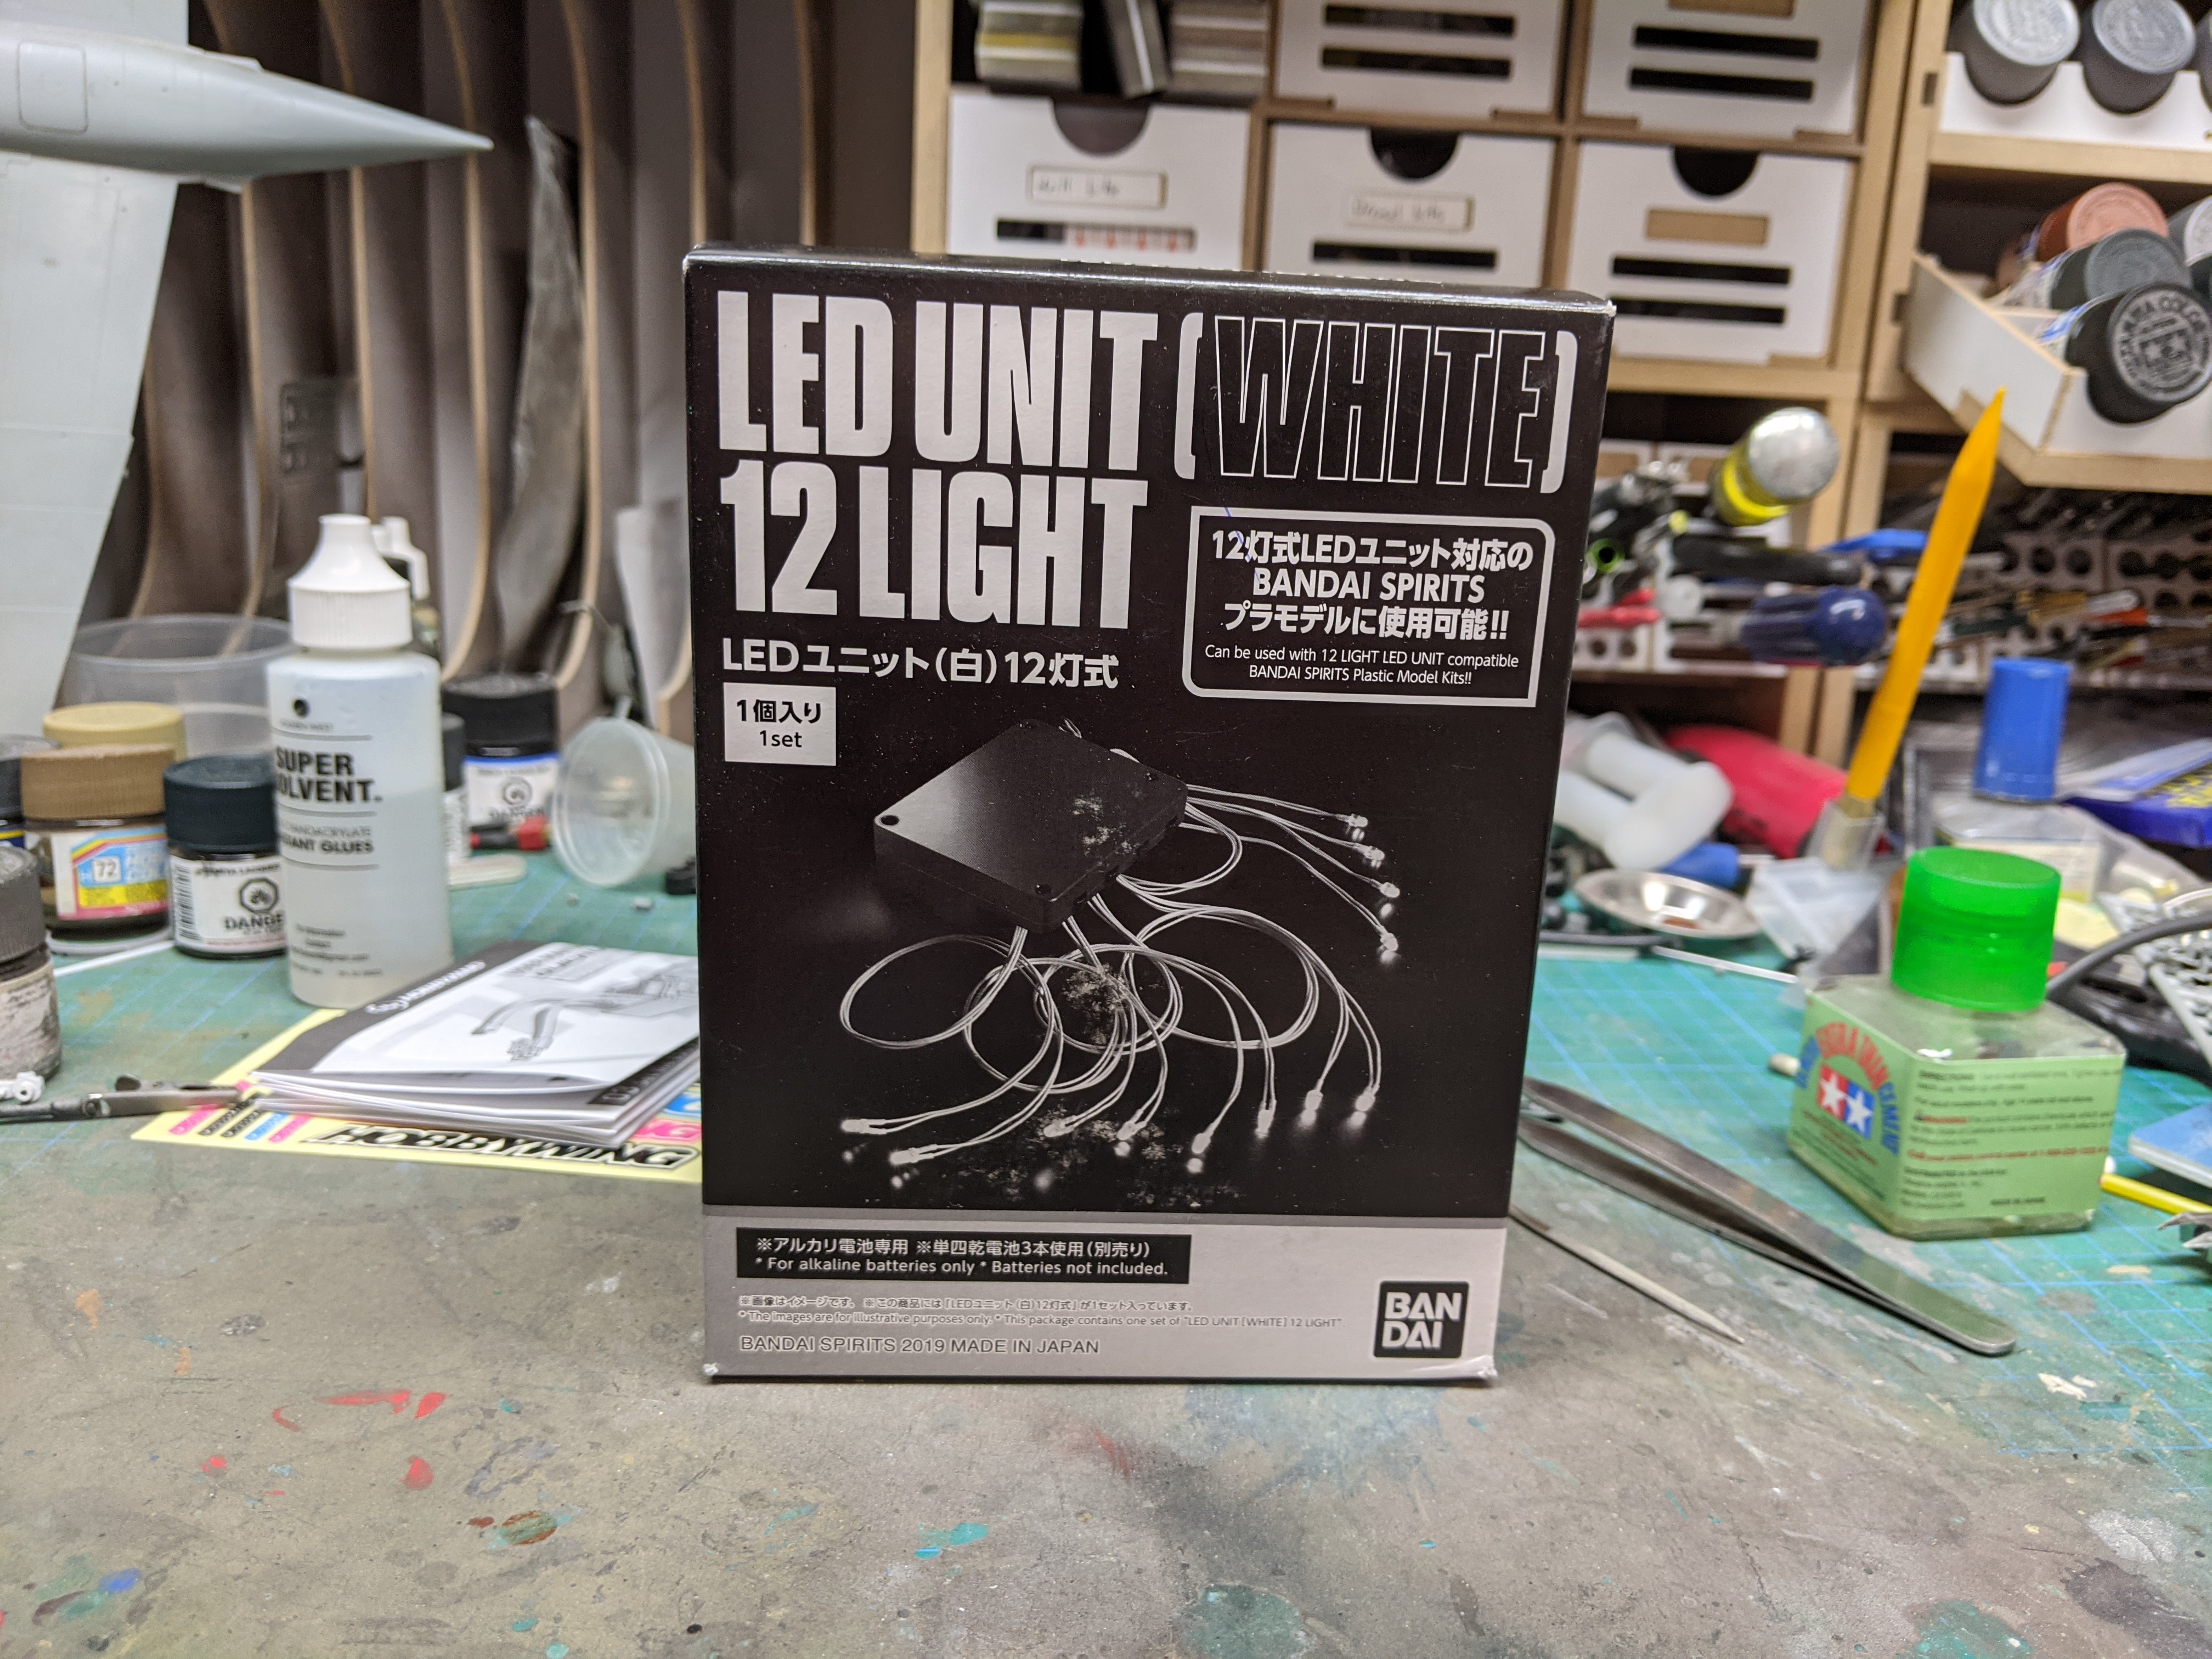
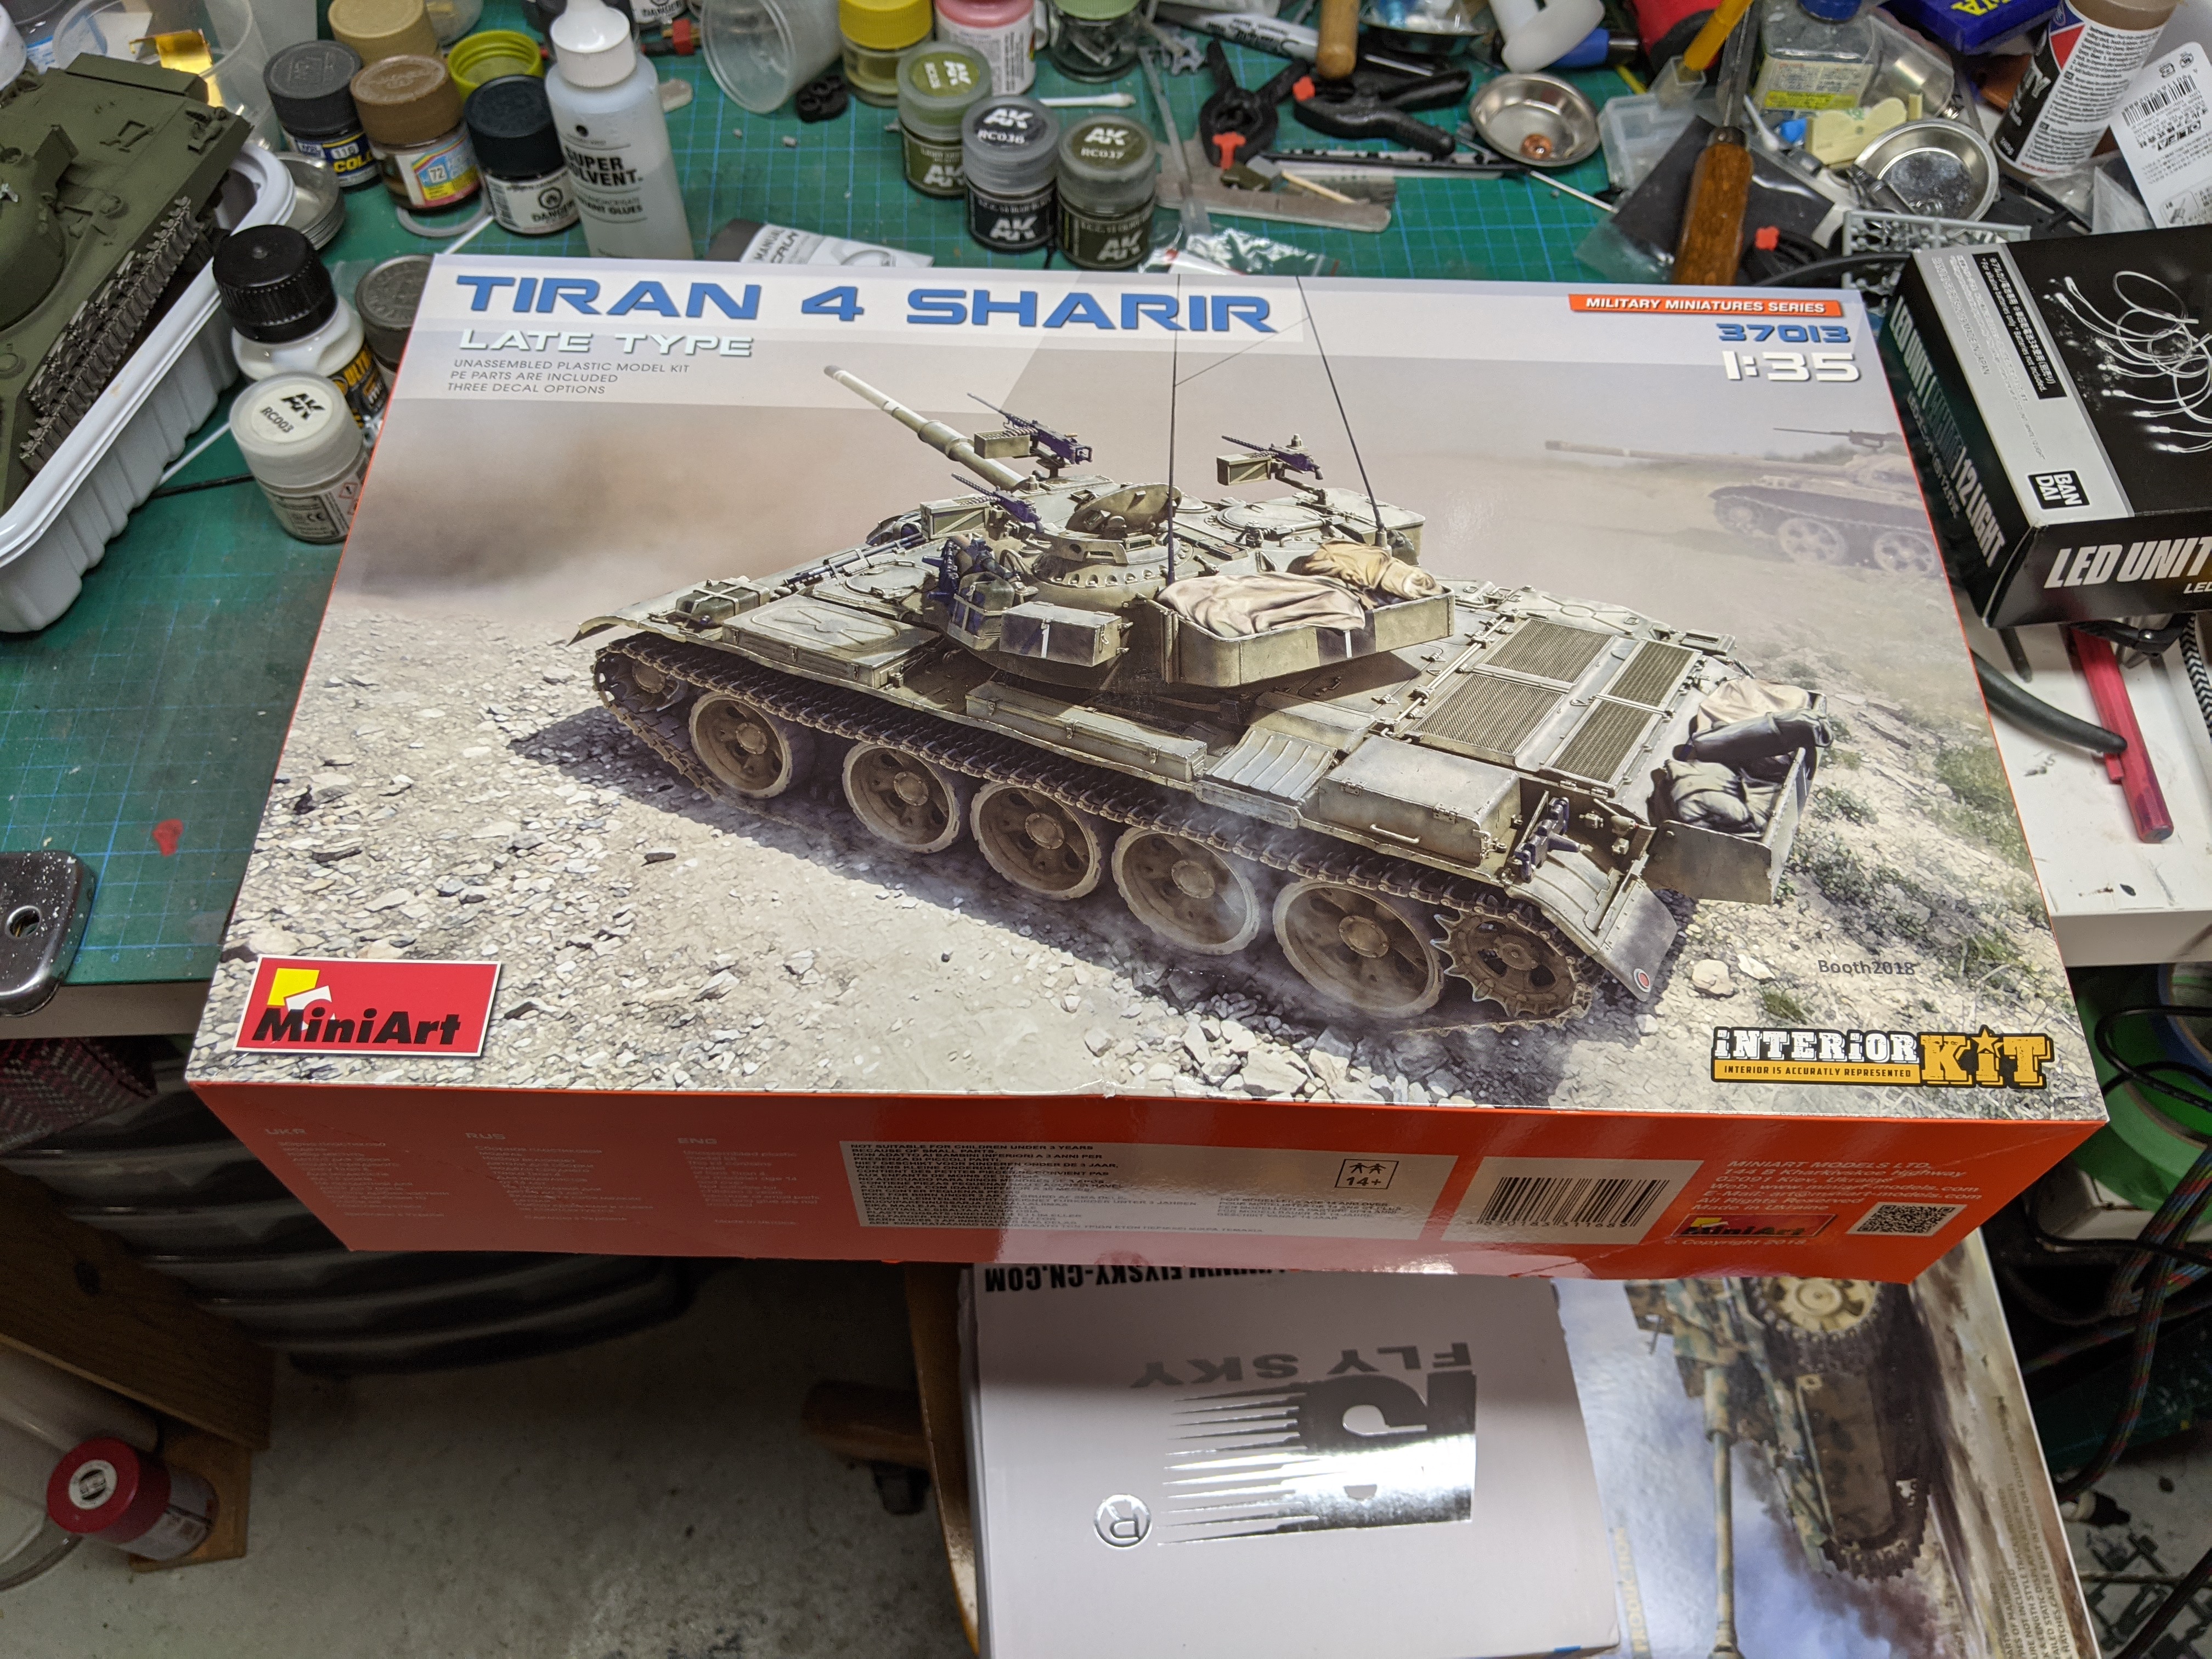
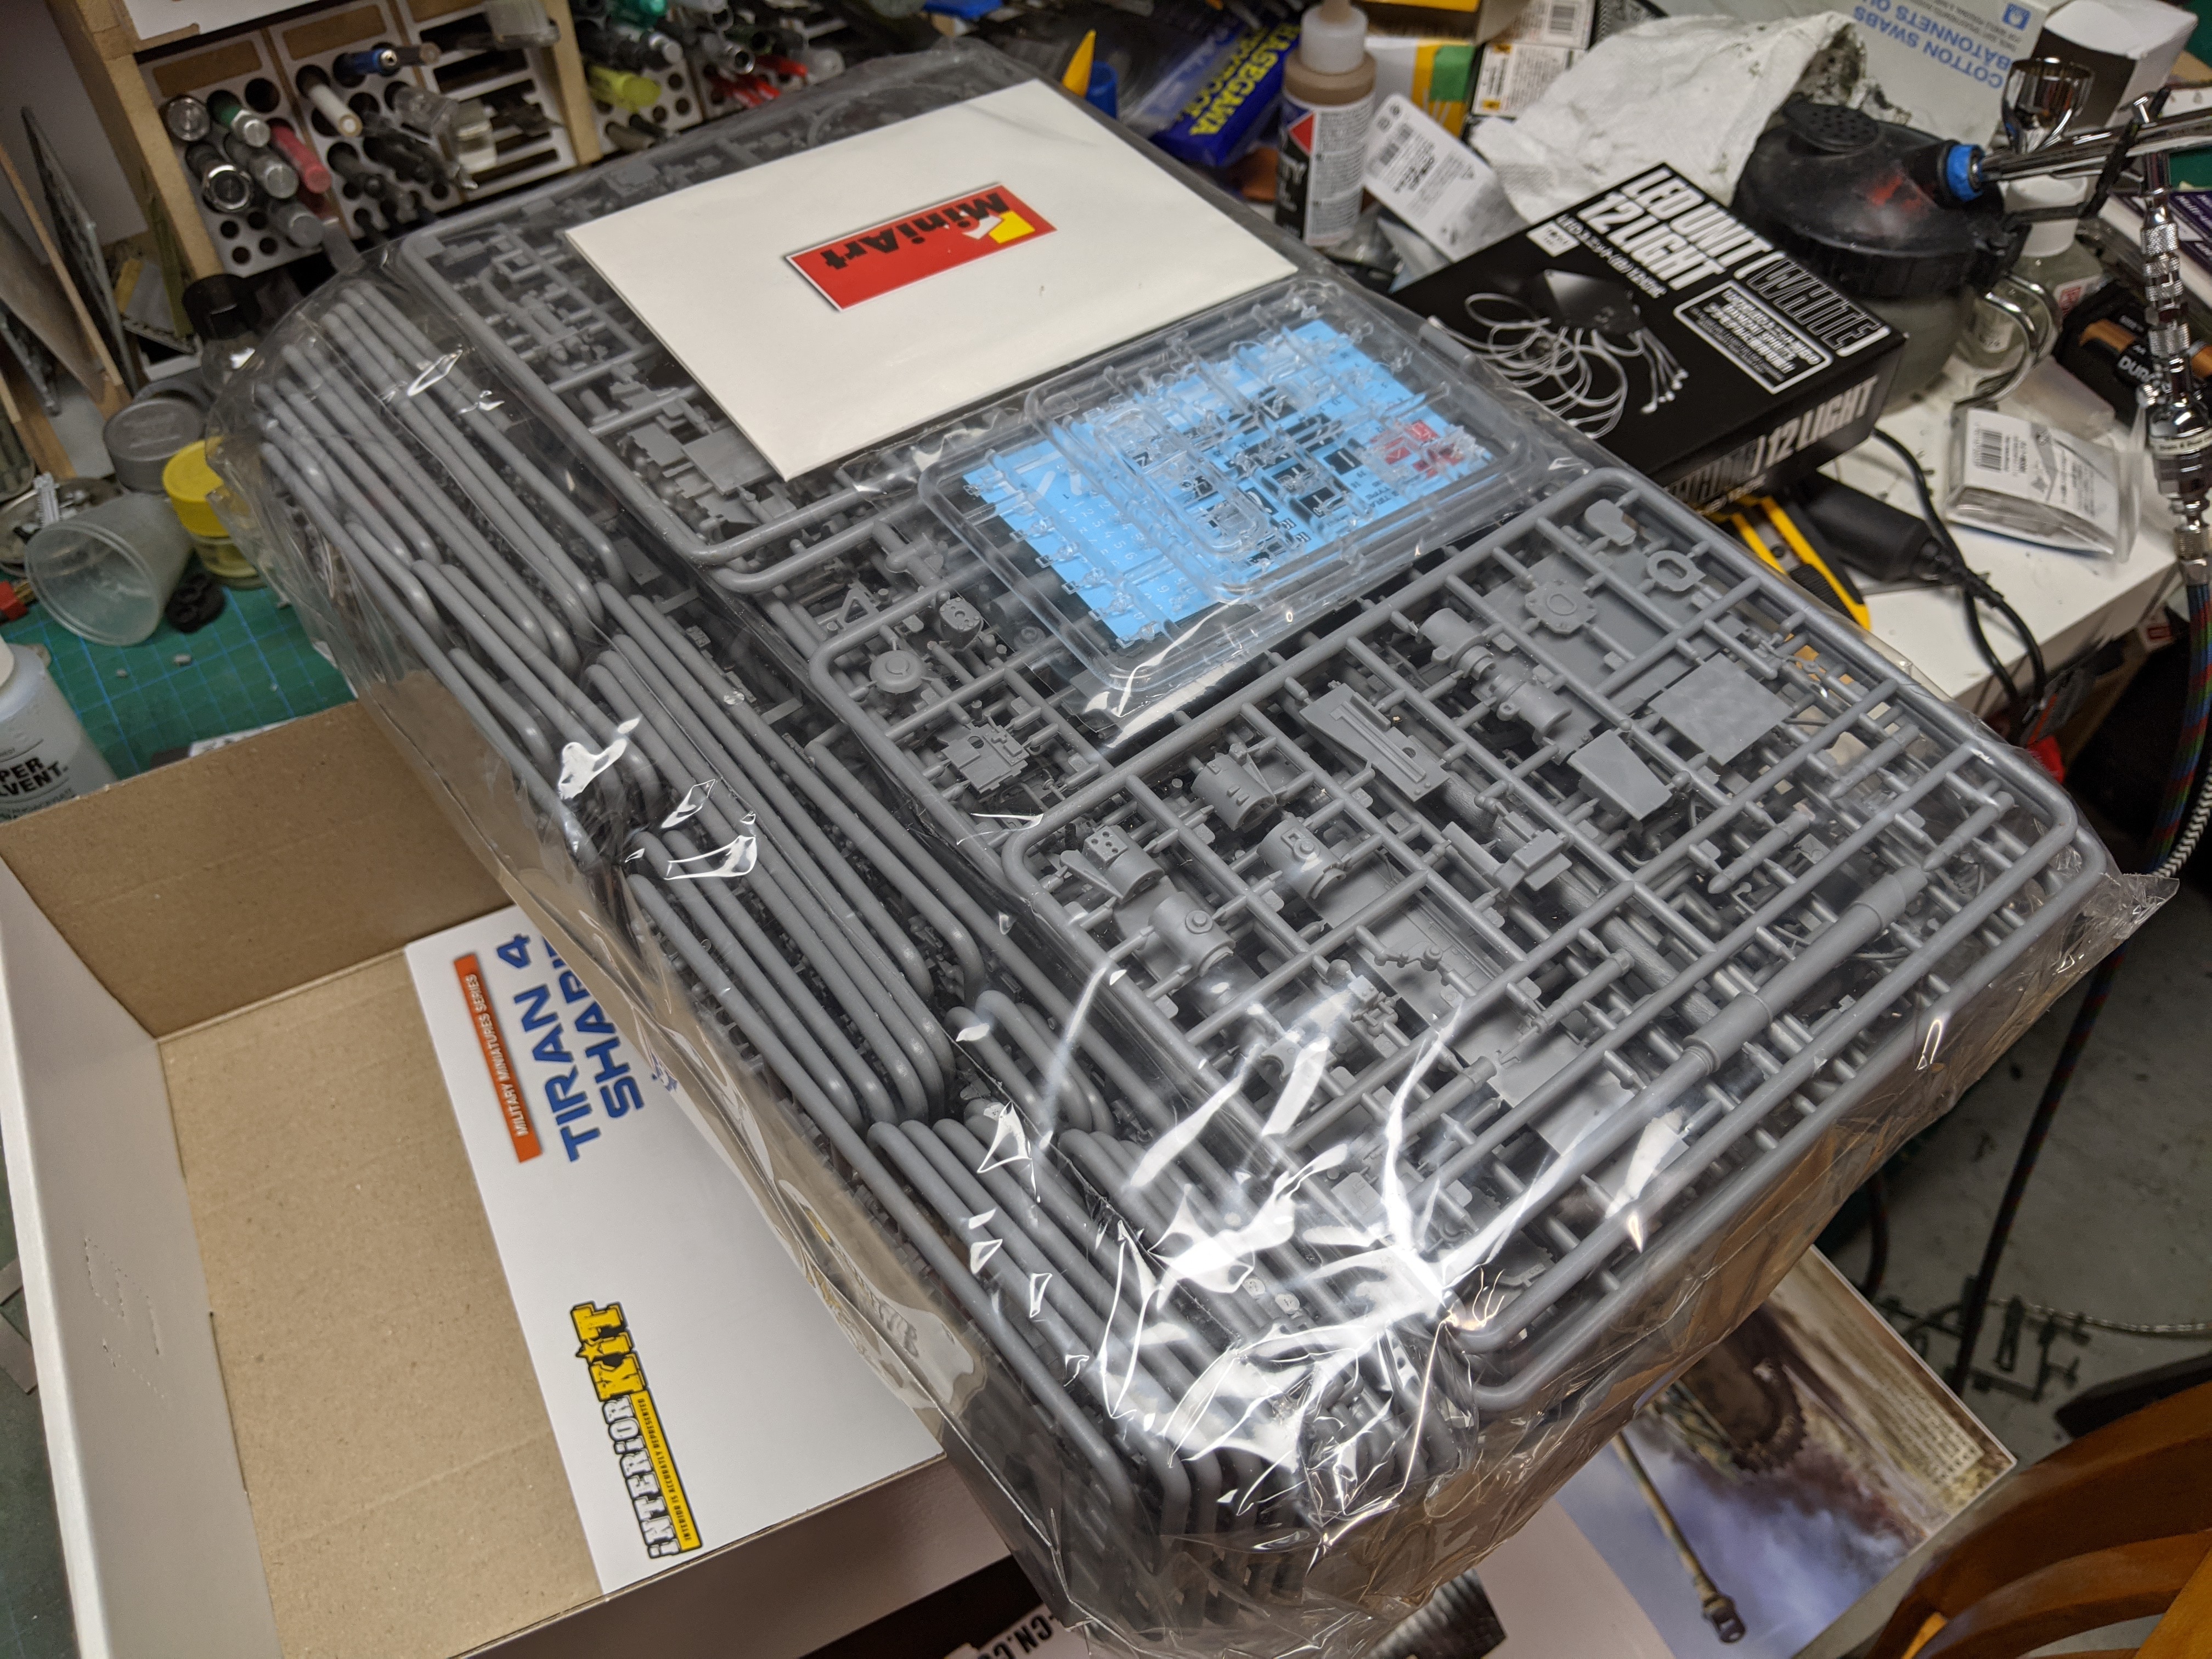
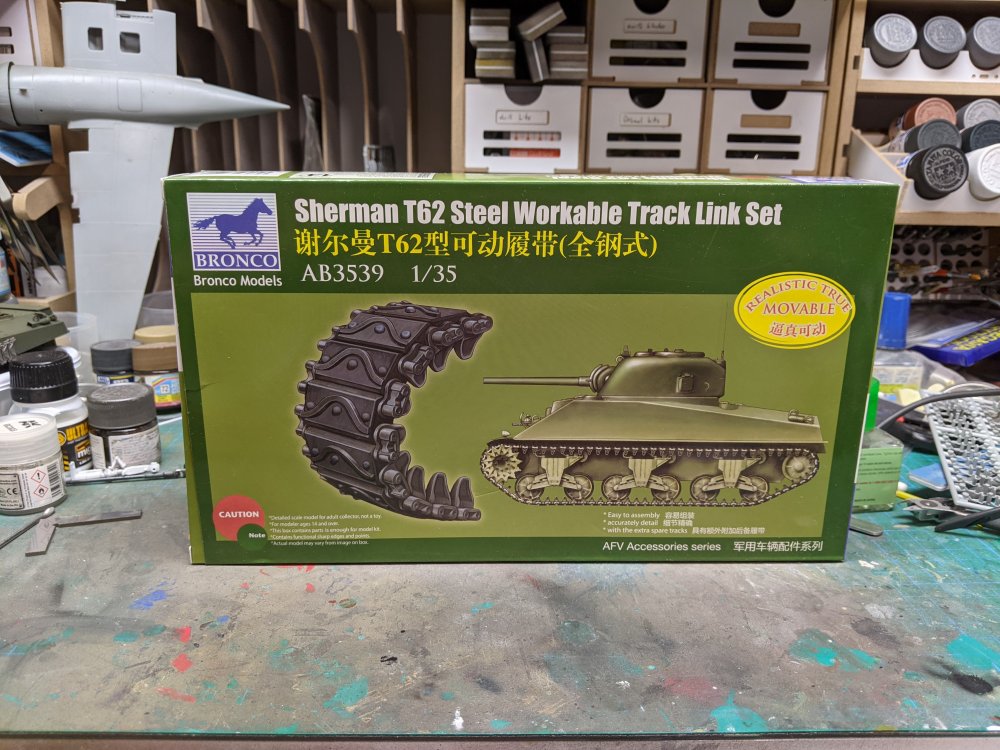
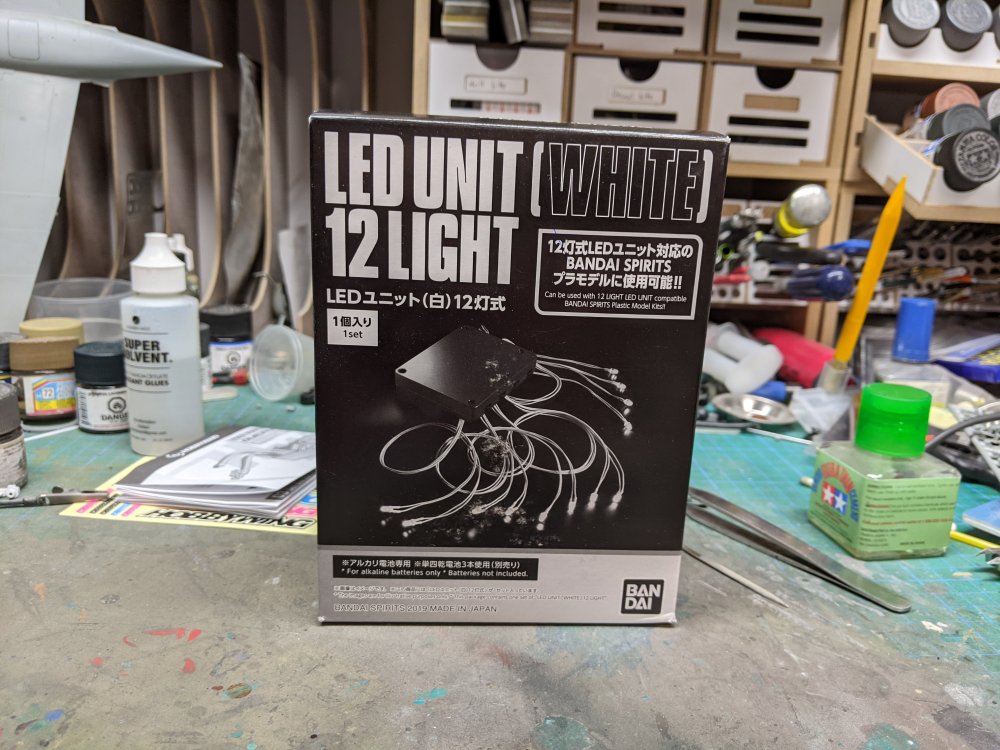
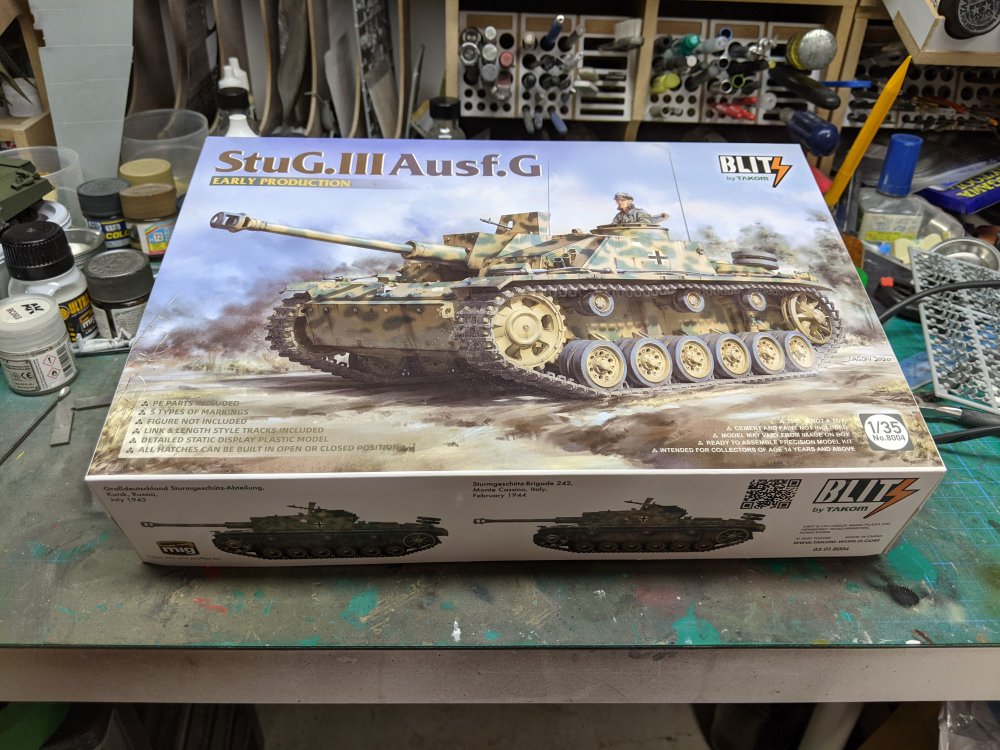
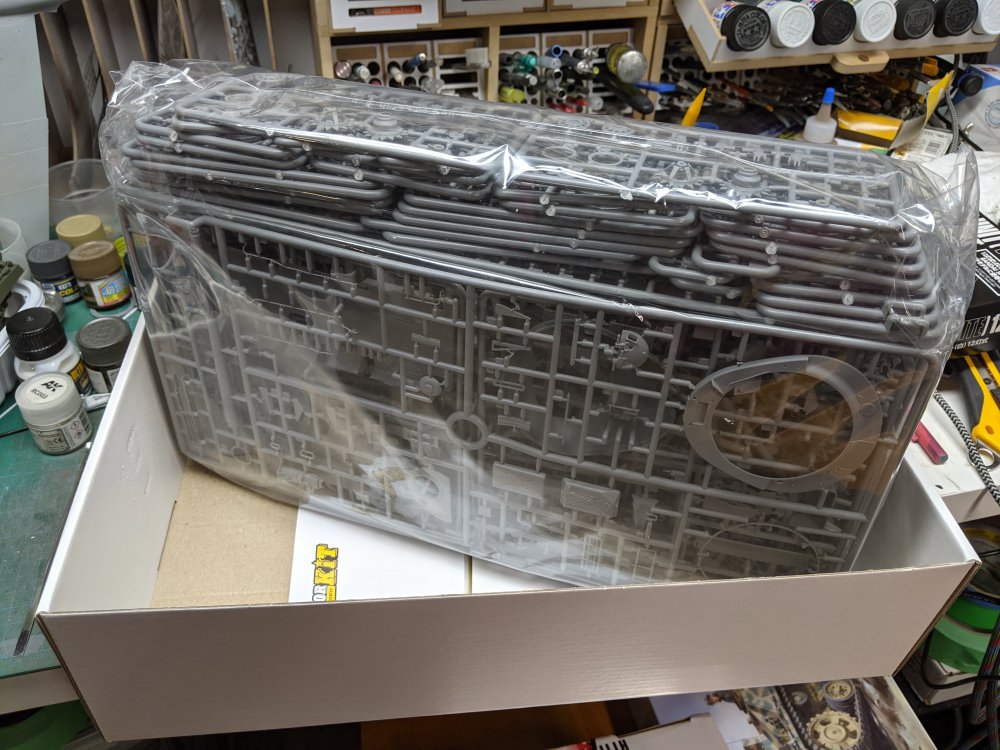
Edward, our youngest broke the anntena on his RC car controller. Not a big deal as it still worked, just looked a bit...limp. Then he over discharged it and blew up the LiPo battery it uses. So I found the same one in stock at a nearby RC hobby shop and ordered a new one for him. Which he had to pay for. I took advantage and padded the order with some stuff for me to get free shipping. Stuff for the Firefly currently on the bench. A Stug after watching Gaz work on his. I've never built a T-54( or is it a T-55?) before and at $70 Loonies, hard to pass up. I can't believe how crammed the box is though. That's a lot of sprues... Lastly, I ordered an LED light for one of my sci Fi kits.


-
Too true!
-
If you have a paint stripper gun, you could use that to try and defrost the pipes.
-
We're going to $1.21 tomorrow. I've got 3/4 of a tank so I'm ok. I think.
-
Hope they're chocolate chip!
-
Leaving them dripping or running a bit definitely will help. Our kitchen taps would freeze if it got below -10°C before we renovated. Guess it didn't get cold in 1894 when our house was built.
-
RFM Sherman Firefly
BlrwestSiR replied to BlrwestSiR's topic in LSM 1/35 and Larger Work In Progress
Thanks Rob! The weight from the extra track made the duckbill extenders pretty much mandatory. Going through my reference book on the Firefly, I've noticed one that is built on an Easy Eight chassis! The photo is captioned as showing a group of Fireflies built for the US Army but didn't mention the types of Firefly (Ic, Ic hybrid, VC) I always thought the HVSS Firefly was mythical. Guess I need to get another one... -
RFM Sherman Firefly
BlrwestSiR replied to BlrwestSiR's topic in LSM 1/35 and Larger Work In Progress
Thanks! The tracks were welded onto the hull. There are pics where you can see the weld marks after the tracks were removed.