BlrwestSiR
-
Posts
9,197 -
Joined
-
Last visited
Content Type
Profiles
Forums
Events
Gallery
Everything posted by BlrwestSiR
-

Arado 234 Nachtigall on Speed
BlrwestSiR replied to DocRob's topic in LSM 1/35 and Larger Work In Progress
Rob, I'm glad you found it helpful. The antenna are definitely going to be a bit more work to get done not only cleanly but aligned properly too. Carl -
RCAF Liberator GR Mk VI
BlrwestSiR replied to BlrwestSiR's topic in LSM 1/35 and Larger Work In Progress
Thanks Rob! It's my lower back too. I saw a chiropractor and I'm much better but still not 100%. I need to work on my core muscles so will start that once I'm a bit more healed up. I'm really enjoying the Lib and the more relaxed approach to building it. I'll still do some crazy detailed thing at some point but I think this is the way to go for some of my builds. Like the other 4 engine heavies in the stash.... -
A squadron of Mig-21s in RCAF service? https://www.google.com/amp/s/theaviationgeekclub.com/cf-121-redhawk-program-the-true-story-behind-canadas-purchase-of-30-soviet-built-mig-21-fishbed-fighters/
-
RCAF Liberator GR Mk VI
BlrwestSiR replied to BlrwestSiR's topic in LSM 1/35 and Larger Work In Progress
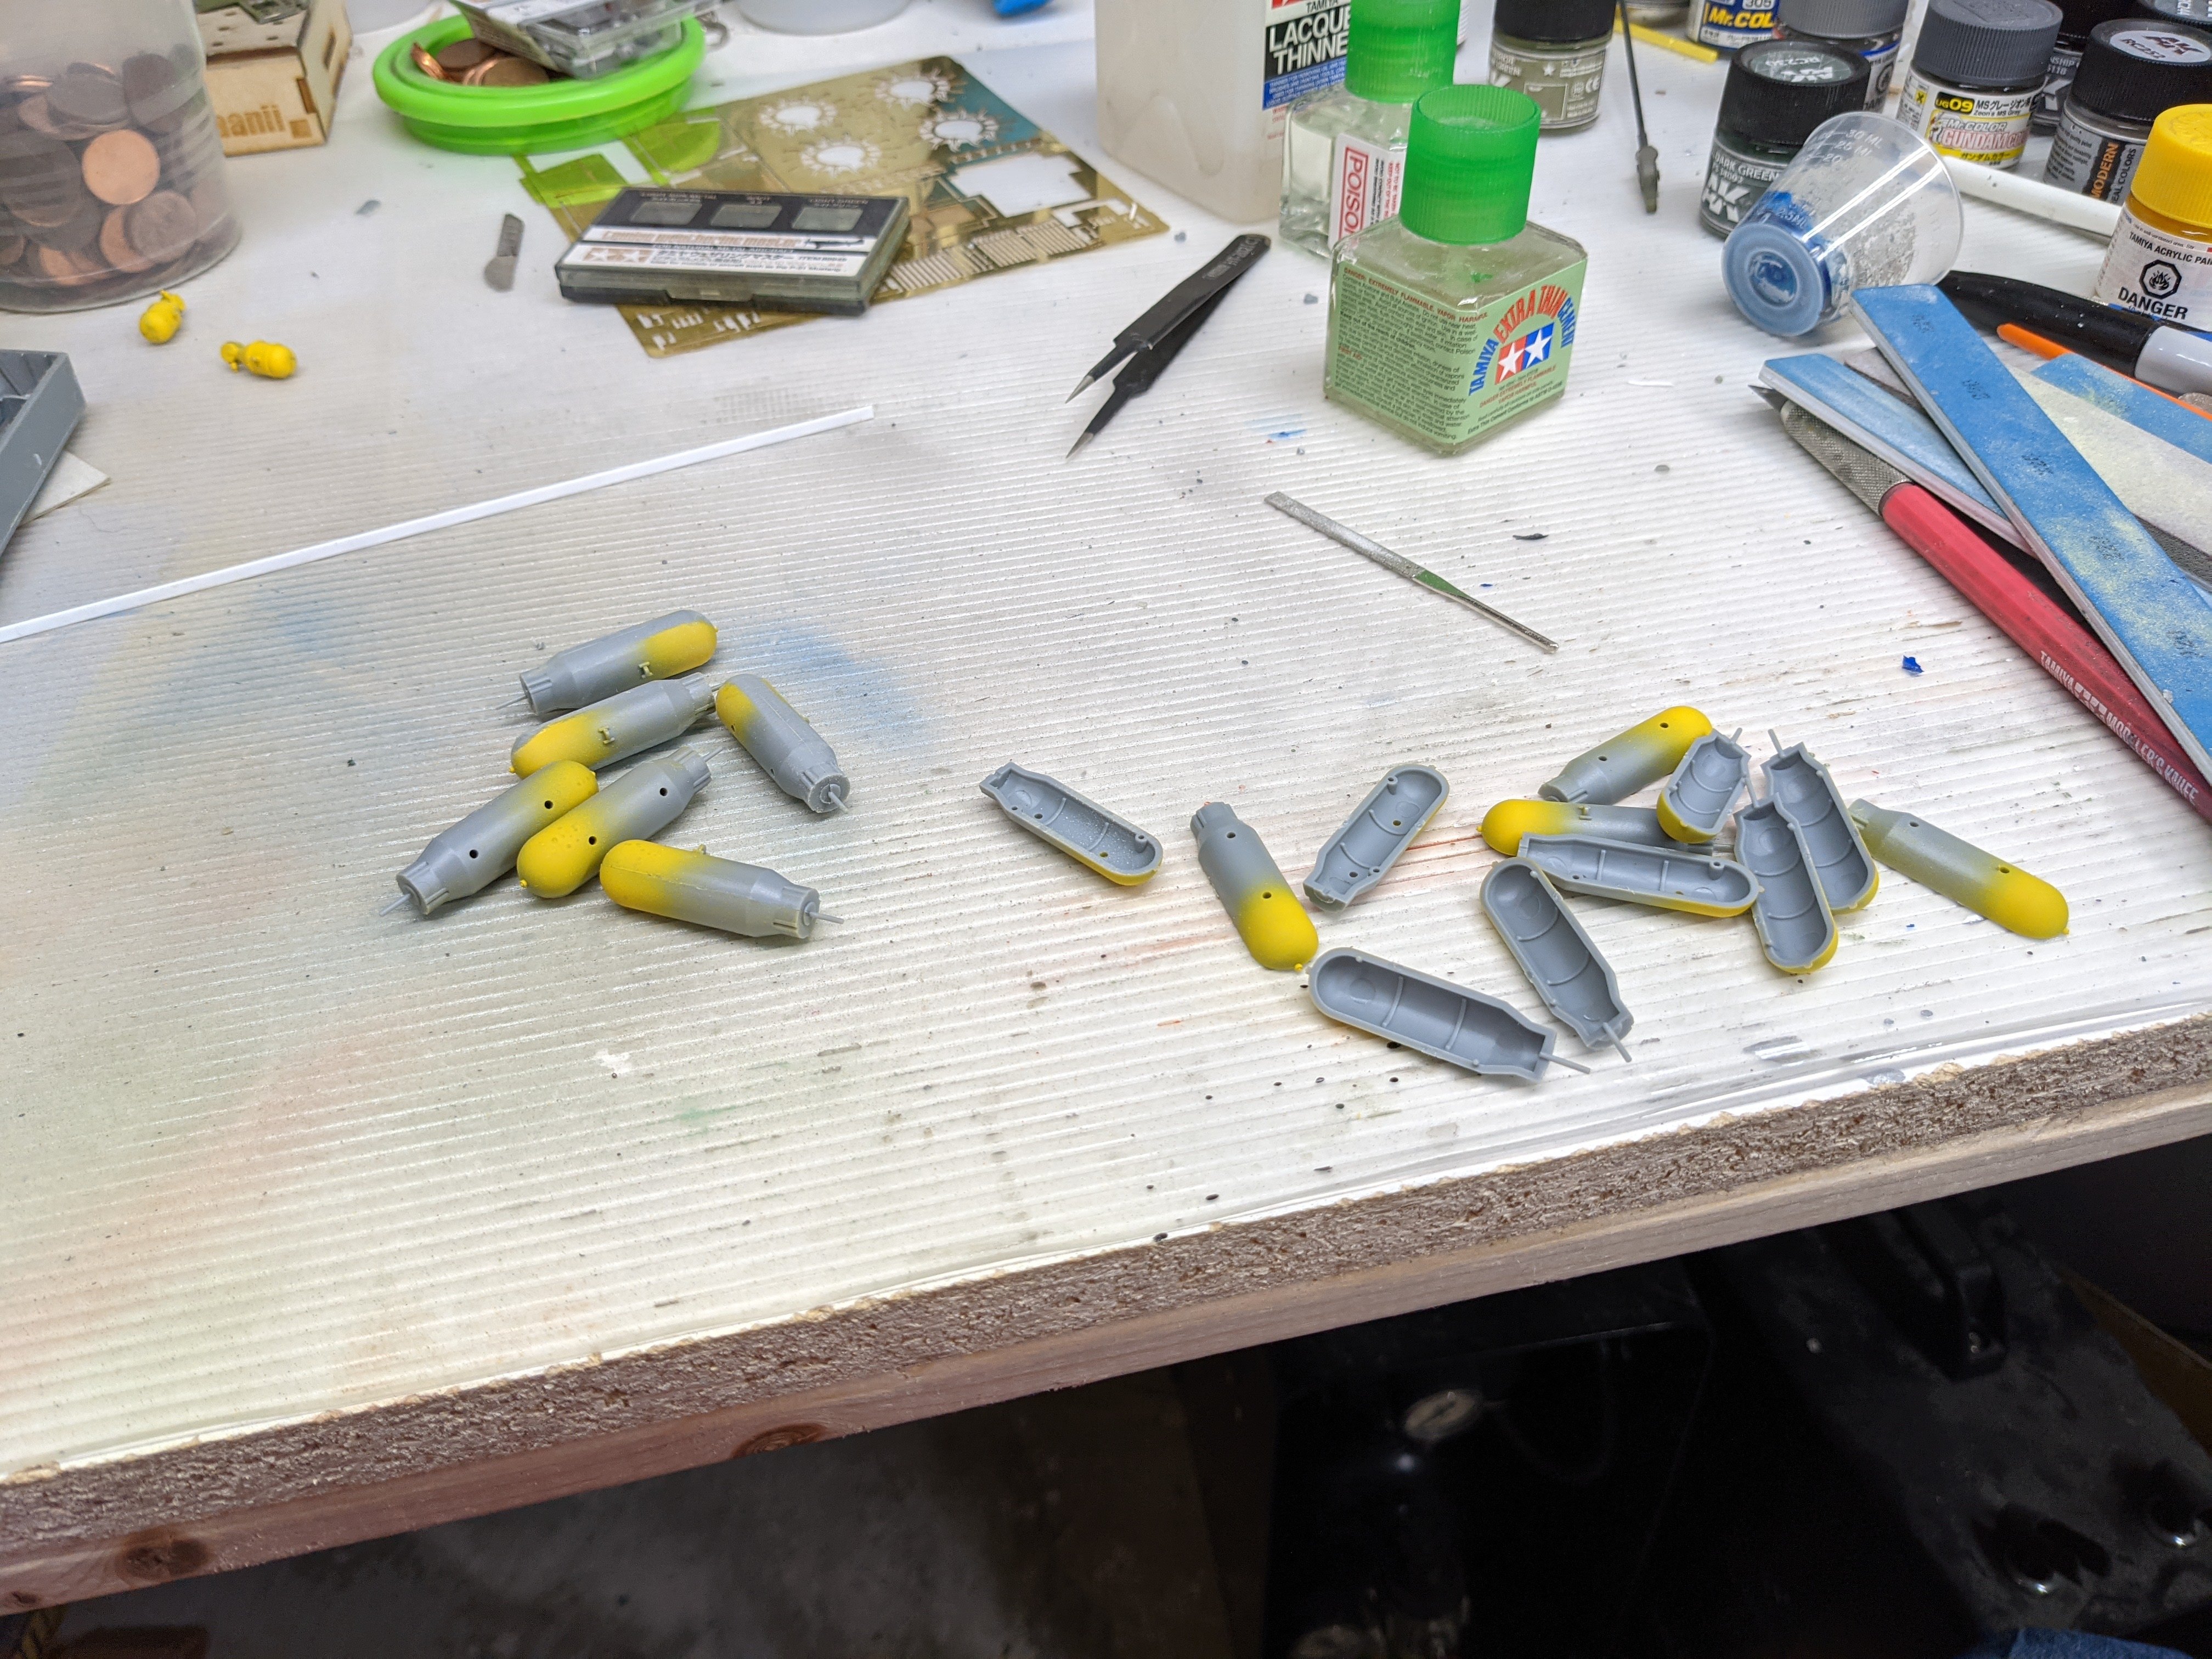
With my back on the mend, I've finally spent a bit of time at the bench. Just enough to work on the bombs a bit. I did say a bit. Hopefully I'll have more in the next update.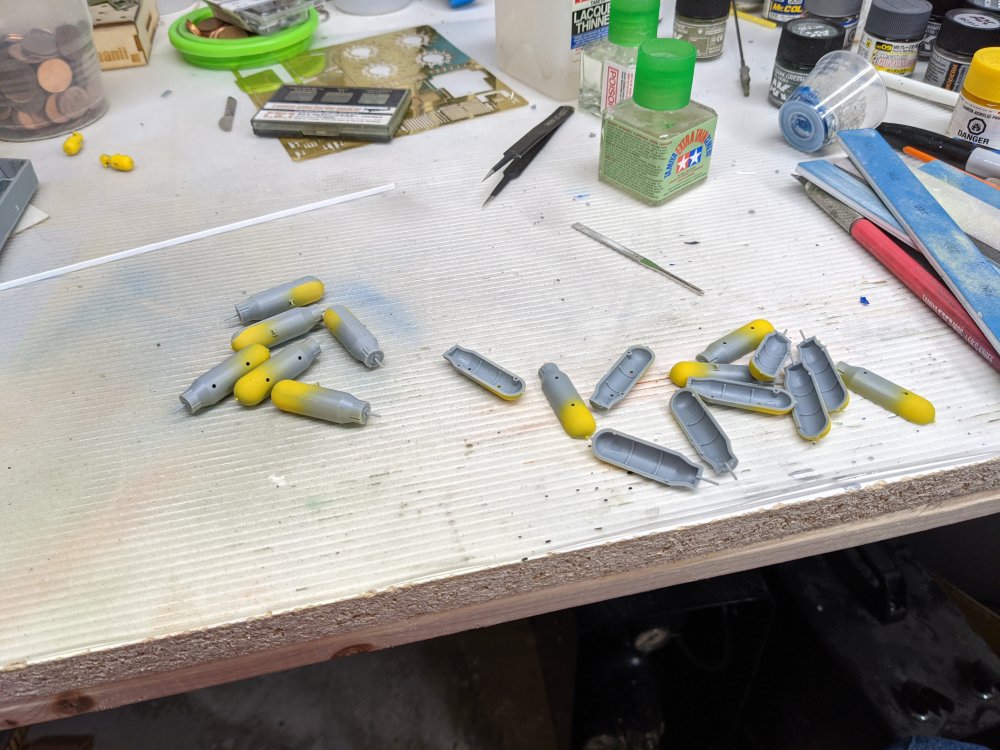
-
Arado 234 Nachtigall on Speed
BlrwestSiR replied to DocRob's topic in LSM 1/35 and Larger Work In Progress
Rob, with the canopy on mine I glued it on a section at a time to make sure it lined up correctly. I found the rest of the pics from my build in my old Photobucket account. I'm trying to figure out how I can download them but may not succeed. This link will take you to it so you can see the pics there. Hopefully they'll be of some use to you. https://app.photobucket.com/u/FG2Si/a/a9225881-37ab-42cf-93f2-f4ab099afb00 Carl -
I think Fusion Models did a conversion for this plane at one point. Can't recall for certain. Carl
-
Very nice work on the camo Mark.
-
The DS tracks are a real hit or miss on when they deteriorate. I have some in my T-95 that look fine. Same with a Tiger. But that doesn't mean I trust them. At least these days there are plastic sets that are as detailed as the metal ones and much cheaper. No easier to assemble though.
-
Not their armour kits but my LHS got in the Dragon/Cybermodeler BF-109E kit and it uses the same material for the wheel wells. Myself and one of the staff were inspecting the kit when we both noticed it start to crumble. Rob, I have some indie link tracks from a Meng Jagdpanther I didn't use. I'd be happy to send them your way. They're from a G1 kit though so not sure if they're ok for a G2. Carl
-
Arado 234 Nachtigall on Speed
BlrwestSiR replied to DocRob's topic in LSM 1/35 and Larger Work In Progress
Very nicely done there Rob. It does bring back memories of working on mine. Carl -
Nice piece of tail Harv! Wait, that didn't come out right. Anyways, progress is progress. I haven't been able to sit at my bench the last few days due to my back. Hopefully I'll be back at it soon enough. Carl
-
Ferrari 330P4 Open top 24Hrs Daytona 1967
BlrwestSiR replied to mark31's topic in LSM 1/35 and Larger Work In Progress
Great work Mark! Love that engine. I was thinking the same thing. -
Arado 234 Nachtigall on Speed
BlrwestSiR replied to DocRob's topic in LSM 1/35 and Larger Work In Progress
Fantastic looking cockpit Rob. The placards add a nice touch. Carl -
For the Wessex? Nice!
-
Arado 234 Nachtigall on Speed
BlrwestSiR replied to DocRob's topic in LSM 1/35 and Larger Work In Progress
Hi Rob, I built one a few years ago. Really enjoyed the build. The only big thing I did was modify the nose gear to better reflect the real thing. -
Yup, that's a Spitfire alright. Looks like a nice clean build as expected. Carl
-
I used most of Harold's resin bits on mine too. The hardest part of the build is the intakes. They are a horrid fit. Once you get that sorted, the rest isn't as bad. Carl
-
Nice start to the camo. Glad to hear your wife is doing well. Carl
-
Revell P-51D Mustang - 2nd time around
BlrwestSiR replied to Peterpools's topic in LSM 1/35 and Larger Work In Progress
Nice work Peter. Still surprised at thr amount of dry fitting required but I guess that's reflected in the price like you said. UMM make a stainless ruler that I use for scribing panel lines where possible i just tape in place so it's less likely to slip. http://umm-usa.com/onlinestore/product_info.php?products_id=3377&osCsid=a90df386950e2ad03832761af89d993e Carl -
A Red Bull one for me.😝 Carl
-
Arado 234 Nachtigall on Speed
BlrwestSiR replied to DocRob's topic in LSM 1/35 and Larger Work In Progress
Nice progress there Rob. I believe I have that clear hatch still if you want a second one to make the window from. Let me know if you do and I'll search for it. Carl -
Think of it as motivation.
-
I'd be up for it as always. Carl
-
RCAF Liberator GR Mk VI
BlrwestSiR replied to BlrwestSiR's topic in LSM 1/35 and Larger Work In Progress
Thanks Peter! I have no idea why they included twice as many tanks. I suspect it was a QC issue during the design of the kit. They put them on a sprue that has the bombs and other stuff that you do need duplicates of and no one noticed in their design dept I guess. They did leave one out of the instructions that you do need though so someone tried to compensate. -
RCAF Liberator GR Mk VI
BlrwestSiR replied to BlrwestSiR's topic in LSM 1/35 and Larger Work In Progress
Peter, that's what killed my B-25 builds for me. I went crazy reseaching what went where and then how to make it and then realized you can see any of it. This is my redemption build and how I'm going to approach the pair of HK Lancs in the stash. Otherwise, they'll never get done.