DocRob
-
Posts
6,780 -
Joined
-
Last visited
Content Type
Profiles
Forums
Events
Gallery
Everything posted by DocRob
-
Looking good Gaz. With some weathering the contrast between the grey fuselage and red decals will be reduced to a scale correct look. It's hard to tell from the pic, but I would apply some steel pigments, maybe even mixed with a tiny little bit of copper pigments onto the wings of the missiles, the contrast looks a bit harsh to m eye . Cheers Rob
-
 Great build and nice paintjob and weathering. The work on the engine and the flaps are doing some magic on your build. Nice . Cheers Rob
 -
Great review and interesting subject. I have something in my mind using a Scammell artillery truck with a civilian circus like paintjob, some evil looking musicians with 15th century costumes and maybe the above mentioned caravan. Sounds weird? I hope so . I have that plan sans the caravan in my mind since a long time. Thanks for pointing me to it. Cheers Rob
-
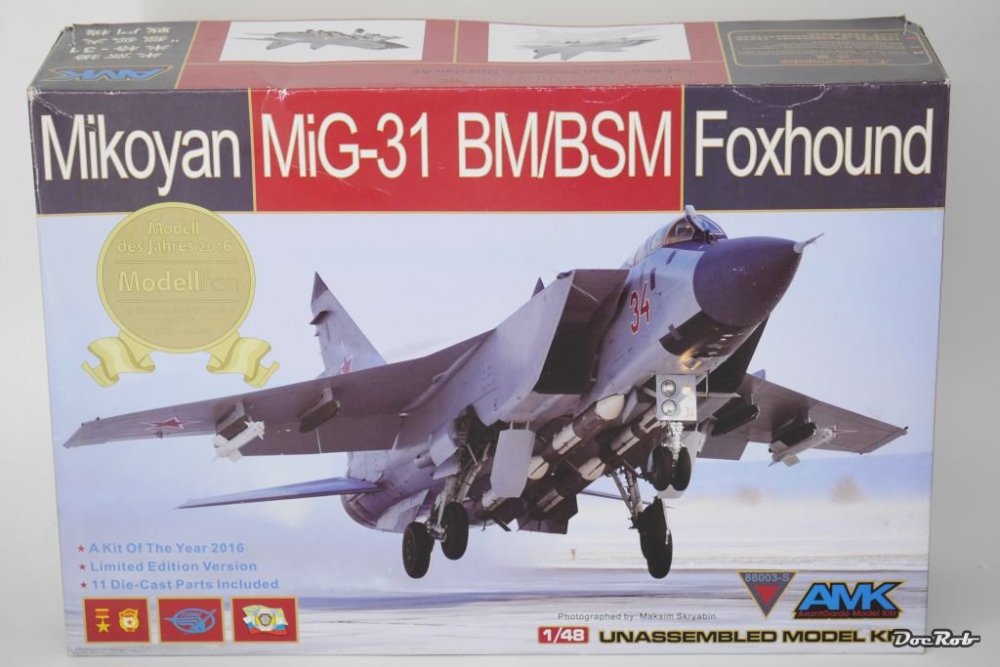
Thanx Forum , the last spark needed for getting me this big bad MIG-31 in 1/48 was inspired by Gaz and his great build of a MIG-25. I was thinking about the 31 since some years, 'it's 1/48 (thanks god), thousand stencils, just grey,...', but it's pure badass design and that finally did it to me. It is the limited edition from AMK with die cast wheel struts, clear and tinted canopies and completed PE and decals. I browsed through the kit and I have to say, it's one of the finest kits out of the box. Well packed with thoughtful layout of sprues and decals, seemingly well engineered. This might be a complete OOB build, a first since some Airfix stuff when I was a kid. The only thing I'm not decided about are the wheels, which I may substitute with resin stuff and masks for the canopies. Cheers Rob
-
AIrfix Tiffy : 4-21-19 Underway
DocRob replied to Peterpools's topic in LSM 1/35 and Larger Work In Progress
Hi Peter, I'm in for your build. Speaking of masks, I got a great set from Maketar for mine, including canopy, roundels, wheel masks and lettering. They are Kabuki style and great to work with. Cheers Rob -
Good to have you back Peter and you chose a big and bold bird for your return. I can't wait to see you work your magic with the Tiffy and what a time to clear some space in the shelf with the big Airfix Hellcat looming. Cheers Rob
-
Now that's a cool tiny clinic about rigging. Thanks Gaz, seems I have to order some brass from Bob. BTW, which brass tube length do you chose for the German birds? Cheers Rob
-
Nice Cruiser and fine weathering and painting. It has the everything fits look enhanced by the great base. Cheers Rob
-
And I thought you are a Tamiya only guy . Nice choice though with the P-39. I will fasten my seatbelts, as I have received my Special Hobby one two weeks ago. Can't wait for you to do your magic on this one. Cheers Rob
-
In the second volume of 'Air Modeller's Guide to Wingnut Wings' there is a Pfalz build by David Parker. He used Misterkit GC17 German Pfalz Silbergrau and misted a coat of pale Aluminium over this. I never heard of the Colour before and I don't have it, so I will perform some tryouts to achieve the effect otherwise. Parkers result though is looking very convincing. Cheers Rob
-
1/32 Revell RF-4C 14th TRS
DocRob replied to SapperSix's topic in LSM 1/35 and Larger Work In Progress
The black basing looks a little psychedelic at first, but I can see how this will work out. Nice job on the worn Colours. Cheers Rob -
I'm in for that one. I started that same kit some years ago and had it out of the shelf twice last week. Maybe I continue with you along, although I'm not sure about the scheme I will depict. Thought about Lozenge too, but might choose the silvery white one from the kit. Cheers Rob
-
DOLPHIN NOSE a.k.a. MI-17A-5 a.k.a. CH-178
DocRob replied to Martinnfb's topic in LSM 1/35 and Larger Work In Progress
There is some serious scratching and creative solution finding involved in your project. I enjoy to follow how you tackle it and try to learn something out of it. Cheers Rob -
Tamiya P-51D done
DocRob replied to JohnB's topic in LSM 1/32 and Larger Aircraft Ready for Inspection
Once again John, outstanding build and nice job with the printed decals. Cheers Rob -
Nice, you can feel the surrounding dryness, viewing your painting and weathering. Cheers Rob
-
Communist Russia’s Finest Passenger Service MI-4
DocRob replied to 1to1scale's topic in LSM 1/35 and Larger Work In Progress
Nice and comfy, I have to second Gaz, these seats look great, hopefully you can see enough of that fine work through the doors and windows. The seats seem to be very narrow, but the legroom looks greater than in a Ryanair bird. Cheers Rob -
DOLPHIN NOSE a.k.a. MI-17A-5 a.k.a. CH-178
DocRob replied to Martinnfb's topic in LSM 1/35 and Larger Work In Progress
Looking great Martin, at firs I couldn't believe that the blob in front of the copter would convert to an elegant nose and voila, nose nicely done. Nice job of scratching with the back door as well. Cheers Rob -
I know, that's why I bought the special edition five minutes ago . Since yesterday I had it in the shopping cart for the umpteenth time. Thanks Gaz for inflicting the stenciling pain to me . Cheers Rob
-
Outstanding, love the engine with all the added detail and the very convincing framework. Great skills as ever. Cheers Rob
-
Outstanding Jeroen, I second Cees on the V2 shard. Cheers Rob
-
Nice, the ultimate badass copter. I found a build description of one here (German text) http://kitchecker.com/bauberichte_1/mi-24v_helmut_fraundorfer.htm There is a book published by Eduard about Czech Mi-24. As it is written in Czech I can't read it, but it has a lot of great pics. Eduard sold the book with their limited edition 1/72 Hind and separately, but it seems out of print now, but might be available elsewhere. https://www.eduard.com/eduard/hind-mi-24-in-czech-and-czechoslovak-service-book.html?listtype=search&searchparam=hind Cheers Rob
-
A while ago I built a 1/48 F-15 Eagle and did the full stenciling job . I think the result looked ok, but since this time I have a more than slightly aversion to start another modern jet. More than once I put a F-4 Phantom back into the shelf and it was the only reason I didn't buy an AMK Mig-31 till now. I hate decaling in general and stenciling even more. One thing you might take into account is the quality of the decals. If they blend in perfectly without silvering and visible shining film, they will enhance your model a lot in my opinion. Cheers Rob
-
Tiger I Ausf. E/H, Tunisia
DocRob replied to Rodolfo Torres Vazquez's topic in LSM Armour Finished Work
Very nice, with lots of sand deposits , I like it. Cheers Rob -
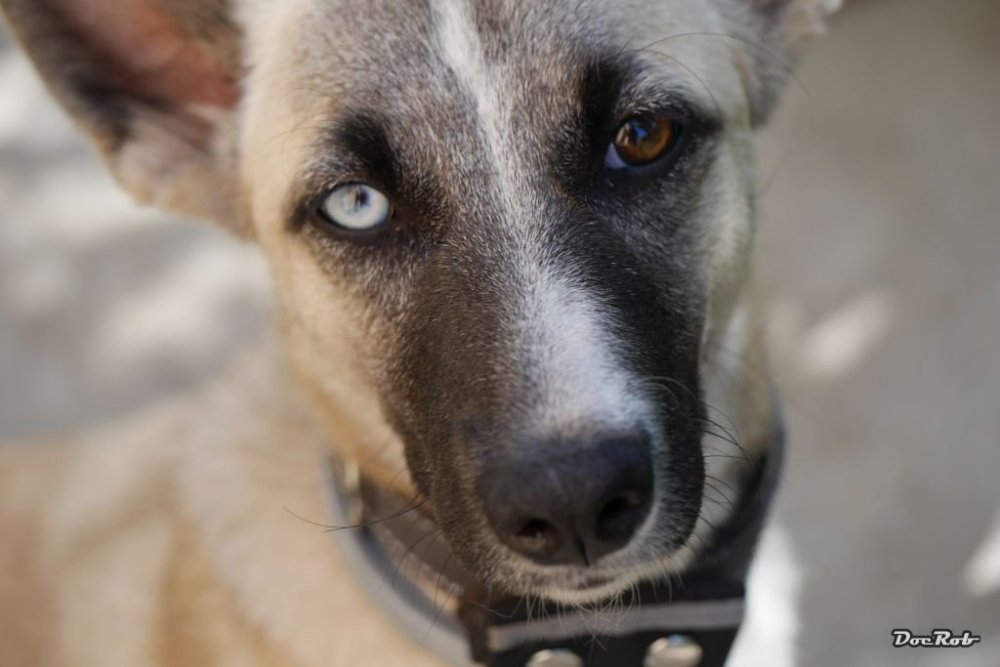
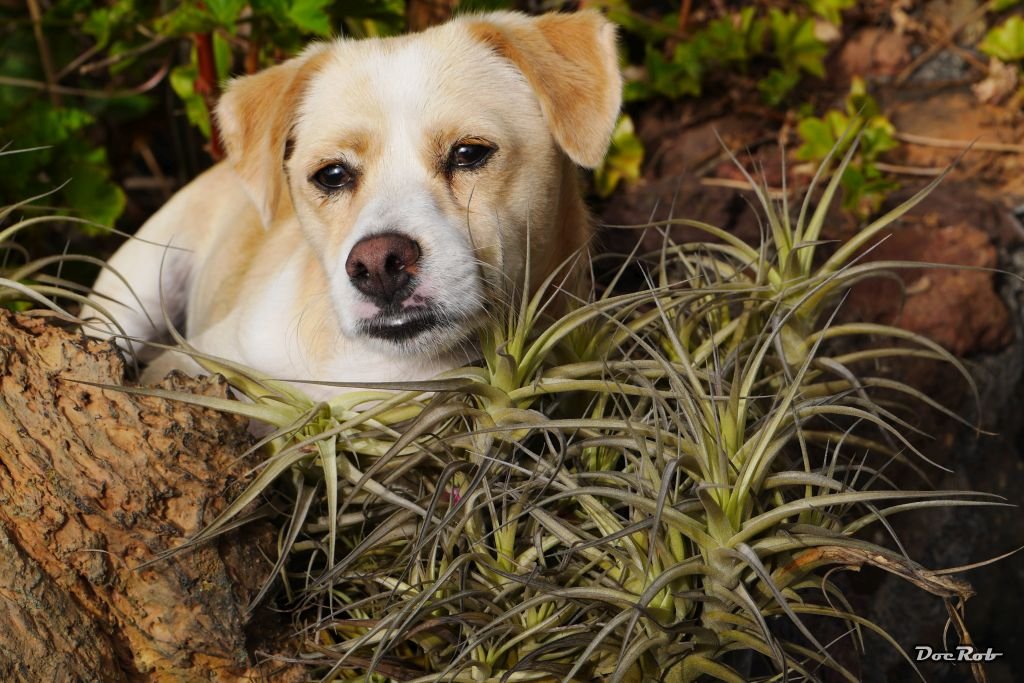
That they are, after living some month on our island, this beautiful lady appeared in our garden. She is a young Lobo Herreno a very special kind of dog only to be found on our island. They are born shepherd dogs and very agile, demanding and intelligent. After some month with us she was gone and we were very sad with the loss. She might have been 'kidnapped', because she had no tendencies to run away. Now we have this little fellow since more than two years, he is a real 'perro feliz' a happy dog in all accounts, always friendly and fun to watch. As you can see he loves to relax in the sun. Cheers Rob